Introduction
Downloading pictures from your camera to your computer is a simple process that allows you to transfer and preserve your precious memories. Whether you’re a professional photographer or a casual shutterbug, knowing how to efficiently and effectively manage your photo library is essential.
In this step-by-step guide, we will walk you through the process of downloading pictures from your camera to your computer. By following these instructions, you can safely store and organize your images, freeing up space on your camera and ensuring that your photographs are backed up and readily accessible.
Before we dive into the details, it’s important to note that the steps outlined in this guide may vary slightly depending on the make and model of your camera and the operating system of your computer. However, the fundamental principles remain the same, and with a basic understanding of technology, you’ll be able to adapt these steps to your specific setup.
So, if you’re ready to bring your photos from your camera to your computer, let’s get started!
Step 1: Gather your equipment
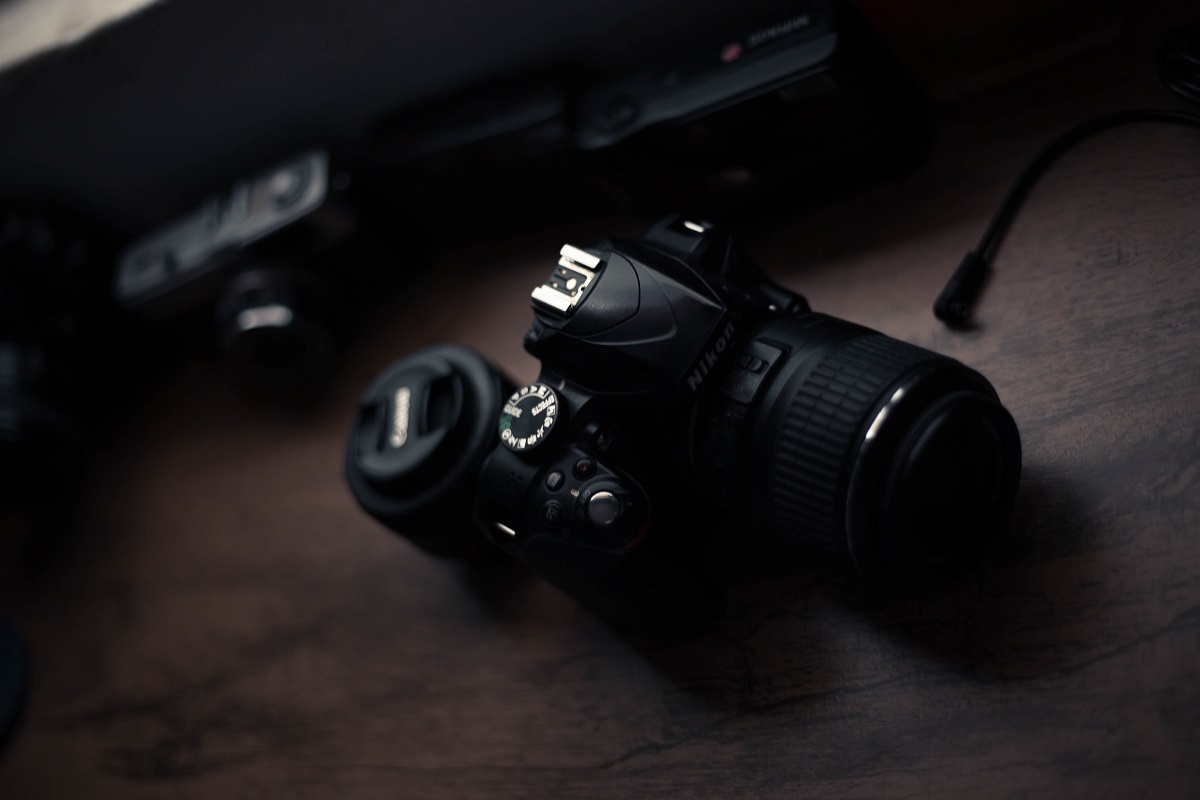
Before you can begin the process of downloading pictures from your camera to your computer, you’ll need to ensure that you have the necessary equipment at hand. Here’s a list of items that you’ll need:
- Your camera: Make sure your camera is fully charged or has fresh batteries.
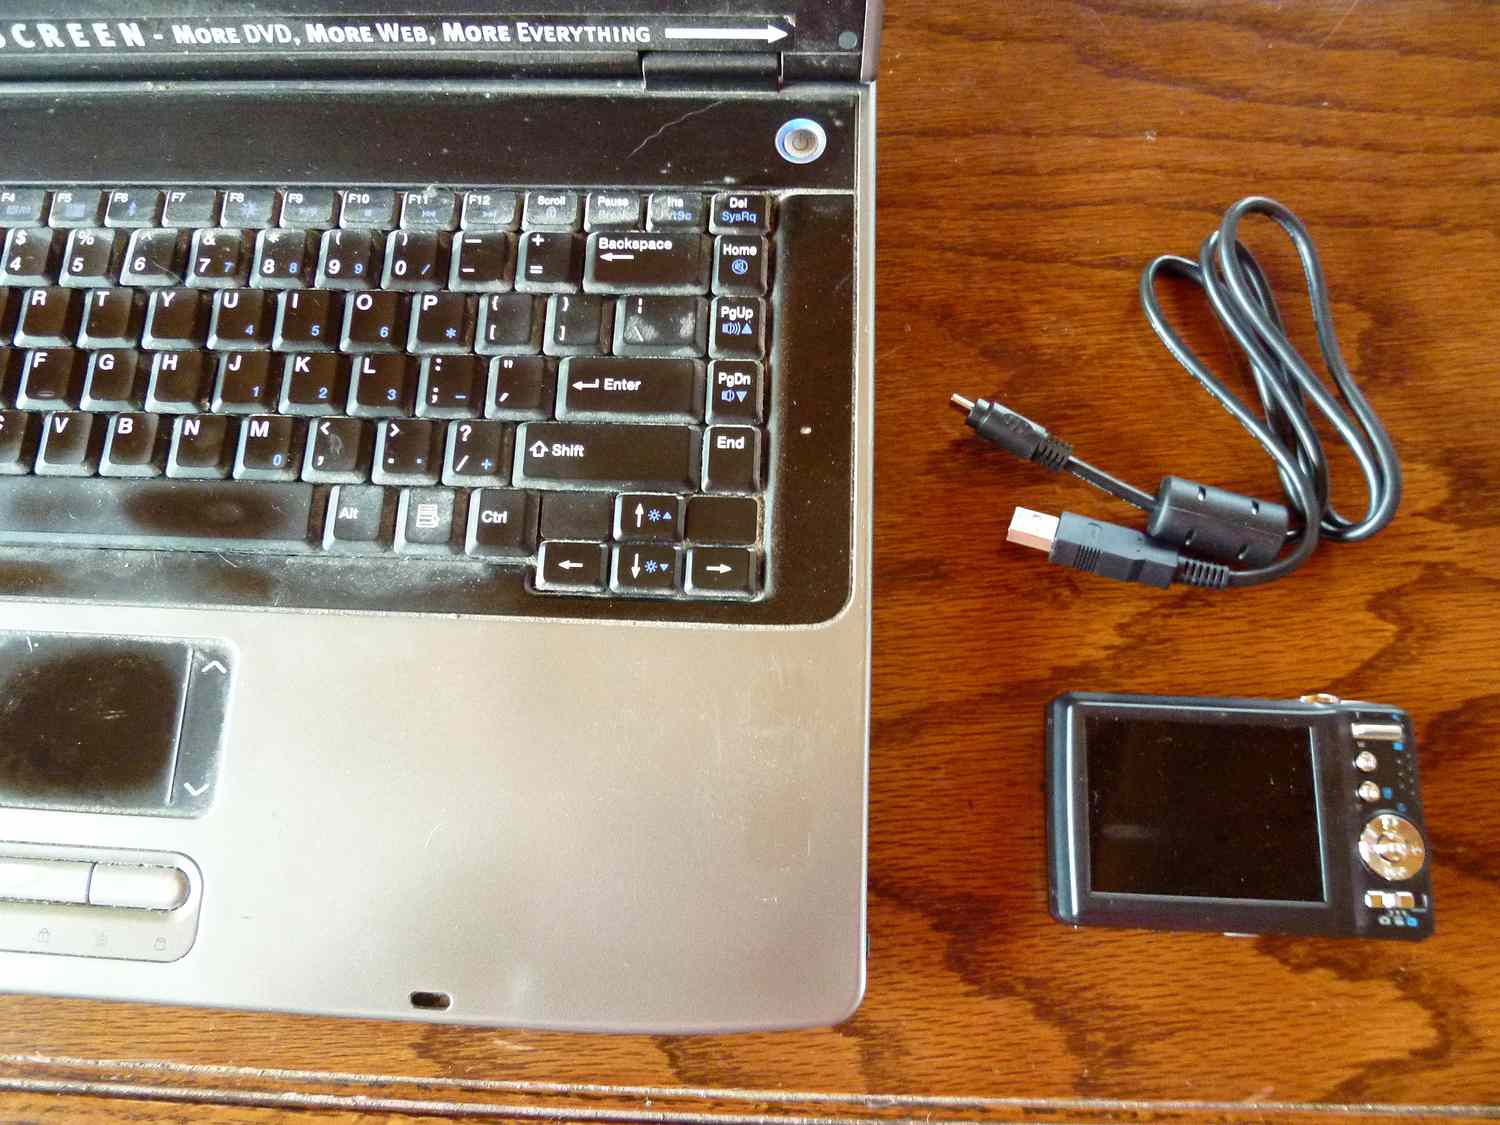
- A USB cable: This cable usually comes with your camera and is used to connect it to your computer.
- Your computer: Ensure that your computer is turned on and functioning properly.
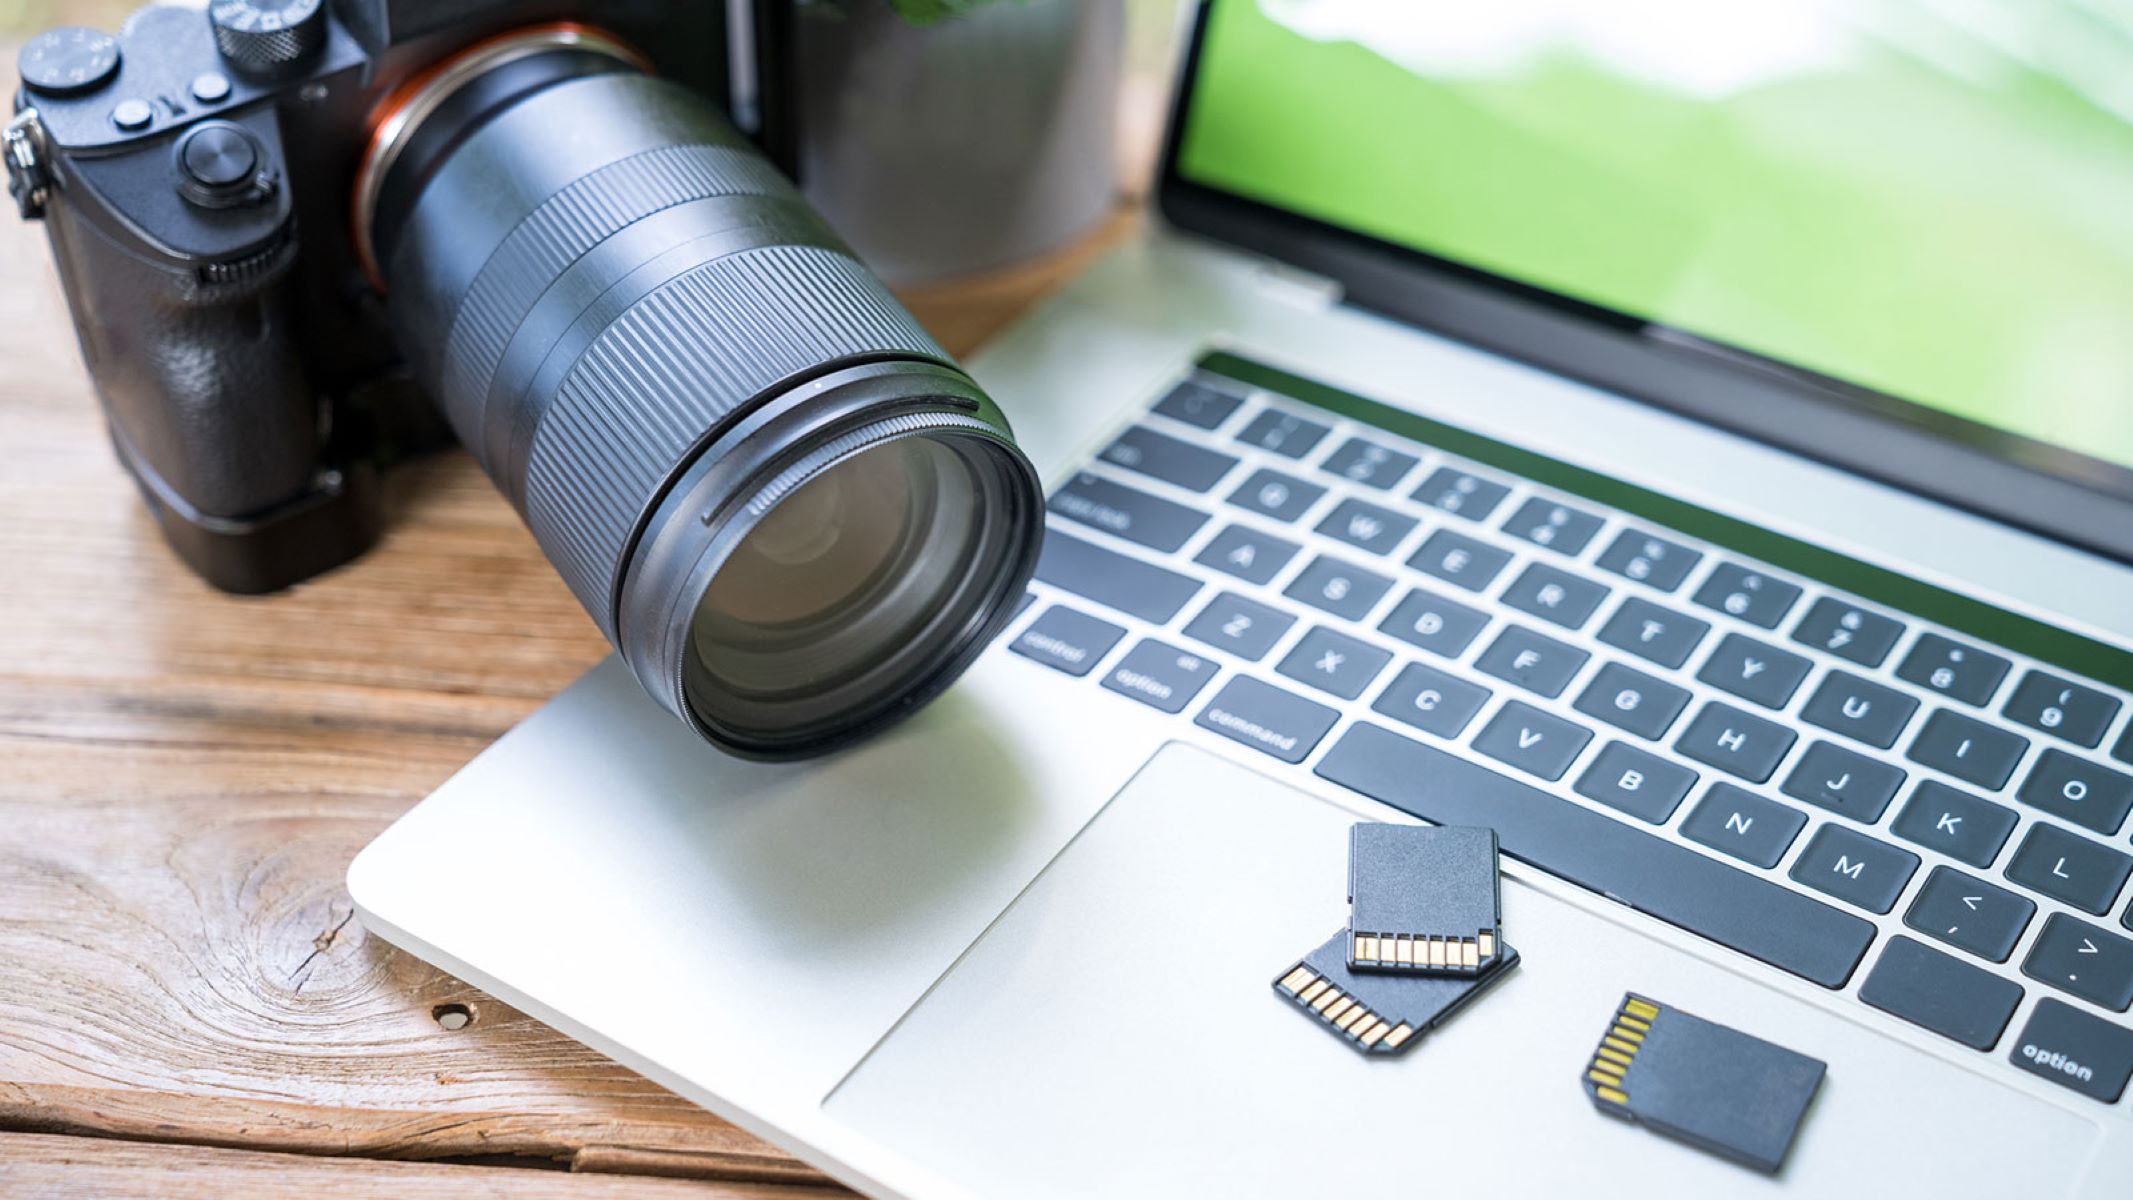
- Memory card reader: If your computer does not have a built-in memory card slot, you’ll need a memory card reader to transfer your pictures.
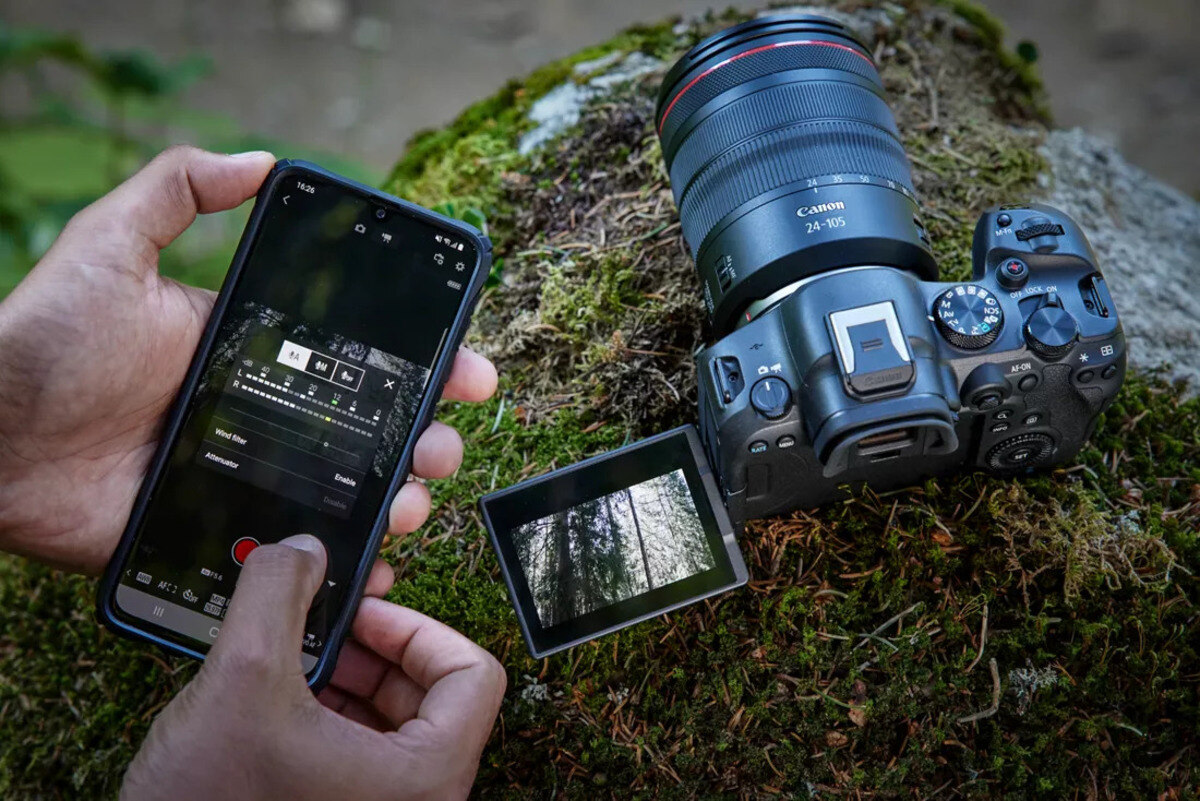
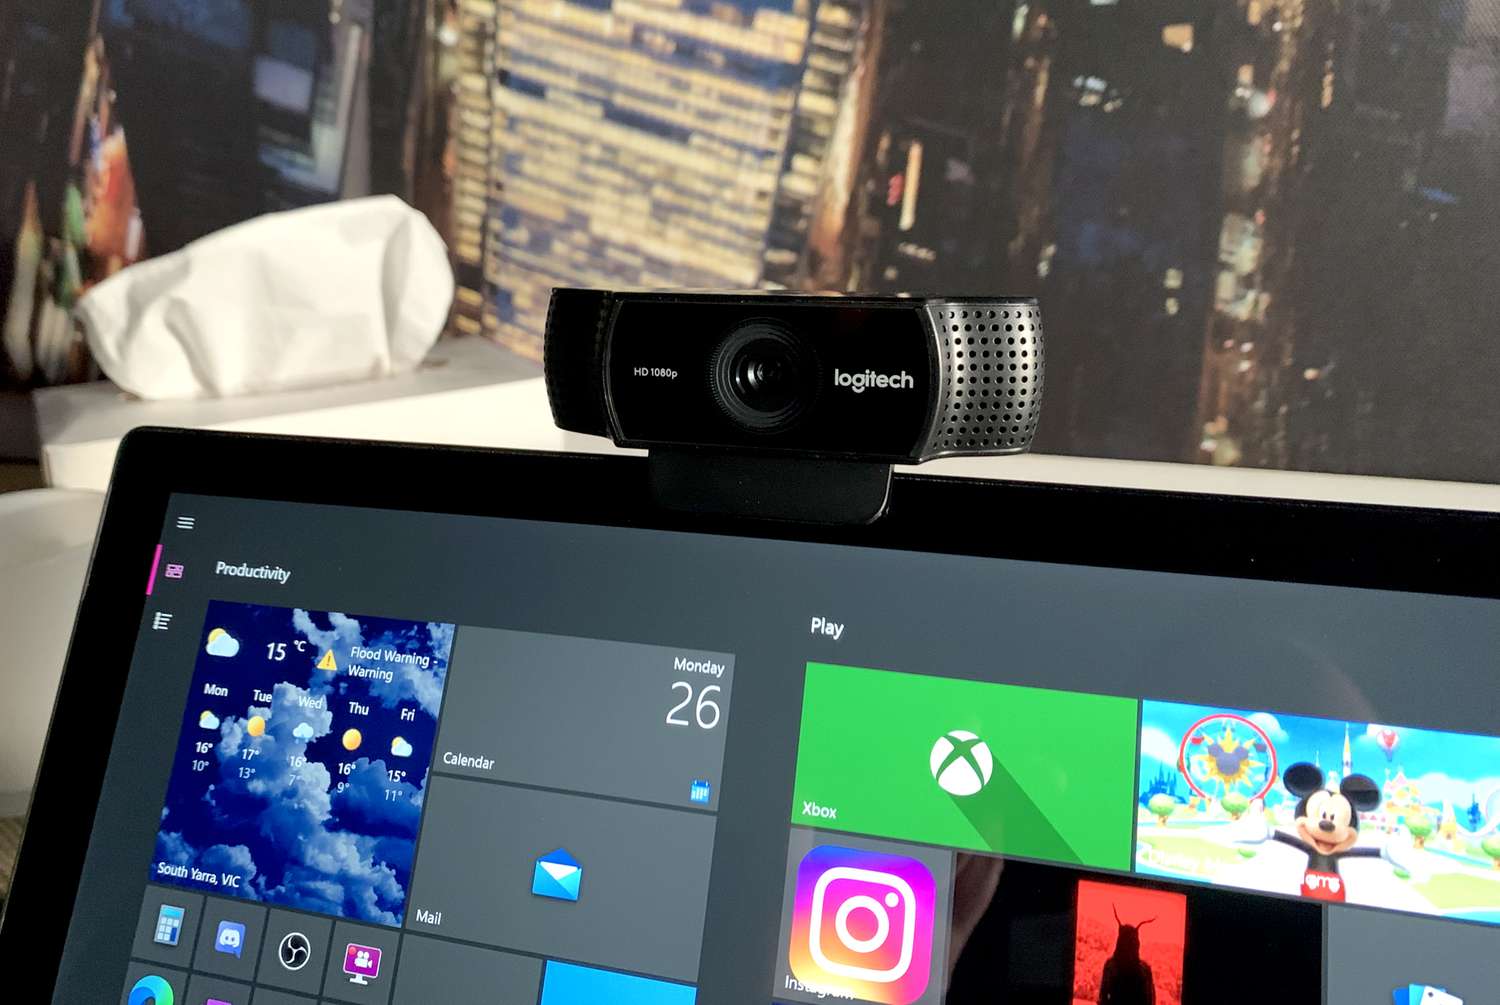
Once you have gathered these items, you’re ready to move on to the next step. It’s important to note that some newer cameras may not require a USB cable. Instead, they have built-in Wi-Fi capabilities that allow you to transfer pictures wirelessly. If your camera has this feature, refer to your camera’s user manual for instructions on how to connect it to your computer via Wi-Fi.
Now that you have all the necessary equipment, let’s move on to step 2.
Step 2: Install the necessary software
Before you can begin transferring pictures from your camera to your computer, you may need to install the necessary software. Depending on your camera and computer, this software may already be pre-installed or you may need to download it.
Here are a few options to consider:
- Camera manufacturer’s software: Many camera manufacturers provide their own software for transferring and managing photos. Check the packaging or the manufacturer’s website for any software that may be available for your camera model.
- Operating system default software: In some cases, your computer’s operating system may have built-in software that is capable of recognizing and transferring pictures from your camera. For example, Windows computers often have the Photos app, and Mac computers come with the Photos or Image Capture app.
- Third-party software: Alternatively, you can choose to use third-party software specifically designed for photo organization and transfer. Some popular options include Adobe Lightroom, Google Photos, and iPhoto.
Once you have determined which software to use, follow the instructions provided to install it on your computer. If you’re unsure which software is best for your needs, consider conducting some research or consulting with fellow photographers for recommendations.
After you have installed the necessary software, you’re ready to move on to the next step and connect your camera to your computer.
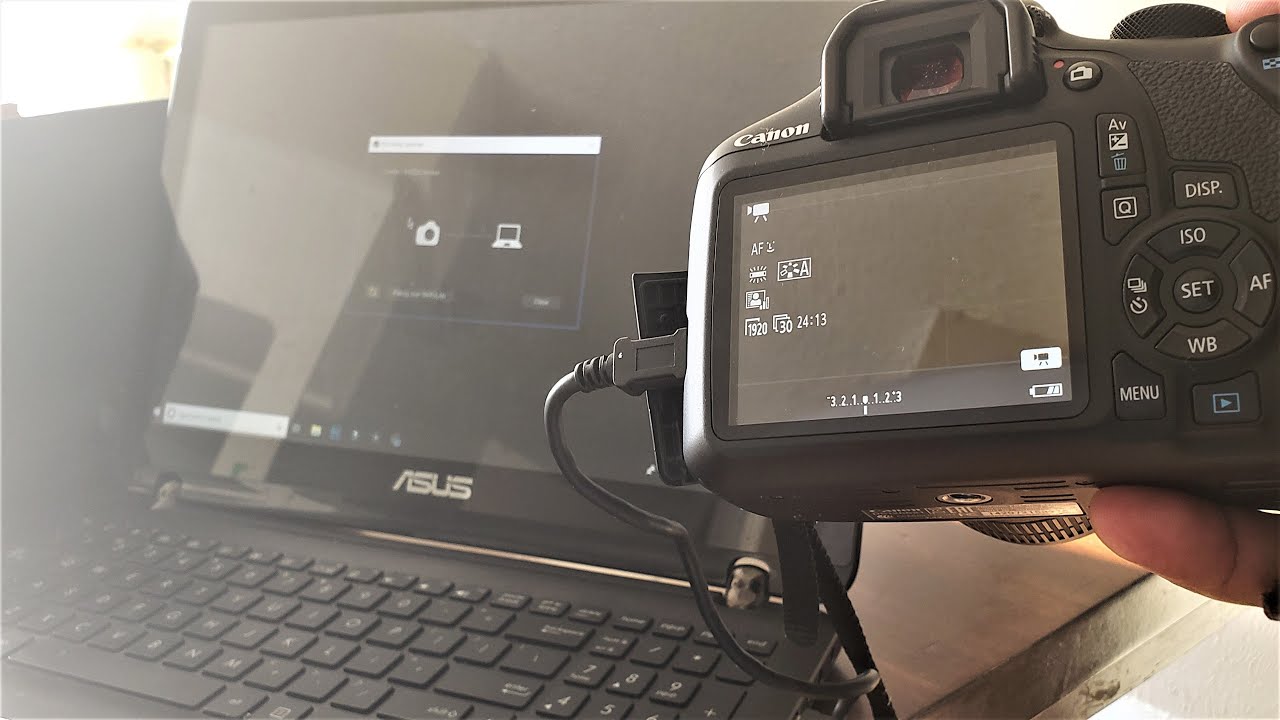
Step 3: Connect your camera to your computer
Now that you have the required software installed, it’s time to connect your camera to your computer. Follow these steps to establish a connection:
- Locate the USB port on your computer. It is usually found on the sides or back of the machine.
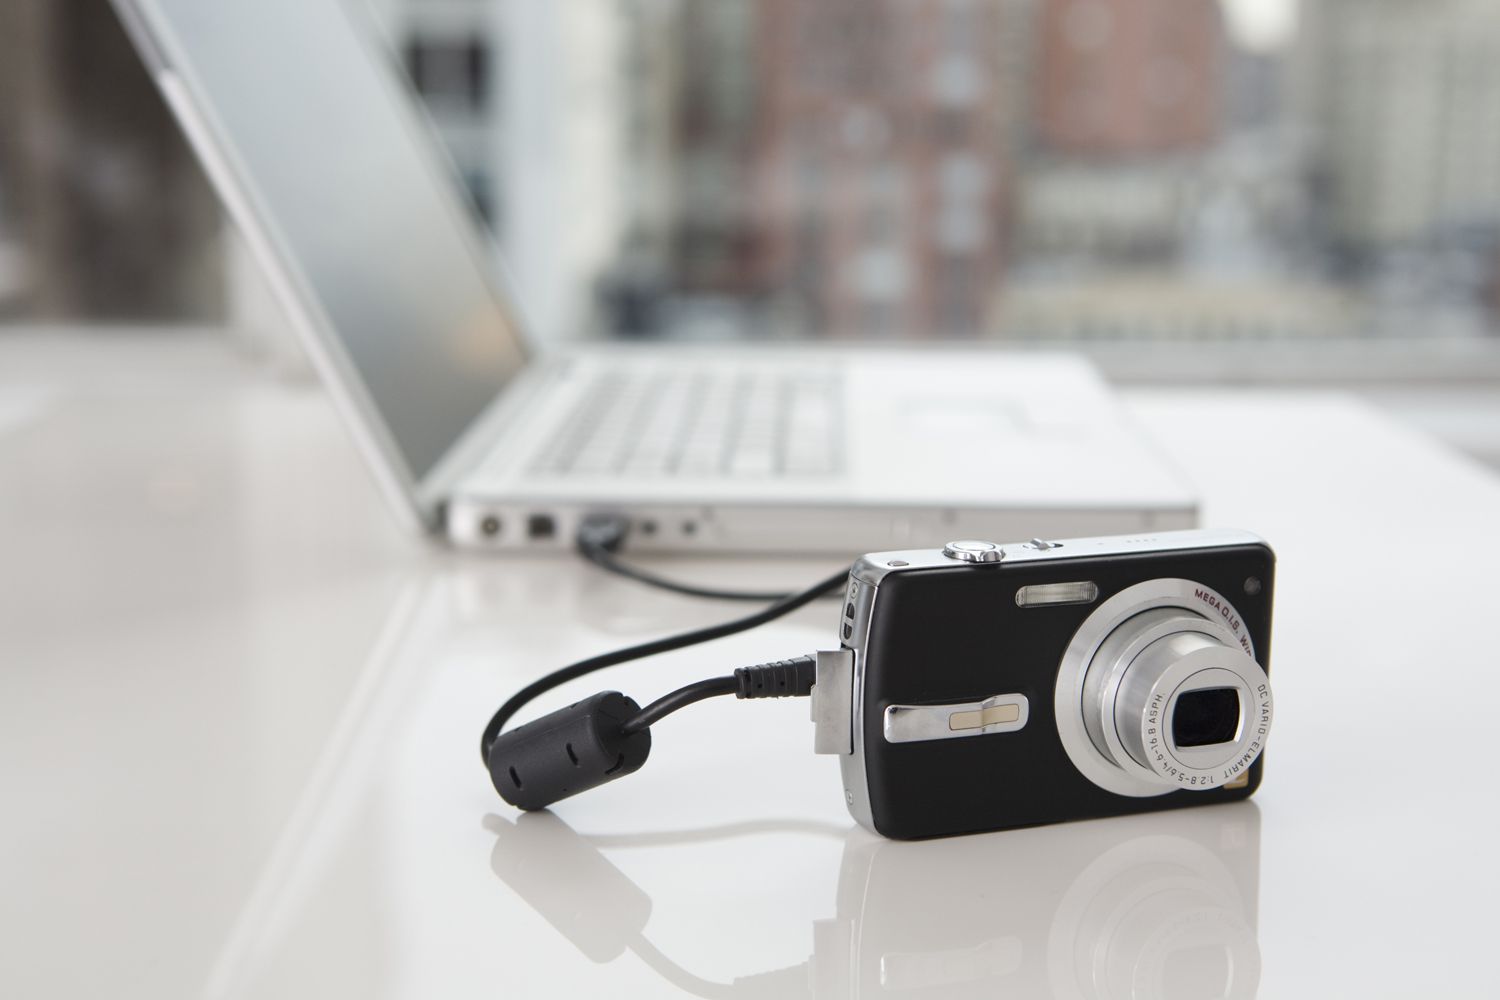
- Take the USB cable that came with your camera and plug one end into your camera’s USB port.
- Connect the other end of the USB cable into an available USB port on your computer.
- Turn on your camera. Some cameras have a specific setting or mode that needs to be enabled for computer connection. Check your camera’s manual if you’re unsure how to do this.
- Wait for your computer to recognize the camera. You may see a notification or an automatic pop-up on your screen indicating that a new device has been connected.
Once the connection is established, your camera should appear as a storage device on your computer. Depending on your operating system and the software you installed, you may see a window or prompt asking you how you want to handle the device.
Remember, some cameras have built-in Wi-Fi capabilities. If your camera supports wireless transfer, you can skip the USB connection step and refer to your camera’s user manual for instructions on connecting it to your computer via Wi-Fi.
With your camera successfully connected to your computer, it’s time to move on to the next step and start transferring your pictures.
Step 4: Transfer the pictures from your camera to your computer
Now that your camera is connected to your computer, it’s time to transfer the pictures from your camera to your computer. Depending on your software and preferences, you have a few different options to choose from:
- Automatic transfer: Some software programs give you the option to automatically import all the pictures from your camera to a specific folder on your computer. This is a convenient and time-saving option if you want to transfer all your pictures at once.
- Selective transfer: If you only want to transfer specific pictures from your camera, you can manually select and transfer them one by one or in batches. Most software programs offer a preview of the pictures on your camera, allowing you to choose which ones you want to transfer.
Whichever method you choose, follow these general steps to transfer your pictures:
- Open the software program you installed for your camera.
- Select the option to import or transfer pictures from your camera.
- Choose the destination folder on your computer where you want to save the pictures. You may also have the option to create subfolders or organize the pictures by date or event.
- Select the pictures you want to transfer and initiate the transfer process.
- Depending on the size and number of pictures you are transferring, the process may take a few moments to complete. Once the transfer is finished, you can safely disconnect your camera from your computer.
It’s important to note that after transferring the pictures, you should verify that all the images have been successfully transferred and are accessible on your computer. This ensures that no pictures are accidentally left behind on your camera’s memory card.
Now that your pictures are safely transferred to your computer, it’s time to move on to the final step: organizing and saving your pictures.
Step 5: Organize and save your pictures on your computer
Once you have transferred your pictures from your camera to your computer, it’s important to organize and save them in a way that makes them easy to find and browse. Here are some tips to help you organize your photo library:
- Create folders: Create folders on your computer to categorize your pictures. You can create folders based on date, location, event, or any other system that works for you.
- File naming conventions: Develop a consistent file naming convention for your pictures. This can help you quickly identify and locate specific photos. You can include the date, event name, or any other relevant information in the file name.
- Add metadata: Take advantage of metadata to add details to your pictures such as date, location, and keywords. This will make it easier to search for specific images in the future.
- Use photo management software: Consider using dedicated photo management software that offers advanced features for organizing and editing your pictures. These software programs often have powerful search capabilities and allow you to tag and categorize your photos.
- Backup your photos: It’s crucial to regularly back up your photo library to an external hard drive, cloud storage, or other backup solutions. This provides an extra layer of protection in case of data loss or computer failure.
By implementing these organization techniques, you can ensure that your photo library remains tidy and easily accessible. Take some time to organize your pictures after each transfer, maintaining a well-organized photo library as you continue to capture memories.
With your pictures organized and saved on your computer, you have successfully completed the process of downloading pictures from your camera. Now you can enjoy browsing, editing, and sharing your photographs with family, friends, and the world!
Conclusion
Downloading pictures from your camera to your computer is a straightforward process that allows you to preserve your precious memories and create a well-organized photo library. By following the steps outlined in this guide, you can efficiently transfer, organize, and save your pictures, ensuring that they are easily accessible for years to come.
Remember, gathering the necessary equipment, installing the appropriate software, connecting your camera to your computer, and transferring your pictures are the essential steps in this process. Taking the time to organize your photos and implement backup strategies will further enhance your photo management system.
Whether you’re a professional photographer or a casual enthusiast, knowing how to download pictures from your camera to your computer is a valuable skill. It allows you to free up space on your camera for future photo sessions and gives you the ability to edit, share, and enjoy your images on a larger screen.
Now that you’re equipped with the knowledge and steps to download pictures from your camera, it’s time to put it into action. Take the necessary steps to gather your equipment, install the software, connect your camera, transfer your pictures, and organize them on your computer.
Enjoy the process of preserving your memories and creating a well-organized photo library that you can revisit and share with others. Happy downloading!