Introduction
Welcome to the world of Logitech web cameras! Whether you’re a professional photographer, a casual selfie enthusiast, or simply someone who enjoys capturing precious moments, your Logitech web camera can be a great tool to help bring your photography game to the next level.
In this article, we’ll explore the various features and capabilities of Logitech web cameras, and learn how to take outstanding pictures using your device. From adjusting camera settings to selecting the right lighting, we’ll cover everything you need to know to unleash your creativity and capture stunning images.
With its user-friendly interface and powerful software, Logitech provides you with the tools to easily capture and share memories. Whether you’re attending virtual meetings, connecting with loved ones, or documenting your adventures, your Logitech web camera is there to help you visually communicate.
So, if you’re ready to embark on this photographic journey, let’s dive in and explore the wonderful world of taking pictures with your Logitech web camera!
Understanding your Logitech web camera
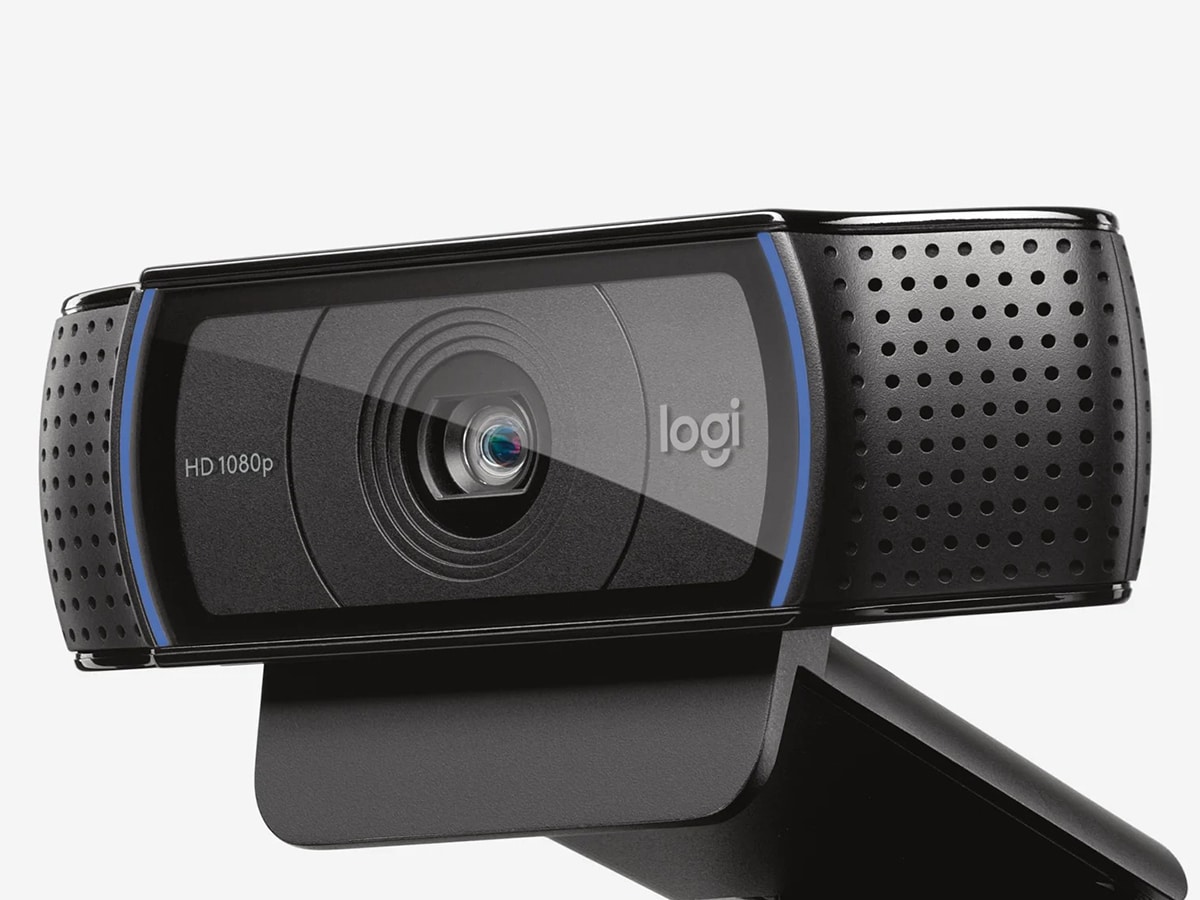
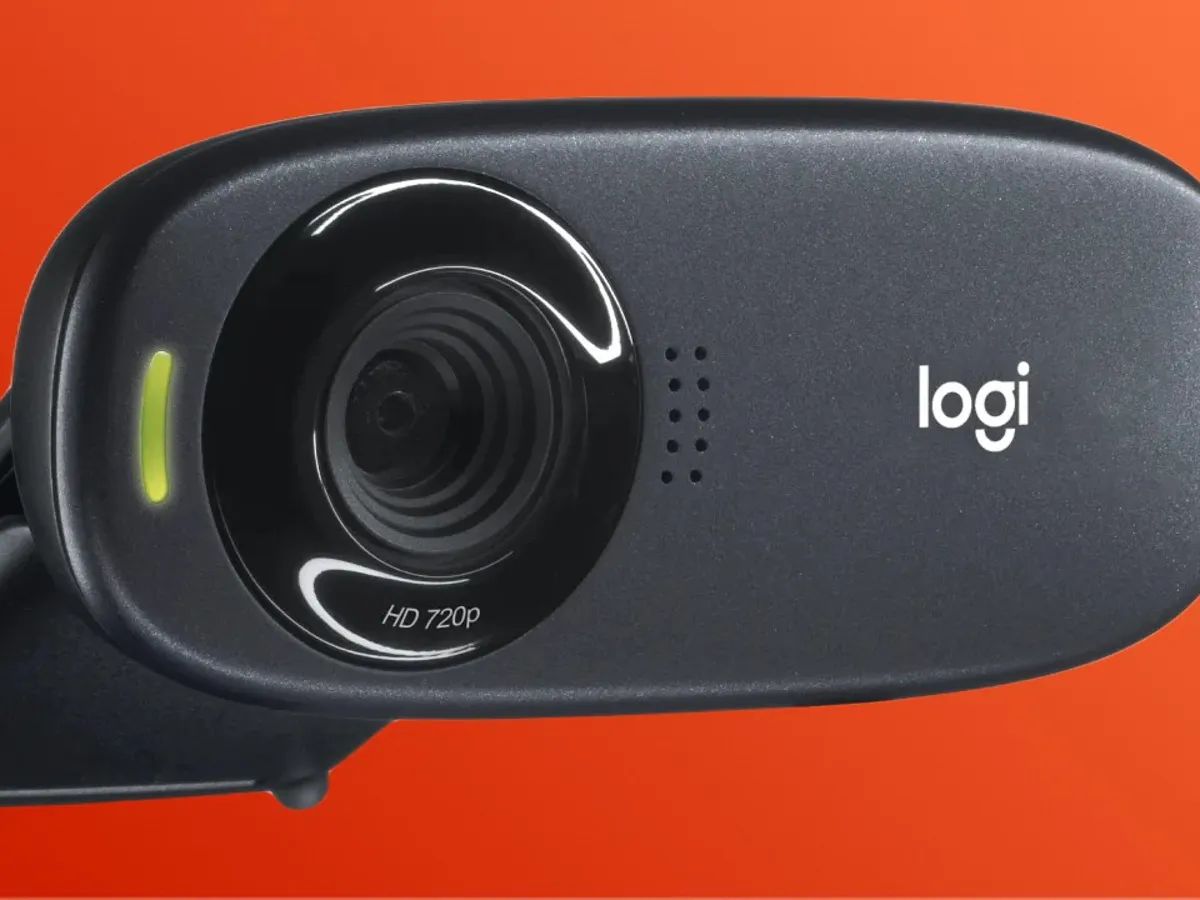
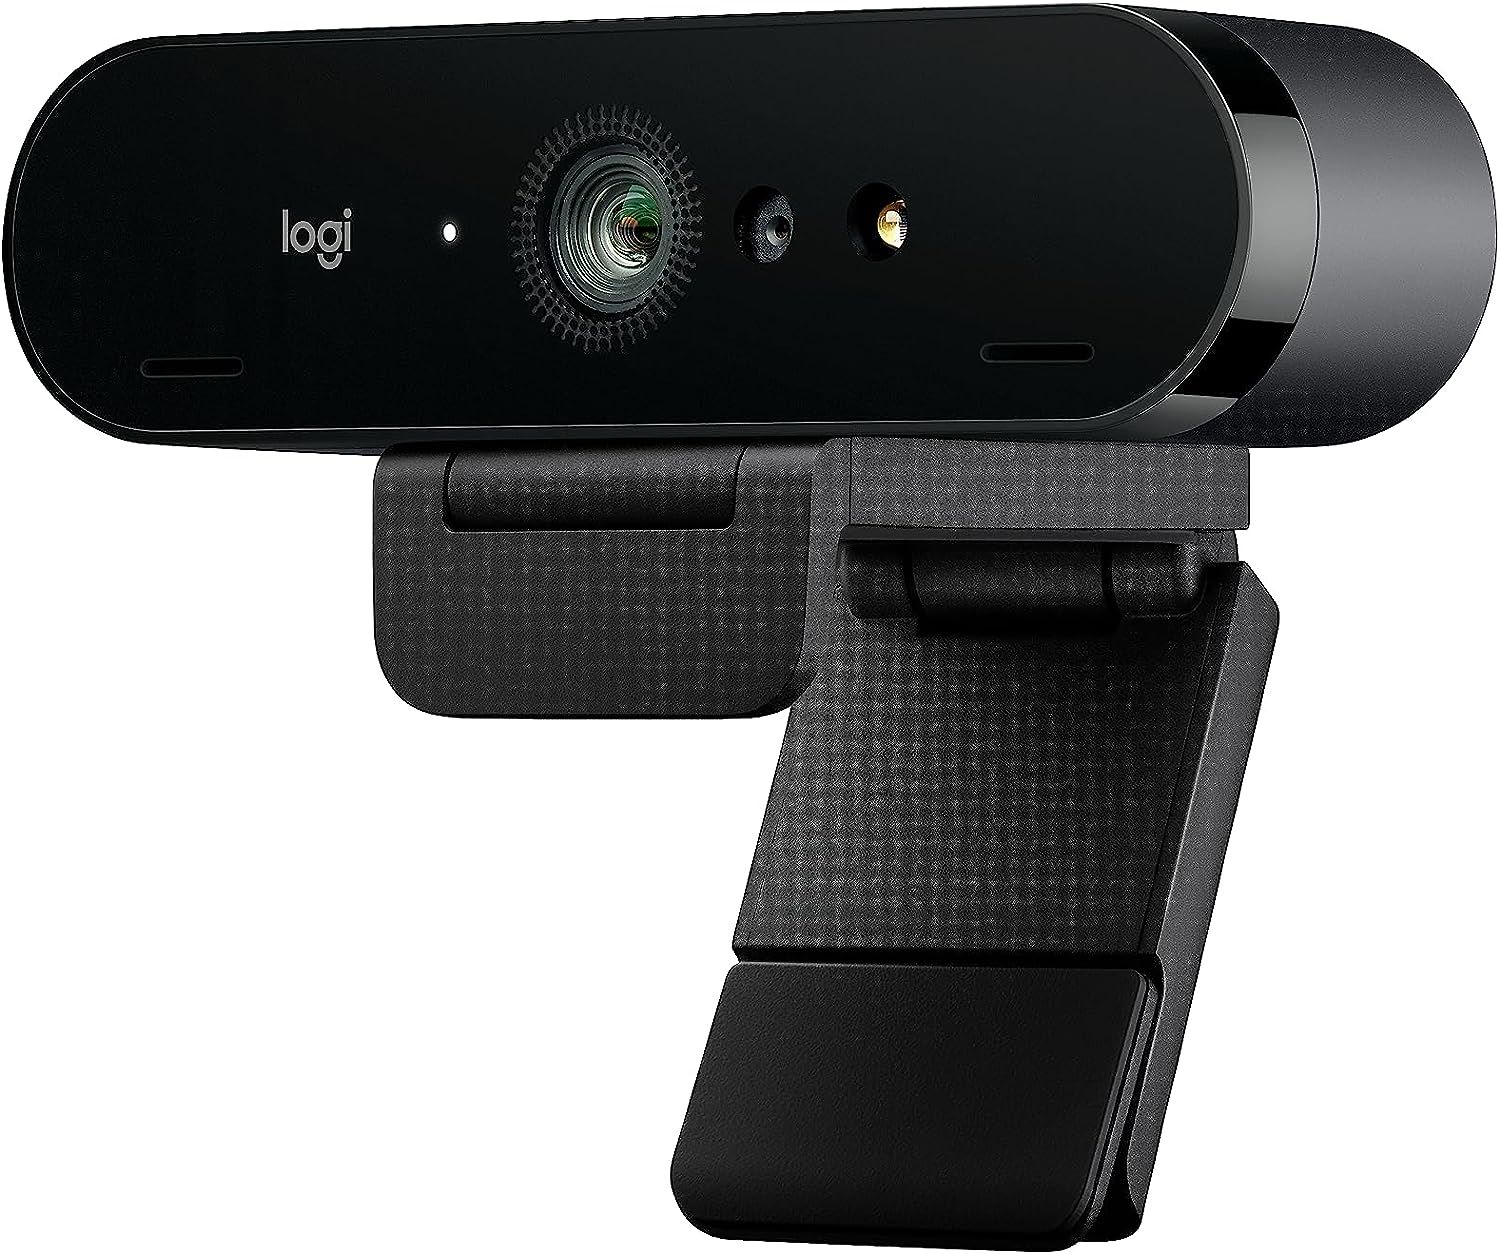
Before we delve into the technical aspects of taking pictures with your Logitech web camera, let’s familiarize ourselves with the device itself. Logitech web cameras are known for their high-quality imaging, versatility, and ease of use.
Logitech offers a range of web camera models that cater to different needs and budgets. Whether you have a basic model or a more advanced one, the basic principles of taking pictures with your Logitech web camera remain the same.
One essential factor to understand is the resolution of your camera. Logitech web cameras typically offer different resolution options, such as 720p, 1080p, or even higher. Higher resolution means sharper and more detailed images, but keep in mind that it may also require more processing power and storage space on your computer.
It is also important to note the field of view (FOV) of your camera. The FOV determines how much of the scene your camera can capture. Some web cameras have a wide-angle lens, allowing you to include more subjects or a larger area in your frame. Others have a narrower FOV, which can be useful for focusing on specific details.
Understanding the different features and specifications of your Logitech web camera will enable you to harness its full potential when taking pictures. So, take a moment to familiarize yourself with your specific camera model and its capabilities.
Now that you have a basic understanding of your Logitech web camera, let’s move on to the next step: installing the Logitech software.
Installing Logitech software
Before you can start taking pictures with your Logitech web camera, you’ll need to install the Logitech software. This software allows you to access and control the various settings and features of your camera.
The installation process may vary depending on your specific Logitech model and the operating system of your computer. However, the general steps are fairly straightforward.
First, make sure that your computer is connected to the internet. This is crucial as you will need to download the Logitech software from the official Logitech website.
Next, launch your preferred web browser and navigate to the Logitech support page. Here, you can search for the specific model of your web camera and locate the corresponding software download.
Once you’ve found the correct software download, click on it to start the download process. It may take a few moments depending on the size of the file and the speed of your internet connection.
Once the download is complete, locate the downloaded file on your computer and double-click on it to start the installation wizard. Follow the on-screen instructions to install the Logitech software.
In some cases, you may be prompted to connect your Logitech web camera to your computer during the installation process. If so, simply plug in your camera to a USB port and follow any additional instructions provided by the installation wizard.
After the Logitech software is successfully installed, you’ll be able to access the camera’s settings and features. This software provides a user-friendly interface that allows you to customize various aspects of your camera, such as exposure, focus, and white balance, to ensure optimal image quality.
Congratulations! You have now installed the Logitech software and are ready to begin exploring the capabilities of your web camera. In the next section, we’ll dive into how to open the Logitech camera software and get started with capturing amazing pictures.
Opening Logitech camera software
Now that the Logitech software is installed on your computer, it’s time to open the camera software and start capturing incredible pictures. The steps to open the Logitech camera software may vary depending on your operating system, but here is a general guideline to get you started.
First, locate the Logitech camera software icon on your desktop or in your list of installed programs. It is usually represented by the Logitech logo or the name of the software.
Double-click on the icon to launch the Logitech camera software. In some cases, the software may automatically open when you connect your Logitech web camera to your computer.
Once the software is open, you will be presented with a user-friendly interface that provides easy access to various settings and features of your camera.
Take a moment to familiarize yourself with the different sections and functionalities available in the software. You will find options to adjust camera settings, such as brightness, contrast, saturation, and autofocus. Additionally, you can explore options to enable webcam effects, overlays, and filters to add a creative touch to your pictures.
If you’re not sure where to start, don’t worry! The Logitech camera software often includes a simple and intuitive layout, making it easy to navigate and experiment with different settings.
Before you start taking pictures, ensure that your camera is properly connected and recognized by the software. You can do this by checking the camera status indicator within the software or by verifying that your camera is listed as one of the available devices.
Once your camera is recognized and ready to go, you can start exploring the various features and settings of the Logitech camera software to optimize your photography experience.
Now that you’ve successfully opened the Logitech camera software, it’s time to dive into adjusting camera settings and capturing stunning pictures. In the next section, we’ll guide you through the process of adjusting camera settings to enhance the quality of your images.
Adjusting camera settings
One of the key advantages of using Logitech camera software is the ability to adjust various camera settings to achieve the desired image quality. Whether you’re aiming for vibrant colors, sharp focus, or balanced exposure, understanding and utilizing these settings will greatly enhance your picture-taking experience.
Within the Logitech camera software, you’ll find a range of adjustable settings to suit different lighting conditions and shooting scenarios. Here are some of the most common settings you can fine-tune:
- Brightness: Adjust the overall brightness of your image. Increase it for darker environments or decrease it for brighter settings.
- Contrast: Control the level of contrast between light and dark areas of your image. Higher contrast can add depth and definition, whereas lower contrast can create a softer, more subdued look.
- Saturation: Determine the intensity of colors in your image. Increase saturation for vibrant, vivid colors or decrease it for a more muted, understated palette.
- White balance: Set the color temperature to ensure accurate representation of colors in different lighting conditions. Choose from presets such as daylight, tungsten, fluorescent, or manually adjust the white balance to match the ambient light.
- Focus: Adjust the focus of your camera to ensure sharpness. You can choose between auto-focus or manual focus, depending on your shooting preferences.
Experimenting with these settings can lead to remarkable improvements in the final result of your pictures. Keep in mind that the optimal settings may vary depending on the lighting conditions, environment, and personal preferences.
When adjusting camera settings, it’s advisable to do some test shots and review the images to see the effects of the changes. This way, you can fine-tune the settings to capture the desired look and feel you envision for your pictures.
Remember, the beauty of photography lies in creativity and experimentation. Don’t be afraid to explore different settings, push your boundaries, and discover your own unique style.
Now that you have a solid understanding of how to adjust camera settings, let’s move on to the exciting part – taking still pictures with your Logitech web camera. In the next section, we’ll guide you through the process of capturing the perfect shot.
Taking a still picture
Now that you’ve adjusted your camera settings to perfection, it’s time to capture that perfect still shot with your Logitech web camera. Whether you want to take a professional-looking headshot or a casual snapshot, the process is simple and straightforward.
First, make sure you have the Logitech camera software open on your computer and your camera properly connected and recognized. Position yourself or your subject in the desired frame, ensuring that the composition and lighting are to your liking.
If you want to achieve sharper images, it’s a good idea to stabilize your camera. You can use a tripod, a stack of books, or any other sturdy surface to prevent camera shake and ensure crisp, clear results.
Once you’re ready, locate the capture button within the Logitech camera software. It is often represented by an icon resembling a camera or a circle. Clicking this button will trigger the capture process and freeze the current frame.
When taking still pictures, it’s important to remain still while the image is being captured to avoid blurriness. You can either click the capture button manually or use the software’s timer feature that we’ll discuss in more detail later.
After capturing the image, it’s time to review your shot. The Logitech camera software usually provides an easy way to access and view your saved pictures. Take a moment to review the image on your screen and make any necessary adjustments if the result is not as expected.
If you’re satisfied with the picture, you can save it to your computer for further editing or sharing. Depending on the software, you may have the option to specify the file format, resolution, and destination folder for your saved images.
Remember that capturing the perfect still picture often requires practice and experimentation. Feel free to explore different angles, lighting conditions, and compositions to find your own unique style.
With the ability to adjust camera settings and capture stunning still pictures, you’re well on your way to mastering the art of photography with your Logitech web camera. In the next section, we’ll explore the importance of choosing the right lighting for your shots.
Choosing the right lighting
Lighting plays a crucial role in photography, and the same applies when using your Logitech web camera to capture stunning images. Whether you’re indoors or outdoors, understanding and utilizing the right lighting techniques will greatly enhance the quality of your pictures.
When it comes to lighting, there are a few key factors to consider:
Natural light: If possible, take advantage of natural light sources such as sunlight. Natural light provides a soft and evenly distributed illumination that can enhance the details and colors in your pictures. Position yourself near a window or in an outdoor area with ample light for the best results.
Avoid harsh lighting: Harsh lighting, such as direct sunlight or bright artificial lights, can create strong contrasts and unflattering shadows in your pictures. It can also wash out colors and lead to overexposure. If you’re shooting in a sunny or well-lit area, try finding a shaded spot or using diffusers to soften the light.
Utilize artificial lighting: In situations where natural light is not ideal, you can utilize artificial lighting sources to create a pleasing and controlled ambiance. Experiment with different types of lighting, such as desk lamps, softboxes, or ring lights, to achieve the desired effect. Position the lights strategically to provide even illumination without causing harsh shadows.
Adjust white balance: Different lighting conditions can have different color temperatures, leading to an unwanted color cast in your pictures. Use the white balance settings in your Logitech camera software to adjust the color temperature and ensure accurate color reproduction. This will help create more natural and true-to-life images.
Remember to consider the mood and atmosphere you want to convey in your pictures. The right lighting can create a particular ambiance, whether it’s warm and cozy or bright and vibrant. Don’t be afraid to experiment with different lighting setups to achieve the desired look and feel.
By understanding and controlling lighting, you’ll be able to elevate the overall quality and impact of your pictures with your Logitech web camera. In the next section, we’ll explore a useful feature that can help you take pictures with ease – the timer function.
Using the timer feature
The timer feature available in Logitech camera software can be a valuable tool when you want to be in your own pictures or capture a group photo without the need for someone else to press the capture button. It allows you to set a countdown before the camera captures the image, giving you enough time to get into position.
To use the timer feature, follow these simple steps:
- Open the Logitech camera software and ensure that your camera is properly connected and recognized.
- Locate the timer setting within the software interface. It is typically represented by an icon resembling a clock or a countdown timer.
- Click on the timer setting to open the options menu. Here, you can select the desired countdown duration, such as 2 seconds, 5 seconds, or a custom time, depending on your preferences.
- Once you’ve set the timer, position yourself or your subjects accordingly, making sure everyone is ready for the shot.
- Click the capture button or let the timer automatically trigger the capture process after the countdown.
The timer feature is particularly useful in scenarios where you want to eliminate camera shake caused by manually pressing the capture button. It allows you to stabilize the camera and ensure a sharp and steady shot.
Additionally, the timer feature gives you the freedom to experiment with different poses, angles, and expressions without feeling rushed. You can take the time to compose your shot and find the best positioning before the camera captures the image.
Remember to use the timer feature wisely and adjust the duration based on the complexity of the shot and the time needed for you to get into position. If you’re in a hurry or need to capture candid moments, a shorter countdown duration may be preferred.
By utilizing the timer feature, you can capture incredible images with your Logitech web camera, even in situations where you’re both the photographer and the subject. In the next section, we’ll address common troubleshooting tips to help you overcome any challenges you may encounter.
Troubleshooting common issues
While Logitech web cameras are known for their reliability and user-friendly interface, you may encounter certain issues during your photography journey. Understanding and troubleshooting these common issues can help you overcome any obstacles and ensure a smooth and enjoyable experience.
Here are some common issues you may encounter when using your Logitech web camera, along with possible solutions:
No image or black screen: If you’re not seeing any image or encountering a black screen when using your Logitech web camera, ensure that the camera is properly connected to your computer. Check the camera’s status indicator within the Logitech camera software to ensure it is recognized and selected as the active device. If the issue persists, try restarting your computer and reconnecting the camera.
Poor image quality: If you’re experiencing blurry or low-quality images, first check your camera’s focus settings. Adjust the focus manually or switch to auto-focus if available. Ensure that the camera lens is clean and free from any smudges or debris. Additionally, verify that you have adequate lighting, as low light conditions can negatively affect image quality. Lastly, check your camera’s resolution settings and make sure they are set to the desired level for capturing high-quality images.
Audio issues: If you’re facing audio problems, such as low volume or no audio, check your computer’s audio settings. Ensure that the correct audio input device is selected and that the microphone volume is adjusted appropriately. If you’re using an external microphone, make sure it is connected correctly and functioning properly.
Driver or software updates: Logitech regularly releases driver and software updates to improve functionality and address any bugs. It’s essential to regularly check for updates and install them as they become available. Visit the official Logitech website or use the Logitech software’s built-in update feature to stay up to date with the latest enhancements.
Compatibility issues: In some cases, compatibility issues may arise if you’re using an older operating system or unsupported software. Ensure that your computer meets the minimum system requirements specified by Logitech for your web camera model. If compatibility issues persist, consider contacting Logitech support for further assistance.
If you’re unable to resolve any issues using the suggested solutions, don’t hesitate to reach out to Logitech’s customer support. They can provide further guidance and help you troubleshoot specific problems related to your Logitech web camera.
With these troubleshooting tips in your arsenal, you’ll be well-equipped to tackle any challenges that may arise while using your Logitech web camera. In the final section, we’ll wrap up our guide and summarize the key points we’ve covered throughout this article.
Conclusion
Congratulations! You’ve reached the end of our guide on taking pictures with your Logitech web camera. Throughout this article, we’ve covered various aspects of maximizing your photography experience, from understanding your camera and installing the software to adjusting settings, capturing still pictures, and troubleshooting common issues.
By familiarizing yourself with your Logitech web camera and exploring its features and settings, you can unleash your creativity and capture stunning images. Remember to experiment with different lighting conditions, utilize the timer feature for self-portraits or group shots, and troubleshoot any technical difficulties that may arise.
Whether you’re using your Logitech web camera for professional purposes or simply to document your daily life, practice makes perfect. Don’t be afraid to try new techniques, angles, and compositions. Photography is a journey of continuous learning and improvement.
Lastly, keep in mind that your Logitech web camera is a versatile tool that allows you to connect with others, express your creativity, and capture unforgettable moments. Cherish the memories you create and share them with the world!
Now, armed with the knowledge and skills you’ve gained, it’s time to pick up your Logitech web camera, unleash your creativity, and start capturing incredible pictures. Happy photographing!