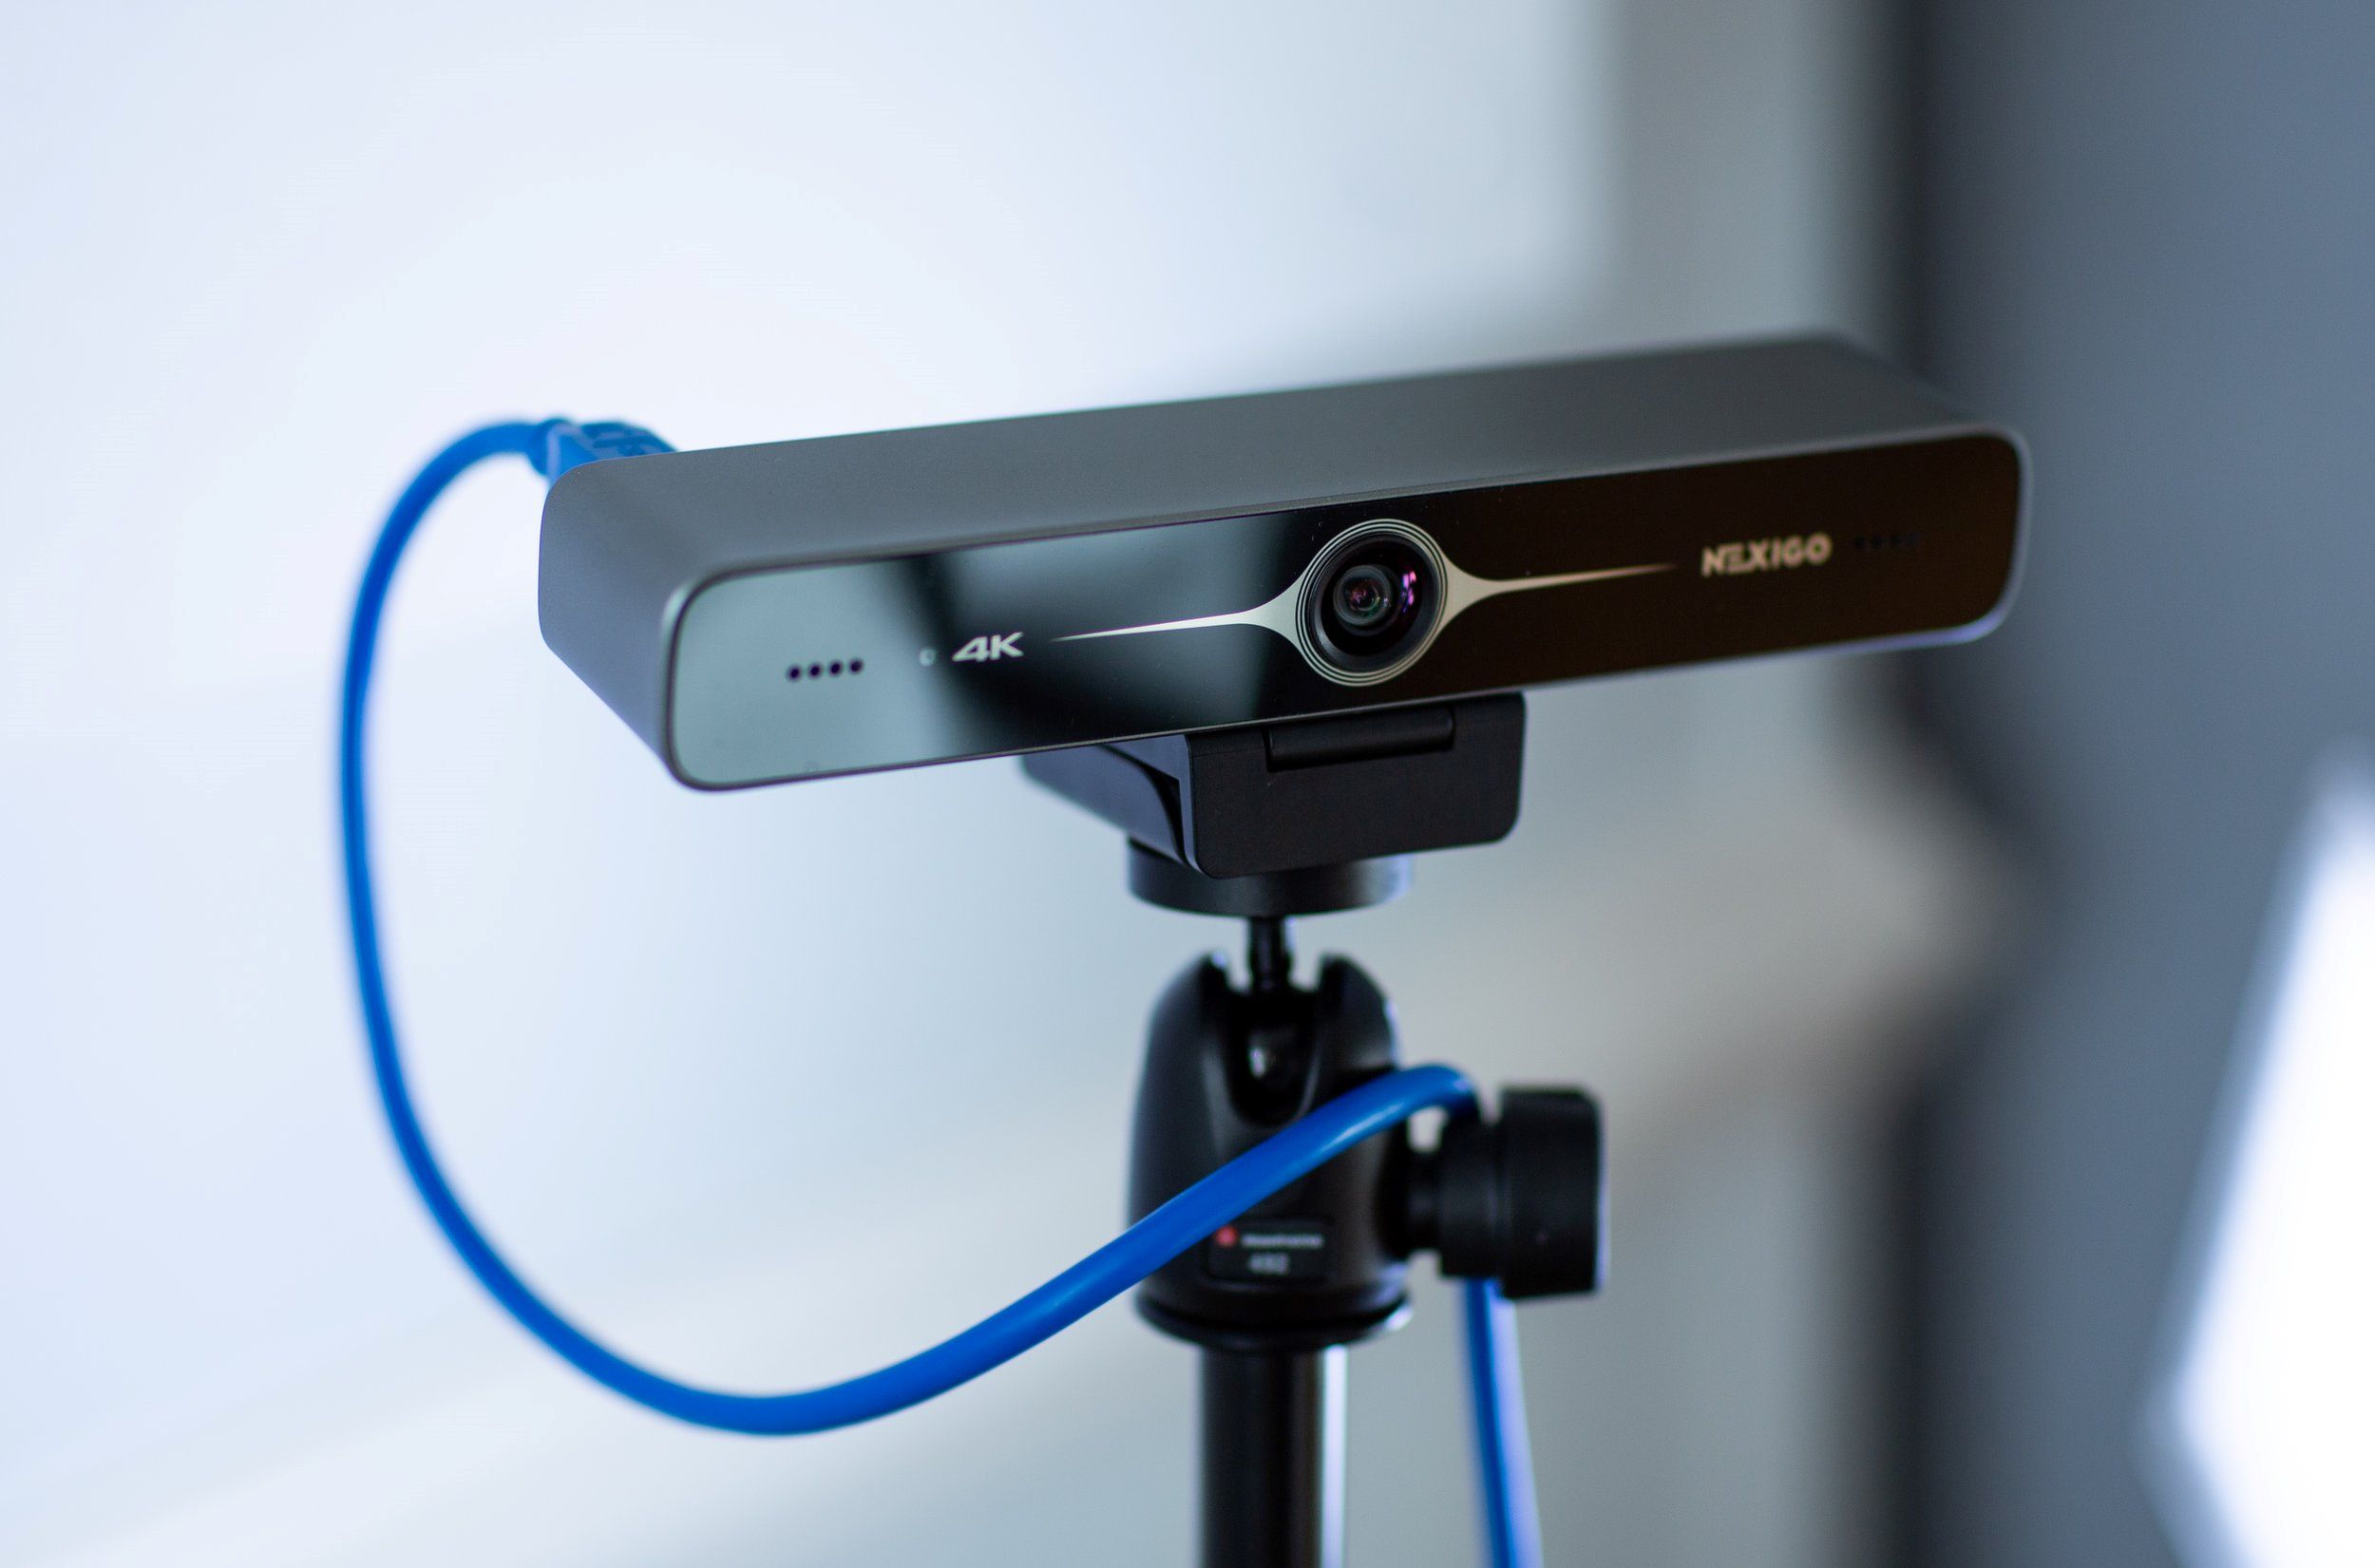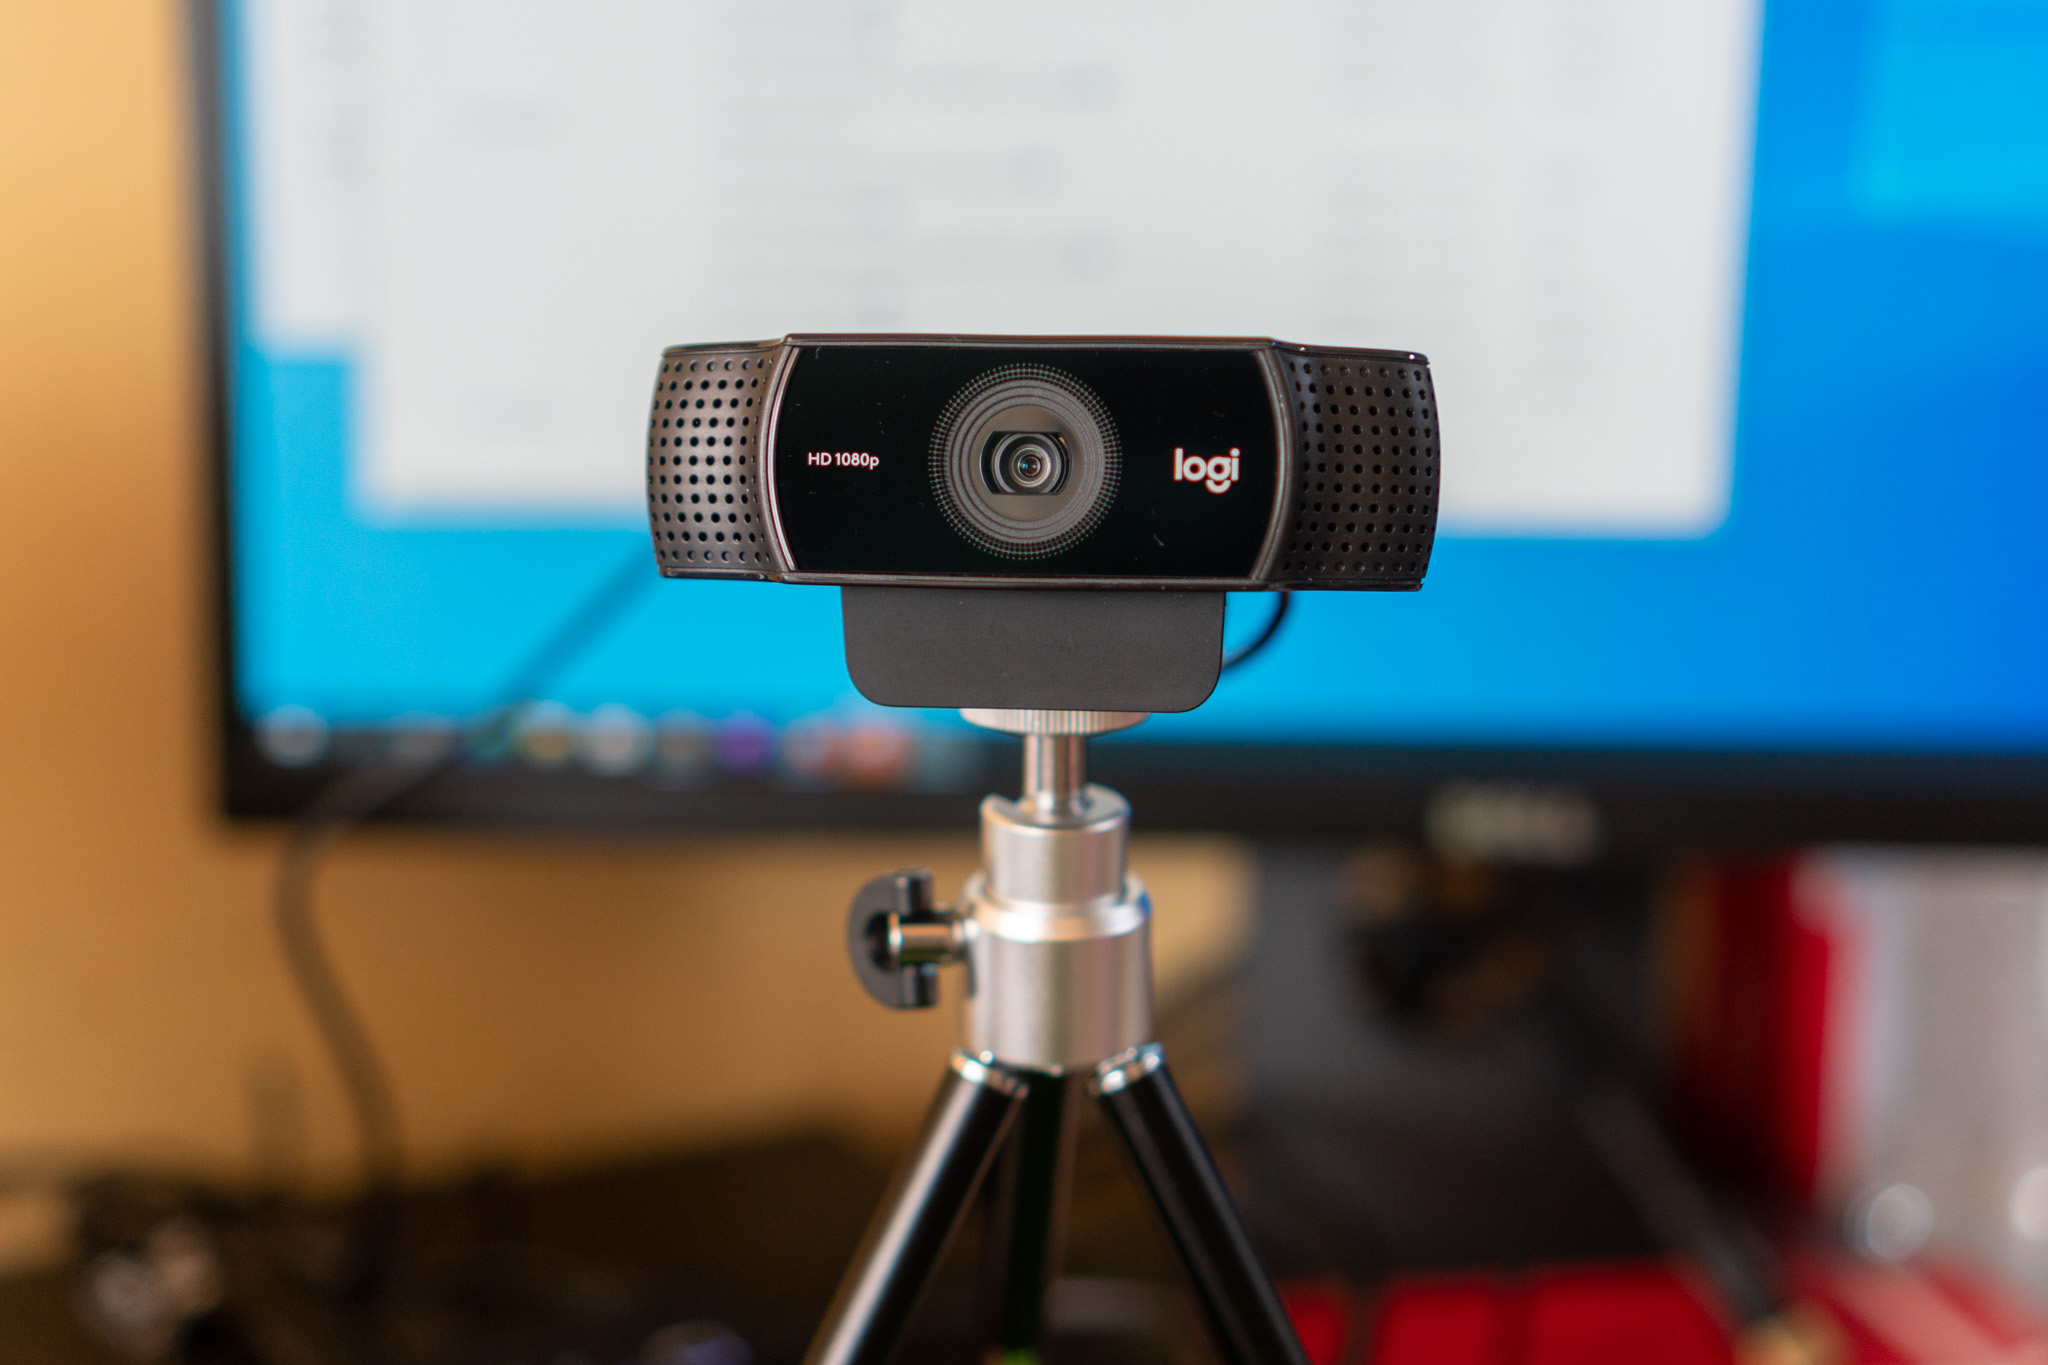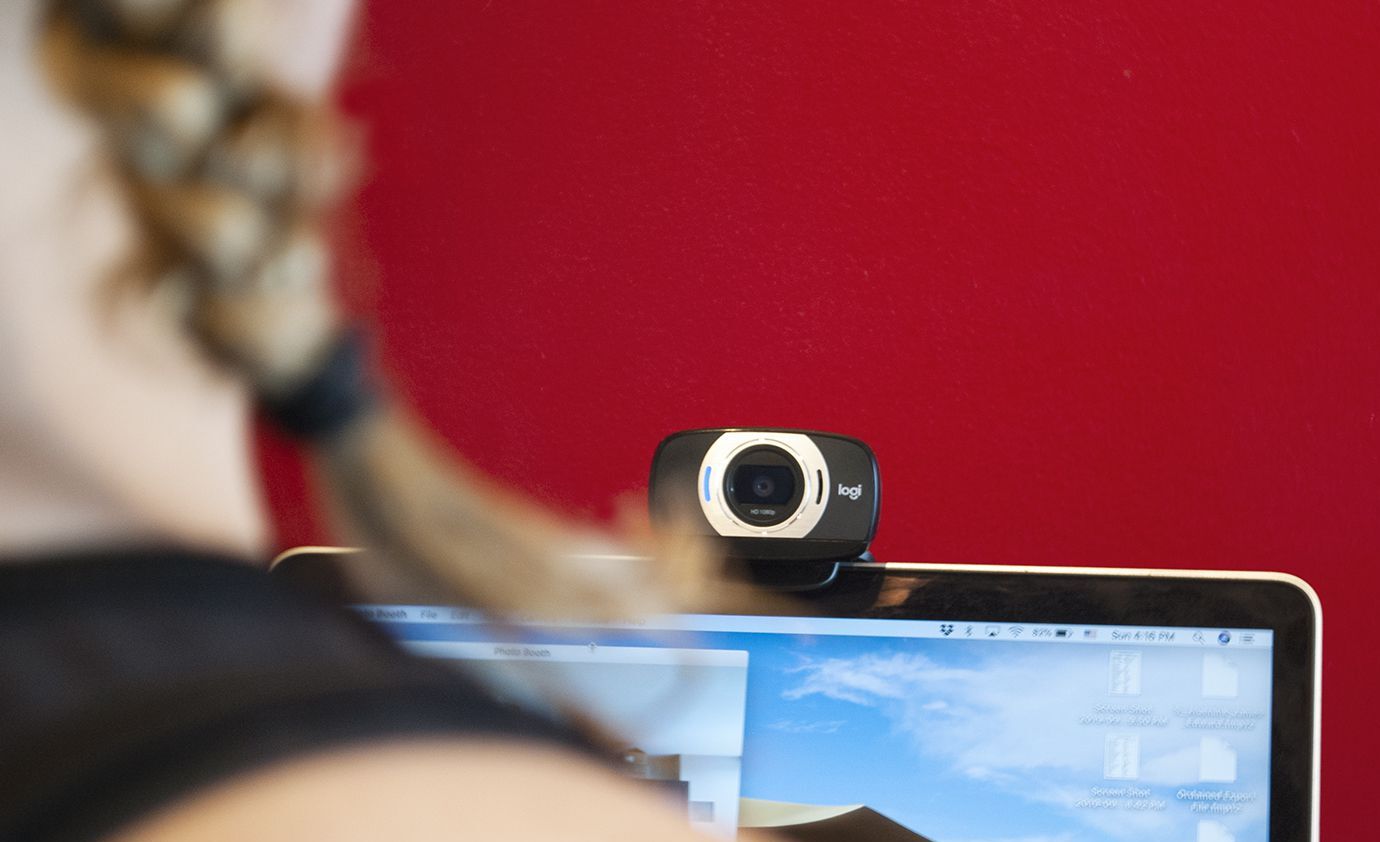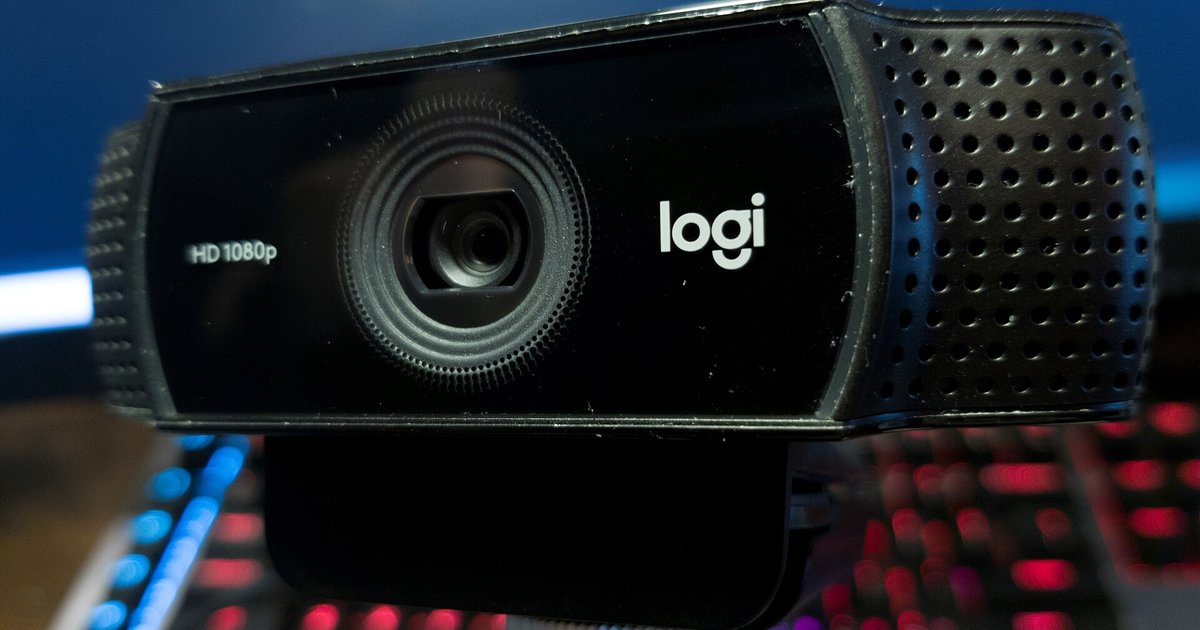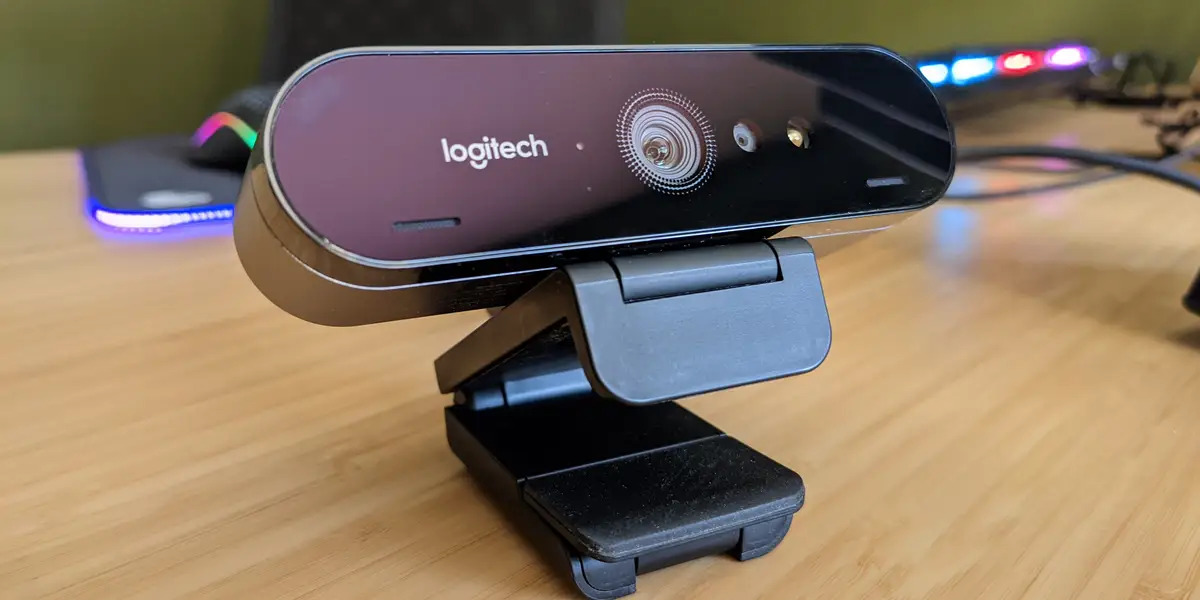
To setup Logitech Brio webcam, simply plug it in, mount it, and test your picture. The process of setting up a Logitech webcam is designed to be plug-and-play on modern systems, meaning you can be ready for a video call in minutes without installing any software.
How to setup your Logitech Brio webcam: a quick start
Your Logitech Brio webcam is a UVC (USB Video Class) device, which means it uses drivers already built into your operating system. This makes it generally plug-and-play on Windows 8 and 10, macOS 10.10 or later, and Chromebooks running Version 29.0.1547.70 or later. For Windows 7, additional drivers may be required. Any additional software from Logitech is complementary and not strictly necessary for basic functionality, though you can use it to blur background on Logitech webcam for a more professional look during calls. To get started, you only need to complete three core steps: connect, mount, and test.
Unbox and connect the Brio to your computer
After unboxing your Logitech Brio, you will find the webcam and its USB cable. To connect it, plug the USB-C end of the cable into the webcam. Then, plug the USB-A connector into a USB-A port on your computer. The Brio ships with a USB 3.0 cable, which is also compatible with USB 2.0 ports. A critical warning for this step is to not use a USB hub. Connecting through a hub can degrade signal integrity and affect performance, even if you are trying to extend the distance between the webcam and your computer. Always connect directly to a USB port on your computer. Once connected, the LED activity light will illuminate when the webcam is actively in use by an application, confirming a successful connection.
Mount the webcam on a monitor or tripod
Monitor placement
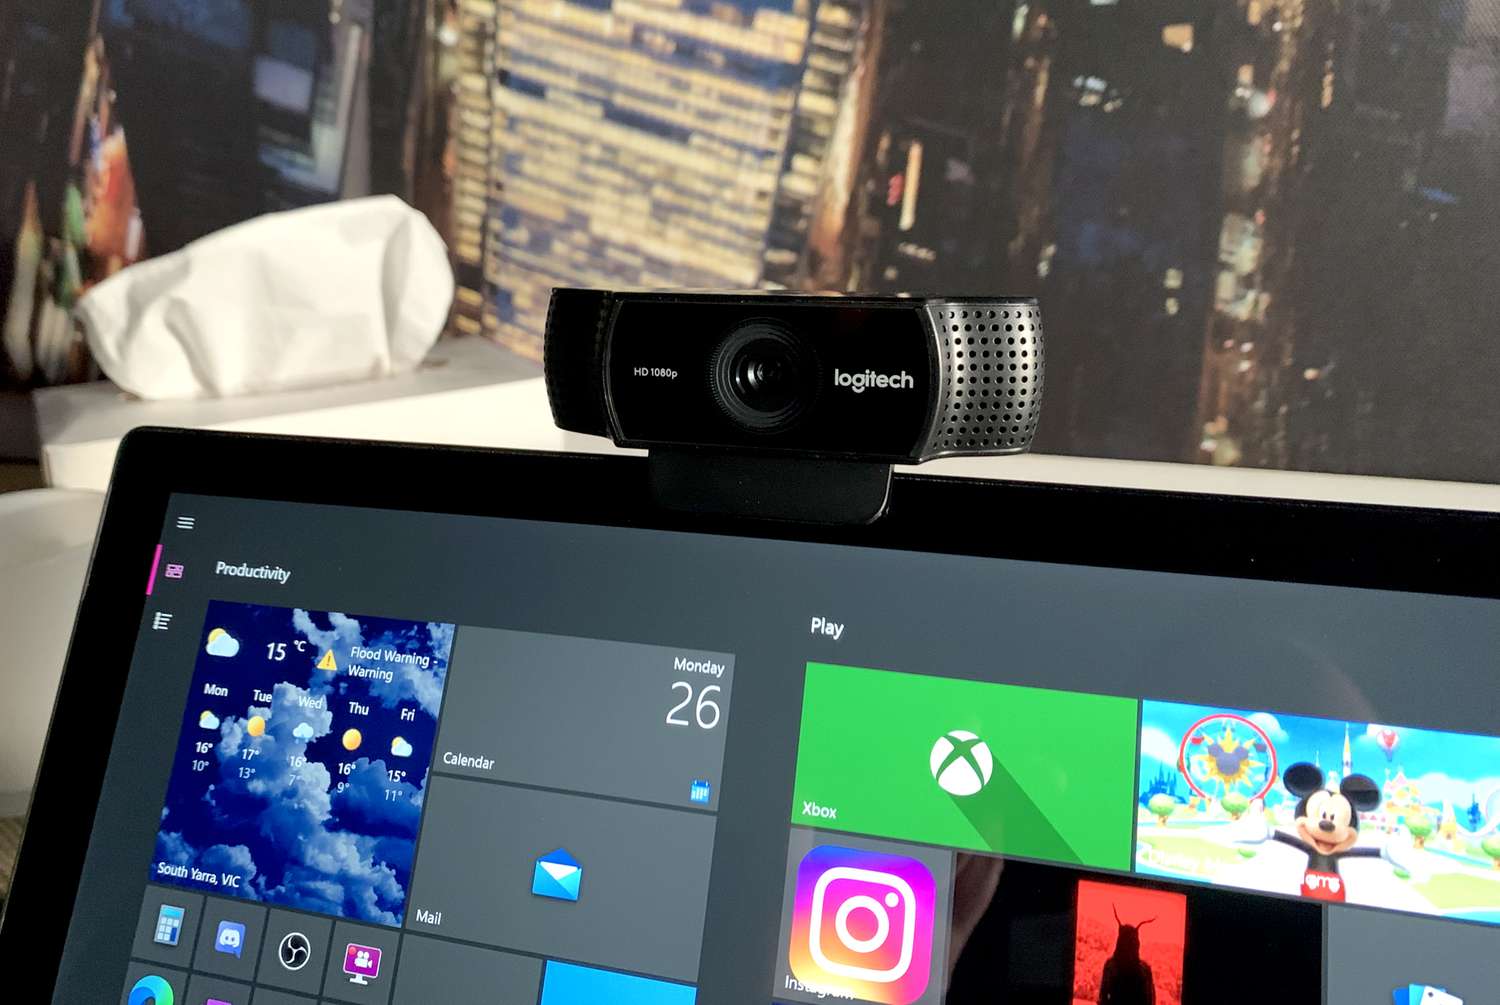
To mount the webcam on a monitor, place it on your computer, laptop, or monitor at your desired position or angle. Adjust the webcam to ensure the foot on the universal mounting clip is flush with the back of your device. You can then manually adjust the webcam up or down to achieve the best position for framing yourself.
Tripod placement
To use a tripod, first remove the detachable universal mounting clip from the webcam. For the BRIO 505 webcam, carefully remove the clip and unscrew the bottom cap to expose the tripod thread. On the Brio 705 and Brio Ultra HD Pro, the standard 1/4-inch thread is accessible after removing the clip. Locate the 1/4-inch tripod thread on the bottom of the webcam and secure it to your tripod by twisting it into the thread. Once attached, you can place your webcam with the tripod anywhere for optimal framing.
Attach the privacy shutter
Attach the privacy shutter over the lens on the webcam. Snap it onto the front of the webcam, directly over the center. You can then manually adjust the privacy shutter to open or close as desired. Note that the Brio 105, 305, 505, and 705 models feature an integrated privacy shutter, while the Brio Ultra HD Pro and 4K Pro use the attachable clip-on version included in the box.
Test the webcam and adjust settings
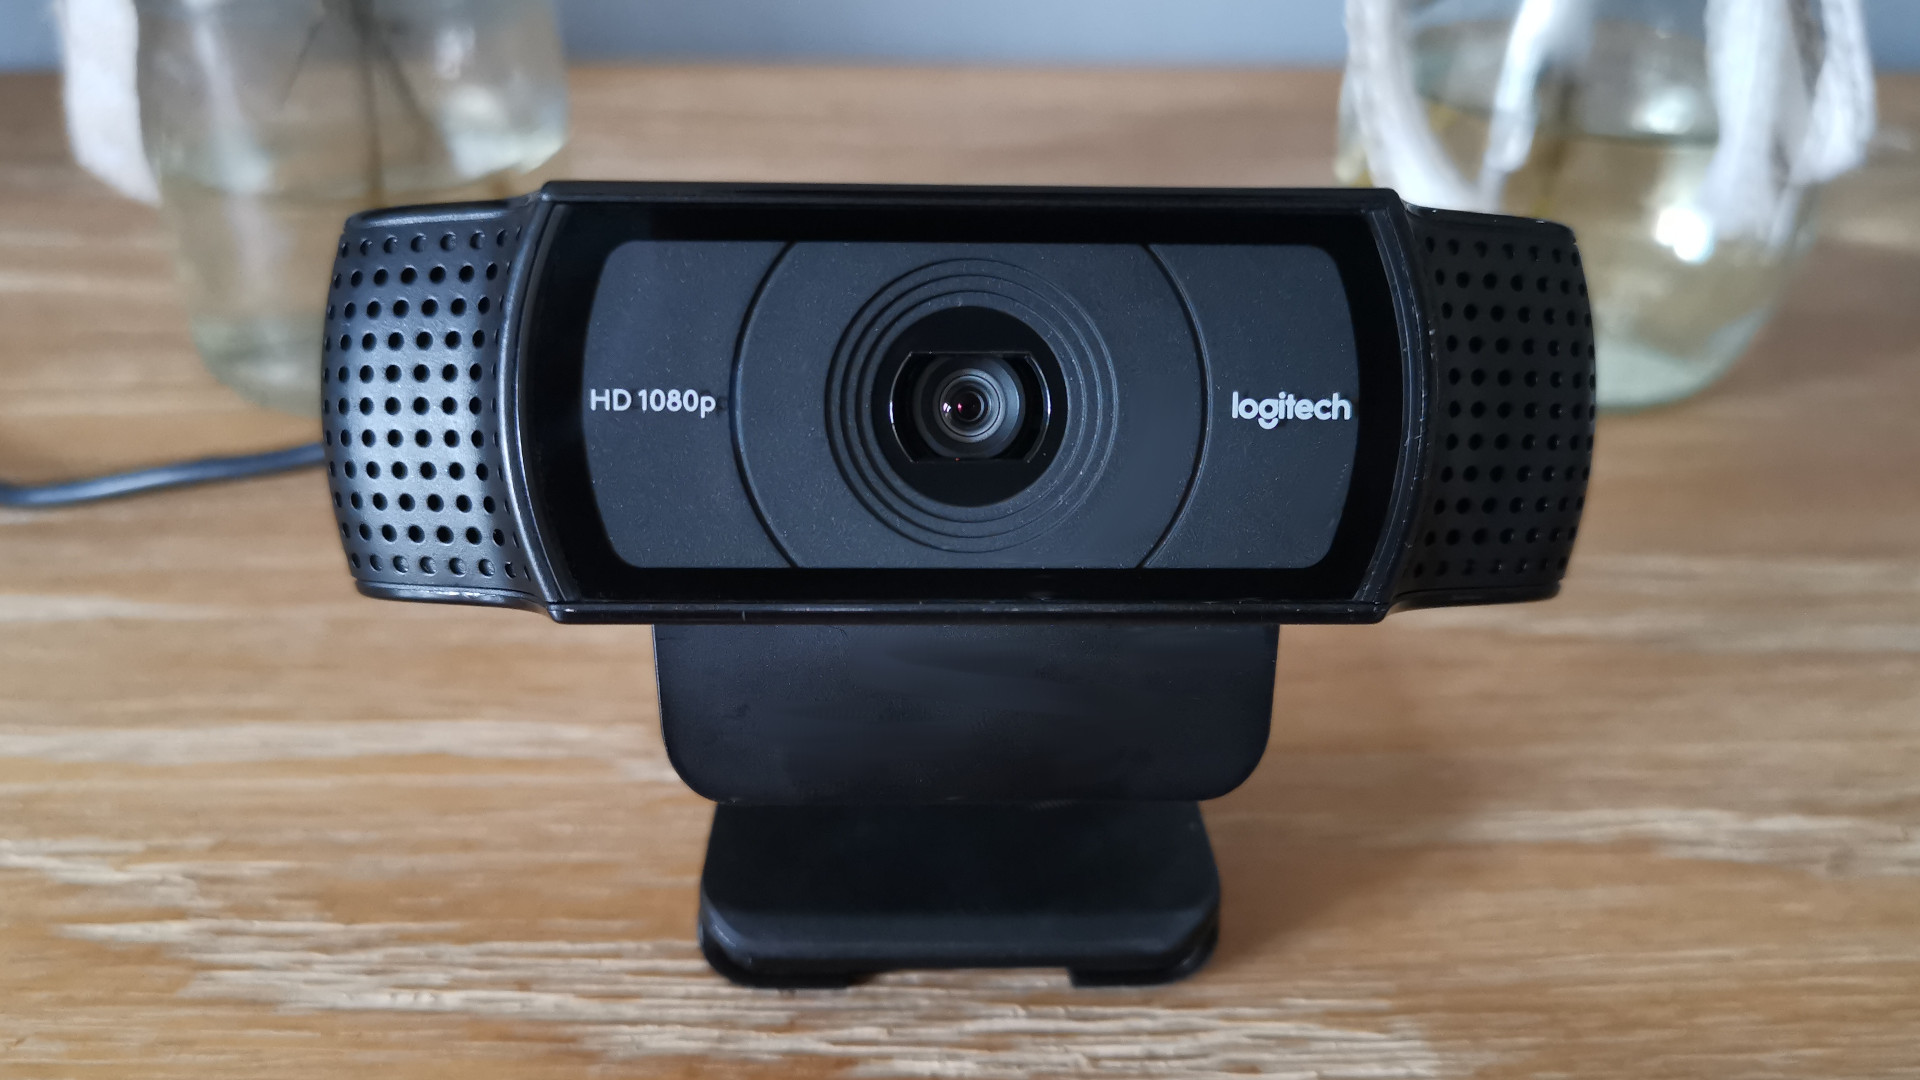
To test your webcam, open any video application such as your preferred video conferencing tool. You should see your live video feed immediately. For adjusting settings, Logi Tune is an essential application for adjusting the Field of View (FoV), Digital Zoom, and image settings. It is available for Windows and macOS, but not ChromeOS, even though the webcams are compatible with ChromeOS. If you need a webcam with similar software control for a different model, you can also setup Logitech c922 pro stream webcam using Logitech Capture. For advanced streaming and recording support, Logitech Capture is available for the Logitech Brio 705, Brio Ultra HD Pro, and Logitech 4K Pro Webcam.
Troubleshooting: webcam not recognized
If your webcam is not recognized, start by ensuring all cables and connections are plugged in tightly. Try a different USB port on your computer. If connected through a USB hub or extender, plug directly into a USB port, as some external hubs may lack adequate power or specifications. You can also test the BRIO on a different computer to see if it works.
For Windows
Open Device Manager and check under "Imaging Devices" for "Logitech BRIO". If it is not listed, try a different USB port or ensure Windows Update is enabled. If "Logitech BRIO" is listed with a yellow exclamation point, right-click, select "Update Driver", then "Let me pick from a list of available drivers on my computer", and choose "USB Video Device" instead of "Logitech BRIO". If listed without an exclamation point, right-click and select "Update Driver" to ensure the latest driver is installed.
For macOS
Select the Apple icon, then "About this Mac", and then "System Report". Under "Camera", "Logitech BRIO" should be listed if properly recognized. On older Mac versions, "Logitech Camera" might appear instead of "BRIO".