Introduction
Welcome to our guide on how to blur the background on a Logitech webcam. With the rise of remote working and virtual meetings, having a clear and professional-looking video is essential. One way to achieve this is by blurring the background to create a more focused and polished appearance.
Logitech webcams are popular choices for video conferencing and streaming due to their high-quality lenses and advanced features. Blurring the background on a Logitech webcam can help eliminate distractions, maintain privacy, and showcase your professionalism during online meetings, interviews, or presentations.
In this guide, we will take you through the step-by-step process of blurring the background on a Logitech webcam. From checking compatibility and setting up the necessary software to adjusting the webcam settings and testing the background blur effect, we have got you covered.
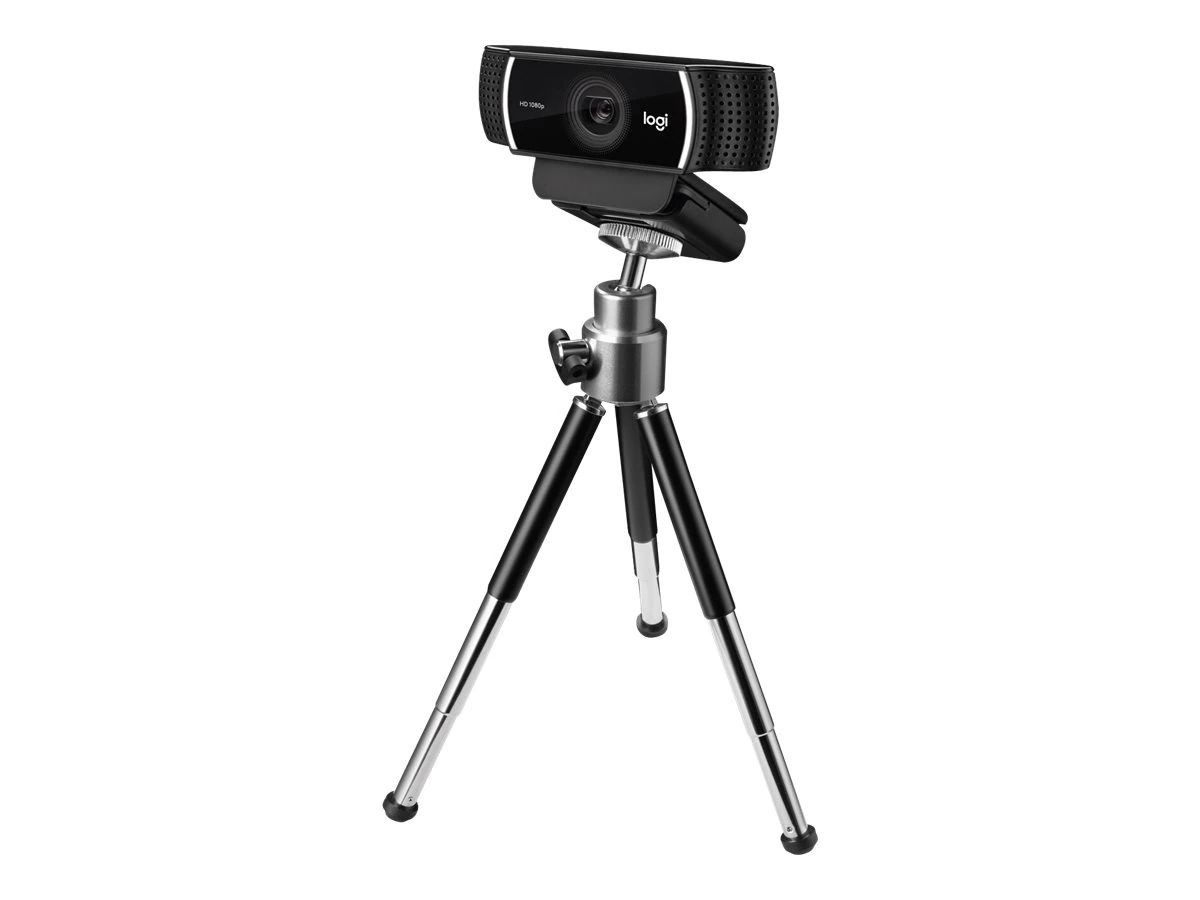
Whether you are using a Logitech C920, C922, C930e, or any other model, the methods outlined in this guide can be applied to most Logitech webcams. So, without further ado, let’s dive in and learn how to achieve that stylish blurred background for your Logitech webcam.
Understanding the Importance of Blurring the Background on a Logitech Webcam
When participating in virtual meetings, it is crucial to maintain a professional image. One way to do this is by blurring the background on your Logitech webcam. Blurring the background helps create a clean and distraction-free visual environment, enhancing the overall quality of your video.
Here are some key reasons why blurring the background on a Logitech webcam is important:
- Minimize distractions: By blurring the background, you can ensure that the focus remains on you, not on what is happening behind you. It eliminates any potential distractions that may divert attention from your message or presentation.
- Enhance professionalism: Blurred backgrounds give your video a polished and sophisticated look. It creates a more professional atmosphere, making you appear well-prepared and dedicated to the meeting or conversation.
- Privacy and confidentiality: Blurring the background adds an extra layer of privacy, especially when you are working from home or in a public space. It prevents others from seeing sensitive or personal items in the background, ensuring confidentiality.
- Showcase your brand: If you are representing a company or brand, blurring the background can be an opportunity to showcase your logo or brand colors in a subtle way. It helps reinforce brand recognition and creates a cohesive visual identity.
- Create a professional environment: Even if you are working from a less formal space, such as a coffee shop or home office, blurring the background can transform the setting into a more professional environment. It allows you to maintain a level of consistency and professionalism in all your virtual interactions.
Overall, blurring the background on a Logitech webcam is a simple yet effective way to elevate the quality and impact of your video presence. It helps you stand out, maintain privacy, and deliver a visually appealing experience to your audience.
Step 1: Check for Compatibility and Setup Requirements
Before you begin blurring the background on your Logitech webcam, it is important to check for compatibility and ensure that you have the necessary setup in place. Here are the steps to get started:
- Review Logitech software compatibility: Logitech provides dedicated software for its webcams that allows you to customize settings, including background blur. Visit the Logitech website and check if your specific webcam model is compatible with the software. Download and install it if needed.
- Check system requirements: Ensure that your computer meets the minimum system requirements for running the Logitech software. This information can usually be found on the Logitech website or in the user manual that came with your webcam. Common requirements include a specific operating system, sufficient RAM, and available disk space.
- Update webcam drivers: It is recommended to keep your webcam drivers up to date to ensure optimal performance. Visit the Logitech website or use the software’s built-in update feature to check for driver updates. Install any available updates to ensure compatibility and access to the latest features.
- Prepare a suitable background: While the purpose of blurring the background is to minimize distractions, it is still important to have an appropriate and presentable background. Choose a clean and clutter-free area with good lighting. Consider using a solid-colored backdrop or a neatly arranged bookshelf for a professional touch.
Once you have confirmed the compatibility of your webcam and ensured that your system meets the requirements, you are ready to move on to the next step. Setting up the Logitech software and adjusting the necessary settings will enable you to start blurring the background on your Logitech webcam.
Step 2: Install the Logitech Webcam Software
Installing the Logitech webcam software is essential to access the features and settings required for blurring the background. Follow these steps to install the software:
- Download the software: Visit the Logitech website and navigate to the support or downloads section. Look for the software specifically designed for your webcam model. Download the latest version of the software to ensure you have access to all the available features and improvements.
- Run the installer: Once the software is downloaded, locate the installer file in your downloads folder or the specified location. Double-click on the installer file to start the installation process.
- Follow the installation prompts: The installation process will guide you through the necessary steps. Read and accept the software’s terms and conditions, select the desired installation location if applicable, and choose any additional options or features you may want.
- Connect the webcam: During the installation process, you will be prompted to connect your Logitech webcam to your computer. Ensure that the webcam is properly plugged in and recognized by your computer.
- Complete the installation: Once the installation is complete, you may be prompted to restart your computer. Follow any remaining instructions provided by the installer, and restart your system if required.
After successfully installing the Logitech webcam software, you will have access to the necessary tools and settings to start configuring your webcam, including the options for background blur. Proceed to the next step to learn how to adjust the webcam settings for the desired background blur effect.
Step 3: Adjusting the Webcam Settings for Background Blur
Once you have installed the Logitech webcam software, you can begin adjusting the settings to achieve the desired background blur effect. Follow these steps:
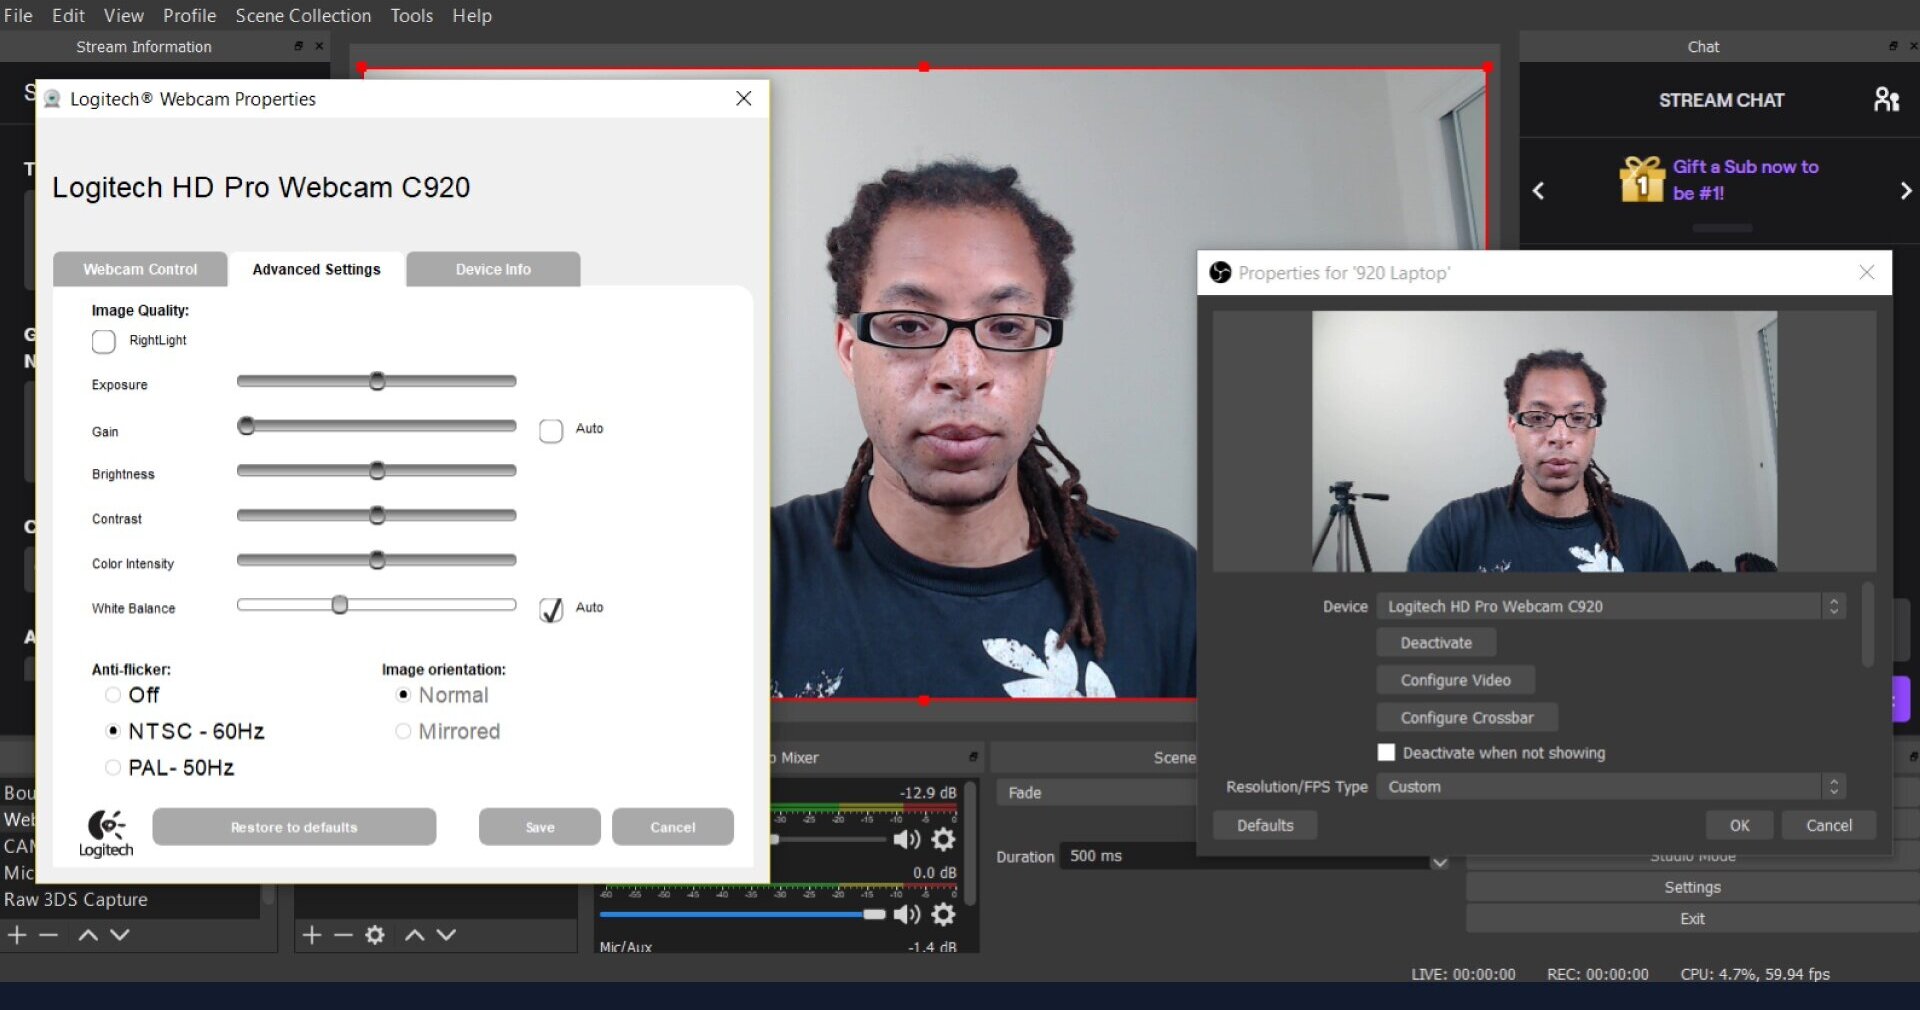
- Launch the Logitech software: Open the Logitech webcam software on your computer. You can typically find it in your list of installed programs or by searching for the software name in the start menu or taskbar.
- Select your webcam: If you have multiple Logitech webcams connected to your computer, select the appropriate one from the list of available devices. This ensures that you are configuring the settings for the correct webcam.
- Access the webcam settings: Look for the settings or options menu within the software. It is usually represented by a gear or wrench icon. Click on it to access the settings panel for your Logitech webcam.
- Navigate to the background blur settings: Within the settings panel, look for the option related to background blur. The location and naming may vary depending on the Logitech webcam model and software version. It might be under a “Video” or “Advanced” tab.
- Adjust the background blur intensity: Once you’ve found the background blur settings, you can usually adjust the intensity using a slider or numerical values. Experiment with different levels to find the right balance between blurring the background and maintaining a clear image of yourself.
- Preview the effect: Some Logitech webcam software allows you to preview the background blur effect in real-time. Take advantage of this feature to see how the blurred background will appear before applying the settings.
Remember, the specific steps and options may differ based on your Logitech webcam model and software version. It’s a good idea to consult the user manual or online documentation provided by Logitech for detailed instructions specific to your webcam.
Once you have adjusted the background blur settings to your preference, you are ready to test the effect and ensure it meets your desired outcome. Proceed to the next step to learn how to test the background blur effect on your Logitech webcam.
Step 4: Testing the Background Blur Effect
After adjusting the background blur settings on your Logitech webcam, it’s important to test the effect to ensure it meets your expectations. Here’s how you can test the background blur effect:
- Position yourself in front of the webcam: Sit or stand in the desired position for your video calls or meetings. Make sure you are well-lit and have a suitable background for the test.
- Launch a video conferencing or recording application: Open the application you typically use for video conferencing, such as Zoom, Microsoft Teams, or Skype. Alternatively, you can use a video recording application to test the background blur effect.
- Start the video feed: Within the video conferencing or recording application, start your video feed. Ensure that your Logitech webcam is selected as the video input device.
- Enable the background blur: Most video conferencing applications offer the option to enable background blur directly within the software. Locate the blur feature and toggle it on to activate the effect.
- Assess the background blur effect: Look at the video preview or check your appearance on the screen to see the resulting background blur effect. Pay attention to how well the background is blurred and whether it meets your desired level of focus and clarity.
- Make further adjustments if necessary: If the background blur effect is not satisfactory, revisit the Logitech webcam software settings and make further adjustments to the intensity or other relevant options. Repeat the testing process until you achieve the desired result.
It’s important to remember that the effectiveness of the background blur effect may depend on various factors, such as lighting conditions, the distance between you and the webcam, and the complexity of the background. Experiment with different settings and conditions to find the optimal configuration for your Logitech webcam.
By testing the background blur effect, you can ensure that your video calls or recordings present a clean and professional appearance, allowing you to confidently engage with others without distractions from the surrounding environment.
Troubleshooting Tips for Blurring the Background on a Logitech Webcam
While blurring the background on a Logitech webcam is generally straightforward, you may encounter some challenges along the way. Here are some troubleshooting tips to help you overcome common issues and ensure a smooth experience:
- Check for software updates: Ensure that you are using the latest version of the Logitech webcam software. Updates often include bug fixes and improvements that can address any compatibility issues or glitches.
- Verify webcam compatibility: Double-check if your Logitech webcam model supports the background blur feature. Some older or entry-level models may not have this capability. Refer to the user manual or Logitech’s website for specific information about your webcam.
- Adjust lighting conditions: Insufficient or harsh lighting can affect the effectiveness of the background blur. Make sure you are well-lit, and avoid backlighting or excessive shadows that may interfere with the blur effect.
- Keep an appropriate distance: Maintaining the optimal distance from the webcam is crucial for effective background blur. Position yourself at the recommended distance specified in your webcam’s user manual to ensure optimal results.
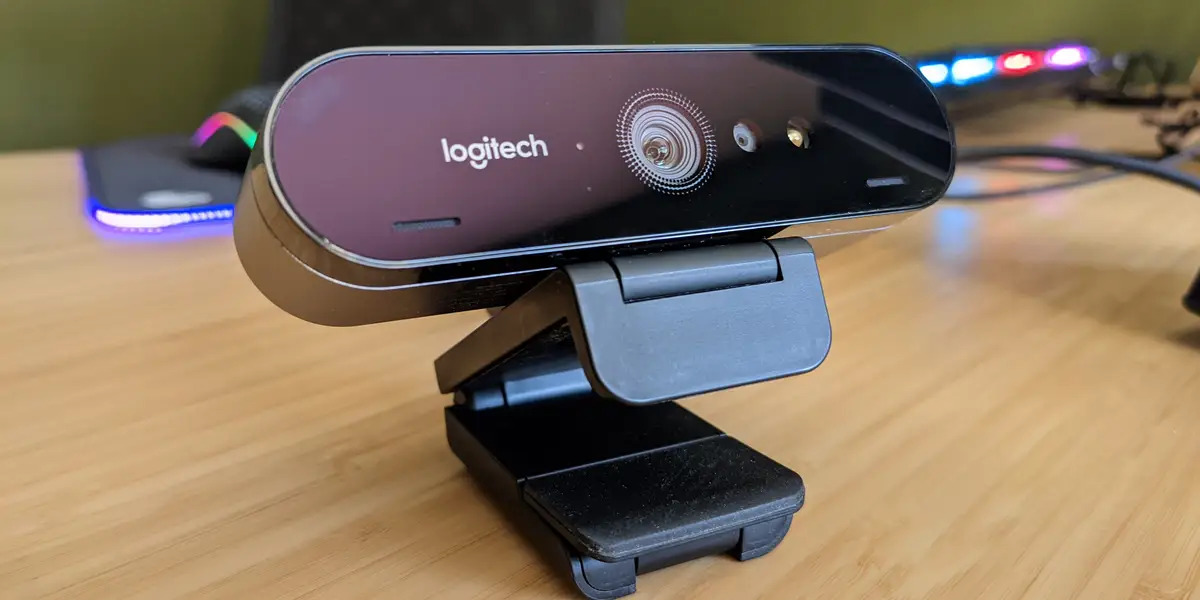
- Consider hardware limitations: Higher-resolution webcams tend to have better background blur capabilities. If you are using a lower-resolution Logitech webcam, the blur effect may be less pronounced or not as smooth.
- Experiment with software settings: Take the time to explore the various options and settings available in the Logitech software. Adjusting parameters like blur intensity, sensitivity, or background detection can make a significant difference in the final result.
- Use a plain background: Complex or cluttered backgrounds may pose challenges for the background blur effect. Opt for a simple, solid-colored backdrop or a neatly arranged area to achieve better results.
- Restart your computer: If you encounter any software glitches or performance issues, try restarting your computer. This can help refresh the system and resolve temporary conflicts or errors.
- Contact Logitech support: If you have tried the troubleshooting tips above and are still experiencing issues, reach out to Logitech’s customer support for further assistance. They can provide guidance specific to your webcam model and help troubleshoot any persistent problems.
By following these troubleshooting tips, you can overcome common challenges and optimize the background blur feature on your Logitech webcam. Remember to be patient and experiment with different settings and conditions to achieve the desired outcome.
Conclusion
Blurring the background on a Logitech webcam can greatly enhance the visual quality and professionalism of your video calls, presentations, and online meetings. It helps minimize distractions, maintain privacy, and create a polished appearance. By following the step-by-step guide outlined in this article, you can easily achieve a stylish background blur effect with your Logitech webcam.
First, ensure that your webcam model is compatible with the Logitech software and that your system meets the necessary requirements. Install the Logitech webcam software and familiarize yourself with its settings. Adjust the background blur intensity to create the desired effect.
Remember to test the background blur by launching a video conferencing or recording application. By assessing the result and making any necessary adjustments, you can fine-tune the blur effect to suit your specific environment and preferences.
If you encounter any challenges, refer to the troubleshooting tips provided to address common issues. Check for software updates, verify webcam compatibility, adjust lighting conditions, and experiment with different settings. In case of persistent problems, don’t hesitate to contact Logitech support for further assistance.
With the ability to blur the background on your Logitech webcam, you can present yourself with a clean, professional image during virtual interactions. Whether you are working from home, a coffee shop, or any other environment, blurring the background allows you to maintain focus and showcase your professionalism.
So, take the time to set up and configure your Logitech webcam for background blur, and enjoy an enhanced video experience that captures attention and ensures a distraction-free communication environment. Elevate your online presence with the help of Logitech’s advanced features and create a visually appealing and engaging impression in all your virtual interactions.