Introduction
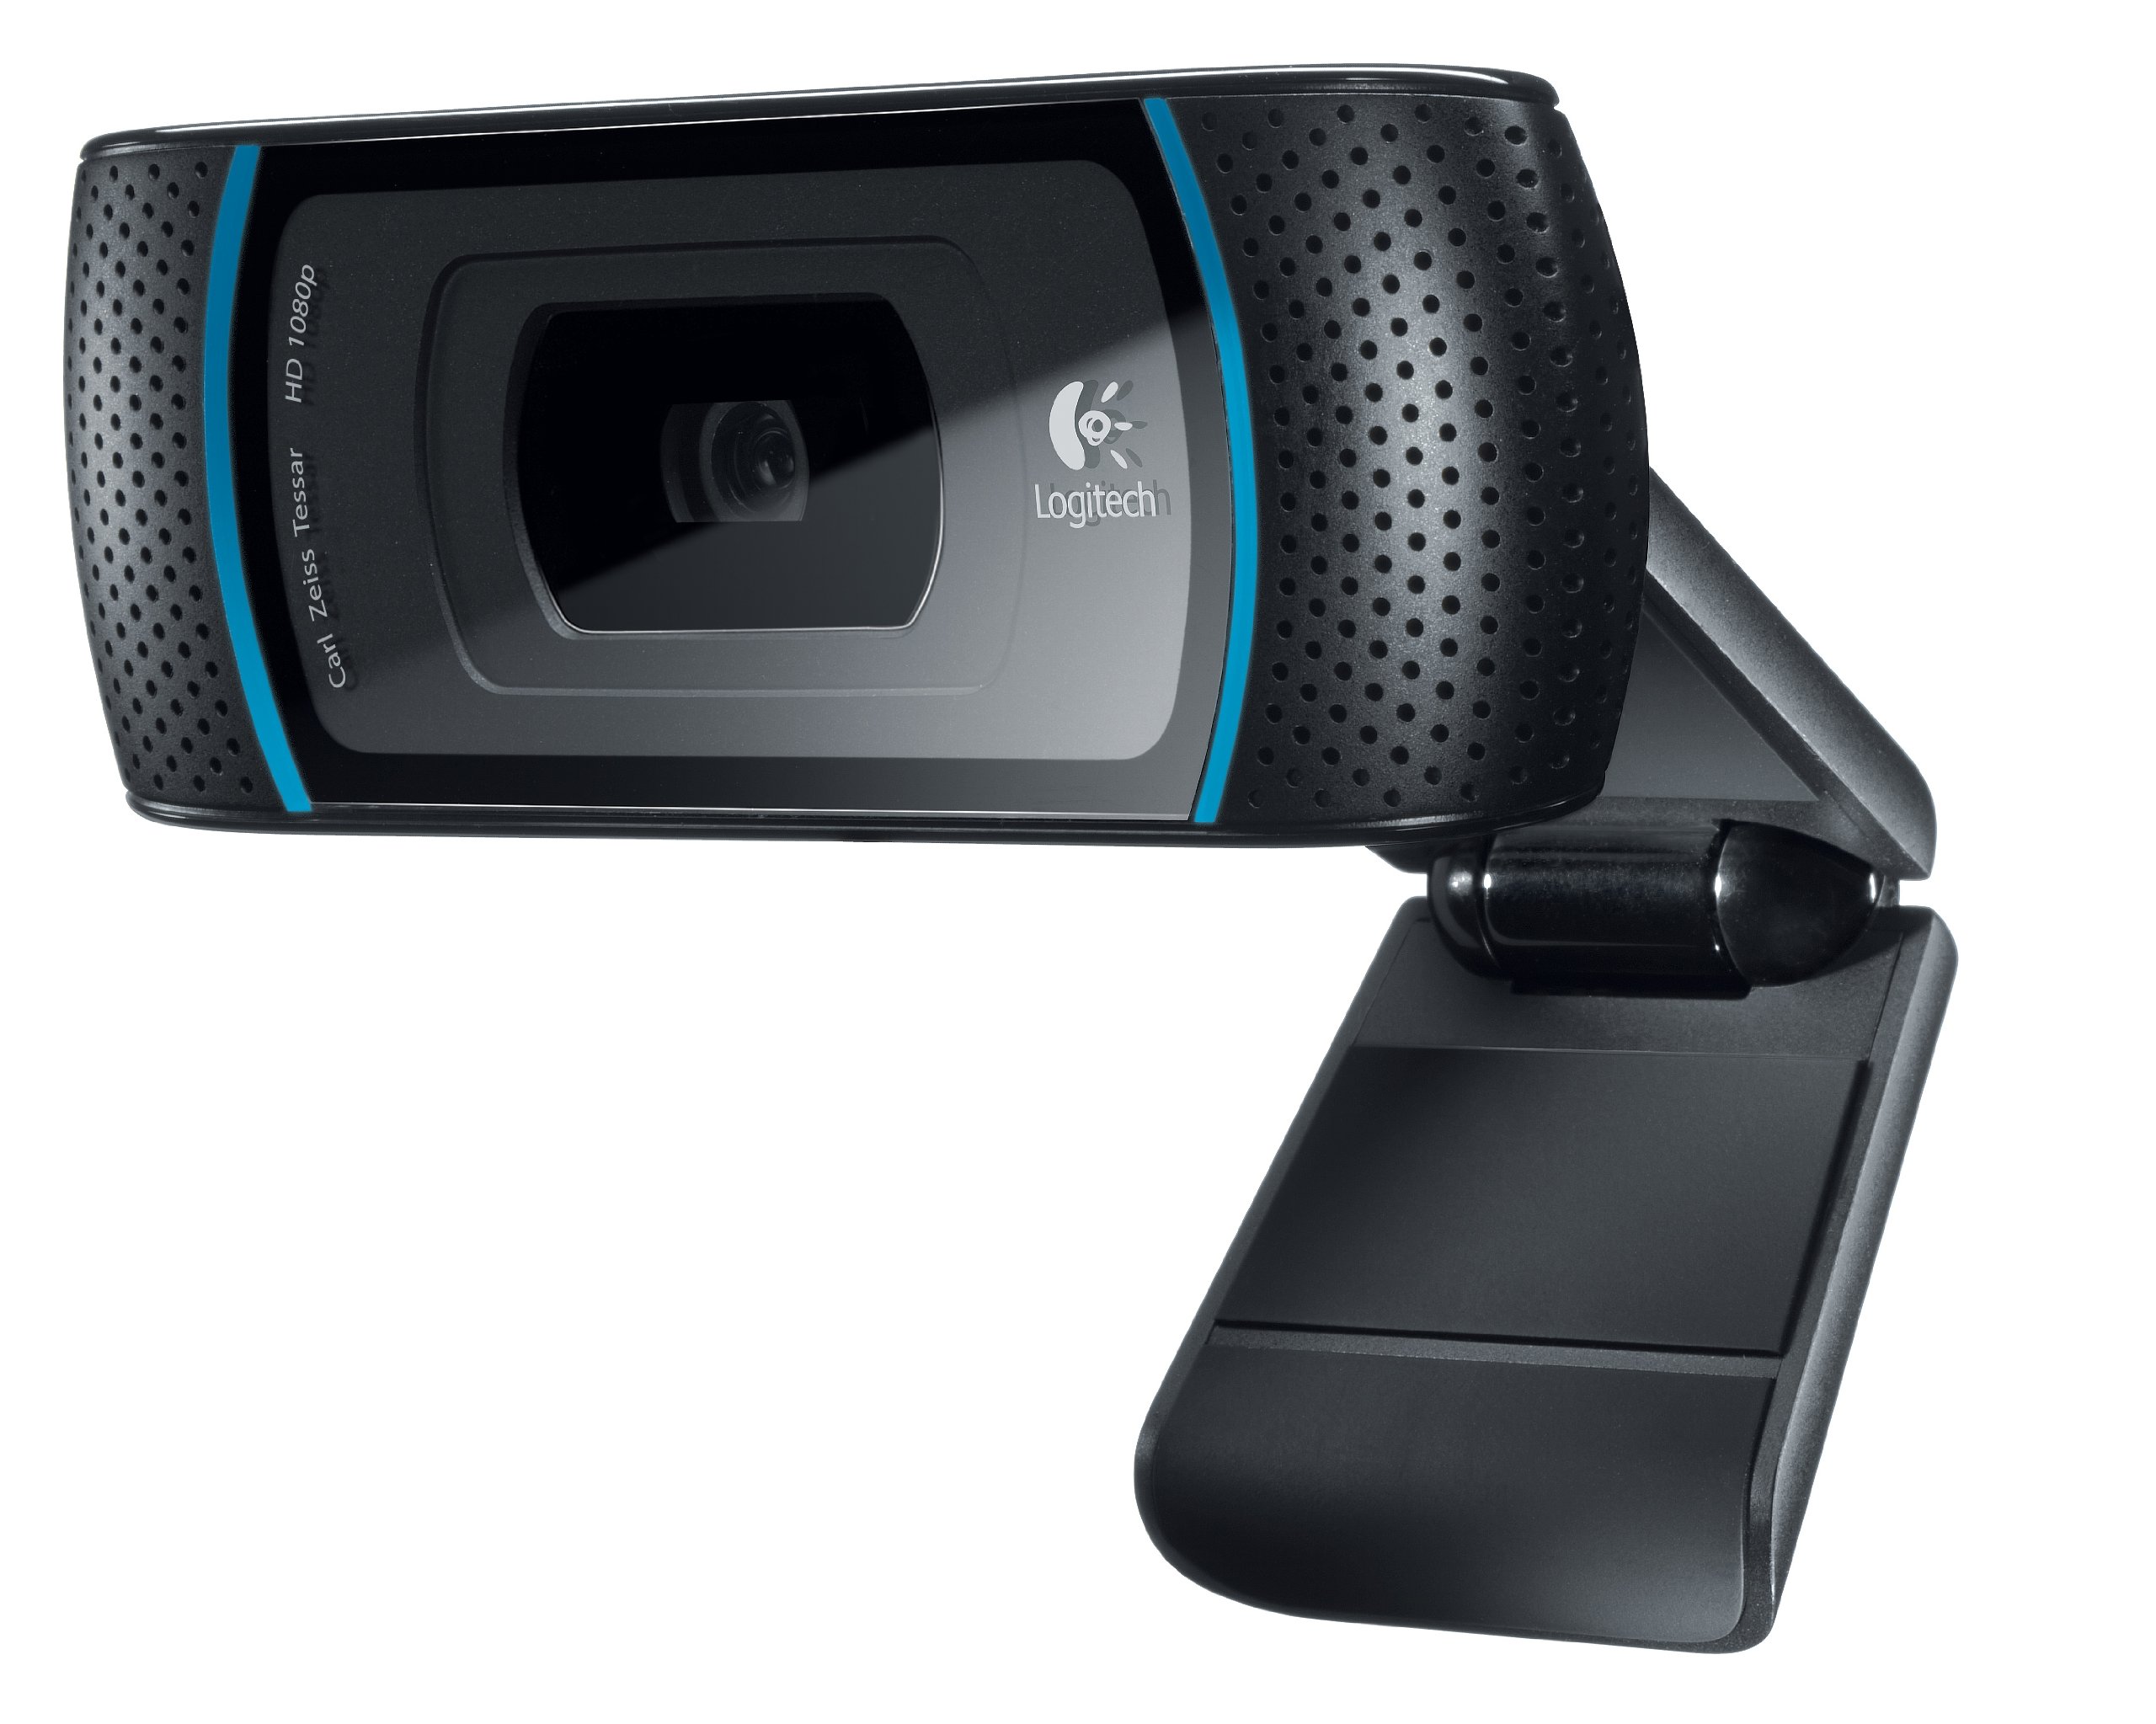
Welcome to this article on how to record video with your Logitech webcam! Logitech webcams are known for their excellent video quality and user-friendly features, making them a popular choice for recording videos.
Whether you’re a vlogger, online teacher, or just want to capture memories with friends and family, knowing how to properly record video with your Logitech webcam can make a significant difference in the quality of your videos.
In this guide, we will walk you through the step-by-step process of setting up your Logitech webcam, choosing the right recording software, adjusting webcam settings, positioning your webcam for the best recording angle, and recording videos with clear audio. We will also cover how to save and export your recorded videos and troubleshoot common recording issues.
By following these tips and tricks, you’ll be able to create professional-looking videos that are crisp, clear, and engaging. So, let’s dive in and learn how to make the most of your Logitech webcam!
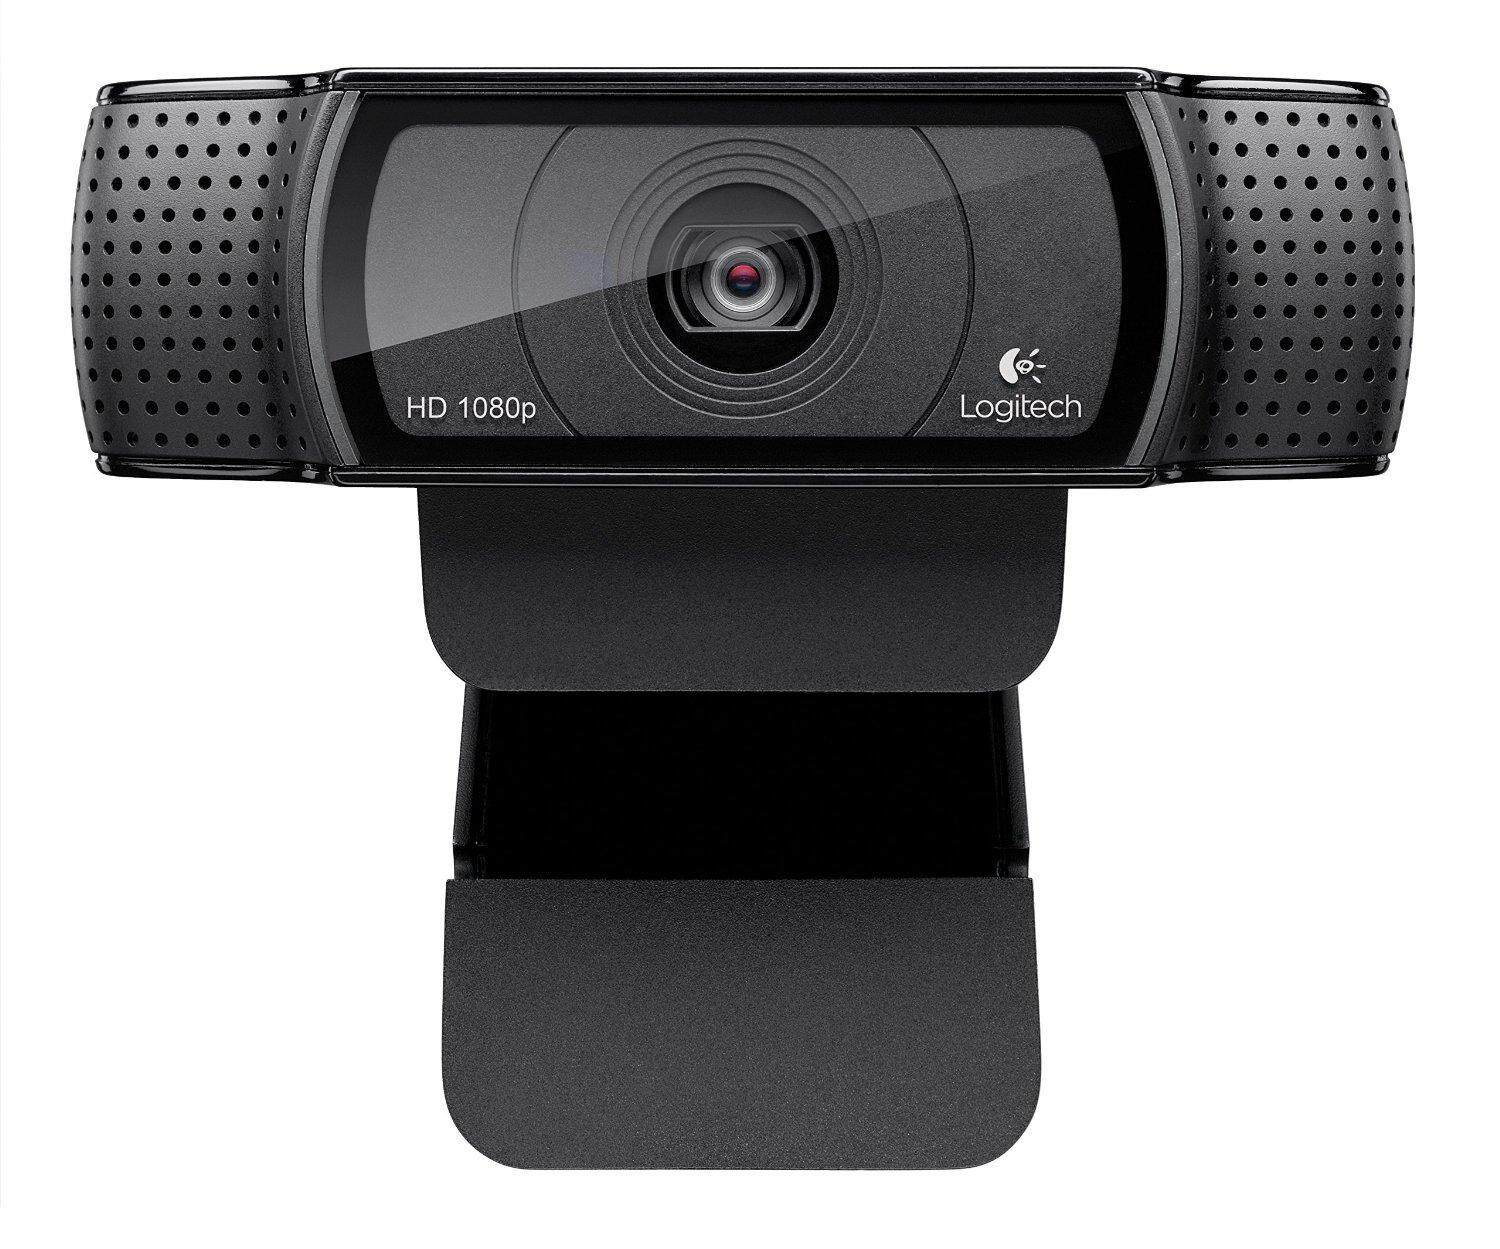
Setting up your Logitech webcam
Before you can start recording videos with your Logitech webcam, you’ll need to set it up properly. Follow these steps to get your webcam up and running:
- Connect the webcam: Plug your Logitech webcam into an available USB port on your computer. Make sure the connection is secure.
- Install the drivers: In most cases, your computer will automatically detect and install the necessary drivers for your Logitech webcam. However, if this doesn’t happen, you can visit the Logitech website and download the drivers specific to your webcam model.
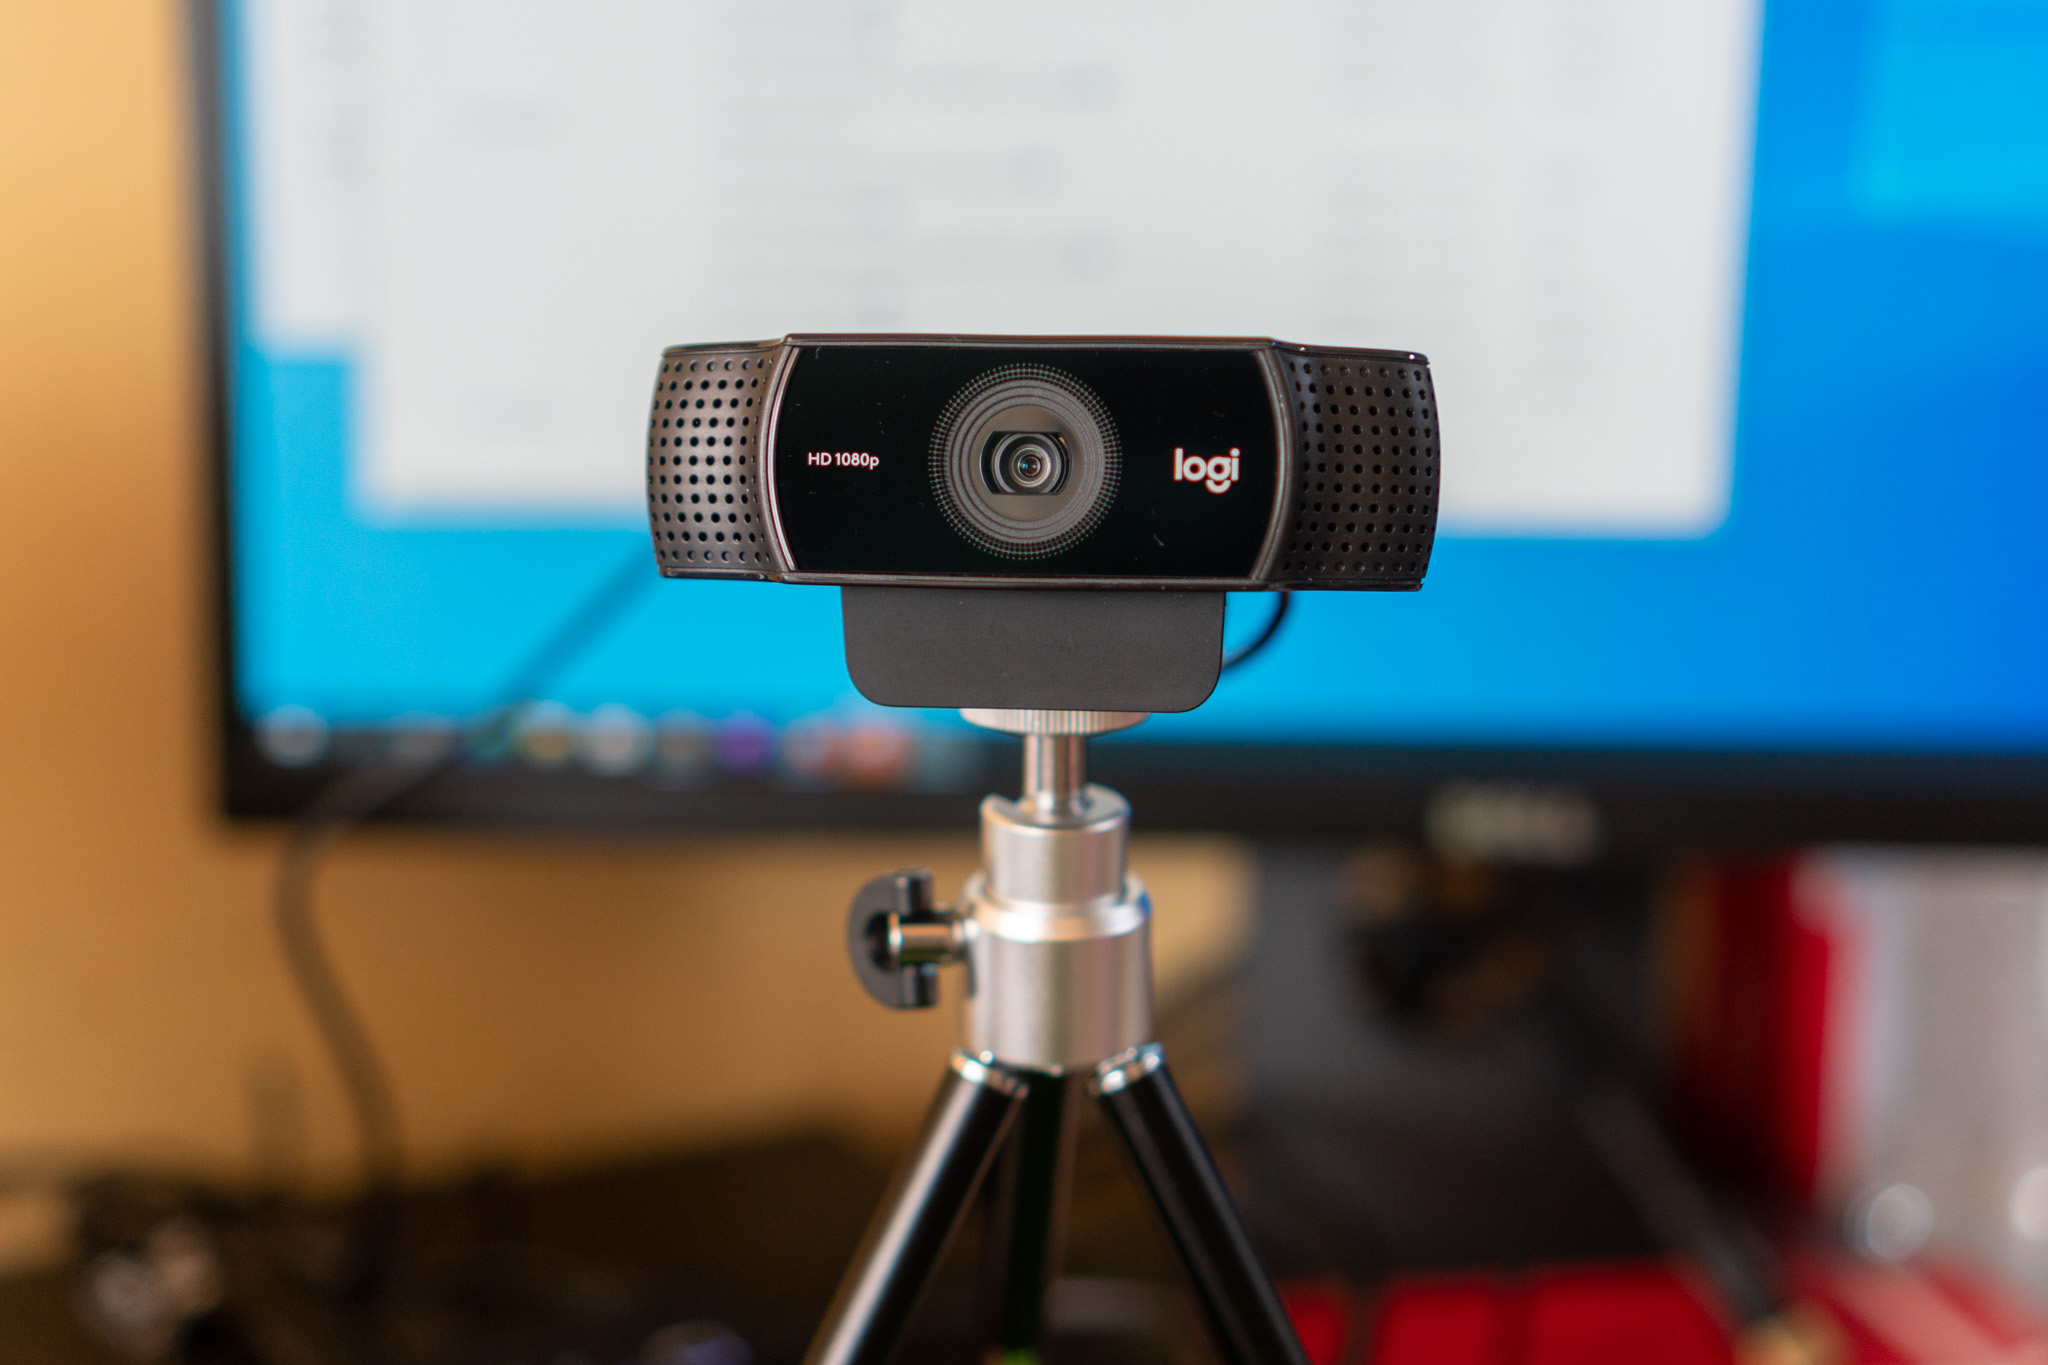
- Position the webcam: Place your webcam on a stable surface or use a tripod if you prefer. Ensure that it is positioned at eye level or slightly above to create a flattering angle for your videos.
- Adjust the focus: Many Logitech webcams have autofocus capabilities, but if yours doesn’t, you’ll need to manually adjust the focus. Rotate the lens ring until the image appears clear and sharp.
- Test the webcam: Open a video conferencing app or recording software to test your Logitech webcam. Make sure that the video feed is appearing correctly and that the audio is working properly.
Once you have successfully set up your Logitech webcam, you’re ready to move on to the next steps in recording your videos.
Remember, the setup process may vary slightly depending on the model of your Logitech webcam. Be sure to consult the user manual or visit the Logitech website for specific instructions if needed.
Choosing the right recording software
Now that your Logitech webcam is set up and ready to go, it’s time to find the right recording software that suits your needs. The recording software you choose will greatly affect the quality and functionality of your recorded videos. Here are a few popular options to consider:
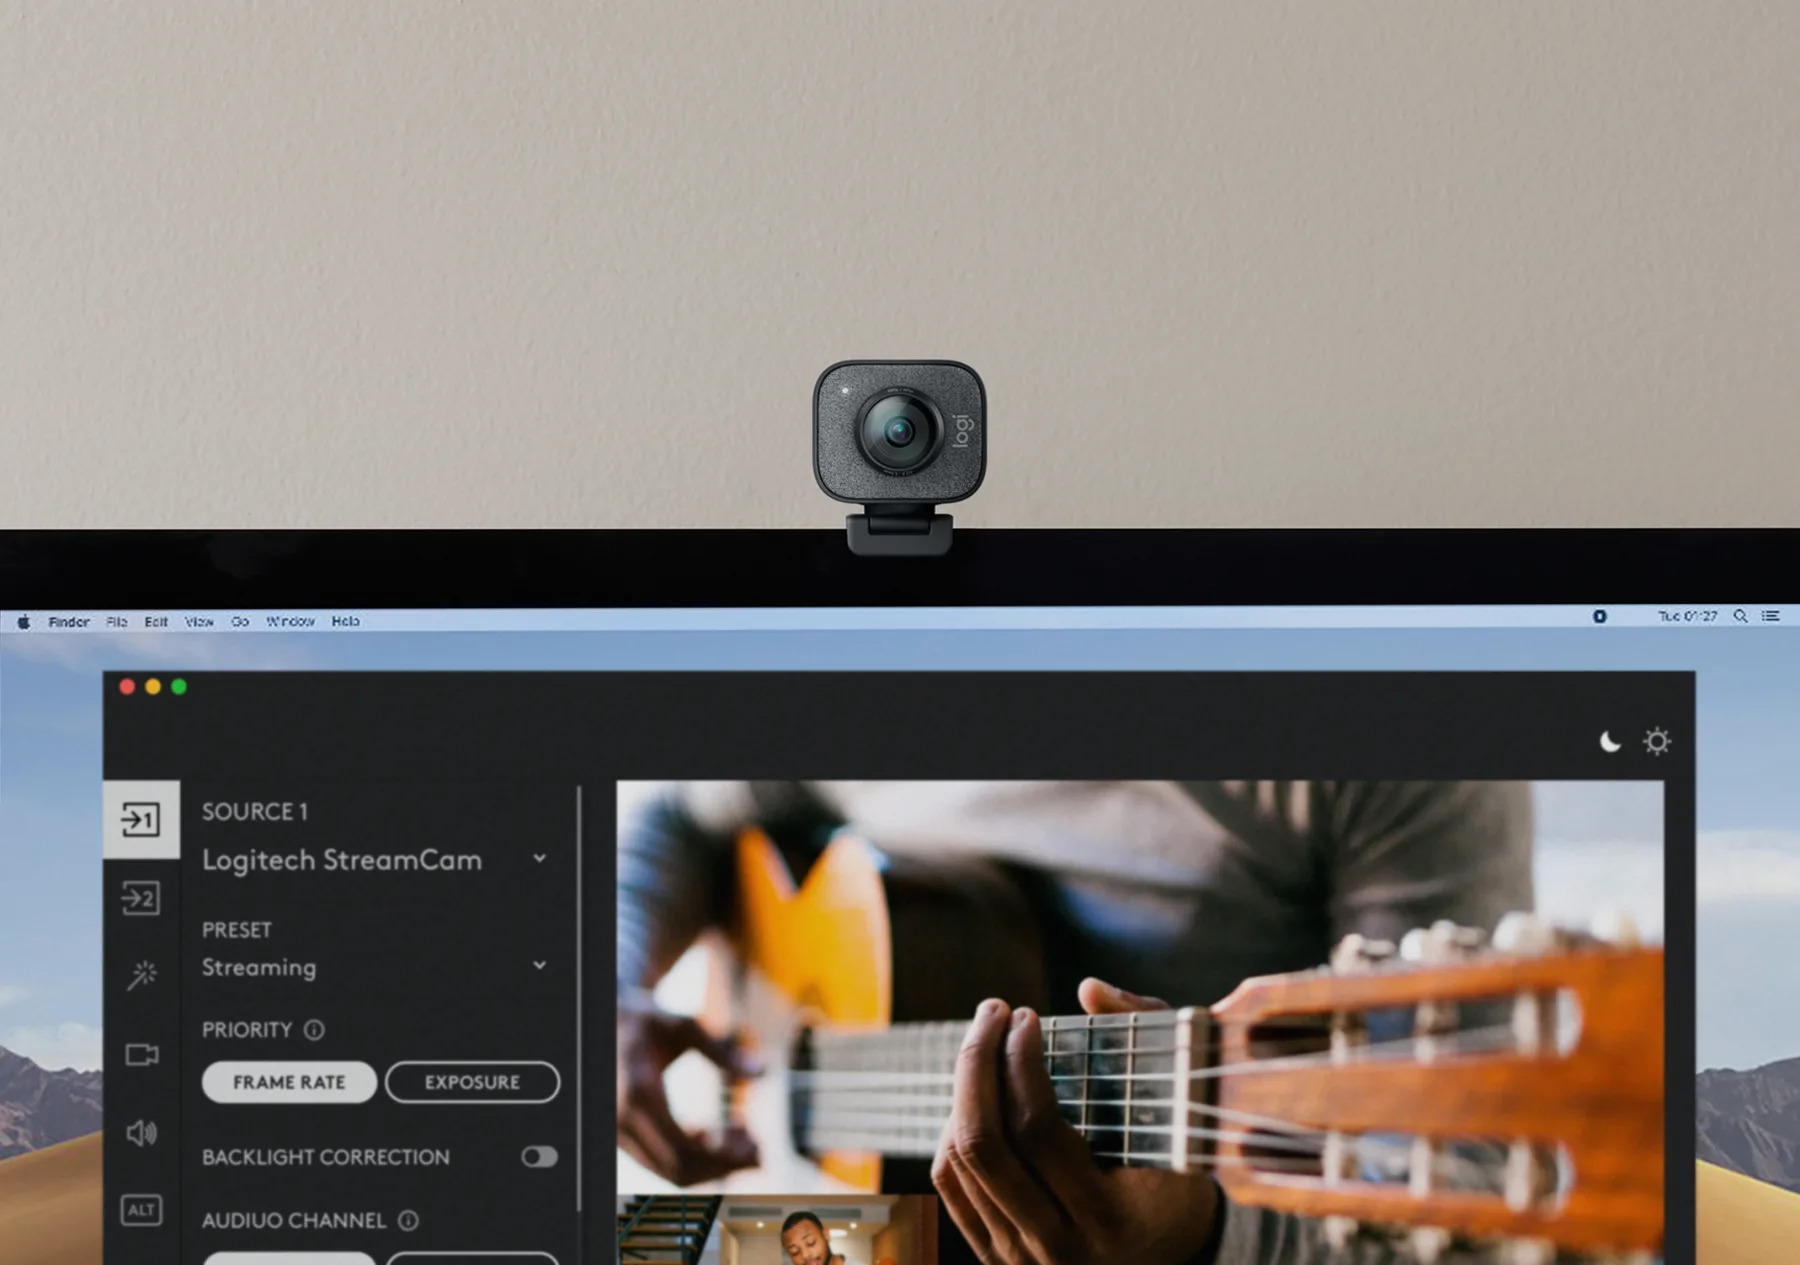
- Logitech Capture: As the official software developed by Logitech, Logitech Capture is designed specifically for Logitech webcams. It offers a user-friendly interface with advanced features like customizable recording settings, filters, and the ability to capture video in multiple resolutions. Logitech Capture is a great choice for both beginners and experienced users.
- Open Broadcaster Software (OBS): OBS is a free and open-source software that is highly popular among streamers and content creators. It provides extensive customization options and supports multiple platforms. OBS allows you to capture video from your Logitech webcam with various scene transitions and advanced settings for optimal video quality.
- Windows Camera: If you’re using a Windows computer, you can make use of the pre-installed Windows Camera app. While it may not have as many advanced features as other software, it provides a simple and straightforward interface for basic video recording tasks.
- Camtasia: Camtasia is a powerful screen recording and video editing software that offers a range of features for creating professional-quality videos. It allows you to record from your Logitech webcam, edit your footage, add transitions and effects, and export videos in various formats. Camtasia is a paid software but offers a free trial.
- Zoom: Although primarily known as a video conferencing tool, Zoom can also be used for recording videos. It provides an easy-to-use interface and allows you to record your meetings or webinars with your Logitech webcam. However, keep in mind that the recording length on the free version of Zoom may be limited.
Consider your requirements, skill level, and budget when choosing the right recording software. Explore the features and capabilities of each option to determine which one best suits your needs. Remember, you can always try out different software until you find the one that works best for you.
Once you have selected your preferred recording software, you’re ready to move on to the next steps in preparing your Logitech webcam for recording.
Adjusting webcam settings for optimal video quality
To ensure that you capture videos with the best possible quality using your Logitech webcam, it’s important to adjust the webcam settings. Here are some key settings to consider:
- Resolution: Most Logitech webcams offer different resolution options. Higher resolution results in sharper videos, but keep in mind that it may require more processing power from your computer. Choose a resolution that strikes a balance between video quality and performance.
- Frame rate: The frame rate determines how many frames per second are captured in your video. Higher frame rates create smoother videos, but again, higher frame rates require more processing power. Aim for a frame rate of at least 30 frames per second for smooth and fluid video playback.
- Exposure: Adjusting the exposure settings ensures that your video is neither too dark nor too bright. Most recording software allows you to adjust the exposure manually or automatically. Experiment with different settings to find the best balance for your recording environment.
- White balance: White balance settings help to accurately represent colors in your videos. You can choose to set the white balance manually or use the automatic white balance setting. If the colors in your videos appear too warm or cool, adjust the white balance until you achieve a natural-looking color reproduction.
- Focus: As mentioned earlier, some Logitech webcams offer autofocus capabilities. If your webcam doesn’t have autofocus, make sure to manually adjust the focus to keep the video sharp and clear. Check the focus before starting each recording to ensure optimum video quality.
- Zoom and pan: Depending on your webcam model, you may have the option to zoom in or pan the camera during recording. Be aware of the impact these settings have on the video quality. Excessive zooming or panning may result in a loss of resolution or stability, so use them sparingly and purposefully.
Take the time to explore the settings available in your recording software and experiment with different configurations. Monitor the video output as you make adjustments to ensure that you achieve the optimal video quality for your specific needs.
With the webcam settings properly adjusted, you’re now ready to position your Logitech webcam in the best possible way to capture your videos.
Positioning your webcam for the best recording angle
The angle at which you position your Logitech webcam can significantly impact the overall quality and visual appeal of your recorded videos. Here are some tips to help you find the best recording angle:
- Eye level: Position your webcam at eye level or slightly above. This angle creates a more flattering perspective and prevents the viewer from looking down on you. Use a tripod or find a stable surface to ensure that your webcam remains steady throughout the recording.
- Distance: Find the ideal distance between yourself and the webcam. Being too close can result in distorted facial features, while being too far can make it difficult for viewers to see details. Experiment with different distances to find the perfect balance for your setup.
- Background: Consider the background of your recording. Ensure it is clean, uncluttered, and appropriately lit. A well-composed background can enhance the overall visual appeal of your videos and help maintain a professional appearance.
- Lighting: Pay attention to the lighting conditions in your recording space. Avoid harsh shadows or overly bright lights, as they can negatively impact the video quality. Soft, diffused lighting is ideal for a well-lit and flattering recording.
- Composition: Frame your shot appropriately within the webcam’s field of view. Consider the rule of thirds, which involves placing yourself off-center in the frame to create a visually appealing composition. This adds interest and balance to your videos.
- Eye contact: Maintain eye contact with the camera during your recordings. This creates a more engaging experience for your viewers and helps establish a connection with your audience.
Take the time to experiment with different angles and setups to find the perfect positioning for your Logitech webcam. Consider recording test videos and reviewing them to assess the visual appeal and overall quality. Making adjustments to your setup can make a significant difference in the final result of your recorded videos.
With your webcam properly positioned, you can now focus on recording clear audio alongside your video.
Tips for recording clear audio with your webcam
While the Logitech webcam is primarily known for its excellent video quality, it’s important not to overlook the audio aspect of your recordings. Clear and high-quality audio can greatly enhance the overall viewer experience. Here are some tips to help you achieve optimal audio when using your Logitech webcam:
- Microphone selection: Some Logitech webcams come with built-in microphones. While these can be convenient, the audio quality may not always meet your expectations. Consider investing in an external microphone for better audio clarity and reduced background noise.
- External microphone placement: If you decide to use an external microphone, position it close to your mouth for clear and focused audio capture. Consider using a microphone stand or boom arm to keep it steady and at the optimal distance from your mouth.
- Reduce background noise: Find a quiet recording environment and take steps to minimize background noise. Close windows, turn off fans or air conditioning, and consider using soundproofing methods, such as foam panels, to reduce echoes and unwanted noise reflections.
- Microphone sensitivity: Adjust the microphone sensitivity or gain settings on your recording software or webcam settings. By finding the right balance, you can capture your voice without distortion or picking up excessive environmental noise.
- Pop filter usage: If you notice any plosive sounds (such as “p” or “b” sounds) causing distortion in your audio, consider using a pop filter. A pop filter helps to reduce these unwanted sounds, resulting in cleaner and clearer audio.
- Headset or earphones: Using a headset or earphones with a built-in microphone can provide better audio quality, as it eliminates background noise and improves the clarity of your voice during recording.
Remember to test and monitor your audio levels before each recording to ensure they are set correctly. Listen to test recordings and make any necessary adjustments to the microphone placement, sensitivity, or other settings to achieve the best audio quality possible.
Recording clear audio is essential for delivering your message effectively. By implementing these tips, you can greatly enhance the audio quality in your Logitech webcam recordings.
Now that you have a better understanding of how to record clear audio, let’s move on to the actual process of recording videos with your Logitech webcam.
Recording video with your Logitech webcam
Now that you have set up your Logitech webcam, adjusted the settings, and positioned it correctly, it’s time to start recording your videos. Follow these steps to ensure a smooth recording process:
- Open your chosen recording software: Launch the recording software that you have downloaded or selected for your Logitech webcam. Ensure that your webcam is recognized and selected as the video input source within the software.
- Set up your desired recording parameters: Configure the recording settings, including the resolution, frame rate, and audio input source. Make sure to set the parameters based on your preferences and the requirements of your content.
- Prepare yourself and your recording space: Brush up on your content or script before hitting the record button. Check your lighting, audio levels, and ensure that your recording area is tidy and well-lit. Eliminate any potential distractions that may disrupt your recording.
- Press the record button: When you are ready, click the record button in your recording software to start capturing your video. Remain focused, maintain eye contact with the camera, and deliver your message confidently.
- Monitor your recording: Keep an eye on the recording process while it is in progress. Look out for any technical issues, such as audio problems or unexpected interruptions, and pause or restart the recording if necessary.
- Pause or stop the recording: When you have finished recording, click the pause or stop button in your software to end the recording. Review the video to ensure that it meets your expectations in terms of content, audio quality, and visual appeal.
Remember, practice makes perfect, so don’t be discouraged if your first few recordings are not flawless. Learn from each recording session and make improvements as you go.
Once you are satisfied with your recorded video, it’s time to save and export it for further editing or sharing.
Saving and exporting your recorded videos
After successfully recording your videos with your Logitech webcam, it’s important to save and export them in a format that suits your needs. Follow these steps to save and export your recorded videos:
- Locate the saved video file: Depending on your recording software, the recorded videos are usually saved in a default location or a folder specified during the setup. Use the file explorer on your computer to navigate to the location where the video is saved.
- Choose the desired file format: Decide on the file format you want to save your video in. Most recording software offers options such as MP4, AVI, or MOV. Consider the compatibility and quality requirements for your intended playback or editing purposes.
- Set the video export settings: Depending on your recording software, you may have the option to adjust the export settings, such as resolution, bit rate, or audio settings. Keep in mind the desired output quality and file size when configuring these settings.
- Specify the file name and destination: Provide a clear and descriptive file name for your video and choose the destination folder where you want to save it. It’s a good practice to create a dedicated folder for your recorded videos to keep them organized.
- Start the export process: Initiate the export process by clicking the export or save button in your recording software. Wait for the software to process and convert your video into the selected format. The time it takes to export a video may vary depending on the length and complexity of the recording.
- Verify the exported video: Once the exporting process is complete, navigate to the destination folder and open the exported video file to ensure that it plays back correctly and meets your expectations in terms of quality.
It’s worth noting that some recording software may also offer additional options for further editing, post-processing, or sharing your videos directly from within the software. Explore these features to enhance your videos or streamline your workflow.
Now that you have successfully saved and exported your recorded video, you can proceed to share it with your intended audience or further edit it to add that final touch.
Troubleshooting common recording issues
While recording videos with your Logitech webcam, you may encounter some common issues that can affect the quality or functionality of your recordings. Here are a few troubleshooting tips to help resolve these problems:
- Poor video quality: If your recorded videos appear blurry or pixelated, ensure that you have selected the appropriate resolution and frame rate settings in your recording software. Additionally, check your lighting conditions to ensure proper illumination and minimize shadows or glare that could impact the video quality.
- Audio problems: If you experience audio issues such as low volume, distortion, or background noise, check the microphone settings in your recording software. Adjust the microphone sensitivity or gain settings to achieve optimal audio levels. Consider using an external microphone for better audio quality if the built-in microphone does not meet your requirements.
- Recording interruptions: If your recording is unexpectedly interrupted, check for any other applications or processes running on your computer that might be interfering with the recording. Close unnecessary programs and ensure that your computer has sufficient processing power and memory to handle the recording task.
- Camera not detected: If your Logitech webcam is not being recognized by your recording software, ensure that the webcam is properly connected to the computer’s USB port. Try reconnecting the webcam or using a different USB port to rule out any connection issues. Install or update the necessary drivers for your webcam, if required.
- Unstable video feed: If the video feed from your webcam appears to be unstable or lagging, check your computer’s processing capabilities. Close any unnecessary background applications that may be consuming system resources. If the problem persists, you may need to upgrade your computer’s hardware or consider using a lower resolution or frame rate setting for smoother recording.
- Software compatibility issues: Incompatibility between your Logitech webcam and the recording software can sometimes cause issues. Ensure that you have the latest version of both the webcam drivers and the recording software installed. Additionally, check for any updates or patches specific to your webcam model or recording software.
If you encounter any other specific issues during the recording process, refer to the user manual for your Logitech webcam or the documentation provided with your chosen recording software. You can also visit online forums or contact Logitech support for further assistance in troubleshooting and resolving any specific issues you may be facing.
By addressing these common recording issues, you can ensure a smoother and more enjoyable recording experience with your Logitech webcam.
Conclusion
Congratulations! You have now learned how to effectively record video with your Logitech webcam. By following the step-by-step process outlined in this guide, you can capture high-quality videos with clear audio and optimal video settings. Remember to apply these tips and techniques to enhance the overall quality and appeal of your recorded videos.
Setting up your Logitech webcam is the first crucial step. Make sure to connect it properly, install the necessary drivers, and position it at eye level or slightly above for the best recording angle. Adjusting the webcam settings, such as resolution, frame rate, exposure, white balance, and focus, ensures optimal video quality.
Choosing the right recording software is also important. Consider your needs, budget, and features required to select the software that suits you best. Experiment with different software options until you find the one that meets your preferences and enhances your recording experience.
Additionally, be mindful of recording clear audio by selecting the appropriate microphone and reducing background noise. Adjust microphone sensitivity, use external microphones or headsets, and consider adding a pop filter to enhance audio quality.
Once you’ve recorded your videos, don’t forget to save and export them in your desired file format. Review the exported videos to ensure they meet your expectations in terms of quality and playback compatibility.
Lastly, if you encounter any common recording issues, troubleshoot them using the tips provided in this guide. Address problems such as poor video quality, audio issues, recording interruptions, camera detection problems, unstable video feed, and software compatibility issues.
With these skills and knowledge, you are ready to embark on your journey of creating engaging and professional videos using your Logitech webcam. Remember to continually practice and refine your recording techniques to enhance the quality of your videos and captivate your audience.
So go ahead, press that record button, and share your unique stories, knowledge, and experiences with the world. Your Logitech webcam is a powerful tool that can help you make a lasting impact!