Introduction
Welcome to this guide on how to zoom out of your Logitech webcam. As video conferencing continues to become a crucial part of our daily lives, having a clear and well-framed image is essential. Logitech webcams are known for their superior quality and features, including the ability to zoom in and out for optimal video capture. Whether you’re using your webcam for business meetings, online classes, or catching up with loved ones, learning how to zoom out can greatly improve your video experience.
Why would you want to zoom out? Well, sometimes you may find yourself in a situation where you need to capture a larger area or include more people in the frame. Maybe you’re presenting a project to a group of colleagues, or perhaps you’re hosting a virtual gathering with friends and family. Whatever the reason, being able to zoom out on your Logitech webcam gives you the flexibility to adapt to different situations and ensure that everyone or everything you want to capture is clearly visible.
Before we delve into the steps to zoom out of your Logitech webcam, let’s familiarize ourselves with the webcam itself. Logitech webcams are known for their user-friendly interfaces, making it easy to navigate through various settings and options. Additionally, Logitech provides webcam software that allows you to customize and fine-tune your webcam settings to suit your preferences.
Now that we have an understanding of why zooming out can be beneficial and are acquainted with the Logitech webcam, let’s proceed to the step-by-step instructions on how to zoom out on your webcam. Whether you prefer adjusting the zoom settings through the software application or using a keyboard shortcut, we will cover both methods to ensure you can easily zoom out and achieve the desired video capture.
Why Zoom Out?
Zooming out on your Logitech webcam can offer several advantages and improve your overall video conferencing experience. Let’s explore the reasons why you might want to consider zooming out:
1. Inclusion of a larger area: Sometimes, you may need to capture a wider view to include multiple people, objects, or a larger space. By zooming out, you can ensure that everyone or everything in the frame is clearly visible, allowing for more inclusive and engaging video calls.
2. Improved framing: Zooming out can help you achieve better composition and framing in your video. By having more control over the zoom level, you can ensure that the important elements are centered and well-positioned within the frame, enhancing the overall visual appeal of your video.
3. Flexible video capture: Being able to zoom out provides flexibility in various scenarios. Whether you’re hosting a virtual event, participating in a group discussion, or showcasing a larger area during a presentation, the ability to zoom out allows you to adapt to different situations and capture more content in a single frame.
4. Enhanced visibility: Zooming out can improve visibility, especially when presenting visual content or demonstrating objects. It allows viewers to see the entire context and details of what you’re sharing, ensuring a clear and comprehensive experience for all participants.
5. Reduced distractions: Zooming out can help minimize distractions by focusing on the main subject or content without any unnecessary clutter. By having a wider view, you can create a cleaner and more professional video environment, enhancing your overall presence in video meetings or presentations.
Whether you’re using your Logitech webcam for professional purposes or personal use, being able to zoom out can significantly enhance your video capturing capabilities. The ability to include more elements, achieve better framing, and adapt to different situations makes zooming out an essential feature to explore.
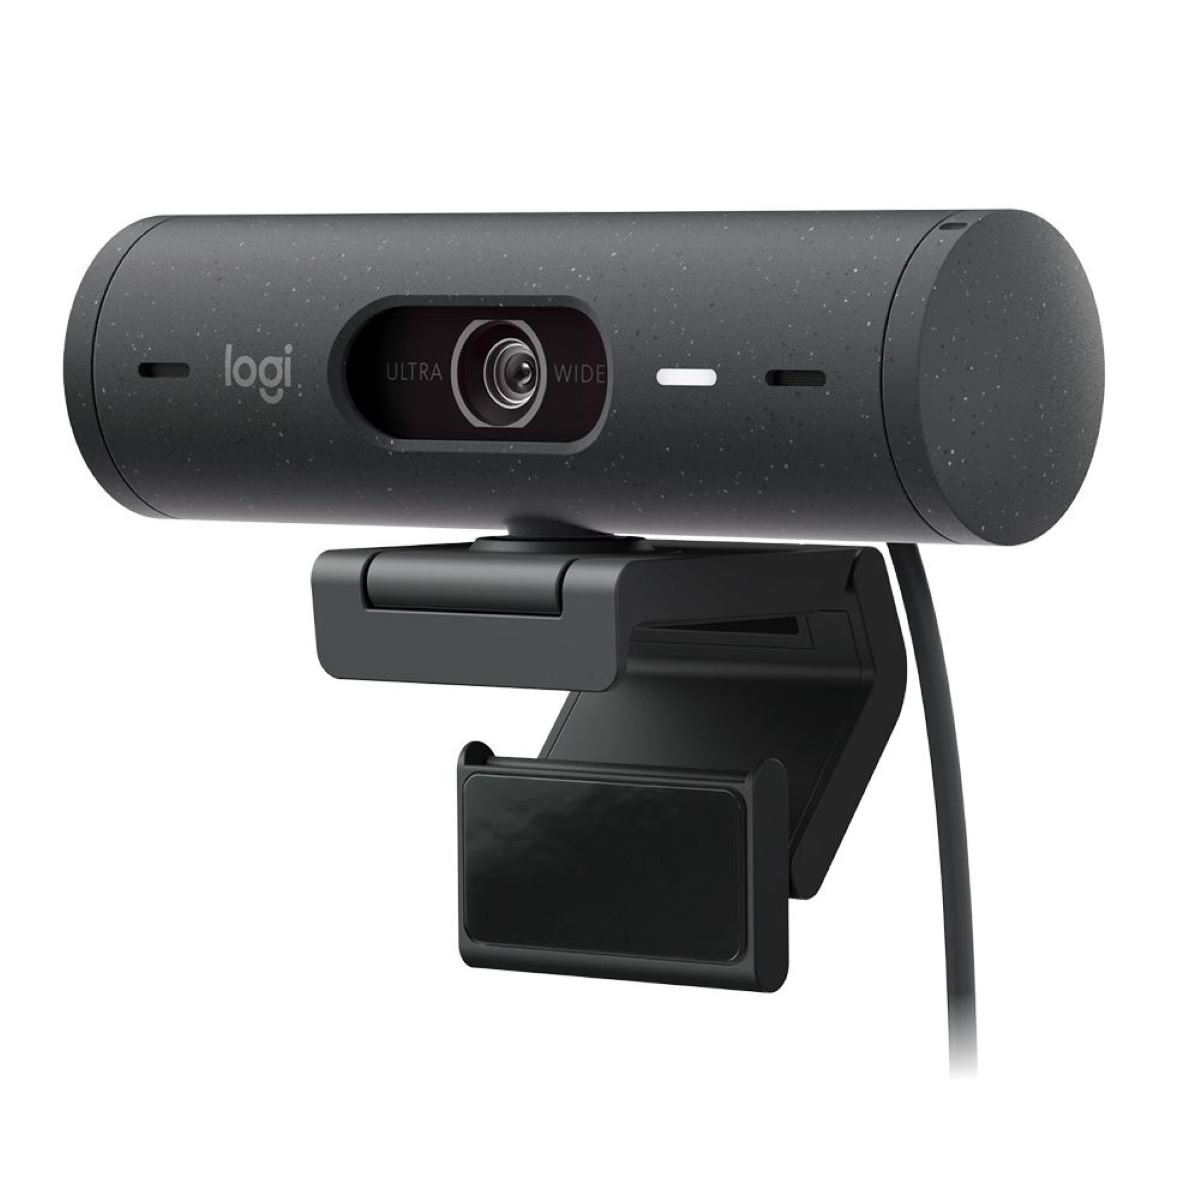
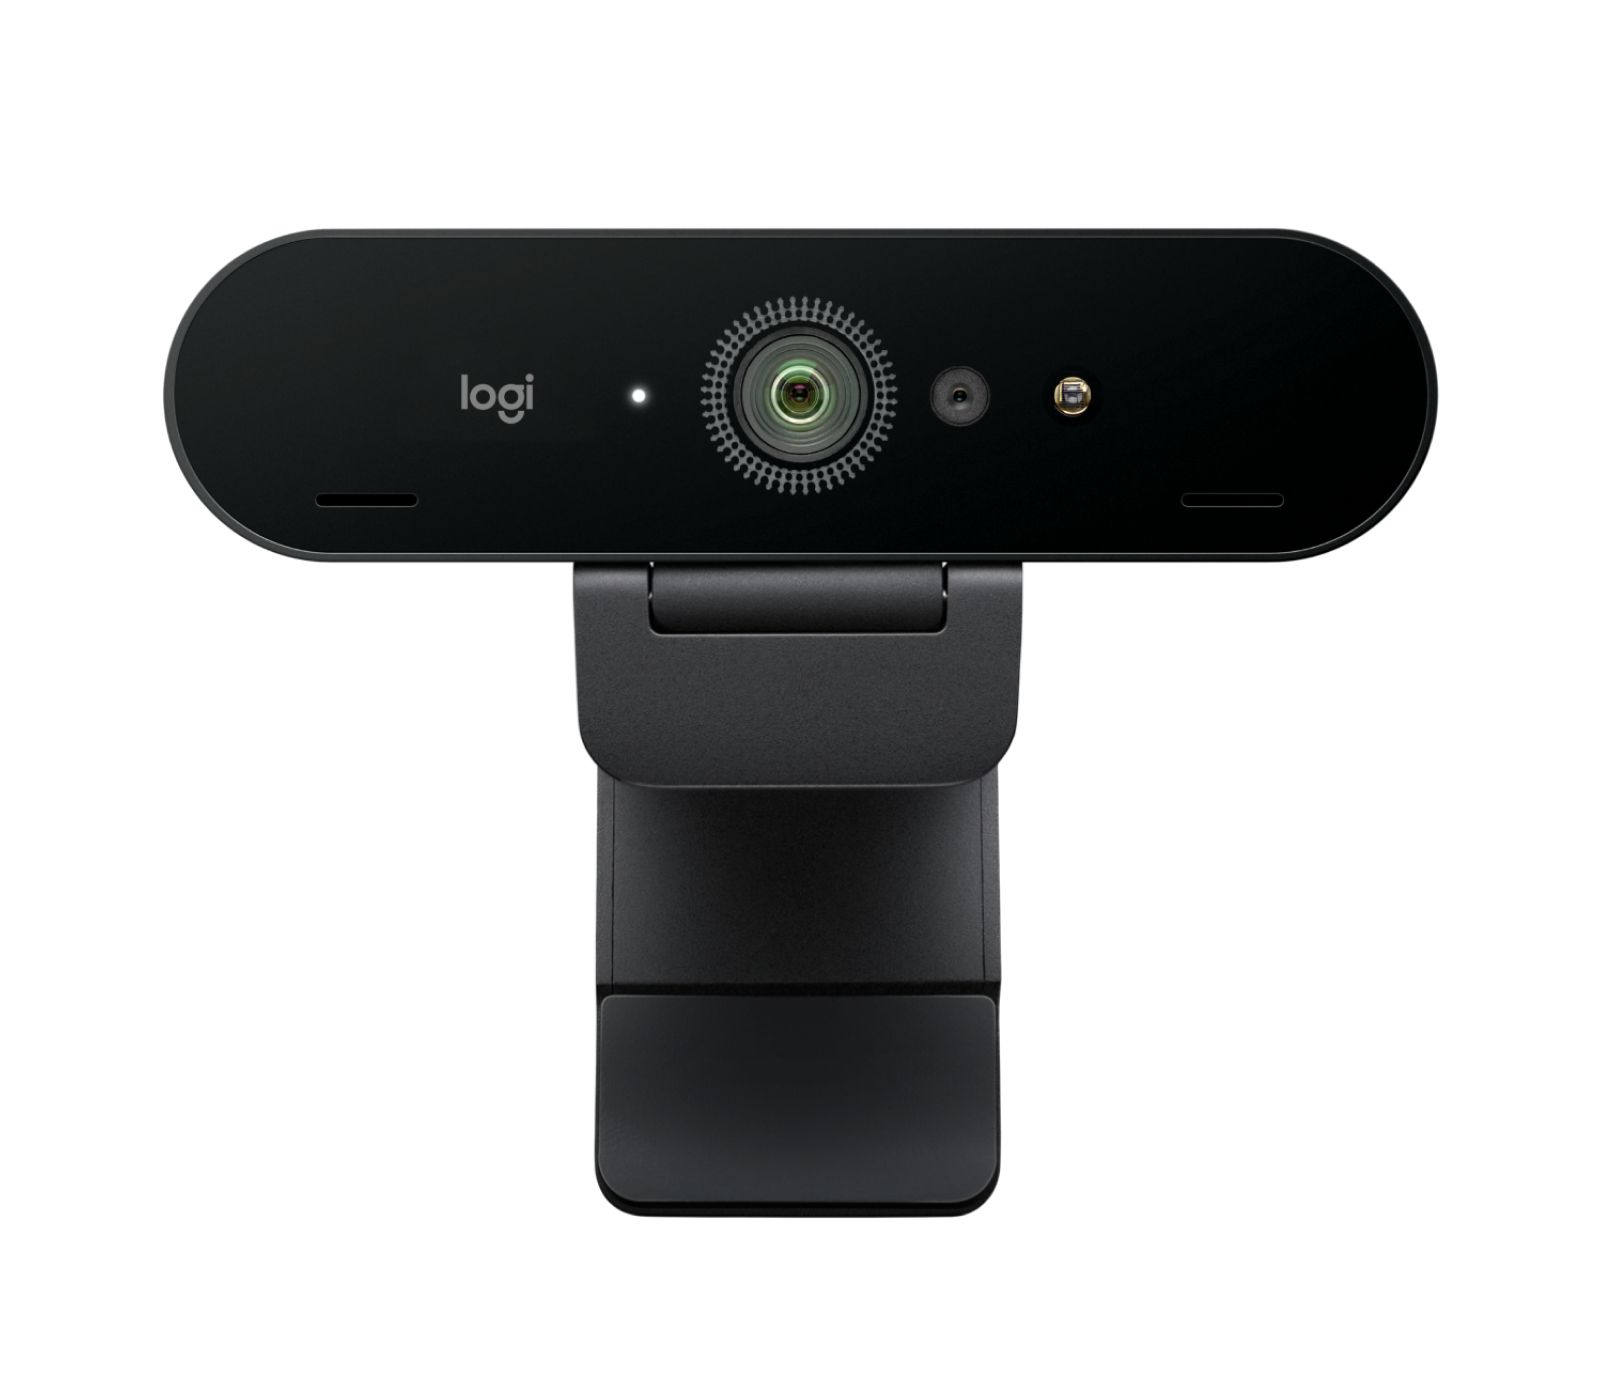
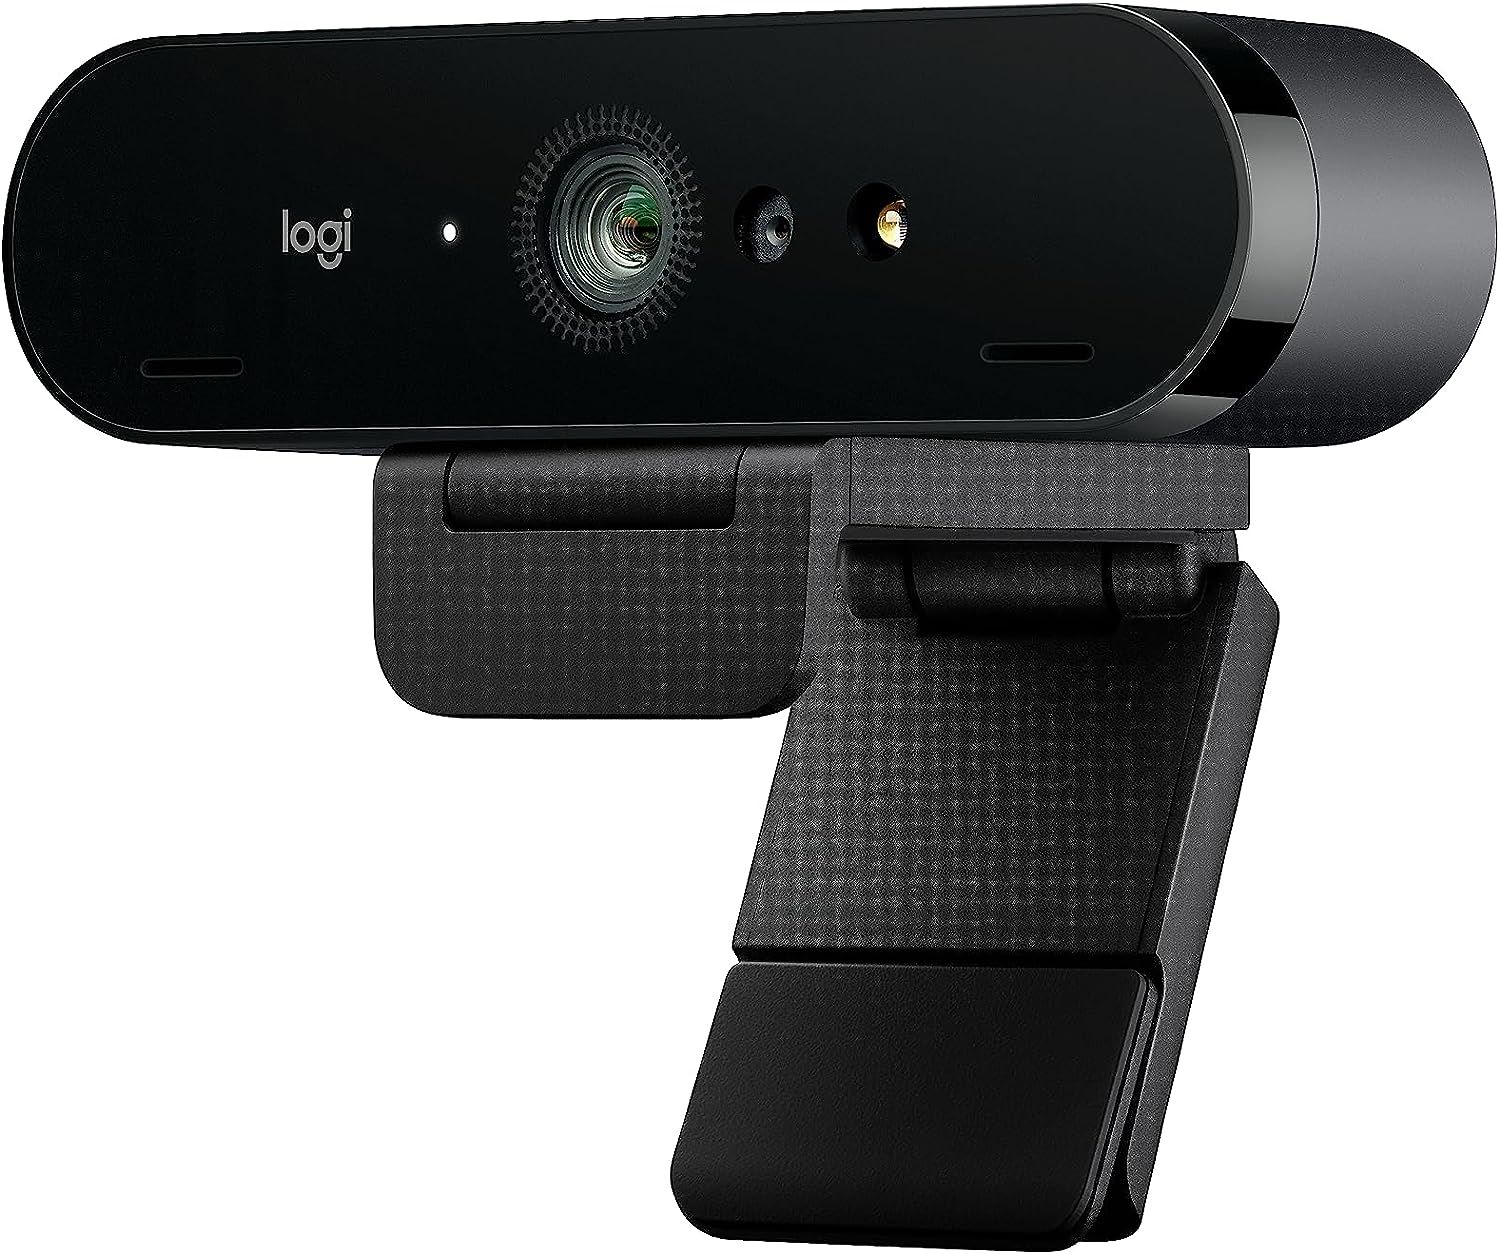
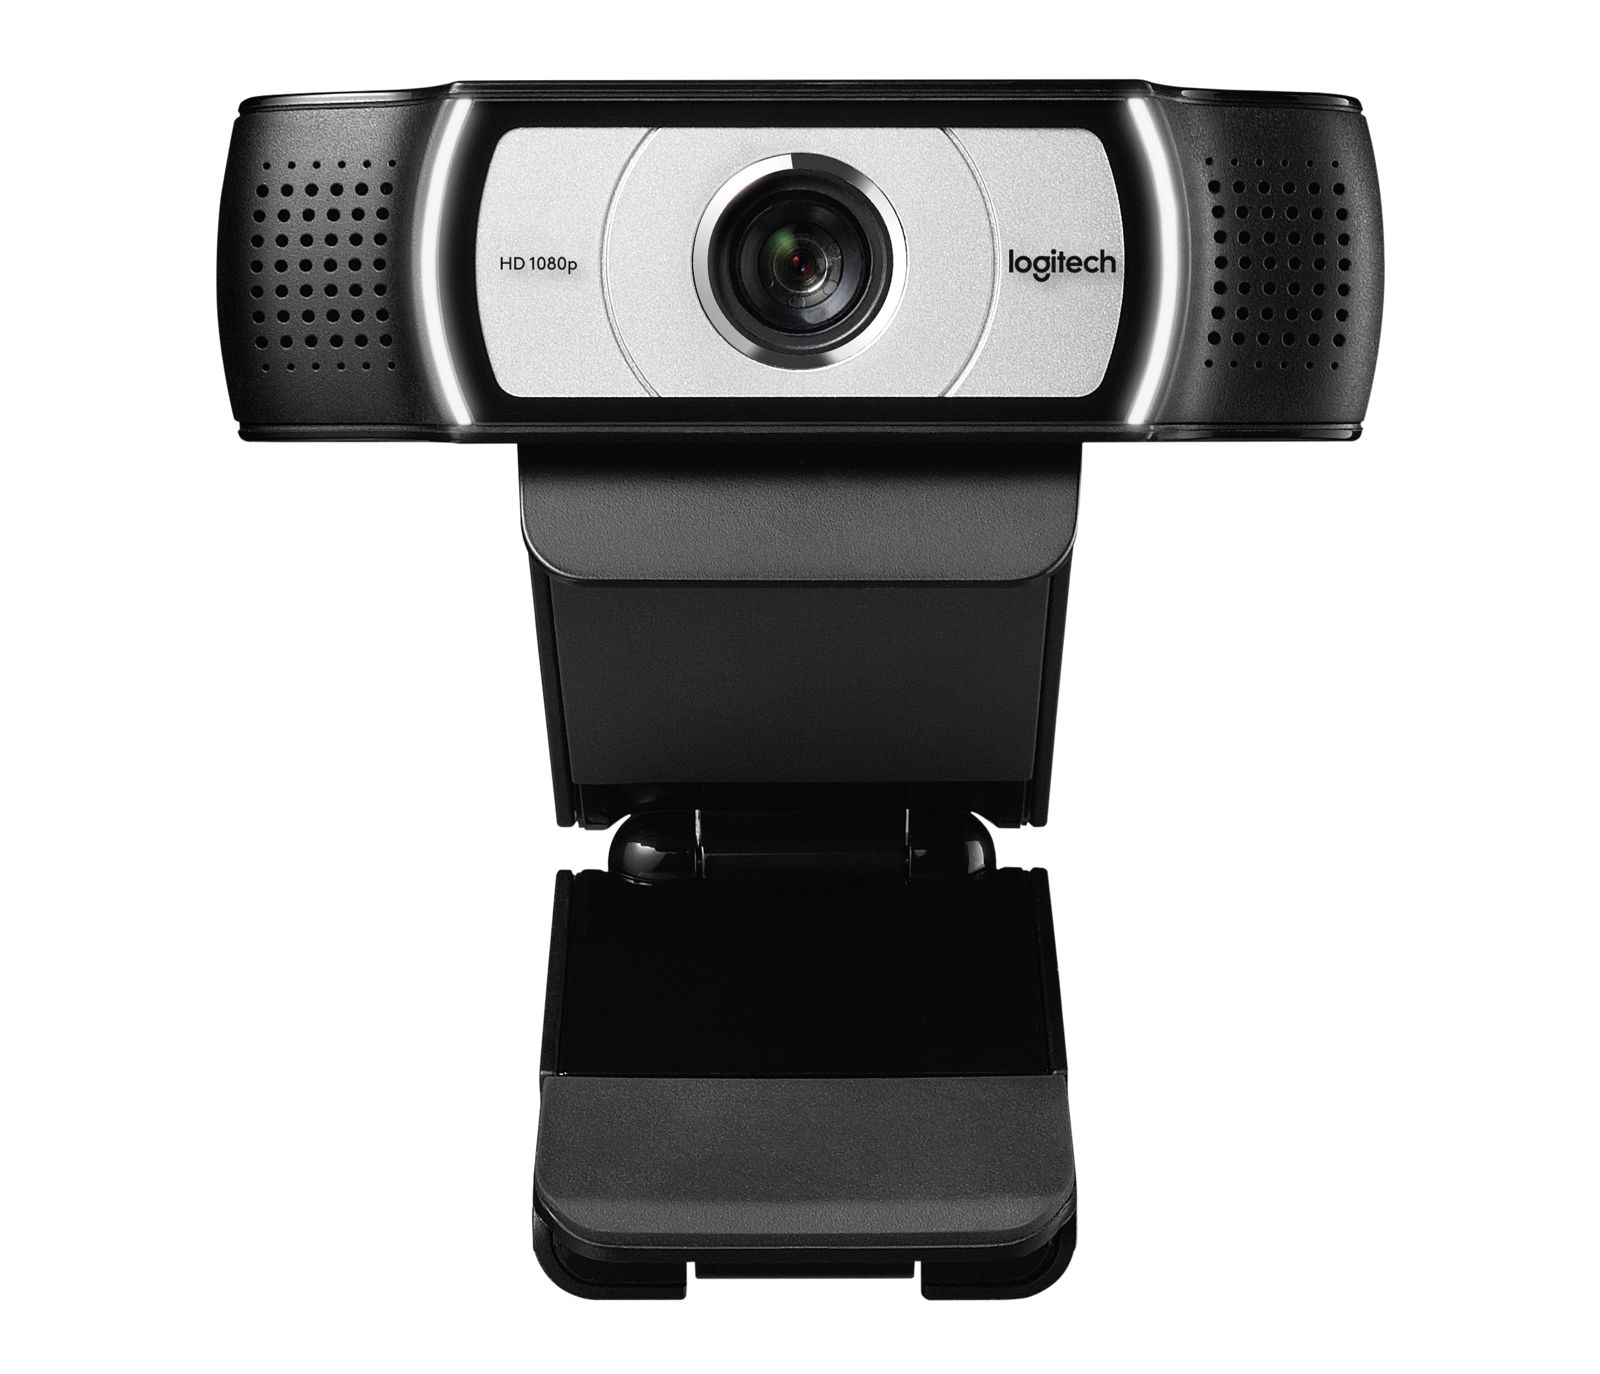
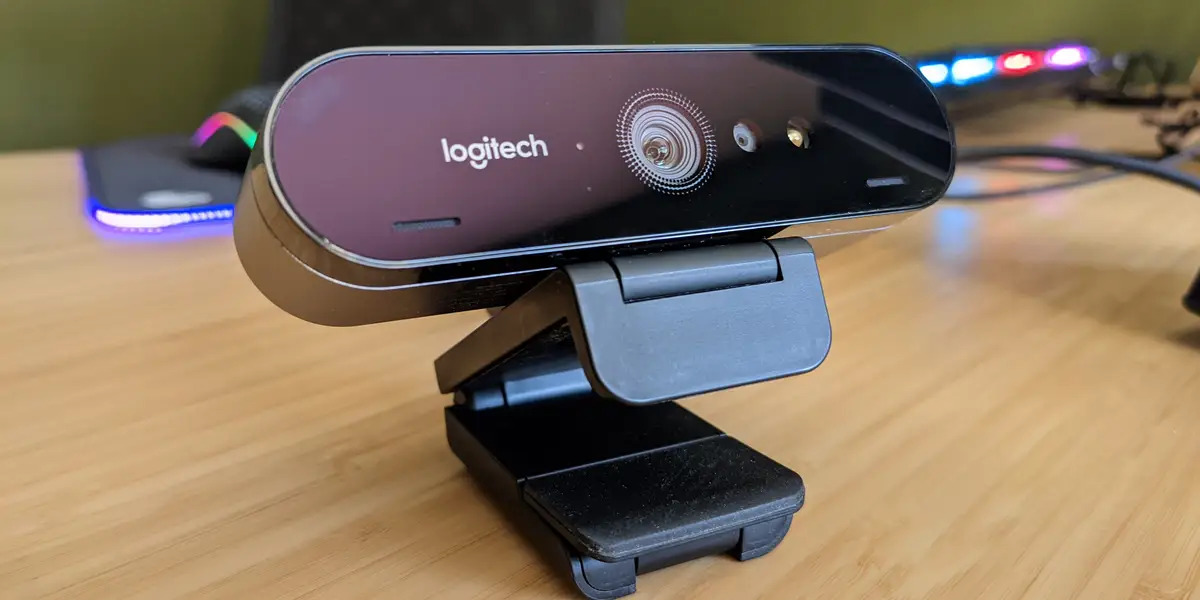
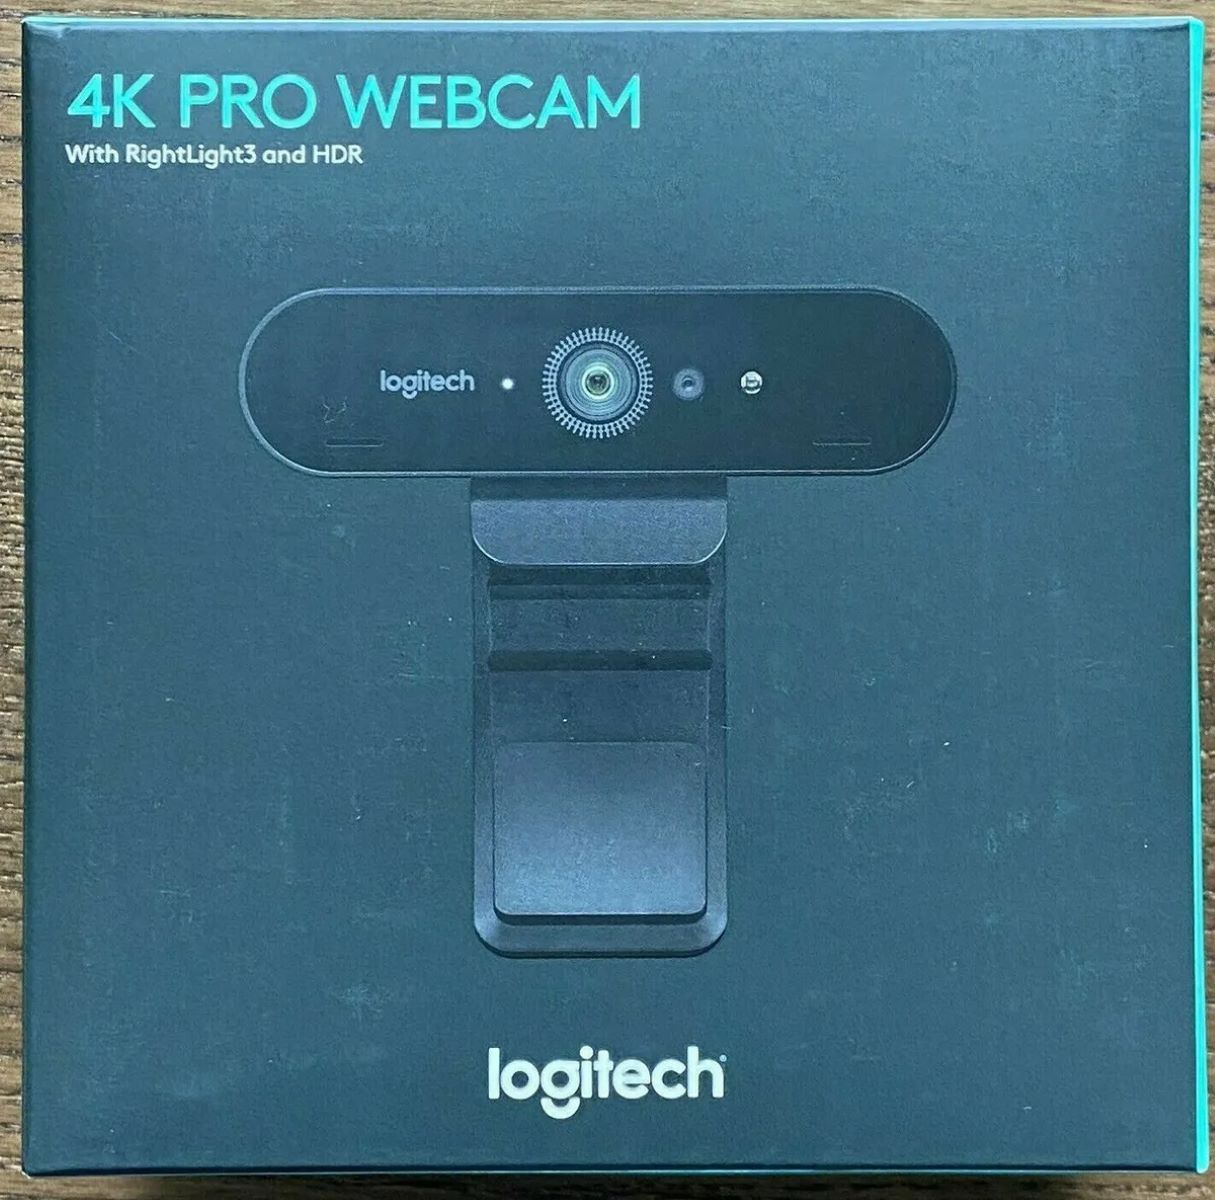
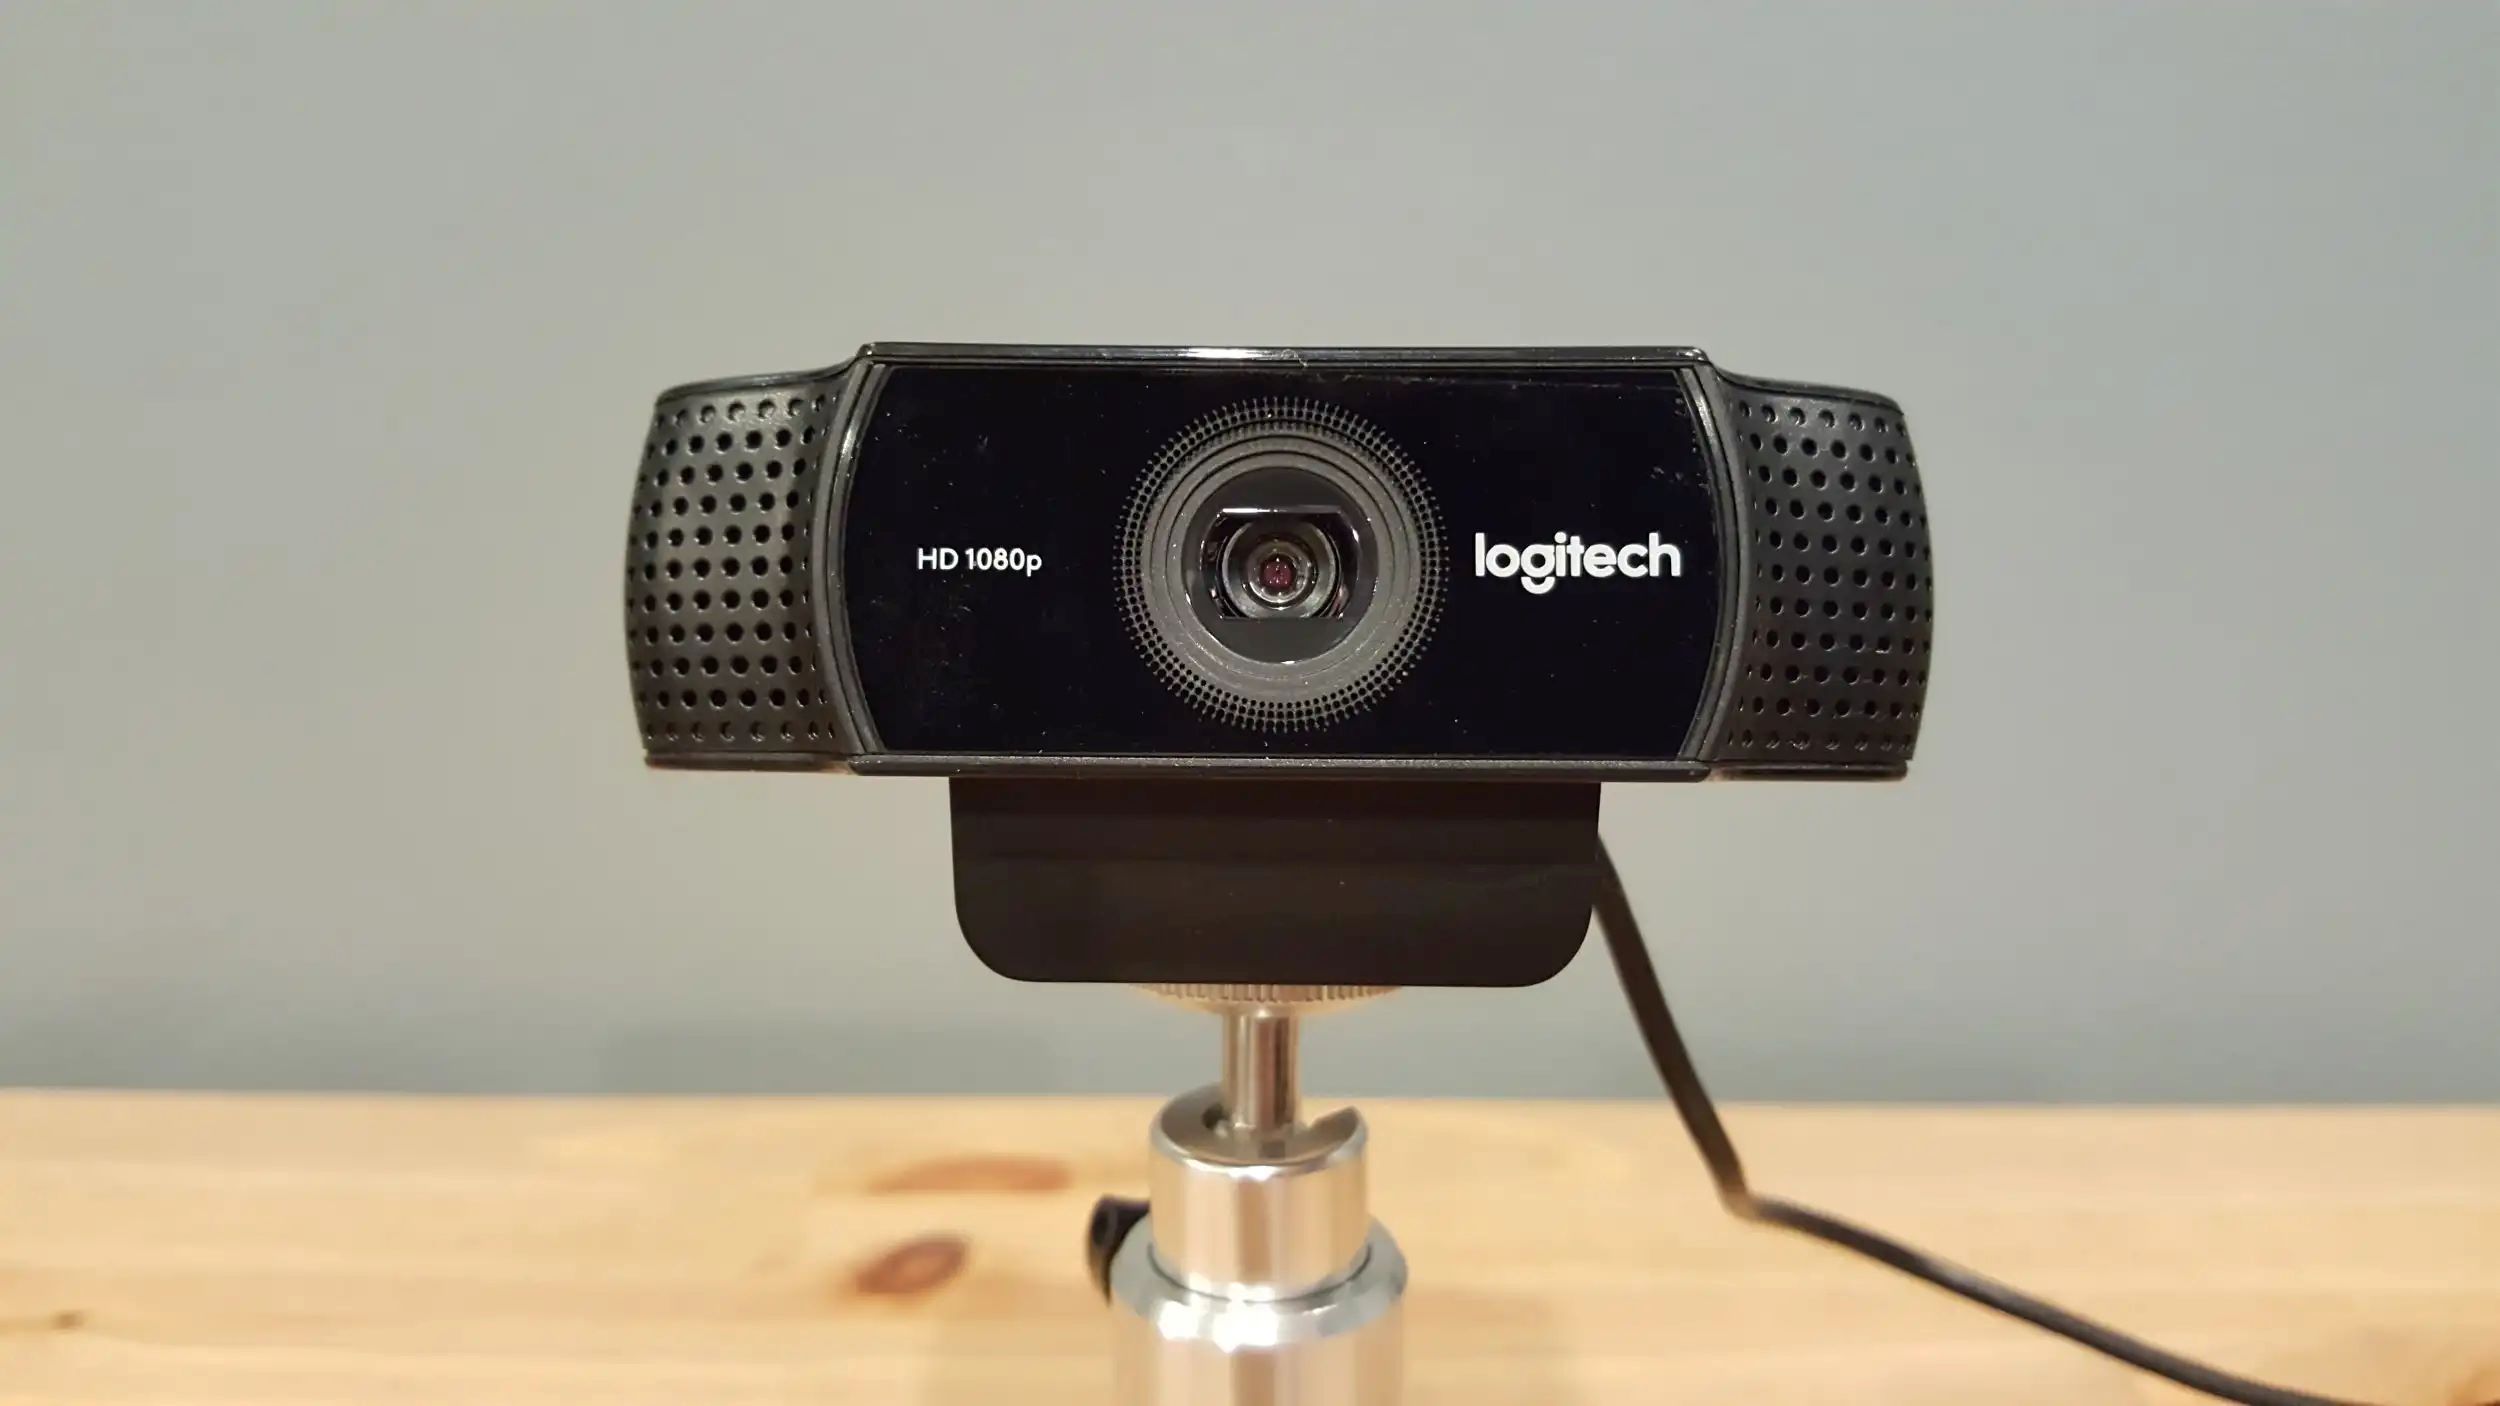
Understanding Your Logitech Webcam
Before we dive into the steps to zoom out on your Logitech webcam, it’s important to have a good understanding of the device itself. Logitech webcams are well-known for their exceptional quality and user-friendly features. Here are the key points to understand about your Logitech webcam:
1. Resolution: Logitech webcams come in various models, each with specific resolution capabilities. The resolution determines the level of detail and sharpness captured by the webcam. Higher-resolution webcams offer crisper and more detailed video, perfect for professional meetings or high-quality content creation.
2. Frame Rate: The frame rate refers to the number of frames per second that the webcam can capture. A higher frame rate helps to ensure smoother video playback, especially in situations where there is movement or action involved. Logitech webcams typically offer frame rates of 30 frames per second (fps) or higher.
3. Auto-Focus: Many Logitech webcams feature an auto-focus function, which can automatically adjust the focus to keep the subject sharp and clear. This is especially useful when there are changes in distance or movement during video calls or recordings.
4. Field of View: The field of view (FOV) is the extent of the scene that the webcam can capture. Logitech webcams offer different FOV options, ranging from wide-angle to narrow. A wider FOV allows for more content or people to be included in the frame, while a narrower FOV provides a more focused view.
5. Software Compatibility: Logitech webcams are compatible with various software applications and operating systems, including popular video conferencing platforms like Zoom, Microsoft Teams, and Skype. It’s essential to ensure that your webcam is compatible with the software you intend to use for video calls or recordings.
6. Additional Features: Logitech webcams often come with additional features, such as built-in microphones, noise cancellation technology, privacy shutters, and tripod mounts. These features can enhance your video conferencing experience and provide more versatility in how you use your webcam.
By familiarizing yourself with these details about your Logitech webcam, you’ll have a better grasp of its capabilities and functionalities. Understanding the resolution, frame rate, auto-focus, field of view, software compatibility, and additional features will help you make the most of your webcam and optimize your video settings accordingly.
Steps to Zoom Out of Logitech Webcam
Now that you have a good understanding of your Logitech webcam, let’s explore the steps to zoom out. There are two methods you can use: adjusting the zoom settings in the Logitech webcam software and using a keyboard shortcut.
1. Adjusting Zoom Settings in Logitech Webcam Software:
- Launch the Logitech webcam software on your computer.
- Locate the settings or options menu within the software. This might be represented by a gear icon.
- In the settings menu, look for an option related to webcam controls or video settings. This is where you can adjust various properties, including zoom.
- Within the video settings, you should find a zoom control or slider. Drag the slider towards the left to zoom out. As you adjust the zoom, check the preview window or your video feed to see the changes in real-time.
- Continue adjusting the zoom until you achieve the desired level. Remember to find the right balance between zooming out and maintaining clarity.
- Once you’re satisfied with the zoom level, close the settings menu. The new zoom setting will be saved for future use.
2. Zooming Out on Logitech Webcam Using the Keyboard Shortcut:
- Open the application or software you’re using your Logitech webcam with.
- Locate the keyboard shortcut for zooming in or out. This might vary depending on the software you’re using. Generally, it involves holding down a combination of keys, such as Ctrl + Shift + Minus (-) or Ctrl + Scroll Down.
- Press the appropriate keyboard shortcut for zooming out. You should notice the video feed or preview window adjusting to a wider view.
- Release the keys and check your video to ensure the desired zoom level has been achieved.
It’s worth noting that not all Logitech webcams have zoom capabilities. Some models may offer digital zoom, while others may offer optical zoom. Digital zoom works by cropping and enlarging the image digitally, which may result in a slight loss of quality. Optical zoom, on the other hand, adjusts the lens physically to achieve the desired zoom level without sacrificing image quality.
If you’re unable to find the zoom controls or encounter any issues while zooming out, refer to the user manual or the Logitech support website for your specific webcam model. Troubleshooting steps or additional guidance provided by Logitech can help you resolve any difficulties you may encounter.
Now that you know how to zoom out on your Logitech webcam, you can customize the zoom level according to your needs and ensure that your video captures a wider view or includes more elements. Experiment with different zoom settings to find the perfect balance that enhances your video conferencing experience.
Adjusting Zoom Settings in Logitech Webcam Software
One way to zoom out on your Logitech webcam is by adjusting the zoom settings within the Logitech webcam software. Here’s a step-by-step guide on how to do it:
- Launch the Logitech webcam software on your computer. If you haven’t installed it yet, you can download it from the Logitech website and follow the installation instructions.
- Once the software is open, locate the settings or options menu. This menu is typically represented by a gear icon and can usually be found in the top-right or top-left corner of the software interface.
- Click on the settings menu to access the various options and controls for your webcam settings.
- Look for an option related to webcam controls or video settings. The name and placement of this option may vary depending on the specific Logitech webcam software you are using.
- Within the video settings menu, you should find a zoom control or slider. This control allows you to adjust the zoom level of your webcam.
- To zoom out, simply drag the zoom slider towards the left. As you adjust the slider, you will notice the video feed or preview window zooming out accordingly.
- Continue dragging the zoom slider until you achieve the desired zoom level. It’s important to find the right balance between zooming out and maintaining clarity and quality in the image.
- Take a moment to review the video feed or preview window to ensure that the zoom level meets your requirements.
- Once you’re satisfied with the zoom level, close the settings menu. The new zoom setting will be saved and applied to your webcam for future use.
It’s important to note that the available zoom range may vary depending on the specific Logitech webcam model you have. Some webcams offer digital zoom, which involves cropping and enlarging the image digitally. Keep in mind that digital zoom may result in a slight loss of quality. Other webcams may offer optical zoom, which adjusts the lens physically to achieve the desired zoom level without sacrificing image quality.
If you encounter any difficulties in finding the zoom controls or experience issues while adjusting the zoom settings, refer to the user manual or visit the Logitech support website for your specific webcam model. Troubleshooting steps or additional guidance provided by Logitech can assist you in resolving any technical issues you may encounter.
By adjusting the zoom settings in the Logitech webcam software, you can easily zoom out and capture a wider view or include more elements in your video. Experiment with different zoom levels to find the perfect balance that enhances your video quality and meets your specific needs for online meetings, presentations, or other video-related activities.
Zooming Out on Logitech Webcam Using the Keyboard Shortcut
Another convenient method to zoom out on your Logitech webcam is by utilizing a keyboard shortcut. This allows you to adjust the zoom level with just a few keystrokes. Here’s a step-by-step guide on how to zoom out using the keyboard shortcut:
- Open the application or software you are using your Logitech webcam with. Ensure that your webcam is connected and recognized by the software.
- Determine the specific keyboard shortcut for zooming in or out. The keyboard shortcut may vary depending on the software or application you are using together with your Logitech webcam. Common keyboard shortcuts for zooming out include Ctrl + Shift + Minus (-) or Ctrl + Scroll Down.
- Press and hold down the appropriate keyboard shortcut combination for zooming out. For example, if the shortcut is Ctrl + Shift + Minus (-), press and hold down the Ctrl key, the Shift key, and the Minus (-) key simultaneously.
- While holding down the keys, you should see the video feed or preview window of your Logitech webcam adjusting to a wider view as you zoom out.
- Release the keys once you have achieved the desired zoom level. Take a moment to review the video feed and ensure that the zoom level suits your requirements.
It is important to note that the availability of keyboard shortcuts for zooming in or out may depend on the software or application you are using. Some video conferencing platforms and software applications have built-in zoom controls and predefined keyboard shortcuts, while others may require additional settings or customization within the software itself.
If you are unable to find a specific keyboard shortcut for zooming out, refer to the software’s help documentation or settings menu for more information. It is also recommended to check the Logitech webcam support website or user manual for any additional guidance or troubleshooting steps related to your specific webcam model.
By utilizing the keyboard shortcut for zooming out on your Logitech webcam, you can easily adjust the zoom level without needing to navigate through menus or settings. This allows for quick and convenient zooming to capture a wider view, include more elements, or enhance the framing in your video feed.
Experiment with different zoom levels and find the perfect balance that suits your specific needs for video conferences, presentations, online classes, or any other activities where clear and properly framed video is essential.
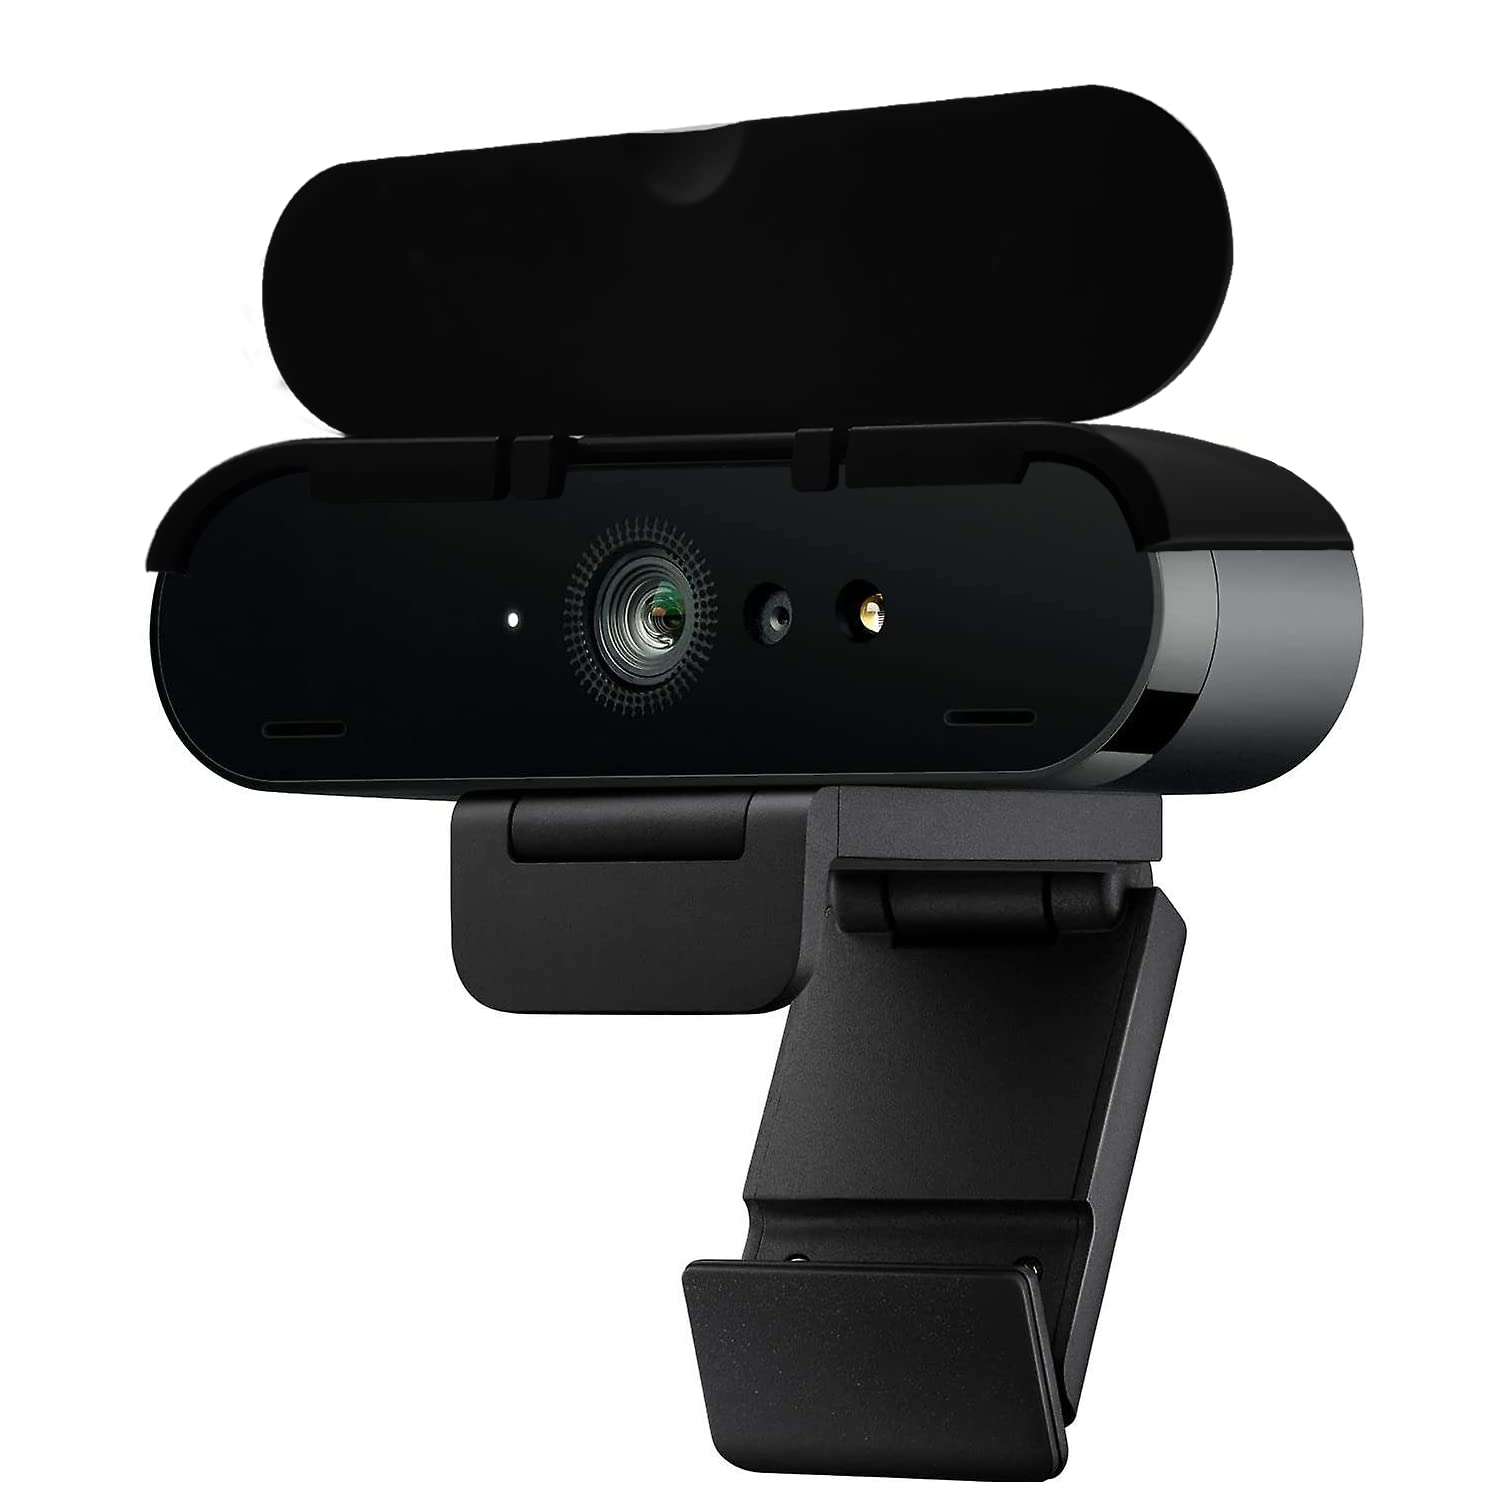
Zooming Out on Logitech Webcam Using the Physical Zoom Option
Some Logitech webcams offer a physical zoom option, allowing you to adjust the zoom level directly on the webcam itself. This method provides a convenient way to quickly zoom out without relying on software controls or keyboard shortcuts. Here’s a step-by-step guide on how to zoom out using the physical zoom option:
- Locate the physical controls on your Logitech webcam. The zoom control is usually represented by a dedicated zoom ring or button on the webcam.
- If your webcam has a zoom ring, gently rotate it towards the “minus” symbol or counterclockwise to zoom out. Pay attention to the video feed or preview window on your computer to see the changes in real-time as you rotate the zoom ring.
- If your webcam has a zoom button, press the button designated for zooming out. Each press of the button may shift the zoom level gradually, allowing you to zoom out step by step.
- Continue adjusting the physical zoom control until you achieve the desired zoom level. Take a moment to review the video feed to make sure that the zoom is set to your desired preference.
It’s important to note that not all Logitech webcams have a physical zoom option. Physical zoom is typically available on higher-end models and is achieved through the lens mechanism of the webcam. If your webcam does not have a physical zoom control, you can still zoom out using other methods such as adjusting the zoom settings in the Logitech webcam software or utilizing keyboard shortcuts.
In case you experience any difficulties or are uncertain about how to use the physical zoom option on your Logitech webcam, refer to the user manual or the Logitech support website for your specific webcam model. They can provide additional guidance or troubleshooting steps to ensure you can effectively use the physical zoom feature.
By utilizing the physical zoom option on your Logitech webcam, you can easily adjust the zoom level without the need for software controls or keyboard shortcuts. This allows for quick and intuitive zooming to capture a wider field of view or include more elements in your video feed. Experiment with different zoom levels to find the perfect balance that suits your specific needs for video conferences, online classes, or any other activities where a properly framed and clear video is essential.
Troubleshooting Zoom Issues
While using your Logitech webcam, you might encounter some issues related to zooming. Here are some common troubleshooting tips to help you address zoom-related problems:
1. Check webcam compatibility: Ensure that your Logitech webcam is compatible with the software or application you are using for video conferencing. Check the webcam’s specifications and verify if it is supported by the software you are using. If not, consider updating the software or using a different video conferencing platform that is compatible with your webcam.
2. Update webcam drivers: Outdated or incompatible webcam drivers can cause issues with zooming and other functionalities. Visit the Logitech website and download the latest drivers for your webcam model. Install the updated drivers and restart your computer to ensure the changes take effect.
3. Reset video settings: If you’re experiencing issues with zooming, reset the video settings in the Logitech webcam software or the video conferencing application you are using. Look for an option to reset the settings to their default values. This can help resolve any software-related conflicts and restore proper functionality.
4. Adjust lighting conditions: Poor lighting conditions can affect the clarity and performance of your webcam. Ensure that you have adequate lighting in the room. Avoid backlighting or overly bright light sources directly behind you as they can cause contrast issues and make it difficult for the webcam to focus properly. Experiment with different lighting setups to find the optimal conditions for your webcam.
5. Clean the lens: Over time, dust, fingerprints, or smudges can accumulate on the webcam lens, affecting image quality. Use a soft, lint-free cloth to gently clean the lens. Avoid using harsh chemicals or abrasive materials that could damage the lens surface.
6. Verify physical connection: Ensure that the USB connection between your Logitech webcam and computer is secure. Try disconnecting and reconnecting the webcam to a different USB port to rule out any issues with the connection. Additionally, make sure that the webcam is properly positioned and mounted to avoid any stability issues that may affect zooming functionality.
7. Consult Logitech support: If you have tried the above troubleshooting steps and still experience issues with zooming on your Logitech webcam, reach out to Logitech customer support. They can provide further guidance and assistance specific to your webcam model, ensuring a prompt resolution to any technical issues you may be facing.
By following these troubleshooting tips, you can address common zoom-related issues with your Logitech webcam. Remember to consult the user manual, Logitech support website, or the software’s help documentation for further instructions and troubleshooting steps specific to your webcam model.
Conclusion
Zooming out on your Logitech webcam can significantly enhance your video conferencing experience, allowing you to capture a wider view, include more elements, and improve framing. Whether you adjust the zoom settings in the Logitech webcam software, use a keyboard shortcut, or utilize the physical zoom option, having the ability to zoom out gives you the flexibility to adapt to different scenarios and ensure that everyone or everything you want to capture is clearly visible.
Throughout this guide, we have discussed why zooming out can be beneficial, the key features of Logitech webcams, and provided step-by-step instructions for adjusting the zoom settings in the webcam software, using a keyboard shortcut, and utilizing the physical zoom option. Additionally, we have provided troubleshooting tips to address any zoom-related issues you may encounter.
Remember to consider factors like resolution, frame rate, auto-focus, field of view, and software compatibility when using your Logitech webcam. Explore the different zoom options available on your webcam and find the perfect balance that suits your specific needs for video calls, presentations, online classes, and other activities where clear and properly framed video is essential.
If you encounter any difficulties or have specific questions about your Logitech webcam, consult the user manual or visit the Logitech support website for your specific webcam model. They can provide additional guidance, troubleshooting steps, and specific recommendations for optimizing your webcam’s zoom functionality.
With the ability to zoom out on your Logitech webcam, you can take your video conferencing and content creation to the next level, ensuring that you present yourself and your surroundings in the best possible way. Embrace the flexibility and versatility that zooming out offers and enhance your video communication experience.