Introduction
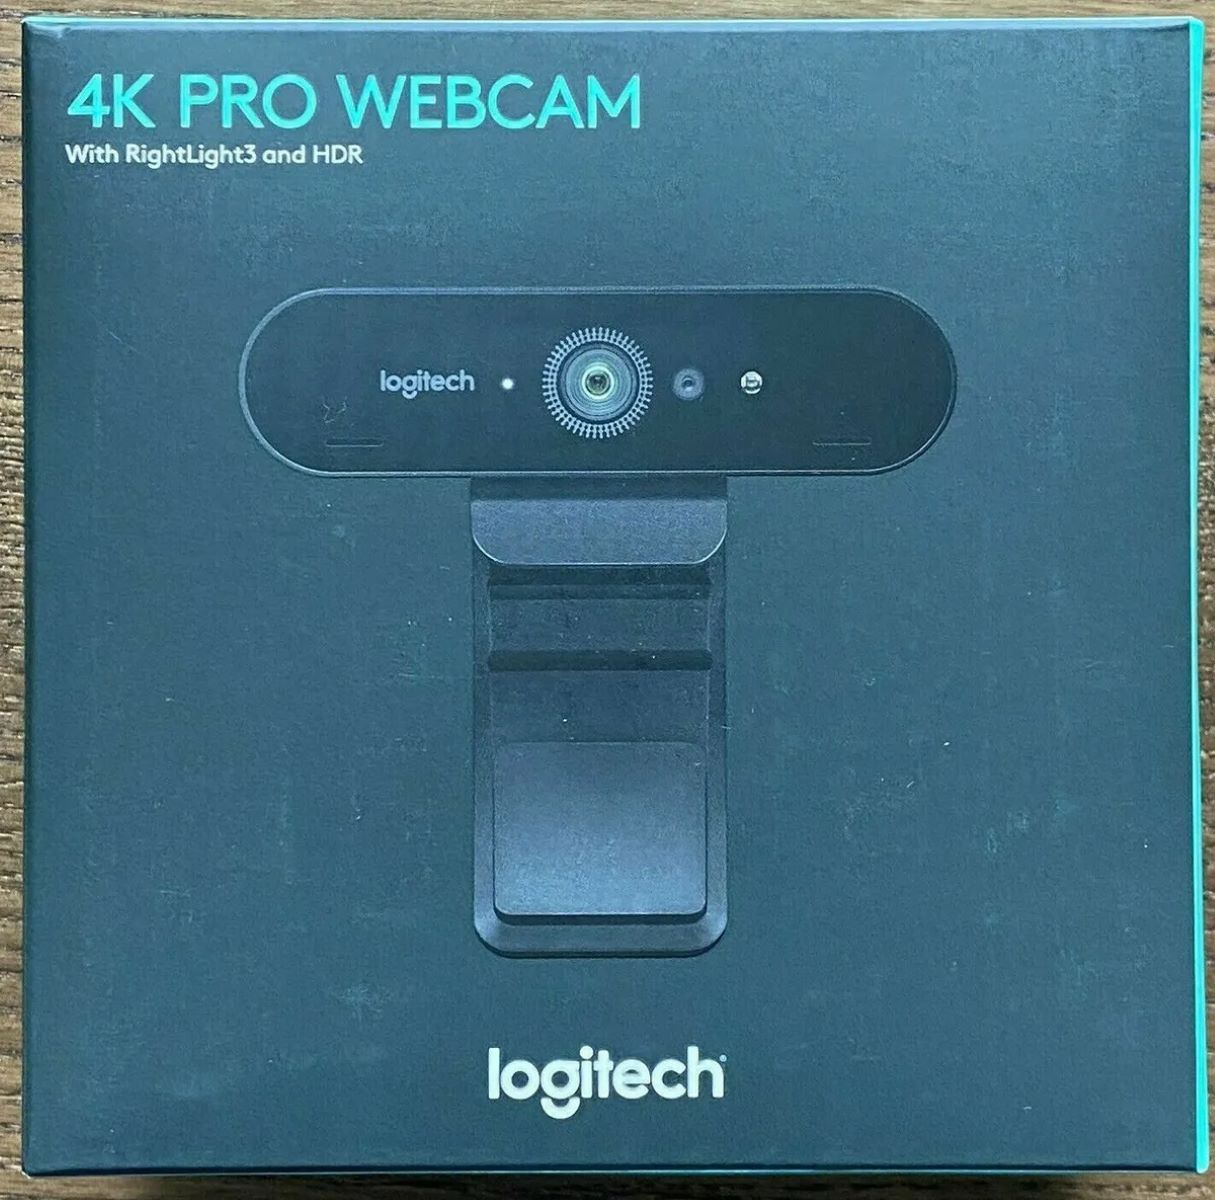
Welcome to the world of high-quality video conferencing and streaming with the Logitech Brio Webcam! With its stunning 4K resolution, advanced optics, and versatile features, the Logitech Brio is a top choice for professionals and enthusiasts alike. In this guide, we will walk you through the step-by-step process of setting up your Logitech Brio Webcam for an optimal experience.
As the demand for remote work and virtual meetings continues to grow, having a reliable and high-performing webcam is essential. The Logitech Brio offers exceptional video quality, delivering crystal-clear visuals that will make you feel like you’re in the same room as your colleagues or friends.
Before we dive into the setup process, let’s take a moment to explore some key features of the Logitech Brio Webcam. Firstly, the webcam boasts a remarkable 4K Ultra HD resolution, allowing you to capture every detail with incredible clarity. This is especially beneficial for presentations, video conferences, or live streaming where image quality is paramount.
In addition to its impressive resolution, the Logitech Brio features RightLight 3 with HDR technology, ensuring excellent performance under any lighting condition. This feature dynamically adjusts the exposure and contrast levels, resulting in well-balanced and accurate colors. So whether you’re working in a brightly-lit office or a dimly-lit room, the Logitech Brio will adapt to provide you with optimal image quality.
Furthermore, the webcam is equipped with a 5x HD zoom function, allowing you to focus on specific details or zoom out to capture a wider area. This flexibility is particularly useful for product demonstrations, whiteboard presentations, or sharing physical objects during video calls.
The Logitech Brio also supports advanced technical features such as Windows Hello facial recognition and infrared-based biometric authentication. These features add an extra layer of security by allowing you to log in to your computer or applications using your face, ensuring a seamless and secure authentication process.
Now that we’ve explored some of the standout features of the Logitech Brio Webcam, let’s move on to the step-by-step setup process. Whether you’re a business professional, content creator, or simply looking to upgrade your video calling experience, this guide will help you get the most out of your Logitech Brio Webcam.
Step 1: Unboxing the Logitech Brio Webcam
Congratulations on your new Logitech Brio Webcam! The first step towards enjoying its impressive features is unboxing it. Let’s get started!
When you receive your Logitech Brio Webcam, you’ll notice that it comes in a well-designed and sturdy packaging. Carefully open the box and remove its contents. Inside, you’ll find the Logitech Brio Webcam itself, a USB cable, and a privacy cover. Take a moment to inspect the webcam for any signs of damage during shipping. If everything looks good, proceed to the next step.
Next, grab the USB cable included in the box. This cable will be used to connect the Logitech Brio Webcam to your computer. The USB cable provided is of high quality and ensures a reliable and fast connection between the webcam and your device.
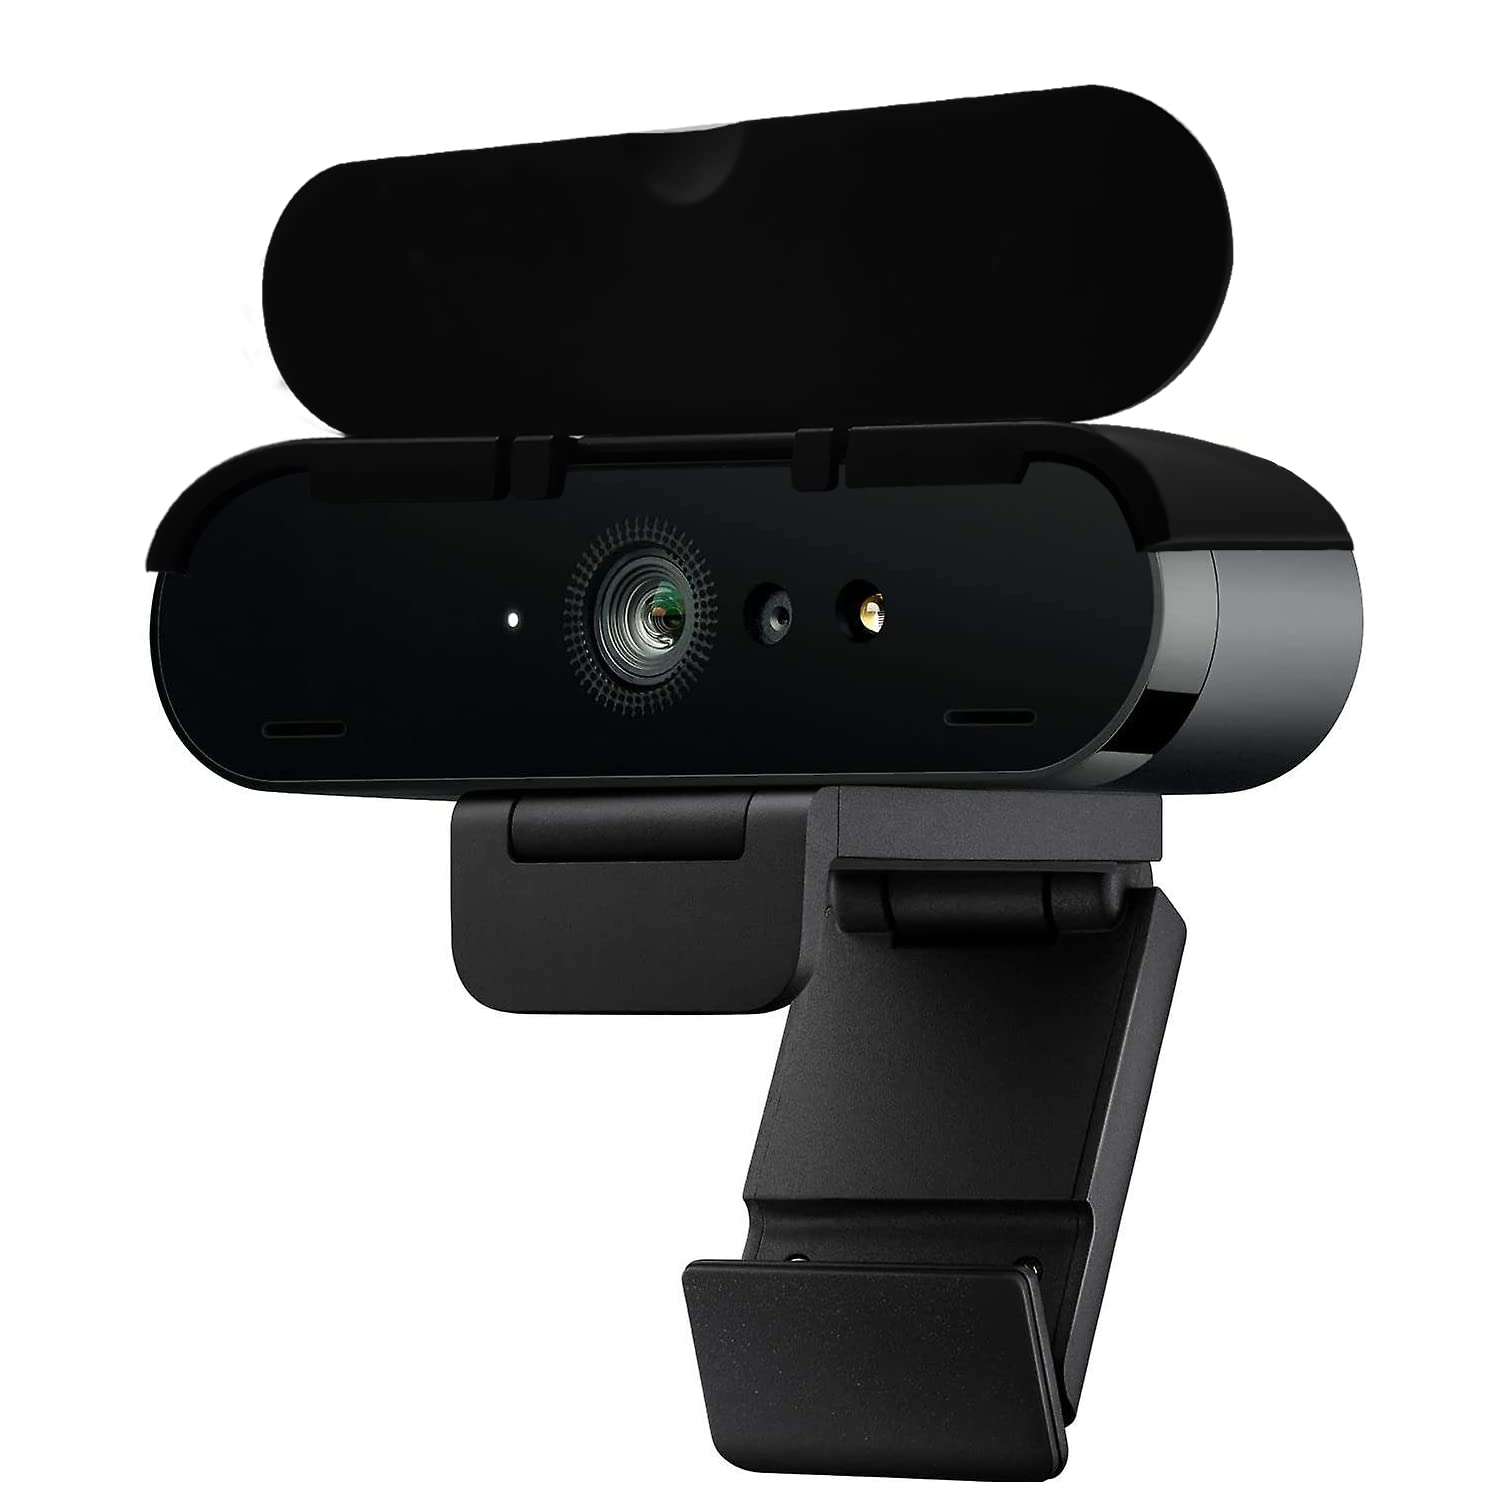
Lastly, you’ll find a privacy cover included with your Logitech Brio Webcam. This cover is designed to give you peace of mind and protect your privacy. Simply slide the cover over the webcam when it’s not in use to physically block the camera lens. This is especially useful in situations where you want to ensure privacy during video calls or when you’re not using the webcam for an extended period.
It’s important to note that the Logitech Brio Webcam does not require any additional accessories or components for basic functionality. However, if you wish to mount the webcam on a tripod or on top of your monitor, you may need to purchase compatible accessories separately.
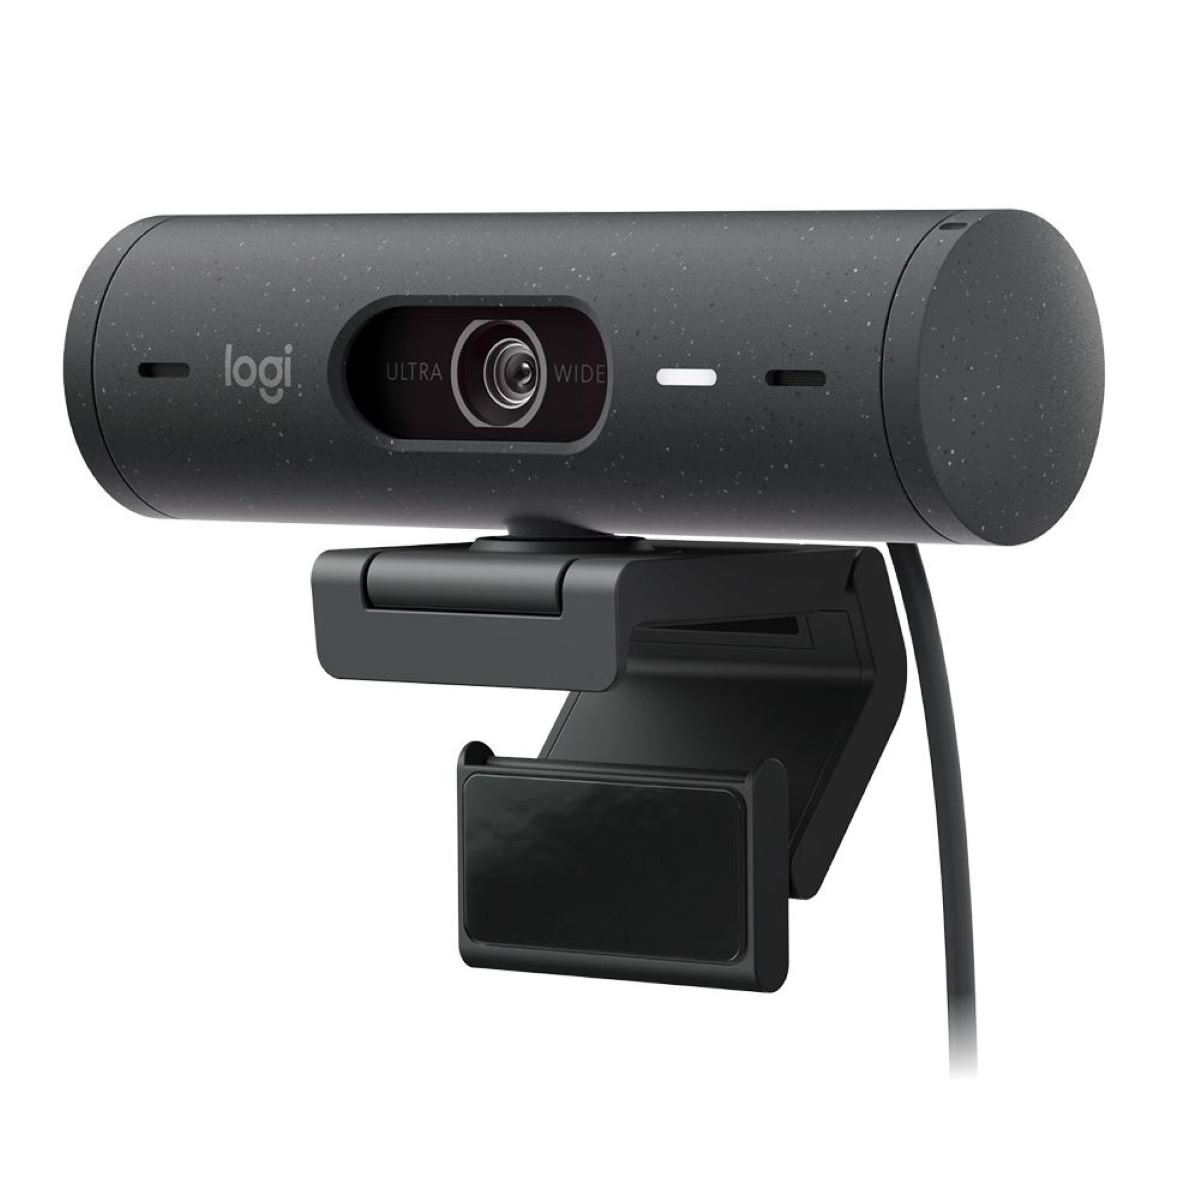
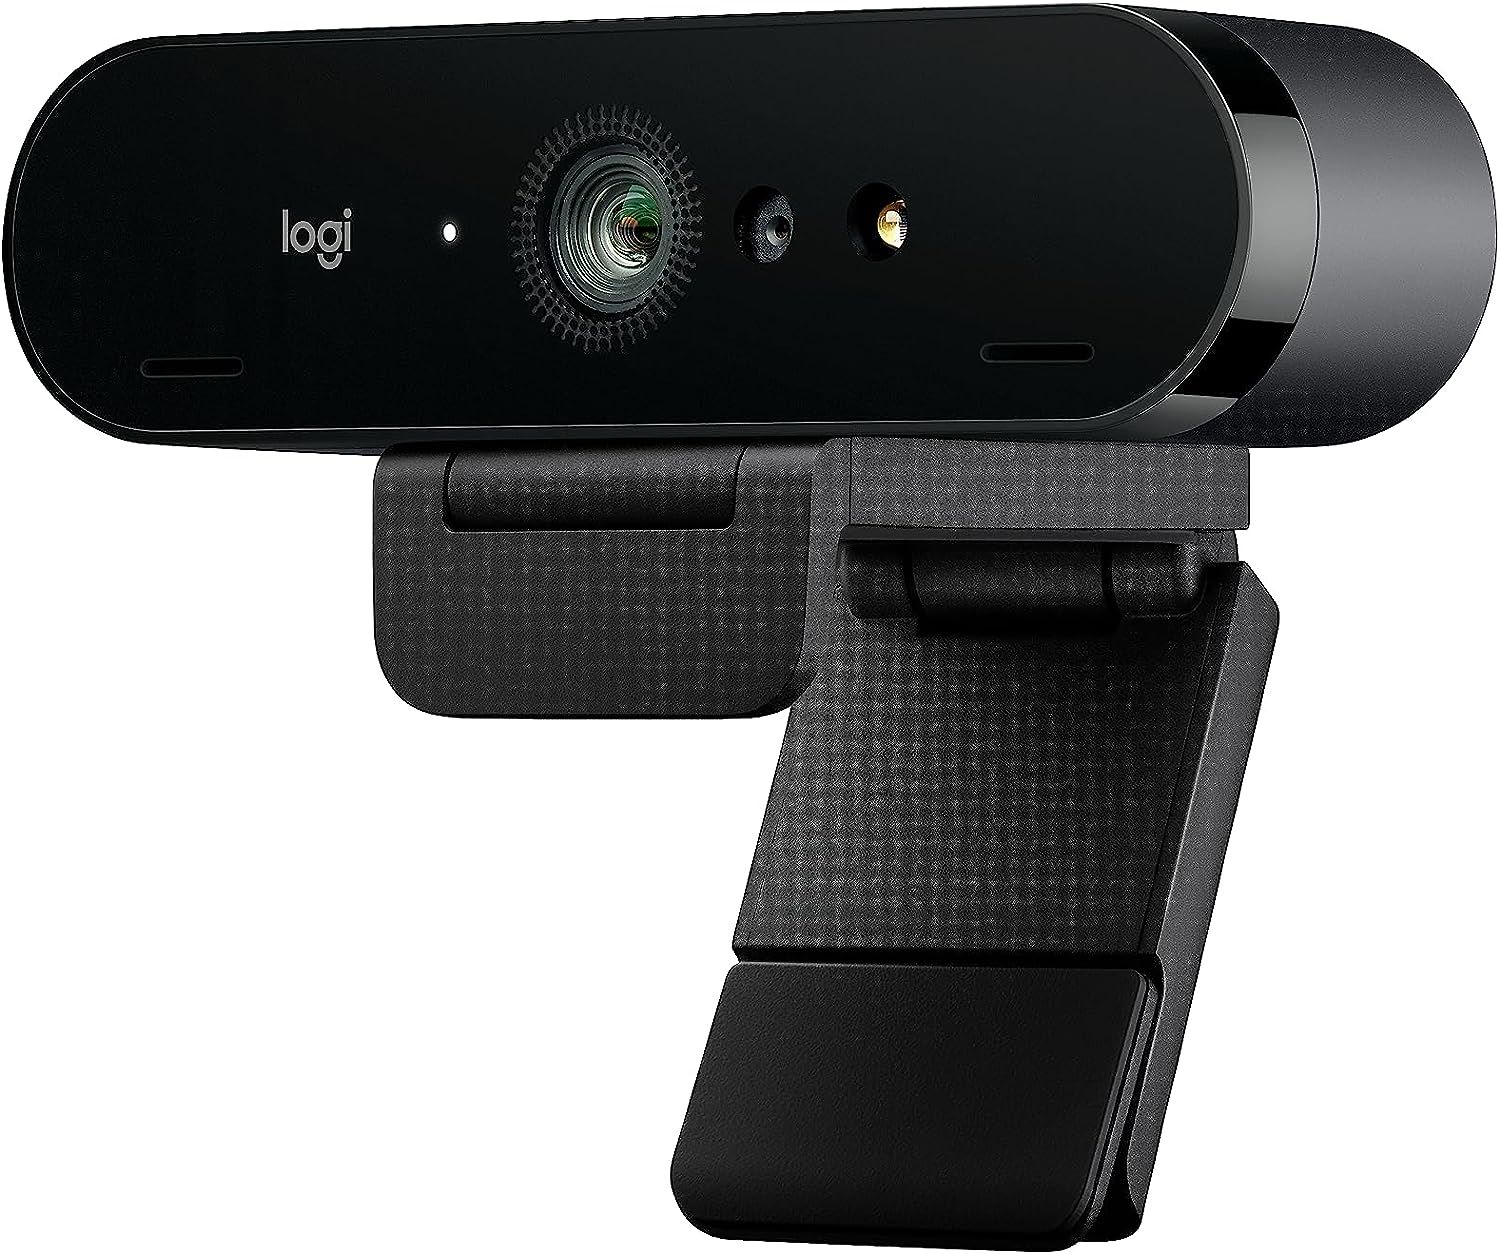
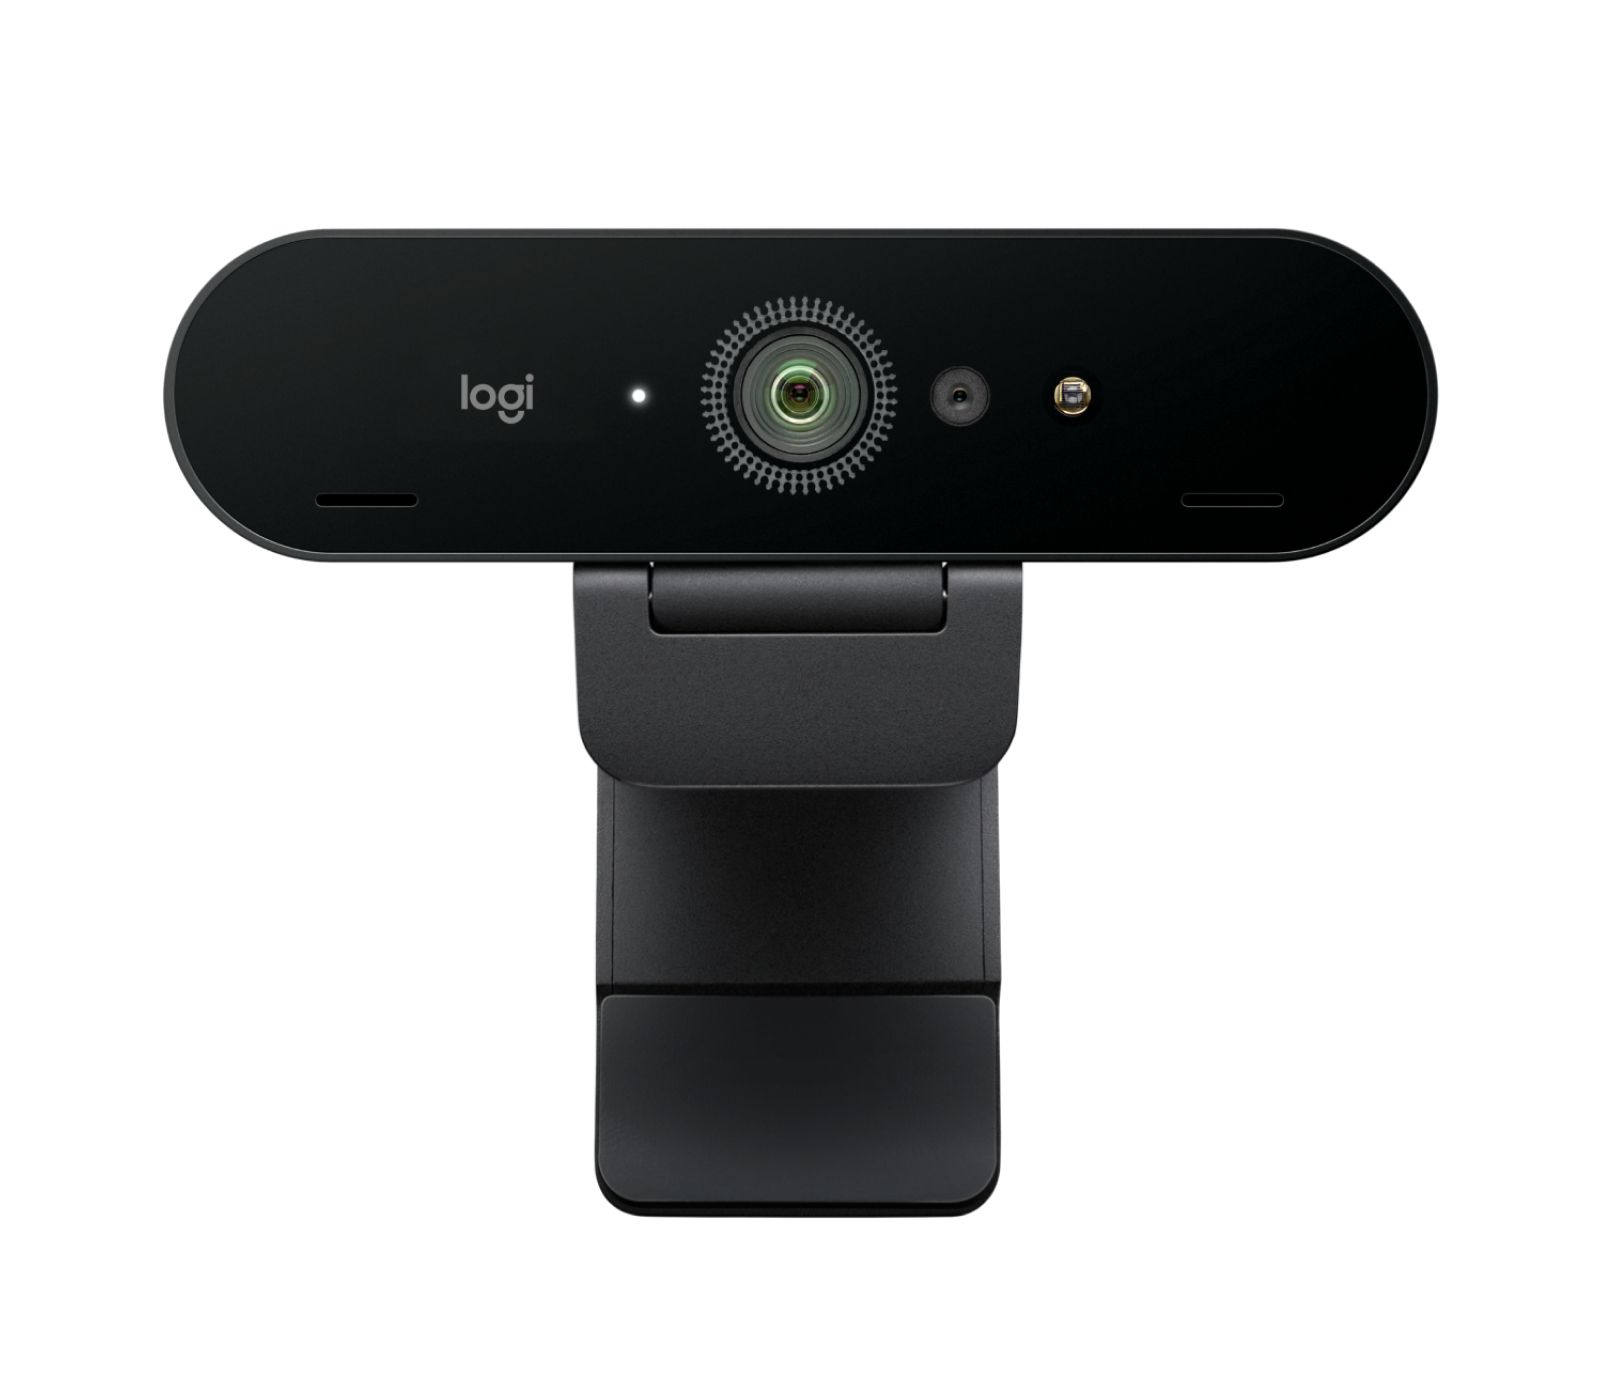
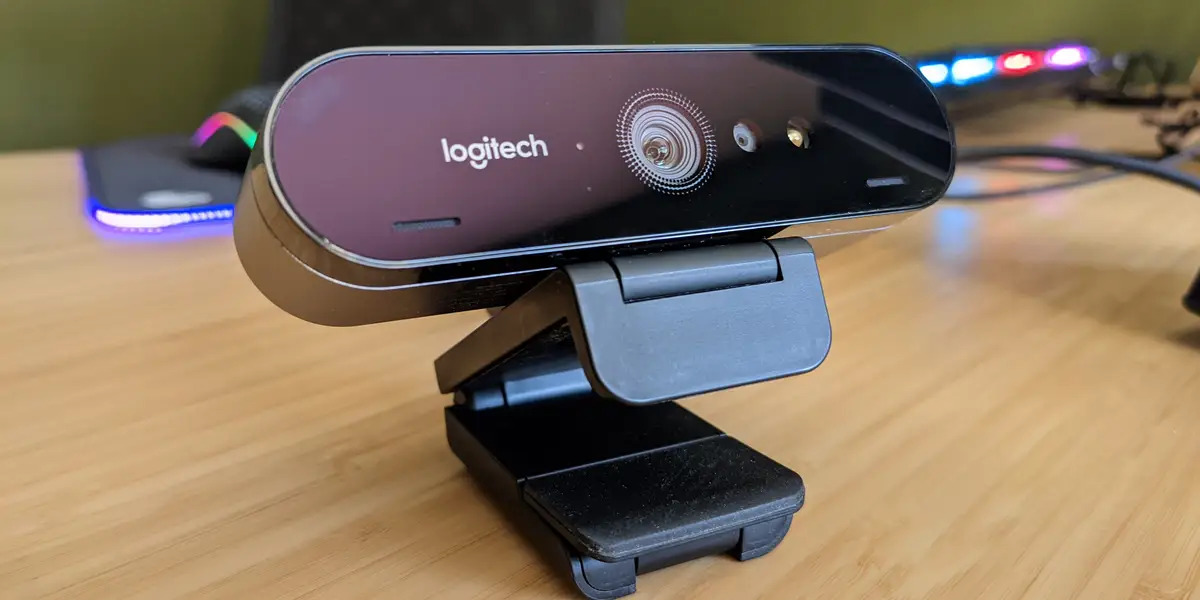
Before moving on to the next step, take a moment to familiarize yourself with the Logitech Brio Webcam and its physical features. The webcam has a sleek and compact design that blends well with any computer setup. On the front, you’ll find the camera lens, and on the back, there is a USB port for connecting the webcam to your computer.
With the Logitech Brio Webcam unboxed and ready to go, you’re one step closer to experiencing high-quality video conferencing and streaming. Now, let’s move on to the next step and connect the webcam to your computer.
Step 2: Connecting the Webcam to Your Computer
Now that you have unboxed your Logitech Brio Webcam, it’s time to connect it to your computer and get it up and running. Follow the steps below to ensure a seamless connection:
1. Locate an available USB port on your computer. The Logitech Brio Webcam uses a USB connection, so make sure you have a free USB port available. If your computer has multiple USB ports, choose one that is easily accessible for convenience.
2. Take the USB cable that came packaged with the Logitech Brio Webcam and plug one end into the webcam’s USB port. The port is located on the back of the webcam.
3. Plug the other end of the USB cable into the USB port on your computer. Once plugged in, your computer should detect and recognize the webcam automatically. It may take a few moments for the computer to install the necessary drivers and software.
4. To verify that the Logitech Brio Webcam is connected and functioning properly, you can check the device on your computer. Depending on your operating system, you can go to “Device Manager” on Windows or “System Preferences” on macOS and look for the webcam under the “Cameras” or “Devices” section. If the webcam is listed and there are no exclamation marks or error indicators, it indicates a successful connection.
5. If the webcam is not detected or working properly, try unplugging the USB cable and plugging it back in. Restarting your computer can also help resolve any connection issues. If problems persist, refer to the troubleshooting section in this guide or consult the Logitech support website for further assistance.
Connecting the Logitech Brio Webcam to your computer is a straightforward process. Once connected, you’re ready to move on to the next step of installing the necessary software to unlock the webcam’s full potential. In the next section, we will guide you through the installation process of the Logitech Capture software.
Step 3: Installing Logitech Capture Software
In order to take full advantage of the advanced features and customization options of your Logitech Brio Webcam, it is recommended to install the Logitech Capture software. This software allows you to adjust various settings, apply filters and effects, and even record videos with ease. Follow the steps below to install the Logitech Capture software:
1. Visit the official Logitech website at www.logitech.com and navigate to the Support or Downloads section. Search for the Logitech Brio Webcam and locate the appropriate software for your operating system (Windows or macOS).
2. Click on the download link to start downloading the Logitech Capture software to your computer. Once the download is complete, locate the downloaded file and double-click on it to begin the installation process.
3. Follow the on-screen prompts to complete the installation. The Logitech Capture software is user-friendly and provides clear instructions throughout the installation process. Accept any licensing agreements and choose the installation location if prompted.
4. Once the installation is complete, launch the Logitech Capture software. Connect your Logitech Brio Webcam to your computer if you haven’t already done so. The software should automatically detect the webcam and display the live video feed on the screen.
5. Familiarize yourself with the various features and settings available in the Logitech Capture software. Explore options such as adjusting brightness, contrast, and zoom settings, applying filters and effects, and configuring audio settings. Take some time to experiment with the different features to customize your video output according to your preferences.
6. In addition to the basic settings, the Logitech Capture software also offers advanced features such as recording videos, capturing photos, and streaming directly to popular platforms like YouTube and Twitch. Take advantage of these features to enhance your content creation or video conferencing experience.
By installing the Logitech Capture software, you unlock a world of possibilities to personalize your Logitech Brio Webcam and maximize its potential. Explore the software’s features and experiment with different settings for a truly customized video experience.
With the Logitech Capture software successfully installed, it’s time to move on to the next step and configure the webcam settings to ensure optimal performance. In the following section, we will guide you through adjusting the webcam settings to enhance your video quality.
Step 4: Adjusting Webcam Settings
After installing the Logitech Capture software, you have the power to fine-tune the settings of your Logitech Brio Webcam to achieve the best video quality for your needs. Follow these steps to adjust the webcam settings:
1. Launch the Logitech Capture software on your computer. You should see the live video feed from your Logitech Brio Webcam displayed on the screen.
2. Locate the toolbar or menu options within the software interface. Look for icons or labels that represent various settings and adjustments for your webcam.
3. Explore the different settings available to customize your video output. Common options include brightness, contrast, saturation, white balance, and focus. Adjust these settings according to your preferences to achieve the desired video quality.
4. Experiment with the zoom feature on your Logitech Brio Webcam. Depending on your software configuration, you may be able to digitally zoom in and out using the software interface. Find the zoom controls and test them out to determine the optimal zoom level for your activities.
5. Take advantage of the Logitech Capture software’s advanced features. Depending on the software version and your operating system, you may have access to additional settings such as background replacement, facial recognition, and scene filters. Explore these options to add a touch of creativity or professionalism to your video output.
6. Remember to monitor the changes in the live video feed as you adjust the settings. Continuously review and fine-tune the settings until you achieve the desired video quality and appearance.
7. Consider recording a short video or capturing a photo using the Logitech Capture software to test the adjusted settings. This allows you to see the changes in action and make further adjustments if necessary.
Keep in mind that the optimal settings for your Logitech Brio Webcam may vary depending on your specific needs and the environment in which you are using it. Take your time to experiment and find the settings that work best for you.
With the webcam settings adjusted to your liking, you’re ready to move on to the next step and mount the Logitech Brio Webcam in a suitable position for your video calls or streaming sessions. In the following section, we will guide you through the process of mounting the webcam.
Step 5: Mounting the Webcam
Mounting your Logitech Brio Webcam is essential for achieving the optimal camera angle and stability during video calls or streaming sessions. Follow these steps to securely mount your webcam:
1. Determine the mounting option that suits your setup. The Logitech Brio Webcam offers multiple mounting options, including attaching it to a tripod, mounting it on a monitor, or using a standalone mount. Choose the option that best fits your needs and the layout of your workspace.
2. If you are using a tripod, attach the Logitech Brio Webcam to the tripod’s mounting plate. Most tripods have a universal screw mount, making it easy to attach the webcam. Ensure that the screw is securely tightened to prevent the webcam from shifting or coming loose during use.
3. If you prefer to mount the webcam on your computer monitor, locate the monitor mounting clip included with the Logitech Brio Webcam. Gently open the clip and position it on top of your monitor, ensuring a firm and stable grip. Once in place, carefully slide the Logitech Brio Webcam into the clip and adjust the angle as desired.
4. For those who prefer a standalone mount, you can purchase compatible webcam mounts separately. These mounts provide flexibility in positioning the camera on your desk or any flat surface. Follow the instructions provided with the mount to securely attach the Logitech Brio Webcam to the stand.
5. Once the webcam is mounted, adjust the position and angle to suit your needs. Ensure that the camera is facing your desired focal point, whether it’s yourself, a whiteboard, or a specific area of your workspace. Take time to fine-tune the angle and tighten any adjustment knobs or screws to lock the position in place.
6. Test the stability of the mounted webcam by gently tapping the desk or monitor. It should remain secure and steady without any excessive movement or wobbling. If needed, make further adjustments to secure the webcam in place.
Mounting the webcam ensures a consistent and reliable camera angle, eliminating any unnecessary movement or shifts during your video calls or streaming sessions. It enhances the overall professionalism and stability of your online presence.
With your Logitech Brio Webcam securely mounted, it’s time to move on to the next step and test the webcam to ensure everything is working as expected. In the following section, we will guide you through the testing process.
Step 6: Testing the Webcam
Now that your Logitech Brio Webcam is set up and ready to go, it’s essential to perform a quick test to ensure that everything is working correctly. Follow these steps to test your webcam:
1. Open the video conferencing or streaming application of your choice on your computer. It could be Zoom, Skype, Microsoft Teams, OBS Studio, or any other application you typically use for video calls or streaming.
2. Access the settings or preferences within the application and locate the “Video” or “Camera” settings. In this section, you can select the Logitech Brio Webcam as your default camera device. If it’s already selected, proceed to the next step.
3. Initiate a video call or start your streaming session within the application. You should now see the live video feed from your Logitech Brio Webcam displayed on your screen. Ensure that the video quality is clear, and there are no issues with lag or delay.
4. While in a call or streaming session, test the audio and video synchronization. Speak into your microphone and observe if the video captures your lip movements in sync with your voice. Any discrepancy may indicate an issue with the settings or software configuration.
5. Check the video quality and ensure that the image is sharp, well-lit, and properly focused. If necessary, make adjustments to the webcam settings through the Logitech Capture software or the application you are using to further enhance the video quality.
6. Experiment with various features and settings such as zoom, filters, and effects to see how they impact the video output. This will give you a better understanding of the capabilities of your Logitech Brio Webcam and allow you to personalize your video calls or streaming sessions.
7. If you encounter any issues during the testing process, refer to the troubleshooting section of this guide or consult the Logitech support website for guidance and solutions to common problems.
By conducting a thorough webcam test, you can ensure that your Logitech Brio Webcam is functioning properly and delivering the desired video quality for your video calls, conferences, or streaming sessions. It’s essential to address any issues before important meetings or events to avoid any disruptions during your online interactions.
With the webcam successfully tested, you’re well on your way to utilizing the full potential of your Logitech Brio Webcam. In the next step, we will provide some troubleshooting tips and additional suggestions to enhance your webcam experience.
Step 7: Troubleshooting and Tips
While setting up and using your Logitech Brio Webcam, you might encounter some common issues or have questions about optimizing your experience. In this step, we will provide you with troubleshooting tips and additional suggestions to help you overcome any challenges and enhance your webcam experience:
1. Ensure proper lighting: Make sure you have sufficient lighting in your environment. Good lighting helps improve the overall video quality and creates a more professional appearance. Avoid backlighting where possible, as it can result in a dark silhouette.
2. Check your internet connection: A stable and high-speed internet connection is crucial for smooth video calls or streaming. If you experience lag or poor video quality, consider troubleshooting your internet connection or contacting your service provider for assistance.
3. Update drivers and software: Regularly update your Logitech Capture software, webcam drivers, and video conferencing/streaming applications to ensure compatibility and access the latest features and bug fixes. Check the Logitech website or the application’s official website for updates.
4. Adjust audio settings: If you’re experiencing issues with audio during video calls, check the microphone settings in your video conferencing application. Make sure the Logitech Brio Webcam’s microphone is selected as the default audio input device.
5. Ensure privacy: When not using the webcam, remember to slide the privacy cover over the camera lens to protect your privacy and prevent unintentional activation. This feature ensures peace of mind even when you’re not using the webcam.
6. Test different backgrounds: If you’re using the Logitech Capture software, experiment with background replacement options, such as applying a virtual background or a blurred background, to create an immersive and professional video experience.
7. Utilize keyboard shortcuts: Familiarize yourself with the keyboard shortcuts available in your video conferencing software or streaming application. These shortcuts can help you quickly access essential features and make your online interactions more efficient.
8. Reach out for support: If you encounter any technical issues or have specific questions about your Logitech Brio Webcam, don’t hesitate to reach out to Logitech’s customer support for assistance. They are there to help guide you through any challenges you may encounter.
By following these troubleshooting tips and implementing additional suggestions, you’ll be able to overcome common issues and make the most of your Logitech Brio Webcam. Remember that practice and experimentation are key to achieving optimal results when using any new technology.
Now that you’re well-equipped with troubleshooting knowledge and additional tips, you’re ready to enjoy seamless video conferencing, streaming, and content creation with your Logitech Brio Webcam!
Conclusion
Congratulations! You have successfully set up your Logitech Brio Webcam and are now equipped to enjoy high-quality video conferencing, streaming, and content creation. Throughout this guide, we have walked you through the step-by-step process of unboxing the webcam, connecting it to your computer, installing the Logitech Capture software, adjusting the webcam settings, mounting the webcam, testing it, and providing troubleshooting tips.
The Logitech Brio Webcam offers outstanding features such as 4K Ultra HD resolution, advanced optics, and customizable settings that allow you to achieve professional-grade video quality. Its versatility and user-friendly nature make it a top choice for business professionals, content creators, and anyone in need of a reliable webcam for remote meetings, presentations, or live streaming.
Remember to keep your webcam drivers, Logitech Capture software, and video conferencing/streaming applications up to date to ensure optimal performance and compatibility. Regularly check for firmware updates and explore any additional features or improvements added by Logitech.
Make the most of the Logitech Capture software to fine-tune your webcam settings, adjust lighting, apply filters, and explore creative options. Experiment with different angles, backgrounds, and zoom levels to create a personalized and professional video experience.
Should you encounter any issues during setup or usage, always refer to the troubleshooting section of this guide or seek assistance from Logitech’s customer support. They are available to help you address any technical difficulties and ensure a smooth webcam experience.
With your Logitech Brio Webcam, you now have the tools to elevate your online interactions and visualize yourself in a whole new way. Whether it’s collaborating with colleagues, delivering presentations, connecting with loved ones, or engaging with your audience through live streaming, the Logitech Brio Webcam will enhance your virtual presence and elevate your communication.
So go ahead, start using your Logitech Brio Webcam, and unlock the full potential of high-quality video communication! Enjoy the crystal-clear visuals, seamless functionality, and professional-grade performance that the Logitech Brio Webcam offers.
Thank you for choosing the Logitech Brio Webcam. Wishing you success and satisfaction as you embark on your video conferencing and streaming journey!