Introduction
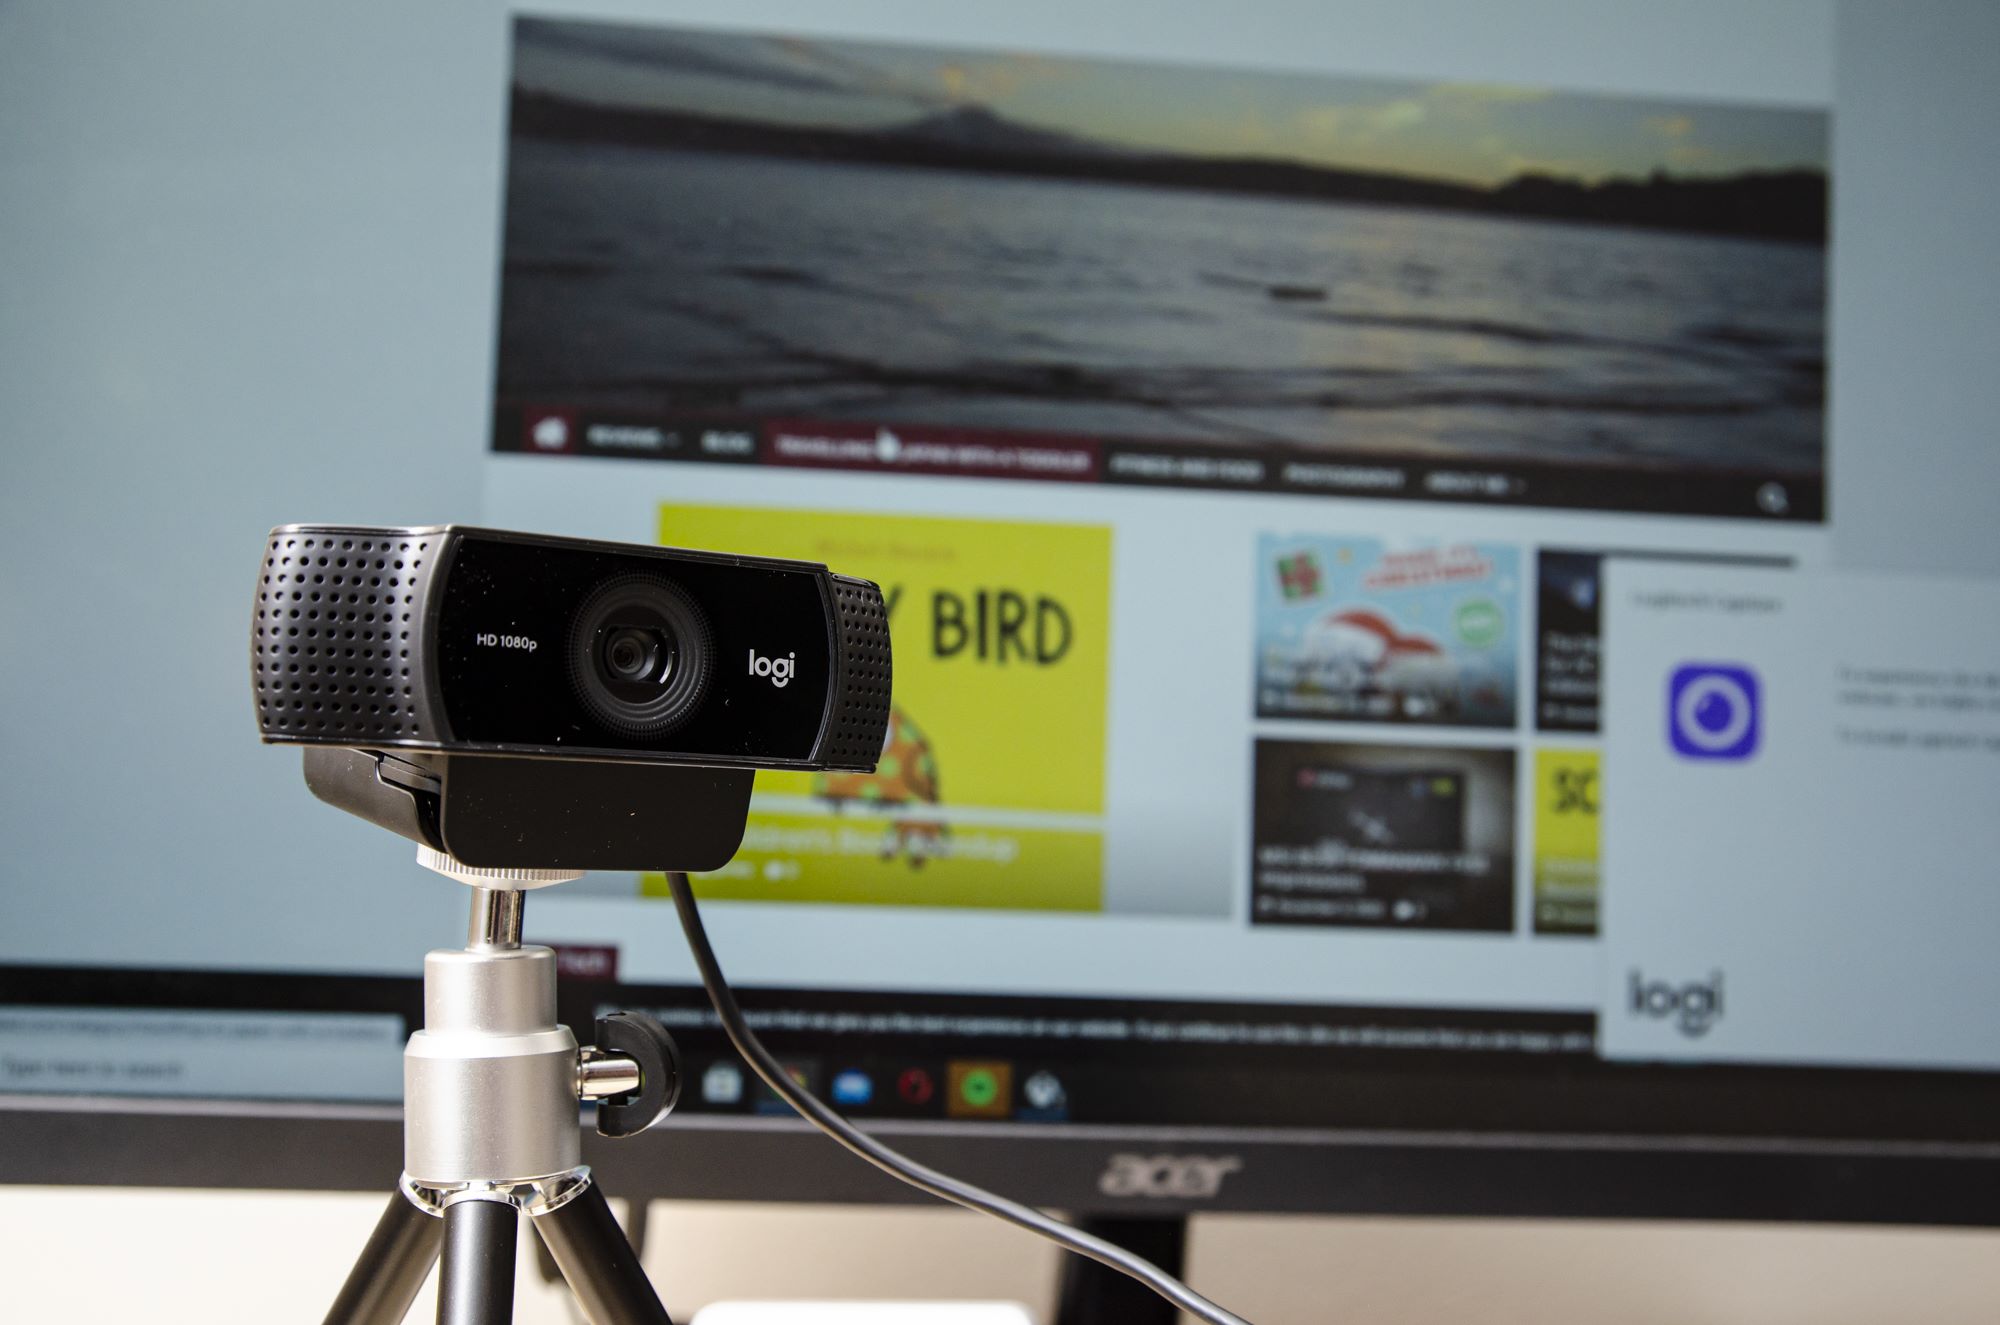
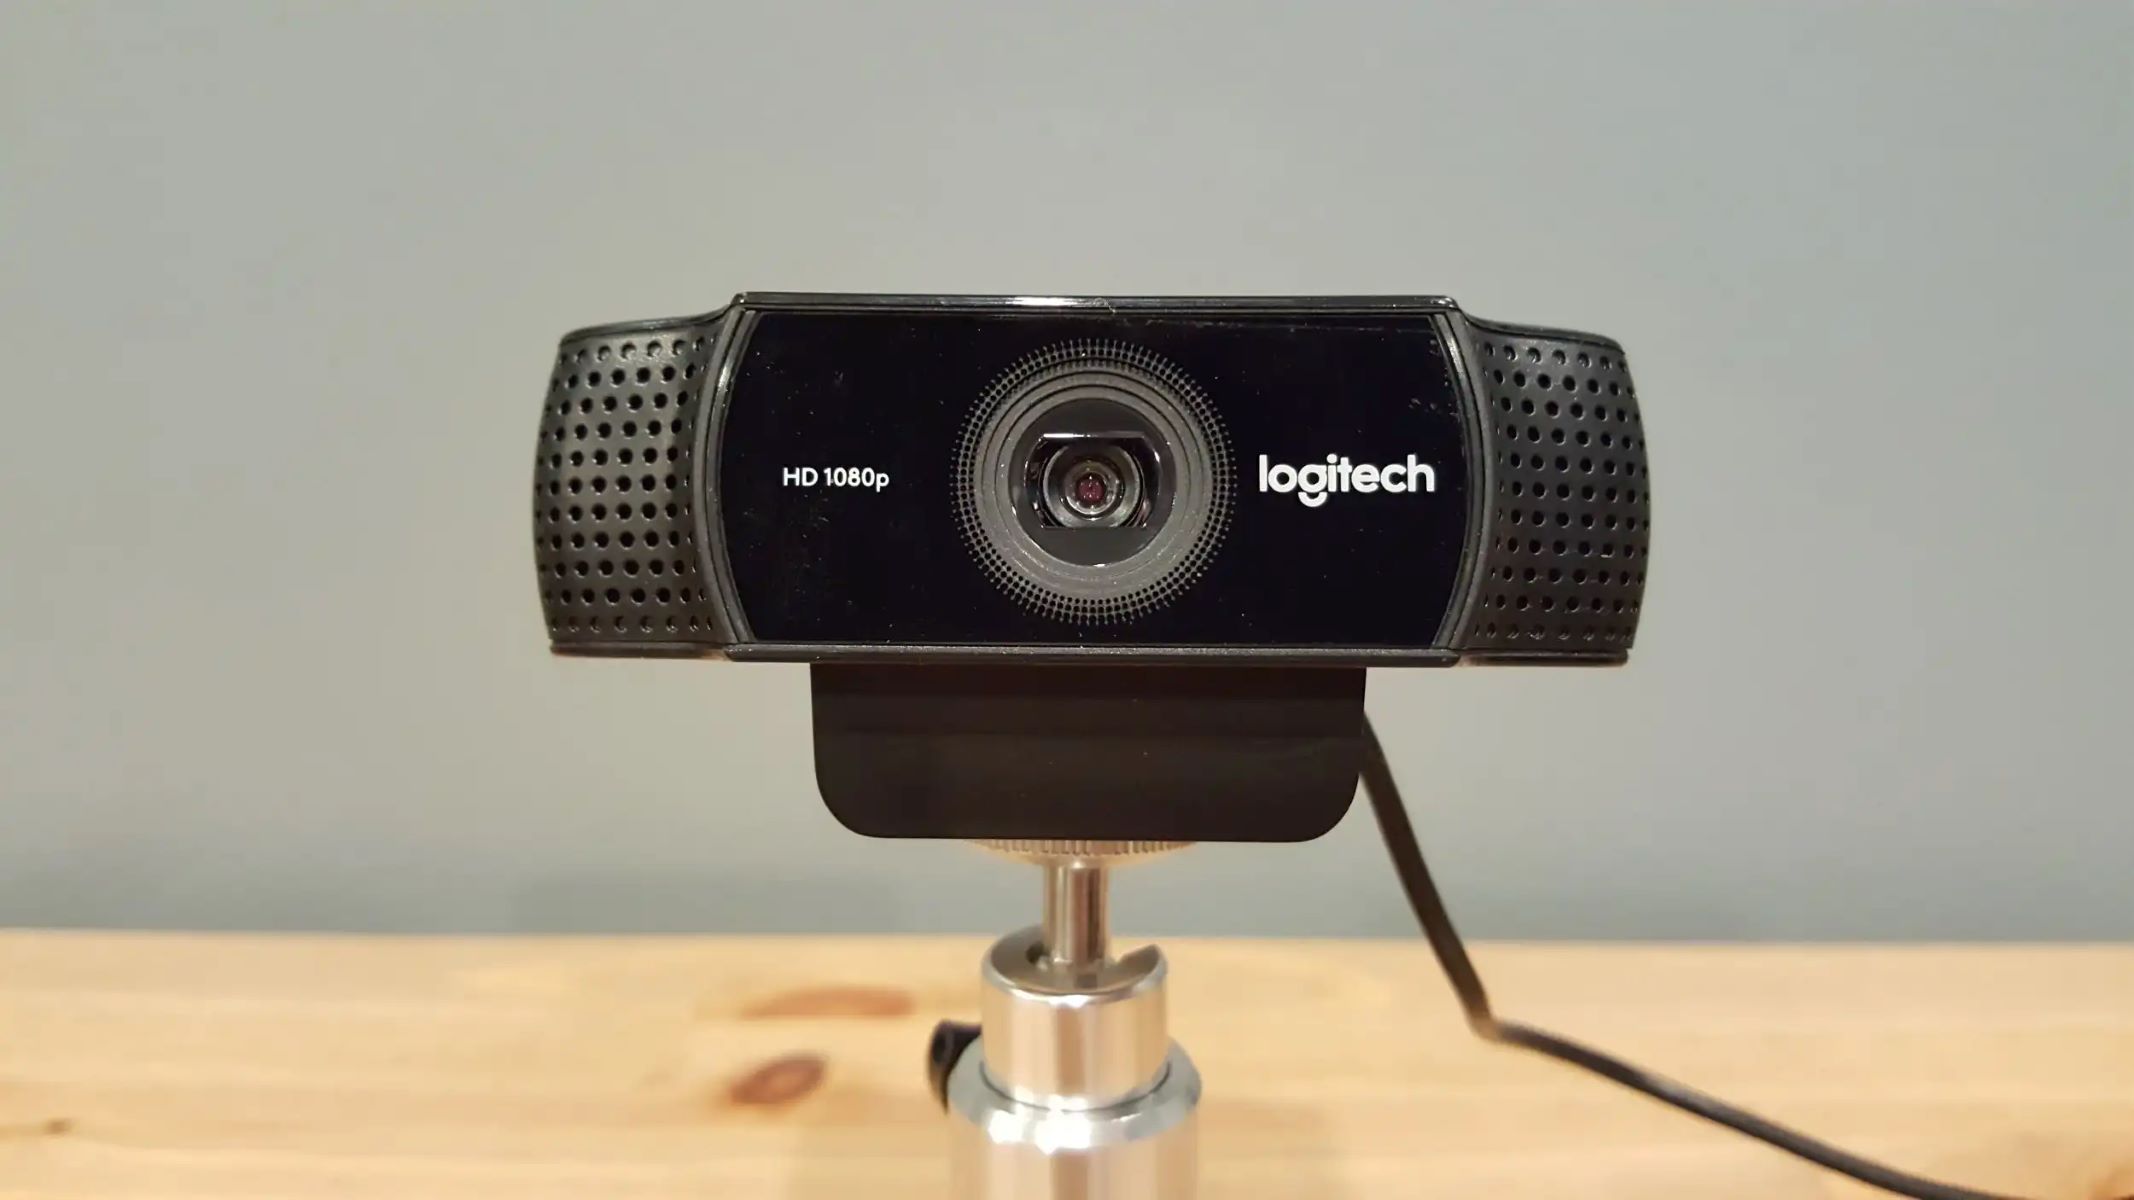
The Logitech C922 Pro Stream Webcam is a versatile and high-quality webcam designed specifically for content creators and streamers. Whether you’re streaming games, hosting live webinars, or recording videos for your YouTube channel, this webcam delivers exceptional video and audio performance.
With its advanced features and user-friendly design, the Logitech C922 Pro Stream Webcam is the perfect tool to help you elevate your content creation to the next level. It offers full HD 1080p video quality at 30fps, ensuring clear and sharp visuals for your audience. The integrated stereo microphone captures crisp and clear audio, so your voice comes through loud and clear.
Setting up the Logitech C922 Pro Stream Webcam is quick and easy, even for beginners. All you need is a compatible computer and an available USB port. In this guide, we will walk you through the step-by-step process of setting up your Logitech C922 Pro Stream Webcam and getting it ready for streaming or recording.
Before we get started, it’s important to note that the Logitech C922 Pro Stream Webcam is compatible with both Windows and Mac operating systems. Additionally, you may need to download and install the Logitech Capture software, which is specifically designed to enhance the functionality of this webcam.
In the following sections, we will provide detailed instructions on unboxing the webcam, connecting it to your computer, installing the Logitech Capture software, adjusting the webcam settings, mounting the webcam, testing its functionality, and configuring streaming software. By the end of this guide, you will have your Logitech C922 Pro Stream Webcam up and running smoothly, ready to capture high-quality video and audio for your content creation needs.
Prerequisites
Before you begin setting up your Logitech C922 Pro Stream Webcam, make sure you have the following prerequisites:
- A compatible computer with an available USB port
- Internet connection for downloading the Logitech Capture software, if necessary
- Windows 7 or later, or macOS 10.10 or later operating system
It’s important to ensure that your computer meets the minimum system requirements to ensure optimal performance of the Logitech C922 Pro Stream Webcam. Additionally, it’s recommended to have a stable internet connection for downloading the Logitech Capture software, which will enhance the features and functionality of the webcam.
If you are using a Windows computer, make sure that you have at least 2GB of RAM and a 2.4 GHz Intel Core 2 Duo processor or equivalent. For macOS users, a minimum of 4GB of RAM and a 2.4 GHz Intel Core 2 Duo processor or equivalent is recommended.
Furthermore, ensure that your operating system is up to date with the latest software updates and drivers. This will help to ensure compatibility with the Logitech C922 Pro Stream Webcam and its accompanying software.
Lastly, it’s a good idea to have a well-lit environment with appropriate lighting for your streaming or recording setup. The Logitech C922 Pro Stream Webcam performs best in well-lit conditions, so make sure to position yourself in a well-lit area to achieve the best possible image quality.
By ensuring that you have these prerequisites in place, you can proceed with confidence and set up your Logitech C922 Pro Stream Webcam for a seamless streaming or recording experience.
Step 1: Unboxing the Logitech C922 Pro Stream Webcam
Unboxing your Logitech C922 Pro Stream Webcam is an exciting first step towards setting up your streaming or recording setup. Follow these steps to unbox your webcam:
- Locate the packaging: The Logitech C922 Pro Stream Webcam comes in a sturdy box specifically designed to protect the webcam during shipping. Find the box that contains the webcam and its accessories.
- Open the box: Carefully open the box by lifting the flaps or removing any tape or seals. Ensure that you open it in a clean and safe area to prevent any damage or loss of small components.
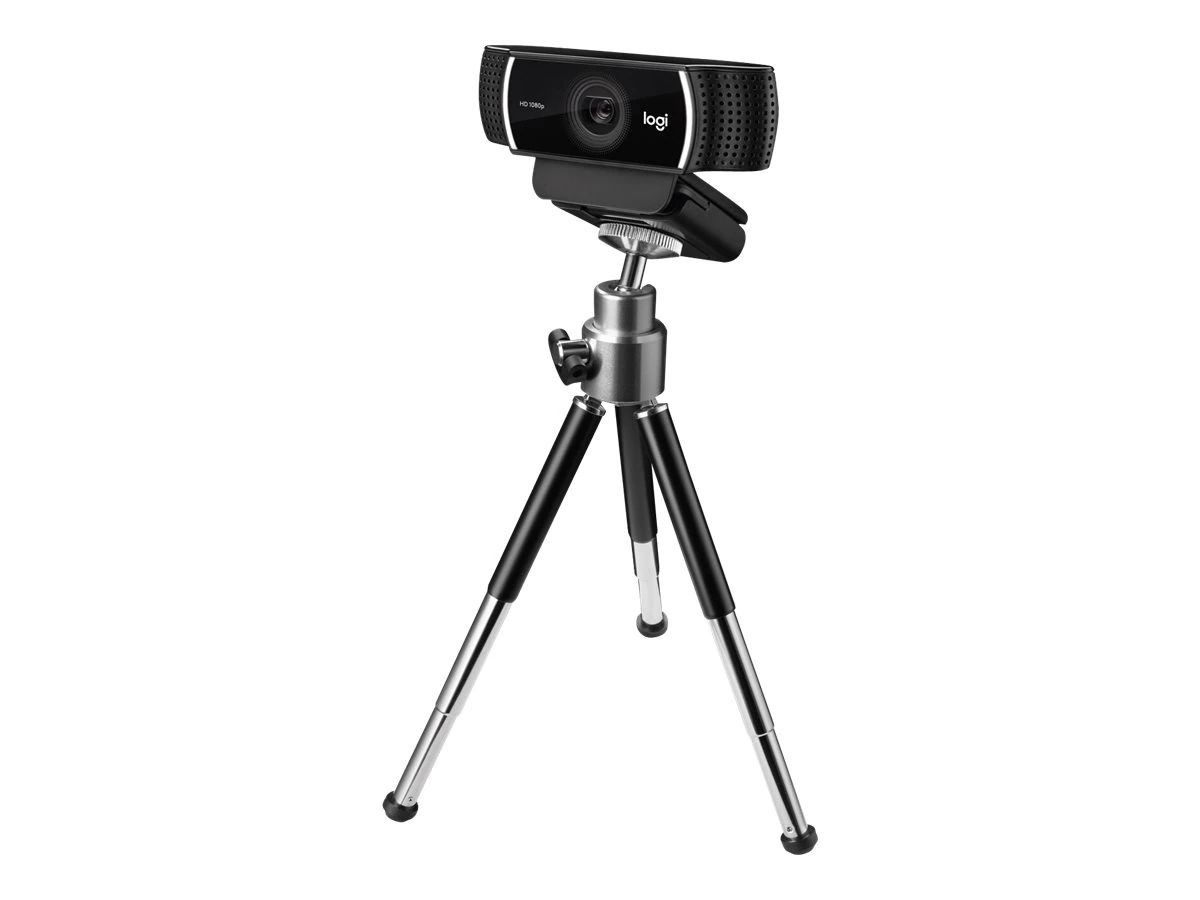
- Remove the contents: Take out the Logitech C922 Pro Stream Webcam from the box. You will also find additional accessories, such as a tripod, privacy shutter, and user manual. Make sure to keep all the contents organized and in a safe place.
- Inspect the webcam: Before proceeding, take a moment to inspect the webcam for any visible damage. Check for any scratches, dents, or loose parts. If you notice any issues, contact Logitech support for assistance.
Now that you have successfully unboxed your Logitech C922 Pro Stream Webcam, you are ready to move on to the next step of the setup process. Keep your webcam and accessories in a safe and easily accessible location, as you will need them throughout the rest of the setup process.
Step 2: Connecting the Webcam to Your Computer
Now that you have unboxed your Logitech C922 Pro Stream Webcam, it’s time to connect it to your computer. Follow these steps to ensure a successful connection:
- Locate the USB cable: The Logitech C922 Pro Stream Webcam comes with a USB cable that allows you to connect it to your computer. Find the USB cable and make sure it is in good condition.
- Connect the USB cable to the webcam: Take one end of the USB cable and plug it into the USB port located on the back of the camera. Ensure that the connection is secure.
- Connect the USB cable to your computer: Take the other end of the USB cable and plug it into an available USB port on your computer. Choose a USB port that is easily accessible and preferably a USB 3.0 port for faster data transfer.
- Wait for the computer to recognize the webcam: Once the webcam is connected, your computer will detect it and install the necessary drivers. This process may take a few moments, so be patient and avoid disconnecting the webcam prematurely.
- Confirm the connection: Once the webcam is successfully connected, you should see a notification or pop-up confirming the connection. You can also check the device manager on your computer to ensure that the webcam is listed and recognized.
With the Logitech C922 Pro Stream Webcam successfully connected to your computer, you are one step closer to creating high-quality content. In the next step, we will guide you through the process of installing the Logitech Capture software, which will enhance the capabilities of your webcam and provide additional features for streaming and recording.
Step 3: Installing the Logitech Capture Software
To unlock the full potential of your Logitech C922 Pro Stream Webcam, you need to install the Logitech Capture software. This software provides additional features and customization options that will enhance your streaming and recording experience. Follow these steps to install the Logitech Capture software:
- Visit the Logitech website: Go to the Logitech official website and navigate to the support section. Look for the Logitech Capture software page or search for the software in the website’s search bar.
- Select your operating system: Once you have found the Logitech Capture software page, choose the appropriate version for your operating system. Logitech Capture supports both Windows and Mac operating systems.
- Download the software: Click on the download button or link to start downloading the Logitech Capture software. The file size may vary, so make sure you have a stable internet connection to avoid interruptions.
- Run the installer: Locate the downloaded file on your computer and double-click on it to run the installer. Follow the on-screen prompts to proceed with the installation.
- Agree to the terms and conditions: During the installation process, you may be prompted to accept the terms and conditions of the software. Read through them and click on the “Agree” or “Accept” button to continue.
- Complete the installation: Once you have accepted the terms and conditions, the Logitech Capture software will proceed with the installation process. This may take a few minutes, so be patient and avoid interrupting the installation.
- Launch the Logitech Capture software: After the installation is complete, you can launch the Logitech Capture software from your desktop or the Start menu. Explore the software interface to familiarize yourself with the features and settings.
With the Logitech Capture software successfully installed, you now have access to advanced features and settings that will enhance your streaming and recording capabilities. In the next step, we will guide you through the process of adjusting the webcam settings to optimize your video and audio quality.
Step 4: Adjusting the Webcam Settings
Now that you have installed the Logitech Capture software, it’s time to adjust the webcam settings to optimize the video and audio quality. Follow these steps to adjust the settings:
- Launch the Logitech Capture software: Open the Logitech Capture software from your desktop or the Start menu. The software’s interface will provide you with various options and settings for customization.
- Select your Logitech C922 Pro Stream Webcam: If you have multiple webcams connected to your computer, make sure to select the Logitech C922 Pro Stream Webcam from the list of available devices. This ensures that you’re adjusting the settings for the correct webcam.
- Adjust resolution and frame rate: Click on the settings icon within the Logitech Capture software to access the video settings. Here, you can customize the resolution and frame rate according to your preference. Higher resolutions and frame rates will result in better video quality but may require more processing power.
- Tweak exposure and white balance: Within the video settings, you can also adjust the exposure and white balance of the webcam. Experiment with these settings to ensure that your video appears well-lit and with accurate colors.
- Configure audio settings: To enhance your audio quality, click on the audio settings within the Logitech Capture software. Adjust the microphone volume and ensure that the correct microphone input is selected.
- Explore additional settings: The Logitech Capture software offers various additional settings, such as filters, overlays, and scene transitions. Take some time to explore these options and customize your content further.
- Preview your changes: After adjusting the settings, use the software’s preview feature to see how the changes affect your video and audio. Make any necessary tweaks based on your preferences.
By adjusting the webcam settings through the Logitech Capture software, you can ensure that your video and audio quality are optimized for streaming and recording. In the next step, we will guide you through the process of mounting your webcam securely.
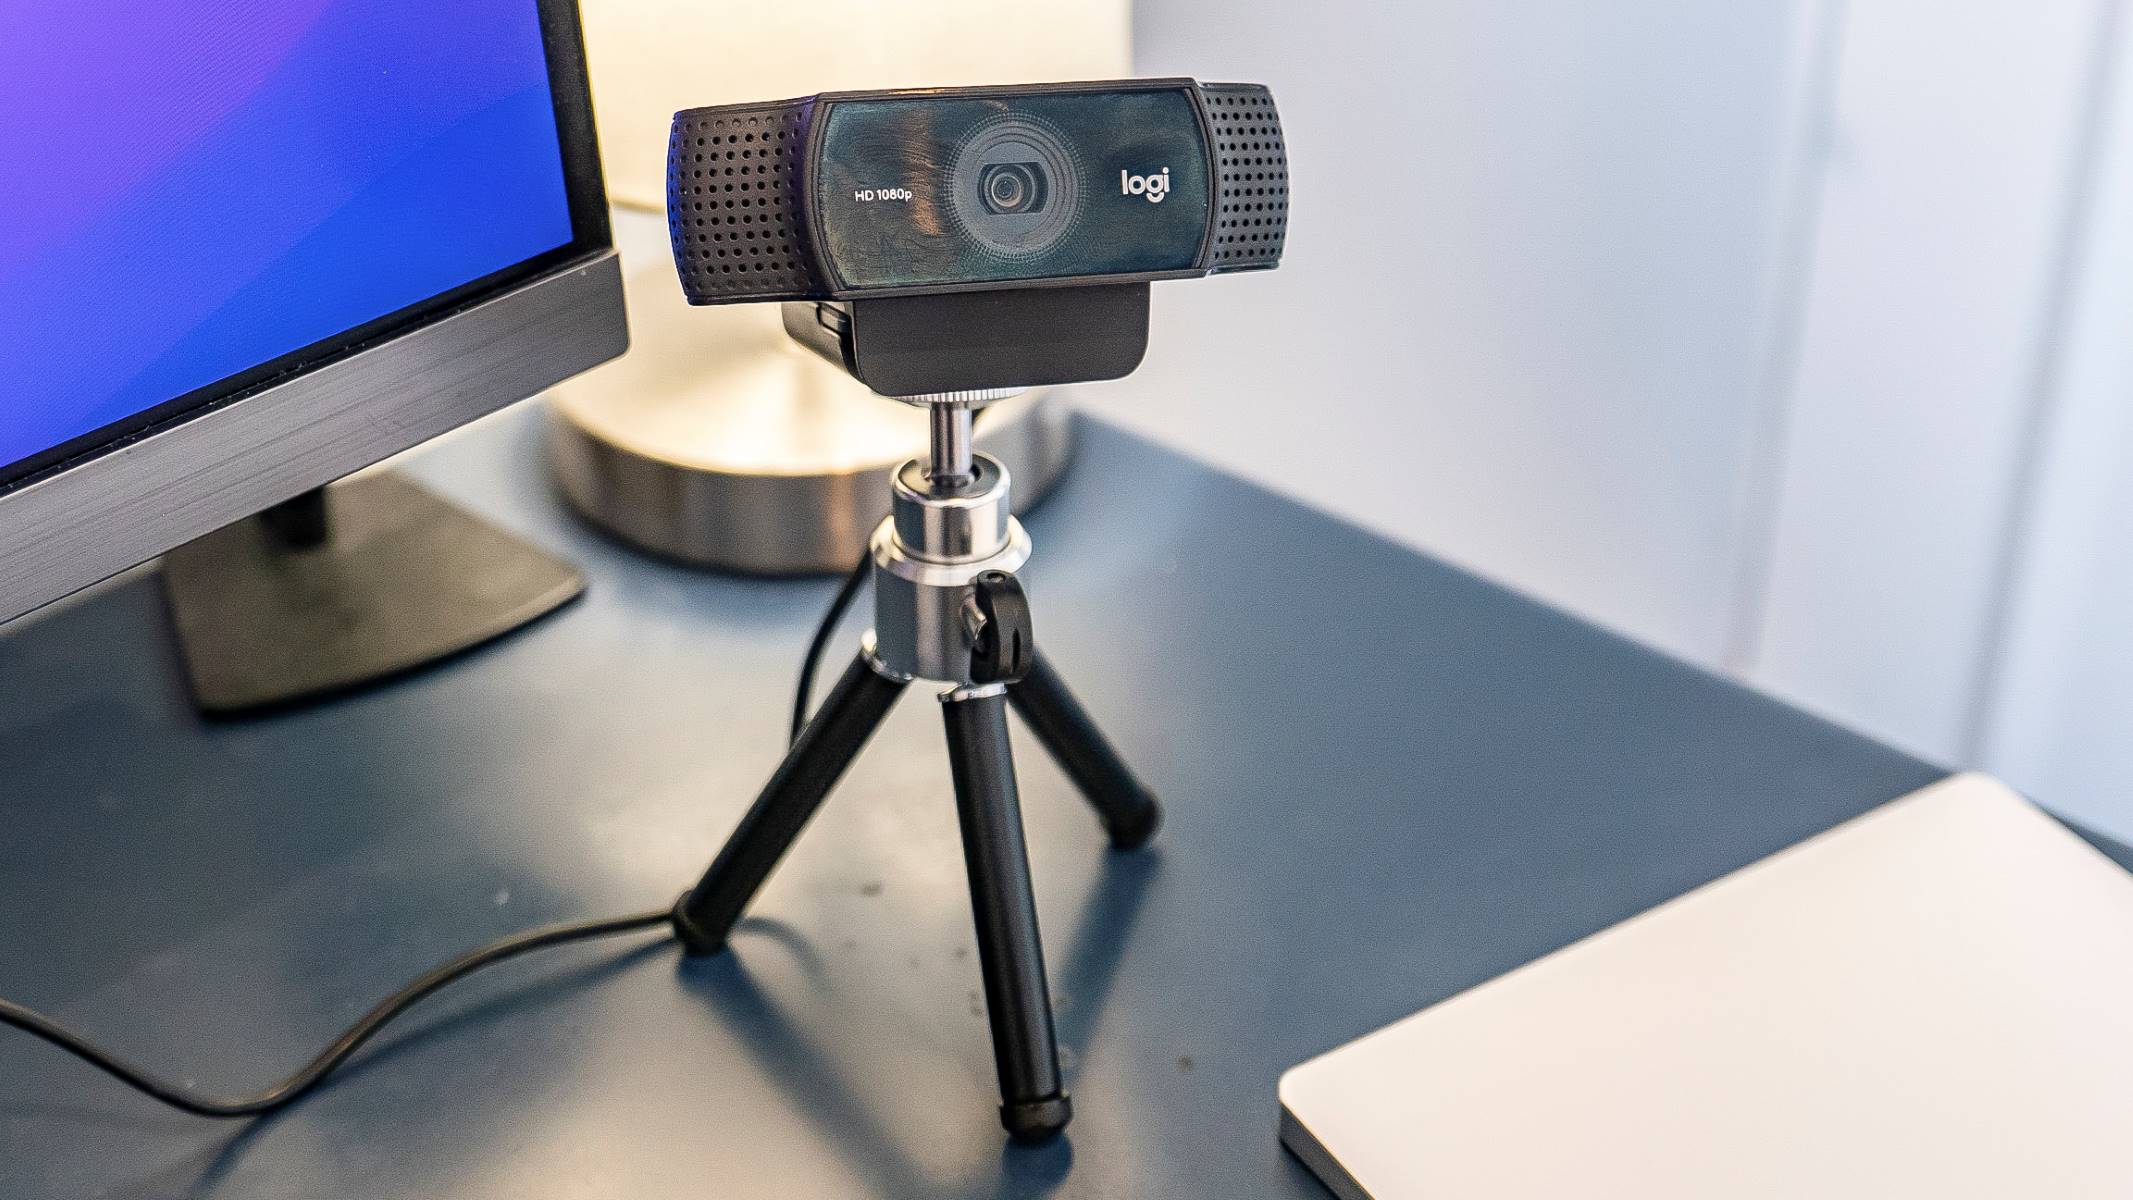
Step 5: Mounting the Webcam
Mounting your Logitech C922 Pro Stream Webcam properly is essential to ensure a stable and steady position while streaming or recording. Follow these steps to securely mount your webcam:
- Choose a suitable location: Determine the ideal location for your webcam, considering factors such as lighting, background, and the angle you want to capture. It’s recommended to position the webcam at eye level for a more natural and engaging experience.
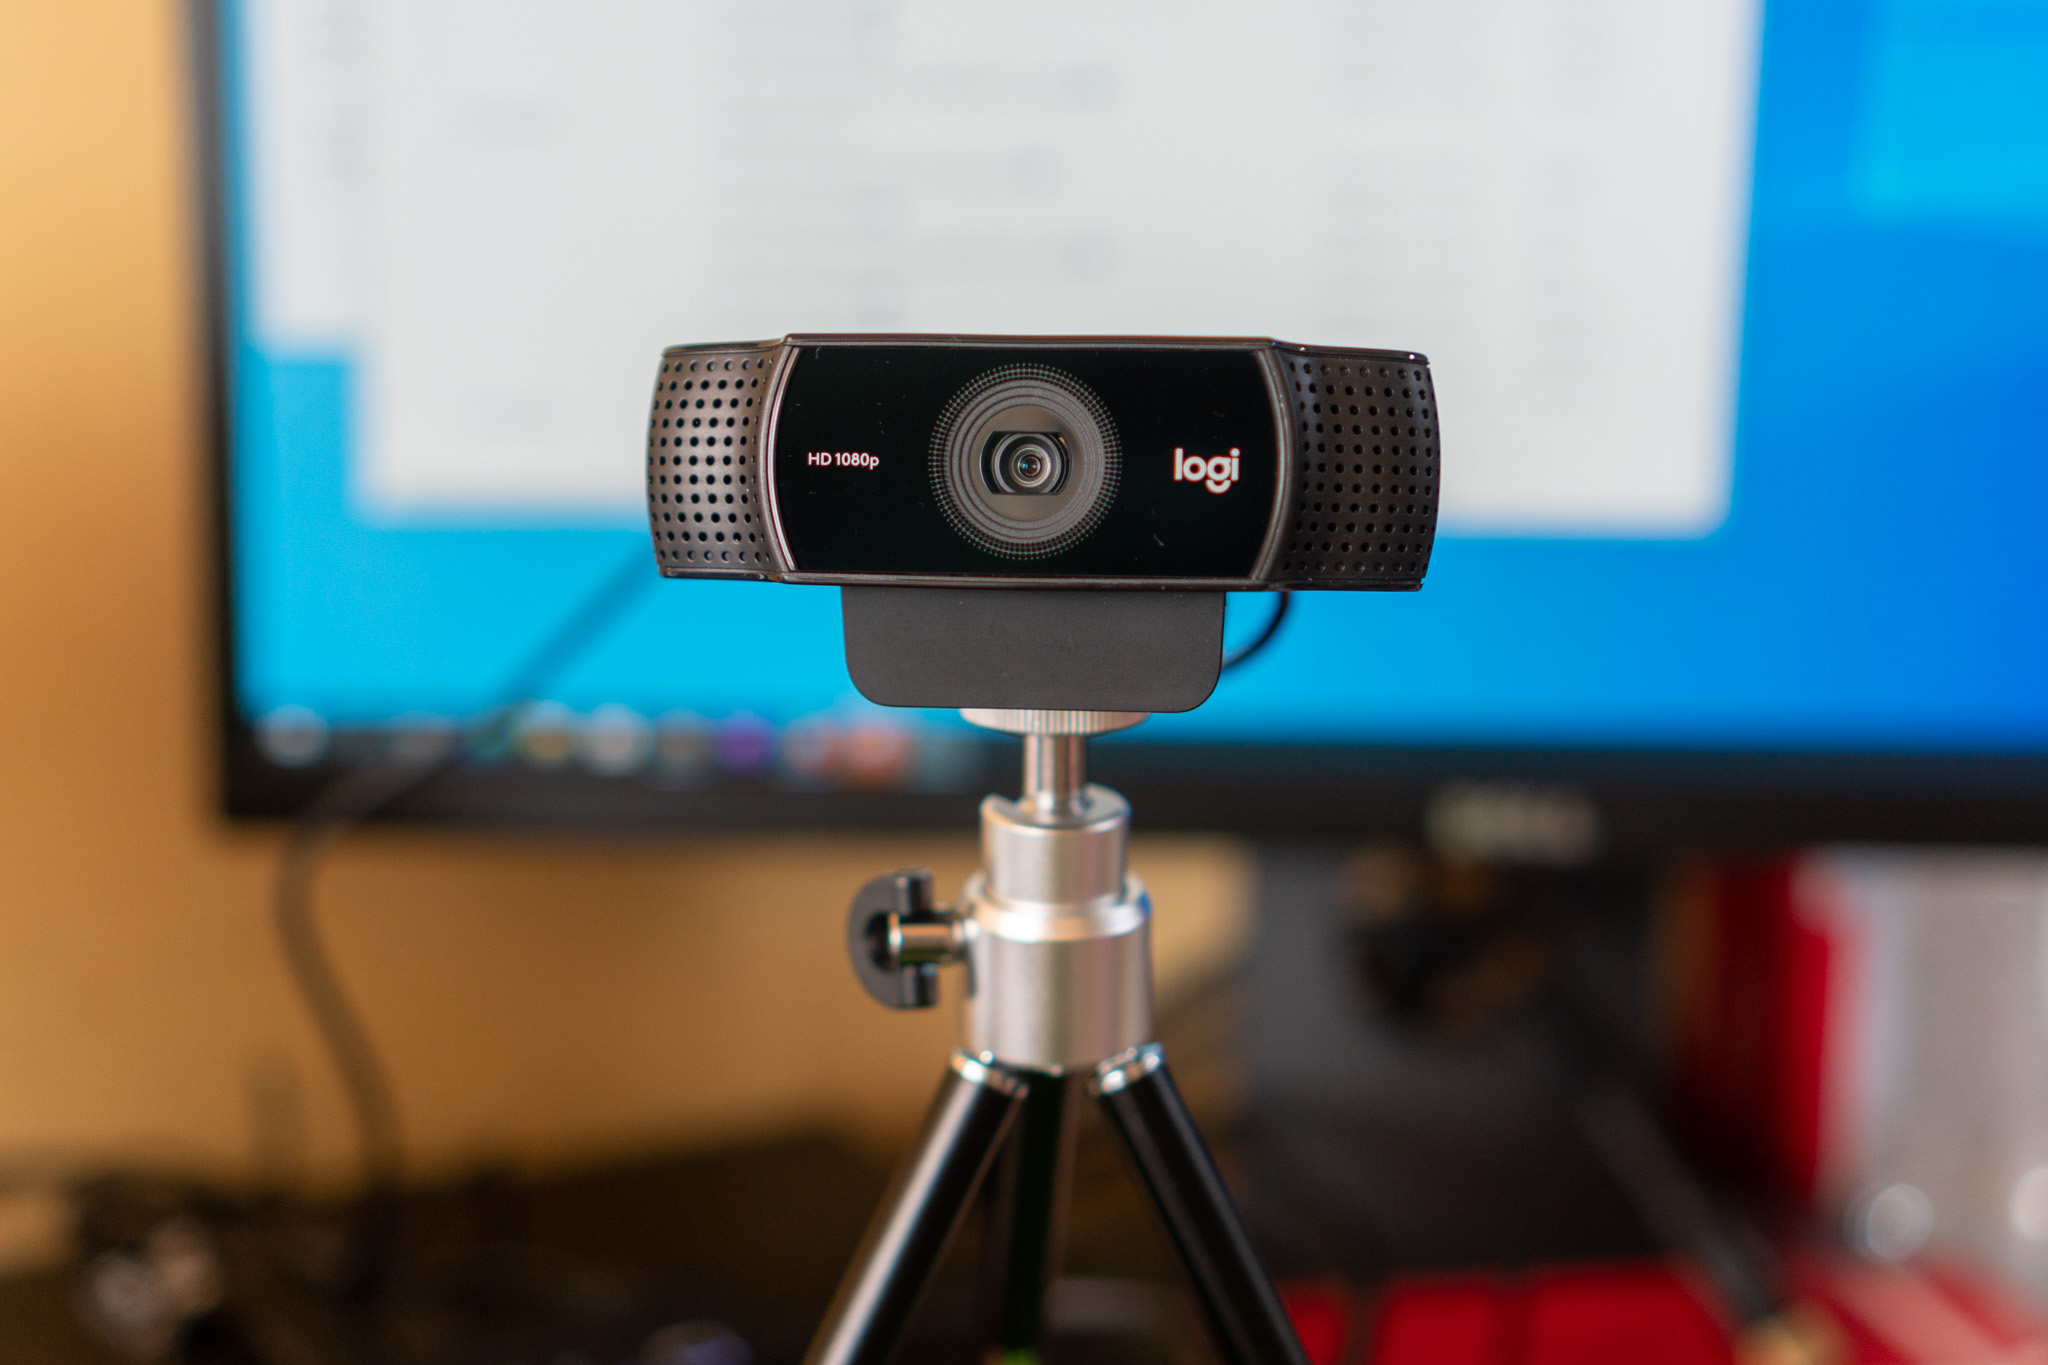
- Attach the webcam to the mount: The Logitech C922 Pro Stream Webcam comes with a versatile mount that allows for easy attachment to various surfaces. Attach the webcam to the mount securely, ensuring it is tightly secured.
- Select the proper mounting option: Depending on your setup, you can choose between different mounting options, such as attaching the webcam to a monitor, a tripod, or a tabletop. Select the option that works best for your needs.
- Adjust the webcam angle: Once mounted, adjust the angle of the webcam to frame yourself or your subject correctly. You can tilt, swivel, or rotate the webcam as needed until you achieve the desired framing.
- Ensure stability: Make sure that the mount and the webcam are stable and secure. Check for any wobbling or movement, and readjust if necessary. A stable mount will prevent any distractions or interruptions while streaming or recording.
By properly mounting your Logitech C922 Pro Stream Webcam, you can ensure a professional and stable presentation, enhancing the quality of your content. In the next step, we will guide you through testing the functionality of your webcam to ensure everything is working correctly.
Step 6: Testing the Webcam
Before you start streaming or recording, it’s important to test the functionality of your Logitech C922 Pro Stream Webcam to ensure everything is working correctly. Follow these steps to test your webcam:
- Launch your preferred video conferencing or streaming software: Open the software that you plan to use for streaming or recording, such as Zoom, OBS Studio, or XSplit. Make sure it is compatible with the Logitech C922 Pro Stream Webcam.
- Select the Logitech C922 Pro Stream Webcam: Within the software settings, select the Logitech C922 Pro Stream Webcam as your video input device. This will ensure that the software recognizes and uses your webcam for streaming or recording.
- Preview the video feed: Start a test video or preview within the software to see the live video feed from your Logitech C922 Pro Stream Webcam. Check whether the video quality is clear, the audio is audible, and there are no technical issues.
- Adjust the settings if necessary: If you notice any issues during the test, go back to the Logitech Capture software and adjust the settings accordingly. Tweak the resolution, frame rate, exposure, or other settings to improve the quality.
- Test the microphone: To test the microphone quality, speak into your Logitech C922 Pro Stream Webcam and check if the audio is clear and loud enough. Adjust the microphone settings within the software if needed.
- Check for any latency or delay: Move around or make gestures in front of the webcam to check for any delays or latency in the video feed. A smooth, responsive video feed is crucial for a seamless streaming or recording experience.
- Verify compatibility with streaming platforms: If you plan to stream or record on specific platforms like Twitch or YouTube, ensure that your Logitech C922 Pro Stream Webcam works seamlessly with those platforms. Check for any additional software or settings required for compatibility.
By thoroughly testing your Logitech C922 Pro Stream Webcam, you can address any issues and make necessary adjustments before going live. This will help you deliver high-quality streaming or recording experiences to your audience. In the next step, we will guide you through configuring your preferred streaming software for optimal performance.
Step 7: Configuring Streaming Software
Once you have tested your Logitech C922 Pro Stream Webcam and verified its functionality, it’s time to configure your preferred streaming software for optimal performance. Follow these steps to configure your streaming software:
- Open your streaming software: Launch the streaming software that you plan to use, such as OBS Studio, XSplit, or Streamlabs. Make sure you have the latest version installed on your computer.
- Create a new scene: In your streaming software, create a new scene that will include your Logitech C922 Pro Stream Webcam feed. This scene will allow you to customize the layout and add additional sources or overlays.
- Add the webcam as a source: Within the scene, add the Logitech C922 Pro Stream Webcam as a source. Select the webcam device from the options and position it within the scene as desired.
- Configure video and audio settings: Adjust the video and audio settings in your streaming software to match the settings you have previously configured in the Logitech Capture software. This ensures consistency in the quality of your video and audio during the stream or recording.
- Set up streaming settings: If you plan to live stream, configure the streaming settings in your software. Enter the relevant streaming platform details, such as the stream key or server URL, to establish a connection with the platform.
- Test your stream or recording: Before going live, perform a test stream or recording to ensure that everything is working as expected. Check the video and audio quality, as well as any additional elements you have added to the scene.
- Adjust and tweak as needed: If you encounter any issues during the test stream or recording, make necessary adjustments. Fine-tune the settings, preview the changes, and repeat the test until you are satisfied with the results.
By properly configuring your streaming software, you can ensure that your Logitech C922 Pro Stream Webcam integrates seamlessly and performs optimally during your streams or recordings. Take some time to explore the various features and options available in your streaming software to enhance your content creation experience.
Conclusion
Congratulations! You have successfully set up your Logitech C922 Pro Stream Webcam for streaming and recording. By following the steps outlined in this guide, you have unboxed the webcam, connected it to your computer, installed the Logitech Capture software, adjusted the webcam settings, mounted it securely, tested its functionality, and configured your streaming software.
The Logitech C922 Pro Stream Webcam offers exceptional video and audio quality, making it the perfect tool for content creators and streamers. With its full HD 1080p resolution, integrated stereo microphone, and user-friendly design, you can create professional and engaging content for your audience.
Remember to continue exploring the features and settings of your Logitech C922 Pro Stream Webcam and the streaming software you are using. This will allow you to customize and enhance your streaming or recording setup further, ensuring the best possible experience for both you and your viewers.
Whether you’re sharing your gaming sessions, hosting webinars, or creating YouTube videos, the Logitech C922 Pro Stream Webcam is a valuable asset that will take your content creation to the next level. So, get ready to captivate your audience with high-quality video and audio and let your creativity flow.
Now that you are equipped with the knowledge to set up and configure your Logitech C922 Pro Stream Webcam, go ahead and start creating amazing content. Happy streaming and recording!