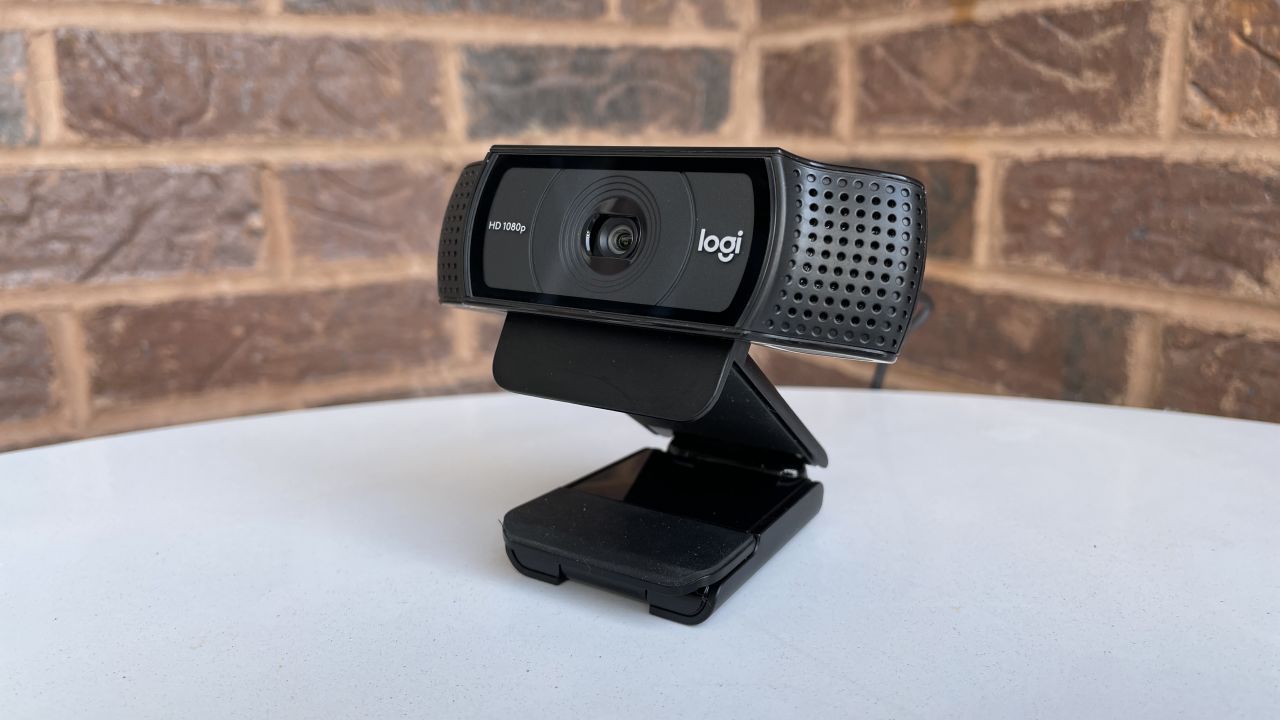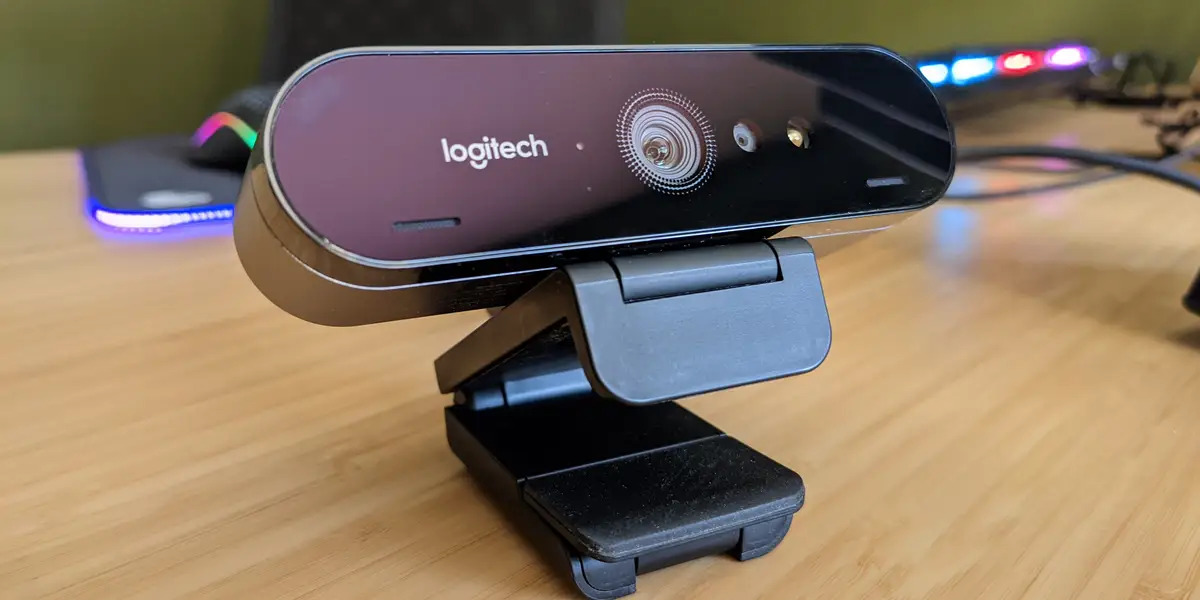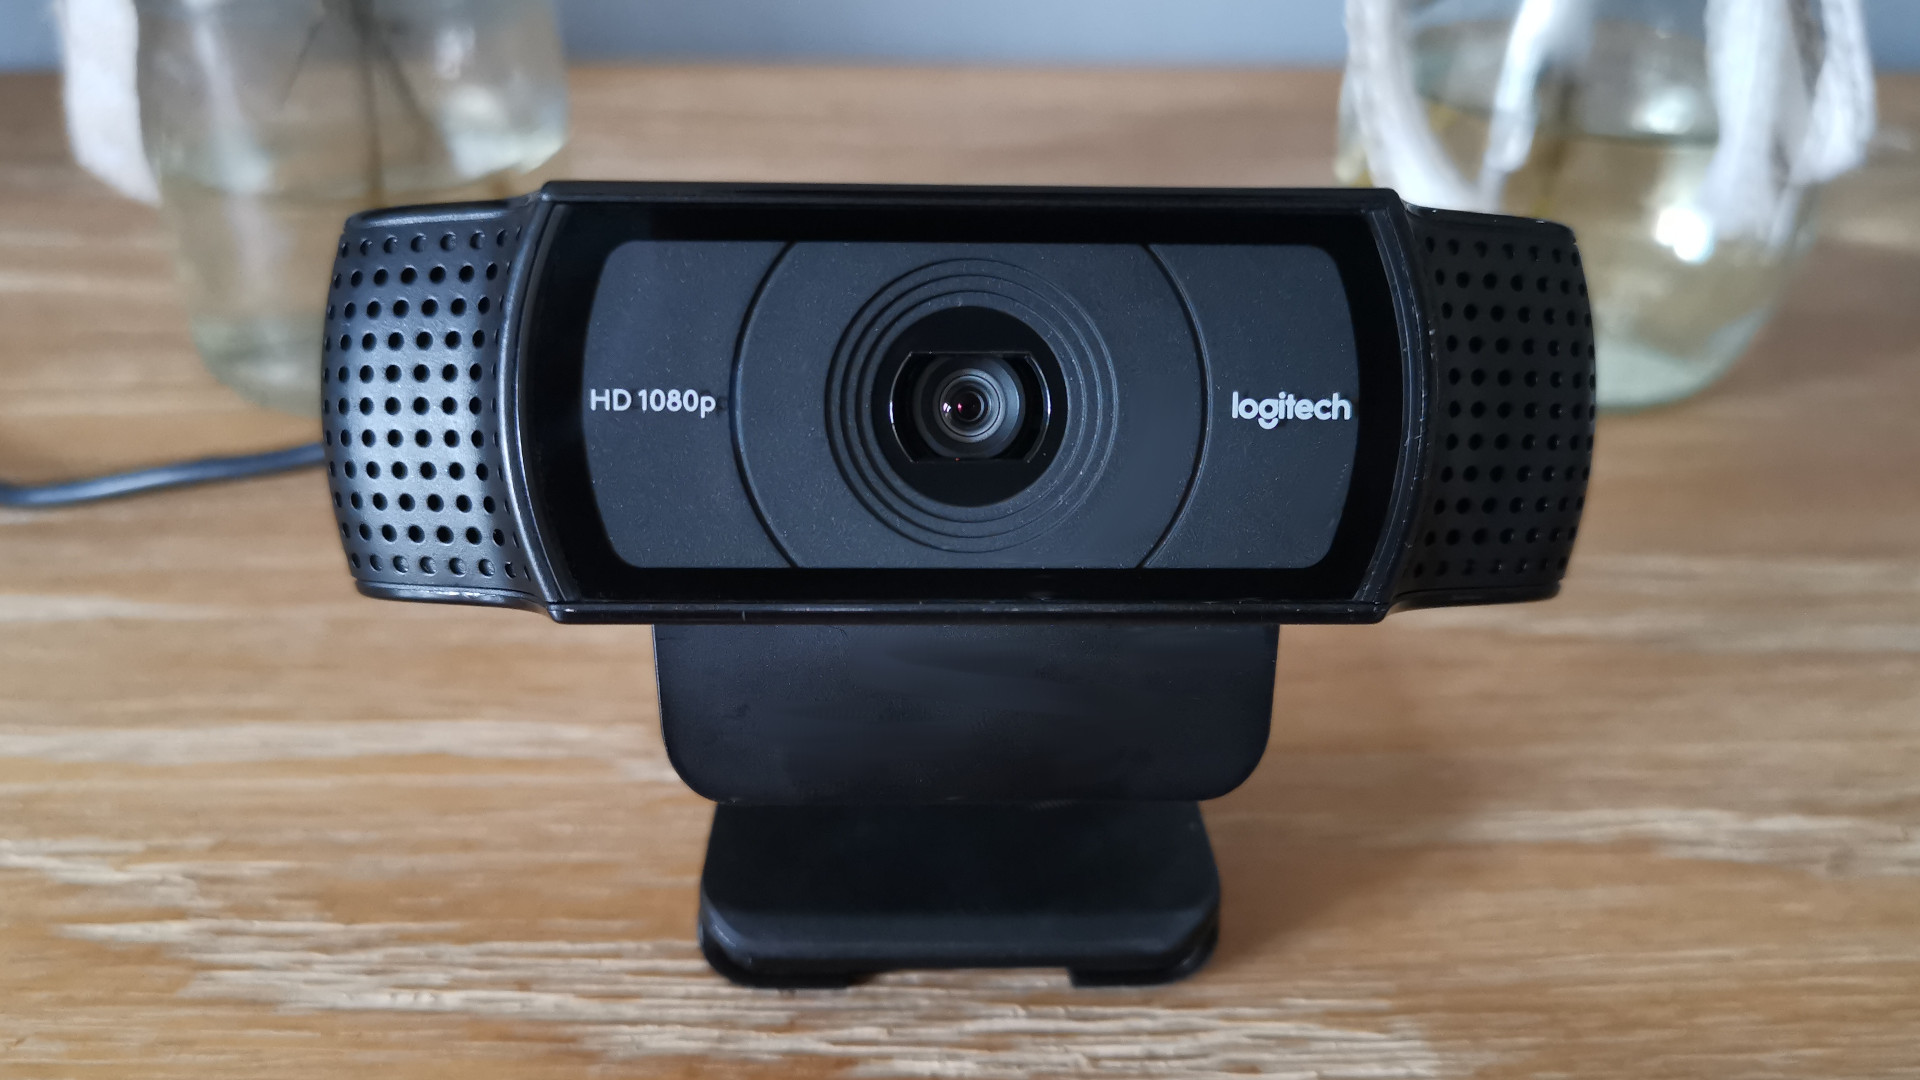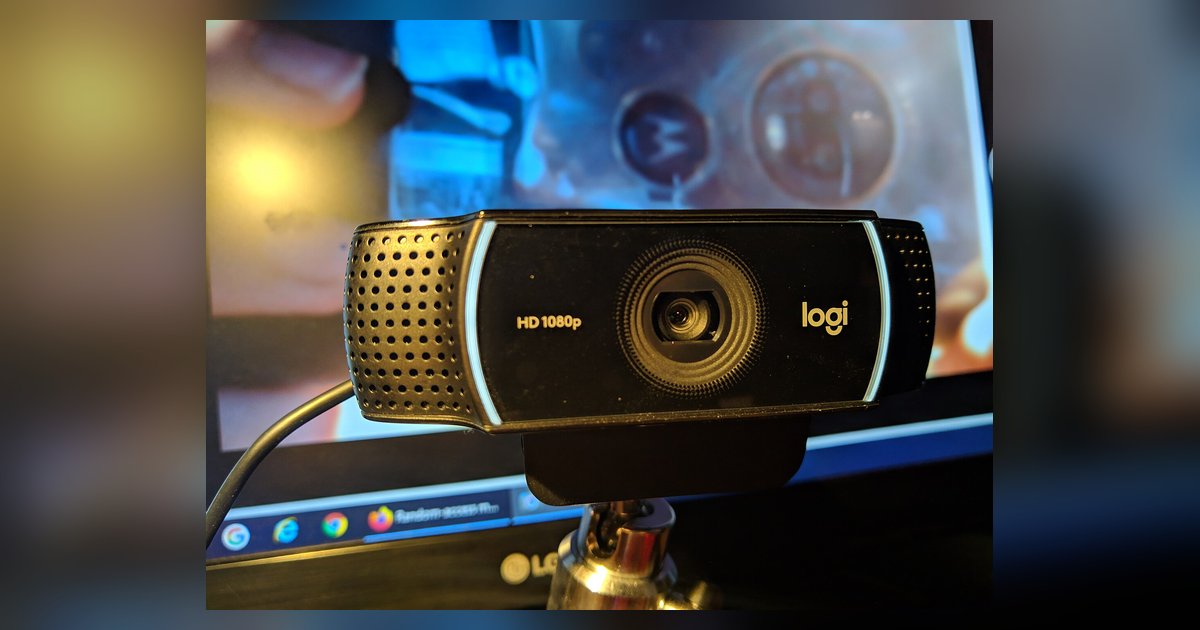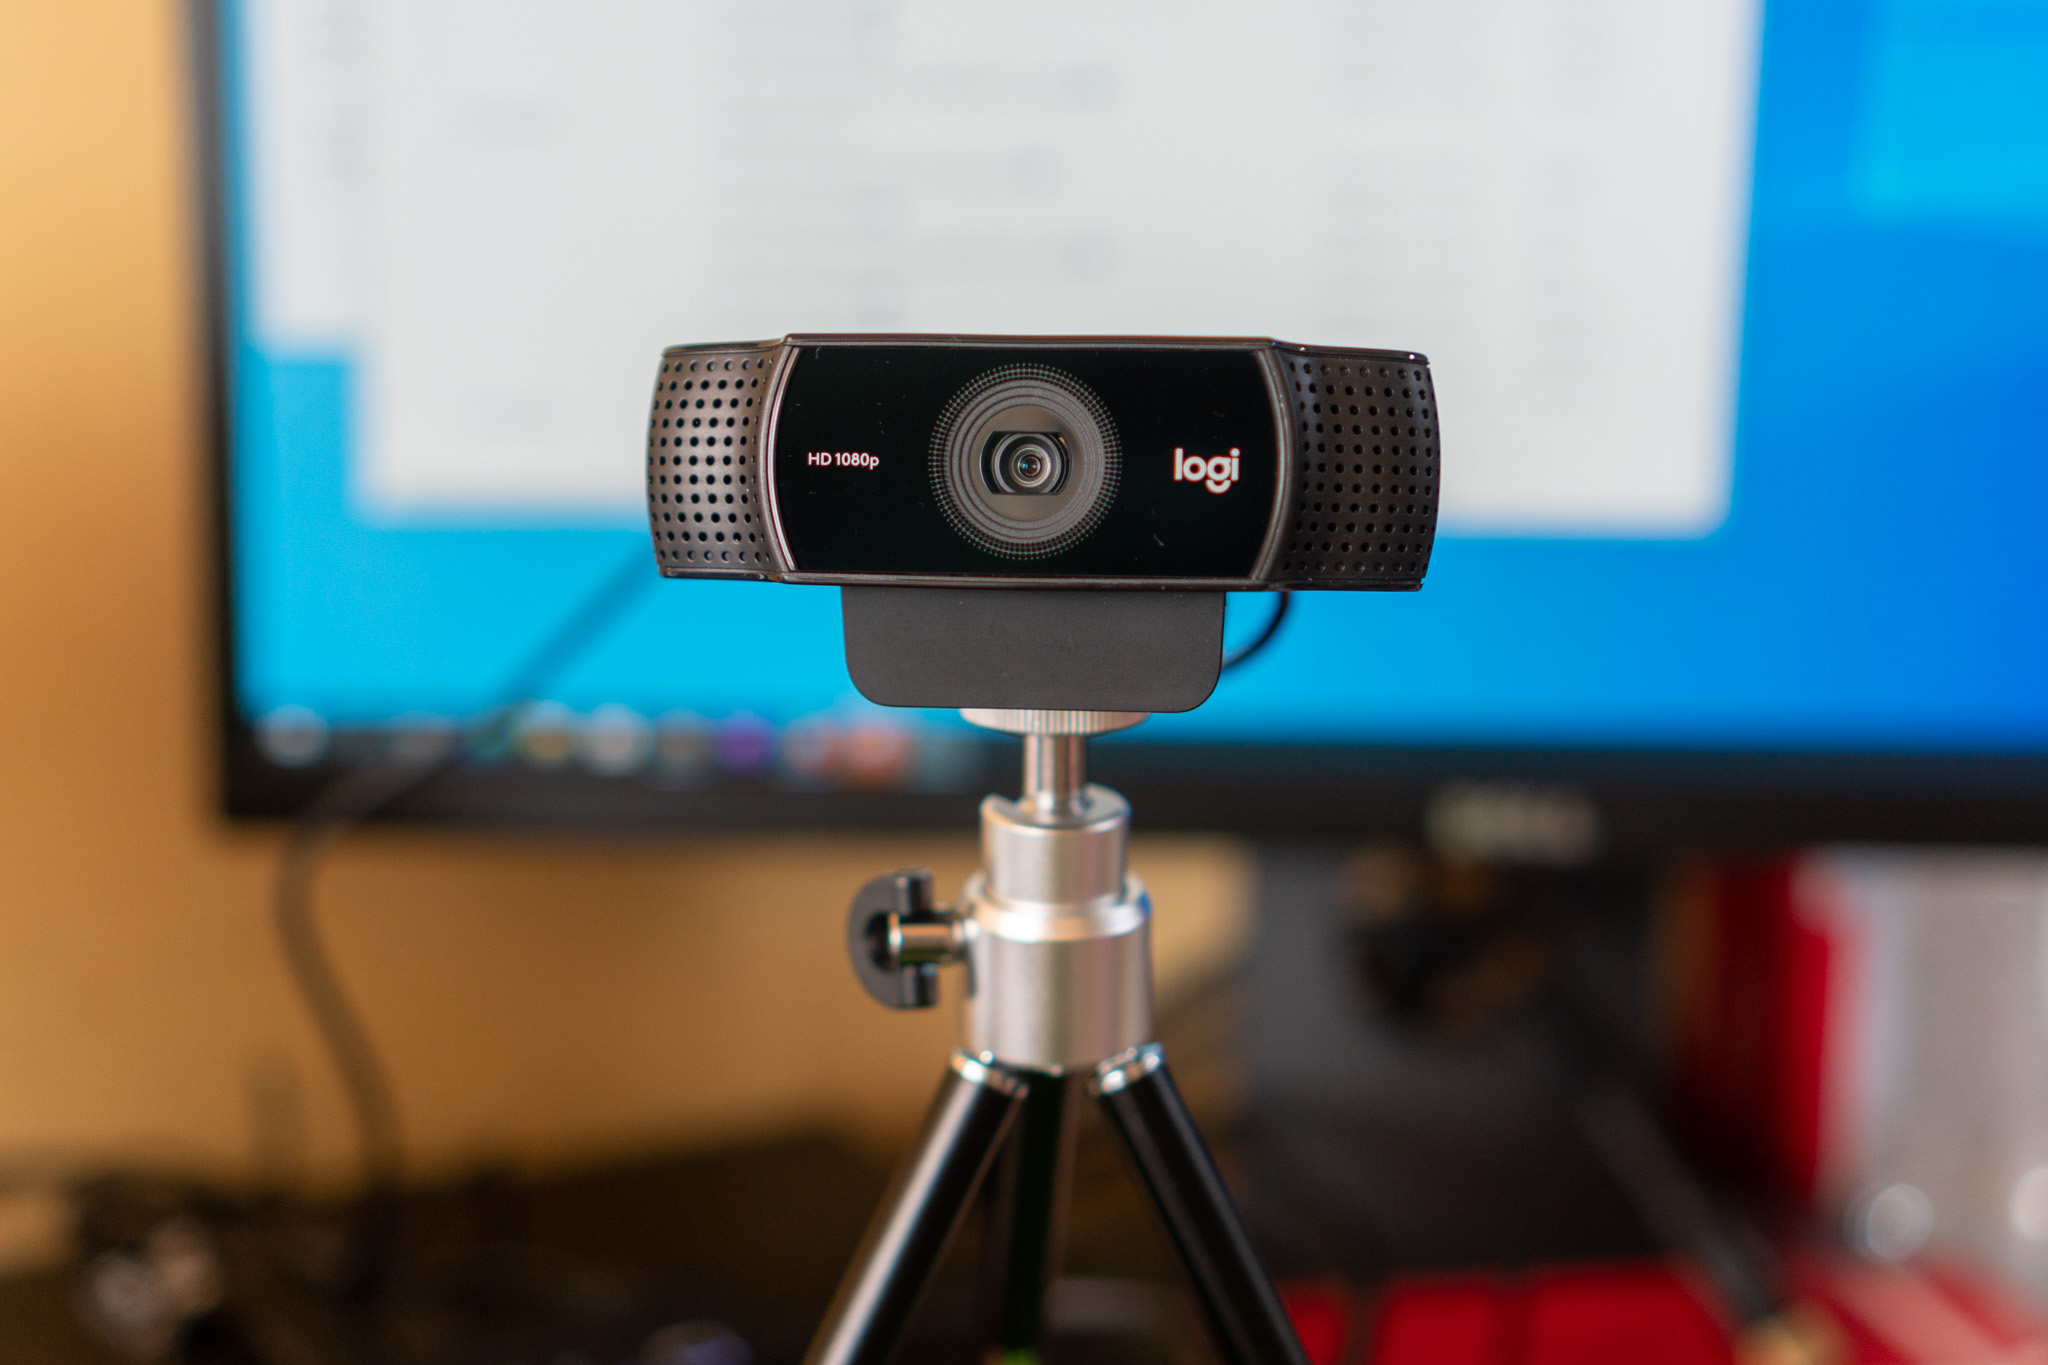
To setup Logitech C922 Pro Stream Webcam, start by connecting the camera to your computer and installing the Logitech Capture software, which is compatible with the C922 Pro Stream Webcam. If you need a 4K option with Windows Hello support, you can setup Logitech brio webcam instead. This guide walks you through the physical connection, software installation, and configuration steps so you can get the best video and audio quality for streaming or remote work.
What you need before you setup your Logitech C922 Pro Stream Webcam
You need a computer with an available USB port, an operating system of Windows 7 or later or macOS 10.10 or later, and an internet connection to download the Logitech Capture software. Having these three items ready makes the rest of the process straightforward.
Connect the webcam to your computer
Plug the USB cable into the port on the back of the webcam, then plug the other end into a USB port on your computer. For the best data transfer, use a USB 3.0 port if available. Wait a moment for the computer to detect the webcam and install its drivers. You can confirm recognition by checking for a notification or looking in the device manager.
Install the Logitech Capture software
Go to the Logitech website and find the Logitech Capture software page. Select the version for your operating system, Windows or Mac, and download the installer. Open the downloaded file and follow the on-screen prompts to complete the installation. After it finishes, launch the software to confirm it recognizes your C922 Pro Stream Webcam.
Adjust video and audio settings for streaming
Open Logitech Capture and select your C922 from the device list. Click the settings icon to access video options, where you can set the resolution and frame rate. Adjust exposure and white balance so your image looks well-lit and color-accurate. In the audio settings, configure the microphone input and adjust volume. If you want to blur your background, enable that feature, but be aware that Logitech Capture background blur high CPU usage can affect performance on older computers, so test it before going live.
Mount the webcam securely
Attach the included clip to the webcam, then fasten it to your monitor or a tripod. Position the camera at eye level for a natural angle. Make sure the mount is tight and the webcam does not wobble, which prevents shaky video during streams or calls.
Test your webcam before going live
Use the preview in Logitech Capture or open a video call app like Zoom. Select the C922 as your video source and check that the image is clear, the audio level is good, and the frame rate stays smooth.
Add the webcam to your streaming software
Open OBS Studio, Streamlabs, or similar software and create a new scene. Add the C922 as a video capture source, then match the resolution and frame rate to what you set in Logitech Capture. Configure your streaming key or recording settings, then do a short test to verify everything runs without issues.
Troubleshooting common setup problems
If the webcam is not detected, try a different USB port or restart your computer. For software installation failures, make sure your operating system is up to date and download the installer again. If the video feed is choppy or missing, check that no other app is using the camera and that your USB connection is stable. When setting up a Logitech webcam for the first time, these quick checks usually resolve the issue.