Introduction
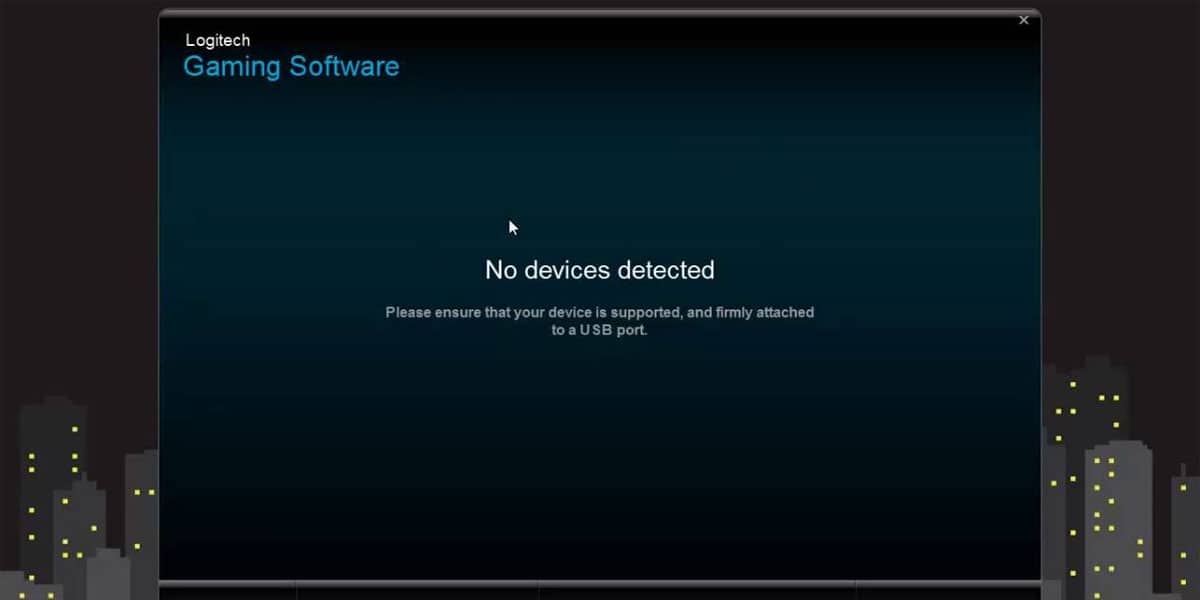
Logitech Gaming Software is a popular application used by gamers to customize their Logitech gaming peripherals. However, there may be instances when you want to completely remove Logitech Gaming Software from your computer. This could be due to various reasons, such as troubleshooting issues, upgrading to a new version of the software, or simply no longer needing its features.
In this article, we will provide you with a comprehensive guide on how to completely remove Logitech Gaming Software from your system. We will walk you through each step, ensuring that you don’t miss any essential tasks to ensure a thorough removal process.
Please note that removing Logitech Gaming Software will reset any customizations you made to your Logitech devices, and you may need to reinstall the software if you decide to use them again in the future. Additionally, make sure to create a backup of any important profiles or settings before proceeding with the uninstallation process.
Now, let’s dive into the step-by-step guide to completely remove Logitech Gaming Software from your computer.
Step 1: Uninstall Logitech Gaming Software
The first step in removing Logitech Gaming Software from your computer is to uninstall it through the Control Panel. Follow these instructions:
- Open the Control Panel on your computer by searching for it in the Start menu.
- Once the Control Panel window is open, select “Programs” or “Programs and Features,” depending on your operating system.
- Scroll through the list of installed programs until you find Logitech Gaming Software. Click on it to highlight it.
- Click on the “Uninstall” or “Remove” button at the top of the window.
- Follow the on-screen instructions to complete the uninstallation process. Make sure to select any additional options, such as removing user settings, if prompted.
Once the uninstallation process is complete, Logitech Gaming Software will be removed from your computer. However, there may still be some leftover files and folders related to the software that need to be deleted manually.
Note: If you are unable to uninstall Logitech Gaming Software through the Control Panel, you can use a third-party uninstaller software to help you remove it completely from your system.
Step 2: Remove Leftover Files and Folders
Even after uninstalling Logitech Gaming Software, there may still be residual files and folders left on your computer. These remnants can take up valuable storage space and potentially cause conflicts if you decide to reinstall the software in the future. To ensure a complete removal, follow the steps below to delete these leftover files and folders:
- Open the File Explorer on your computer by pressing the Windows key and E simultaneously.
- Navigate to the following locations to search for Logitech Gaming Software files and folders:
- C:\Program Files\Logitech
- C:\ProgramData\Logitech
- C:\Users\YourUsername\AppData\Local\Logitech
- Once you locate these locations, carefully delete any Logitech Gaming Software folders or files that you find. You may need to provide administrative permission or enter your password.
- After deleting the files and folders, empty your Recycle Bin to permanently remove them from your computer.
This process ensures that all traces of Logitech Gaming Software are removed from your system, freeing up disk space and minimizing the chance of any conflicts. It’s important to note that manually deleting files and folders can be risky, so be cautious and only delete Logitech-related files to avoid accidentally deleting essential system files.
With the removal of leftover files and folders, you are one step closer to completely removing Logitech Gaming Software from your computer. Next, we will look at removing any registry entries associated with the software.
Step 3: Delete Registry Entries
Registry entries are configurations stored in the Windows Registry that contain information about installed software and system settings. To completely remove Logitech Gaming Software from your computer, it’s important to delete any associated registry entries. Follow the steps below to perform this task:
- Press the Windows key + R on your keyboard to open the Run dialog box.
- Type “regedit” into the Run box and click “OK” to open the Registry Editor.
- Once the Registry Editor window is open, navigate to the following location:
- Right-click on the “Logitech” folder and select “Delete” to remove it. Confirm the deletion if prompted.
- Next, navigate to the following location:
- Again, right-click on the “Logitech” folder and select “Delete” to remove it. Confirm the deletion if prompted.
HKEY_LOCAL_MACHINE\SOFTWARE\Logitech
HKEY_CURRENT_USER\Software\Logitech
Deleting these registry entries ensures that any traces of Logitech Gaming Software are removed from the Windows Registry. However, it’s important to exercise caution when modifying the registry, as deleting incorrect entries can cause system issues. Make sure you are only deleting Logitech-related entries and not any essential system or third-party entries.
Once you have deleted the necessary registry entries, you have completed the steps for removing Logitech Gaming Software. However, there are a few additional actions you can take to ensure a clean removal.
Step 4: Clear Temporary Files
Temporary files are files that are created and stored by various applications, including Logitech Gaming Software, during regular system operation. These files can accumulate over time and take up precious storage space on your computer. To ensure a thorough removal of Logitech Gaming Software, it is recommended to clear any temporary files associated with the software. Follow the steps below to accomplish this:
- Press the Windows key + R on your keyboard to open the Run dialog box.
- Type “%temp%” into the Run box and click “OK” to open the Temporary Files folder.
- Once the Temporary Files folder is open, select all files and folders inside by pressing “Ctrl + A” on your keyboard.
- Right-click on the selected files and folders and choose “Delete” from the context menu.
- If prompted for confirmation, click “Yes” to permanently delete the files and folders.
This process will clear out any temporary files associated with Logitech Gaming Software. It helps to reclaim valuable disk space and ensures that no remnants of the software are left behind.
It’s important to note that deleting temporary files will not harm your computer or affect any essential system files. However, if you encounter any files or folders that cannot be deleted, skip them and proceed with the removal process. Also, remember that temporary files will continue to accumulate over time, so it’s a good practice to periodically clean them to maintain optimal system performance.
Now that you have cleared the temporary files, it’s time to proceed to the final step – restarting your computer.
Step 5: Restart Your Computer
The final step in completely removing Logitech Gaming Software from your computer is to restart your system. Restarting your computer helps ensure that all changes made during the uninstallation process take effect and that any associated processes or services are stopped.
To restart your computer, follow these simple steps:
- Save any unsaved work and close all open applications and windows.
- Click on the “Start” button in the lower-left corner of your screen.
- Select the “Power” option.
- Choose “Restart” from the drop-down menu.
- Wait for your computer to shut down and then start back up again.
After your computer restarts, it should now be free of Logitech Gaming Software and any residual files or registry entries. You can verify the successful removal by checking the installed programs list and searching for any remaining Logitech-related entries.
Restarting your computer not only finalizes the removal process but also ensures that your system starts fresh and any temporary files or processes associated with Logitech Gaming Software are fully terminated.
With the completion of this step, congratulations! You have successfully removed Logitech Gaming Software from your computer. If you ever need to reinstall the software in the future, make sure to download the latest version from the Logitech website to enjoy its features and customization options.
Conclusion
In this guide, we have provided a step-by-step process on how to completely remove Logitech Gaming Software from your computer. By following the steps outlined, you can ensure a thorough removal of the software, including uninstallation, deletion of leftover files and folders, removal of registry entries, clearing of temporary files, and restarting your computer.
Removing Logitech Gaming Software can be necessary for various reasons, such as troubleshooting issues, upgrading to a new version, or no longer needing its features. By following the steps provided, you can ensure a clean removal of the software, freeing up disk space and minimizing the chance of conflicts.
However, it’s important to note that removing Logitech Gaming Software will reset any customizations you made to your Logitech devices. If you choose to use them again in the future, you will need to reinstall the software and recreate your configurations.
If you encounter any issues during the removal process or need further assistance, we recommend reaching out to Logitech’s customer support for guidance.
We hope that this guide has been helpful in guiding you through the process of completely removing Logitech Gaming Software from your computer. By following these steps, you can ensure a clean and thorough uninstallation, allowing you to start fresh or install a different version of the software if needed.
Thank you for reading and best of luck with your Logitech gaming peripherals!


