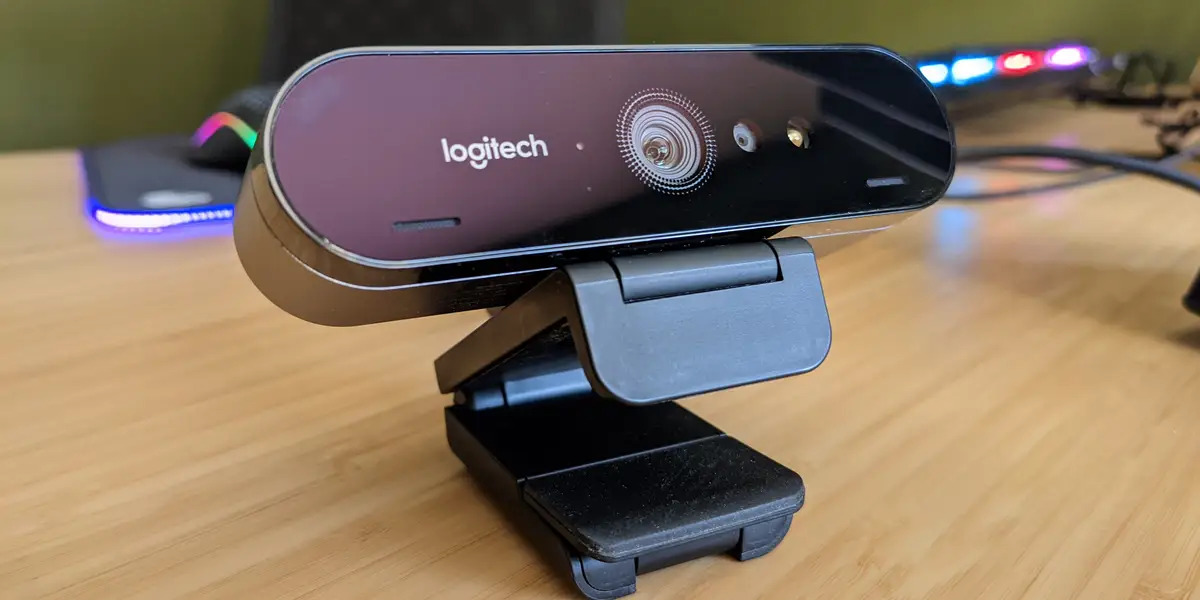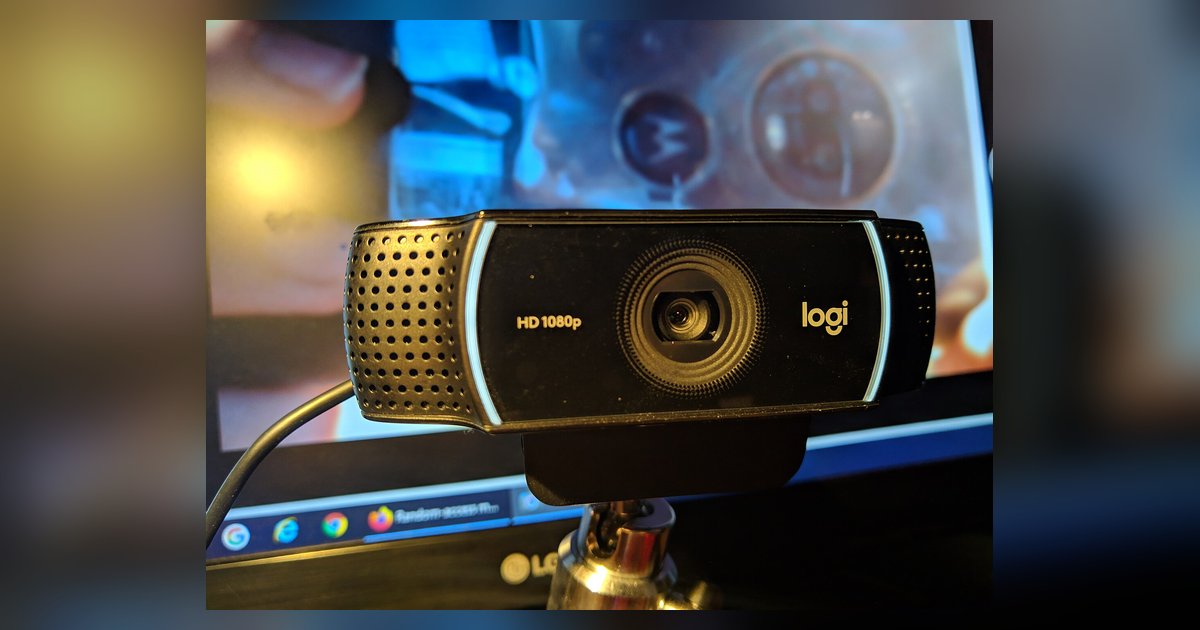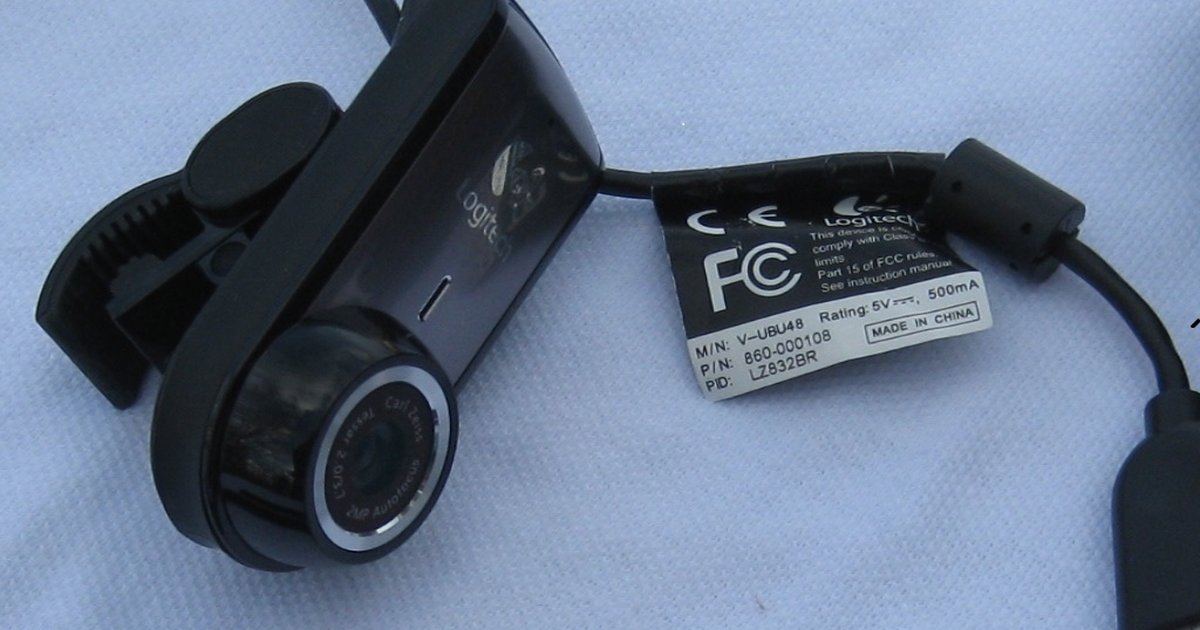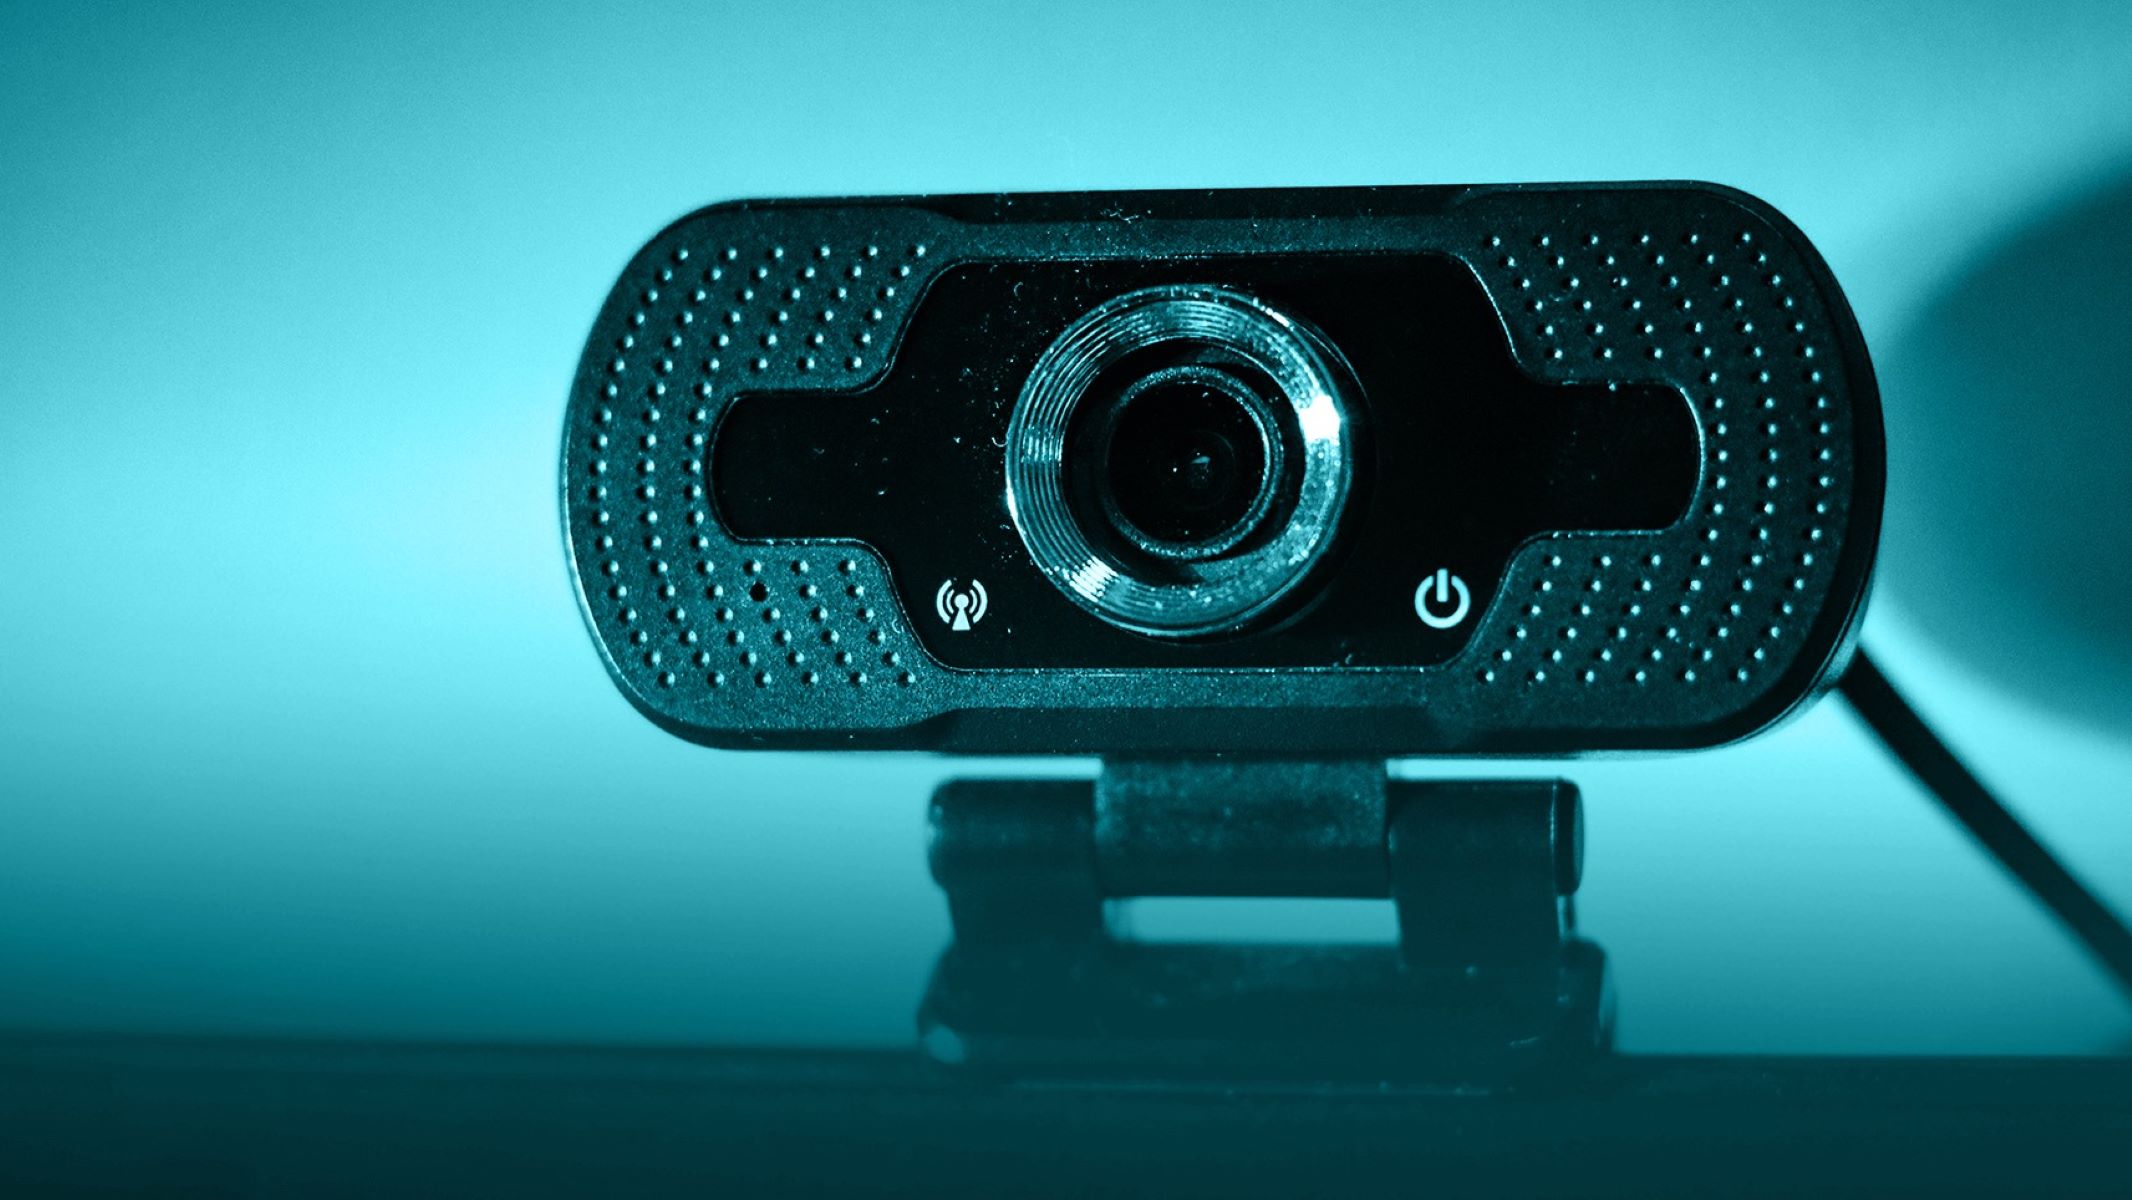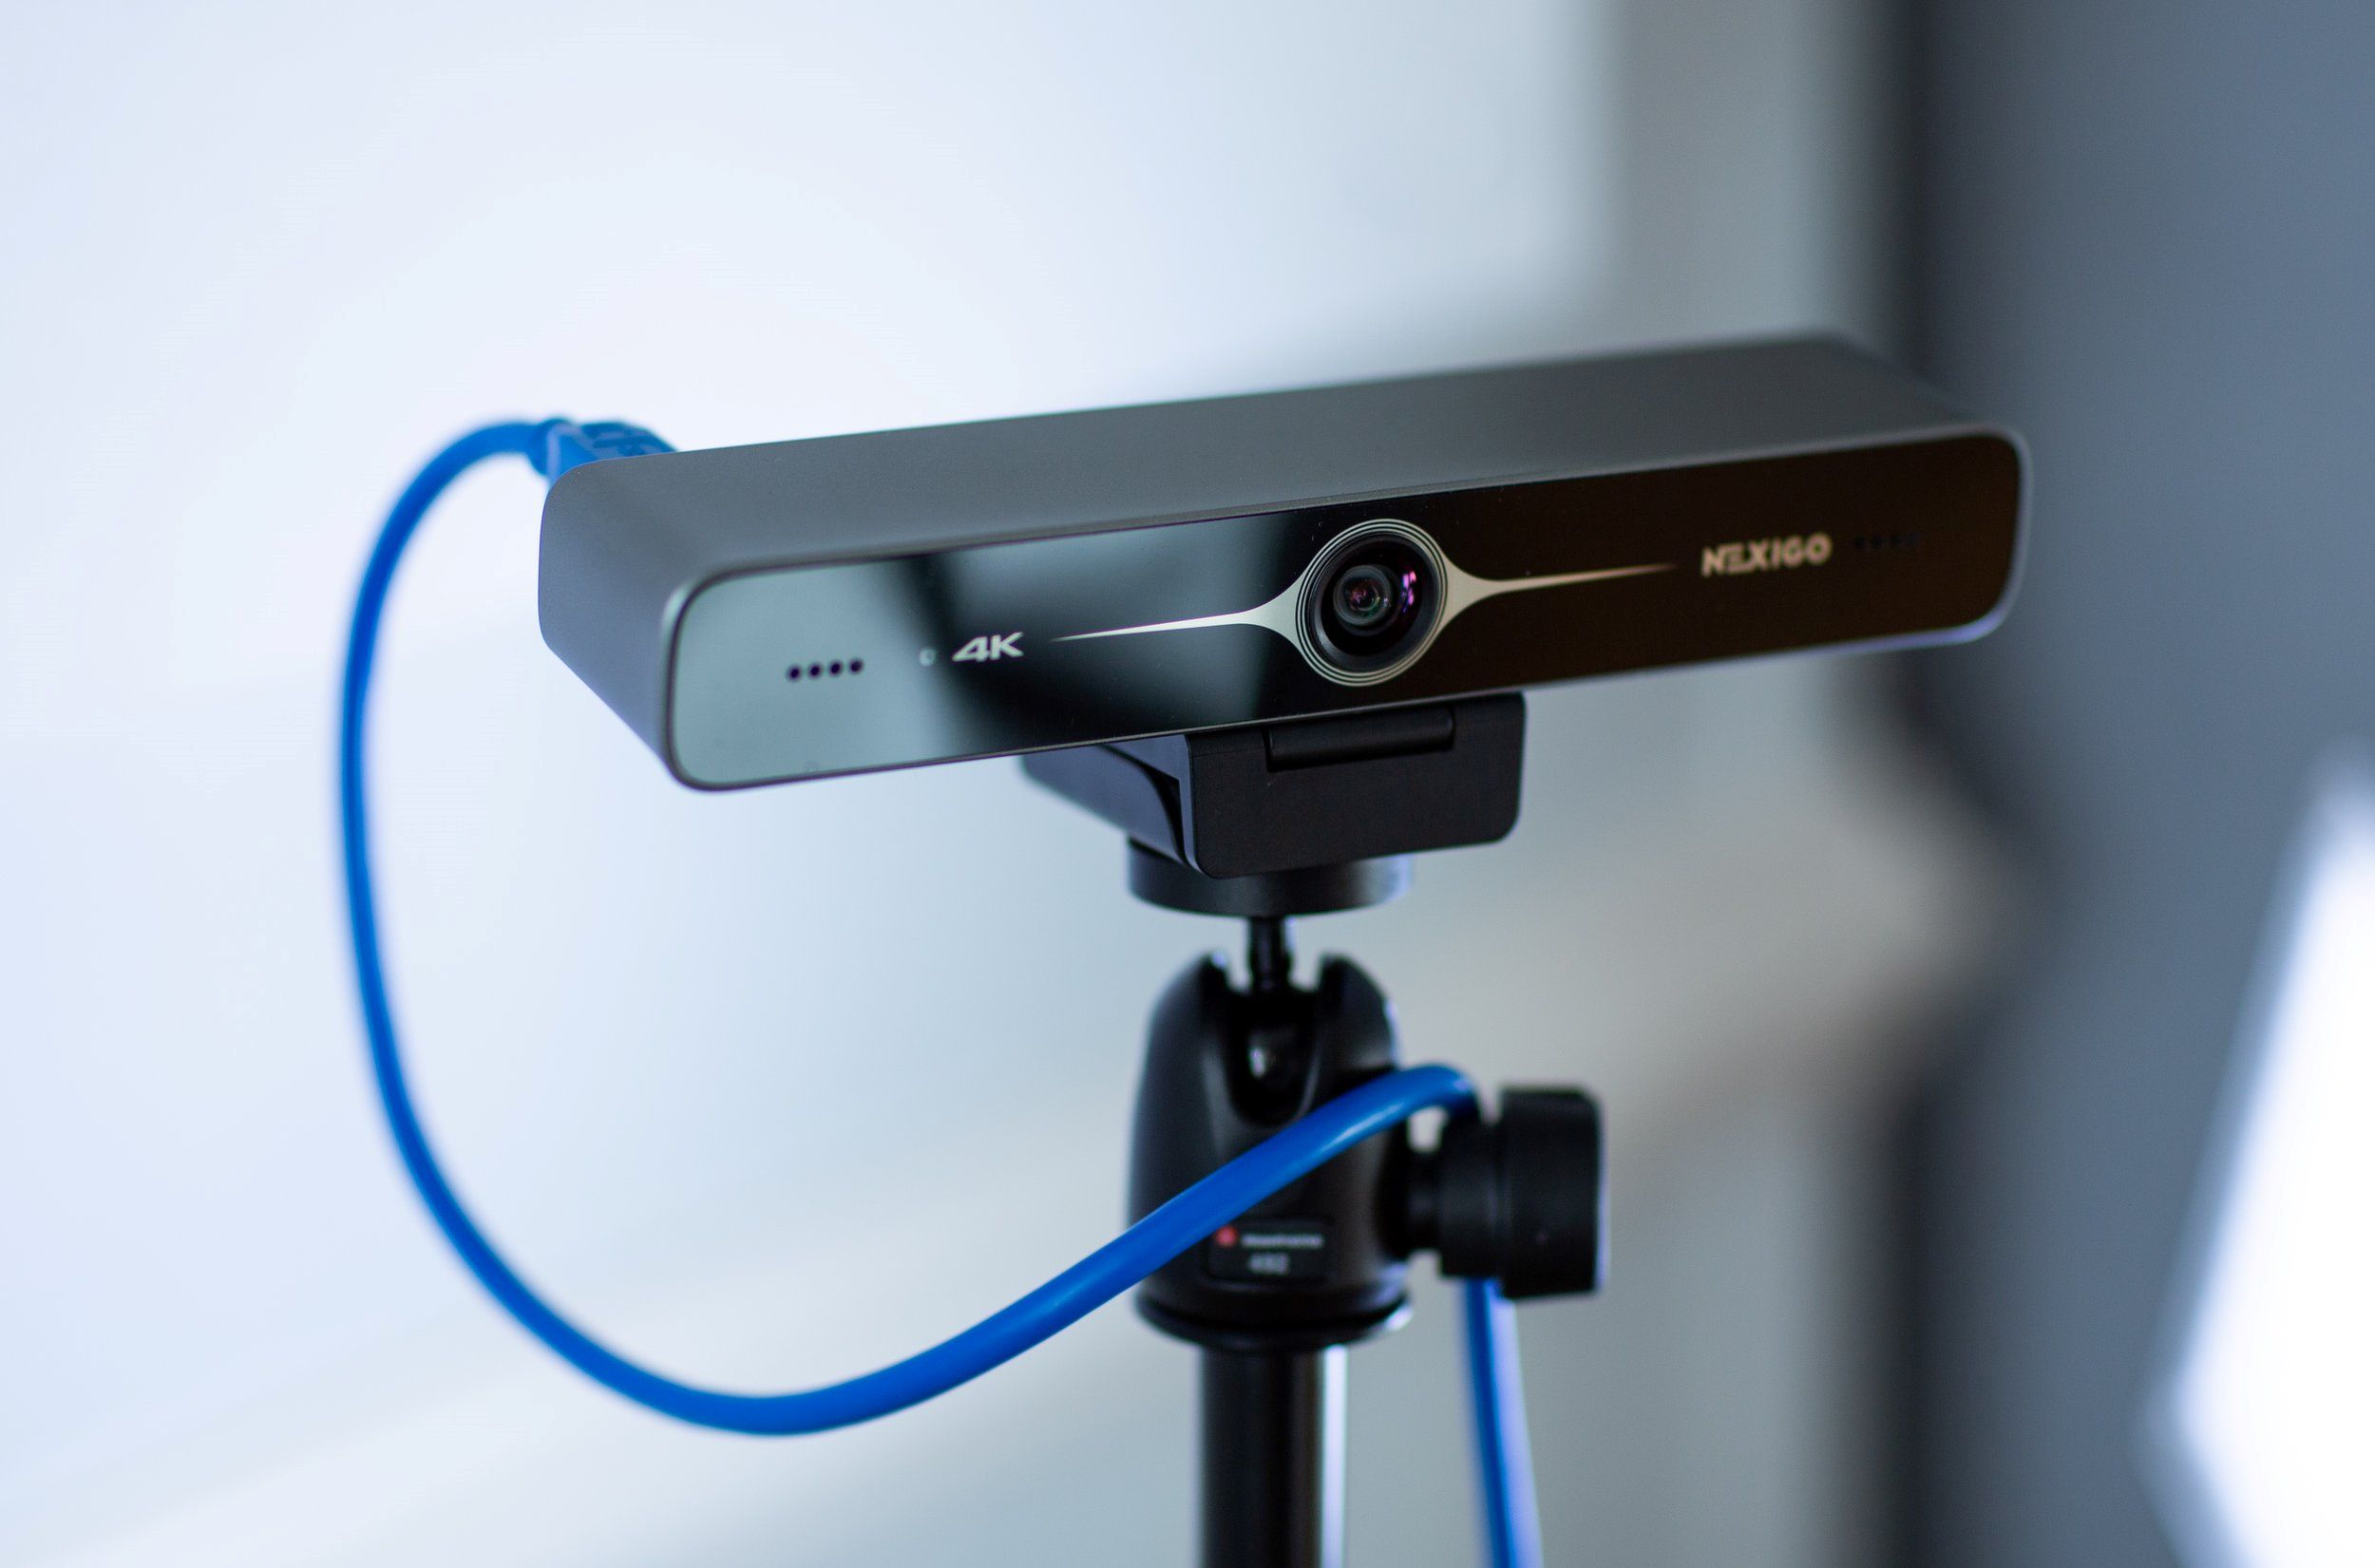
Setting up a NexiGo webcam is a straightforward plug-and-play process: mount the camera, plug it into a USB port, and select it in your video call app. No manual driver installation is needed, as your operating system automatically handles the setup.
How to set up a NexiGo webcam: the plug-and-play way
NexiGo webcams are designed for simple plug-and-play installation, typically not requiring manual driver installation as operating systems automatically install generic drivers. Before connecting, confirm your NexiGo webcam is compatible with your operating system; most models support Windows 7/8/10/11 or above, macOS 10.6 or 10.10 or above, and Chrome OS V29.01547 or above. Ensure your computer has a compatible USB port (USB-A or USB-C) and supports at least USB 2.0 speeds for stable video transmission; USB 3.0 is recommended. The physical setup is a three-step process: mount the webcam on your monitor or tripod, plug the USB cable into your computer, and select the NexiGo camera in your video conferencing application.
Connecting and mounting your NexiGo webcam
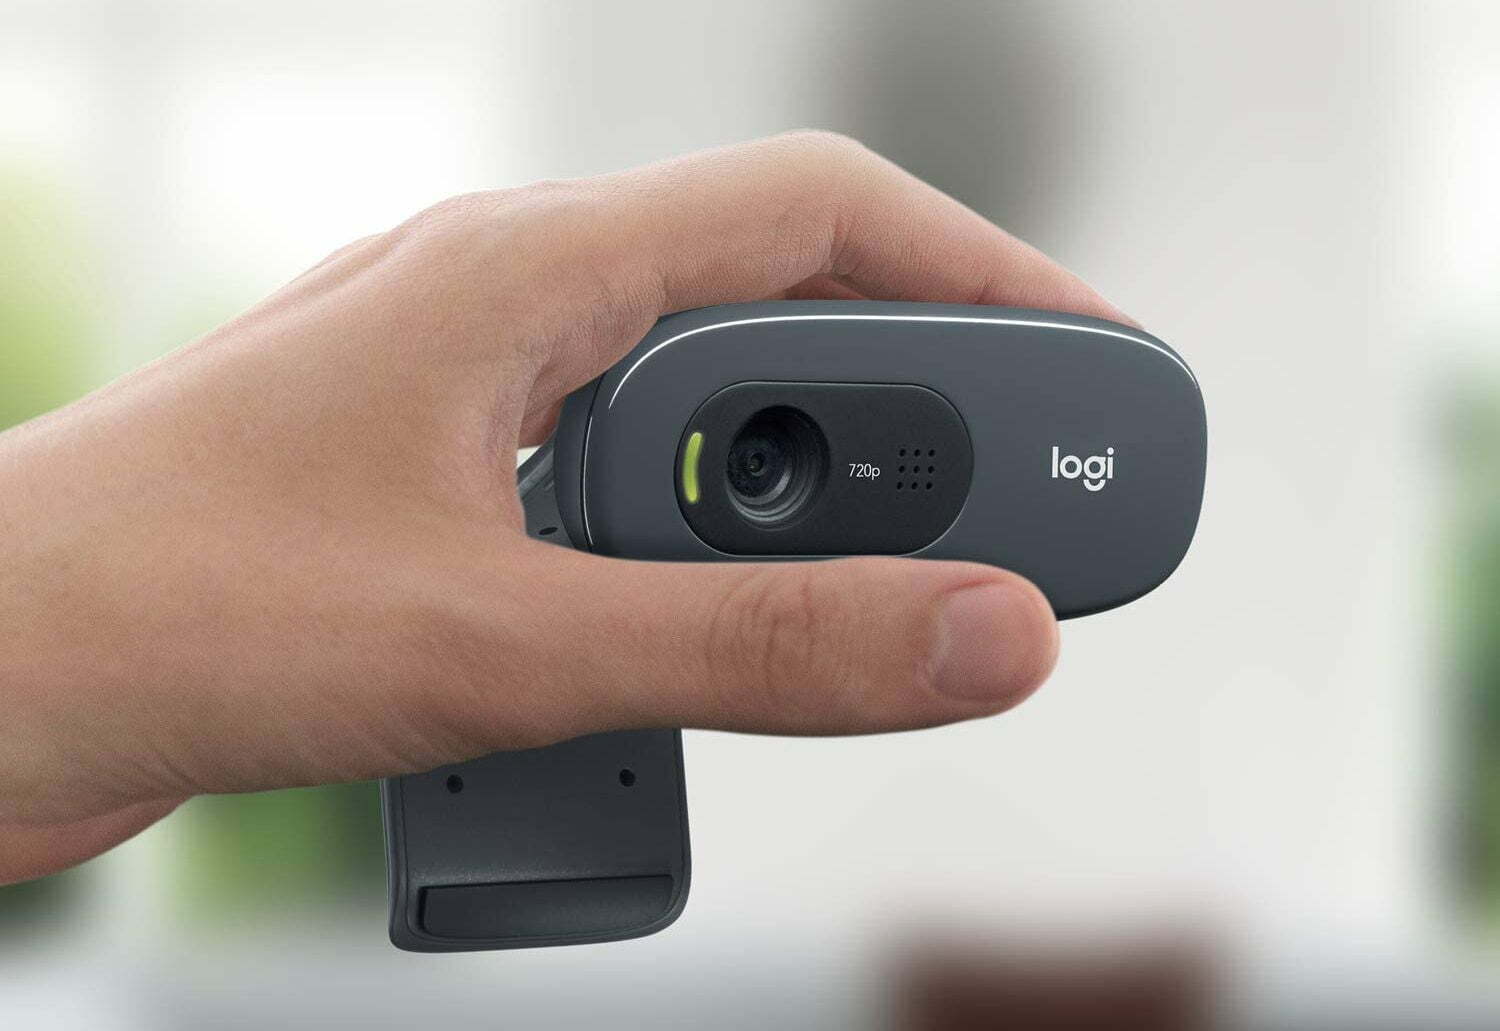
Mount the webcam by opening its adjustable clip and placing it on top of your monitor or laptop screen, ensuring the camera faces you directly, or screw it onto a tripod if supported. The universal clip provides a secure grip and allows you to adjust the angle for perfect framing. Once mounted, take the included USB cable and plug one end into the webcam's USB port, then connect the other end to a USB port on your computer. If you are using a laptop with a built-in camera, you may first need to turn on webcam on hp laptop to ensure the correct device is active. Your computer will automatically recognize the webcam and initiate the installation process, which takes only a few moments.
Installing optional software for more control
The NexiGo Webcam Settings software is optional but allows for fine-tuning image quality, focus, and color, including settings like brightness, contrast, saturation, and hue. Download the official NexiGo Webcam Settings software for Windows or Mac from nexigo.com/software. Some NexiGo webcam models, such as the N60 or N660, have fixed focus and cannot adjust certain settings like hue or backlight compensation in the NexiGo software. This software is useful if you want to optimize your video quality beyond the default plug-and-play settings, and it also provides a way to test your webcam without joining a call by showing a live preview of your camera feed.
Attaching the privacy cover
To use the included privacy cover, remove the 3M tape backing, attach it to the webcam lens, and press firmly. This physical cover ensures your camera is blocked when not in use, providing peace of mind without needing to hack a webcam through software or other methods.
Fixing common NexiGo webcam problems
If you encounter no video output, first check that you have selected the correct camera in your app's settings. If the issue persists, try a different USB port on your computer, ensuring it supports at least USB 2.0 speeds. For poor video quality, check the lighting conditions in your environment, adequate lighting prevents grainy or dark video. You can also adjust settings like exposure and white balance in the optional NexiGo Webcam Settings software to improve image quality. For audio issues, verify that the NexiGo webcam's microphone is selected as the default audio input device in your application's settings and that it is not muted.