Introduction
Having a functional webcam on your HP laptop can be incredibly useful for video conferencing, live streaming, or simply staying connected with friends and family. However, if you’re experiencing issues with your webcam or if it’s not turning on, it can be frustrating. Fortunately, there are several steps you can take to troubleshoot and resolve these problems.
In this article, we will guide you through the process of turning on your webcam on an HP laptop. Whether you’re using Windows 10 or a different operating system, we will cover the necessary steps to ensure your webcam is ready for use. From checking for hardware compatibility to updating drivers and adjusting privacy settings, we’ve got you covered.
Before we dive into the specific instructions, it’s important to note that different HP laptop models may have slight variations in the steps required to turn on the webcam. Therefore, it’s recommended to refer to your laptop’s user manual or visit the official HP support website for detailed instructions specific to your model. With that said, let’s get started and get your webcam up and running!
Checking for Webcam Hardware in HP Laptop
The first step in turning on your webcam on an HP laptop is to ensure that your device is equipped with a webcam. While most recent HP laptop models come with built-in webcams, older models or budget-friendly options may not have this feature. Here’s how you can check if your laptop has a webcam:
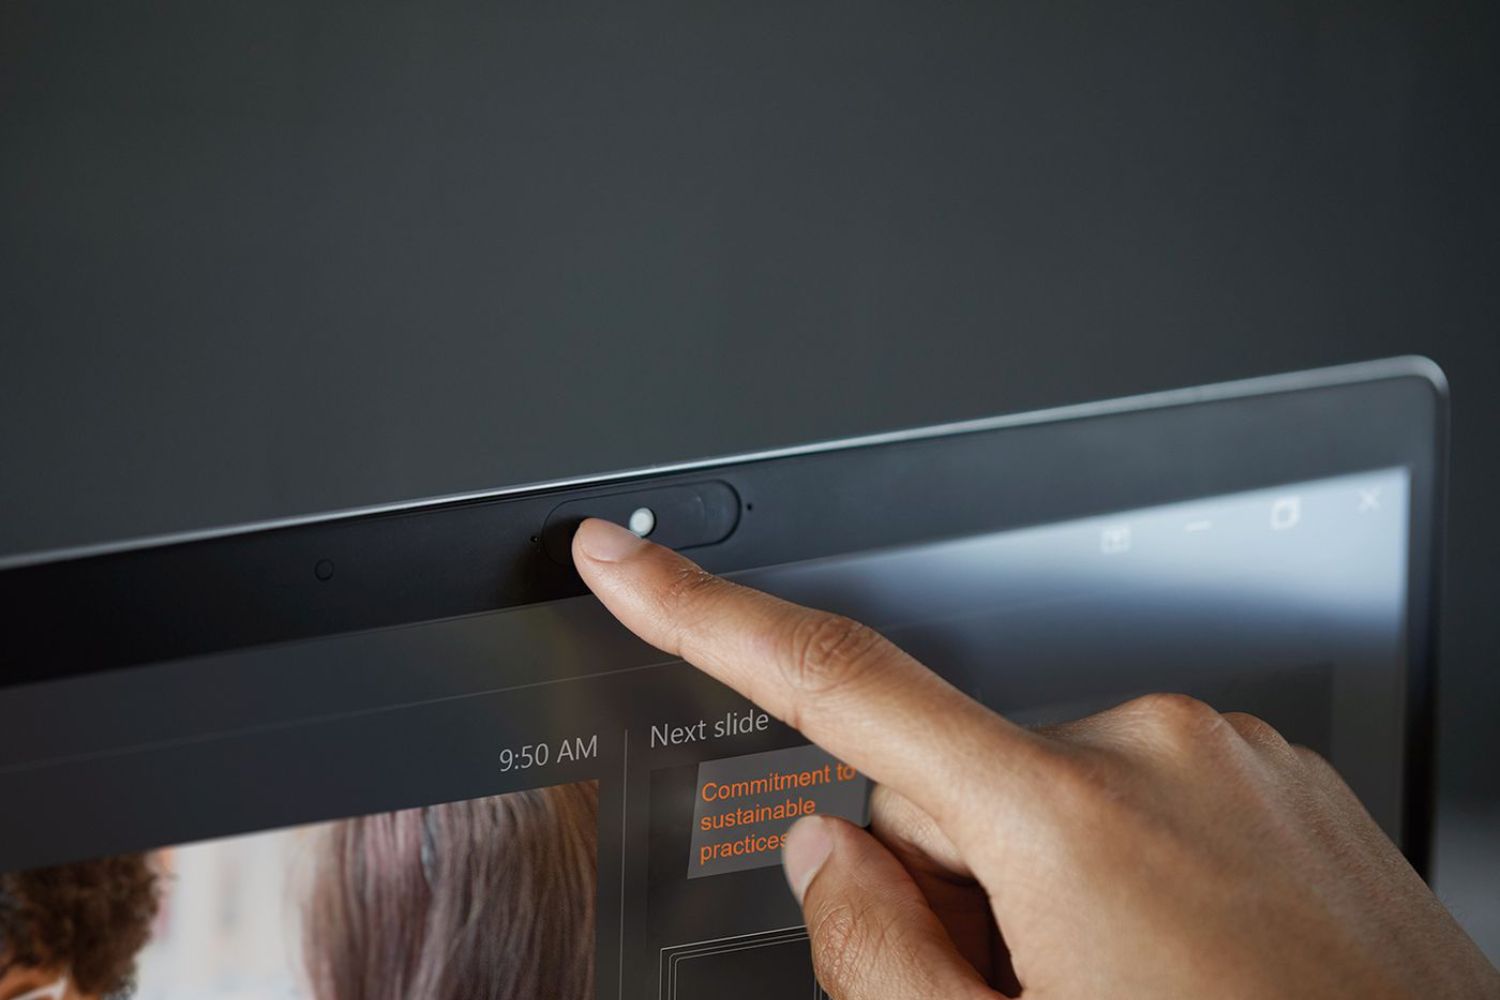
- Look for a physical webcam indicator: Many HP laptops have a small LED light located near the webcam, which illuminates when the camera is in use. If you see this light, it’s a clear indication that your laptop has a webcam.
- Check the specifications: If there’s no visible webcam indicator, you can check the specifications of your laptop. Look for features like “Integrated Webcam” or “Front-facing Camera” in the product description or user manual.
- Open the device manager: If you’re still unsure, you can check the device manager on your HP laptop. Press the Windows key + R to open the Run dialog box, then type “devmgmt.msc” and hit Enter. In the Device Manager window, expand the “Imaging devices” or “Cameras” category to see if your laptop has a webcam listed.
If you find that your HP laptop does not have a built-in webcam, you may consider using an external USB webcam or exploring other options such as purchasing an upgrade or a newer laptop model. However, if your laptop does have a webcam, let’s move on to the next step of updating the webcam driver.
Updating Webcam Driver in HP Laptop
Outdated or incompatible webcam drivers can often cause issues with your HP laptop’s webcam functionality. To ensure smooth operation and optimal performance, it’s important to keep your webcam driver up to date. Here’s how you can update the webcam driver on your HP laptop:
- Visit the HP Support website: Go to the official HP Support website and navigate to the “Drivers & Downloads” section. Enter your laptop’s model number or allow the website to automatically detect your device.
- Find the webcam driver: Once you’ve entered the correct model number or allowed the website to detect your laptop, locate the “Camera” or “Webcam” driver in the list of available drivers for your device.
- Download and install the driver: Click on the download button next to the webcam driver to initiate the download process. Once the driver file is downloaded, double-click on it and follow the on-screen instructions to install the driver on your laptop.
- Restart your laptop: After the driver installation is complete, it’s recommended to restart your laptop to ensure that the changes take effect.
Updating your webcam driver can help resolve compatibility issues, fix bugs, and improve overall performance. If you still encounter problems with your webcam after updating the driver, proceed to the next step of enabling the webcam using HP QuickPlay or CyberLink YouCam software.
Enabling Webcam using HP QuickPlay or CyberLink YouCam Software
Once you have updated the webcam driver on your HP laptop, the next step is to enable the webcam using the pre-installed software. Depending on your laptop model, you may have either HP QuickPlay or CyberLink YouCam software. Here’s how you can enable your webcam using these software options:
- Launch HP QuickPlay or CyberLink YouCam: Locate and open the HP QuickPlay or CyberLink YouCam software on your laptop. You can usually find these programs in your Start menu or by searching for them in the taskbar.
- Access the webcam settings: In the HP QuickPlay or CyberLink YouCam software, look for the settings or preferences option. It is usually represented by a gear icon or a combination of buttons like “Settings” or “Preferences”.
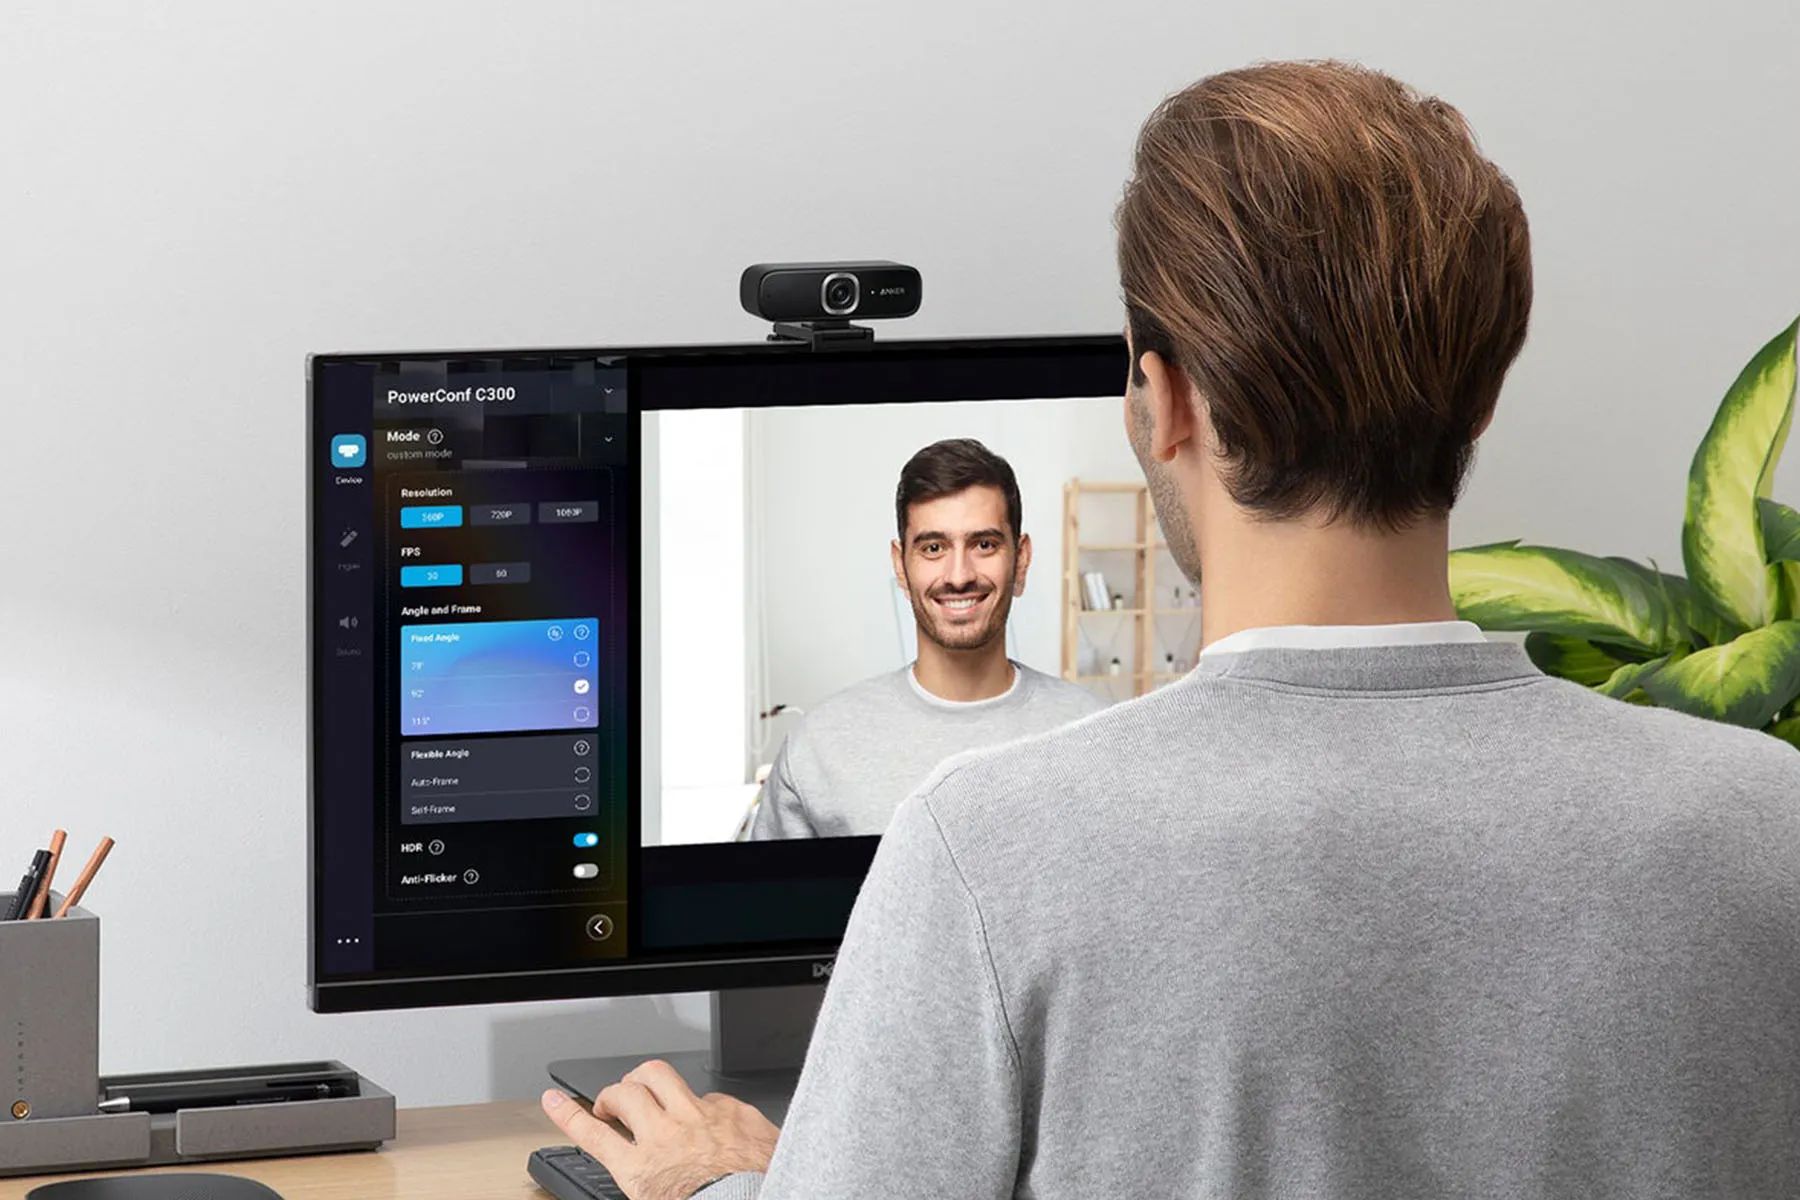
- Enable the webcam: Within the settings or preferences menu, find the option to enable the webcam and make sure it is toggled on. You may also have additional options to adjust the camera resolution, video quality, or other webcam settings.
- Test your webcam: After enabling the webcam, close the settings menu and use the software’s built-in camera functionality to test your webcam. You should be able to see a live video feed from your webcam within the software.
Enabling the webcam through HP QuickPlay or CyberLink YouCam software ensures that the necessary settings are in place for your webcam to function properly. However, if you’re using Windows 10, it’s also important to check the privacy settings to allow apps and websites to access your webcam, which we will cover in the next section.
Checking Webcam Privacy Settings in Windows 10
In Windows 10, there are privacy settings that control which apps and websites can access your webcam. If these settings are not configured correctly, it may prevent your HP laptop’s webcam from functioning. Follow the steps below to check and adjust the privacy settings for your webcam:
- Open the Windows Settings: Click on the Start menu and select the gear icon to open the Windows Settings menu.
- Go to Privacy Settings: In the Windows Settings menu, click on “Privacy” to access the privacy settings for various system features.
- Select Camera: In the left sidebar of the Privacy settings, click on “Camera” to view the camera-related settings.
- Allow access to the camera: Make sure that the “Allow apps to access your camera” toggle switch is turned on. This will enable applications installed on your laptop to access your webcam.
- Check individual app permissions: Scroll down to the “Choose which apps can access your camera” section and review the list of installed apps. Make sure that the apps you want to use with your webcam, such as video conferencing platforms or web browsers, have the camera access permissions toggled on.
- Enable browser access: If you plan to use your webcam for video calling or live streaming in web browsers, ensure that the toggle switch for “Allow desktop apps to access your camera” is turned on. This enables web browsers to access your webcam.
By adjusting these privacy settings, you ensure that your HP laptop’s webcam can be accessed by the apps and websites that you need. If you’re still experiencing issues with your webcam, we recommend troubleshooting the connection and checking for any hardware or software conflicts, which we will cover in the next section.
Troubleshooting Webcam Connection Issues
If you’ve followed the previous steps and your HP laptop’s webcam is still not turning on or functioning properly, there may be underlying connection issues or conflicts. Here are some troubleshooting steps you can take to resolve webcam connection problems:
- Restart your laptop: Sometimes, a simple restart can resolve temporary software glitches and restore the webcam’s functionality. Restart your HP laptop and check if the webcam starts working.
- Check physical connections: If you’re using an external webcam, ensure that it is properly connected to your laptop via the USB or other designated ports. Disconnect and reconnect the webcam to ensure a secure connection.
- Disconnect other USB devices: If you have multiple USB devices connected to your laptop, try disconnecting them one by one to rule out any conflicts or power limitations that may be affecting the webcam’s performance.
- Update other drivers: Outdated or conflicting drivers for other hardware components can sometimes interfere with the webcam’s operation. Ensure that all other drivers, especially those related to USB or video input, are up to date.
- Scan for malware: Malware or viruses can cause various software and hardware issues, including problems with the webcam. Perform a thorough scan of your laptop using reliable antivirus software to eliminate any potential threats.
- Try a different application: If you’re experiencing webcam issues with a specific application, try using a different application that supports webcam functionality to confirm if the problem lies with the software or the webcam itself.
- Check for BIOS updates: In some cases, outdated or incompatible BIOS (Basic Input/Output System) firmware can affect the webcam’s operation. Visit the HP support website and check if there are any BIOS updates available for your laptop model.
By going through these troubleshooting steps, you can identify and resolve common webcam connection issues on your HP laptop. If none of these steps work, it may be advisable to seek professional assistance or contact HP support for further guidance and potentially arrange for a hardware inspection or repair.
Conclusion
In this article, we have explored the steps to turn on the webcam on an HP laptop. By checking for webcam hardware, updating the webcam driver, enabling the webcam through HP QuickPlay or CyberLink YouCam software, adjusting privacy settings in Windows 10, and troubleshooting connection issues, you can ensure that your webcam functions properly.
Remember to consult your laptop’s user manual or the official HP support website for model-specific instructions and to download the necessary drivers and software. Additionally, keeping your operating system, drivers, and antivirus software up to date can further enhance the performance and security of your webcam.
If you have followed all the steps outlined in this article and are still unable to resolve webcam issues, it is recommended to seek assistance from HP support or a professional technician who can diagnose and troubleshoot any underlying hardware problems.
Having a functional webcam is essential for various tasks, from video conferencing to live streaming. By implementing the solutions provided in this article, you can effectively enable and troubleshoot webcam-related issues on your HP laptop. Stay connected, communicate effectively, and enjoy the benefits of this invaluable feature!