Introduction
The built-in webcam on your HP Ultrabook can be a valuable tool for video calls, online meetings, and capturing memories through photos and videos. However, if you’re not familiar with the ins and outs of your Ultrabook’s software and settings, you may find it challenging to turn on your webcam. In this guide, we will walk you through the steps to enable your webcam on an HP Ultrabook running Windows 10.
Whether you’re using your laptop for personal or professional purposes, being able to access your webcam effortlessly is essential. By following the instructions provided in this guide, you will be able to check if your webcam is installed, enable it from the device manager or privacy settings, update the webcam driver, and troubleshoot any potential issues that may arise.
We understand that technical processes can be daunting, especially for those who may not have much experience with computer settings. That’s why we’ve put together this comprehensive guide to help you navigate through the necessary steps with ease. By the end of this guide, you’ll have the knowledge and confidence to turn on your webcam and make the most of your HP Ultrabook’s capabilities.
So let’s dive in and learn how to check if your webcam is installed and how to enable it on your HP Ultrabook running Windows 10.
Checking if Webcam is Installed
Before proceeding to enable your webcam, it is important to verify if your HP Ultrabook has a built-in webcam. Here’s how you can check:
-
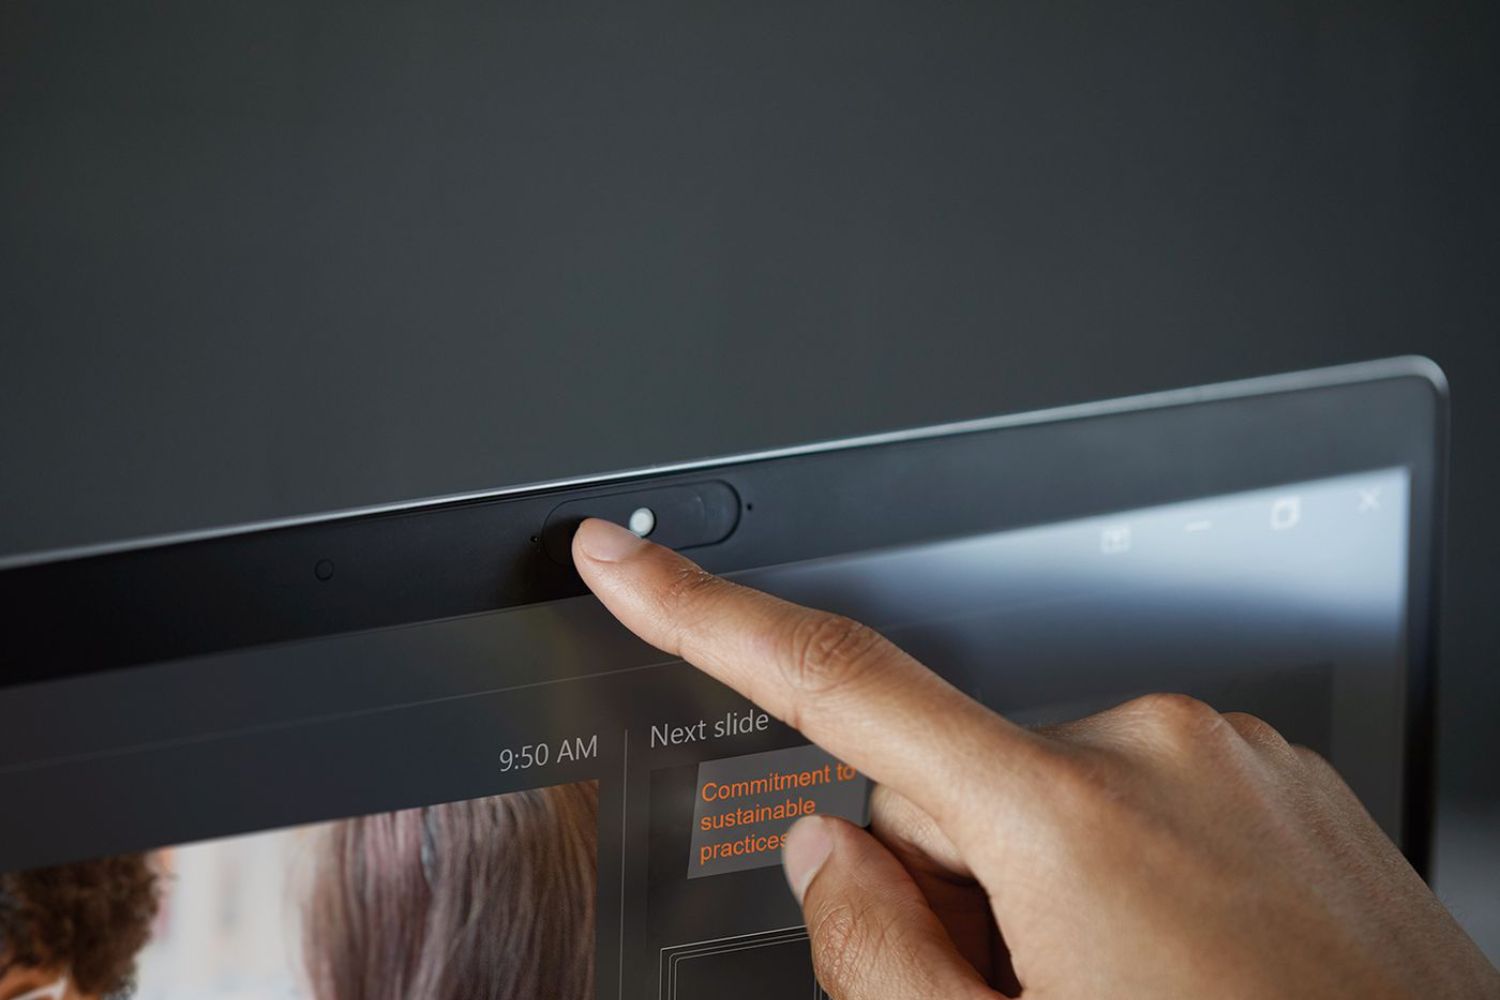
Look for a physical webcam indicator: Many HP Ultrabooks have a small LED light located near the webcam. If this light turns on when you open an application that uses the webcam, it means that your Ultrabook has a built-in webcam.
-
Check your device specifications: If you’re unsure about the existence of a webcam, you can check your Ultrabook’s specifications either in the user manual or by visiting the manufacturer’s website. Look for information related to the built-in camera or webcam.
-
Access the Device Manager: Press the Windows key + X on your keyboard and select Device Manager from the menu. In the Device Manager window, expand the Imaging devices or Cameras section. If you see a webcam listed, it means that your Ultrabook has a built-in webcam.
If you have confirmed that your HP Ultrabook has a built-in webcam, you are ready to proceed to the next step of enabling the webcam. However, if you find that your Ultrabook does not have a built-in webcam, you may need to consider external webcam options if you require video conferencing capabilities.
Enabling Webcam from Device Manager
If your HP Ultrabook has a built-in webcam but it is not working or enabled, you can enable it through the Device Manager. Follow these steps:
-
Press the Windows key + X on your keyboard and select Device Manager from the menu that appears.
-
In the Device Manager window, locate the “Imaging devices” or “Cameras” category and expand it by clicking on the arrow next to it.
-
Right-click on your webcam device (it may be named different on various Ultrabook models) and select “Enable” from the context menu.
After enabling the webcam, close the Device Manager and open an application that uses the camera to test if it is now functioning properly. If the webcam is still not working, try restarting your Ultrabook and testing it again.
Note that in some Ultrabook models, the webcam may be listed under a different category in the Device Manager, such as “Sound, video and game controllers” or “Universal Serial Bus controllers.” If you don’t see the webcam listed under the “Imaging devices” or “Cameras” category, make sure to check these other categories.
Enabling the webcam from the Device Manager should resolve most issues related to the webcam not working or being disabled. However, if the problem persists, there may be other factors at play, such as outdated drivers or privacy settings. In the next sections, we will cover how to address these issues.
Enabling Webcam from Privacy Settings
In some cases, the webcam on your HP Ultrabook might be disabled from the privacy settings of your Windows 10 operating system. To enable the webcam, you can follow these steps:
-
Click on the Start menu and select Settings (the gear icon).
-
In the Settings window, click on Privacy.
-
In the left sidebar, select Camera.
-
On the right side, under “Allow access to the camera on this device,” make sure the Camera access for this device option is turned on. If it is toggled off, click on the switch to enable it.
-
Scroll down and under “Choose which Microsoft Store apps can access your camera,” make sure the toggle for the specific apps you want to use with the camera is also turned on.
After enabling the webcam access in the privacy settings, close the Settings window and open an application that uses the camera to check if the webcam is now functional.
It’s worth noting that these privacy settings are designed to protect your privacy by giving you control over which apps can access your webcam. However, if the access is disabled, it can prevent the webcam from working properly.
If the webcam is still not working even after enabling it from the privacy settings, there might be an issue with the webcam driver. Let’s move on to the next section to learn how to update the driver and potentially resolve the problem.
Updating Webcam Driver
If your HP Ultrabook’s webcam is still not functioning properly after enabling it from the Device Manager and privacy settings, it might be due to an outdated or incompatible webcam driver. To update the webcam driver, follow these steps:
-
Press the Windows key + X on your keyboard and select Device Manager from the menu that appears.
-
In the Device Manager window, locate the Imaging devices or Cameras category and expand it.
-
Right-click on the webcam device and select Update driver.
-
Choose the Search automatically for updated driver software option.
-
Wait for Windows to search for the latest driver and install it. Follow any on-screen instructions if prompted.
Once the driver update is complete, restart your Ultrabook and check if the webcam is now working as expected. If the issue persists, you may need to visit HP’s official website and download the latest driver specifically designed for your Ultrabook model.
Updating the webcam driver can often resolve compatibility issues and ensure that your webcam functions optimally. If you’re still experiencing problems even after updating the driver, it might be necessary to troubleshoot further or seek professional assistance to diagnose and resolve the issue.
Troubleshooting Webcam Issues
If you have followed the previous steps and your HP Ultrabook’s webcam is still not working, you can try troubleshooting the issue using the following methods:
-
Restart Your Ultrabook: Sometimes, a simple restart can resolve minor glitches and refresh the system, allowing the webcam to function properly.
-
Scan for Malware: Malware infections can interfere with various functions, including the webcam. Run a reliable antivirus scan to detect and remove any potential threats.
-
Check Other Applications: Ensure that the webcam is not being used by any other application simultaneously. Close any unnecessary applications and try accessing the webcam again.
-
Disable/Enable the Webcam: In the Device Manager, right-click on the webcam device and select “Disable.” Wait for a few seconds and then right-click again and select “Enable.”
-
Restore System: If the issue started after recent changes or updates, you can try restoring your system to a previous restore point when the webcam was working properly.
-
Check Hardware Connections: Ensure that the webcam is properly connected to your Ultrabook. If it is an external webcam, try unplugging and reconnecting it. If it is a built-in webcam, refer to the Ultrabook’s manual for instructions on how to check the connections internally.
-
Contact Technical Support: If none of the above solutions work, it may be necessary to contact the technical support team for further assistance. They can provide specific troubleshooting steps based on your Ultrabook model and help identify any underlying hardware issues.
By going through these troubleshooting methods, you can effectively determine and resolve potential issues with your HP Ultrabook’s webcam. Remember to test the webcam after each troubleshooting step to check if it is now working correctly.
It’s important to stay patient and persistent throughout the troubleshooting process, as webcam issues can sometimes be complex and require multiple attempts to resolve. However, with these methods, you have a good chance of getting your webcam back up and running.
Conclusion
In this guide, we have provided step-by-step instructions on how to enable your webcam on an HP Ultrabook running Windows 10. By checking if the webcam is installed, enabling it from the Device Manager, adjusting privacy settings, updating the webcam driver, and troubleshooting potential issues, you can ensure that your webcam is functioning properly.
It’s important to remember that every Ultrabook model may have slight variations in settings and steps, so it’s always a good idea to consult your specific device’s user manual or visit the manufacturer’s website for more detailed instructions.
If you have successfully enabled your webcam, you can now take advantage of video calls, online meetings, and capturing memories through photos and videos. Just remember to use your webcam responsibly and be mindful of your privacy settings to protect your personal information.
If you encounter any difficulties or if your webcam issues persist, don’t hesitate to seek further assistance from HP’s technical support team or a computer professional who can provide personalized guidance.
We hope that this guide has been helpful in assisting you in enabling your webcam on your HP Ultrabook. Enjoy exploring the capabilities of your Ultrabook’s built-in webcam and make the most out of your video communication and multimedia experiences.


