Introduction
Welcome to the guide on how to check if your webcam is working properly. Webcams have become an essential component of our daily lives, allowing us to communicate through video calls, attend virtual meetings, and even live stream on social media platforms. However, it can be frustrating when your webcam doesn’t function as expected.
Whether you’re a student, professional, or someone who simply enjoys video chats with loved ones, it’s important to ensure that your webcam is in good working condition. This guide will provide you with step-by-step instructions to help you diagnose and troubleshoot any issues you may be experiencing with your webcam.
Before we dive into the troubleshooting steps, it’s essential to understand some basic hardware and software requirements. Firstly, ensure that your computer or laptop has a built-in webcam. If not, make sure you have an external webcam connected via USB. Additionally, ensure that your operating system and device drivers are up to date, as outdated software can often cause compatibility issues with webcams.
Now, let’s explore the various methods you can use to check if your webcam is working properly. From hardware checks to software configurations, we will cover everything you need to know to resolve any webcam-related problems. Whether you’re using Windows, macOS, or Linux, this guide has got you covered.
So, without further ado, let’s get started and ensure that your webcam is ready to capture those precious moments and keep you connected with the world around you.
Step 1: Check hardware connections
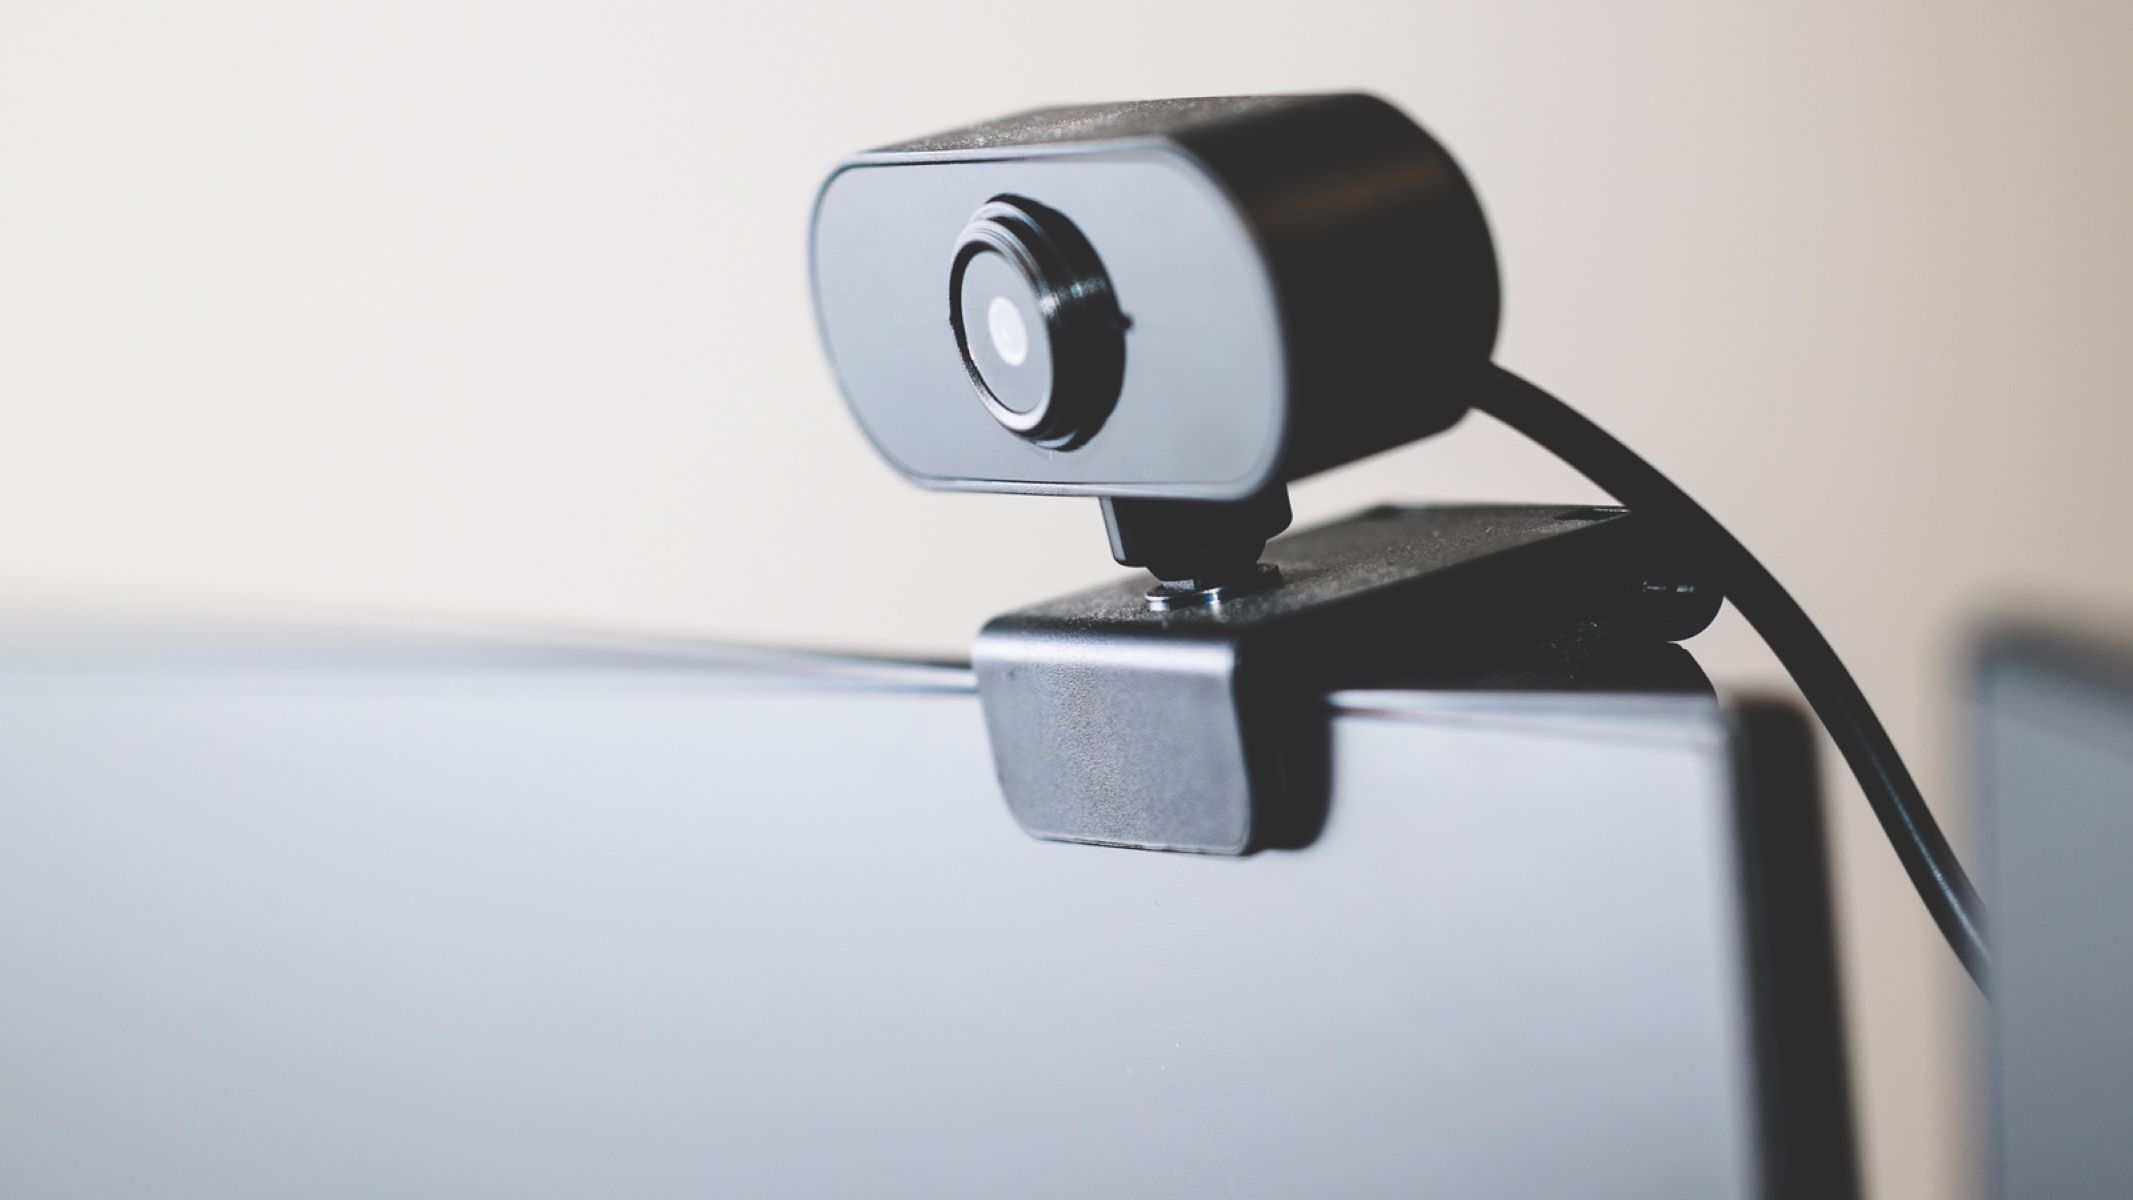
The first step in determining if your webcam is working correctly is to check the hardware connections. Ensure that your webcam is securely connected to your computer or laptop. If you are using an external webcam, make sure the USB cable is properly plugged into the USB port. Additionally, check the cable for any visible damage or wear that may be affecting the connectivity.
If your webcam is built-in to your device, such as a laptop, double-check that it is not covered or obstructed by a physical object. Often, unintentionally covering the webcam with a sticker, tape, or even a decorative laptop cover can prevent it from functioning properly. Give it a quick visual inspection to ensure it is clear and unobstructed.
Furthermore, consider disconnecting and reconnecting the webcam to refresh the connection. Sometimes, a simple reconnection can fix minor connectivity issues that may have occurred due to a temporary glitch. Unplug the webcam from the USB port, wait for a few seconds, and then plug it back in.
Once you have checked the physical connections and ensured that everything is in place, it’s time to move on to the next step in troubleshooting your webcam.
Step 2: Update your webcam drivers
Outdated or incompatible webcam drivers can often be the cause of webcam issues. Updating your webcam drivers can help resolve these issues and ensure that your webcam is functioning optimally.
There are a few ways to update your webcam drivers, depending on your operating system. Here are the general steps to update the drivers:
- Open the Device Manager on your computer. In Windows, you can do this by right-clicking on the Start menu and selecting “Device Manager.” On macOS, go to the Apple menu, click on “About This Mac,” and then select “System Report.” On Linux, open a terminal and type “sudo lshw -C video” to display the webcam details.
- In the Device Manager, locate the “Imaging devices” or “Cameras” category and expand it.
- Right-click on your webcam device and select “Update driver.”
- Choose the option to automatically search for updated driver software. Allow your operating system to connect to the internet and search for the latest driver updates.
- If a new driver is found, follow the on-screen instructions to install it.
Alternatively, you can also visit the manufacturer’s website to manually download the latest driver for your webcam. Look for the support or downloads section on the manufacturer’s website, enter your webcam model number, and download the appropriate driver for your operating system.
Once the driver update is complete, restart your computer to apply the changes. After the restart, test your webcam to see if the issue has been resolved.
Updating your webcam drivers should help ensure compatibility with your operating system and any other software you may be using. It also provides access to the latest features and improvements released by the manufacturer, allowing you to make the most out of your webcam.
Step 3: Enable webcam in device settings
Once you have checked the hardware connections and updated your webcam drivers, the next step is to ensure that your webcam is enabled in your device settings. Sometimes, the webcam may be accidentally disabled, preventing it from being recognized and used by your computer or applications.
To enable your webcam in the device settings, follow these steps:
- On Windows, open the Start menu and go to the “Settings” option. In the settings menu, select “Privacy” and then choose “Camera.” Ensure that the “Allow apps to access your camera” toggle switch is turned on.
- On macOS, click on the Apple menu and select “System Preferences.” In the System Preferences window, click on “Security & Privacy” and navigate to the “Privacy” tab. From the list on the left, click on “Camera” and tick the box next to the applications that you want to allow access to your webcam.
- On Linux, the process may differ depending on your distribution and desktop environment. In most cases, you can access the webcam settings through the system settings or control panel. Look for the privacy or permissions section and make sure that the webcam is allowed for use.
By enabling the webcam in your device settings, you are granting permission to the applications and services on your computer to access and utilize the webcam. This step is crucial for video conferencing apps, video chat services, and any other software that relies on the use of your webcam.
After enabling the webcam in your device settings, test it using an application that requires webcam access. Open a video conferencing app or use an online webcam test website to verify if your webcam is now functioning correctly.
If you have followed these steps and your webcam is still not working, it may be necessary to proceed to the next troubleshooting step.
Step 4: Use online webcam tests
If you have checked the hardware connections, updated the webcam drivers, and enabled the webcam in your device settings but are still experiencing issues, using online webcam tests can help further diagnose the problem.
Online webcam tests are web-based tools that allow you to check the functionality of your webcam directly through your browser. These tests are convenient and user-friendly, providing an easy way to assess if your webcam is working correctly.
To use an online webcam test, follow these steps:
- Open your web browser and search for online webcam test websites. There are numerous options available, such as WebcamMicTest, Webcam Tests, and TestMyCam, which offer simple and reliable webcam testing.
- Access one of the websites and grant permission for the site to access your webcam. Most websites will prompt you to allow access when you first load the page.
- Once your webcam is detected, the online test will display a live video feed from your webcam along with various tests and options to check different aspects of the webcam, such as the audio input, video quality, and zoom capabilities.
- Follow the instructions provided by the online webcam test to conduct the necessary checks. These may include adjusting settings, capturing photos or videos, and analyzing the results.
By using online webcam tests, you can quickly determine if your webcam is functioning properly or if there are any specific issues with its functionality. Should any issues be detected, the test results can provide valuable information to help further troubleshoot and resolve the problem.
It’s important to note that the results from online webcam tests are not definitive and may vary depending on the specific test and website used. However, they serve as a useful tool to assess the overall performance and functionality of your webcam.
If the online webcam test indicates that your webcam is working fine, it’s time to move on to the next step in troubleshooting. However, if the test results reveal any issues, continue to follow the subsequent steps to resolve the problem.
Step 5: Access webcam through video conferencing apps
One of the most common uses of webcams is for video conferencing. If you’re experiencing issues with your webcam, it’s a good idea to test it through various video conferencing apps. These apps not only allow you to communicate with others through video calls but also provide settings and options to troubleshoot and configure your webcam.
Here’s how you can access your webcam through video conferencing apps:
- Choose a video conferencing app that you have installed on your computer or laptop. Popular options include Zoom, Microsoft Teams, Skype, and Google Meet.
- Open the video conferencing app and sign in to your account. If you don’t have an account, you may need to create one or join a meeting as a guest.
- Navigate to the settings or preferences section of the app. Look for the audio and video settings, where you can select and configure your webcam.
- Within the settings, you’ll usually find options to choose the default webcam device, adjust video resolution, and enable/disable video mirroring or virtual background effects.
- Select your webcam as the default device and make sure the video feed is visible in the app’s video preview window. You can also use the app’s testing features to capture a test video or check the video quality.
- If your webcam is not detected in the video conferencing app or you’re unable to see the video feed, try disconnecting and reconnecting your webcam. Additionally, ensure that the webcam is not being used by any other applications that may conflict with the video conferencing app.
By accessing your webcam through video conferencing apps, you can ensure that it is functioning correctly within a specific application. If the video conferencing app displays the webcam feed without any issues, it indicates that the problem may lie with other software or settings on your computer.
However, if you’re still encountering problems with your webcam even when using video conferencing apps, proceed to the next step to check your webcam in the device manager.
Step 6: Check webcam in device manager
If you’re experiencing persistent issues with your webcam, checking the device manager can help identify potential problems and provide further insight into the status of your webcam.
The device manager is a built-in tool in Windows, macOS, and Linux that allows you to manage and monitor the hardware devices connected to your computer. It provides a detailed view of the devices installed on your system, including your webcam.
Here’s how you can check your webcam in the device manager:
- In Windows, right-click on the Start menu and select “Device Manager.” On macOS, go to the Apple menu, click on “System Preferences,” and select “System Report.” On Linux, open a terminal and type “sudo lshw -C video” to display the webcam details.
- In the device manager, look for the “Imaging devices” or “Cameras” category and expand it by clicking on the arrow next to it.
- Locate your webcam from the list of devices. It is usually displayed as the specific model or brand of your webcam.
- Check if there is a yellow triangle icon or an exclamation mark next to the webcam entry. This indicates that there may be a problem with the webcam driver or it may not be functioning properly.
- If there is an issue indicated, right-click on the webcam device and select “Update driver” to try updating the driver automatically. Alternatively, you can visit the manufacturer’s website to manually download and install the latest driver for your webcam.
- If the webcam is listed without any errors, right-click on it and select “Properties” to view additional details and check the status of the device. You can also use the “Update driver” option in the properties window to ensure you have the latest driver installed.
By checking your webcam in the device manager, you can identify any potential driver issues or conflicts that may be causing problems with your webcam. Updating the driver or resolving any errors can help restore the proper functioning of your webcam.
If checking the webcam in the device manager doesn’t reveal any issues or the problems persist, proceed to the next step to troubleshoot webcam issues specific to your operating system.
Step 7: Troubleshoot webcam issues in Windows
If you’re using Windows and have been experiencing webcam issues, there are several additional troubleshooting steps you can take to resolve the problem.
Here are some methods to troubleshoot webcam issues in Windows:
- Restart your computer: Sometimes, simply restarting your computer can resolve temporary glitches or conflicts that may be affecting the webcam.
- Scan for malware: Run a full system scan using reliable antivirus software to check for any malware or viruses that may be interfering with your webcam. Malicious software can potentially disable or hijack your webcam’s functionality.
- Check for conflicting applications: Ensure that no other applications or processes are using the webcam simultaneously. Close any unnecessary applications running in the background that may be accessing the webcam.
- Roll back driver changes: If you recently updated your webcam driver and started experiencing issues, you can try rolling back the driver to the previous version. To do this, open the Device Manager, locate your webcam device, right-click on it, and select “Properties.” In the properties window, go to the “Driver” tab and choose the “Roll Back Driver” option.
- Use the built-in Troubleshooter: Windows has a built-in Troubleshooter for hardware and devices. Open the Settings app, go to “Update & Security,” and select “Troubleshoot.” Under the “Find and fix other problems” section, click on “Hardware and Devices” and follow the on-screen instructions to run the Troubleshooter.
- Disable and re-enable the webcam: Open the Device Manager, locate your webcam device, right-click on it, and select “Disable device.” Wait for a few seconds, right-click on it again, and select “Enable device.” This can help refresh the device and resolve any issues that may have occurred.
- Restore system to an earlier point: If the webcam issues started after making significant changes to your system, such as installing new software or updates, you can try restoring your system to a previous restore point when the webcam was working properly. This can help revert any problematic changes that may be affecting the webcam’s functionality.
These troubleshooting methods can help you diagnose and resolve webcam issues specific to Windows. If the problem persists, consider seeking assistance from technical support or an experienced professional to ensure proper resolution.
Step 8: Troubleshoot webcam issues in macOS
If you’re using macOS and encountering webcam issues, there are several steps you can take to troubleshoot and resolve the problem.
Here are some methods to troubleshoot webcam issues in macOS:
- Restart your Mac: Sometimes, a simple restart can resolve temporary glitches and restore your webcam’s functionality.
- Grant camera access: Go to the Apple menu, select “System Preferences,” and click on “Security & Privacy.” Navigate to the “Privacy” tab and ensure that the checkbox next to the applications you want to allow access to your camera is ticked.
- Update macOS: Ensure that your macOS is up to date with the latest software updates. Go to the Apple menu, select “System Preferences,” and click on “Software Update.” If updates are available, click on “Update Now” to install them.
- Check for conflicting applications: Make sure that no other applications are using the webcam simultaneously. Close any unnecessary apps that may be accessing the camera.
- Reset NVRAM/PRAM: Restart your Mac and immediately hold down the Option-Command-P-R keys. Keep holding them until you hear the startup sound for the second time. This resets the NVRAM/PRAM, which can help resolve certain hardware-related issues.
- Reset SMC: If your webcam is integrated into your Mac’s system and not an external device, resetting the System Management Controller (SMC) may help. Shut down your Mac, then hold down the Shift-Control-Option keys along with the power button for about 10 seconds. Release the keys, then turn on your Mac.
- Test in different apps: Try using the webcam in different applications that require camera access, such as FaceTime or Photo Booth. If the issue persists in multiple apps, it indicates a likely problem with the webcam hardware or driver.
- Contact Apple Support: If you’ve tried all the troubleshooting steps and your webcam still isn’t working, reach out to Apple Support or visit an authorized service provider for further assistance.
Following these troubleshooting steps should help you identify and resolve webcam issues specific to macOS. If the problem persists, it’s recommended to seek professional support to ensure proper resolution.
Step 9: Troubleshoot webcam issues in Linux
If you’re using Linux and experiencing webcam issues, there are several steps you can take to troubleshoot and resolve the problem.
Here are some methods to troubleshoot webcam issues in Linux:
- Restart your computer: Sometimes, a simple restart can help resolve temporary glitches and restore your webcam’s functionality.
- Check for camera support: Ensure that your Linux distribution supports your webcam model. Certain older or less common webcam models may require additional drivers or firmware updates. Check the official documentation or community forums for any specific instructions related to your webcam model.
- Update your system: Keep your Linux distribution up to date with the latest software updates. Use the package manager specific to your distribution to check for updates and install them if available.
- Check permissions: In Linux, certain applications or services may require specific permissions to access the webcam. Ensure that the user account you are using has the necessary permissions to utilize the webcam. You can also try running the application with superuser privileges using the “sudo” command to check if it resolves the issue.
- Test in different applications: Try using the webcam in multiple applications that require camera access, such as Cheese, VLC, or any other video conferencing application available for Linux. If the problem persists in multiple apps, it may indicate a hardware or driver-related issue.
- Check kernel modules: Linux uses kernel modules to manage hardware devices. Ensure that the appropriate kernel modules for your webcam are loaded. You can use the “lsmod” command in the terminal to list the loaded modules. If you don’t see the module for your webcam, you may need to manually load it using the “modprobe” command.
- Verify hardware connection: Check the physical connections of your webcam if it is an external device. Ensure that the USB cable is securely plugged in and try plugging it into a different USB port to rule out any issues with the port.
- Consult community forums: If you’re experiencing persistent webcam issues in Linux, seek assistance from the Linux community forums or mailing lists dedicated to your specific distribution. Other users or experts may have encountered similar issues and can provide valuable insights or solutions.
By following these troubleshooting steps, you can diagnose and resolve webcam issues specific to Linux. If the problem persists, consider seeking assistance from the Linux community or reaching out to technical support for further guidance.
Conclusion
Ensuring that your webcam is working properly is essential for various tasks such as video calls, online meetings, and live streaming. By following the steps outlined in this guide, you can troubleshoot and resolve common webcam issues on different operating systems.
Starting from checking hardware connections to updating webcam drivers, enabling the webcam in device settings, using online webcam tests, accessing the webcam through video conferencing apps, checking the webcam in the device manager, and troubleshooting specific issues in Windows, macOS, and Linux, you have learned a range of techniques to diagnose and resolve webcam problems.
It’s important to remember that troubleshooting may require trying multiple methods and steps before finding a solution. Some issues may require professional assistance or hardware repairs if the problem persists. Additionally, keeping your operating system and applications up to date, as well as utilizing reliable antivirus software, can go a long way in preventing webcam issues in the first place.
By applying these troubleshooting techniques and being proactive in maintaining your webcam’s functionality, you can ensure that it remains an effective tool for communication and staying connected with others in the digital world.
Remember, successfully troubleshooting webcam issues not only enhances your own experience but also enables you to engage seamlessly in virtual meetings, connect with friends and family, and enjoy the benefits of video communication.