Introduction
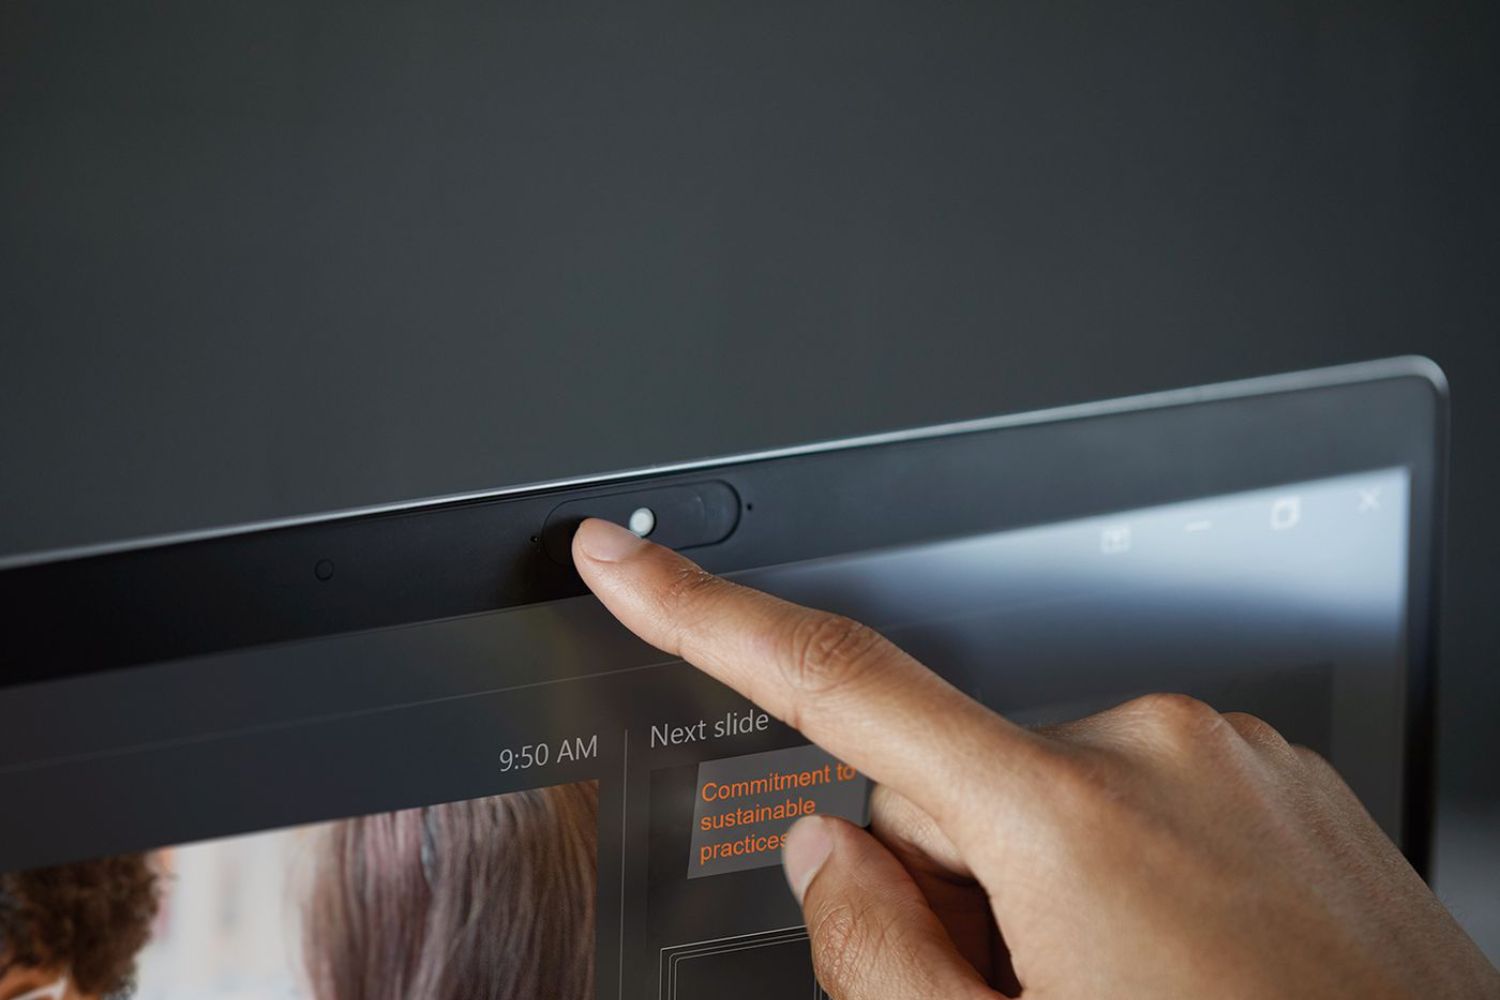
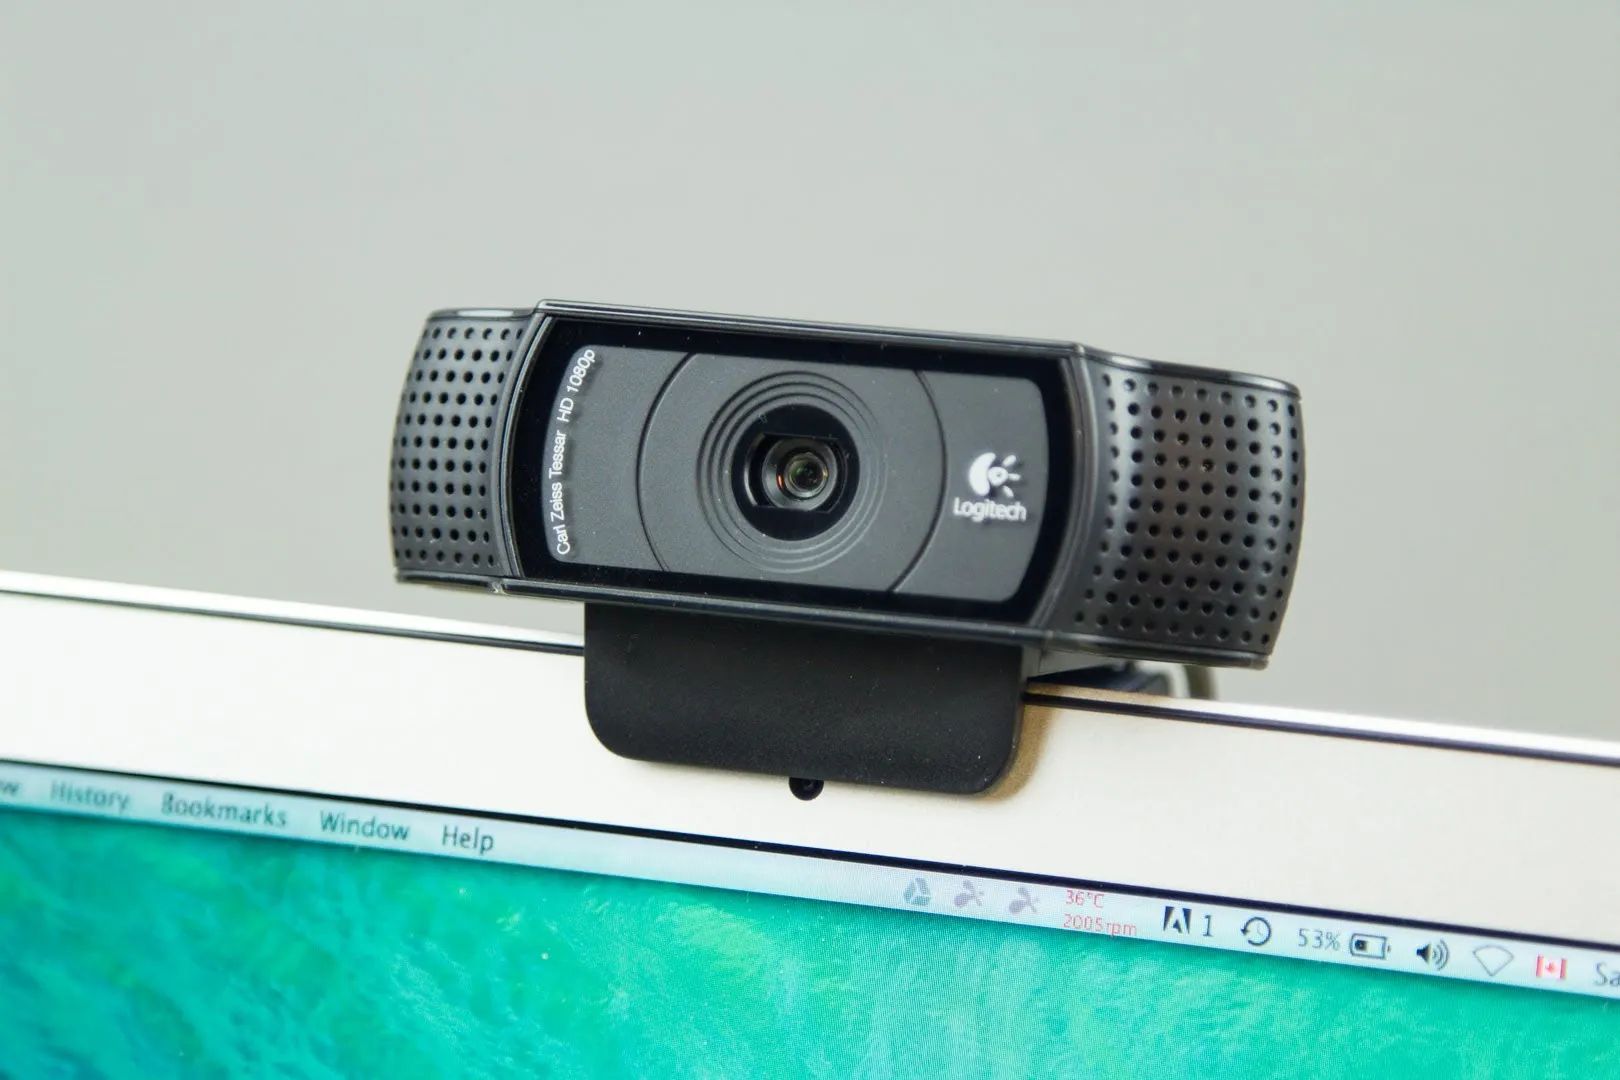
In today’s digital age, webcams have become an essential tool for communication, whether you’re attending virtual meetings, video chatting with friends and family, or live streaming content. If you’re using a Windows 10 computer, you may encounter situations where your webcam is not automatically enabled or you need to troubleshoot webcam issues.
This article will guide you through the process of turning on your webcam in Windows 10. We’ll explore various methods, including using Windows Settings, Device Manager, and third-party applications to enable your webcam. Additionally, we’ll provide tips for troubleshooting common webcam-related problems.
Before we dive into the details, it’s important to note that enabling your webcam requires administrative privileges on your Windows 10 computer. Ensure that you have the necessary permissions to make changes to your system settings.
Now, let’s get started and learn how to effortlessly turn on your webcam in Windows 10, so you can enjoy seamless video communication and capture those memorable moments.
Checking if the webcam is enabled
Before diving into the process of enabling your webcam, it’s crucial to determine whether the webcam is already enabled or not. Here’s how you can quickly check:
- Open the Windows Start menu and search for “Camera” or “Webcam”.
- Select the most relevant result, which should be the pre-installed Camera app.
- If the Camera app opens and displays a live video feed, it means that your webcam is already enabled and ready to use.
- If you see an error message or a blank screen in the Camera app, it indicates that your webcam is disabled or encountering an issue.
If the Camera app is not pre-installed on your Windows 10 system or does not display accurate information, you can also check the webcam status through the Device Manager:
- Right-click on the Start button and select “Device Manager” from the context menu.
- In the Device Manager window, expand the “Cameras” or “Imaging devices” category.
- If you can see your webcam listed with no exclamation or question mark icons next to it, it means that the webcam is enabled.
- If you encounter an exclamation or question mark icon, it indicates that there might be an issue with your webcam driver or it could be disabled.
By performing these simple checks, you can quickly determine whether your webcam is already enabled or if you need to proceed with the methods outlined in the next sections to enable it. Having a clear understanding of the webcam’s status will help you troubleshoot and resolve any issues effectively.
Enabling webcam using Windows Settings
If you’ve determined that your webcam is disabled or encountering issues, you can easily enable it using the Windows Settings. Here’s a step-by-step guide:
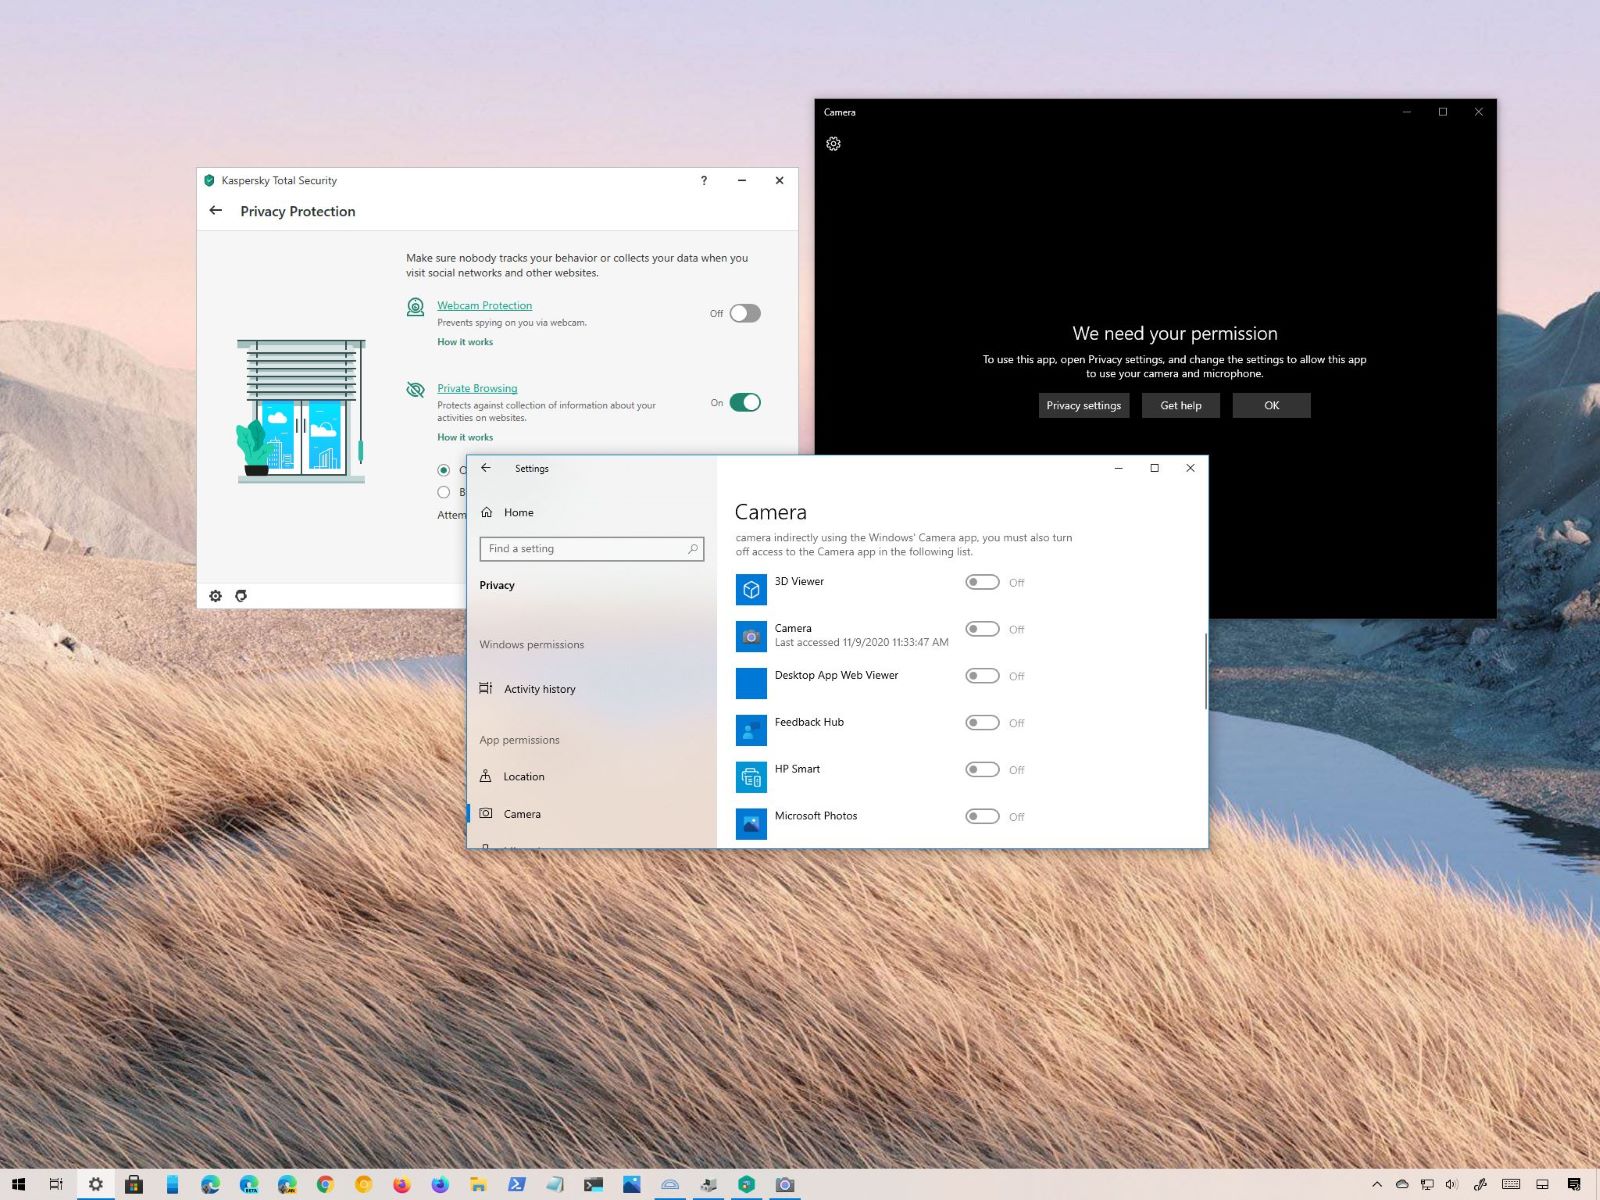
- Open the Windows Start menu and click on the gear icon to open the Settings app.
- In the Settings window, select “Privacy” to access the privacy settings.
- In the left sidebar, click on “Camera”.
- Make sure the “Allow apps to access your camera” toggle switch is turned on. If it’s turned off, click on the toggle switch to enable it.
- Scroll down to the “Choose which apps can access your camera” section and make sure the toggle switch for the desired apps is turned on. If it’s turned off, click on the toggle switch to enable camera access for those apps.
- Close the Settings app and try opening the Camera app or any other application that uses the webcam. Your webcam should now be enabled and ready to use.
Enabling your webcam through Windows Settings provides a centralized control over which apps can access your camera, enhancing your privacy and security. By default, essential apps like the Camera app and communication tools should have the necessary permissions to access your webcam. However, if you have previously disabled camera access for certain apps, make sure to enable them to use the webcam again.
If your webcam is still not working or if you encounter any issues after enabling it through Windows Settings, don’t worry. We’ll explore alternative methods to enable your webcam in the upcoming sections.
Enabling webcam using Device Manager
If your webcam is disabled or encountering issues, another method to enable it is through the Device Manager. Follow these steps:
- Right-click on the Start button and select “Device Manager” from the context menu.
- In the Device Manager window, expand the “Cameras” or “Imaging devices” category.
- Locate your webcam from the list. It might be named differently depending on the manufacturer and model.
- Right-click on your webcam and select “Enable Device” from the context menu. If “Enable Device” is not available, it means that the webcam is already enabled.
- After enabling the device, close the Device Manager and try using your webcam in applications such as the Camera app or any other software that utilizes the webcam functionality.
Enabling your webcam through Device Manager allows you to directly control the device settings and ensure that it’s functioning properly. If your device was previously disabled in the Device Manager, enabling it should resolve any issues and make it accessible to applications needing webcam functionality.
If your webcam still doesn’t work or if it’s not listed in the Device Manager, there might be an issue with the webcam hardware or the driver. In such cases, it’s recommended to visit the manufacturer’s website and download the latest webcam driver specific to your device and operating system. Installing the updated driver can often fix compatibility issues and enable your webcam for use.
Enabling webcam in third-party applications
In addition to the built-in Windows Settings and Device Manager methods, you can also enable your webcam directly within third-party applications that utilize camera functionality. Here’s how:
- Launch the application that you want to use your webcam with. It could be a video conferencing tool, a video recording software, or any other application that requires camera access.
- Look for settings or preferences within the application that allow you to enable or configure your webcam. Typically, you’ll find these options in the app’s settings or setup menu.
- Once you locate the webcam settings, ensure that the correct camera device is selected. If you have multiple cameras connected to your computer, choose the one you want to use.
- If there’s an option to enable or disable the webcam within the application, make sure it’s enabled.
- Save the changes and exit the settings or preferences menu.
- Now, when you use the application, it should be able to access and utilize your webcam for video calls, live streaming, or any other relevant purposes.
Enabling your webcam within third-party applications gives you more control over the camera settings specific to that particular software. This can be particularly helpful when you want to fine-tune the camera options or troubleshoot any issues that may be unique to the application itself.
It’s important to note that the process of enabling the webcam within third-party applications may vary depending on the software you’re using. It’s a good idea to refer to the application’s documentation or online support resources for specific instructions if you’re having trouble finding the webcam settings within the app.
By following these steps, you can ensure that your webcam is enabled and ready to use across various third-party applications, expanding your options for video communication and content creation.
Troubleshooting common webcam issues
Despite your best efforts, you may still encounter issues with your webcam. Here are some common problems and their potential solutions:
- No image or black screen: If your webcam displays a black screen or no image, ensure that it’s not physically covered or blocked. Additionally, check if the camera lens is clean and free from any obstructions. If the issue persists, try restarting your computer or reinstalling the webcam driver.
- Poor video quality: If the video quality from your webcam is blurry or grainy, adjust the camera settings within the application you’re using. Increase the resolution or adjust focus settings if available. It’s also important to have adequate lighting in your environment to improve the video quality.
- No audio or microphone not working: If your webcam has a built-in microphone and it’s not working, ensure that the microphone is not muted or disabled in the application settings. Check your computer’s audio settings to make sure the correct input device is selected. If the issue persists, try updating the audio drivers.
- Driver issues: Outdated or incompatible drivers can cause webcam problems. Visit the manufacturer’s website and download the latest drivers for your webcam model. Install the updated drivers and restart your computer to ensure they take effect.
- Conflicting applications: Sometimes, other applications or services may interfere with your webcam’s functionality. To troubleshoot, close all unnecessary applications and disable any services that may be using your webcam. Restart the application that requires camera access to see if the issue is resolved.
- Hardware issues: If none of these solutions work, there may be a hardware problem with your webcam. Ensure that the camera is properly connected to your computer and check for any physical damage. If necessary, consider contacting the manufacturer for further assistance or to request a repair or replacement.
Remember, troubleshooting webcam issues may require a combination of these solutions, and it may take some trial and error to find the resolution. If you’re still experiencing problems, it’s advisable to seek further technical support from the manufacturer or an IT professional.
By addressing these common webcam issues, you can ensure that your webcam functions optimally, allowing you to have seamless video communication and enjoy a pleasant experience.
Conclusion
Enabling your webcam in Windows 10 is essential for seamless video communication and capturing memorable moments. Whether you need to enable your webcam through Windows Settings, Device Manager, or within third-party applications, these methods provide you with the necessary control and flexibility.
By checking if your webcam is already enabled and troubleshooting common webcam issues, you can quickly resolve any problems that may arise. Remember to ensure that your webcam drivers are up to date and that you have the necessary permissions to make changes to your system settings.
In the event of persistent issues with your webcam, such as hardware problems or compatibility issues, it’s recommended to consult the manufacturer’s support resources or seek assistance from technical professionals.
Now that you’ve learned how to enable your webcam and troubleshoot common issues, you can confidently engage in virtual meetings, video calls, and content creation without any interruptions. Embrace the power of your webcam and enjoy the benefits of visual communication in the modern digital landscape.