Introduction
Skype is a popular communication tool that allows users to make video calls, chat, and share files with friends, family, and colleagues. It is a convenient and efficient way to stay connected with others, especially during these digital times. However, one common issue that many Skype users face is their webcam not working properly.
A malfunctioning webcam can be frustrating, especially when you need to have a video call or participate in a virtual meeting. There can be several reasons why your webcam isn’t functioning as expected on Skype. It could be due to hardware problems, outdated drivers, incorrect settings, or even an issue with your internet connection. The good news is that there are troubleshooting steps you can take to fix the problem and get your webcam working again.
In this article, we will look at some of the common reasons why your webcam might not be working on Skype. We will also provide you with practical and easy-to-follow troubleshooting steps that can help resolve webcam issues on the Skype platform.
So, if you’re tired of dealing with a non-functional webcam on Skype, read on to learn how to troubleshoot the problem and get back to enjoying clear and seamless video calls.
Common Reasons Your Webcam Might Not Be Working on Skype
There can be several reasons why your webcam is not working properly on Skype. Understanding these common issues can help you pinpoint the cause and find the appropriate solution. Here are some of the most frequent reasons for webcam malfunctions on Skype:
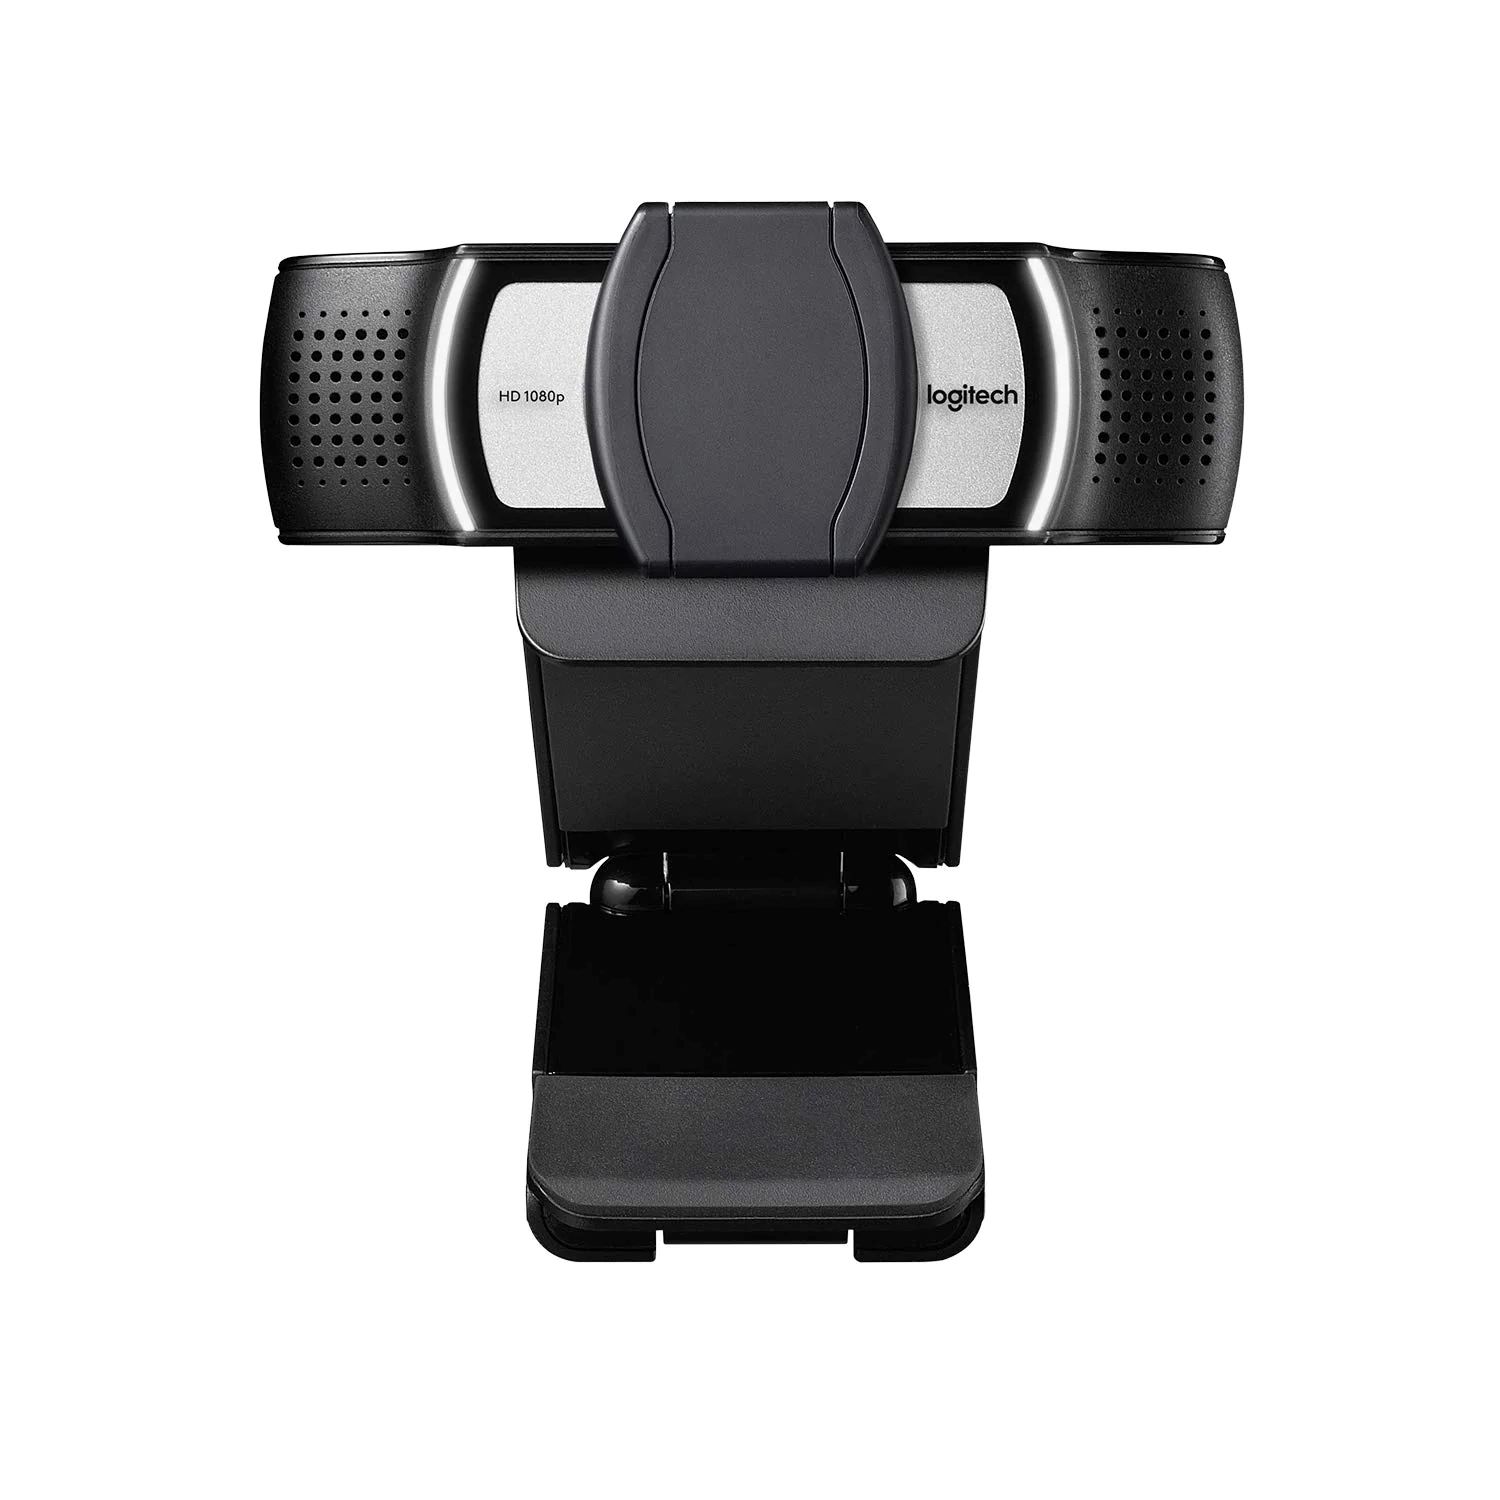
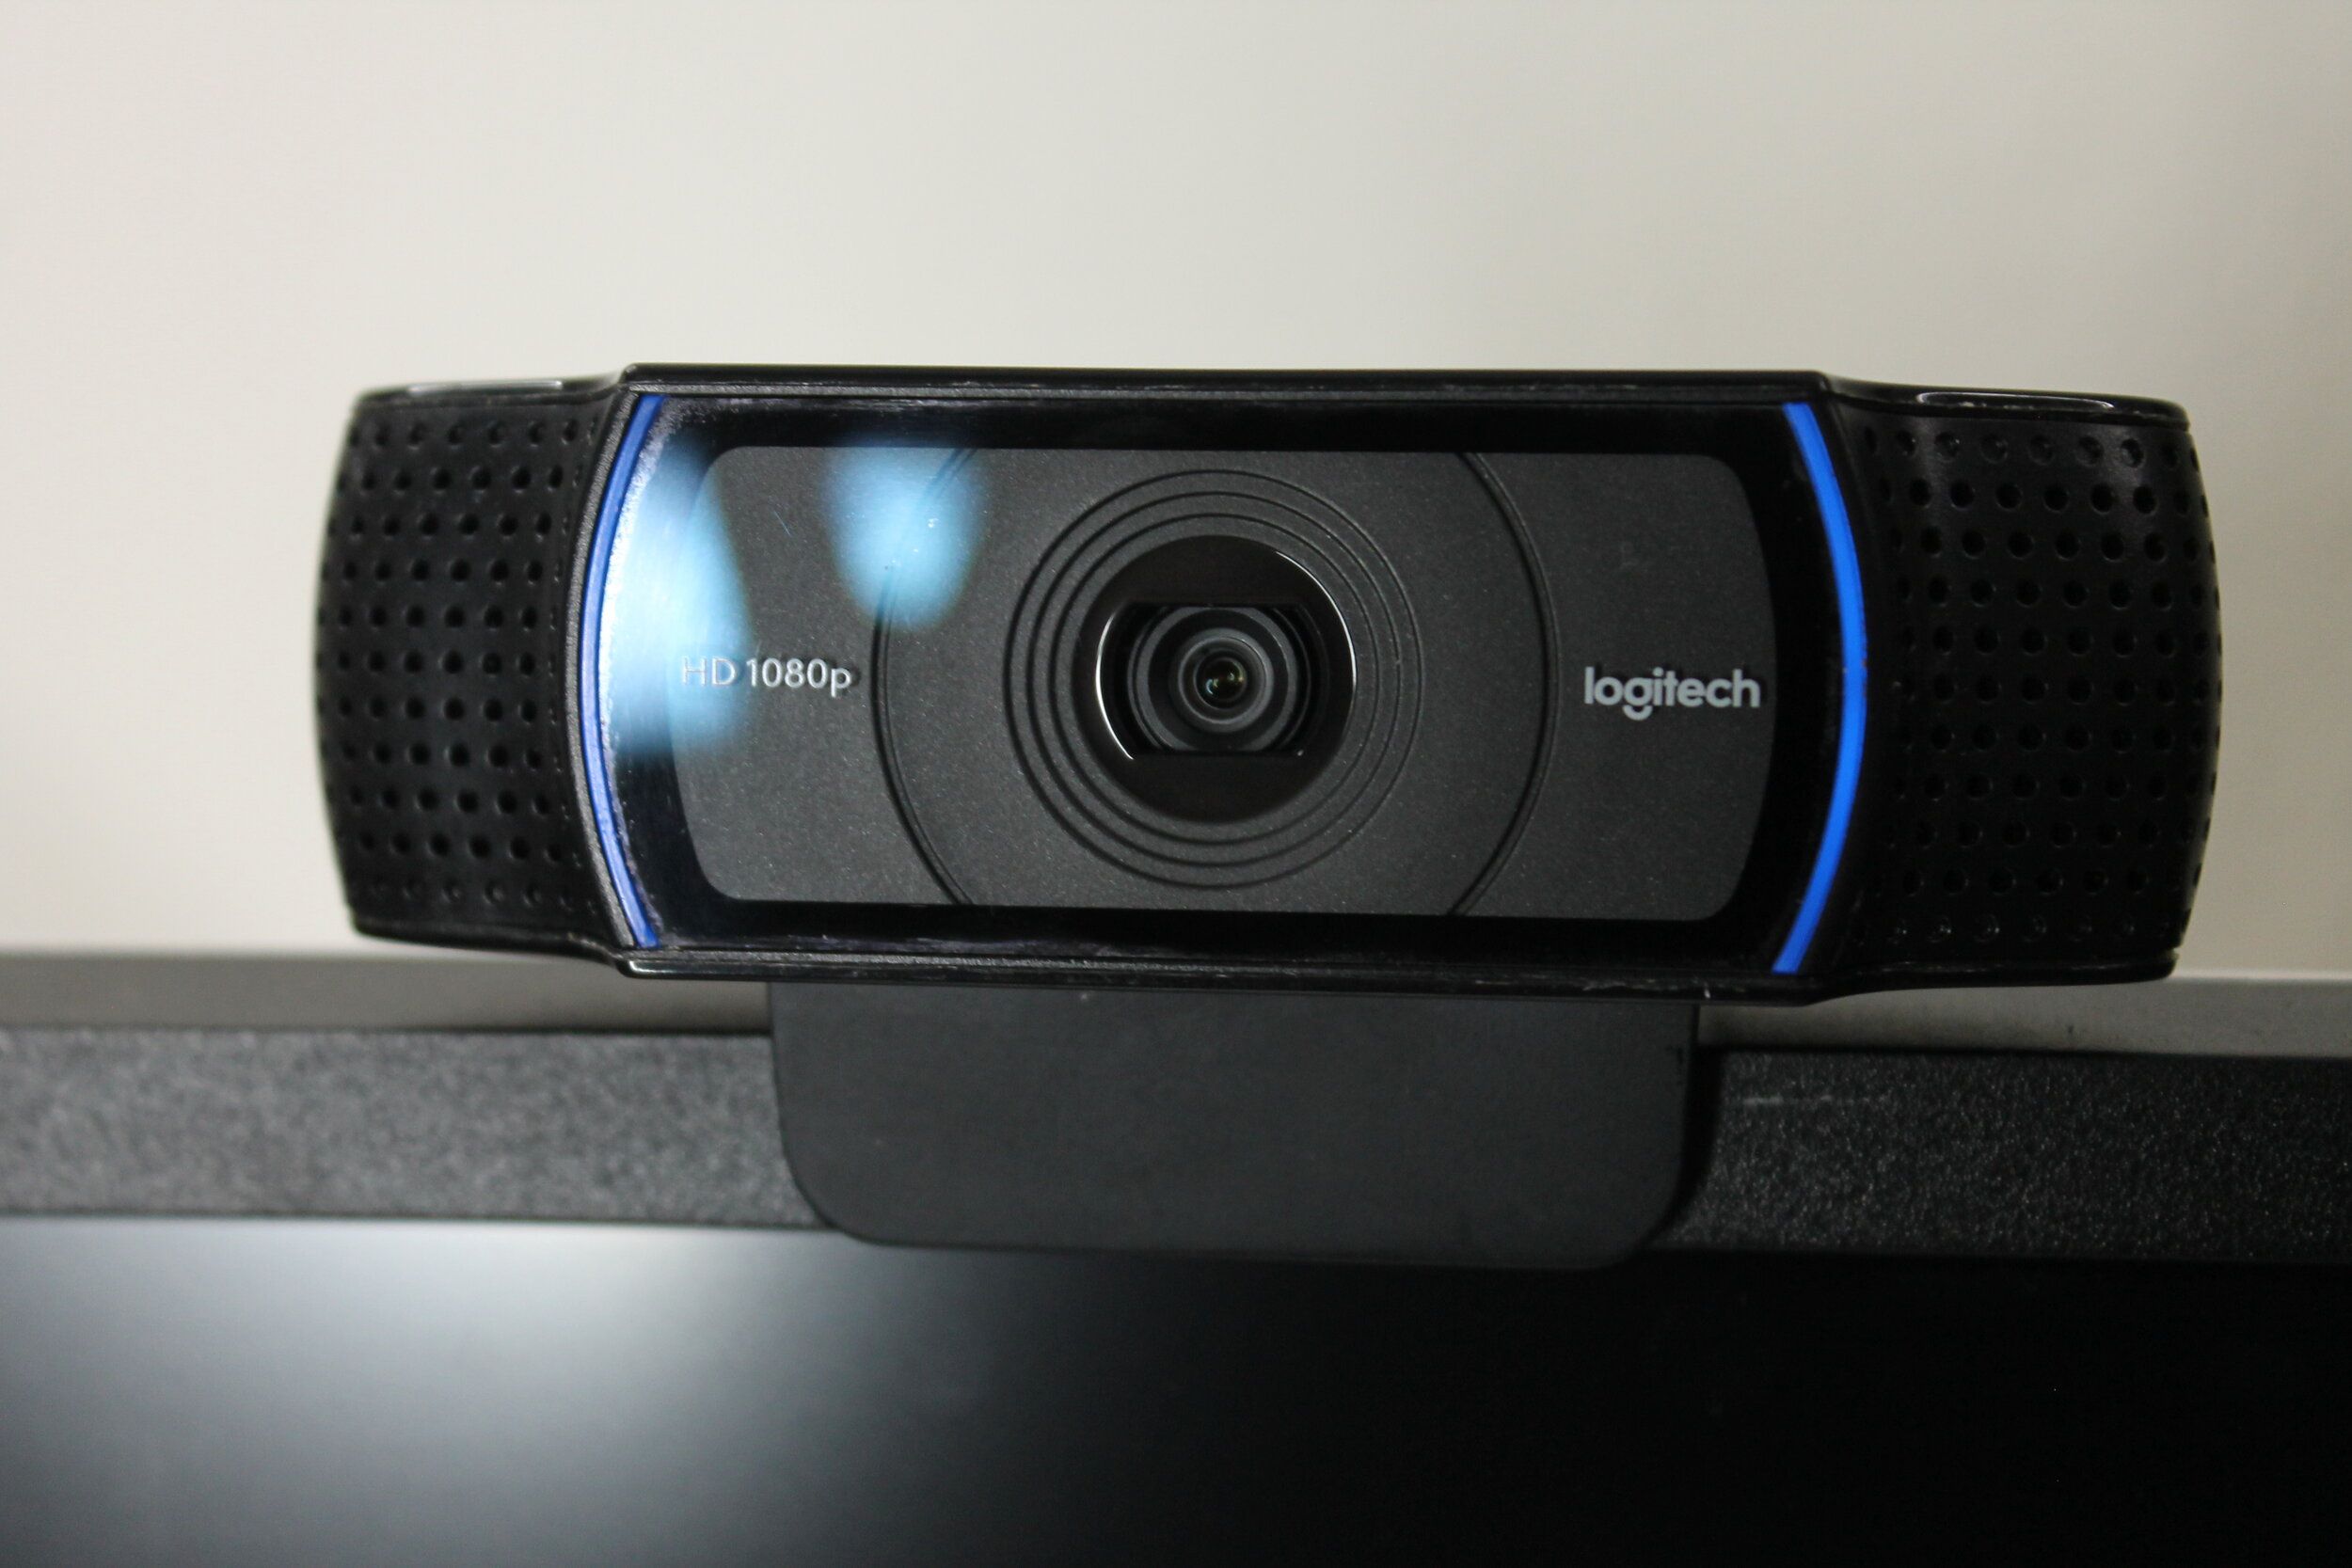
- Hardware failure: A faulty webcam or a loose connection can prevent your camera from working on Skype. Ensure that your webcam is properly connected to your computer and check for any physical damages.
- Outdated webcam driver: If you haven’t updated your webcam driver in a while, it could be incompatible with the latest version of Skype. Outdated drivers can cause conflicts and prevent your webcam from functioning correctly.
- Lack of permission: Skype requires permission to access your webcam. If you have denied this permission in the past or accidentally changed the settings, it can result in your webcam not being recognized on Skype.
- Incorrect Skype settings: Sometimes, the issue may lie within Skype itself. Your webcam might be disabled or not configured correctly in the Skype settings, causing it to malfunction during calls.
- Internet connection problems: A weak or unstable internet connection can affect the performance of your webcam on Skype. If your internet connection is slow or experiencing disruptions, it can lead to poor video quality or a complete failure of your webcam.
By identifying these common reasons, you can narrow down the possible causes and troubleshoot your webcam issues more effectively. In the next section, we will explore some practical steps you can take to fix webcam problems on Skype.
Troubleshooting Steps to Fix Webcam Issues on Skype
Having a non-working webcam on Skype can be frustrating, but there are several troubleshooting steps you can take to resolve the issue. Follow these practical solutions to fix webcam problems on Skype:
- Check if your webcam is working properly: Before diving into more complex solutions, make sure your webcam is functioning correctly. Test it on other applications or use online webcam testing tools to ensure it is working properly.
- Update your webcam driver: Outdated drivers can often cause compatibility issues with Skype. Visit the website of your webcam manufacturer to download and install the latest driver for your device. This update can help resolve any driver conflicts and improve compatibility with Skype.
- Grant permission for Skype to access your webcam: Make sure that Skype has the necessary permission to access your webcam. On Windows, go to Settings > Privacy > Camera and ensure that the toggle for Skype is enabled. On Mac, go to System Preferences > Security & Privacy > Privacy > Camera and check if Skype is listed and enabled.
- Check your webcam settings on Skype: Open Skype and navigate to the Settings menu. Under the Audio & Video settings, ensure that your webcam is selected as the default camera. If it’s not, choose the correct webcam from the dropdown menu.
- Test your webcam on other applications: Check if your webcam is working properly on other video calling or recording applications. If it works fine on other platforms, there may be a specific issue with Skype that requires further troubleshooting.
- Check your internet connection: A stable internet connection is essential for smooth webcam functionality on Skype. Ensure you have a reliable and strong connection. Consider restarting your modem/router or connecting to a different network if your internet connection is causing issues.
- Restart Skype and your computer: Sometimes, a simple restart of both Skype and your computer can resolve minor software glitches and refresh the webcam connection. Close Skype, turn off your computer, wait a few minutes, and then restart everything.
- Uninstall and reinstall Skype: If none of the above solutions work, try uninstalling and reinstalling the Skype application. This can help fix any corrupted files or settings that may be causing the webcam malfunction.
By following these troubleshooting steps, you should be able to identify and resolve most webcam issues on Skype. However, if the problem persists, you may need to seek further technical assistance from Skype support or your webcam manufacturer.
Check if your webcam is working properly
Before diving into complex troubleshooting steps, it’s essential to verify if your webcam is functioning properly. Here are some methods to check the functionality of your webcam:
Test on other applications: Try using your webcam on other video calling or recording applications such as Zoom or Microsoft Teams. If your webcam works fine on these platforms, it indicates that the issue might be specific to Skype.
Use online webcam testing tools: There are numerous online tools available that allow you to test your webcam functionality. Simply search for “webcam test” in your preferred search engine and choose a reliable website. Follow the instructions provided to check if your webcam is capturing video and audio correctly.
Inspect physical connections: Ensure your webcam is securely connected to your computer’s USB port. Check for any loose connections or damaged cables. If using an external webcam, disconnect and reconnect it to ensure a proper connection.
Restart your computer: In some cases, a simple restart of your computer can resolve minor software glitches that may be affecting your webcam’s functionality. Close all applications, shut down your computer, wait for a few minutes, and then power it back on.
Update your operating system: Keeping your operating system up to date is crucial for the optimal functioning of hardware devices such as webcams. Check for any available updates for your operating system and install them if necessary.
Checking the functionality of your webcam is an important initial step as it helps determine whether the issue lies with the webcam itself or with software-related factors. If your webcam is working correctly, move on to the next troubleshooting steps. However, if you encounter problems during the testing process, it may indicate hardware issues that require further inspection or professional assistance.
Update your webcam driver
Outdated or incompatible webcam drivers can often cause issues with functionality on Skype. It’s essential to keep your webcam driver up to date to ensure smooth operation. Here’s how you can update your webcam driver:
Visit the manufacturer’s website: Identify the make and model of your webcam and visit the official website of the manufacturer. Look for the “Support” or “Downloads” section, where you should be able to find the latest driver software for your specific webcam model.
Download the latest driver: Locate the appropriate driver for your webcam, ensuring it matches your operating system version. Download the driver to a folder on your computer where you can easily access it.
Uninstall the old driver: Before installing the updated driver, it’s advisable to uninstall the existing driver software. Open the “Device Manager” on your computer by right-clicking the “Start” button and selecting “Device Manager.” Under the “Imaging devices” or “Cameras” category, right-click on your webcam and select “Uninstall device.” Follow the prompts to complete the uninstallation process.
Install the updated driver: Navigate to the folder where you downloaded the latest driver file. Double-click on the driver file and follow the on-screen instructions to install it. Restart your computer after the installation is complete.
Windows Update: Alternatively, you can try using the Windows Update feature to check for driver updates. Open the “Settings” menu, go to “Update & Security,” and click on “Check for updates.” Windows will search for available updates, including drivers for your devices, and install them automatically.
Updating your webcam driver can often resolve compatibility issues with Skype and ensure better functionality. If updating the driver doesn’t solve the problem, you may need to explore other troubleshooting steps.
Grant permission for Skype to access your webcam
In order for Skype to use your webcam, it requires the necessary permissions to access the camera on your computer. If you have denied or accidentally changed the settings, it can cause your webcam to malfunction on Skype. Here’s how you can grant permission for Skype to access your webcam:
On Windows:
- Open the Skype application on your computer.
- Go to the “Settings” menu by clicking on your profile picture or avatar.
- Select “Privacy” from the left-hand menu.
- Under the “Privacy” settings, click on “Camera” in the left-hand menu.
- In the right-hand panel, ensure that the toggle switch for Skype access to the camera is turned on.
On Mac:
- Launch Skype on your Mac.
- Click on “Skype” in the top menu bar and select “Preferences.”
- In the preferences window, click on “Privacy.”
- Under the “Privacy” tab, ensure that the checkbox next to “Allow Skype to access your camera” is selected.
By granting permission to Skype, you enable the application to utilize your webcam for video calls and other features. Remember to save the changes after adjusting the settings.
If you previously denied access to your webcam or changed the permissions unintentionally, granting permission to Skype should resolve the issue. However, if the problem persists, you may need to consider other troubleshooting steps.
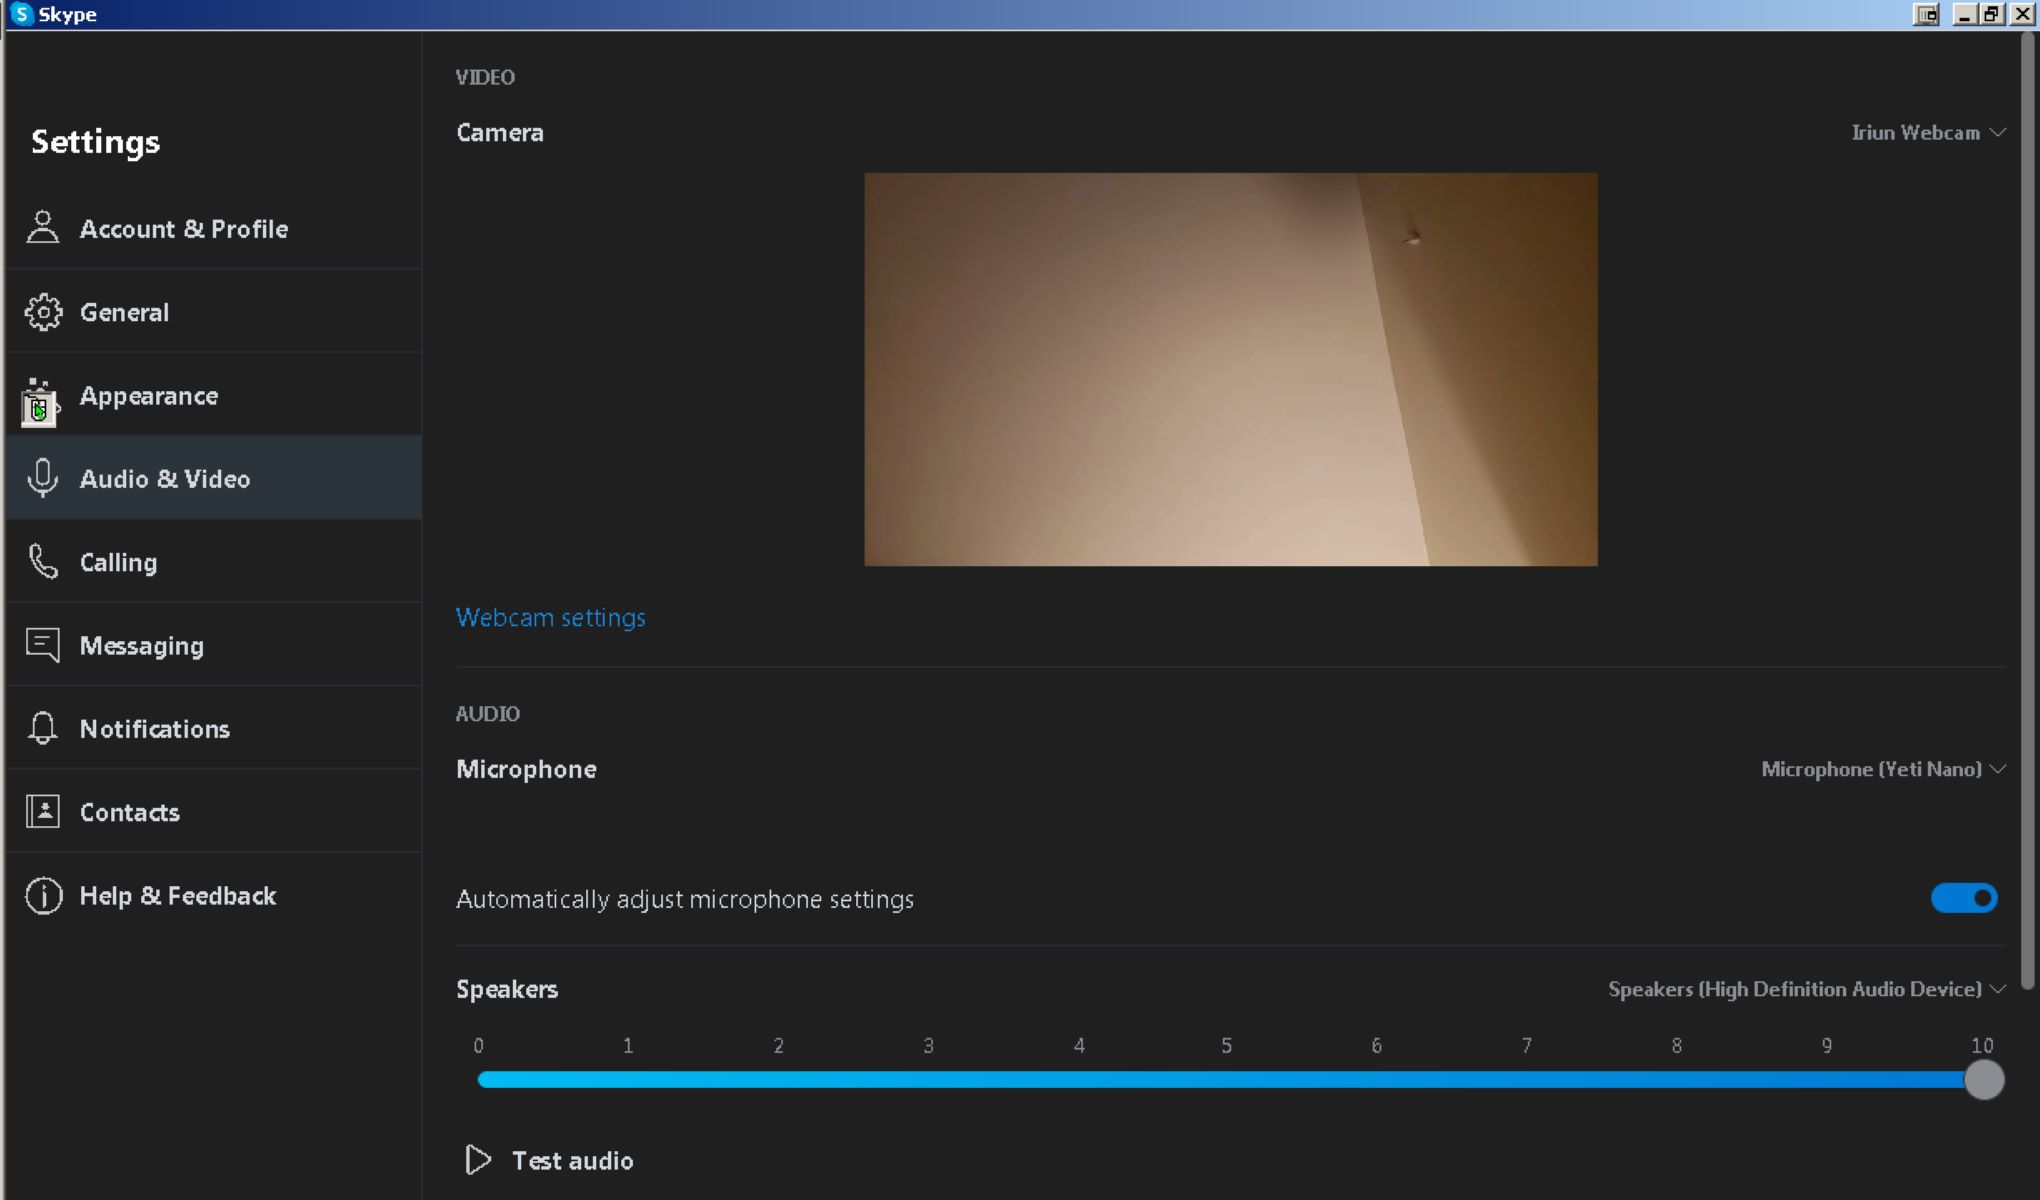
Check your webcam settings on Skype
Sometimes, incorrect settings within the Skype application can lead to webcam issues. It’s essential to ensure that your webcam is properly configured within Skype. Follow these steps to check and adjust your webcam settings on Skype:
- Open the Skype application on your computer.
- Click on your profile picture or avatar to access the options menu.
- Select “Settings” from the drop-down menu.
- In the settings menu, click on the “Audio & Video” tab on the left-hand side.
- Under the “Camera” section, ensure that your webcam is selected from the drop-down menu. If you have multiple webcams connected to your computer, make sure to choose the correct one.
- Adjust the webcam settings if needed. You can tweak options such as brightness, contrast, and video resolution to enhance the quality of your video.
- Make a test call or initiate a video call with a friend to check if the webcam is now functioning properly.
By verifying and adjusting your webcam settings within Skype, you can ensure that the application recognizes and utilizes your webcam correctly. Incorrect settings can often lead to webcam malfunctions, so double-checking this aspect is an important step in troubleshooting the issue.
If your webcam is still not working as expected after adjusting the settings, continue to the next troubleshooting step.
Test your webcam on other applications
If your webcam is not working on Skype, it’s worth testing it on other applications to determine if the issue is exclusive to Skype or a more general problem. Follow these steps to test your webcam on other applications:
- Close Skype and open another video calling or recording application on your computer. It could be Zoom, Microsoft Teams, or any other software that allows webcam usage.
- Initiate a video call or start recording a video using the alternate application.
- Check if your webcam is working correctly. Ensure that it captures video properly, and the audio is clear. Also, verify that the video quality and settings are satisfactory.
- If your webcam works fine on the other application, it indicates that the issue may be specific to Skype. Proceed with the remaining troubleshooting steps for Skype. However, if the webcam does not function correctly on other applications as well, there may be a hardware or driver-related issue that requires further attention.
Testing your webcam on other applications helps identify whether the problem lies with Skype or the webcam itself. If the issue is limited to Skype, focus on troubleshooting within the Skype application. However, if the webcam exhibits problems on multiple applications, it suggests a broader cause, such as a faulty driver or hardware malfunction.
Remember, testing your webcam on other applications provides valuable information to assist in resolving the issue effectively.
Check your internet connection
Your internet connection plays a crucial role in the smooth functioning of your webcam on Skype. If you’re experiencing webcam issues, it’s essential to verify the stability and strength of your internet connection. Here’s how you can check your internet connection:
- Ensure you are connected to a stable internet network. If you’re using a Wi-Fi connection, make sure you have a strong signal. If possible, consider connecting your computer directly to your router using an Ethernet cable for a more reliable connection.
- Perform a speed test to determine the quality of your internet connection. You can use online tools or visit websites such as Ookla Speedtest to measure your network’s upload and download speeds. Ideally, your connection should meet or exceed the minimum requirements for video calls.
- If your internet speed is below the recommended threshold, try troubleshooting your network. Reset your modem and router by turning them off, waiting for a few minutes, and then turning them back on. Additionally, ensure there are no bandwidth-consuming activities or downloads happening on your network while using Skype.
- Consider contacting your internet service provider (ISP) if you continue to encounter internet connection issues. They may be able to assist in troubleshooting and resolving any problems with your network.
A stable and reliable internet connection is essential for video calling on Skype. If your internet connection is weak or unstable, it can result in poor video quality or even a complete failure of your webcam. By checking and optimizing your internet connection, you can address potential network-related issues that may be affecting your webcam on Skype.
If your webcam issues persist despite having a stable internet connection, proceed to the next troubleshooting step.
Restart Skype and your computer
If you’re experiencing webcam issues on Skype, a simple restart of the Skype application and your computer can often resolve the problem. Here’s how you can do it:
- Close the Skype application on your computer. Make sure it is completely closed and not running in the background.
- Restart your computer by clicking on the “Start” button and selecting “Restart.” Allow your computer to power off and then turn it back on.
- After your computer reboots, launch the Skype application again.
- Check if your webcam is now functioning properly on Skype. Initiate a video call or open the webcam settings to test its functionality.
Restarting both Skype and your computer can help refresh the software and clear any temporary issues that may be causing webcam malfunctions. This simple step has been known to fix minor software glitches and restore proper functionality of the webcam on Skype.
If the issue persists after restarting, proceed to the next troubleshooting step to explore additional solutions.
Uninstall and reinstall Skype
If you’ve tried the previous troubleshooting steps and are still experiencing webcam issues on Skype, it may be necessary to uninstall and reinstall the application. This process can help resolve any corrupted files or settings that may be causing the problem. Follow these steps to uninstall and reinstall Skype:
- Uninstall Skype:
- On Windows:
- Go to the “Control Panel” on your computer.
- Select “Programs” or “Programs and Features.”
- Locate Skype in the list of installed programs.
- Right-click on Skype and choose “Uninstall” or “Uninstall/Change.”
- Follow the prompts to uninstall Skype from your computer.
- On Mac:
- Open the “Applications” folder on your Mac.
- Locate the Skype application.
- Drag the Skype app to the Trash or right-click on it and choose “Move to Trash.”
- Enter your administrator password if prompted.
- Empty the Trash to complete the uninstallation process.
- On Windows:
- Reinstall Skype:
- Visit the official Skype website and download the latest version of the application for your operating system.
- Double-click on the downloaded file to begin the installation process.
- Follow the on-screen instructions to install Skype on your computer.
- Launch Skype after the installation is complete.
- Sign in to your Skype account, and check if your webcam is now working properly.
Uninstalling and reinstalling Skype can often resolve more complex software issues that may be affecting your webcam functionality. It ensures that you have a fresh installation of the application with all necessary files and settings intact.
If the problem persists even after reinstalling Skype, it may be beneficial to reach out to Skype support or seek further technical assistance to address the issue.
Conclusion
Having a webcam that is not working on Skype can be frustrating, especially when it hinders your ability to connect with others through video calls. However, with the troubleshooting steps outlined in this article, you can address the most common issues and get your webcam functioning again.
We started by identifying common reasons why your webcam might not be working on Skype, including hardware failure, outdated drivers, permission settings, incorrect Skype settings, and internet connection problems. By understanding these potential causes, you can narrow down the troubleshooting process and find the appropriate solution.
We then explored various troubleshooting steps to fix webcam issues on Skype. From checking the functionality of your webcam on other applications to updating webcam drivers, granting necessary permissions, and adjusting Skype settings, each step was designed to help you understand and resolve the problem.
In addition, we highlighted the importance of verifying your internet connection and provided guidance on restarting Skype and your computer as potential solutions. Lastly, we discussed the option of uninstalling and reinstalling Skype when more extensive troubleshooting is required.
Remember, while these steps can often fix webcam issues on Skype, it is crucial to seek further technical assistance or contact Skype support if the problem persists. They can provide additional guidance tailored to your specific situation.
By following these troubleshooting steps and staying proactive in maintaining your webcam’s functionality, you can enjoy seamless and uninterrupted video calls on Skype and stay connected with your friends, family, and colleagues.