Introduction
Welcome to the world of video communication! Skype has revolutionized the way we connect with friends, family, and colleagues, allowing us to have face-to-face conversations regardless of our physical locations. One essential component for a seamless video chat experience is a reliable webcam. Whether you’re using an external webcam or the built-in one on your device, being able to change the webcam settings on Skype is crucial to ensure optimal video quality.
In this article, we will guide you through the process of setting up a new webcam and changing the webcam settings in Skype. We will also address some common issues that may arise and provide troubleshooting tips to help you resolve them.
But before we dive into the technical aspects, it’s important to note that a webcam is not just a device; it’s a window to the world. It allows us to connect, share experiences, and foster meaningful relationships with those near and far.
So, whether you’re a student participating in online classes, a professional attending virtual meetings, or a loved one catching up with a distant relative, knowing how to change your webcam settings on Skype will ensure that you are seen and heard clearly.
Now, let’s get started on the journey of improving your video chat experience!
Setting Up a New Webcam
Setting up a new webcam for use with Skype is a relatively straightforward process. Here are the steps to follow:
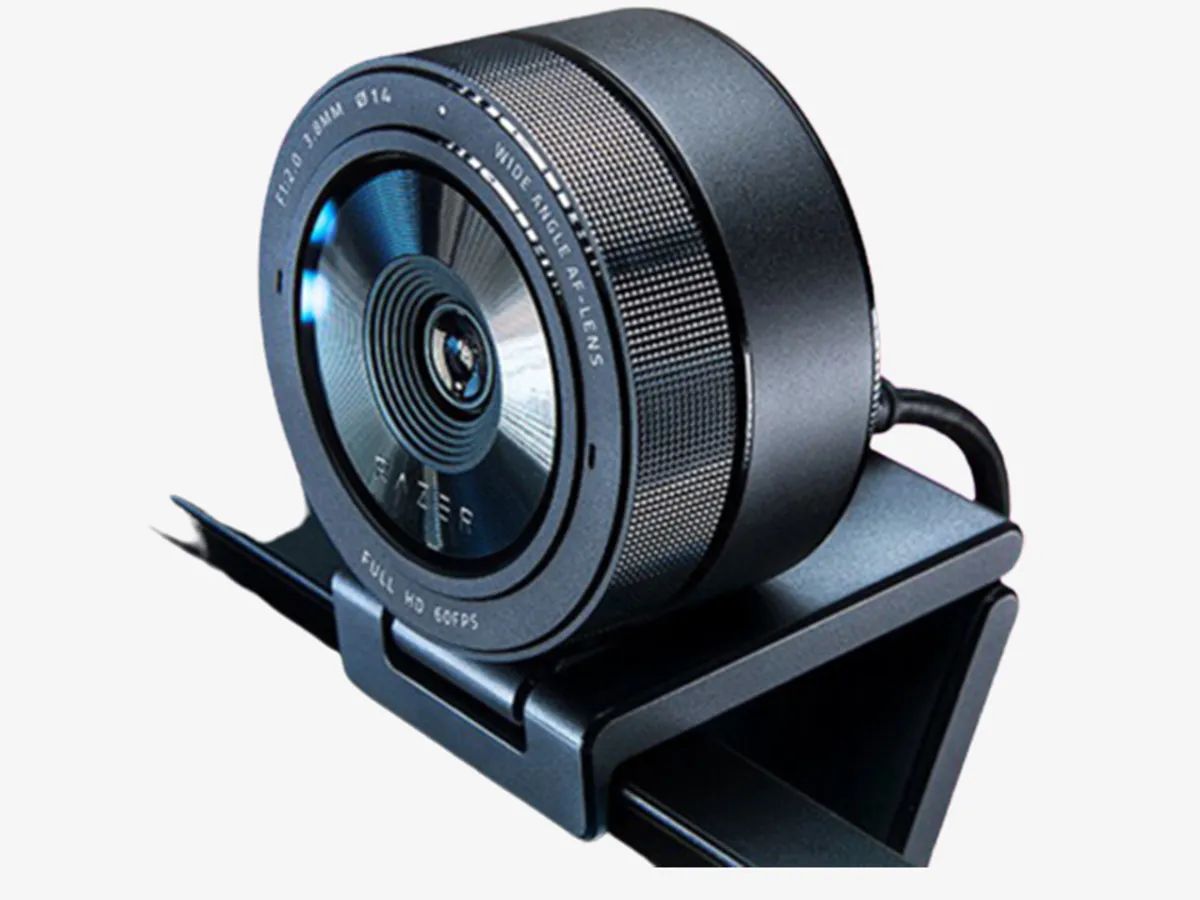
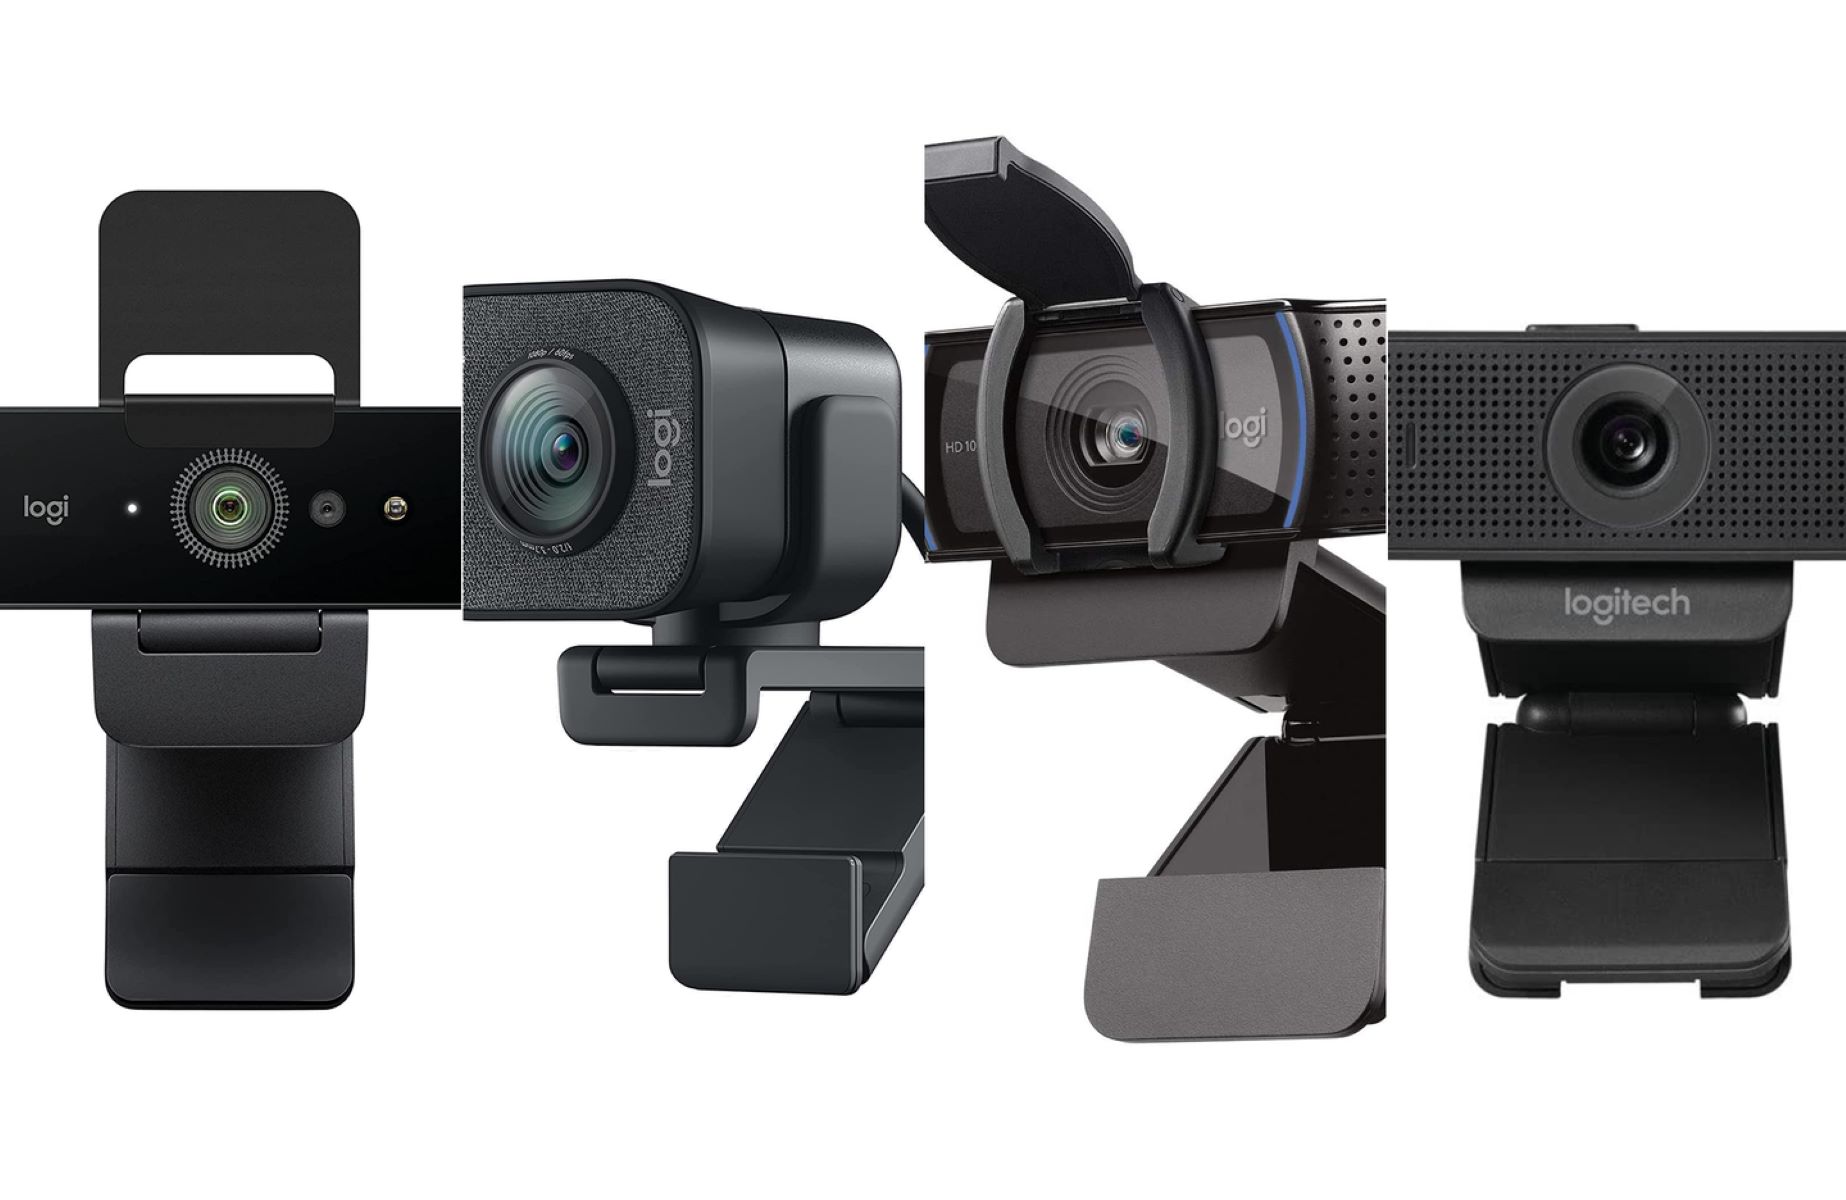
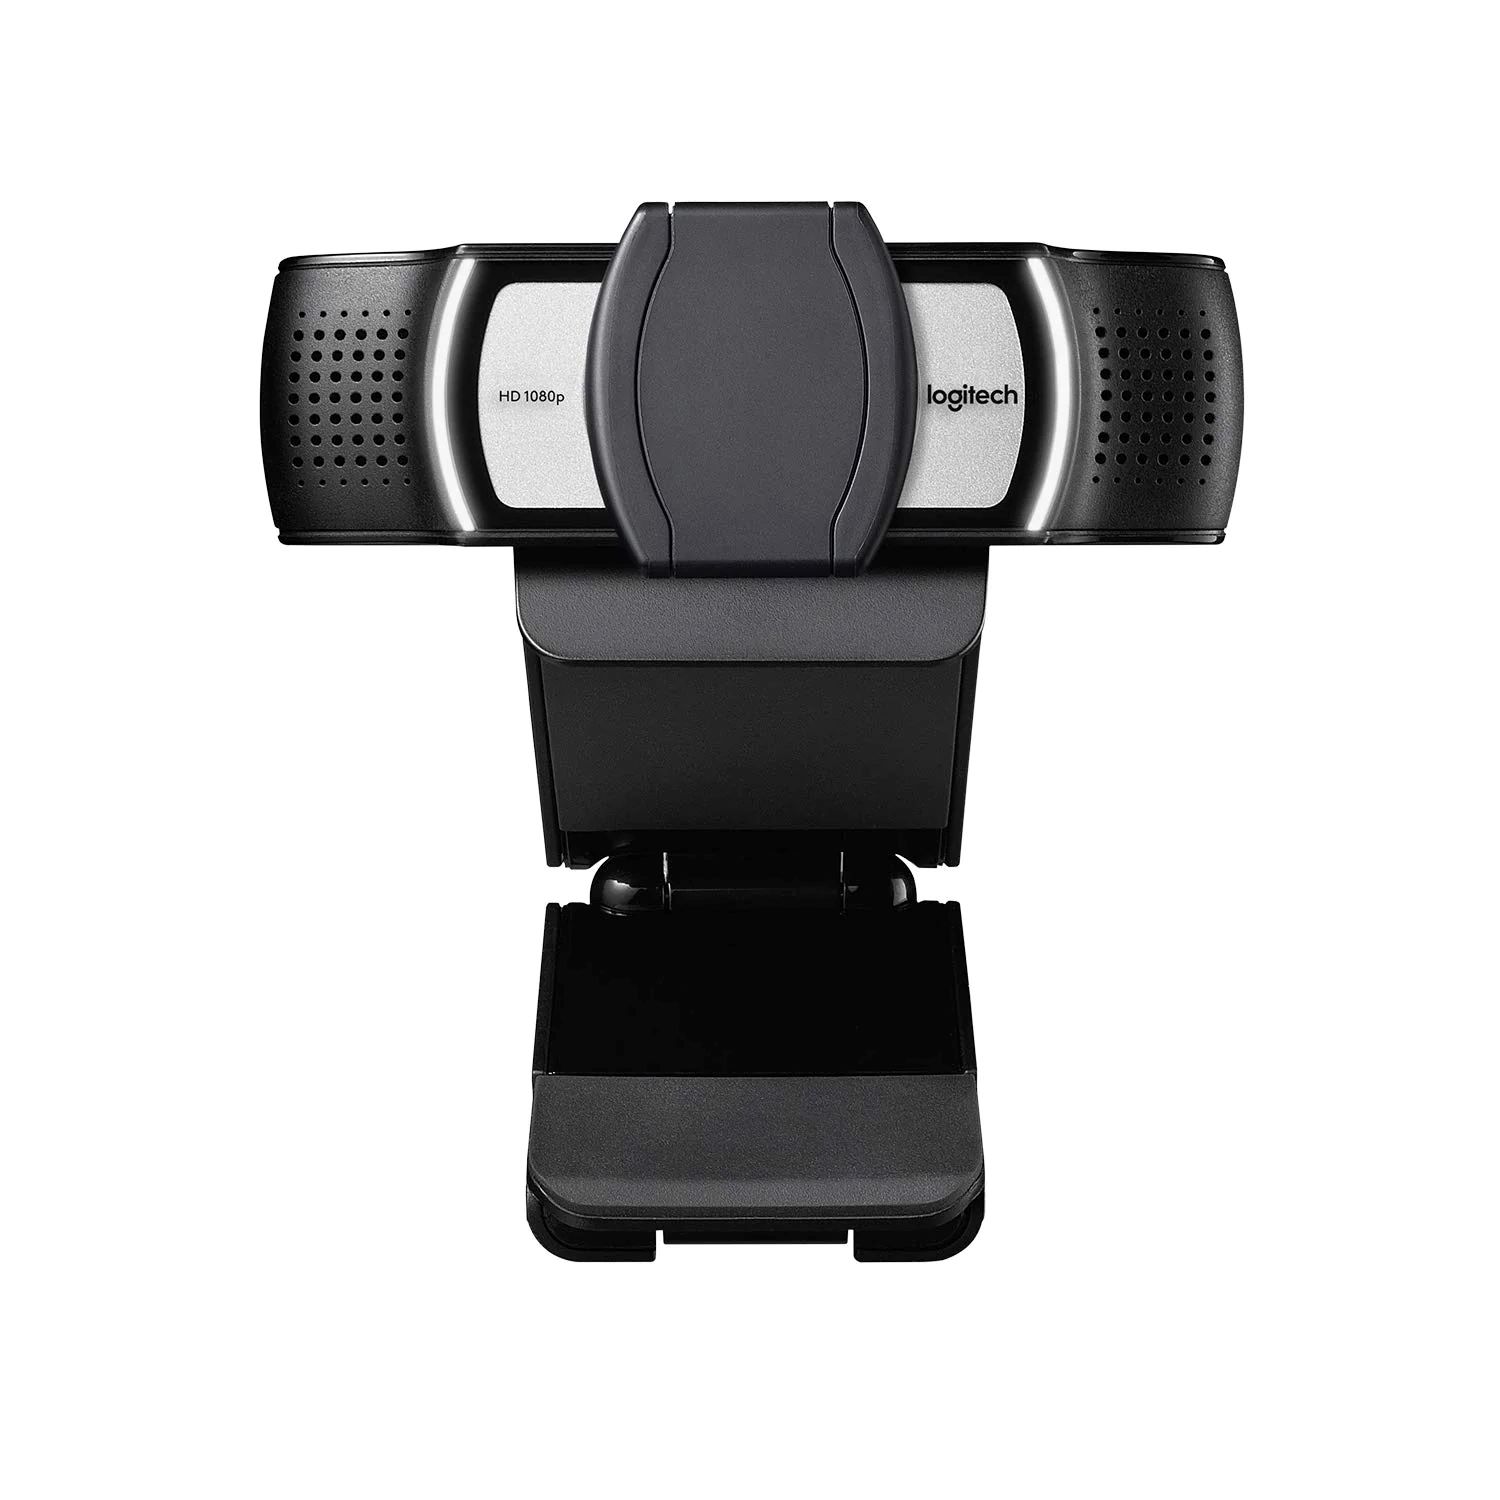
- Choose the right webcam: There are various webcam options available in the market. Select a webcam that meets your needs in terms of video quality, resolution, and compatibility with your device.
- Connect the webcam: If you’re using an external webcam, connect it to your computer using the USB cable provided. Follow the manufacturer’s instructions for a secure and stable connection. If you have a built-in webcam, skip this step and proceed to the next.
- Install any necessary drivers: Some webcams require specific drivers to function properly. Check the webcam’s documentation or the manufacturer’s website for any required software or drivers. Install them following the provided instructions.
- Test the webcam: Open a video-calling application other than Skype to test your webcam. Make sure the video feed is clear and the audio is working correctly. Adjust the webcam’s position as needed to frame yourself properly in the video.
- Launch Skype: Open the Skype application on your device. If you don’t have Skype installed, visit the official website and download the latest version.
Once you’ve completed these steps, you’re ready to move on to adjusting the webcam settings within Skype itself. This will allow you to fine-tune the video quality, adjust the microphone settings, and customize other aspects of your video chat experience.
Remember, setting up a new webcam may require some troubleshooting along the way. Don’t hesitate to consult the webcam’s manual or reach out to the manufacturer’s support team if you encounter any issues. Now that your webcam is connected and functioning correctly, let’s explore how to change the webcam settings in Skype.
Changing Webcam Settings in Skype
Once you have set up your webcam, it’s time to adjust the settings within Skype to ensure the best possible video and audio quality. Follow these steps to change the webcam settings:
- Launch Skype: Open Skype on your device and sign in to your account.
- Access settings: Click on your profile picture or avatar on the top left corner of the Skype window. In the dropdown menu, select “Settings” to access the Skype settings.
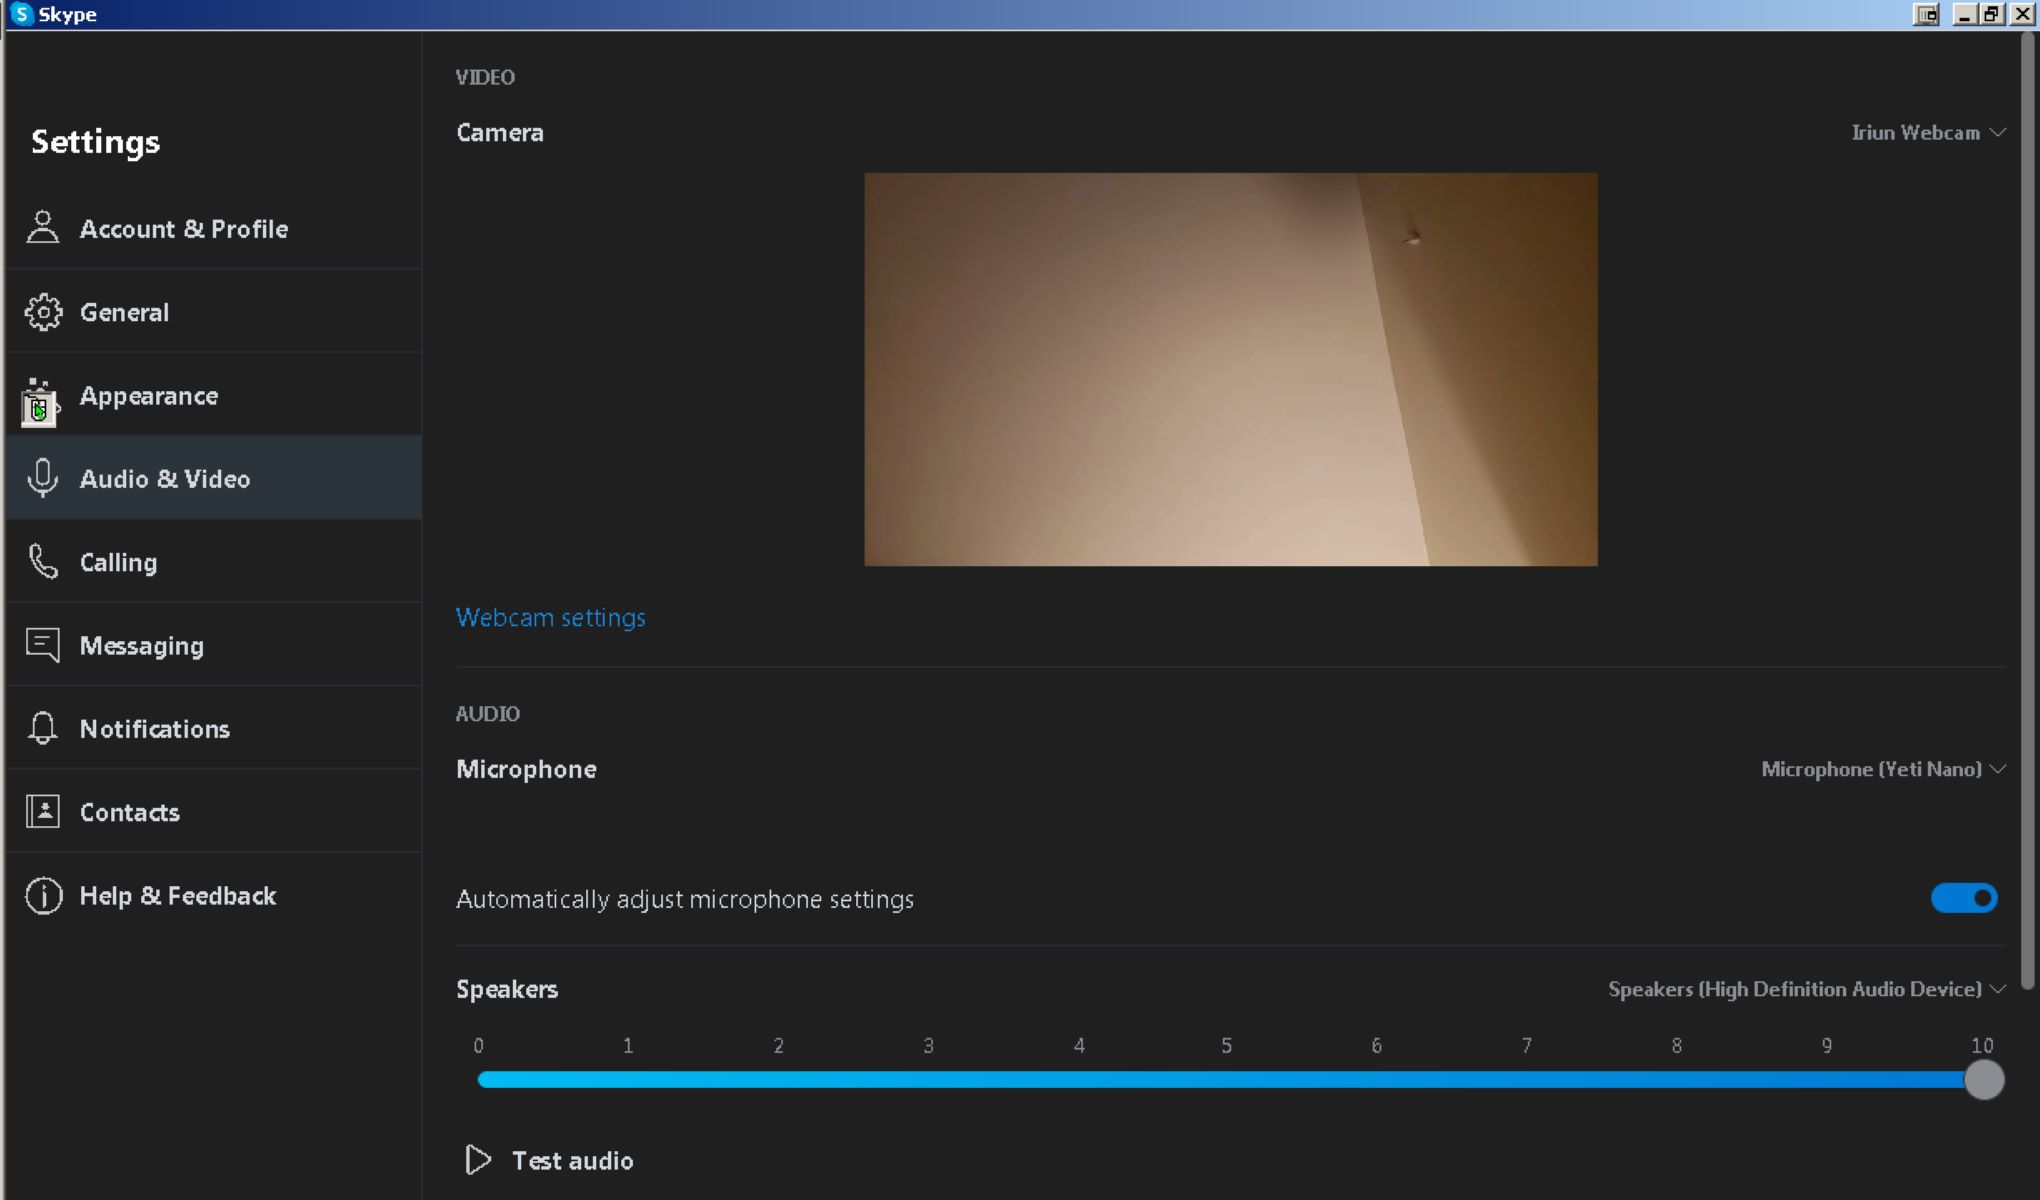
- Select Audio & Video: In the left sidebar of the Settings window, click on “Audio & Video” to open the webcam settings.
- Choose the webcam: If you have multiple webcams connected to your device, click on the dropdown menu under “Camera” and select the desired webcam from the list.
- Adjust video settings: Below the camera selection, you’ll find the video settings. Here, you can adjust the video resolution, aspect ratio, and frame rate according to your preferences. Keep in mind that higher settings may require a stronger internet connection and more processing power from your device.
- Test video and audio: To ensure that your webcam and microphone are working correctly, click on the “Test audio” and “Test video” buttons. Skype will play a test sound and display a video feed from your webcam. If everything looks and sounds good, you’re all set! If not, double-check your webcam connections and make sure the correct devices are selected.
- Further settings: Depending on your specific webcam and Skype version, you may have additional settings available, such as brightness, contrast, zoom, and low-light compensation. Explore these options to fine-tune your video quality.
Remember to click on the “Save” button to apply any changes you make to the webcam settings. That’s it! You have successfully changed the webcam settings in Skype, optimizing your video chat experience. Now, let’s address some common issues that may arise and provide troubleshooting tips to help you resolve them.
Troubleshooting Common Issues
While using a webcam with Skype, you might encounter some common issues. Here are a few troubleshooting tips to address these problems:
- No video feed: If your webcam is connected, but you’re not seeing any video feed on Skype, double-check the camera settings in Skype and make sure the correct webcam is selected. Additionally, ensure that the webcam drivers are up to date and compatible with your operating system. Restarting your computer and reconnecting the webcam may also help.
- Poor video quality: If the video quality is not up to par, try adjusting the webcam settings within Skype. Increase the video resolution and frame rate if your internet connection and device can handle it. Ensure that there’s sufficient lighting in the room for clearer video output. If necessary, clean the lens of your webcam as dirt or smudges can affect the quality.
- No audio or low volume: If you’re not getting any sound or the audio is too soft during video calls, first check your microphone settings in Skype. Make sure the correct microphone is selected and the volume is turned up. Test your microphone on another application to confirm that it’s functioning properly. If the issue persists, try using an external microphone or headset.
- Audio and video out of sync: If the audio and video don’t synchronize correctly during video calls, it can be frustrating. This issue is often caused by a delay in the internet connection. To address this, make sure you have a stable and sufficient internet speed. If the problem persists, try closing any unnecessary applications or devices that might be consuming bandwidth.
- Frequent disconnections: If you’re experiencing frequent disconnections during video calls, your internet connection might be unstable. Check your network connection and ensure that you have a strong and reliable signal. If possible, connect your device directly to the router via an Ethernet cable for a more stable connection. Consider upgrading your internet plan if the issue persists.
- Compatibility issues: In some cases, certain webcams may not be fully compatible with Skype or your operating system. Ensure that you’re using the latest version of Skype and have installed any recommended software or drivers provided by the webcam manufacturer. Check the Skype support website or the webcam’s manufacturer website for any known compatibility issues or updates.
By following these troubleshooting tips, you should be able to address common webcam issues and enjoy smooth video calls on Skype. Remember to keep your software and drivers updated, maintain a reliable internet connection, and optimize your webcam settings for the best possible video and audio quality.
Conclusion
In the ever-connected world we live in, video communication has become an integral part of our personal and professional lives. Skype, with its wide user base and user-friendly interface, has made it easier than ever to connect with people around the globe. In this article, we have explored how to change the webcam settings on Skype to ensure a seamless video chat experience.
We started by discussing the importance of selecting the right webcam and setting it up correctly. Whether you’re using an external webcam or a built-in one, following the manufacturer’s instructions and installing any necessary drivers are crucial steps to achieve optimal video quality.
We then walked through the process of changing the webcam settings within Skype itself. Adjusting the video resolution, frame rate, and other settings can greatly enhance the clarity and smoothness of your video calls. We also provided tips for troubleshooting common issues such as no video feed, poor video quality, audio problems, and compatibility issues.
Remember, having a reliable webcam and configuring the settings properly is just part of the equation. It’s equally important to have a stable internet connection, good lighting, and a quiet environment to ensure a successful video chat experience.
So, whether you’re catching up with loved ones, attending virtual meetings, or taking online classes, knowing how to change your webcam settings on Skype will enable you to connect with others effectively. Embrace the power of video communication and let your webcam be the window that brings you closer to the world.
Now that you have the knowledge to maximize the potential of your webcam, go ahead, launch Skype, and enjoy crystal-clear video conversations with friends, family, and colleagues!