Introduction
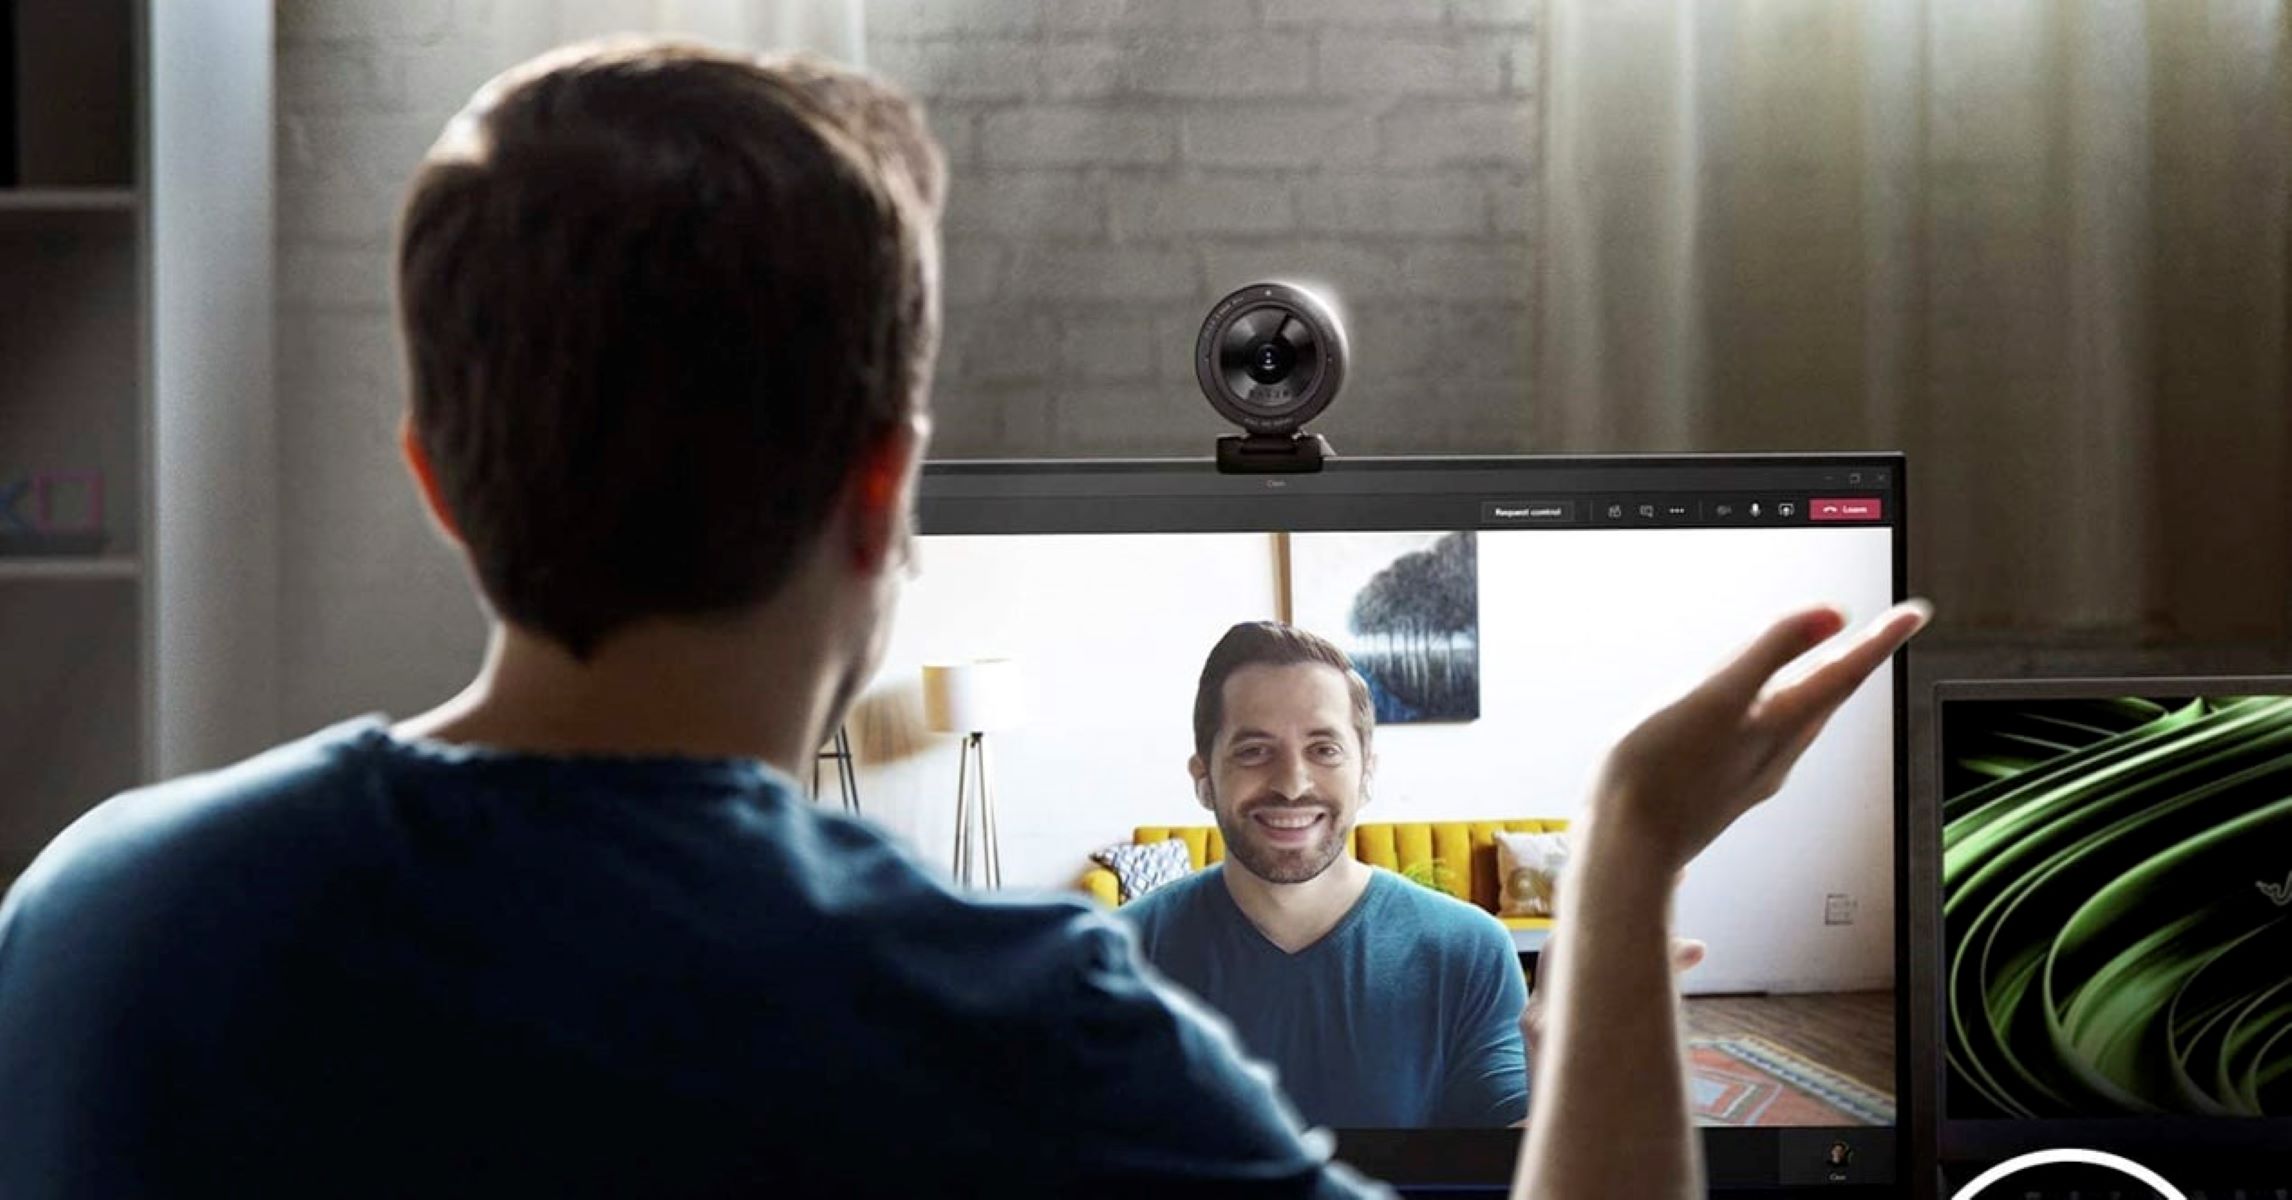
With the rise of video conferences and online meetings, changing your webcam background can add a touch of professionalism, creativity, or privacy to your virtual interactions. Whether you want to hide a cluttered room, showcase your brand, or simply add some fun to your video calls, altering your webcam background is a great way to personalize your online presence.
In this article, we will guide you through the process of changing your webcam background on popular video conferencing platforms such as Zoom, Skype, Microsoft Teams, and Google Meet. Whether you are a remote worker, a student attending online classes, or someone who loves to connect with friends and family over video calls, we’ve got you covered.
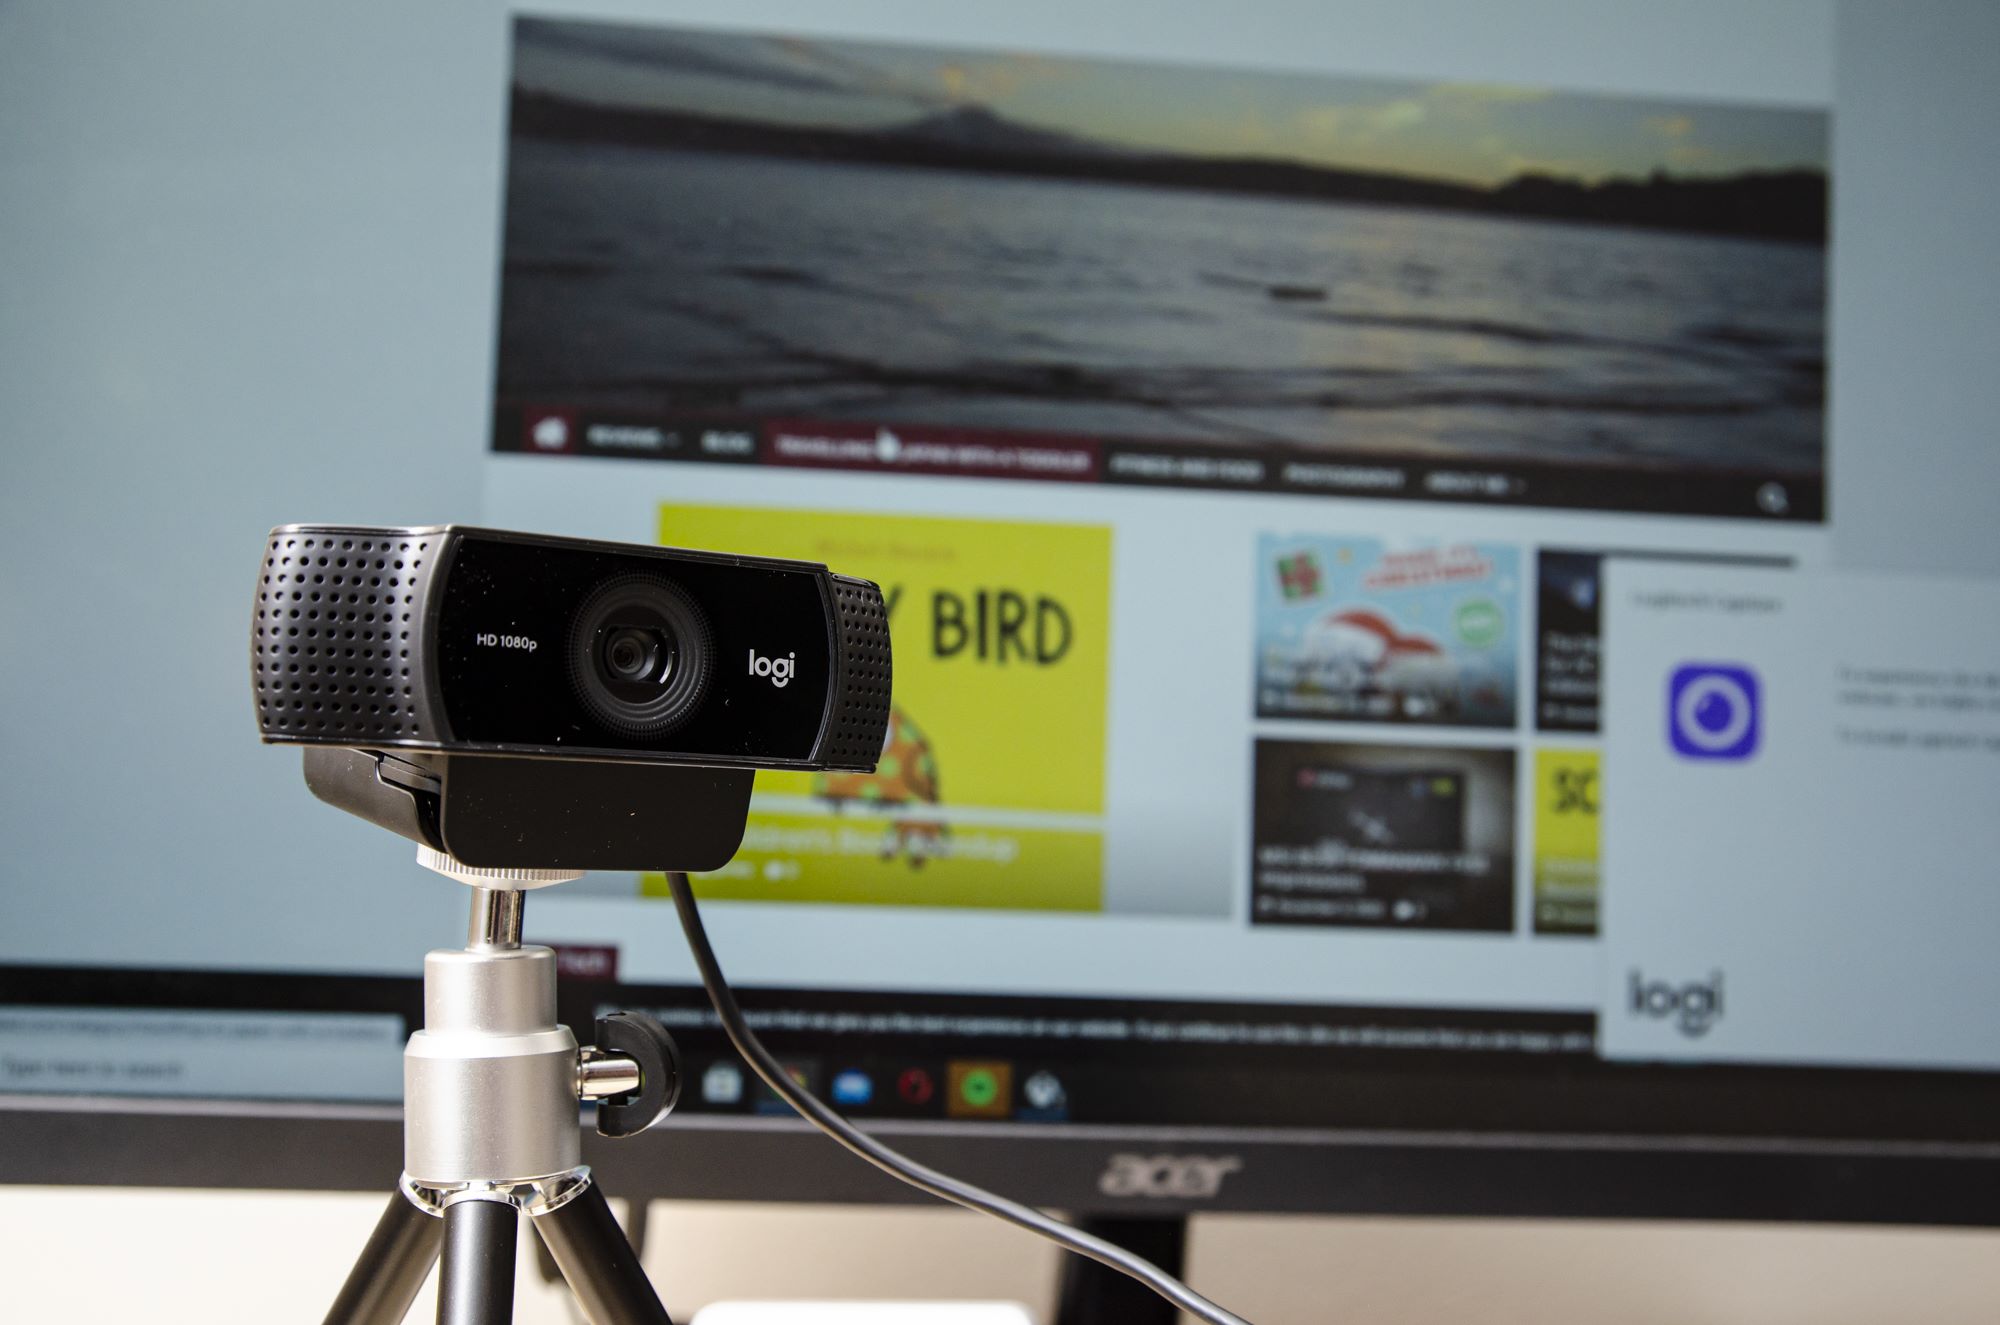
Before we dive into the step-by-step instructions, it’s important to note that changing your webcam background requires a few key elements. First and foremost, you will need a webcam or a built-in camera on your device that supports background customization. Additionally, some platforms may require specific software or plugins to enable this feature. So, make sure you have the necessary hardware and software requirements before proceeding.
Changing your webcam background not only allows you to personalize your video calls, but it can also make a significant difference in how you are perceived by others. Whether you want to create a professional setting for work meetings or express your personality during social calls, let’s explore the various options and techniques to change your webcam background on different platforms.
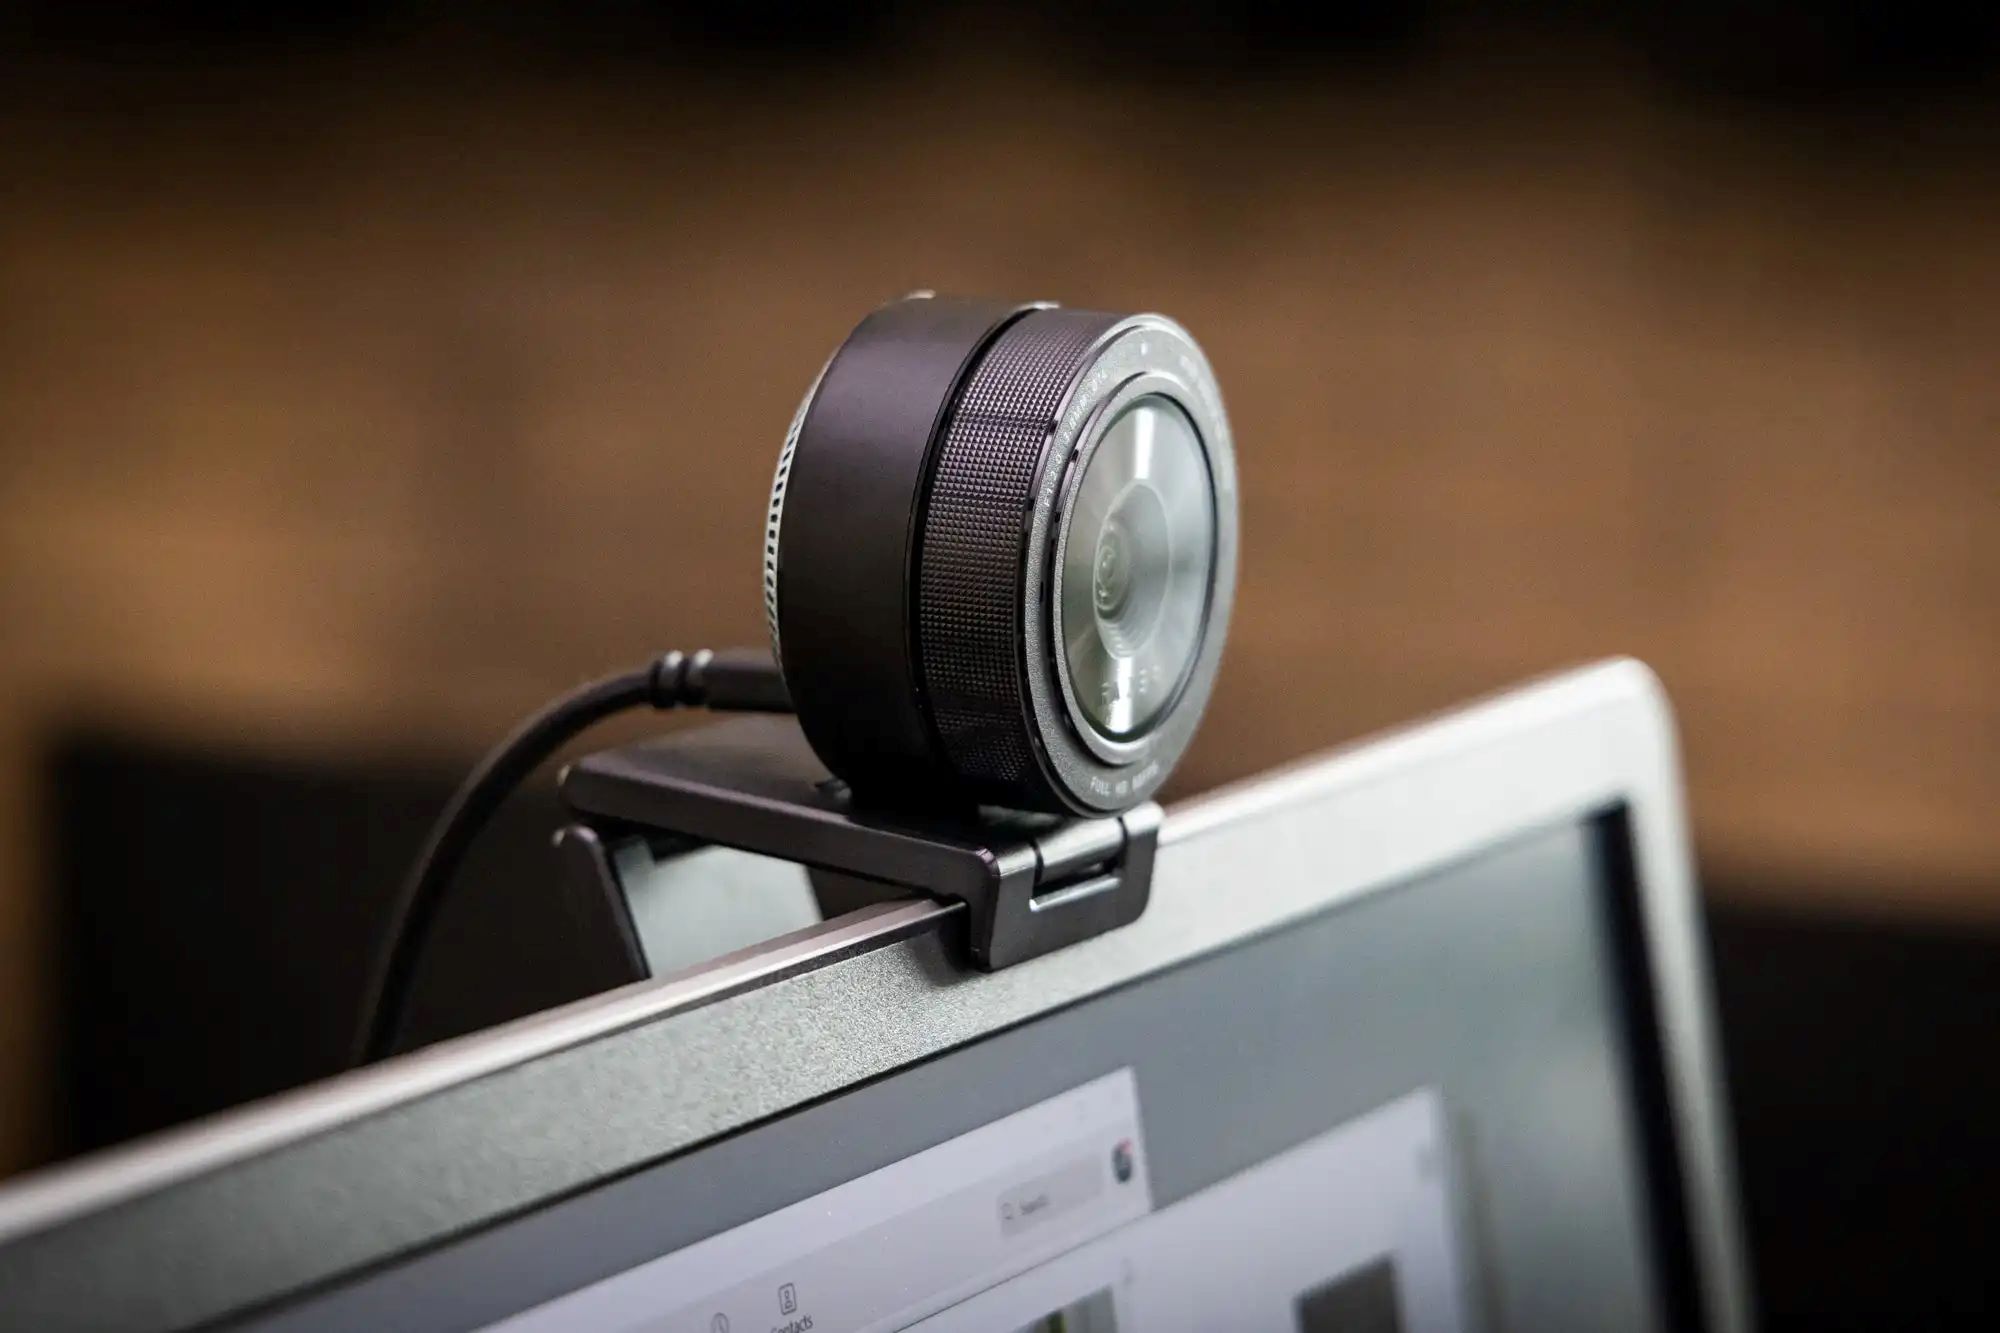
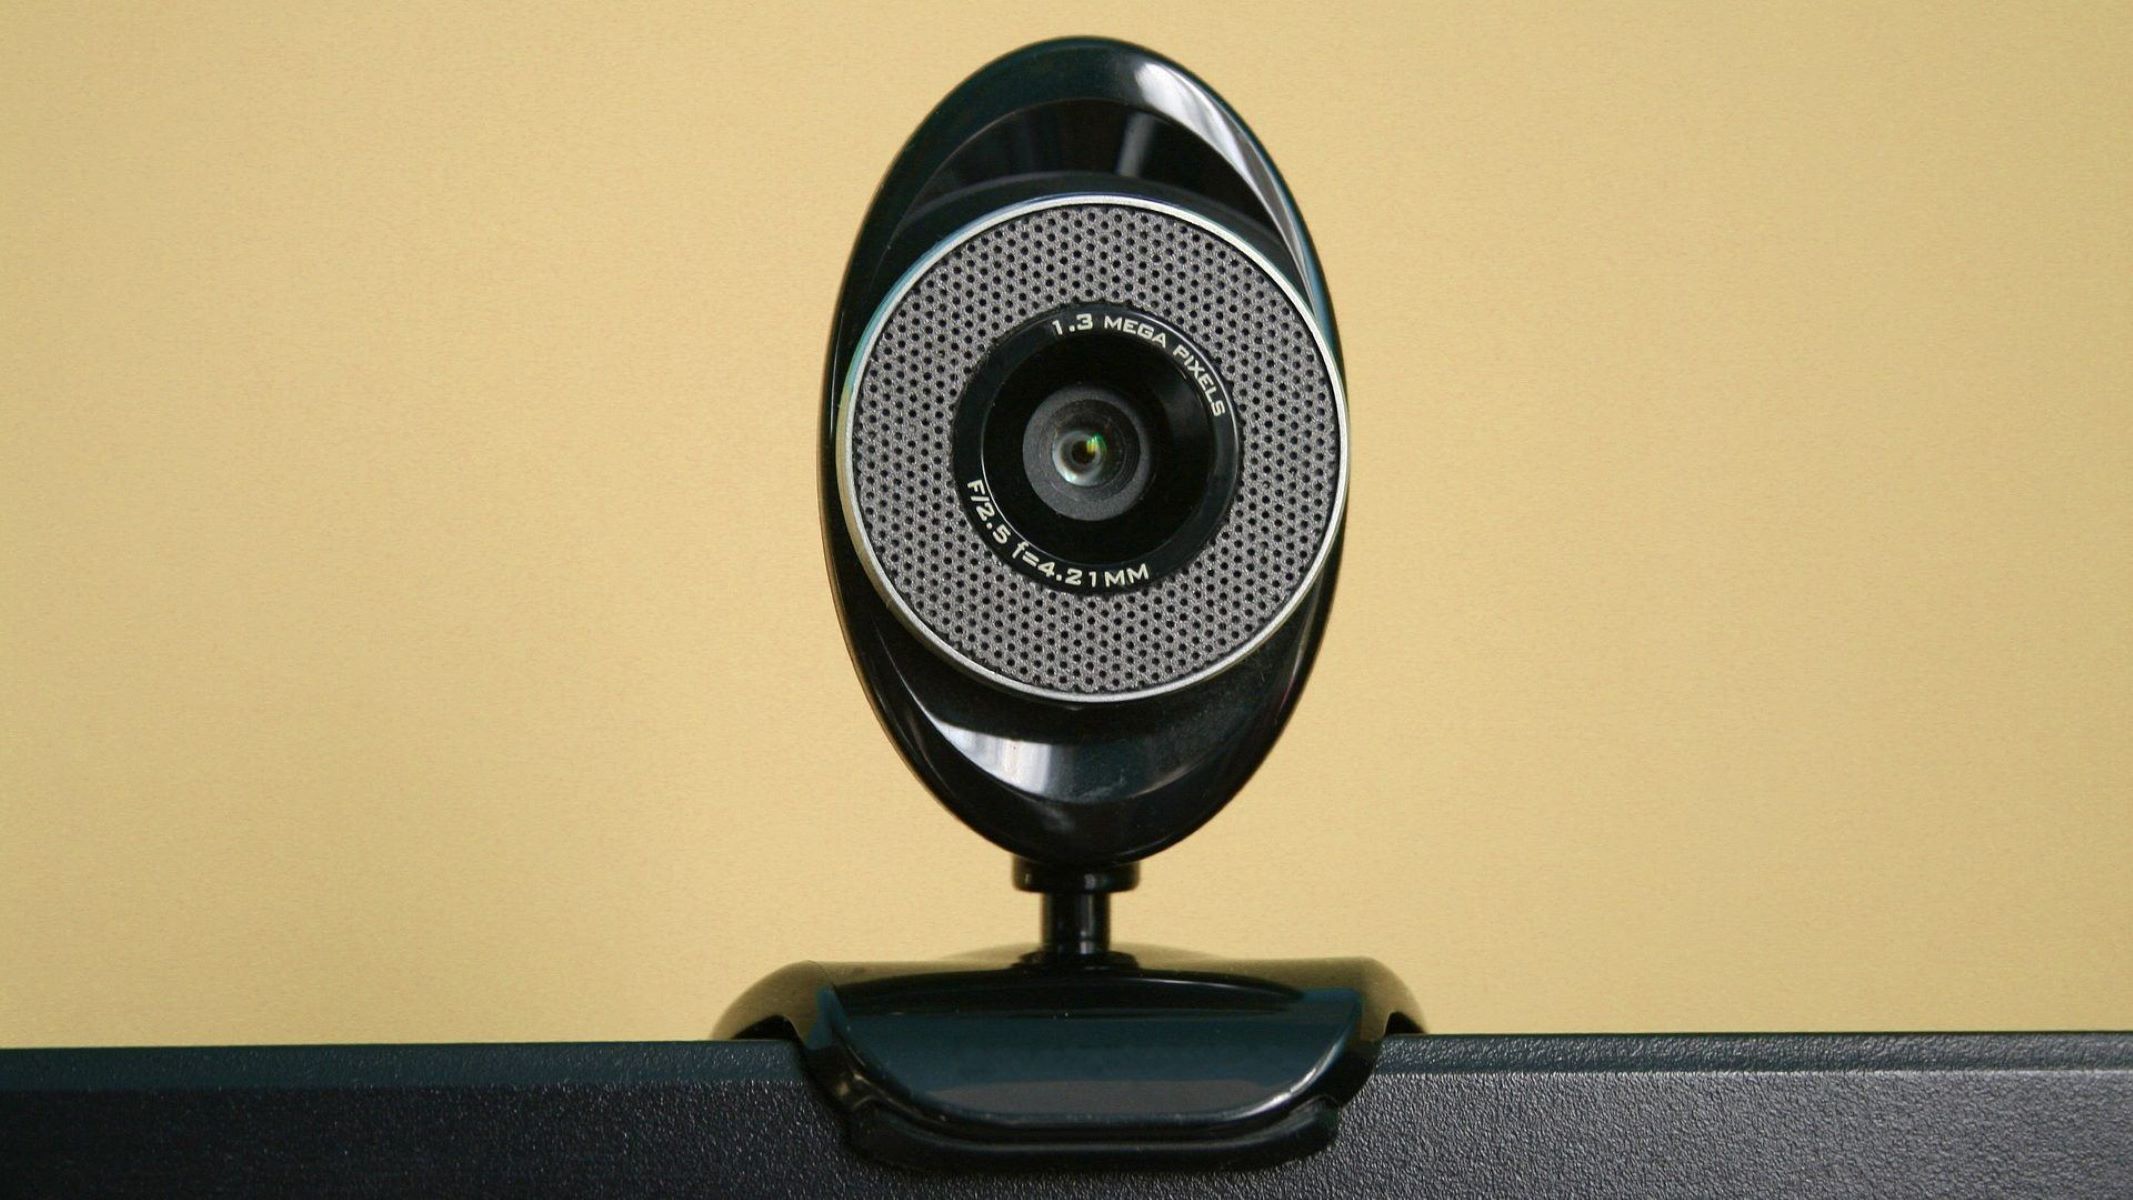
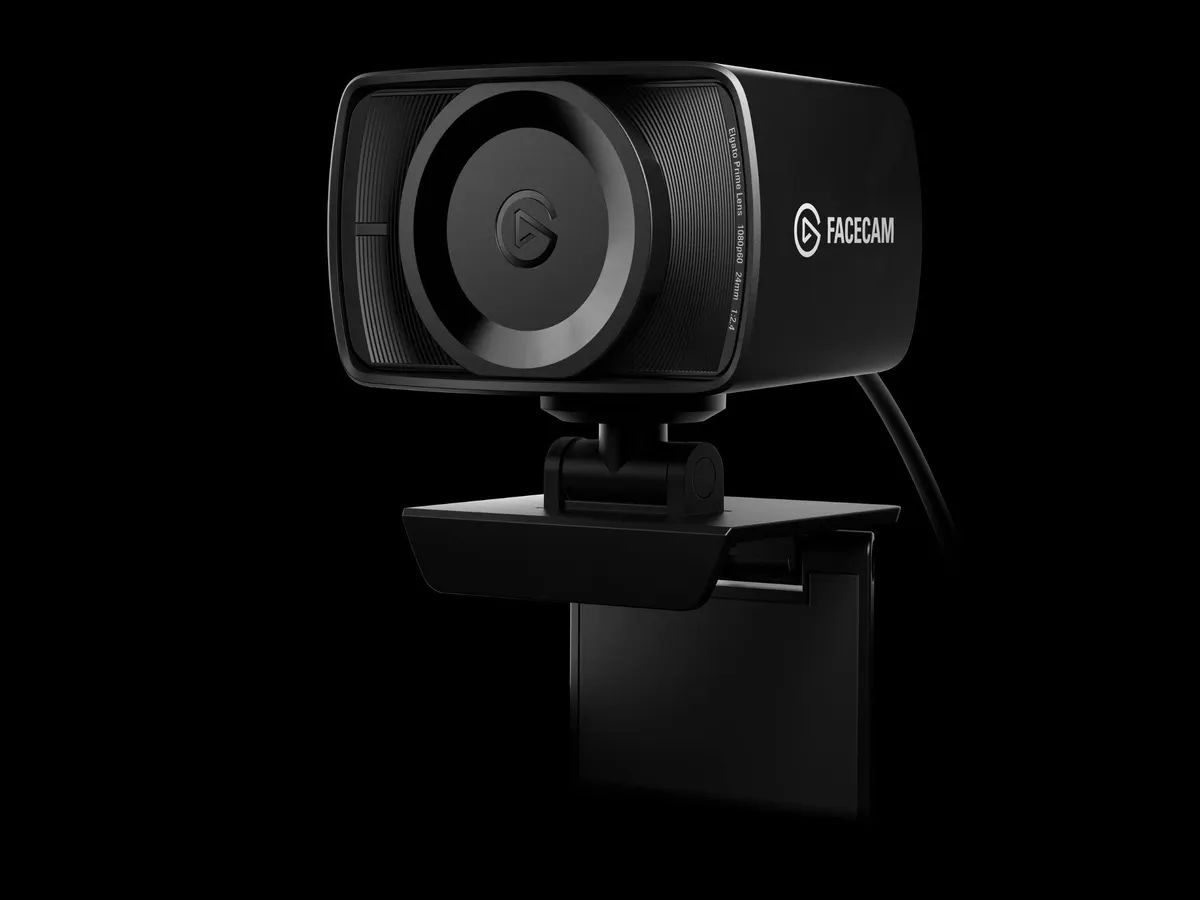
Step 1: Setting up your webcam
Before you can change your webcam background, it is important to ensure that your webcam is properly set up and functioning correctly. Follow these steps to ensure a smooth experience:
- Check your hardware: Ensure that your webcam is connected to your computer or device properly. If you are using an external webcam, connect it via USB and make sure it is securely plugged in. If you have a built-in camera, ensure that it is enabled and functioning correctly.
- Update your webcam drivers: It is recommended to keep your webcam drivers up to date to avoid any compatibility issues. Check the manufacturer’s website for the latest drivers and install them if necessary.
- Position and lighting: Find an ideal position for your webcam where it captures you clearly without any obstructions. Make sure the lighting in the room is sufficient to provide good visibility.
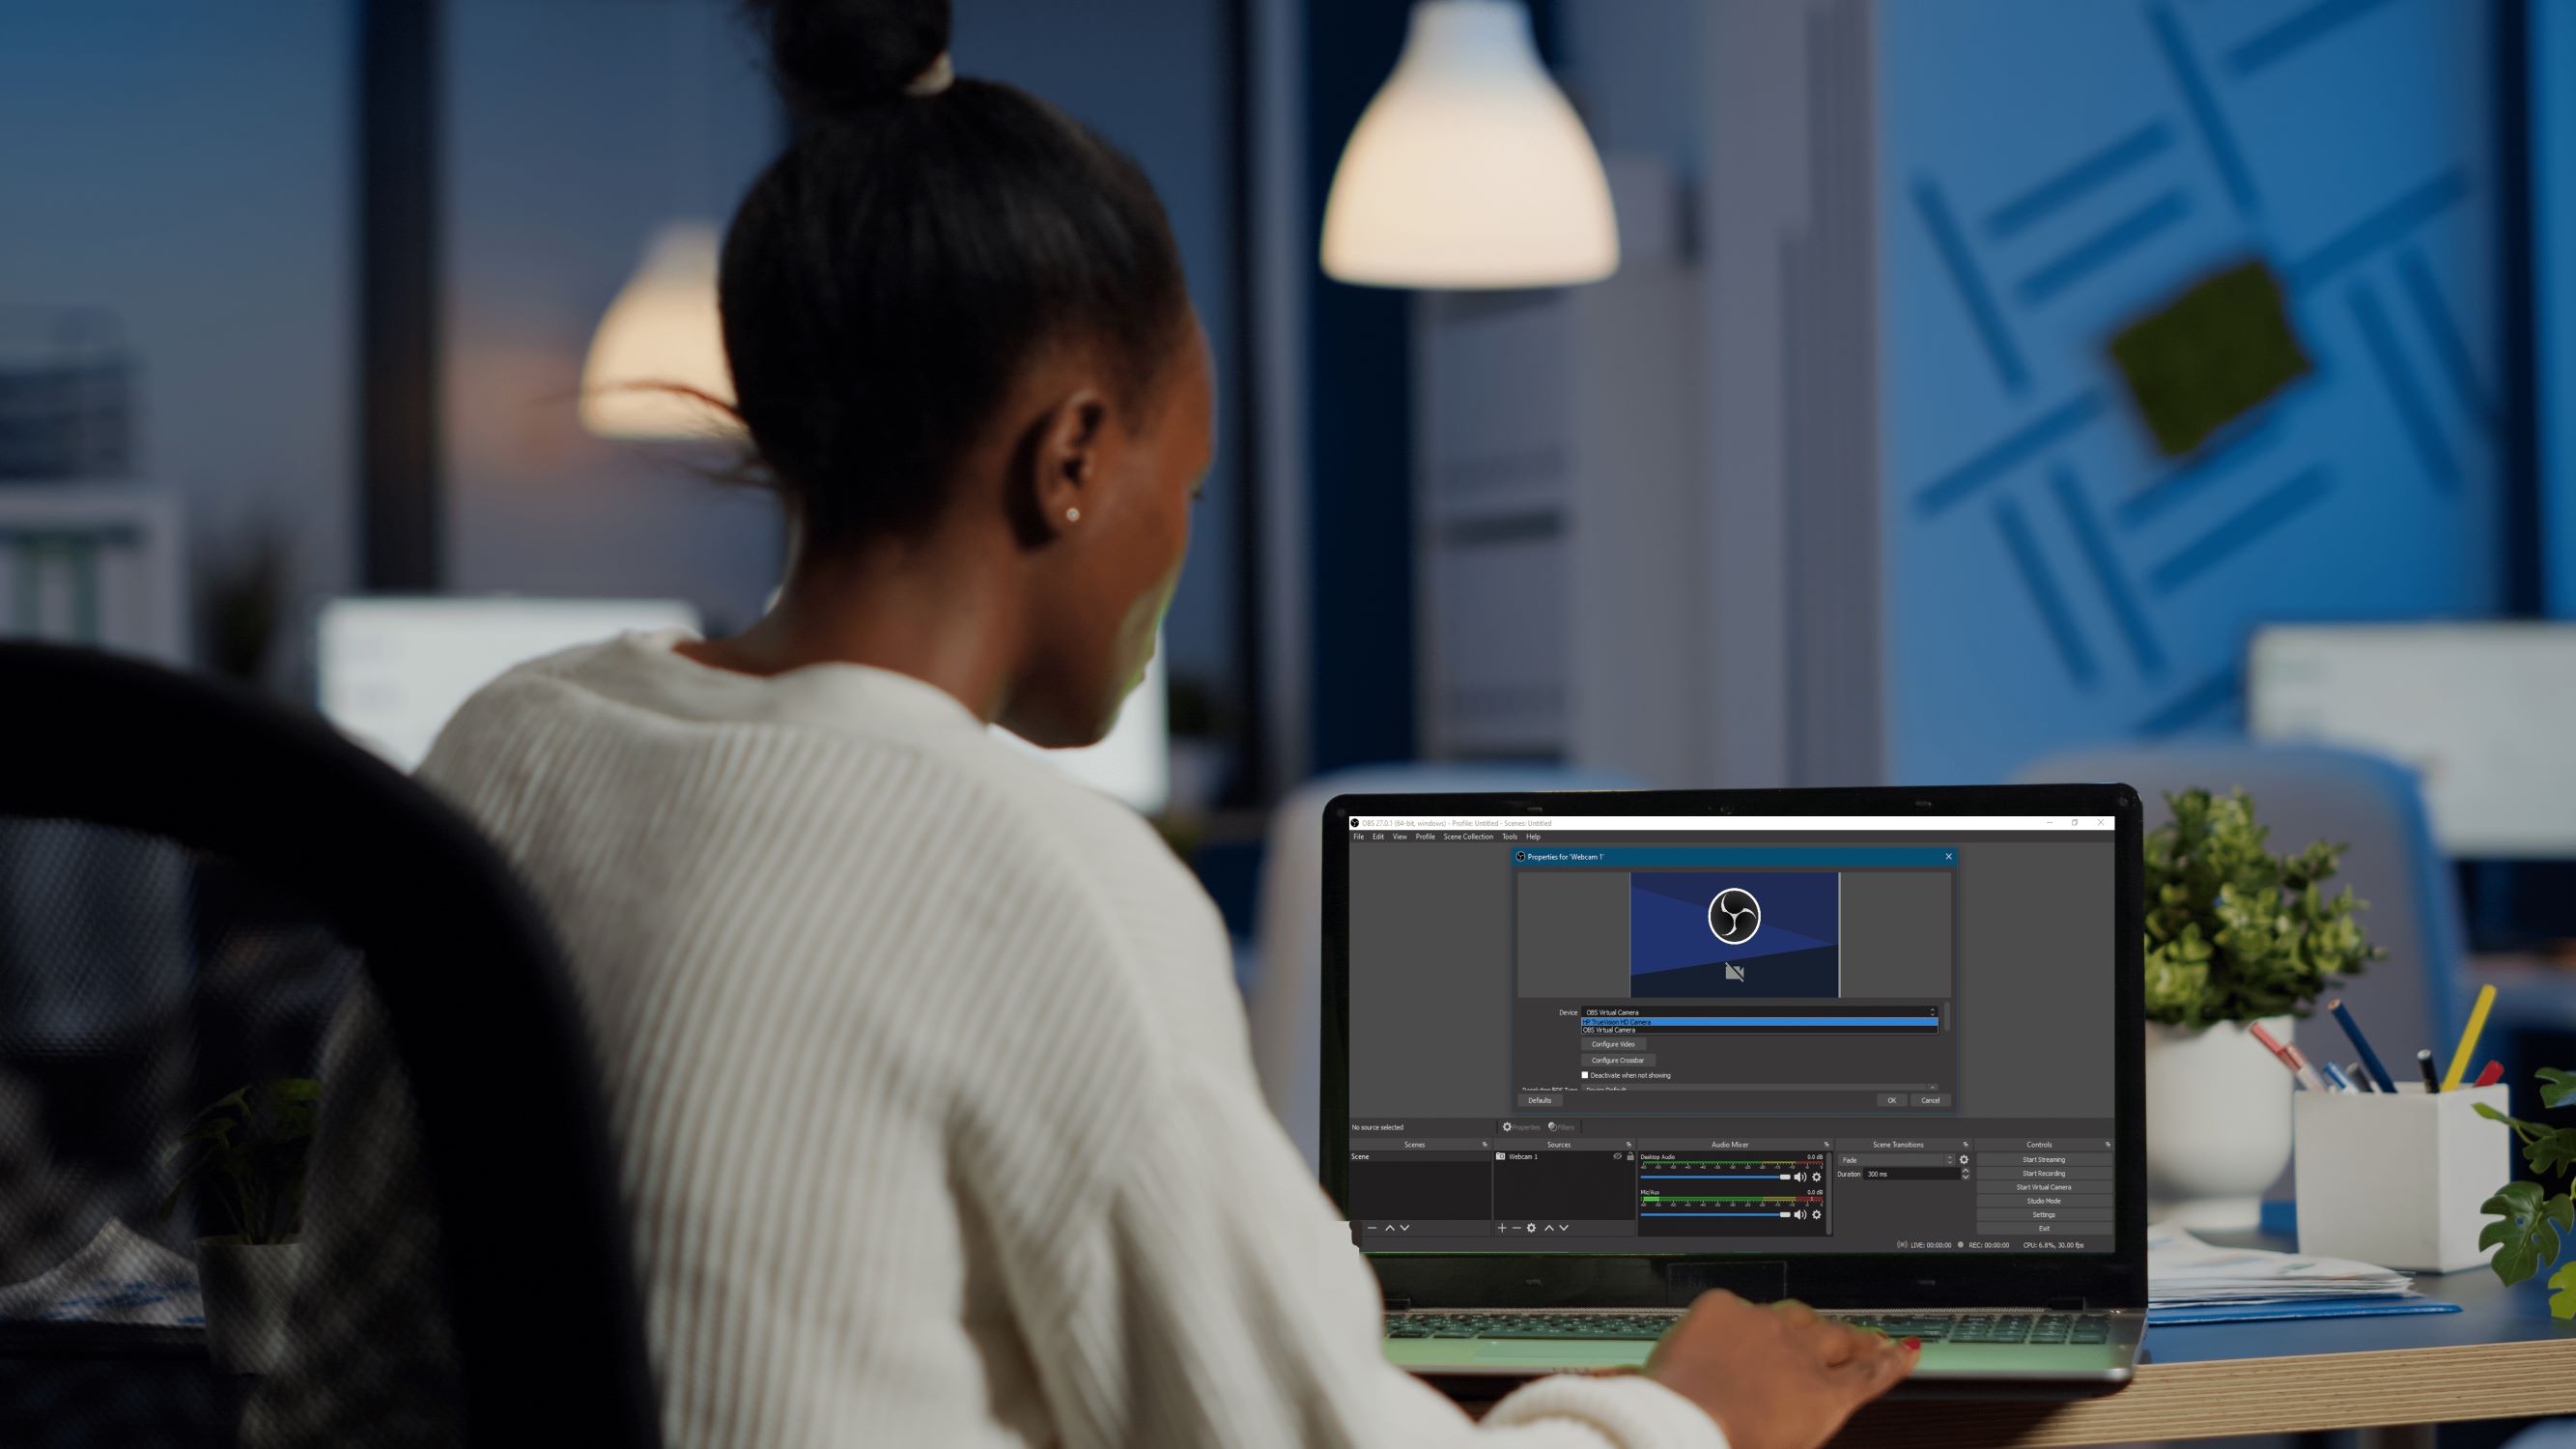
- Test your webcam: Use the built-in camera app on your device or a third-party webcam testing tool to check if your webcam is functioning correctly. This will help you identify any issues before you start changing your background.
By following these steps, you will ensure that your webcam is ready to go and will provide optimal performance during your video calls. Once you have confirmed that your webcam is set up correctly, you can proceed to the next steps to change your webcam background on various platforms.
Step 2: Selecting the perfect background
Choosing the right webcam background can greatly enhance your video calls and leave a lasting impression on your audience. Here are some tips to help you select the perfect background:
- Consider the purpose: Think about the purpose of your video call. Are you attending a professional meeting, conducting an online class, or having a casual catch-up with friends? Select a background that aligns with the context and tone of the conversation.
- Avoid distractions: Opt for backgrounds that are clean, clutter-free, and visually appealing. Avoid busy or distracting patterns that can divert attention away from you.
- Showcase your brand or personality: If you are representing a brand or organization, consider using a background that includes your logo or reflects your company’s identity. Alternatively, you can choose a background that represents your personality or interests.
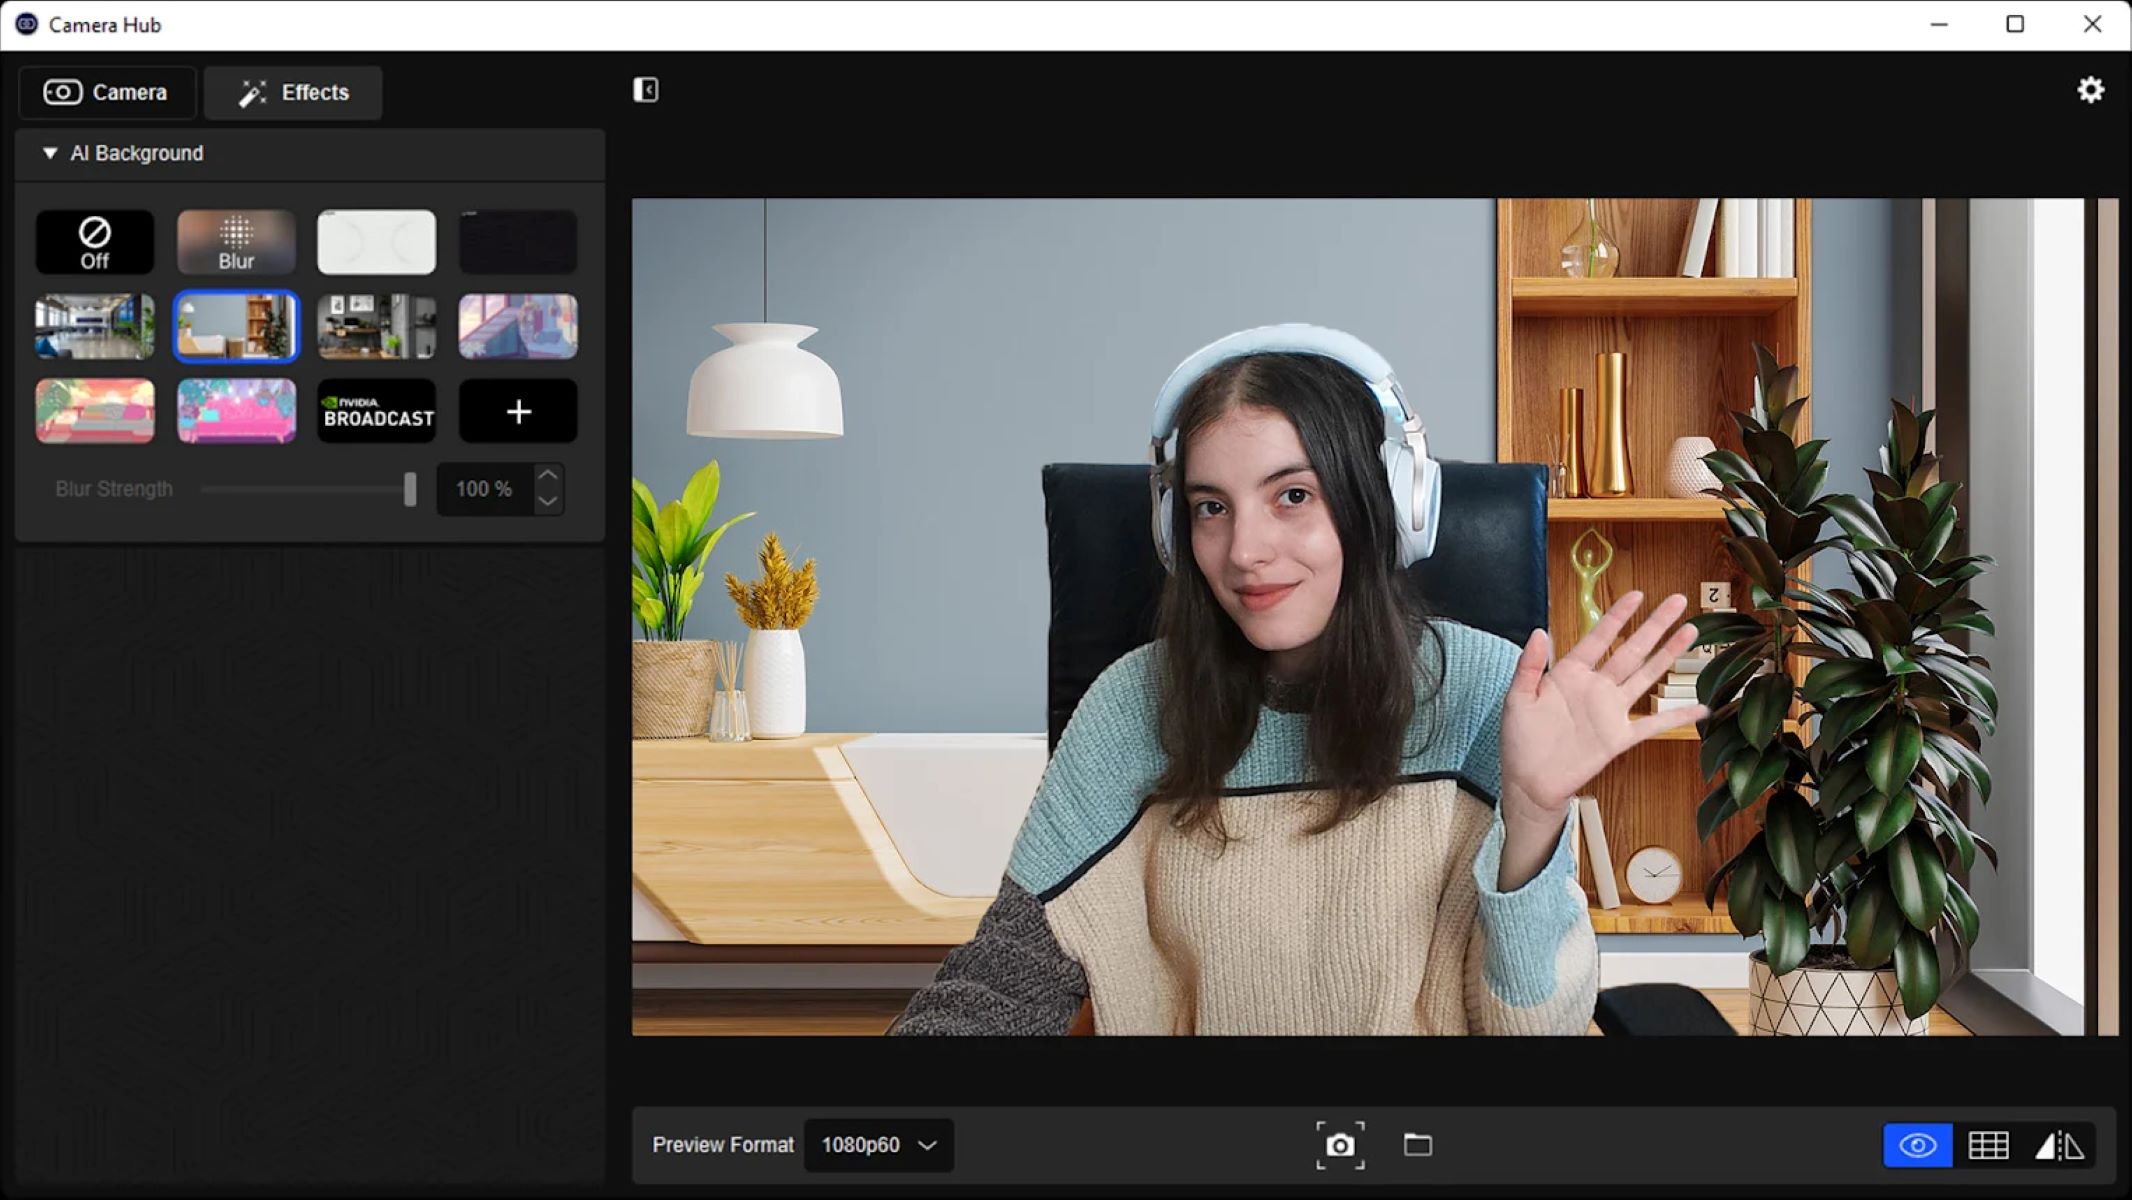
- Virtual backgrounds: Many video conferencing platforms offer virtual backgrounds that allow you to replace your real background with images or videos. Explore the virtual background libraries provided by the platform or upload your own custom backgrounds for a personalized touch.
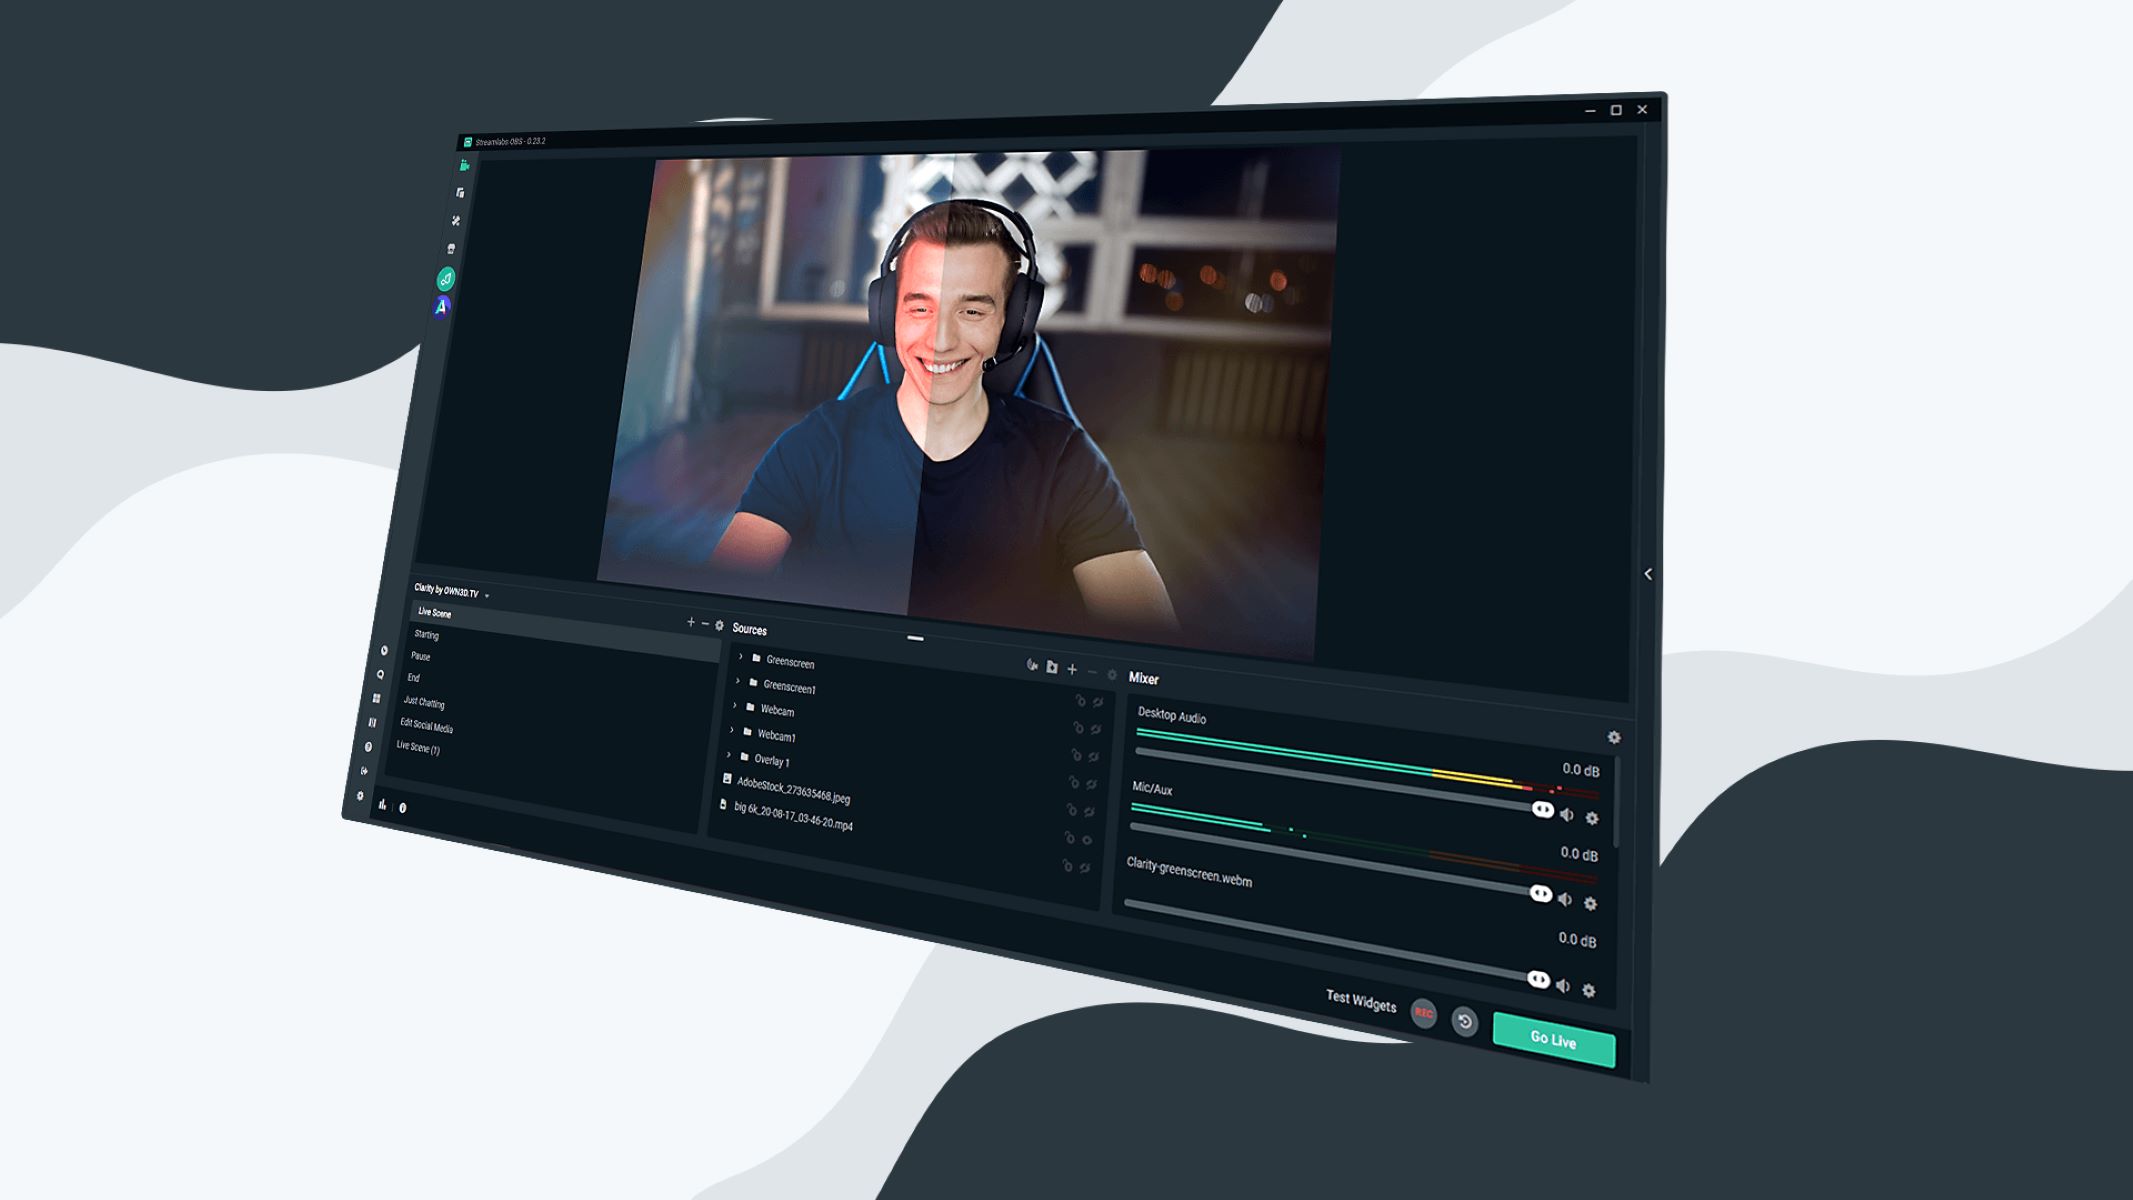
- Green screen: If you want complete control over your background, consider using a green screen. By setting up a green screen behind you and using chroma key technology, you can replace the green background with any image or video of your choice.
Remember, the background you choose should complement your appearance and create a visually appealing environment for your video calls. Experiment with different options to find what works best for you and the specific purpose of your video call.
Step 3: Using virtual background on Zoom
Zoom is one of the most popular video conferencing platforms that offers a built-in feature to change your webcam background. Follow these steps to use virtual background on Zoom:
- Open Zoom: Launch the Zoom application on your computer and sign in to your account.
- Join or start a meeting: Join an existing meeting or start a new one by clicking on the “New Meeting” button.
- Access Settings: Once you are in the meeting, click on the small arrow next to the video icon in the bottom-left corner of the screen and select “Choose Virtual Background” from the menu.
- Select or upload a background: In the Virtual Background settings window, you can choose from the preloaded backgrounds or click on the plus icon to upload your own image or video background.
- Preview and apply: Select the background you wish to use and preview it to see how it looks. Once you are satisfied, click on the “Apply” button to set it as your virtual background for the current meeting.
- Enable for future meetings: If you want to use the virtual background for all your future meetings, you can go to the Zoom settings by clicking on your profile picture in the top-right corner, selecting “Settings,” and then navigating to the “Virtual Background” tab to make the necessary adjustments.
Make sure you have a solid-colored background or use a green screen for the best results with Zoom’s virtual backgrounds feature. Also, ensure that your computer meets the system requirements for virtual background usage on Zoom.
With Zoom’s virtual background feature, you can transform your video calls and add a touch of professionalism or creativity to your online meetings.
Step 4: Changing webcam background on Skype
If you’re using Skype for your video calls, you can change your webcam background to add some flair and personalization. Follow these steps to change your webcam background on Skype:
- Open Skype: Launch the Skype application on your computer and sign in to your account.
- Access settings: Once you’re signed in, click on your profile picture or initials in the top-left corner of the screen to open the Skype menu.
- Select Settings: In the Skype menu, select the “Settings” option to access your account settings.
- Choose Audio & Video: In the settings menu, navigate to the “Audio & Video” section on the left-hand side of the screen.
- Enable background effects: Under the “Audio & Video” section, you will find the “Background effects” option. Toggle it on to enable the feature.
- Select a background: Once the background effects feature is enabled, you will see the available backgrounds on the right-hand side of the screen. Click on a background to preview and select it for your video calls.
- Upload your own background: If you want to use a custom background, click on the “+” icon at the top-right corner of the available backgrounds and select an image or video file from your computer.
- Test and apply: After selecting a background, you can preview it by clicking on the “Preview” button. If you’re happy with the result, click on the “Apply” button to set it as your webcam background for your Skype calls.
Skype’s background effects feature allows you to change your webcam background and add a touch of personality to your video calls. Experiment with different backgrounds to find the one that suits your style.
Step 5: Adjusting settings for Microsoft Teams
If you’re using Microsoft Teams for your video conferences and meetings, you can customize your webcam background to add a professional or personalized touch. Here’s how to adjust the settings for changing your webcam background in Microsoft Teams:
- Open Microsoft Teams: Launch the Microsoft Teams application on your computer and log in to your account.
- Join or start a meeting: Join an existing meeting or start a new one by selecting the “Meetings” tab on the left-hand side of the application and choosing the appropriate option.
- Access settings: Once you are in a meeting, click on the three-dot menu icon in the meeting toolbar at the top of the screen and select the “Device settings” option.
- Choose background effects: In the device settings window, navigate to the “Background effects” tab.
- Select a background: On the background effects tab, you’ll find the available background options. Choose your desired background from the provided options.
- Preview and apply: To view how the background looks before applying it, click on the “Preview” button. Once you’re satisfied with the background, click on the “Apply” button to set it as your webcam background for the ongoing meeting.
Microsoft Teams provides a variety of background options to choose from and lets you make your video calls more visually appealing. Experiment with different backgrounds to find the one that suits your preferences and the purpose of the meeting.
Step 6: Customizing your webcam background on Google Meet
If you are using Google Meet for your video calls and conferences, you can customize your webcam background to make your virtual meetings more engaging and personalized. Follow these steps to customize your webcam background on Google Meet:
- Open Google Meet: Open the Google Meet website or launch the Google Meet app on your device.
- Start or join a meeting: Start a new meeting or join an existing one by entering the meeting code or clicking on a meeting link.
- Access settings: Once you are in a meeting, click on the three-dot menu icon in the bottom-right corner of the screen.
- Select Change Background: In the settings menu, click on “Change Background”.
- Choose a background: Google Meet provides a set of default backgrounds to choose from. Click on the desired background to preview it.
- Upload your own background: If you want to use a custom background, click on the “+” icon to upload an image or video from your computer.
- Apply the background: Once you have chosen your background, click on the “Apply” button to set it as your webcam background for the current meeting.
With the ability to customize your webcam background on Google Meet, you can create a professional or personalized setting for your video conferences and make a lasting impression on your participants.
Step 7: Additional tips and tricks
Now that you know how to change your webcam background on different platforms, here are some additional tips and tricks to enhance your experience:
- Use a well-lit environment: Ensure that you have good lighting in your room to minimize shadows and improve visibility for your webcam.
- Opt for a stable internet connection: A stable and high-speed internet connection will ensure smooth video calls and prevent lagging or freezing.
- Experiment with different backgrounds: Don’t be afraid to try out various backgrounds to find the perfect fit for each type of video call. It could be a professional background for work meetings or a more creative one for social calls.
- Create your own custom backgrounds: If you have the tools and skills, design your own custom backgrounds that reflect your personality or brand. This adds a unique touch to your video calls.
- Minimize distractions: Make sure your surroundings are tidy and free from any distractions that could divert attention during your video calls.
- Test before important calls: Always test your webcam and background settings before important meetings or conferences to ensure everything is working as expected.
- Maintain professional appearance: Even with a customized background, remember to dress appropriately and maintain a professional appearance during work-related video calls.
- Be mindful of privacy: If you are in a shared or public space, be cautious about the background you choose to maintain privacy and confidentiality.
By following these additional tips and tricks, you can make the most of your webcam background customization and create a visually impressive virtual presence during your video calls.
Conclusion
Changing your webcam background can add creativity, professionalism, and a personal touch to your video calls, making them more engaging and visually appealing. Whether you’re using Zoom, Skype, Microsoft Teams, or Google Meet, customizing your webcam background is relatively easy and can be done in a few simple steps.
Remember to ensure that your webcam is properly set up and functioning correctly before attempting to change the background. Consider the purpose of your video call and choose a background that aligns with the context and tone of the conversation. Whether it’s using virtual backgrounds, green screens, or custom images, explore the options available on each platform to find the perfect background for your meetings.
Additionally, take into account factors like lighting, internet connection stability, and maintaining a professional appearance. Conduct tests before important video calls to ensure everything is working as expected and to minimize any potential disruptions.
By following the steps outlined in this guide and considering the tips and tricks provided, you can elevate your video conferencing experience and create a visually appealing environment that reflects your style, personality, or brand.
So, go ahead and get creative with your webcam background! Whether you’re looking to impress clients, enhance remote learning, or simply have a bit of fun in your video calls with loved ones, you now have the knowledge and tools to do so.