Introduction
Welcome to this comprehensive guide on how to record a video using your webcam! Whether you’re a content creator, a business professional, or simply looking to capture special moments, recording videos with your webcam can be a convenient and cost-effective solution. With the right software, proper setup, and a few tips and tricks, you can create high-quality videos right from the comfort of your own computer.
Video content continues to gain popularity across various digital platforms, from social media to online courses and tutorials. Having the ability to record videos with your webcam provides you with a versatile tool for communication, creative expression, and sharing valuable information with others. By following the steps outlined in this guide, you’ll have the knowledge and skills to confidently record videos that can captivate and engage your audience.
Before we dive into the specifics of recording with a webcam, it’s important to choose the right software that meets your needs. Depending on your operating system and preferences, there are a variety of software options available, ranging from free to paid versions, each with its own set of features. Once you’ve chosen the software that suits you best, we’ll explore how to set up your webcam, adjust the settings, create an ideal recording environment, and review the final footage before saving and sharing it.
Through this guide, you’ll learn invaluable techniques to enhance the quality of your videos, including tips on camera placement, lighting setup, and audio optimization. Additionally, we’ll discuss the importance of testing your webcam and audio before recording to ensure a smooth and uninterrupted recording session.
Whether you’re recording a vlog, a tutorial, a business presentation, or simply capturing memories with loved ones, this step-by-step guide will equip you with the knowledge and skills needed to create professional-looking videos using your webcam. Let’s get started!
Choosing the Right Software
When it comes to recording videos with your webcam, selecting the right software is crucial. There are numerous options available, each offering different features and functionalities. Here are some key factors to consider when choosing the software that best suits your needs:
- Compatibility: Ensure that the software is compatible with your operating system. Most applications are designed for Windows and Mac, but it’s always a good idea to double-check before making a choice.
- User-Friendly Interface: Look for software that has an intuitive and user-friendly interface. This will make the recording process smoother and more enjoyable, especially if you’re a beginner.
- Recording Options: Consider the recording options provided by the software. Look for features such as video resolution, frame rate, and the ability to record audio simultaneously. These options will affect the overall quality of your videos.
- Editability: Some software offers built-in editing tools, allowing you to trim, crop, or add effects to your recorded videos. If you prefer an all-in-one solution, look for software that includes basic editing capabilities.
- Price: Determine your budget and explore the range of software available. While there are free options available, they may have limitations in terms of recording time or features. Paid software usually offers more advanced features and better customer support.
- Reviews and Ratings: Research and read reviews from other users to get an idea of the software’s performance, reliability, and customer satisfaction. This can give you valuable insights into the user experience and help you make an informed decision.
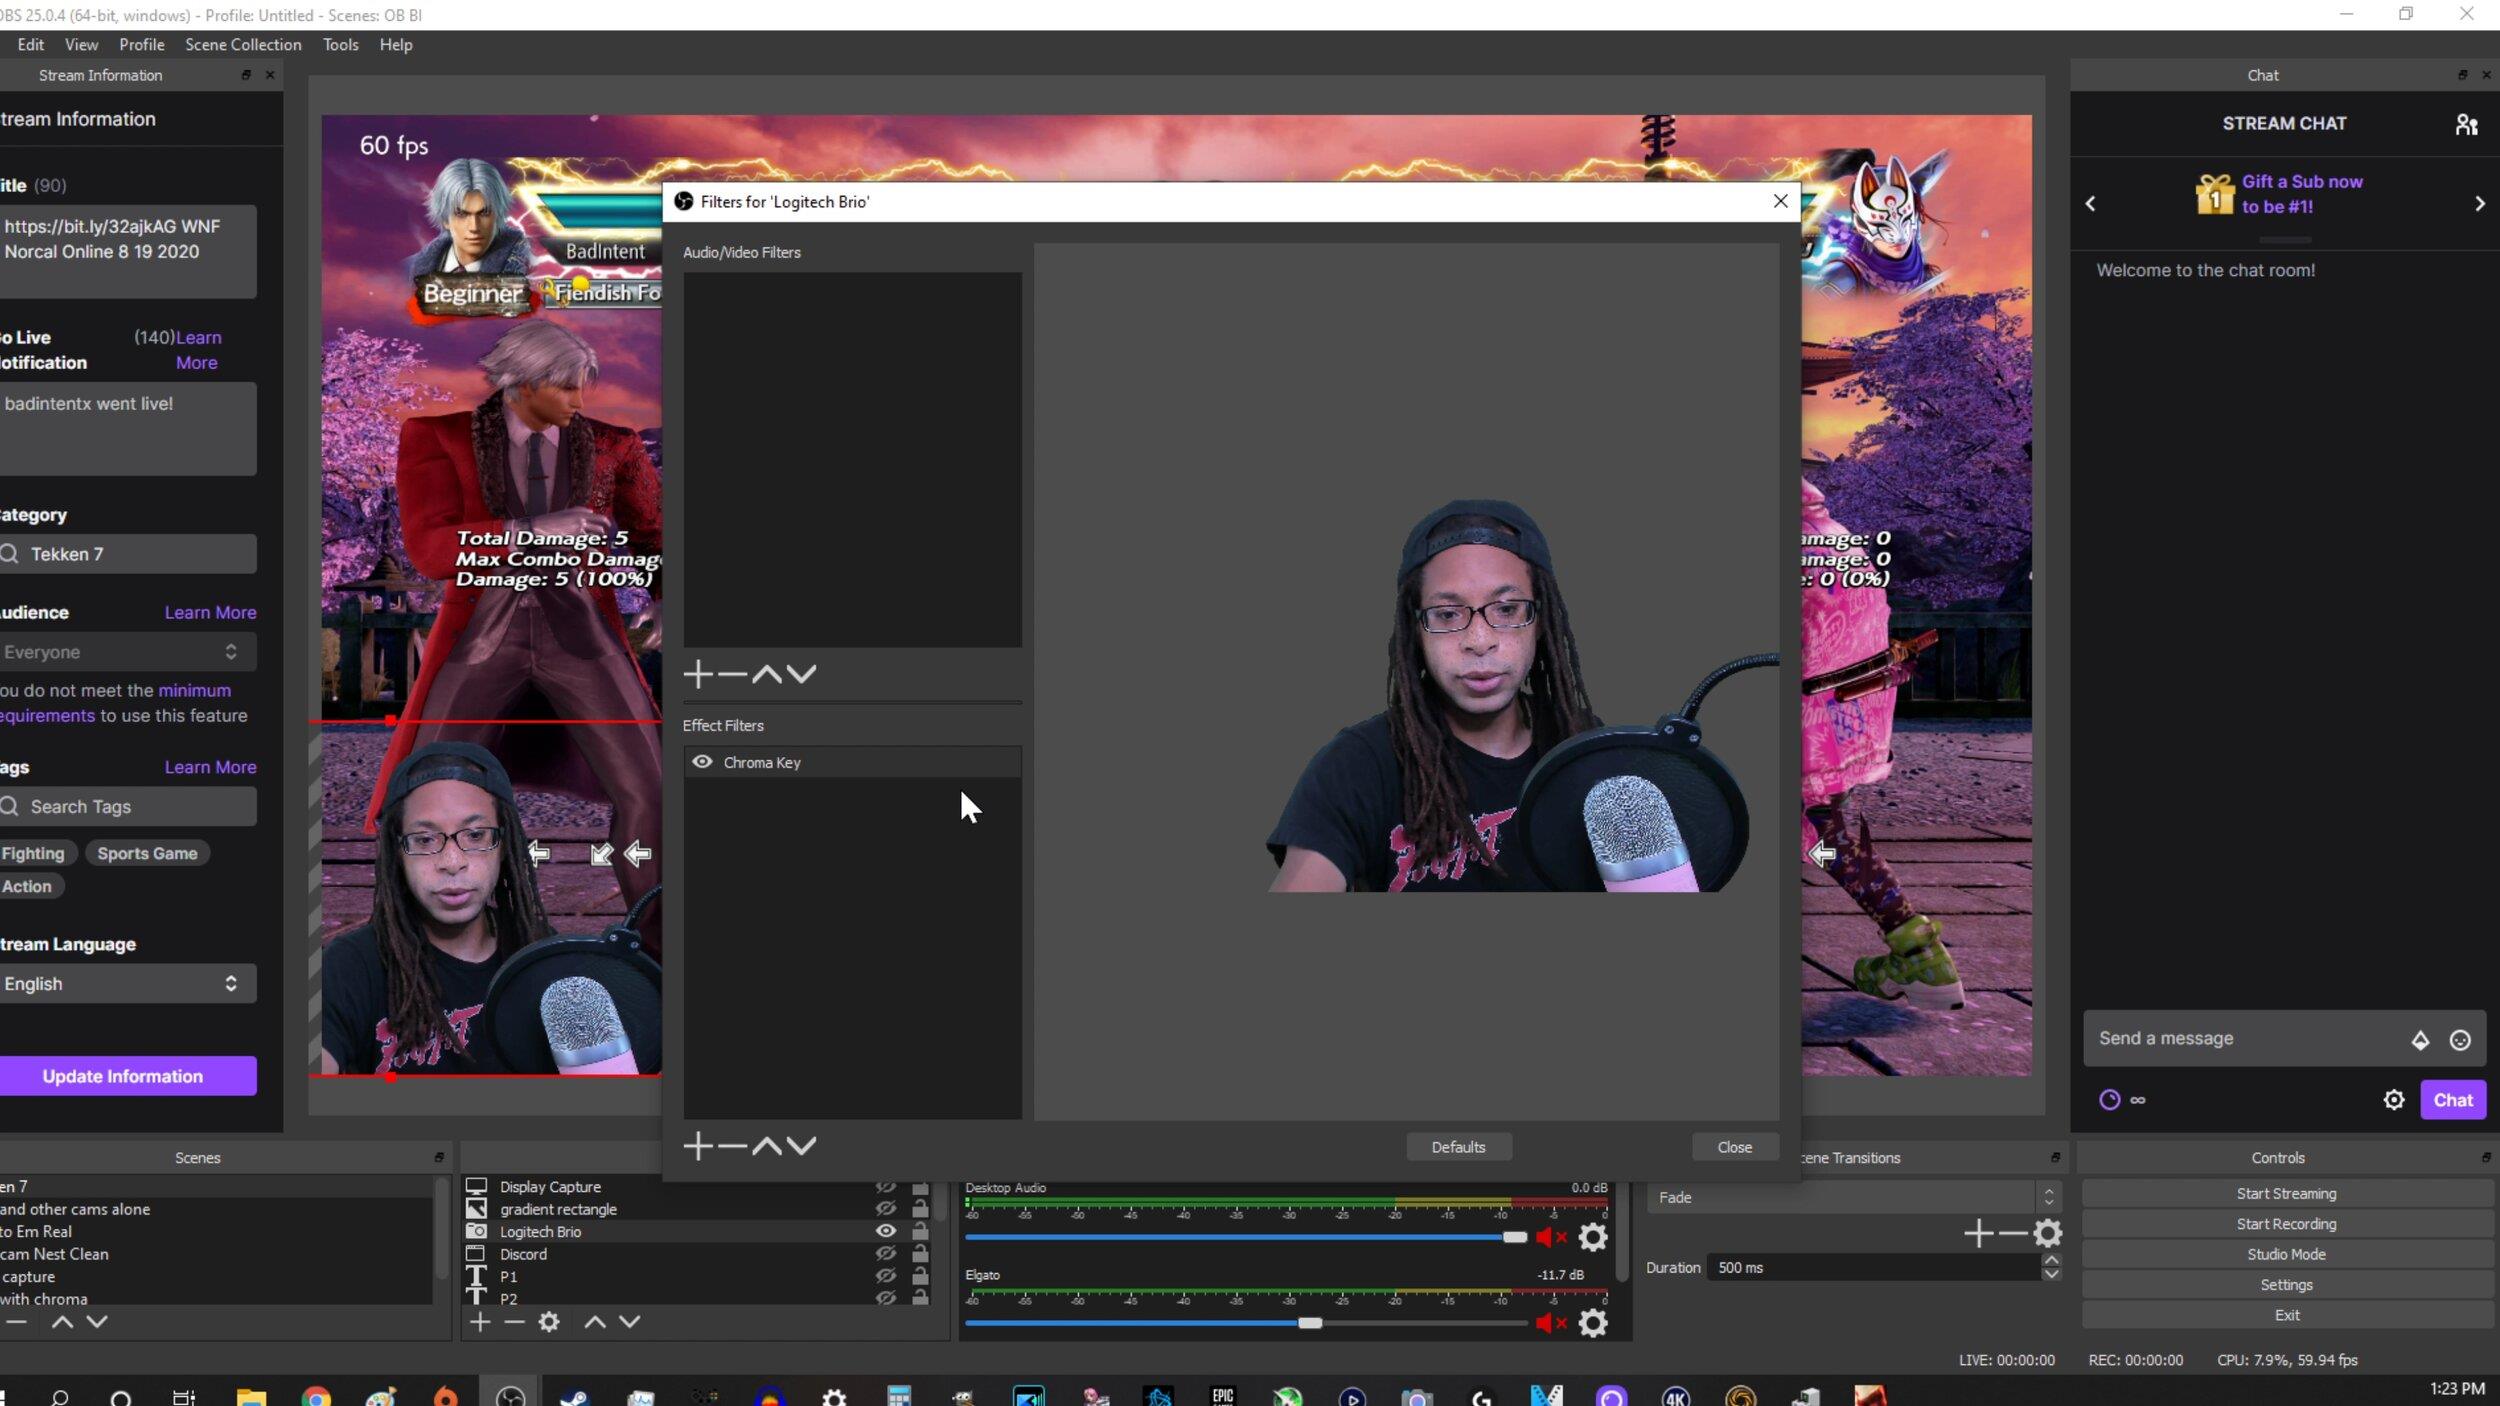
Some popular webcam recording software options include OBS Studio, Logitech Capture, Camtasia, and ManyCam. These programs offer a range of features, from basic recording capabilities to advanced editing tools. Take the time to explore and compare the features of different software options, considering your specific needs and requirements.
Remember, the software you choose will greatly impact your recording experience and the quality of your videos. Take the time to research, test out different options, and read user reviews to find the software that best aligns with your goals and preferences. In the next section, we’ll discuss how to set up your webcam for optimal recording performance.
Setting Up Your Webcam
Before you start recording, it’s important to set up your webcam properly to achieve optimal video quality. Here are the steps to follow:
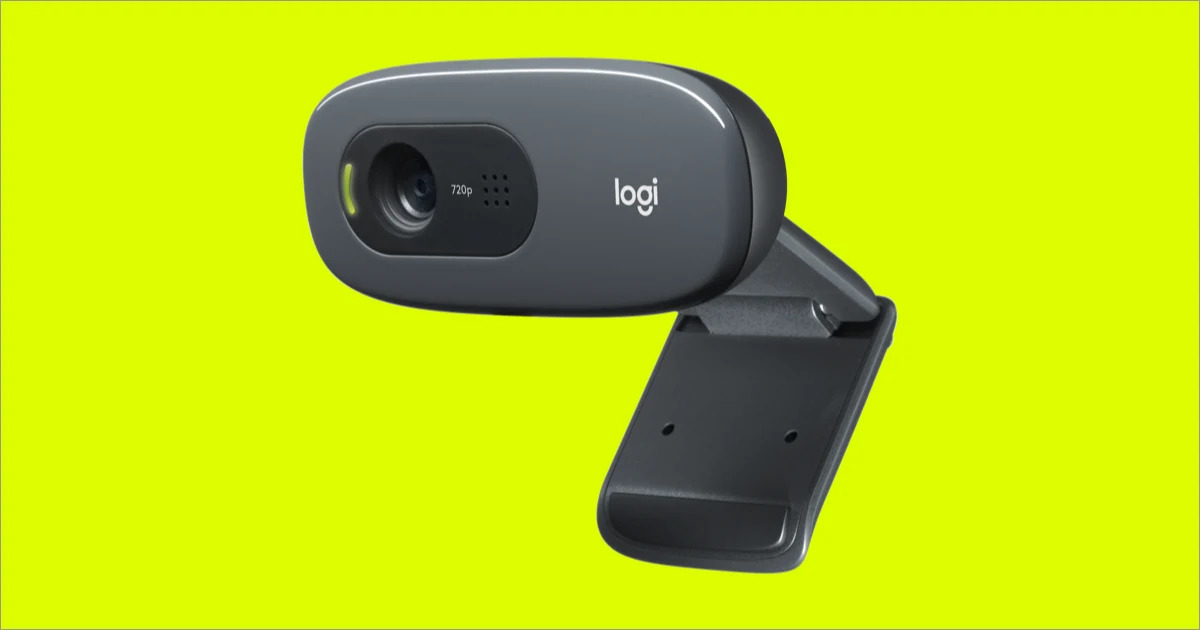
- Connect Your Webcam: Plug your webcam into an available USB port on your computer. Make sure the connection is secure.
- Install Drivers: In most cases, your webcam will automatically install the necessary drivers. However, if your computer prompts you to install drivers or software, follow the instructions to complete the installation process.
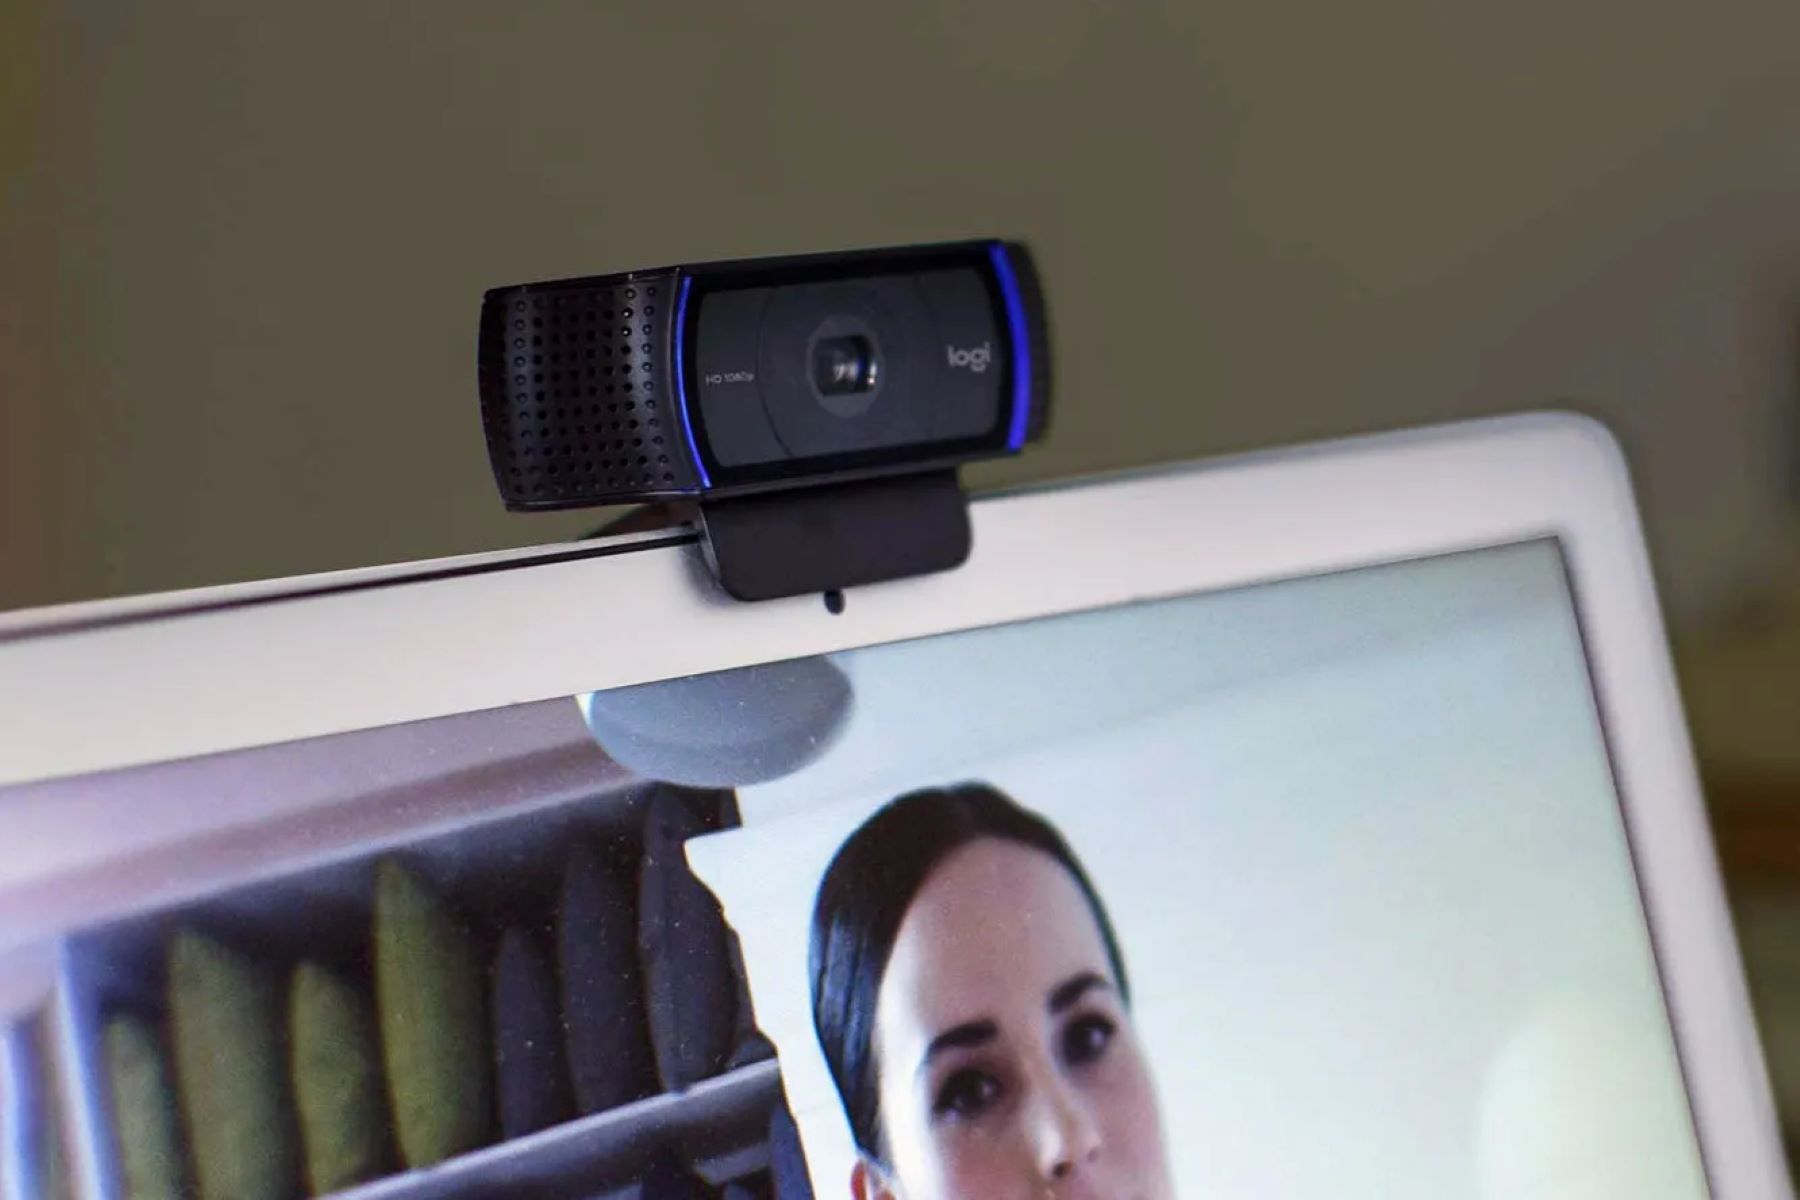
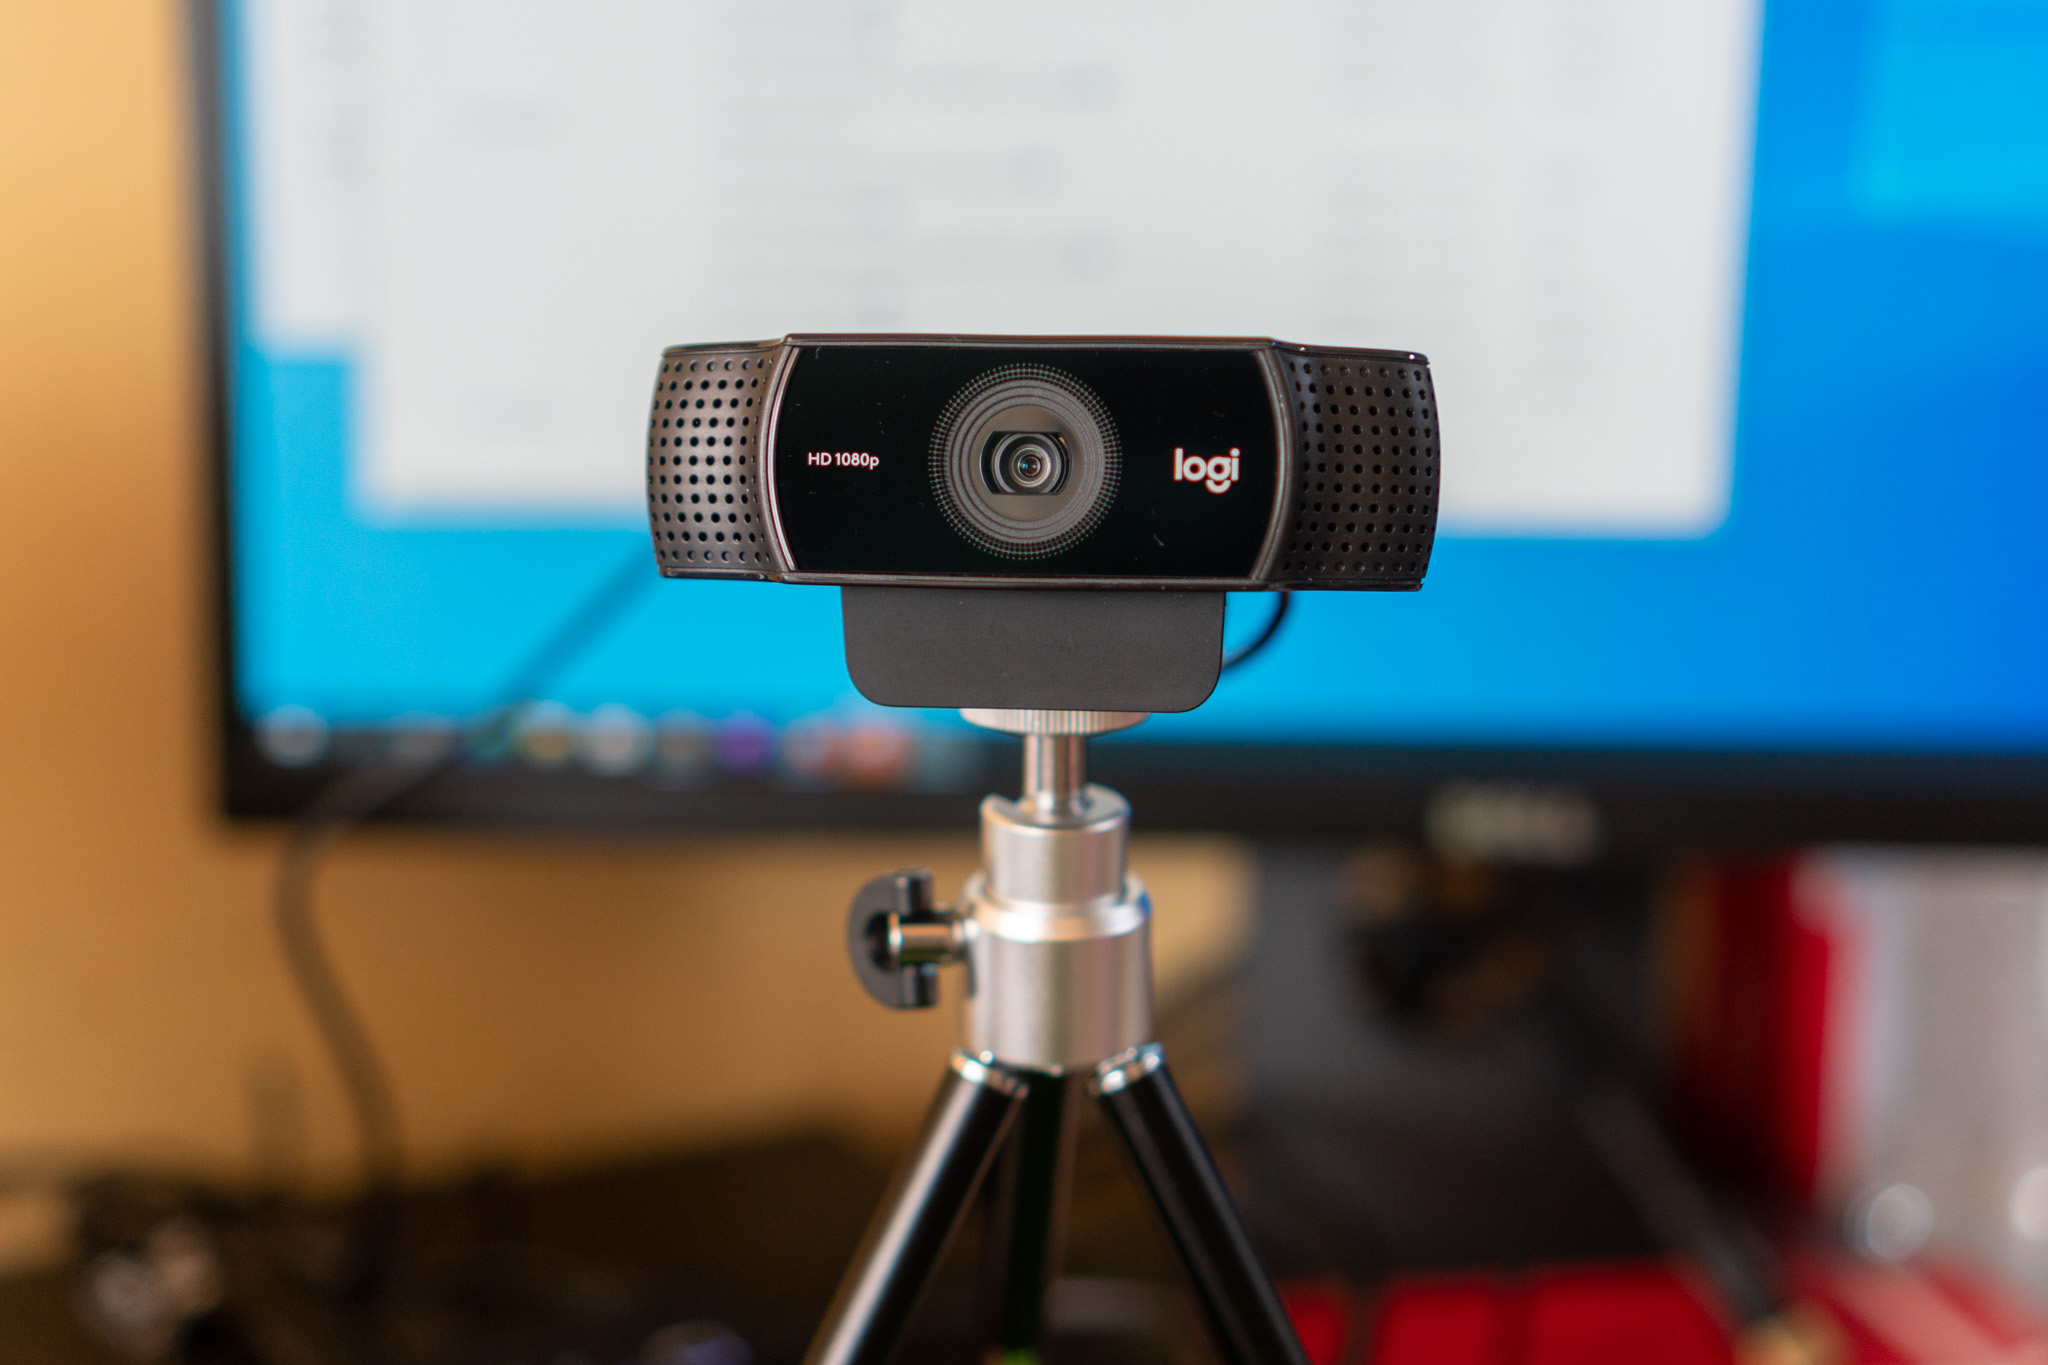
- Positioning: Determine the desired position for your webcam. Consider your framing, lighting, and background. The webcam should be at eye level or slightly above for a flattering angle.
- Stability: Ensure that your webcam is stable and securely positioned. Using a tripod or a stable surface can help eliminate unwanted movements or vibrations during recording.
- Privacy Settings: Check your computer’s privacy settings to grant access to your webcam. This step may vary depending on your operating system. Follow the instructions provided to allow access to the webcam for recording.
- Compatibility: Verify that your webcam is compatible with the recording software you have chosen. Most common webcams are compatible with popular recording software, but it’s always a good idea to check for any specific requirements.
Once you have set up your webcam, it’s time to adjust the settings for optimal video quality. In the next section, we’ll explore how to adjust the webcam settings to achieve the best results.
Adjusting Your Webcam Settings
After setting up your webcam, it’s important to adjust the settings to ensure optimal video quality. Depending on your recording software, the specific steps may vary, but here are some general guidelines to help you adjust your webcam settings:
- Resolution: Check and adjust the resolution settings of your webcam. Higher resolutions will result in sharper and more detailed videos. However, keep in mind that higher resolutions may require more processing power and storage space.
- Frame Rate: Consider the frame rate settings of your webcam. A higher frame rate, such as 30 or 60 frames per second (FPS), will result in smoother and more natural-looking videos.
- Exposure and Brightness: Experiment with the exposure and brightness settings to achieve balanced lighting. Avoid overexposure or underexposure, as it can negatively impact the quality of your video.
- White Balance: Adjust the white balance settings to ensure accurate color representation. This will help avoid a video that appears too warm or too cool.
- Focusing: Check if your webcam has autofocus capabilities. If not, manually adjust the focus to ensure sharp and clear footage.
- Digital Zoom: Most webcams offer digital zoom functionality. Use this feature sparingly, as excessive zooming can result in pixelation and loss of detail.
- Microphone Settings: If your webcam has a built-in microphone, adjust the microphone settings to optimize audio quality. Test the sound levels and make sure the microphone is not picking up excessive background noise.
It’s important to note that the available settings may vary depending on your webcam and recording software. Take the time to explore the settings/options provided and experiment with different configurations to find the best combination for your needs.
Once you have adjusted the settings to your satisfaction, it’s time to create an ideal recording environment. In the next section, we’ll discuss how to choose the right recording environment to enhance the overall quality of your videos.
Choosing the Right Recording Environment
Creating an appropriate recording environment is crucial for producing high-quality videos with your webcam. The right environment can significantly enhance the overall video aesthetics and ensure a professional-looking result. Here are some factors to consider when choosing the right recording environment:
- Avoid Clutter: Look for a clean and clutter-free area to record your videos. Remove any distractions or unnecessary items from the frame to maintain a focused and professional appearance.
- Background: Choose a background that complements your content or aligns with your brand. Consider using a plain or neutral-colored backdrop to keep the focus on the main subject.
- Noise Control: Minimize background noise as much as possible. Select a quiet location where you won’t be disturbed by external sounds. Consider using noise-cancelling devices or recording during quieter times of the day.
- Ambient Lighting: Pay attention to the lighting in the recording environment. Natural light is generally the most flattering, so position yourself near a window if possible. If natural light is not available, use soft lighting sources to avoid harsh shadows and excessive glare.
- Privacy: Choose a location where you can have privacy and uninterrupted recording sessions. This will allow you to feel more comfortable and focused during the recording process.
- Personal Branding: If you are a content creator or a business professional, consider incorporating elements that reflect your personal branding, such as a logo, signage, or props that align with your brand identity.
Remember that the recording environment should enhance your video content and create a visually appealing backdrop. Don’t be afraid to experiment with different settings and background options to find the best fit for your recordings.
Once you have identified the ideal recording environment, the next step is to position your webcam correctly for capturing the best angle. We’ll explore the optimal webcam positioning in the next section.
Positioning the Webcam
Properly positioning your webcam is essential to capture the best angle and ensure a flattering and engaging video. Here are some tips to help you position your webcam effectively:
- Eye-Level Placement: Position the webcam at or slightly above eye level. This angle is the most flattering and creates a more natural and engaging connection with your viewers.
- Centering: Ensure that the webcam is centered to capture your face symmetrically. This will help create a balanced and visually pleasing composition.
- Distance: Experiment with the distance between yourself and the webcam. A moderate distance allows for a well-framed shot that includes your upper body, while being too close may result in a distorted or unflattering appearance.
- Stability: Use a tripod or a stable surface to secure your webcam in place. Avoid any movement or vibrations during the recording, as it can affect the quality of the footage.
- Direct Eye Contact: When looking at the webcam, imagine that you are making direct eye contact with your audience. This creates a sense of connection and engagement.
- Test Angles: Experiment with different angles to find the most flattering and suitable position for your webcam. Try tilting the camera slightly or adjusting the height to achieve the desired effect.
Keep in mind that different types of videos may require specific positioning. For example, if you’re recording a tutorial or demonstration, you may need to adjust the position to ensure that your hands or any objects are clearly visible within the frame.
Remember to also consider the framing and composition of your shots. Place yourself in the center of the frame and make sure your head and shoulders are well-framed. Leave some space around the edges to avoid a tightly cropped appearance.
By paying attention to the position and angle of your webcam, you can create visually appealing and engaging videos that effectively connect with your audience. Now, let’s move on to the next section, where we’ll discuss the importance of setting up proper lighting for your webcam recordings.
Setting Up Lighting
Proper lighting is a crucial element in creating high-quality webcam recordings. It can greatly enhance the visual appeal of your videos and ensure that your face is well-illuminated. Here are some tips for setting up the right lighting:
- Natural Light: Whenever possible, utilize natural light as your primary light source. Position yourself facing a window or in a well-lit area to take advantage of the soft and flattering natural light.
- Diffused Lighting: If natural light is not available or you need to record at night, use diffused lighting sources. Soften the light by using a white umbrella or a lightbox to create a smooth and even illumination on your face.
- Three-Point Lighting: Consider using the three-point lighting technique. This involves using three light sources: a key light, a fill light, and a backlight. The key light is the main source, the fill light helps reduce shadows, and the backlight separates you from the background.
- Avoid Harsh Shadows: Position your lights to minimize harsh shadows on your face. Shadows can be distracting and make your videos appear less professional. Experiment with lighting angles to achieve a well-balanced illumination.
- Even Lighting: Aim for even lighting across your face. Light should be evenly distributed, without any areas appearing overexposed or underexposed.
- Color Temperature: Pay attention to the color temperature of your lighting. Aim for a neutral or daylight-balanced light source to ensure accurate color representation.
- Test and Adjust: Take the time to test your lighting setup before recording. Make adjustments as needed to achieve the desired lighting effect.
Keep in mind that the goal is to create a well-lit environment that enhances your appearance and maintains viewer engagement. Good lighting can make a significant difference in the overall quality of your videos, so it’s worth investing time and effort into getting it right.
Additionally, consider the overall aesthetics of your recording environment. Factors such as the background color, props, and clothing choices can also influence the lighting and create a cohesive look. Experiment with different lighting setups to find the one that suits your style and content the best.
Now that you have successfully set up your webcam and lighting, it’s time to test both the webcam and audio to ensure everything is working properly. In the next section, we’ll explore how to test your webcam and audio before recording your videos.
Testing Your Webcam and Audio
Before you start recording your videos, it’s essential to test your webcam and audio to ensure everything is functioning properly. Performing these tests will help you avoid any technical issues and ensure optimal video and audio quality. Here’s how to test your webcam and audio:
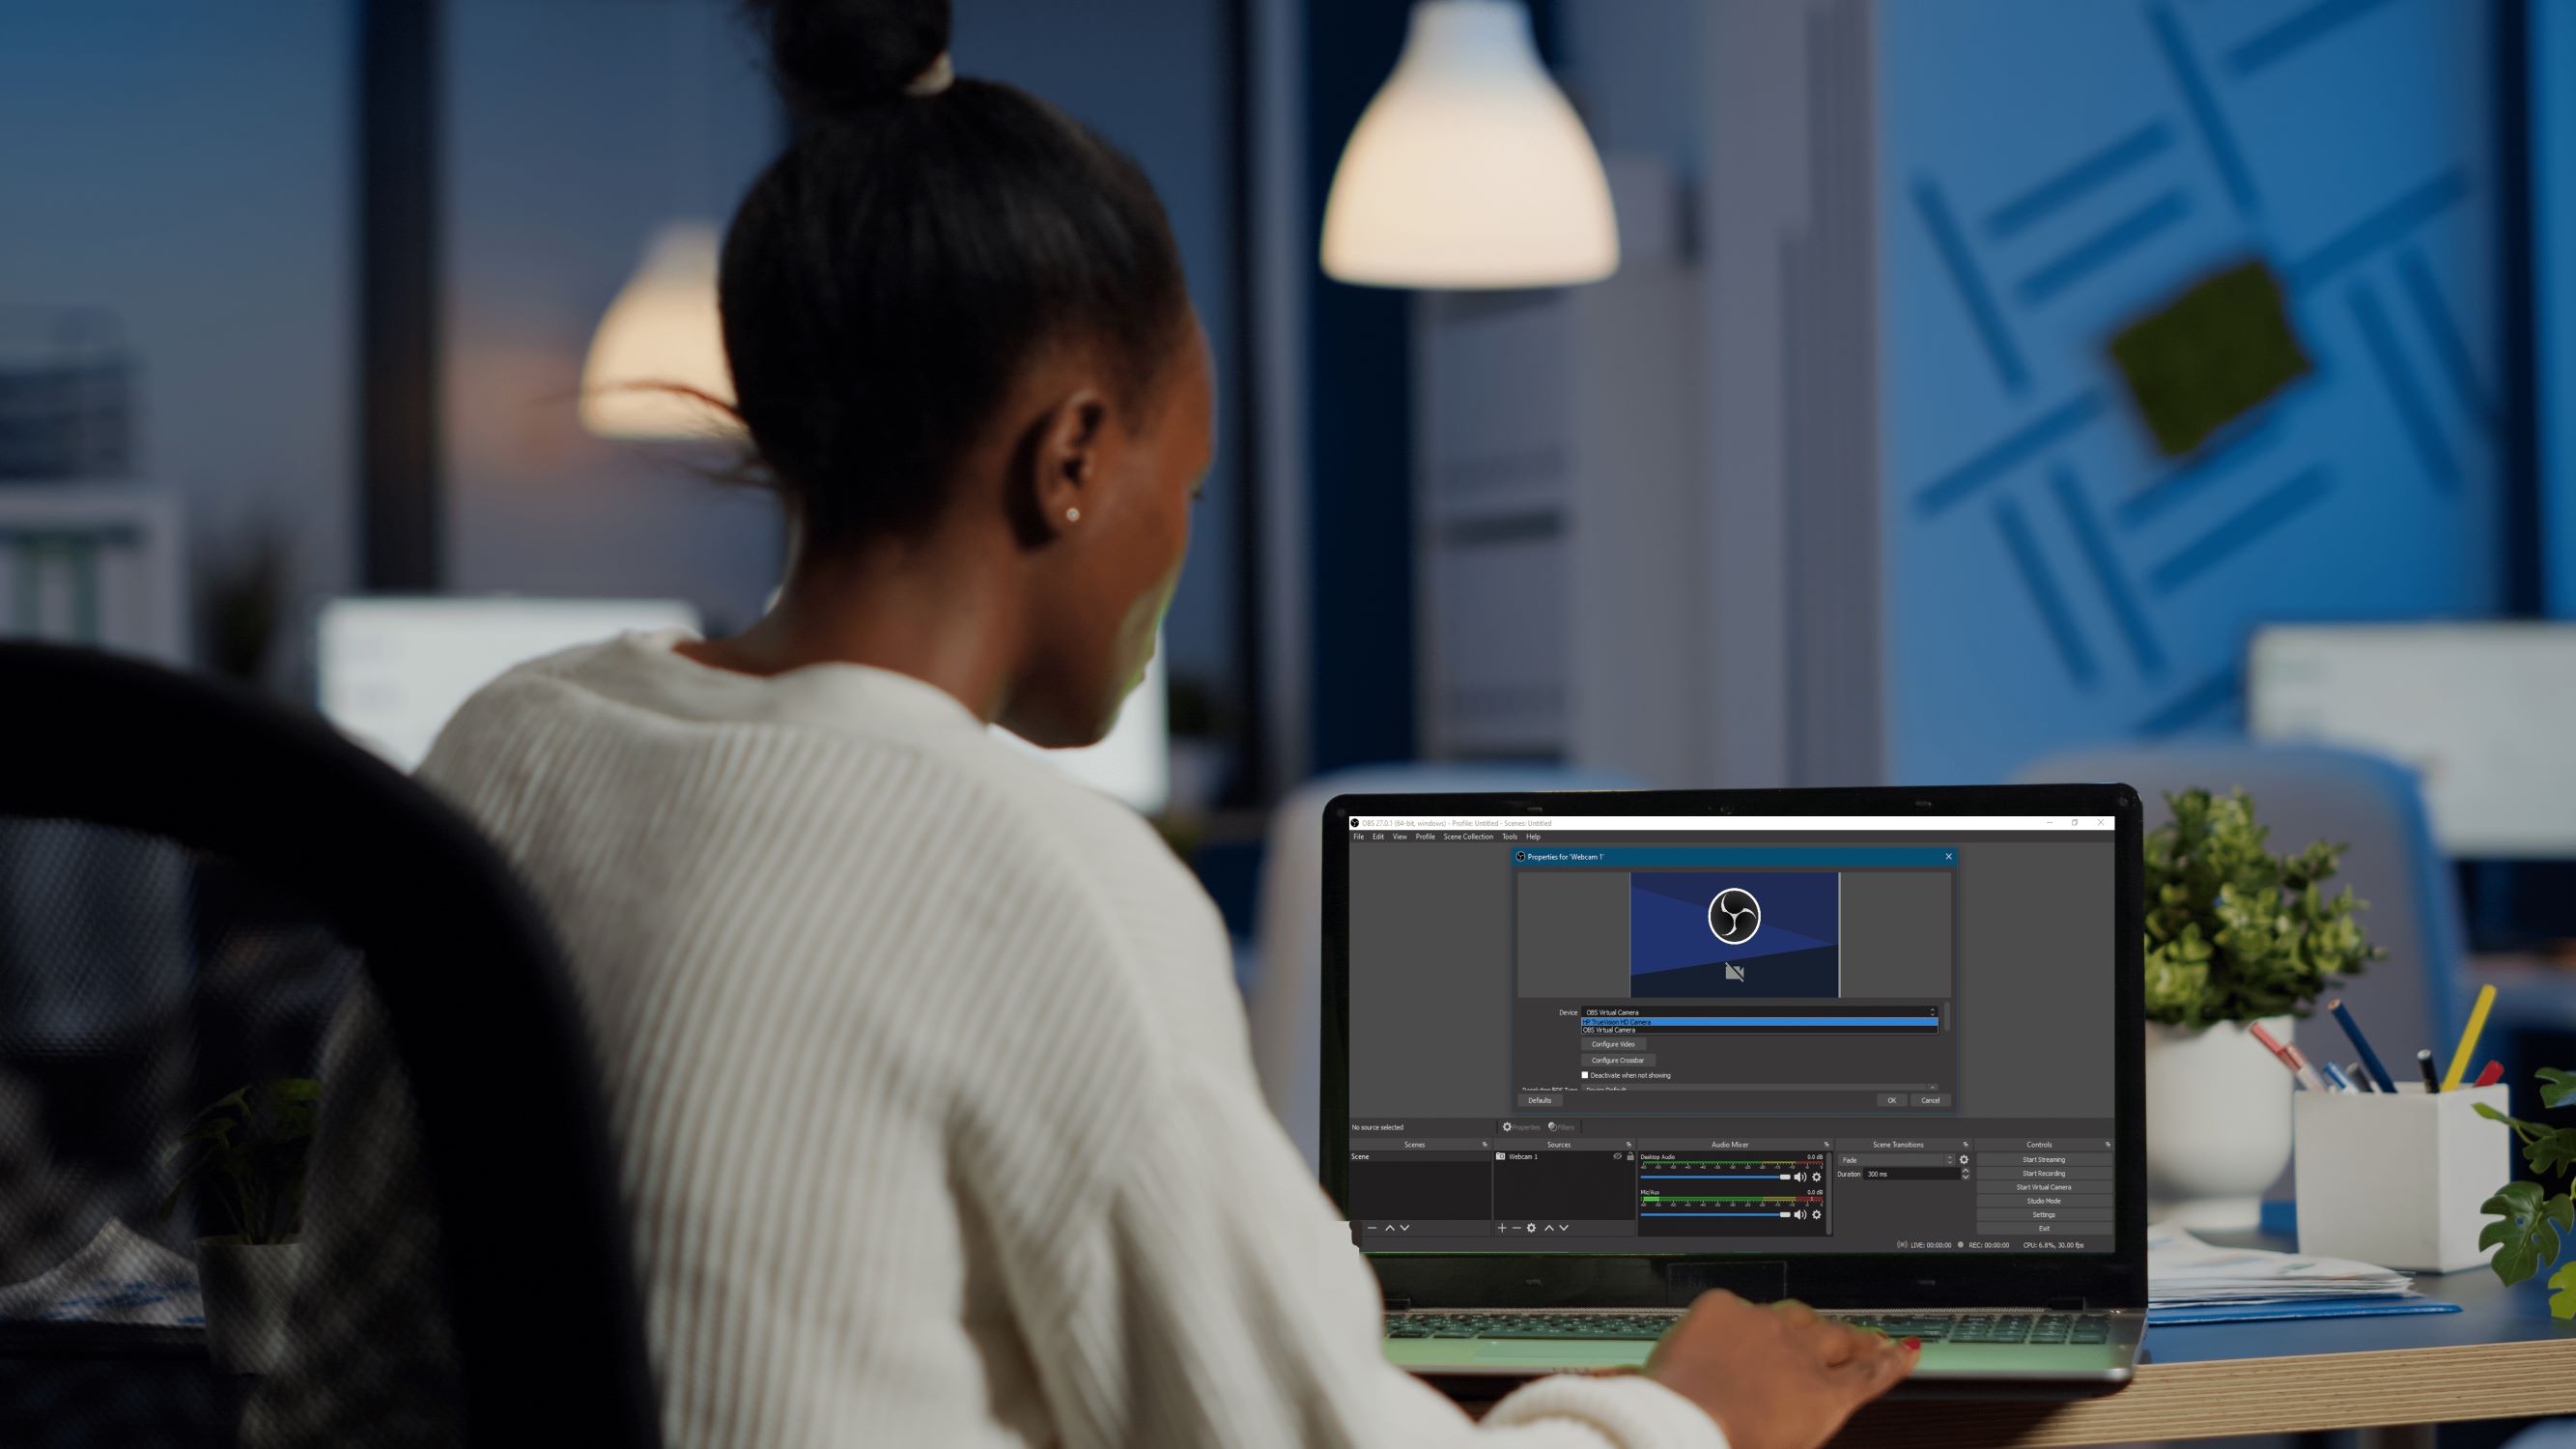
- Open the Recording Software: Launch the recording software you have chosen and navigate to the settings or preferences section.
- Webcam Test: Look for the option to test your webcam within the software. This feature enables you to view a live preview of your webcam feed to ensure it’s working correctly.
- Check Video Quality: Take a moment to analyze the video quality of your webcam feed. Ensure that the framing, positioning, and lighting are satisfactory and align with your recording preferences.
- Audio Test: Verify that your audio settings are correct. Check the microphone input levels and ensure they aren’t too low or too high. Speak into the microphone to ensure that the audio is clear and free from any distortions or background noise.
- Playback Test: Record a short test video or audio clip to capture a sample of your webcam’s video and audio. Playback the recording to assess the overall quality. Pay attention to factors such as clarity, volume, and any potential issues.
- Adjustments: Use the feedback from the test recording to make any necessary adjustments. This may involve refining webcam settings, repositioning the camera, adjusting lighting, or making changes to microphone settings.
- Repeat the Test: Perform the webcam and audio tests a few times to ensure consistency and identify any persistent issues.
Regularly testing your webcam and audio is important, even if you have previously used the setup. Changes in software updates, system settings, or even equipment can impact the performance. By conducting these tests, you can address any technical difficulties before starting your actual recording.
Remember to regularly update your webcam drivers and check for software updates to ensure compatibility and access to the latest features and improvements. Additionally, keep your recording environment tidy and well-maintained to maintain optimal video and audio quality.
Now that you have successfully tested your webcam and audio, it’s time to start recording! In the next section, we’ll guide you through the process of recording with your webcam and provide some helpful tips along the way.
Recording with Your Webcam
Now that you have set up your webcam and tested it for optimal performance, it’s time to start recording your videos. Whether you’re creating vlogs, tutorials, or business presentations, here are some steps to guide you through the recording process:
- Select the Recording Software: Open the recording software you have installed and familiarize yourself with its interface. Ensure that your webcam is selected as the video input source.
- Frame Your Shot: Position yourself within the frame, making sure that you’re centered and well-framed. Consider the composition, background, and any props you plan to use.
- Set the Recording Parameters: Adjust the recording parameters, such as video resolution and frame rate, to your desired settings. Keep in mind that higher settings may require more storage space.
- Check Lighting and Audio: Verify that your lighting setup is optimal and that your audio levels are balanced. Make any necessary adjustments before starting the recording.
- Prepare Your Script or Outline: If you’re following a script or an outline, have it ready and positioned where you can easily reference it during the recording.
- Press Record and Start Speaking: Once everything is set up, press the record button and begin speaking or performing. Remember to project your voice clearly and maintain a confident and engaging presence.
- Stay Natural and Authentic: Be yourself and let your personality shine through. Avoid sounding robotic or scripted by adding natural pauses, gestures, and expressions to your delivery.
- Monitor Your Performance: Keep an eye on the webcam’s live preview or recording monitor as you go along. Ensure that you’re maintaining the desired framing and that your audio levels are consistent.
- Take Breaks (If Needed): If you’re recording a longer video, it’s okay to take short breaks between segments to rest and collect your thoughts. This can help maintain your energy and focus throughout the recording session.
- Review Your Recording: Once you’re done recording, take the time to review your footage. Check for any errors or inconsistencies that may require re-recording.
Remember to have fun and enjoy the recording process. Don’t be too critical of yourself and allow for natural imperfections. With practice, you’ll become more comfortable and confident in front of the camera.
After recording, you can move on to reviewing and editing your video. In the next section, we’ll explore the steps to review your recording and make any necessary edits.
Reviewing and Editing Your Video
Once you have completed the recording process, it’s time to review and edit your video to ensure a polished and professional final product. Here are some steps to help you in the reviewing and editing process:
- Watch the Footage: Start by watching the entire recording from beginning to end. Take note of any issues or areas that require improvement, such as audio glitches, visual distractions, or awkward pauses.
- Trim Unwanted Parts: Use video editing software to trim out any sections that are unnecessary or contain mistakes. This will help to keep your video focused and engaging.
- Avoid Repetition: Remove any unnecessary repetition or redundant information. This will help condense your video and keep it concise and engaging for your audience.
- Enhance Visuals: Apply video effects or color correction to enhance the overall visual aesthetics of your video. This may include adjusting brightness, contrast, or saturation levels to ensure a visually appealing result.
- Fix Audio Issues: Use audio editing tools to remove background noise, adjust volume levels, and enhance the overall audio quality. Ensure that your voice is clear and easily understandable throughout the video.
- Add Graphics or Text: Consider adding graphics, text, or subtitles to your video if it enhances the content or provides additional information. This can help to highlight key points or reinforce the message you want to convey.
- Smooth Transitions: Use smooth transitions between different sections or clips to maintain a seamless flow throughout your video. This will help to avoid abrupt changes that may be jarring for viewers.
- Check Video Length: Assess the overall length of your video and ensure that it aligns with the style of content you’re creating and the attention span of your target audience. Aim to maintain a balance between delivering valuable information and avoiding unnecessary length.
- Review the Final Edit: Once you have made all the necessary edits, watch the final edited version to ensure that it meets your expectations. Take the time to proofread subtitles or on-screen text for any errors or inconsistencies.
Remember that the goal of editing is to enhance your video and create a more enjoyable viewing experience for your audience. Keep your edits clean and seamless, ensuring that they support the overall message and flow of your video.
Once you are satisfied with the final edit, you can proceed to saving and sharing your recorded video. In the next section, we’ll discuss how to save your video in a suitable format and explore different sharing options.
Saving and Sharing Your Recorded Video
After reviewing and editing your recorded video, it’s time to save it and share it with your intended audience. Here are the steps to follow:
- Choose the Proper Format: Before saving your video, consider the output format that best suits your needs. Common video formats include MP4, AVI, and MOV. Ensure that the format is compatible with the platforms or devices where you plan to share the video.
- Export Settings: Set the export settings to match your desired video quality and file size. Depending on your editing software, you may have options to adjust parameters such as resolution, frame rate, and bit rate.
- Save a Copy: It’s always a good practice to save a copy of the final edited video in its raw format or project file. This allows you to make further changes or edits in the future if needed.
- Choose a Storage Location: Select a suitable location on your computer or external storage device to save your video. Keep your files organized and easily accessible for future reference.
- Consider Video Compression: If you plan to share your video online or via email, consider compressing the file size without compromising too much on the quality. Video compression techniques can help optimize the video for faster uploading and smooth playback on various platforms.
- Select Sharing Platforms: Determine the platforms or channels where you want to share your video. Popular options include social media platforms like YouTube, Facebook, Instagram, or professional websites and blogs.
- Upload and Share: Follow the instructions provided by each platform to upload and share your video. Pay attention to any recommended settings or guidelines for optimal playback quality.
- Include Descriptive Metadata: When sharing your video, add relevant metadata such as a title, a concise description, and appropriate tags or keywords. This will help increase the discoverability of your video in search results.
- Promote Your Video: Once your video is uploaded and shared, take the opportunity to promote it through your social media channels, website, or email newsletters. Engage with your audience by encouraging comments, likes, and shares to expand your reach and increase visibility.
Remember to respect copyright laws when sharing videos that contain copyrighted material. If you have used any copyrighted content, ensure that you have obtained the necessary permissions or rights to include it in your video.
Congratulations! You have successfully saved and shared your recorded video. In the next section, we’ll conclude this guide with a summary of the key points discussed and some final tips to keep in mind.
Conclusion
Congratulations on completing this comprehensive guide on how to record a video with your webcam! By following the steps outlined throughout this guide, you now have the knowledge and skills to create high-quality videos right from the comfort of your own computer.
We started by discussing the importance of choosing the right software for recording. With the wide range of options available, it’s crucial to select software that aligns with your needs and preferences. We then moved on to setting up and adjusting your webcam settings to ensure optimal video quality. Proper positioning, lighting, and audio settings are essential elements for creating visually appealing and engaging videos.
We also explored the significance of choosing the right recording environment, considering factors such as background, noise control, and personal branding. Additionally, we discussed the importance of proper webcam positioning and framing to capture the best angle and create a balanced composition.
Setting up proper lighting plays a vital role in enhancing the visual aesthetics of your videos. Whether utilizing natural light or incorporating diffused lighting sources, achieving even lighting and avoiding harsh shadows is essential for a professional look.
Before recording, conducting tests of your webcam and audio ensures that everything is working properly. This step helps avoid technical issues and guarantees optimal video and audio quality. Once you’re confident in your setup, capturing a video becomes an enjoyable and straightforward process.
Reviewing and editing your recorded video allows you to refine your content, remove any mistakes or distractions, and enhance the visual and audio elements. Choosing the right format and properly saving your video is necessary before sharing it on platforms that align with your goals and target audience. Remember to consider video compression methods to optimize file size when necessary.
Finally, we discussed the importance of promoting your video through various channels to reach a wider audience and increase engagement. Creating valuable and visually appealing content is just the first step; actively sharing and promoting it will help it reach its intended viewers.
Now that you have completed this guide, it’s time to put your newfound knowledge into practice. Embrace the power of your webcam and start creating captivating videos that inform, inspire, and entertain your audience. With each recording, you’ll continue to refine your skills and develop your unique video presence.
Best of luck on your video recording journey!