Introduction
Recording webcam and gameplay separately has become increasingly important in the world of online content creation. With the rise of streaming platforms, video sharing websites, and e-sports, capturing both your face and your gameplay simultaneously has become a popular practice among gamers, vloggers, and influencers.
One of the most widely used software for recording and streaming content is OBS (Open Broadcaster Software). OBS provides a comprehensive set of features and customization options that allow users to create professional-looking videos.
While OBS allows you to capture both webcam and gameplay footage, recording them separately offers several advantages. By recording your webcam and gameplay as separate files, you gain more control over the editing process. You can adjust the positions, sizes, and overlays of the webcam and gameplay in post-production, resulting in a more visually appealing and engaging video.
In this article, we will guide you through the process of recording webcam and gameplay separately in OBS. We will provide step-by-step instructions, helpful tips, and tricks to ensure that you can capture and sync your webcam and gameplay footage flawlessly.
Whether you are a aspiring content creator looking to improve your video production skills or a seasoned gamer wanting to enhance your streaming capabilities, this guide will equip you with the necessary knowledge to master the art of recording webcam and gameplay separately in OBS.
What is OBS?
Before diving into the specifics of recording webcam and gameplay separately in OBS, let’s first understand what OBS is and why it has gained such popularity in the online content creation community.
OBS, short for Open Broadcaster Software, is a free and open-source software that allows users to record and stream their computer screen, gameplay, and webcam footage. It was initially developed for the broadcasting community, enabling professional streamers to create high-quality content for platforms like Twitch, YouTube, and Facebook Live.
With OBS, users have full control over their recording and streaming settings. They can customize various aspects such as video resolution, bitrate, audio sources, scene transitions, and more. This flexibility makes OBS suitable for a wide range of applications, from casual streaming to professional production setups.
One of the key reasons why OBS has become the go-to software for content creators is its extensive plugin support. OBS offers a vast library of plugins that enhance the software’s functionality and cater to specific user needs. These plugins enable users to add overlays, graphics, audio effects, and other elements to their recordings and streams, elevating the overall production value.
Furthermore, OBS supports multiple platforms, including Windows, macOS, and Linux, making it accessible to users regardless of their operating systems. This cross-platform compatibility has contributed to OBS’s widespread adoption and its status as a reliable and versatile recording and streaming tool.
Overall, OBS provides a powerful and feature-rich solution for recording and streaming content. Its user-friendly interface, customization options, and plugin support make it an indispensable tool for gamers, vloggers, and anyone seeking to create engaging online videos.
Why Record Webcam and Gameplay Separately?
Recording webcam and gameplay separately may seem like an additional step in the content creation process, but it offers several advantages that make it worthwhile for many content creators. Let’s explore why recording webcam and gameplay separately is beneficial:
1. Greater Control over Editing: By recording webcam and gameplay as separate files, you have more flexibility during the editing phase. You can adjust the position, size, and overlays of your webcam footage without affecting the gameplay video. This freedom allows you to create a visually appealing and well-balanced final product.
2. Highlighting Reactions and Emotions: Recording your face separately through a webcam enables you to capture your reactions, expressions, and emotions while playing the game. This adds a personal touch to your content, allowing viewers to connect with you on a more intimate level and enhancing the overall viewing experience.
3. Customizability: When recording webcam and gameplay separately, you can apply different filters, effects, and overlays to each video. This customization offers endless creative possibilities to enhance the visual quality and style of your content. For example, you can add borders, chroma key effects, or animated graphics to your webcam feed to make it more engaging.
4. Syncing Audio and Video: Recording webcam and gameplay separately makes it easier to sync the audio and video in post-production. By having separate files, you can adjust the timing and synchronization more accurately, ensuring that your commentary or reactions match the corresponding gameplay footage seamlessly.
5. Enhanced Focus: Separate recordings allow you to prioritize certain sections of the video. For example, you can increase the size of the gameplay footage for action-packed moments, while minimizing the webcam feed. This focused approach directs viewers’ attention towards the most important aspects of the content, enhancing the overall engagement.
6. Improved Performance: Recording webcam and gameplay separately can also help improve the overall performance of your computer. Separating the resource-intensive gameplay recording from the webcam recording reduces the strain on your system, allowing for smoother and more efficient capture of both elements.
By recording webcam and gameplay separately, you have more control, customization options, and creative potential to elevate the quality and impact of your content. While it may require a bit more effort during the recording and editing process, the benefits it offers make it a valuable technique for content creators aspiring to produce professional-looking videos.
Step-by-Step Guide to Recording Webcam and Gameplay Separately in OBS
Now that we understand the importance of recording webcam and gameplay separately, let’s walk through the process of setting up OBS to capture these two elements separately.
Step 1: Setting up OBS
– Download and install the latest version of OBS from the official website.
– Launch OBS and familiarize yourself with the user interface.
– Create a new scene by clicking the plus icon under the Scenes panel.
– Rename the scene to something descriptive like “Webcam & Gameplay”.
Step 2: Configuring Webcam and Gameplay Inputs
– In the Sources panel, click the plus icon to add a new source.
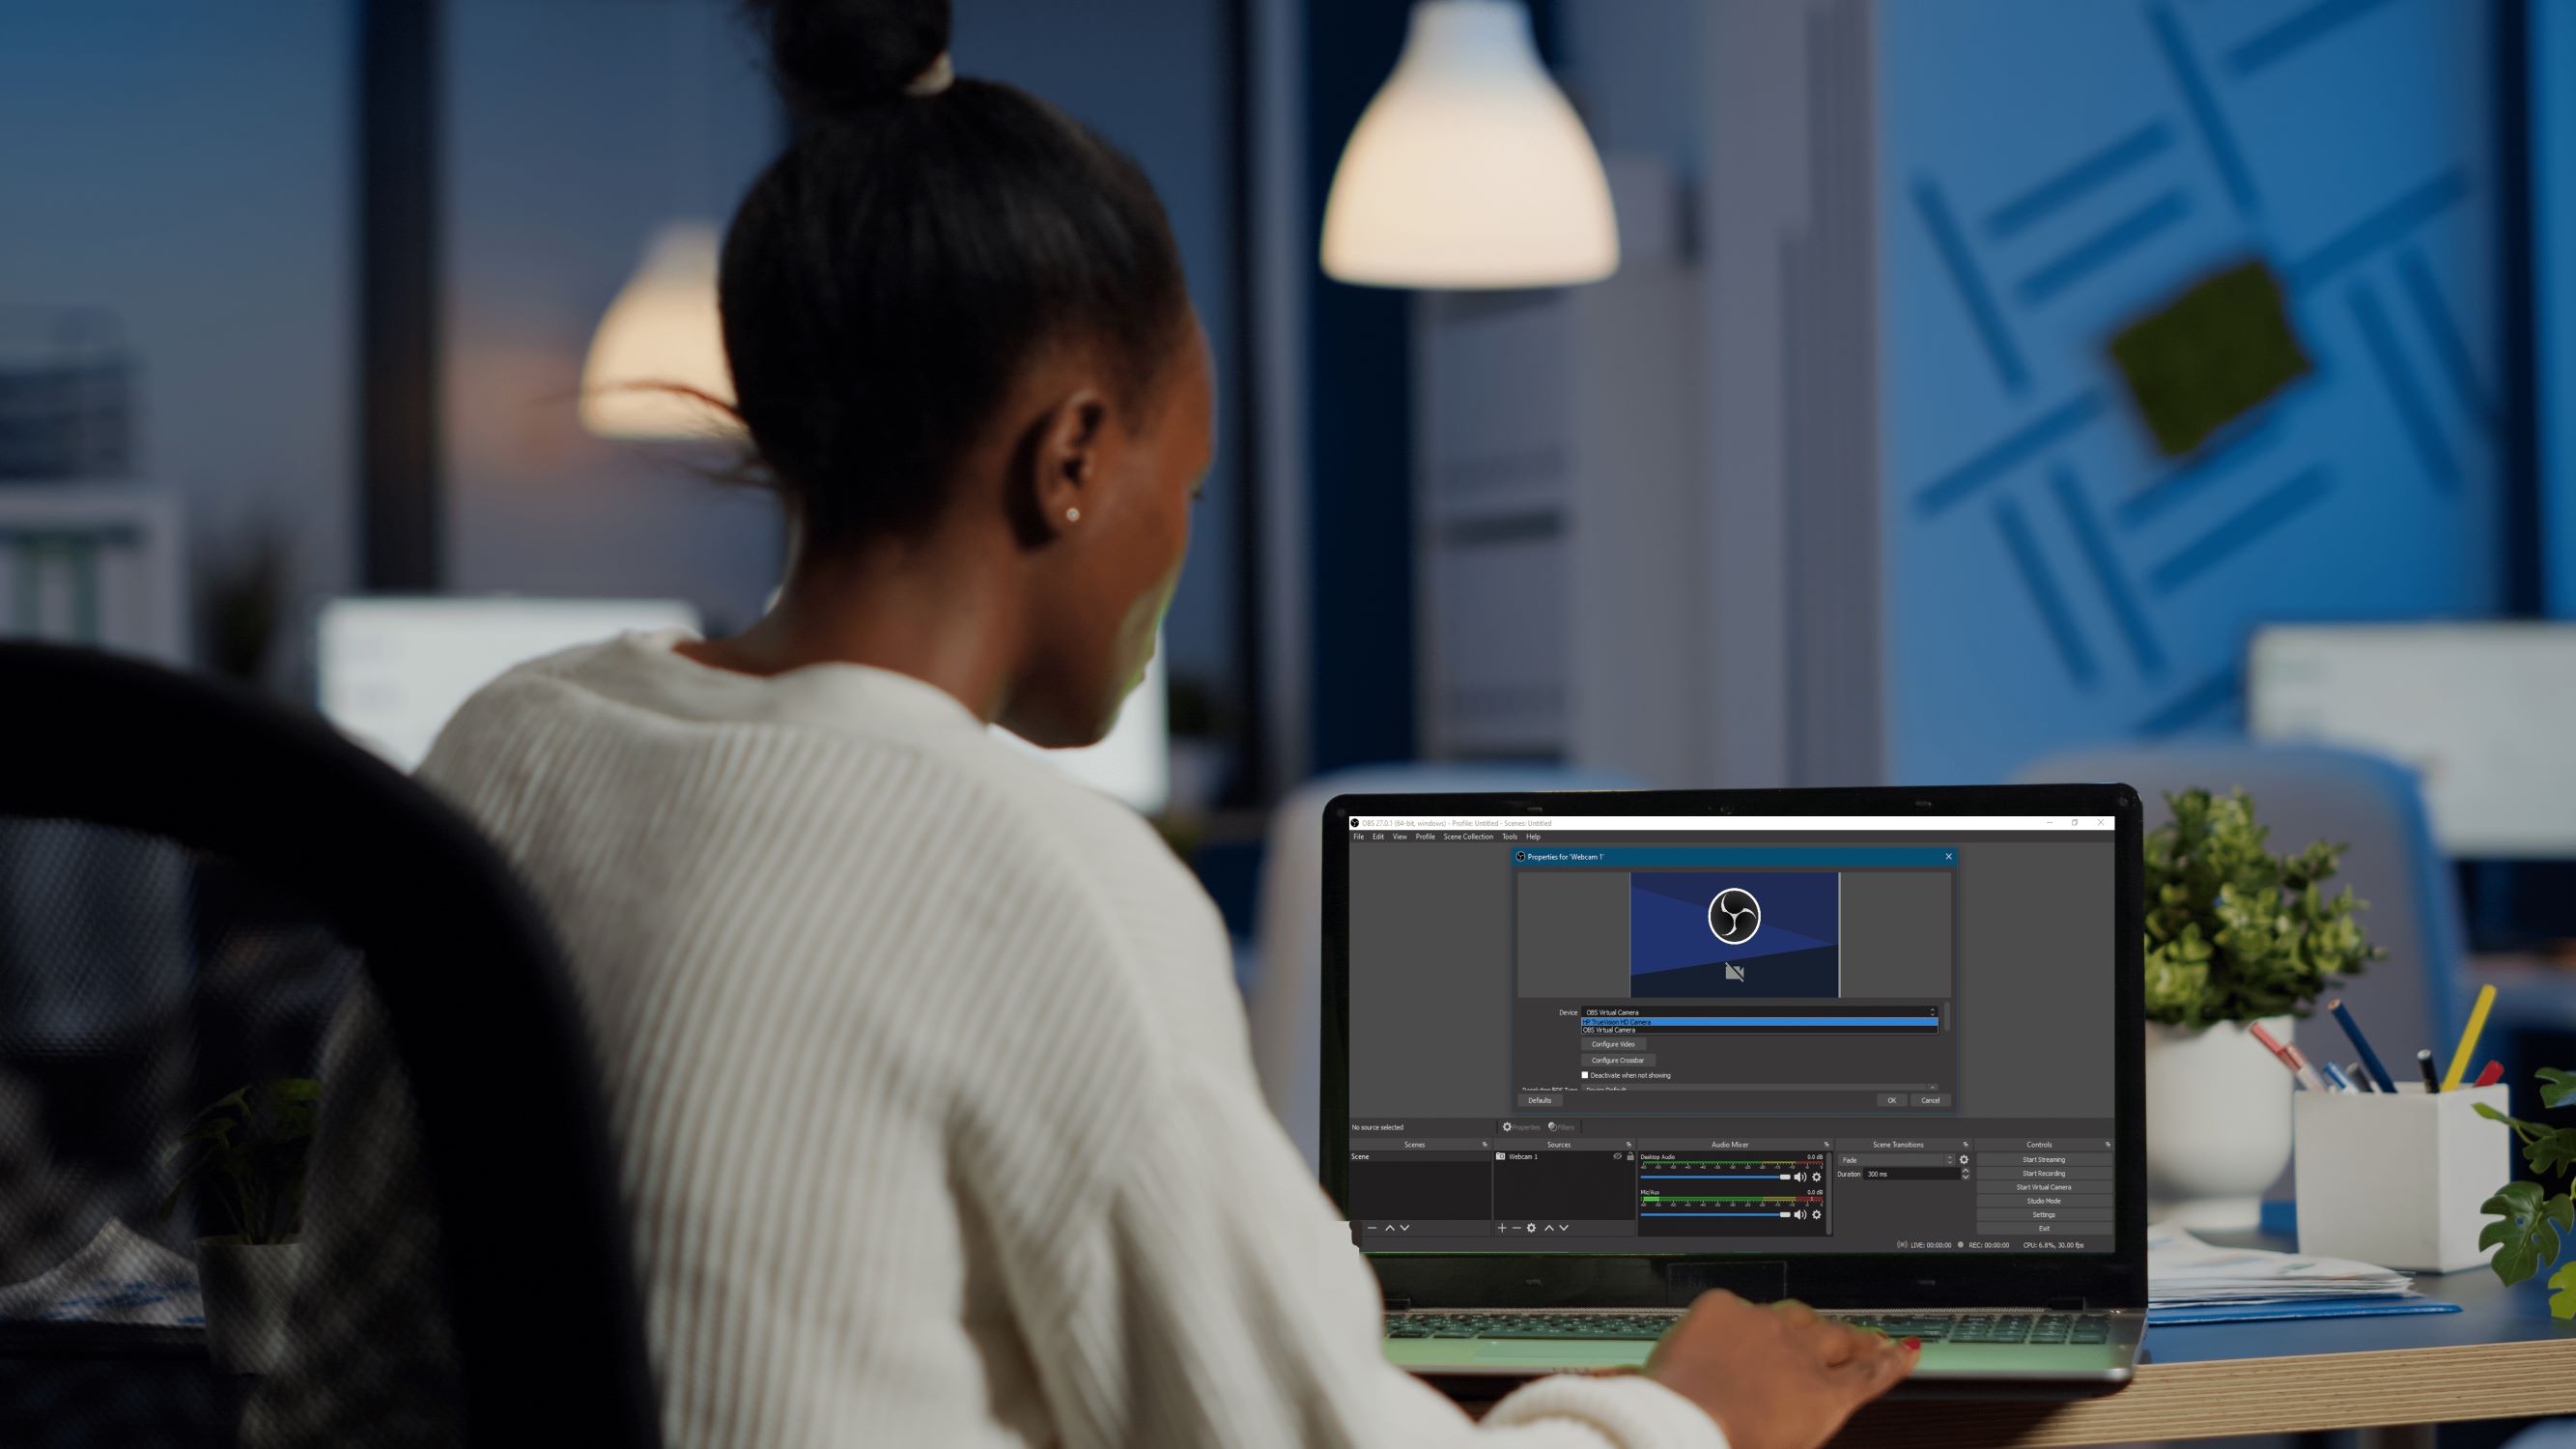
– Select “Video Capture Device” for the webcam and click OK.
– Choose your webcam from the drop-down menu and make any necessary adjustments to the settings (e.g., resolution, frames per second).
– Repeat the process to add a new source for the gameplay capture. Choose the desired capture method (e.g., display capture, game capture) and configure the settings accordingly.
Step 3: Adjusting Webcam and Gameplay Positions
– In the Preview panel, you will see a live preview of your webcam and gameplay footage.
– Click and drag the sources in the Sources panel to reposition them within the preview.
– Resize the sources by clicking and dragging the corners of the bounding boxes.
– Arrange the sources in a visually appealing layout, ensuring that both webcam and gameplay elements are visible and well-balanced.
Step 4: Recording Webcam and Gameplay Separately
– Click on the Settings button in the lower-right corner of the OBS window.
– In the Settings menu, navigate to the Output tab.
– Under the Recording section, choose a destination folder for your recordings.
– In the Recording Format dropdown, select a compatible video format (e.g., MP4, FLV).
– Enable the “Separate file per scene” option.
– Start your recording by clicking the Start Recording button in the Controls panel.
– During your recording, OBS will automatically save separate files for your webcam and gameplay footage based on the scene changes you make.
Step 5: Editing and Syncing Webcam and Gameplay Footage
– After recording, you can import the webcam and gameplay files into your preferred video editing software.
– Arrange the files in separate tracks or layers within the editing timeline.
– Sync the audio and video of your webcam and gameplay footage to ensure perfect alignment, using visual and audio cues as reference points.
– Make any necessary adjustments such as trimming, adding transitions, or applying effects to enhance the overall video.
– Export your edited video in a suitable format for sharing or uploading to your preferred platforms.
By following these step-by-step instructions, you can successfully record webcam and gameplay separately in OBS. Remember to experiment with different settings and layouts to find the setup that suits your content creation style and preferences.
Section 1: Setting up OBS
Before you can start recording webcam and gameplay separately in OBS, you need to set up the software and create a scene for capturing both elements. This section will guide you through the initial setup process.
The first step is to download and install the latest version of OBS from the official website. Once installed, launch OBS and familiarize yourself with the user interface.
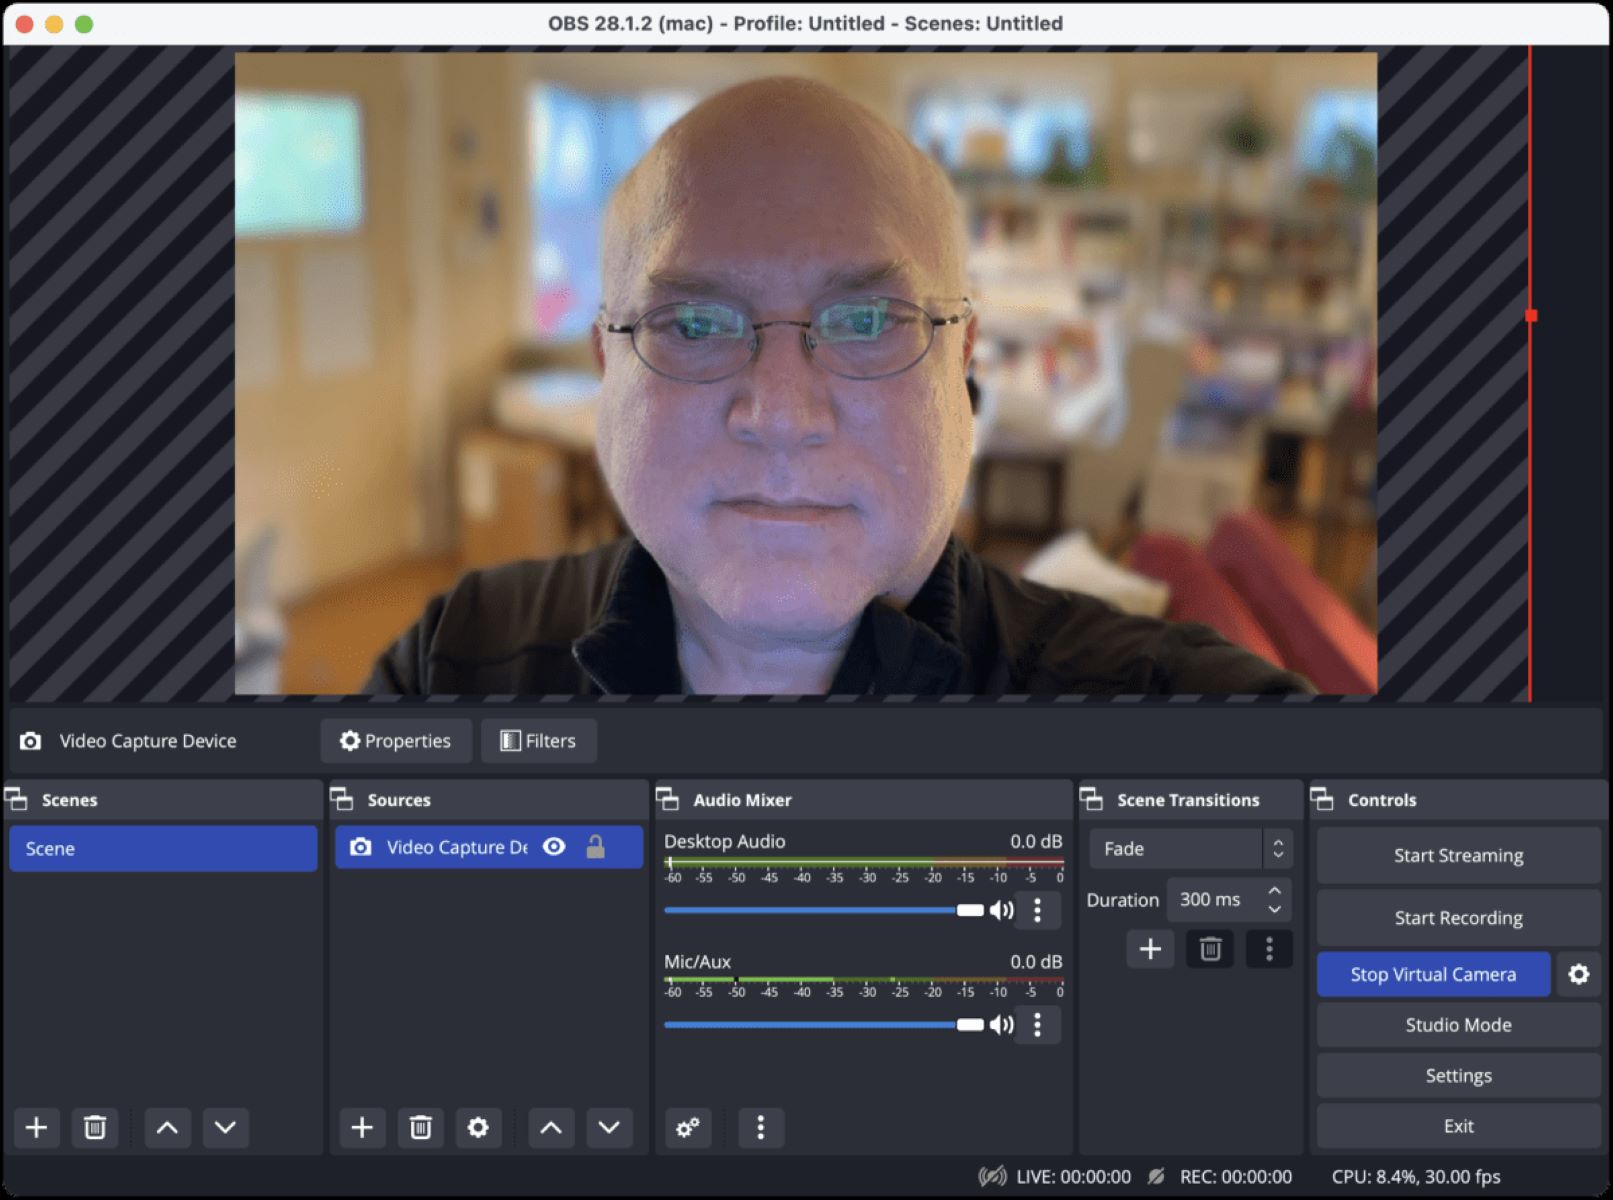
In the main OBS window, you’ll see various panels, including Scenes, Sources, Mixer, and Controls. We’ll primarily be working with the Scenes and Sources panels for setting up webcam and gameplay capture.
To create a new scene, click on the plus icon under the Scenes panel. Rename the scene to something descriptive like “Webcam & Gameplay”. Having a separate scene for webcam and gameplay makes it easier to manage and customize the two elements separately.
Now that you have a scene, it’s time to configure the sources for webcam and gameplay capture. In the Sources panel, click on the plus icon to add a new source. From the dropdown menu, select “Video Capture Device” for the webcam source. Click OK.
A settings window will appear for the webcam source. Choose your webcam from the Device dropdown menu. You can also adjust settings such as resolution, frames per second, and aspect ratio to best suit your needs. Once you’re satisfied with the settings, click OK.
Next, you’ll need to add a source for capturing the gameplay. Click on the plus icon in the Sources panel again, but this time choose the appropriate capture method for gameplay capture. OBS provides options like display capture, window capture, and game capture. Select the method that works best for your setup and follow the on-screen instructions to configure the settings.
With both the webcam and gameplay sources added, you can now rearrange and resize them within the scene. In the Preview panel, you’ll see a live preview of your webcam and gameplay footage. Click and drag the sources in the Sources panel to reposition them within the preview. You can resize the sources by clicking and dragging the corners of their bounding boxes.
It’s important to find a visually appealing layout where both the webcam and gameplay elements are visible and well-balanced. Take your time to experiment and find a setup that suits your preferences and content style.
Once you’ve completed the setup process, your OBS is ready to record webcam and gameplay separately. In the following sections, we’ll dive deeper into adjusting positions, capturing separate files, and editing and syncing webcam and gameplay footage.
Section 2: Configuring Webcam and Gameplay Inputs
In this section, we will explore the process of configuring the webcam and gameplay inputs in OBS. By properly configuring these inputs, you can ensure that the recorded footage meets your desired quality and specifications.
To configure the webcam input, start by adding a new source in the Sources panel. Select “Video Capture Device” and click OK. In the settings window that appears, choose your webcam from the Device dropdown menu. You can also make adjustments to the resolution, frames per second, and other settings based on your preferences. These settings will determine the quality and smoothness of the webcam footage during the recording process.
Once you have configured the webcam input, you can proceed to configure the gameplay input. In the Sources panel, add a new source and choose the appropriate capture method for capturing gameplay, such as display capture or game capture. Follow the on-screen instructions to configure the settings for your chosen method. You may need to specify which window or game you want OBS to capture.
Depending on the capture method you select, you may have additional options to fine-tune the gameplay input. For example, if you choose game capture, you can select the specific game executable file or use hotkeys to start and stop the capture. These options allow you to capture the gameplay footage effectively and efficiently.
While configuring the webcam and gameplay inputs, it’s essential to consider factors such as resolution, frames per second, and system resources. Higher resolutions and frame rates can result in crisper and smoother footage but may also require more processing power from your computer. It is advisable to find a balance based on your computer’s capabilities and the desired quality of your recordings.
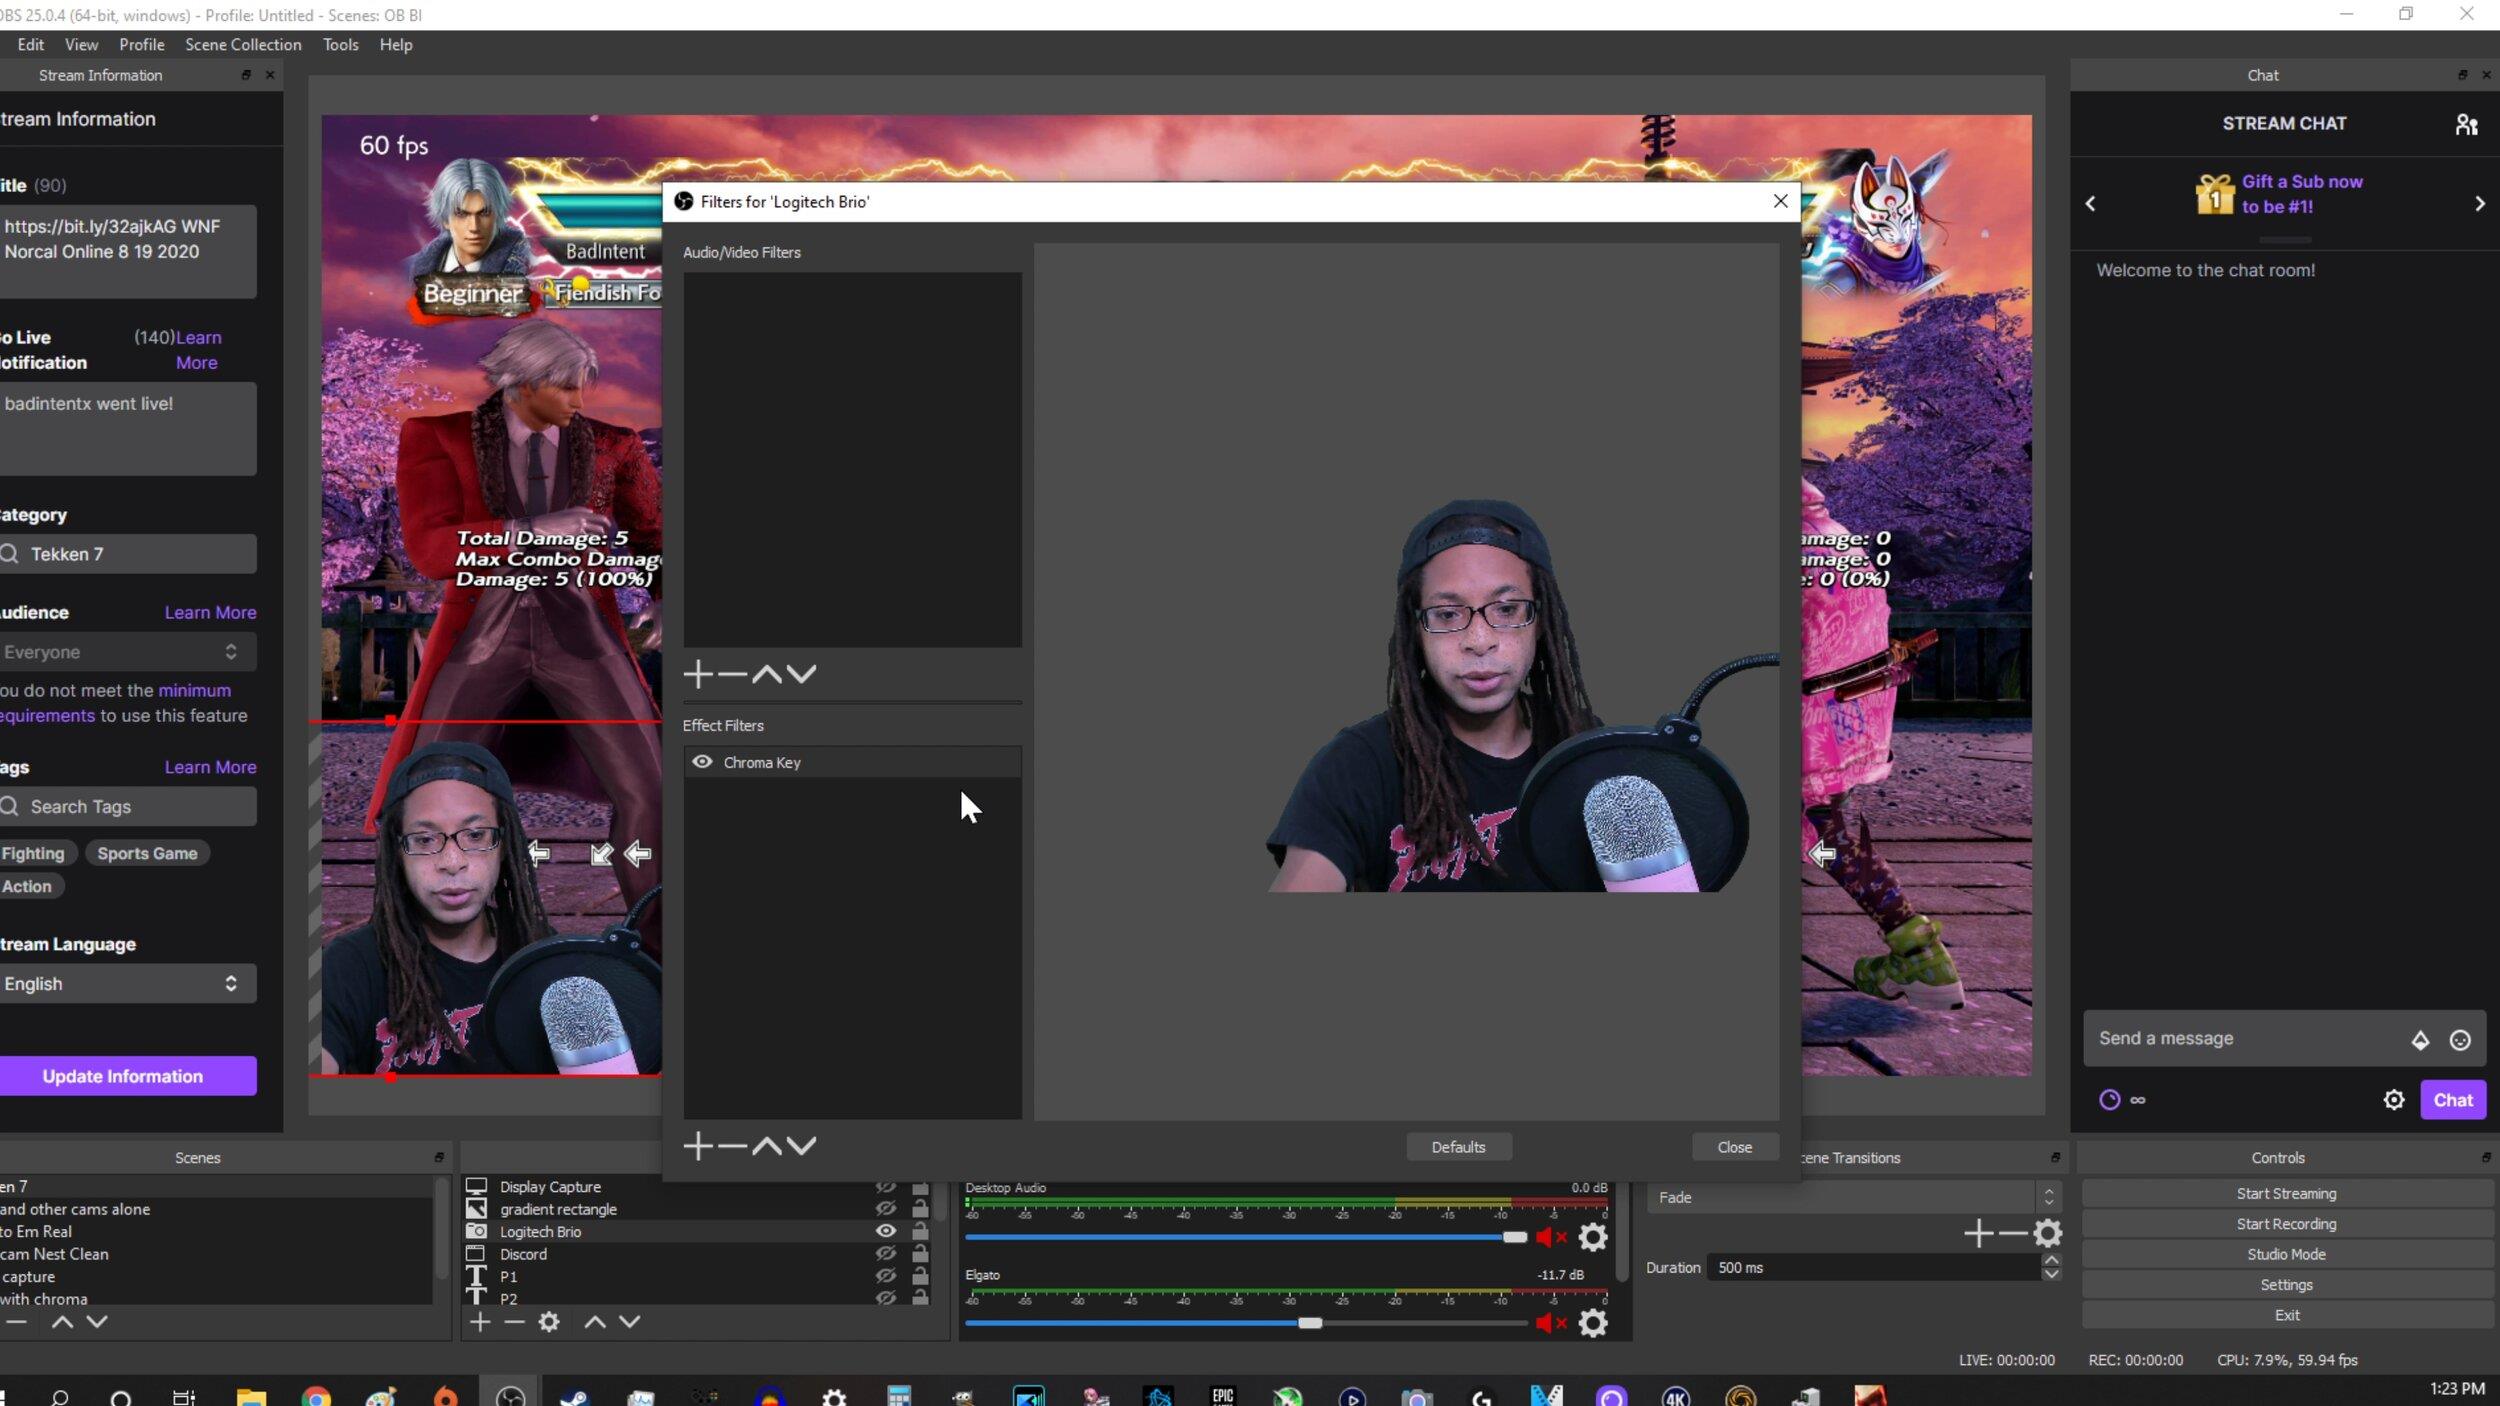
Additionally, it is worth mentioning that OBS provides various advanced settings and options to further customize the webcam and gameplay inputs. These settings allow you to add filters, apply chroma key effects, adjust audio levels, and more. Exploring these options can help you create a more polished and professional-looking recording.
Take the time to experiment with different configurations and settings to find the optimal combination for your needs. By properly configuring the webcam and gameplay inputs in OBS, you can ensure that your recordings are of high quality and align with your specific requirements.
Section 3: Adjusting Webcam and Gameplay Positions
In this section, we will focus on adjusting the positions of the webcam and gameplay sources within the OBS interface. By carefully positioning these elements, you can create a visually appealing composition that showcases both the gameplay and your webcam feed effectively.
Once you have added the webcam and gameplay sources in OBS, you can see a live preview of the composition in the Preview panel. To adjust the positions, click and drag the sources within the Sources panel. This allows you to reposition them within the preview window.
When positioning the sources, consider the visual hierarchy and balance between the webcam and gameplay. You want your viewers to be able to simultaneously enjoy the gameplay and see your reactions or commentary on the webcam. Find a layout that allows both elements to be visible without one overpowering the other.
One common approach is to position the gameplay as the primary focus, occupying most of the screen real estate. The webcam feed is then positioned in a smaller window, usually in a corner or at the bottom of the screen. This layout ensures that the gameplay remains the central element while still allowing viewers to see your reactions and expressions.
It’s also essential to keep in mind any overlays or text elements that you may want to add to your composition. If you plan on incorporating elements like chat boxes, alerts, or subtitles, make sure to leave enough space within the composition to accommodate them without obstructing important gameplay or webcam areas.
During the adjustment process, you can resize the sources by clicking and dragging the corners of their respective bounding boxes. This allows you to control the size of each element within the composition. Experiment with different sizes to find the optimal balance between visibility and not overpowering the rest of the content.
As you adjust the positions and sizes of the webcam and gameplay sources, take advantage of the Preview panel to preview the composition in real-time. This allows you to see the changes and make adjustments accordingly, ensuring a visually pleasing result before starting the recording.
Remember, the goal is to create a composition that not only presents the gameplay footage but also allows your viewers to connect with you through your webcam feed. Finding the right positioning and size for both elements can greatly enhance the viewer experience and engagement.
Take your time to explore different layouts and experiment with various positions. By paying attention to the composition and balancing both the webcam and gameplay elements, you can create visually appealing recordings that capture the best of both worlds.
Section 4: Recording Webcam and Gameplay Separately
Once you have set up and adjusted the positions of your webcam and gameplay sources in OBS, it’s time to start recording them separately. Recording webcam and gameplay separately allows for greater control and flexibility during the editing process. Here’s how you can do it:
Before you start recording, make sure you have selected the “Webcam & Gameplay” scene in OBS, which contains the configured sources for both elements.
Click on the Settings button in the lower-right corner of the OBS window to open the Settings menu. In the Settings menu, navigate to the Output tab.
Under the Recording section, choose a destination folder on your computer where you want to save your recordings. It’s important to have sufficient storage space for all the recordings you plan to make.
In the Recording Format dropdown, select the format in which you want to save your recordings, such as MP4 or FLV. Select a format that is compatible with your video editing software or preferred platforms for sharing.
Enable the “Separate file per scene” option. This ensures that OBS creates separate files for each scene change, allowing you to have separate recordings for your webcam and gameplay.
With your settings configured, you are now ready to begin recording. In the Controls panel of OBS, click on the Start Recording button. OBS will now start capturing both your webcam and gameplay feed according to the positions and settings you’ve set up.
As you play the game and interact with your webcam, OBS will automatically save separate files for your webcam and gameplay footage whenever you switch scenes. This allows you to have distinct files for further editing and syncing.
It’s important to keep an eye on the recording duration and available storage space. Large or lengthy recordings can consume significant amounts of storage, so be prepared with sufficient space to accommodate your recording needs.
Once you’ve finished recording, you can stop the recording by clicking on the Stop Recording button in the Controls panel. OBS will save the recorded files to the destination folder you selected.
Now you have separate webcam and gameplay files recorded in OBS, which you can further edit, sync, and enhance to create captivating content!
Remember to adjust the positions and sizes of the webcam and gameplay sources in OBS as needed for different scenes or recording sessions. This flexibility allows you to create varied and visually appealing recordings based on your specific content requirements.
With separate recordings for webcam and gameplay, you have the freedom to edit, enhance, and sync the footage in post-production, giving you full control over the final result. In the next section, we will explore tips and tricks for editing and synchronizing the webcam and gameplay footage.
Section 5: Editing and Syncing Webcam and Gameplay Footage
Now that you have recorded your webcam and gameplay footage separately, it’s time to bring them together in the editing process. Editing and syncing the webcam and gameplay footage will allow you to create a cohesive and engaging final video. Here are some tips and tricks to help you in this process:
1. Importing Footage: Start by importing both the webcam and gameplay footage into your preferred video editing software. Organize the files in separate tracks or layers to work with them individually.
2. Syncing Audio and Video: Match the audio and video of your webcam and gameplay footage. Look for common cues like claps, countdowns, or specific actions in the gameplay to align the footage correctly.
3. Trimming and Cutting: Remove any unwanted sections from the footage to maintain a smooth flow. Trim out any unnecessary pauses, mistakes, or breaks in the gameplay or webcam recording.
4. Overlaying and Picture-in-Picture: Utilize overlay options to creatively integrate the webcam footage with the gameplay. You can apply picture-in-picture effects, crop the webcam footage, or use chroma key (green screen) to remove the background and merge it seamlessly with the gameplay.
5. Adjusting Size and Position: Use your video editing software’s tools to resize and reposition the webcam feed as needed throughout the video. Depending on the editing software, you can adjust the size, scale, and position of the webcam to create a visually appealing composition.
6. Enhancing Visuals: Apply color correction, filters, or effects to both the webcam and gameplay footage to improve the overall visual quality and consistency. Experiment with different styles and effects to create a unique look for your video.
7. Adding Graphics and Text: Include graphics, overlays, or text elements to enhance the viewer experience. This can include logo watermarks, social media handles, or on-screen text to highlight important information or reactions during the video.
8. Transitions and Effects: Use transitions between scenes or shots to create smooth and seamless transitions for a professional look. Apply effects like transitions, transitions wipes, or fade-ins and fade-outs to add visual variety and engagement.
9. Audio Editing: Pay attention to the audio quality of both the webcam and gameplay footage. Adjust the audio levels, remove background noise, and consider adding background music or sound effects to enhance the overall audio experience.
10. Preview and Fine-tuning: Regularly preview your edits to ensure that the webcam and gameplay footage are synced correctly, and the overall video flows smoothly. Make any necessary adjustments during this previewing phase.
By employing these editing and syncing techniques, you can create a professional-looking video that effectively combines the webcam and gameplay footage. Remember to experiment with different styles and effects to find the look that best suits your content and personal brand.
Once you are satisfied with the final result, export the video in a suitable format for sharing or uploading to your desired platforms. Your edited and synced webcam and gameplay footage will surely captivate your audience and deliver an engaging viewing experience.
Tips and Tricks for Better Webcam and Gameplay Recording
To elevate the quality of your webcam and gameplay recordings, here are some tips and tricks that you can apply:
1. Lighting: Ensure adequate lighting for your face to enhance the visibility and clarity of your webcam feed. Consider using natural light or investing in proper lighting equipment to achieve optimal results.
2. Background: Choose a clean and uncluttered background for your webcam feed. Minimize distractions and make sure your background suits the overall theme or aesthetic you want to convey.
3. Microphone Quality: Use a high-quality microphone to ensure clear and crisp audio for your commentary or reactions. A separate microphone can improve the audio quality and minimize background noise.
4. Test Recording: Before starting a full recording, do a test recording to review the positions, audio levels, and visual quality. This allows you to identify any issues and make adjustments before recording your intended content.
5. Simultaneous Preview: Use an external monitor or device to preview your recording while playing the game. This helps you monitor the gameplay and ensure that all elements, including your face, are in the desired position.
6. Check Hardware Performance: Ensure that your computer meets the hardware requirements for recording both gameplay and webcam. Insufficient hardware specifications can result in dropped frames or lag, affecting the overall quality of the recording.
7. Frame Rate and Resolution: Consider the frame rate and resolution settings for both your webcam feed and gameplay capture. Higher frame rates and resolutions can provide smoother and more detailed recordings but may require more resources from your system.
8. Practice Commentary: Before recording, practice your commentary or reactions to ensure a smooth flow and engaging delivery. Having a clear idea of what you want to say or express can greatly enhance the quality of your webcam footage.
9. Engaging Facial Expressions: Use facial expressions to amplify your reactions and emotions during gameplay. Engage with the audience by expressing excitement, surprise, or frustration as appropriate, enhancing the viewer’s connection with you.
10. Post-Recording Review: After each recording session, take the time to review your footage. Look for areas of improvement, such as audio adjustments, visual compositions, or timing, that can enhance the overall quality of your videos.
Remember to consistently apply these tips and tricks to refine your webcam and gameplay recordings over time. Continuous practice, observation, and fine-tuning will help you develop your unique style and create compelling content that stands out in the crowded online space.
Conclusion
Recording webcam and gameplay separately in OBS opens up a world of possibilities for content creators. With the ability to adjust positions, customize visuals, and sync audio, you can create professional-quality videos that captivate your audience.
In this article, we explored the step-by-step process of setting up OBS, configuring webcam and gameplay inputs, adjusting positions, and recording them separately. We also delved into editing techniques and provided tips and tricks to enhance your webcam and gameplay recordings.
By recording webcam and gameplay separately, you gain greater control over your content. You can fine-tune the composition, insert overlays or graphics, and sync audio and video precisely. This level of control lends a polished and professional touch to your recordings, elevating the quality and engagement.
Remember, practice is key to perfecting your webcam and gameplay recording skills. Experiment with different settings, positions, and editing techniques to find your unique style. Pay attention to lighting, audio quality, and background aesthetics to create a more immersive viewing experience.
As you continue to refine your webcam and gameplay recording techniques, keep an open mind and constantly seek ways to improve. Stay up-to-date with the latest OBS features and updates, and always be on the lookout for new tips and tricks that can enhance your content creation process.
With dedication, creativity, and the knowledge shared in this article, you are well on your way to crafting captivating webcam and gameplay recordings that will engage your audience and take your content to new heights.