Introduction
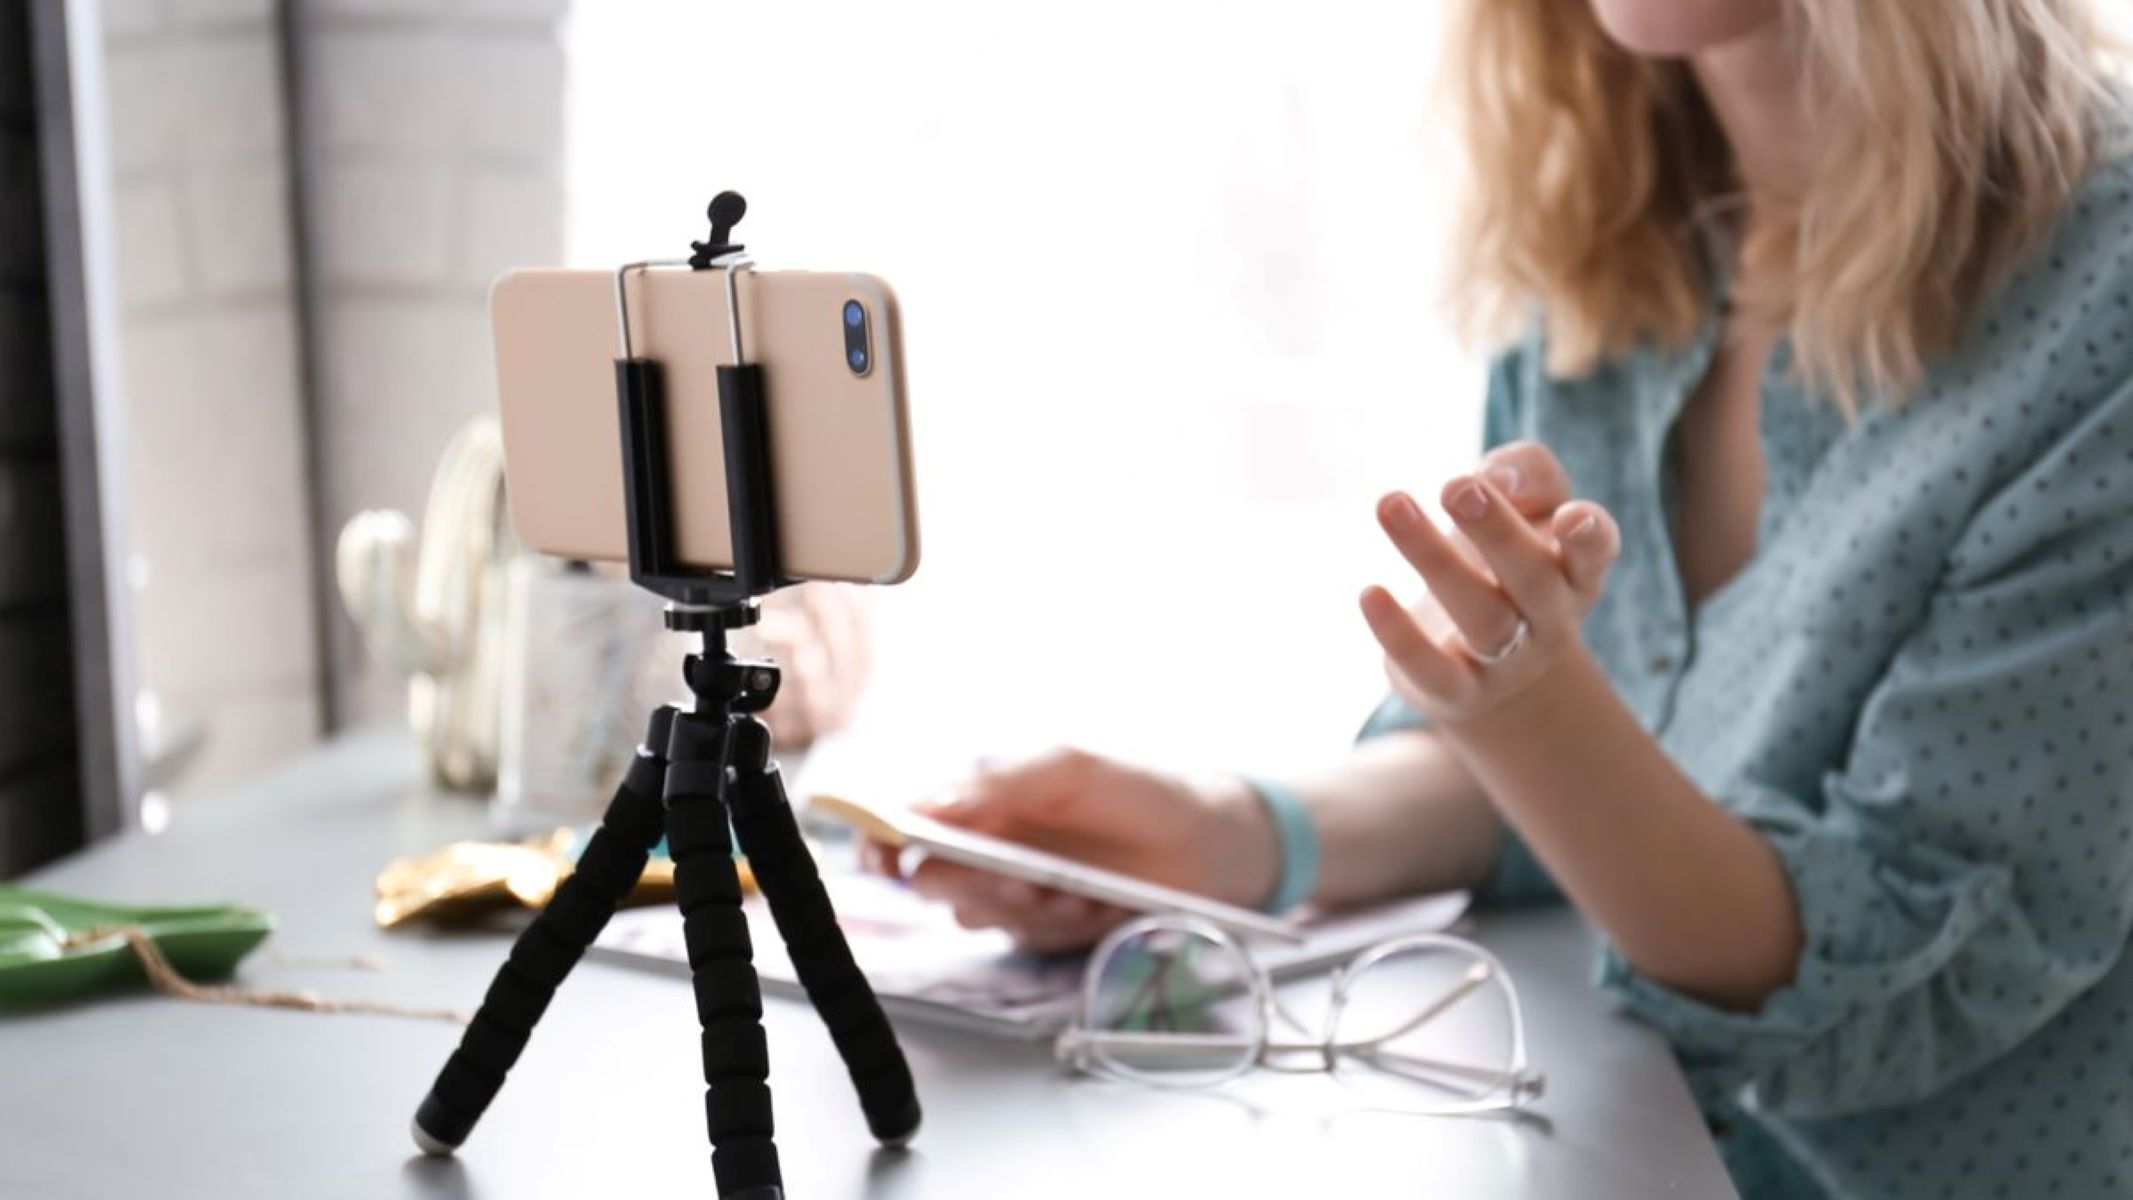
Welcome to the world of modern technology where your smartphone can be more than just a device for making calls and sending messages. Have you ever wished you could use your phone as a webcam for video calls, online meetings, or live streaming? Well, you’re in luck!
In this article, we will explore the benefits of using your phone as a webcam and guide you through the process of setting it up with OBS (Open Broadcaster Software), a popular streaming and recording software. Whether you’re a content creator, a remote worker, or simply someone who wants to enhance their video chatting experience, using your smartphone as a webcam can be a game-changer.
Gone are the days of grainy, low-quality webcams. Smartphones nowadays are equipped with high-resolution cameras that can rival dedicated webcams. Not only that, but the convenience and versatility of using your phone as a webcam open up a world of possibilities. Imagine being able to walk around freely during a conference call or streaming your mobile gameplay without any hassle.
By using your phone as a webcam, you can also take advantage of additional features such as facial tracking, background blur, and beauty filters, which can greatly enhance your video presence. So, whether you’re a professional or just looking to improve your online presence, using your phone as a webcam is a great option.
But how exactly do you go about using your phone as a webcam? Don’t worry, it’s easier than you might think. We will walk you through the process step by step, from choosing the right app for your phone to setting it up with OBS. So, let’s dive in and unlock the full potential of your smartphone as a webcam!
Disclaimer: The specific steps and apps mentioned in this article may vary depending on your phone’s operating system (iOS, Android) and OBS version. However, the general concepts and guidelines provided will help you get started regardless of the devices and software you use.
Benefits of using a phone as a webcam
Using your phone as a webcam offers a variety of advantages that can enhance your video chatting, streaming, and online meeting experiences. Here are some of the key benefits:
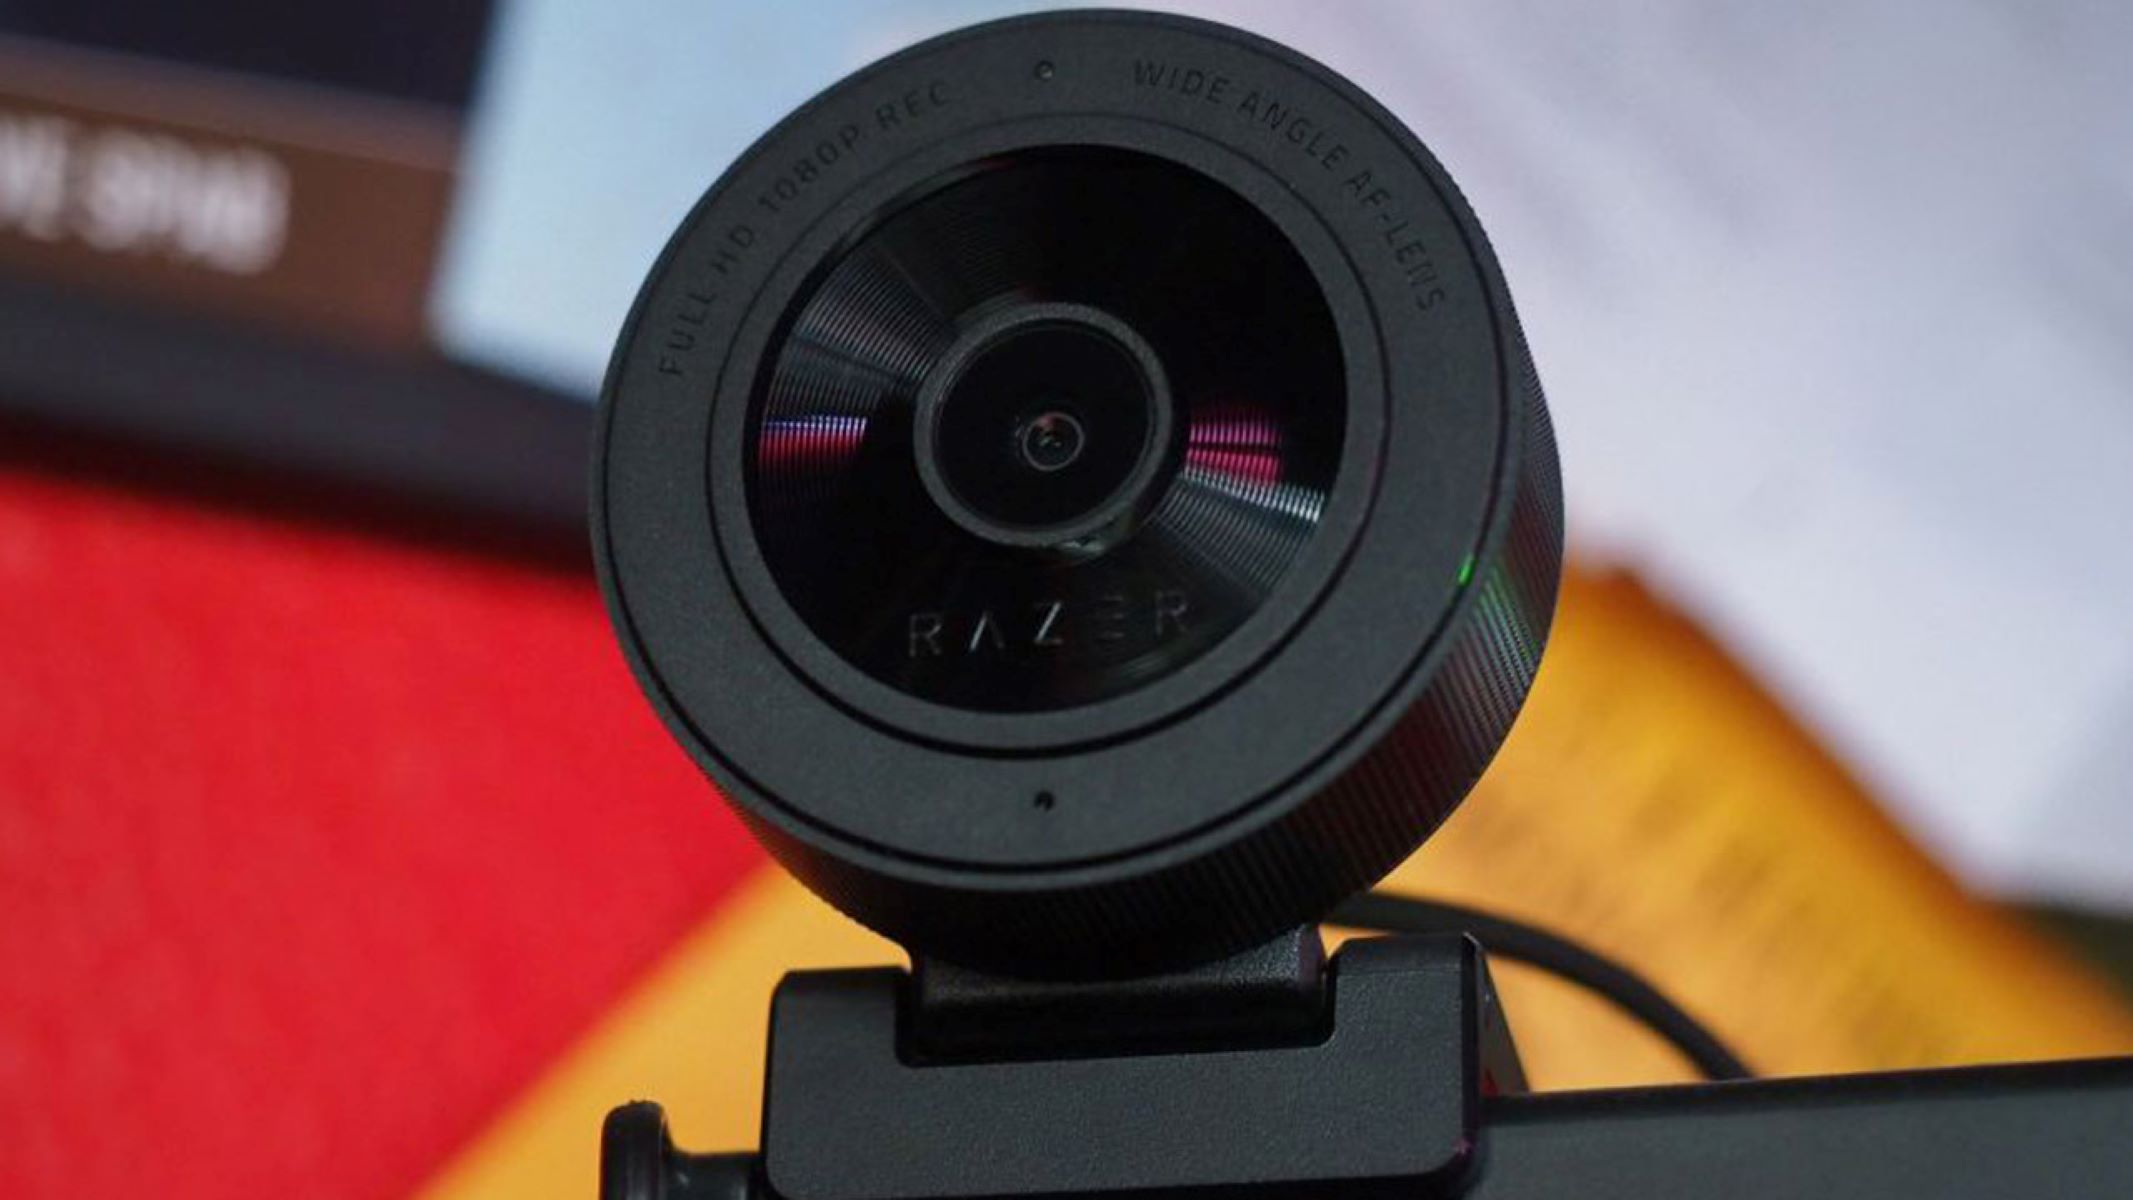
- Improved video quality: Most smartphones nowadays come with high-resolution cameras that surpass the quality of traditional webcams. By using your phone as a webcam, you’ll enjoy clearer, sharper, and more professional-looking video.
- Flexibility and mobility: With a phone as your webcam, you are no longer restricted to sitting in front of your computer. You can move around freely and choose different angles without compromising on video quality.
- Additional features: Many apps that enable you to use your phone as a webcam offer extra features such as facial tracking, beauty filters, background blur, and virtual backgrounds. These features can greatly enhance your video presence and make your content more engaging.
- Cost-effective solution: If you don’t already own a high-quality webcam, using your phone as a webcam is a cost-effective alternative. Instead of investing in a separate webcam, you can utilize the powerful camera already built into your smartphone.
- Wide compatibility: Whether you’re using a Windows PC, Mac, or Linux system, most apps that facilitate phone-to-webcam functionality support multiple operating systems. This compatibility ensures that you can use your phone as a webcam regardless of your setup.
- Portability and convenience: Carrying a phone is much easier than transporting a standalone webcam. With your phone as a webcam, you can take your streaming or video calling setup on the go, making it ideal for remote work, traveling, or content creation.
- Multifunctionality: By repurposing your phone as a webcam, you eliminate the need for an additional device and free up valuable desk space. Your phone can serve multiple purposes, acting as a webcam when needed and performing its regular functions at other times.
Now that you’re aware of the many benefits of using your phone as a webcam, let’s proceed to the next steps: choosing and installing the appropriate app to make this transformation possible.
Choosing and installing the right app
When it comes to using your phone as a webcam, the first step is to select an app that will enable the functionality. There are various apps available for both iOS and Android devices that can turn your smartphone into a webcam. Here are some factors to consider when choosing the right app:
- Compatibility: Ensure that the app you choose is compatible with your phone’s operating system (iOS or Android). Check the app’s description or website to confirm its compatibility before downloading.
- Features: Different apps offer varying features, such as adjustment options, filters, and virtual backgrounds. Consider the features you need for your specific use case and choose an app that aligns with your requirements.
- Ease of use: Look for an app with a user-friendly interface that makes it easy to set up and navigate. The app should have clear instructions and settings that are intuitive to understand.
- Reviews and ratings: Check the reviews and ratings of the app in the respective app store or on trusted review websites. Pay attention to feedback regarding stability, video quality, and ease of setup.
- Compatibility with OBS: If you plan to use your phone as a webcam with OBS, make sure that the app you choose has compatibility with OBS. Some apps have dedicated plugins or integration options for OBS, making the setup process smoother.
- Cost: Consider whether you’re willing to pay for a premium app or if you prefer a free version. Free apps can usually provide the basic functionality, but paid versions may offer additional features and better support.
Once you’ve chosen the app that best meets your requirements, follow these general steps to install it:
- Open the respective app store on your smartphone (App Store for iOS or Google Play Store for Android).
- Search for the name of the app you want to use as a webcam.
- Click on the app’s icon or name to access its page.
- Read the app’s description, reviews, and ratings to ensure it aligns with your needs.
- Click the “Download” or “Install” button to start the installation process.
- Once the installation is complete, open the app and follow any setup instructions provided.
- Ensure that your phone and computer are connected to the same Wi-Fi network or linked via USB, depending on the app’s requirements.
Now that you have chosen and installed the app, it’s time to move on to the next step: connecting your phone and computer to enable webcam functionality.
Connecting your phone and computer
Now that you have installed the app on your phone, it’s time to establish a connection between your phone and computer to enable the webcam functionality. The specific steps may vary depending on the app you have chosen, but here is a general guide to help you get started:
Step 1: Wi-Fi or USB: Determine whether the app requires a Wi-Fi or USB connection to link your phone and computer. Wi-Fi connections are more common and provide the flexibility to move around, while USB connections offer stability and faster data transfer.
Step 2: Install desktop client: Some apps require a corresponding desktop client to be installed on your computer. Visit the app’s website or check the app’s instructions to download and install the necessary software on your computer.
Step 3: Enable Wi-Fi or USB mode: Open the app on your phone and navigate to the settings. Look for options to enable either Wi-Fi or USB mode, depending on your chosen connection method. Follow the on-screen instructions to establish the connection.
Step 4: Connect to the same network: If using a Wi-Fi connection, ensure that both your phone and computer are connected to the same Wi-Fi network. This allows them to communicate with each other effectively.
Step 5: USB connection (if applicable): If you are using a USB connection, connect your phone to your computer using the appropriate cable. Make sure your phone is set to Transfer Files (MTP) mode or similar to allow the computer to recognize it as a webcam device.
Step 6: Test the connection: Once the connection is established, open the video conferencing or streaming application you intend to use (e.g., OBS) on your computer. Select the phone camera as the video source. You should now see your phone’s camera feed displayed on your computer screen.
Step 7: Adjust settings: Depending on the app and software you are using, you may have additional settings you can customize, such as video resolution, frame rate, and audio settings. Adjust these settings according to your preferences and the requirements of your video application.
Step 8: Test for stability: Conduct a test call or recording to ensure that the connection is stable and the video quality is satisfactory. Make any necessary adjustments to the connection settings or app settings as needed.
By following these steps, you should now have your phone successfully connected to your computer, allowing you to use it as a webcam. Next, we will explore how to adjust the video and audio settings to optimize your webcam experience.
Adjusting video and audio settings
After connecting your phone as a webcam, it’s important to ensure that the video and audio settings are optimized for a smooth and high-quality streaming, video calling, or recording experience. Here are some key adjustments to consider:
Video settings:
- Resolution: Choose the appropriate video resolution that suits your needs. Higher resolutions result in sharper video quality, but they may require more bandwidth and processing power. Consider factors such as your internet connection and computer specifications when selecting the resolution.
- Frame rate: The frame rate determines how many frames per second are captured by the camera. Higher frame rates result in smoother video, but they also require more processing power. Aim for a frame rate that provides a balance between quality and performance.
- Orientation and framing: Ensure that the orientation of your phone’s camera is aligned properly for optimal viewing. Consider the framing and composition of your video to ensure that you are in focus and well-positioned within the frame.
- Exposure and white balance: Adjust the exposure and white balance settings to ensure that your video is properly lit and accurately reflects colors. Use the app’s settings or manual controls to fine-tune these parameters for the best results.
Audio settings:
- Microphone selection: If you’re using the phone’s microphone for audio, make sure it is selected as the default audio input device in your video conferencing or streaming software. This ensures that your voice is captured clearly during calls or recordings.
- Volume levels: Adjust the microphone volume to a suitable level. Test your audio by speaking and checking the audio levels on your computer or in the video application. Avoid excessive background noise or echo by testing and adjusting the microphone sensitivity.
- Audio enhancement: Some apps offer audio enhancement settings to improve the clarity and quality of your voice. Explore the app’s audio settings to enable features like noise reduction or echo cancellation for better audio performance.
It’s essential to periodically test your video and audio settings to ensure that they meet your requirements and deliver the desired quality. Additionally, consider the specific recommendations and guidelines provided by the app you’re using, as each app may have its own unique settings and options.
By taking the time to fine-tune these settings, you can optimize your webcam experience and provide a professional and engaging video presence during meetings, streaming sessions, or online content creation.
Now that you have adjusted your video and audio settings, it’s time to explore how to use your phone as a webcam in OBS, one of the most popular streaming and recording software applications.
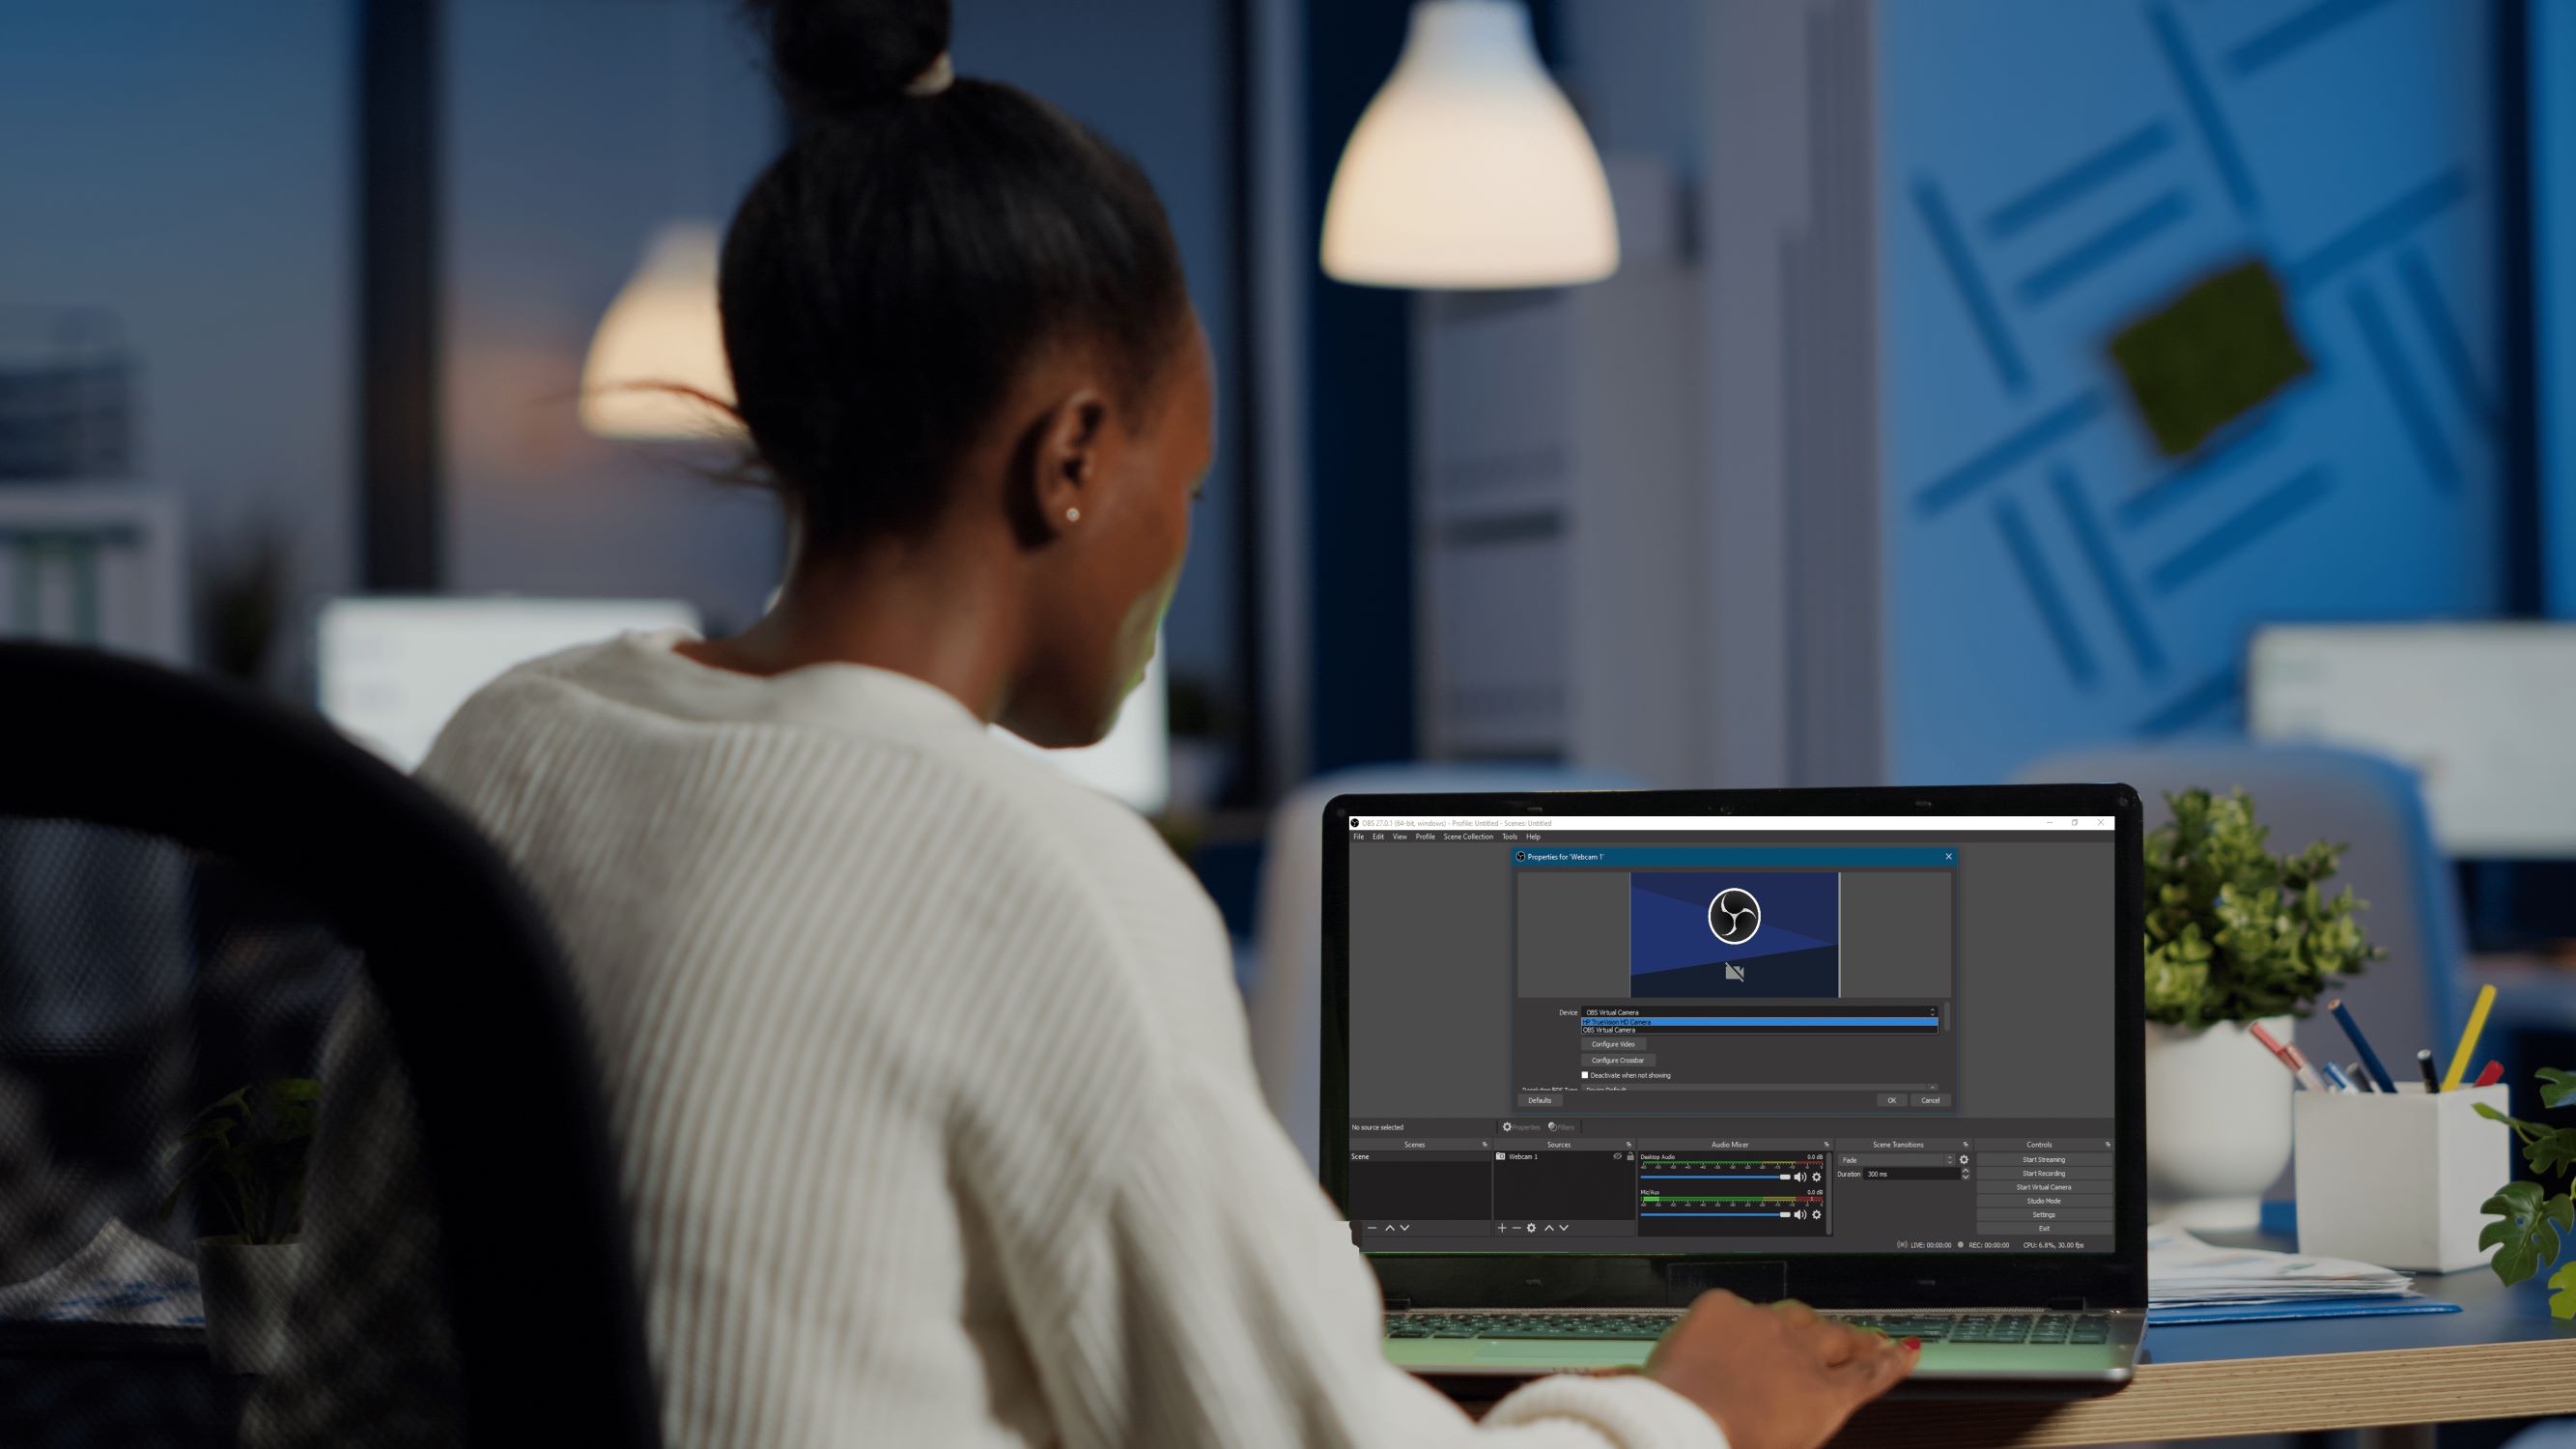
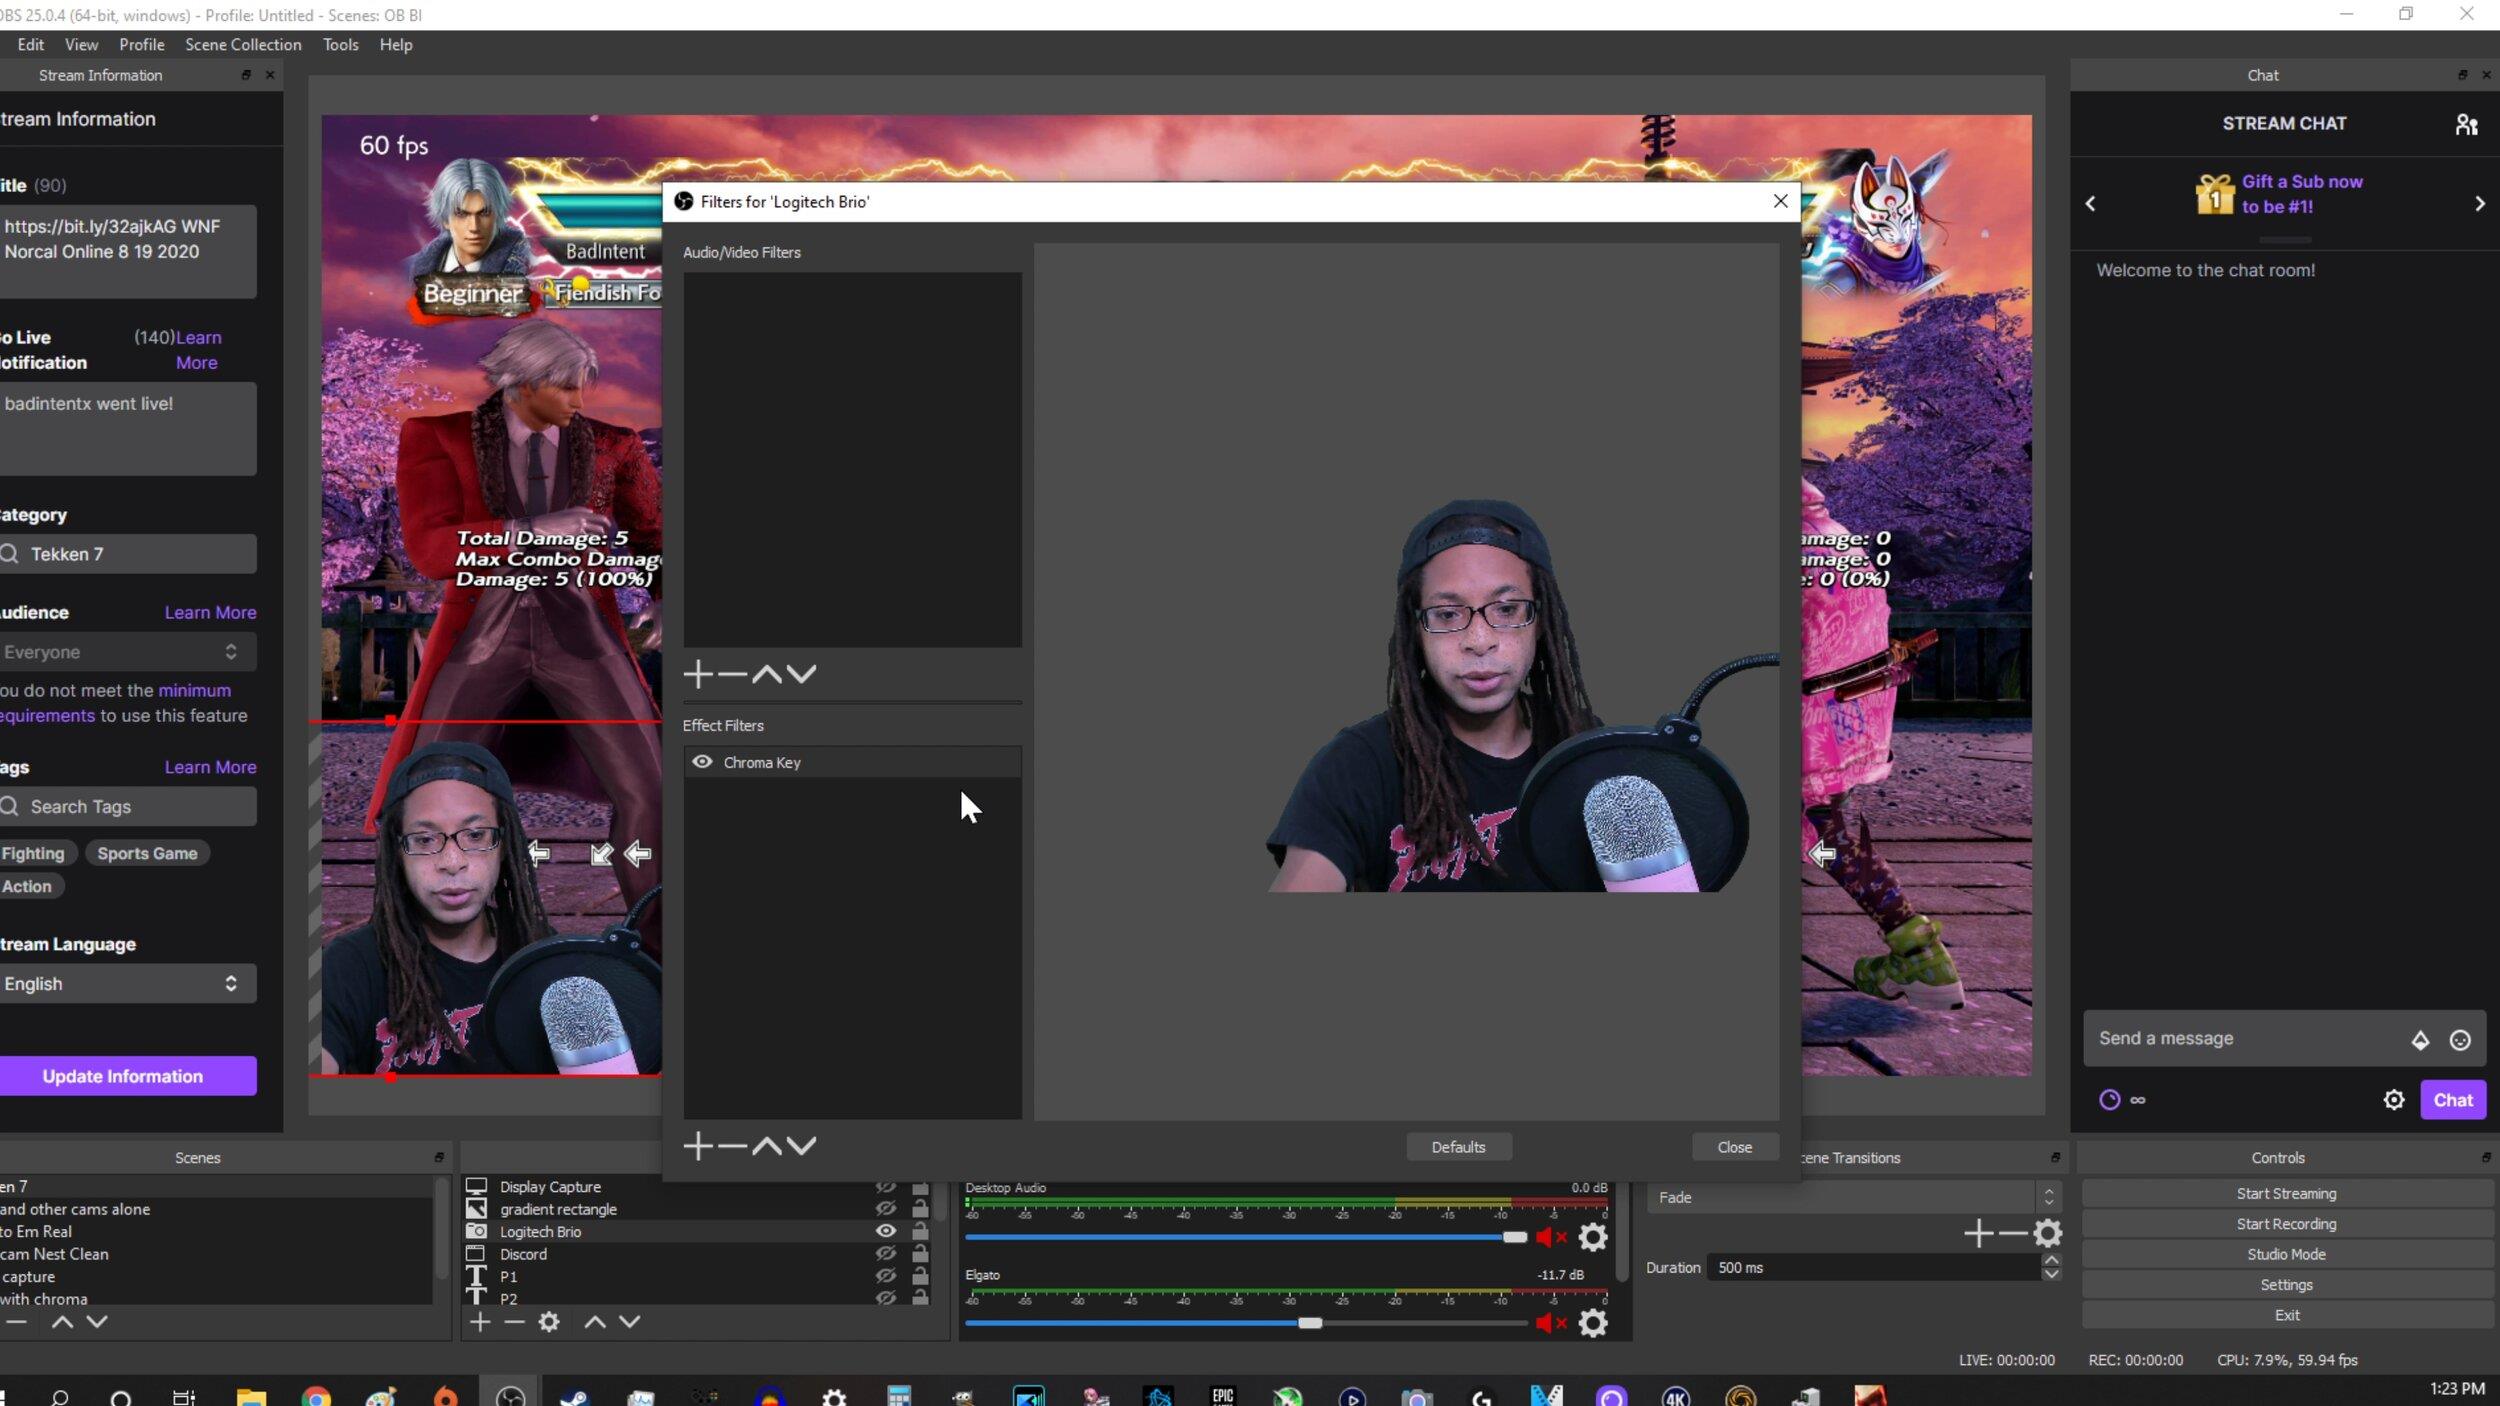
Using your phone as a webcam in OBS
OBS, short for Open Broadcaster Software, is a powerful and widely-used streaming and recording software that allows you to customize and manage your video content. If you want to use your phone as a webcam in OBS, follow these steps:
- Install OBS: If you haven’t already, download and install OBS on your computer. Visit the official OBS website and choose the appropriate version for your operating system.
- Install OBS virtual camera plugin: To enable the use of your phone as a webcam in OBS, you’ll need to install a virtual camera plugin. Search for “OBS virtual camera” plugin online and follow the instructions provided to install it on your computer.
- Connect your phone as a webcam: Connect your phone to your computer using the appropriate method (Wi-Fi or USB) as discussed in the previous sections. Ensure that your phone is recognized as a webcam device by your computer.
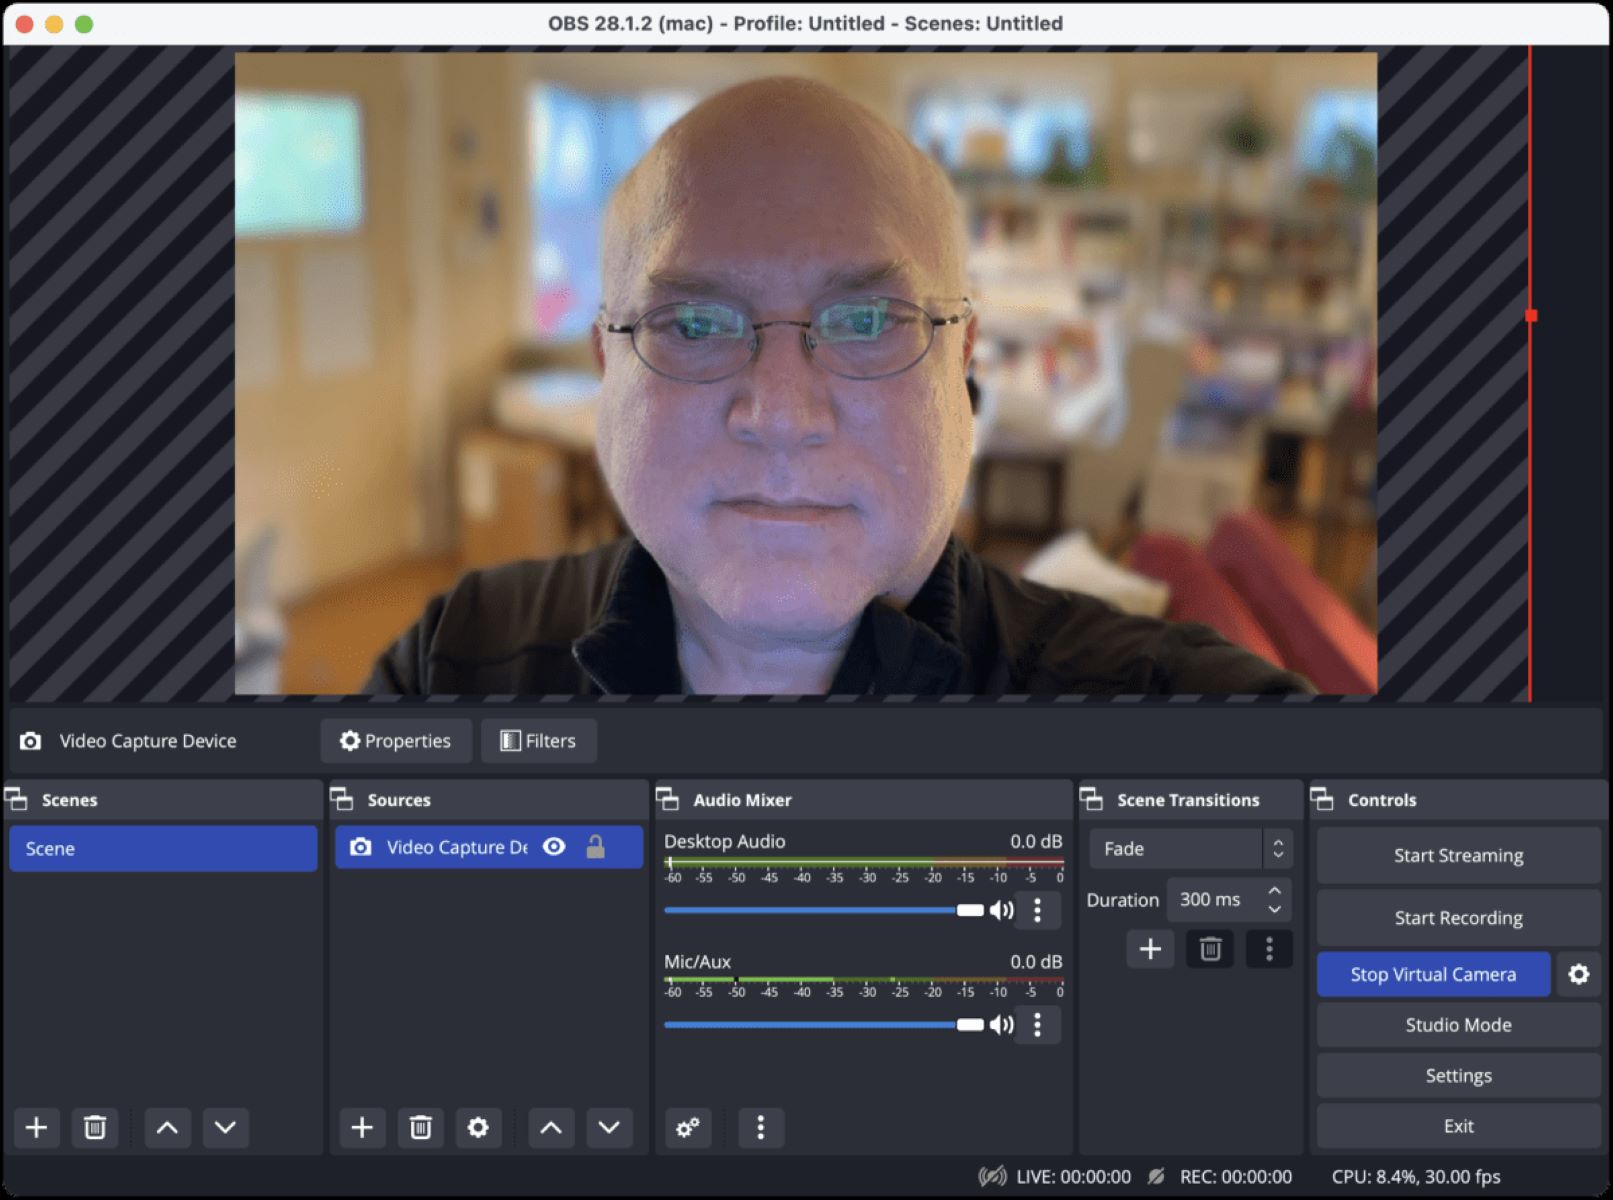
- Launch OBS: Open OBS on your computer and select “Tools” from the menu. Click on “VirtualCam” to activate the virtual camera plugin.
- Configure OBS virtual camera settings: In the virtual camera plugin window, select your connected phone as the video source. You can also adjust the video resolution and other settings to match your preferences.
- Start the virtual camera: Once configured, click on the “Start” button in the virtual camera plugin window to begin broadcasting your phone’s video feed as a webcam.
- Select OBS virtual camera as the video source: In your preferred video conferencing, streaming, or recording application, choose the OBS virtual camera as the video source. This will allow others to see your phone’s video feed as if it were a regular webcam.
- Adjust settings and stream: Within OBS, you can further customize your stream or recording by adjusting scene layouts, adding overlays, and managing audio sources. Use OBS’s extensive features and options to create engaging and professional-looking content.
By using OBS with your phone as a webcam, you can take advantage of the software’s powerful capabilities to enhance and personalize your streaming or recording sessions. Experiment with different scenes, transitions, and audio settings to make your content more captivating.
Keep in mind that OBS provides advanced features, and it may take some time to familiarize yourself with the software. Explore online tutorials, documentation, and the OBS community for helpful tips and tricks to make the most out of your OBS setup.
Now that you know how to use your phone as a webcam in OBS, let’s move on to the next section where we will address some common troubleshooting issues you may encounter along the way.
Troubleshooting common issues
While using your phone as a webcam in OBS can greatly enhance your video streaming or recording experience, you may encounter certain issues along the way. Here are some common problems that you may come across, along with their possible solutions:
Issue 1: Connection problems: If you’re unable to establish a connection between your phone and computer, double-check the following:
- Ensure that both devices are connected to the same Wi-Fi network (if using Wi-Fi connection).
- Verify that the USB cable is securely connected and that your phone is set to the correct USB mode (if using USB connection).
- Restart both your phone and computer and try reconnecting.
- Ensure that you have installed the necessary drivers or software for your phone (if applicable).
Issue 2: App compatibility: If the app you have chosen is not working as expected, try the following:
- Check for any available updates for the app in the respective app store.
- Check the app’s documentation or support forums for troubleshooting tips specific to your device or operating system.
- Consider trying a different app that is known to be compatible with your phone and OBS.
Issue 3: Lag or delay: If you experience lag or delay in your video feed, try the following:
- Close any unnecessary applications or background processes that may be consuming resources on your computer.
- Reduce the video resolution or frame rate in the app settings to lessen the processing load.
- Ensure that your internet connection is stable and has sufficient bandwidth for streaming.
- Consider upgrading your computer’s hardware if it does not meet the minimum requirements for smooth video streaming.
Issue 4: Audio issues: If you’re facing problems with the audio quality or microphone, consider the following:
- Check your microphone connection and ensure that it is selected as the default audio input device in your streaming or recording software.
- Adjust the microphone volume and sensitivity settings to eliminate any distortion or background noise.
- Consider using an external microphone if the phone’s built-in microphone is not meeting your needs.
If you continue to experience issues that are not addressed above, consult the app’s documentation or support resources for further assistance. Additionally, be open to exploring online forums or communities where others may have encountered and resolved similar issues.
Remember, troubleshooting may require patience and trial-and-error. Stay persistent, and with time, you will overcome any obstacles and enjoy a seamless experience using your phone as a webcam in OBS.
Now that we have covered some common troubleshooting issues, let’s move on to the concluding section of this article.
Conclusion
Using your phone as a webcam in OBS opens up a world of possibilities for video calling, online meetings, streaming, and content creation. With the right app, connection setup, and adjustments to video and audio settings, you can transform your smartphone into a high-quality webcam.
By utilizing your phone as a webcam, you benefit from improved video quality, flexibility and mobility, additional features, cost-effectiveness, wide compatibility, portability and convenience, and multifunctionality. These advantages make using your phone as a webcam a practical and efficient solution for various scenarios.
When choosing an app, consider compatibility, features, ease of use, reviews, and cost. Once you have selected an app, establish a connection between your phone and computer, either using Wi-Fi or USB, and configure the necessary settings in OBS or other streaming software.
Adjusting video and audio settings allows you to optimize the webcam experience. Fine-tune video resolution, frame rate, orientation, exposure, and white balance, while paying attention to microphone selection, volume levels, and audio enhancement. Regularly test these settings to ensure a smooth and professional video and audio performance.
If issues arise, troubleshoot by addressing connection problems, app compatibility, lag or delay, or audio issues. Consult app documentation, support resources, or online communities for further assistance and tips from experienced users.
With the right setup, your phone can serve as a reliable webcam that enhances your video quality and elevates your streaming or video calling experience. By using OBS in conjunction with your phone as a webcam, you can take advantage of advanced features to create engaging and professional content.
Now that you have learned how to use your phone as a webcam in OBS, it’s time to unleash your creativity, connect with others, and make a lasting impression through your video presence.