Introduction
Welcome to our guide on how to record with your webcam on a Mac! Video recording has become an essential tool for various purposes, whether it’s creating content for vlogs, online courses, or simply capturing special moments. With a Mac and a webcam, you have everything you need to start recording high-quality videos right at your fingertips.
In this article, we will walk you through the step-by-step process of setting up your webcam, choosing the right software, adjusting webcam settings, and finally, recording your videos. We will explore popular options such as QuickTime Player, OBS Studio, and Photo Booth, each offering unique features and benefits. By the end of this guide, you’ll have the knowledge and confidence to capture professional-looking videos using your Mac and webcam.
Before we dive into the specifics, it’s important to ensure that your webcam is properly connected and recognized by your Mac. Most external webcams can be easily connected via a USB port. If you are using the built-in webcam on your Mac, there is no need for any additional connections.
Once your webcam is connected, we recommend checking for any available software updates. Keeping your devices and software up to date ensures optimal performance and compatibility. Now that you’re ready to get started, let’s explore the various steps involved in recording with your webcam on a Mac.
Setting up your webcam
Setting up your webcam correctly is the first step in recording with a webcam on your Mac. Whether you’re using an external webcam or the built-in webcam on your Mac, follow these simple steps to ensure a smooth setup:
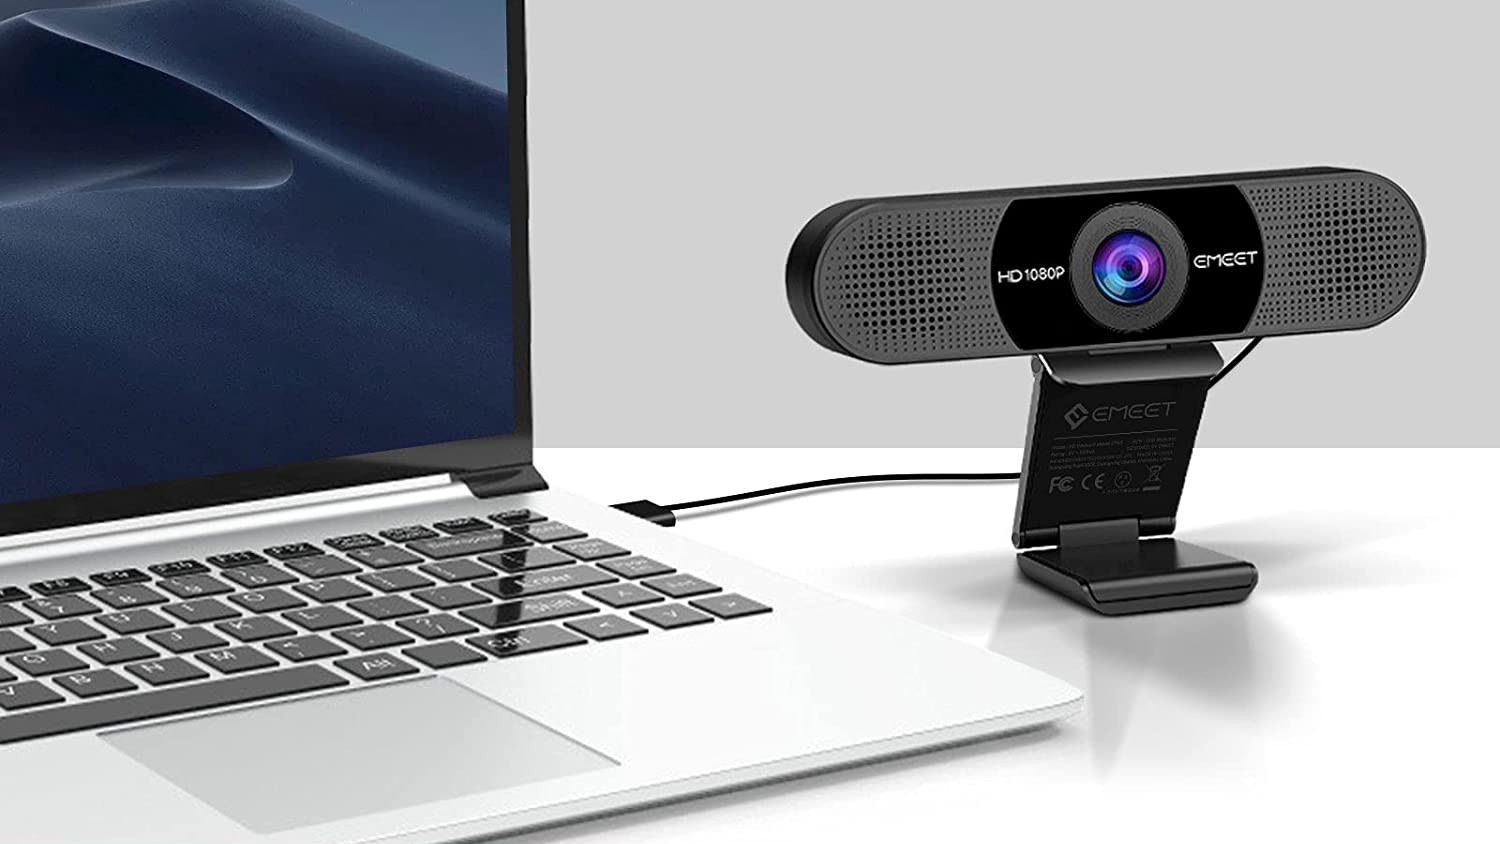
- Connect your webcam: For external webcams, connect the USB cable to an available USB port on your Mac. If you’re using the built-in webcam, there’s no need for any physical connections.
- Check webcam compatibility: Ensure that your webcam is compatible with your Mac and the operating system you’re using. Visit the manufacturer’s website to find any necessary drivers or software updates for your webcam.
- Enable webcam permissions: To allow applications to access your webcam, go to System Preferences, select Security & Privacy, and then click on the Privacy tab. From the left sidebar, select Camera, and make sure the checkbox next to the application you’ll be using for recording (such as QuickTime or OBS Studio) is checked.
- Position your webcam: Depending on your recording needs, adjust the position and angle of your webcam. Make sure it is stable and captures the desired frame. Consider using a tripod or any other suitable mounting equipment for more flexibility.
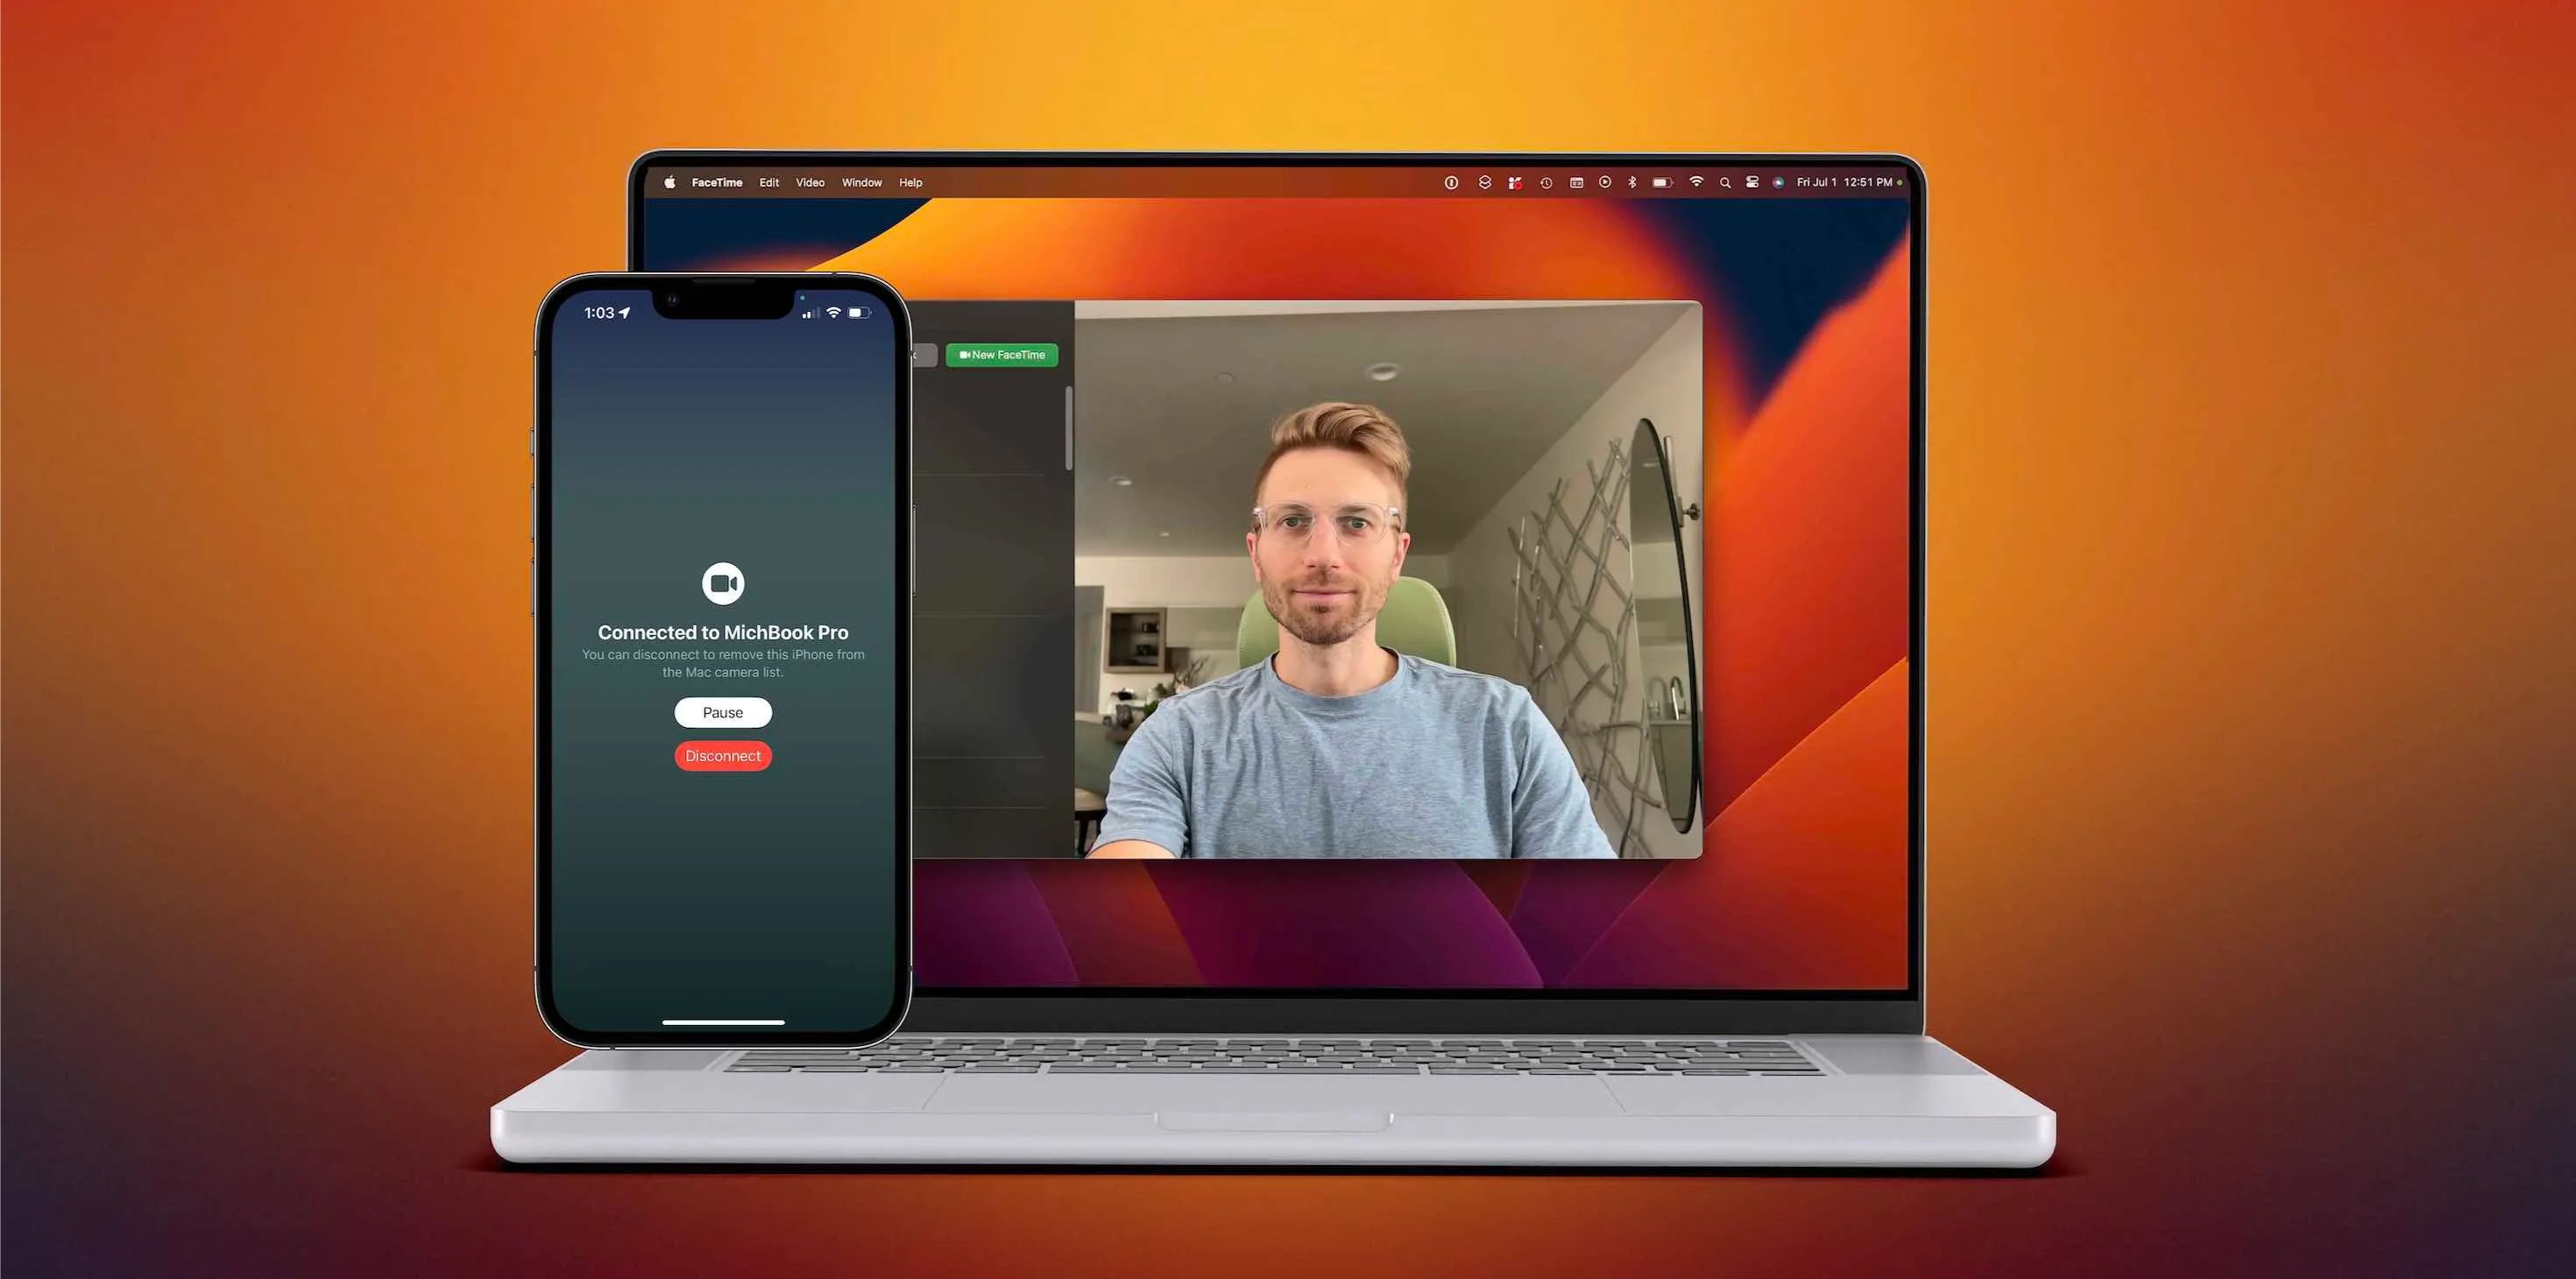
- Test your webcam: Before starting your recording session, it’s always a good idea to test your webcam to ensure everything is working correctly. Open an application that uses the webcam, such as Photo Booth or FaceTime, and confirm that your webcam’s video feed is visible.
Once you’ve finished setting up your webcam, you’re ready to move on to the next steps, which involve choosing the right software for recording, adjusting webcam settings, and finally, capturing your videos.
Choosing the right software
When it comes to recording with your webcam on a Mac, selecting the appropriate software is crucial. Different software options offer various features and functionalities that cater to different recording needs. Here are some popular choices to consider:
- QuickTime Player: QuickTime Player is a built-in application on Mac that serves as a versatile media player and also allows you to record videos. It offers a simple and straightforward interface, making it ideal for basic recording tasks. To use QuickTime Player for recording, open the application and go to File > New Movie Recording. You can then select your webcam as the video input and start recording.
- OBS Studio: OBS Studio (Open Broadcaster Software) is a free and open-source software that provides advanced recording capabilities. It offers features like customizable layouts, live streaming, and multi-source recording. OBS Studio may require some initial setup, but it offers a wide range of options for more professional recording needs.
- Photo Booth: For casual video recording or capturing fun moments, Photo Booth is a built-in application that can be an easy option. It offers various effects, filters, and backdrops to enhance your recordings. Open the Photo Booth app, select the video recording option, and you’re ready to start capturing videos with your webcam.
These are just a few examples of the software available for recording with your Mac webcam. You can explore other options based on your specific requirements and preferences. Keep in mind that some third-party software might require you to download and install it on your Mac before you can use it for recording.
Consider what features are essential for your recording needs, such as video quality, editing capabilities, or the ability to live stream. Each software has its advantages and limitations, so take the time to research and experiment to find the one that best suits your requirements.
Now that you have an idea of the software options available, let’s move on to the next step: adjusting webcam settings.
Adjusting webcam settings
Before you start recording with your webcam on a Mac, it’s essential to adjust the webcam settings to get the best possible video quality. Most software applications have built-in settings that allow you to tweak various aspects of your webcam’s performance. Here are some key settings to consider:
- Resolution: Adjusting the resolution of your webcam determines the clarity and sharpness of your video. Higher resolutions offer better quality but can result in larger file sizes. Select a resolution that balances your desired video quality with storage constraints.
- Frame rate: The frame rate refers to the number of video frames captured per second. Higher frame rates result in smoother motion, but they can also require more processing power and storage space. Consider the intended use of your videos and the capabilities of your webcam when deciding on an appropriate frame rate.
- Exposure: Webcam exposure settings control the amount of light that enters the camera sensor. Adjusting exposure can help to balance brightness and avoid overexposure or underexposure. Experiment with exposure settings to achieve optimal lighting conditions for your recordings.
- White balance: White balance settings ensure that colors in your video appear natural and accurate. Different lighting conditions may require adjustments to the white balance. Use the software’s white balance settings or presets to get the desired color representation.
- Focus: If your webcam allows manual focus adjustments, you can fine-tune the focus to ensure that your subject is sharp and clear. Auto-focus settings are also available in some software applications, allowing the webcam to automatically adjust focus as needed.
It’s important to note that the availability and control of these settings may vary depending on the software you are using. Some software might provide more sophisticated settings for advanced users, while others offer a simplified interface for quick adjustments.
Take the time to explore the settings of your preferred recording software and adjust them according to your recording environment and preferences. Experimentation and practice will help you find the optimal settings that suit your needs and deliver the best video quality.
Now that you’ve adjusted your webcam settings, let’s explore different recording methods using popular software options like QuickTime Player, OBS Studio, and Photo Booth.
Recording with QuickTime Player
QuickTime Player is a built-in application on Mac that offers a simple and convenient way to record videos with your webcam. Follow these steps to start recording using QuickTime Player:
- Open QuickTime Player: Launch QuickTime Player from your Applications folder or by searching for it in Spotlight.
- Start a new movie recording: In the top menu, click on “File” and select “New Movie Recording”.
- Select your webcam: A new window will open, showing a preview from your webcam. Click on the arrow next to the record button to select your webcam as the video input if it’s not automatically selected.
- Adjust settings: If desired, you can adjust additional settings like audio input, video quality, and recording duration by clicking on the small white triangle icon next to the record button.
- Start recording: Once you’re satisfied with the settings, click on the red record button to start recording. You can choose to record your entire screen, a specific portion of the screen, or just the webcam video.
- Stop recording: To stop the recording, click on the stop button in the menu bar or use the Command (⌘) + Control (⌃) + Esc keyboard shortcut.
- Save your recording: After stopping the recording, you will be prompted to save the video file. Choose a location on your Mac and give the recording a descriptive name. QuickTime Player will save your video in .mov format by default.
With QuickTime Player, you can easily record videos using your webcam without the need for any additional software. However, the options for editing and customization in QuickTime Player are limited compared to other software options. If you’re looking for more advanced features, continue reading to learn about recording with OBS Studio and Photo Booth.
Recording with OBS Studio
OBS Studio (Open Broadcaster Software) is a powerful, free, and open-source software that provides advanced recording capabilities for Mac users. Follow these steps to start recording with OBS Studio and your webcam:
- Download and install OBS Studio: Visit the OBS Studio website and download the latest version of the software. Follow the installation instructions to install it on your Mac.
- Add a video capture source: Open OBS Studio and click on the “+” button under the “Sources” section. Select “Video Capture Device” and click “OK”. Give your video source a name and click “OK” again.
- Configure your webcam: In the properties window for the video capture device, select your webcam from the drop-down menu. Adjust the resolution, frame rate, and other settings according to your preferences. Click “OK” to save the changes.
- Adjust audio settings: If you want to record audio along with your webcam video, click on the “+” button under the “Audio Mixer” section and select the appropriate audio source. Adjust the audio levels to your liking.
- Start recording: Click on the “Start Recording” button in the controls section, or use the keyboard shortcut specified in OBS Studio. OBS Studio will start capturing the video from your webcam according to the configured settings.
- Stop recording: To stop the recording, click on the “Stop Recording” button or use the specified keyboard shortcut. OBS Studio will save your recording to the location you specified in the settings.
- Review and edit: After recording, you can review your video and make any necessary edits using video editing software of your choice. OBS Studio itself does not provide extensive video editing capabilities, but it offers a wide range of recording options and settings.
OBS Studio is a highly customizable software that caters to the needs of professional streamers and content creators. It allows you to add overlays, screen captures, and multiple video sources, making it a versatile tool for advanced recording and streaming purposes.
Now that you know how to record with OBS Studio, let’s explore another built-in application on Mac that offers a simpler and more casual recording experience: Photo Booth.
Recording with Photo Booth
For a more casual and fun recording experience on your Mac, you can use the built-in application called Photo Booth. With Photo Booth, you can easily capture videos using your webcam and add various effects and filters. Follow these steps to start recording with Photo Booth:
- Open Photo Booth: Locate and open the Photo Booth application on your Mac. You can find it in the Applications folder or by searching for it in Spotlight.
- Select the video recording option: In the Photo Booth window, click on the video recording icon to switch to video mode. The icon looks like a camera with a small film strip below it.
- Adjust settings: Before recording, you can experiment with different effects and filters by clicking on the Effects button in the bottom right corner. Choose from a variety of options, such as comic book, vintage, or kaleidoscope effects.
- Frame your shot: Position yourself in front of the webcam and adjust your framing to capture the desired composition. You will see a live preview of the video feed in the Photo Booth window.
- Start recording: When you’re ready, click on the red record button or press the spacebar to start recording. Photo Booth will begin capturing the video from your webcam.
- Stop recording: To end the recording, click on the stop button or press the spacebar again. Photo Booth will save the recording to your default Pictures folder by default.
- Preview and edit: After recording, you can review your video within the Photo Booth app. Trim the beginning or end of the recording, apply additional effects or filters, and save the final version to your desired location.
Photo Booth is a convenient option for recording simple videos with basic edits and effects. It’s perfect for capturing quick videos to share with friends or to add a touch of creativity to your recordings.
Remember, Photo Booth may not offer the advanced features found in other dedicated recording software, but it provides an intuitive and user-friendly experience for casual recording needs.
Now that you know how to record with Photo Booth, let’s explore some helpful tips to elevate the quality of your webcam recordings.
Tips for better webcam recordings
Recording with a webcam on your Mac can be a great way to capture high-quality videos. To help you make the most out of your webcam recordings, here are some valuable tips:
- Find good lighting: Lighting plays a crucial role in video quality. Ensure that the room is well-lit, preferably with natural light or a combination of ambient and soft artificial lighting. Avoid harsh shadows and overexposure.
- Position yourself properly: Find a suitable distance from the webcam where you are clearly visible and properly framed. Center yourself in the frame and maintain a comfortable posture.
- Check your audio: Good audio quality enhances the overall viewing experience. Consider using an external microphone, like a USB or headset mic, for better audio clarity. Test your audio levels before recording and make adjustments if necessary.
- Minimize background noise: Choose a quiet environment for recording and minimize any distractions or background noise. Close windows, turn off fans or air conditioning, and inform those around you to avoid interruptions.
- Use a clean background: A cluttered or distracting background can take away the focus from you. Opt for a clean, simple, and well-organized background that doesn’t compete for attention.
- Make eye contact: Maintain eye contact with the webcam to create a more engaging connection with your audience. Look directly into the lens instead of watching yourself on the screen.
- Practice your delivery: If you’re presenting or speaking in your webcam recordings, practice your delivery beforehand. Be mindful of your tone, pace, and clarity to ensure you convey your message effectively.
- Consider your framing: Experiment with different framing techniques, such as the rule of thirds, to add visual interest to your recordings. Avoid placing your face too close to the edge of the frame.
- Be mindful of your internet connection: If you’re live streaming or recording online, a stable internet connection is crucial. Ensure you have a reliable connection to avoid interruptions or buffering issues.
- Review and edit: After recording, take the time to review your videos and make any necessary edits. Cut out any unnecessary parts, enhance the audio or visuals if needed, and ensure your final video meets your quality standards.
By following these tips, you can significantly enhance the quality of your webcam recordings and create more engaging and professional-looking videos. Remember to experiment, practice, and have fun while recording with your webcam.
Now that you’re armed with these valuable tips, you’re ready to create amazing webcam recordings on your Mac. Start recording and unleash your creativity!
Conclusion
Recording with your webcam on a Mac opens up a world of possibilities for content creation, vlogging, online courses, and more. With the right setup, software, and techniques, you can produce high-quality videos that captivate your audience.
In this guide, we covered the essential steps to get started with webcam recording on your Mac. We explored the process of setting up your webcam, choosing the right software, adjusting webcam settings, and recording with popular applications like QuickTime Player, OBS Studio, and Photo Booth.
Remember to connect your webcam properly, check for compatibility and permissions, and position it for optimal framing. Choose software that aligns with your recording needs, whether it’s the simplicity of QuickTime Player, the advanced options of OBS Studio, or the fun and filters of Photo Booth. Adjusting webcam settings, such as resolution, frame rate, exposure, white balance, and focus, will help you achieve the best video quality.
Additionally, we provided tips to elevate the quality of your webcam recordings, including proper lighting, positioning, audio considerations, background choices, framing techniques, and delivery practice. Taking the time to review and edit your recordings allows you to refine and enhance the final video.
Now that you have the knowledge and tools to record with your webcam on a Mac, it’s time to put it into practice. So, grab your webcam, start exploring the software options, and let your creativity shine through your videos. Whether you’re creating educational content, sharing your experiences, or entertaining your audience, your webcam recordings have the power to engage viewers and leave a lasting impact.
So, what are you waiting for? Start recording, have fun, and unleash your potential with webcam recording on your Mac!