Introduction
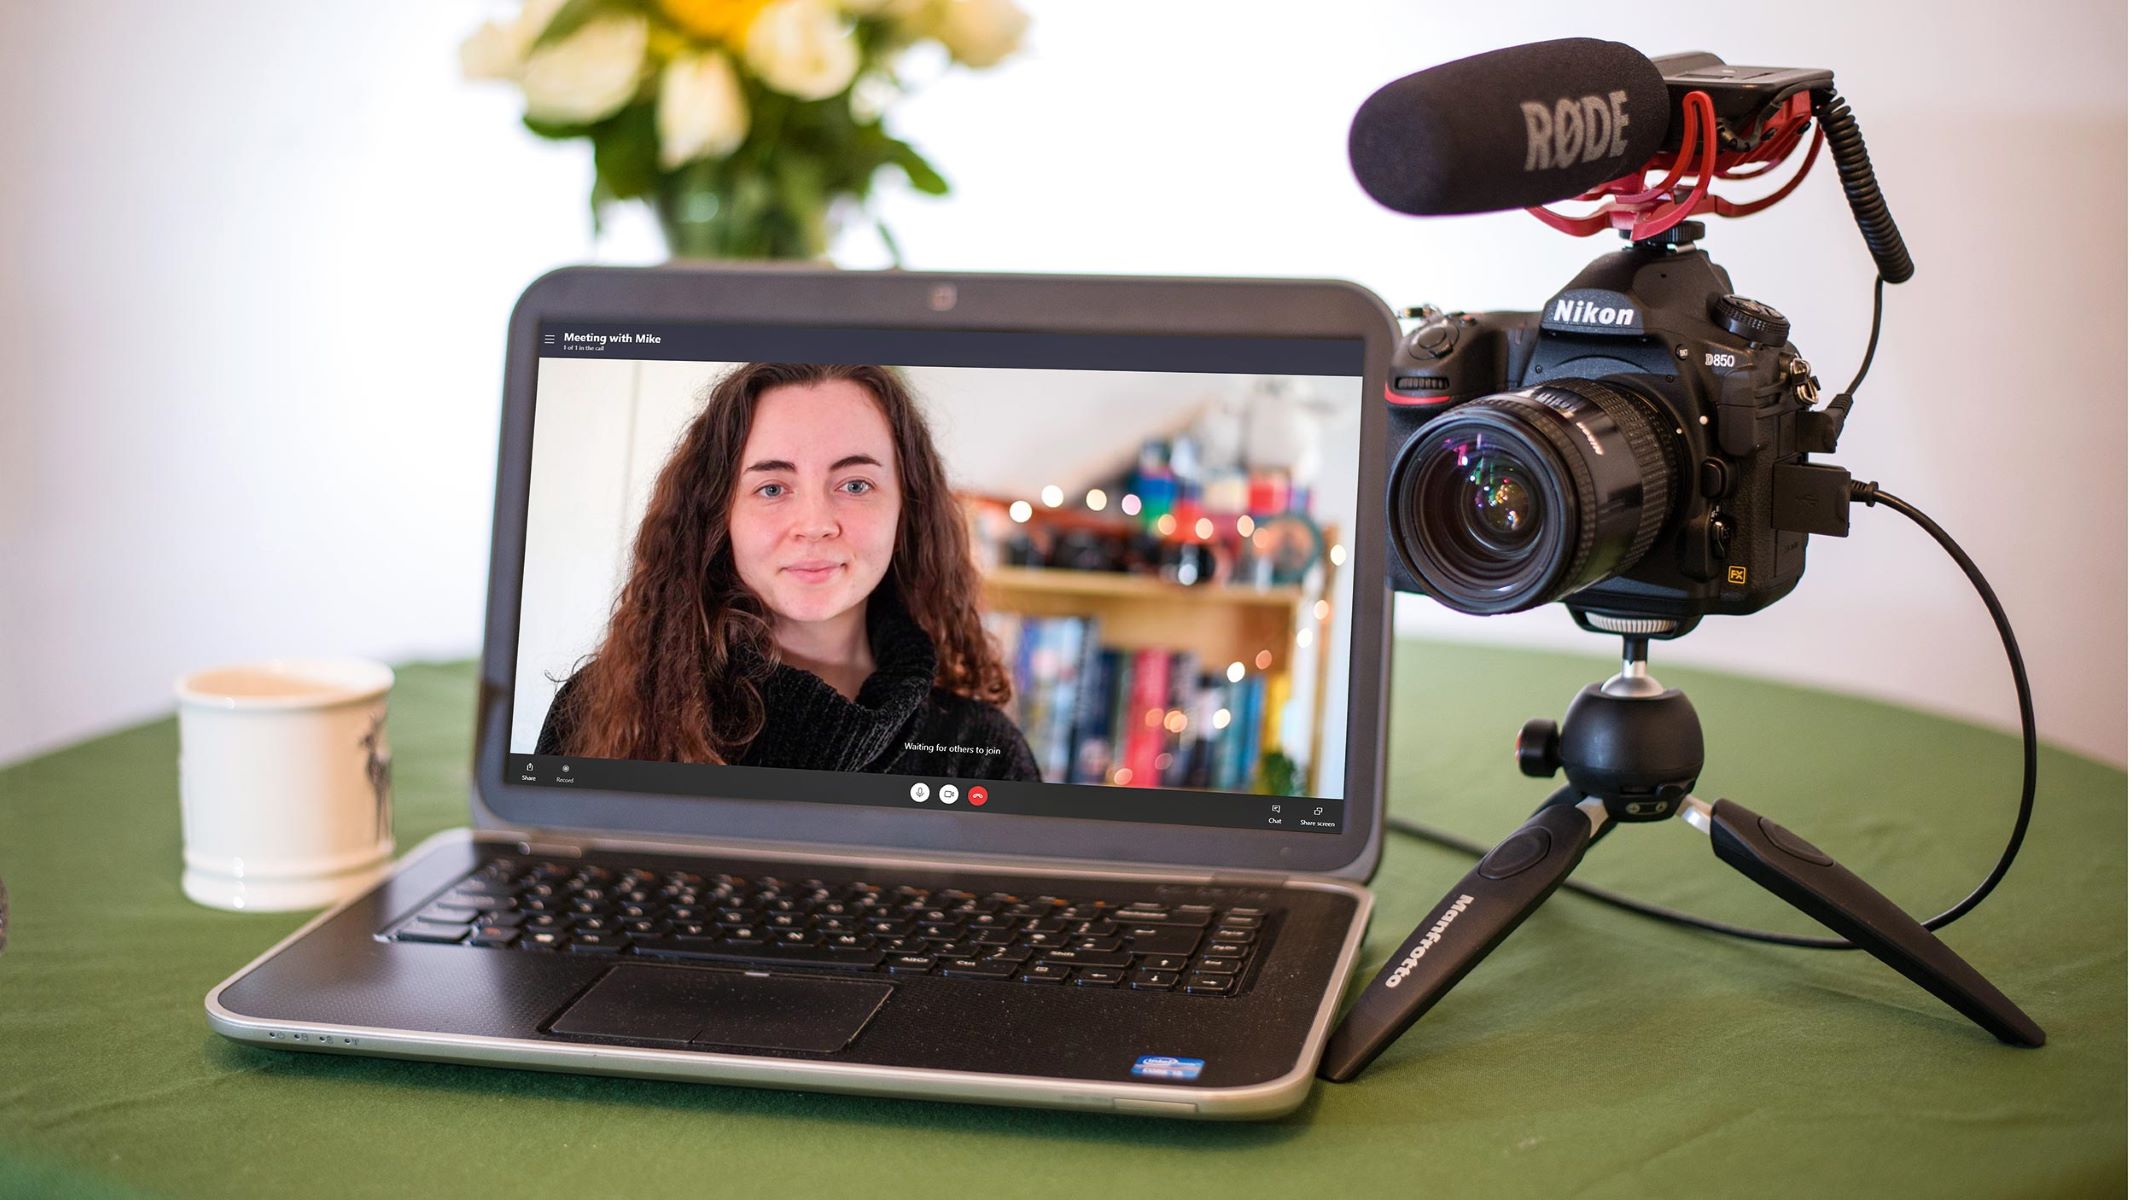
In today’s digital age, video conferencing has become an essential tool for communication, whether for work or personal purposes. With the increasing demand for high-quality video calls, many people are looking for ways to enhance their video setup. If you are a Nikon camera owner, you’re in luck! Did you know that you can use your Nikon camera as a webcam for your video conferencing needs?
In this article, we will guide you through the steps on how to utilize your Nikon camera as a webcam, opening up a whole new world of possibilities for your video calls. Whether you’re a professional using it for business meetings or a casual user wanting to enhance your virtual hangouts, using your Nikon camera as a webcam can significantly improve the quality and clarity of your video feed.
By following a few simple steps and utilizing Nikon’s Webcam Utility software, you can transform your camera’s capabilities to offer a professional-grade streaming experience. So, let’s dive in and explore how you can make the most of your Nikon camera for your video conferencing needs.
Required Equipment
Before you can start using your Nikon camera as a webcam, there are a few essential pieces of equipment that you will need to gather:
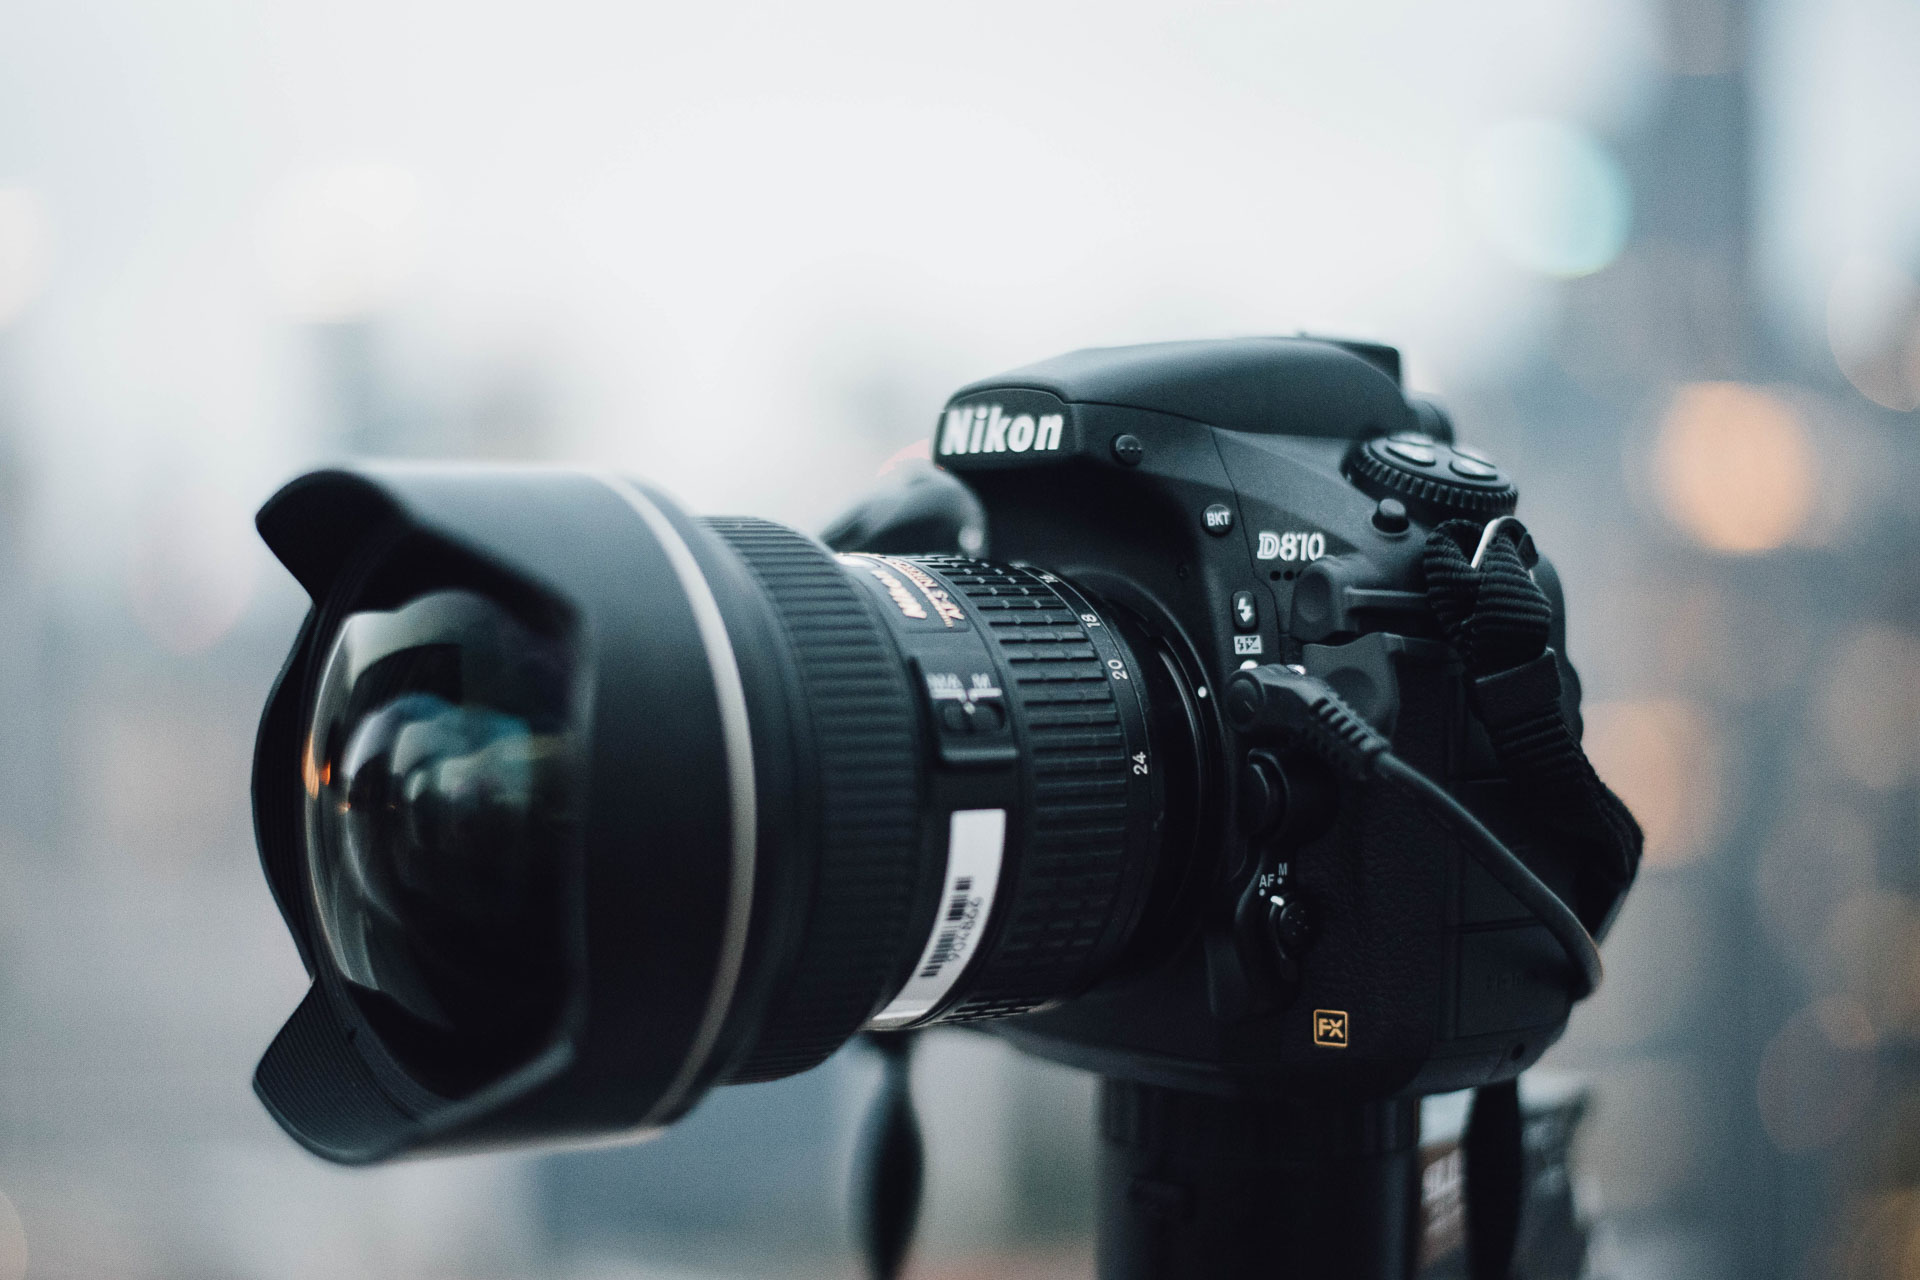
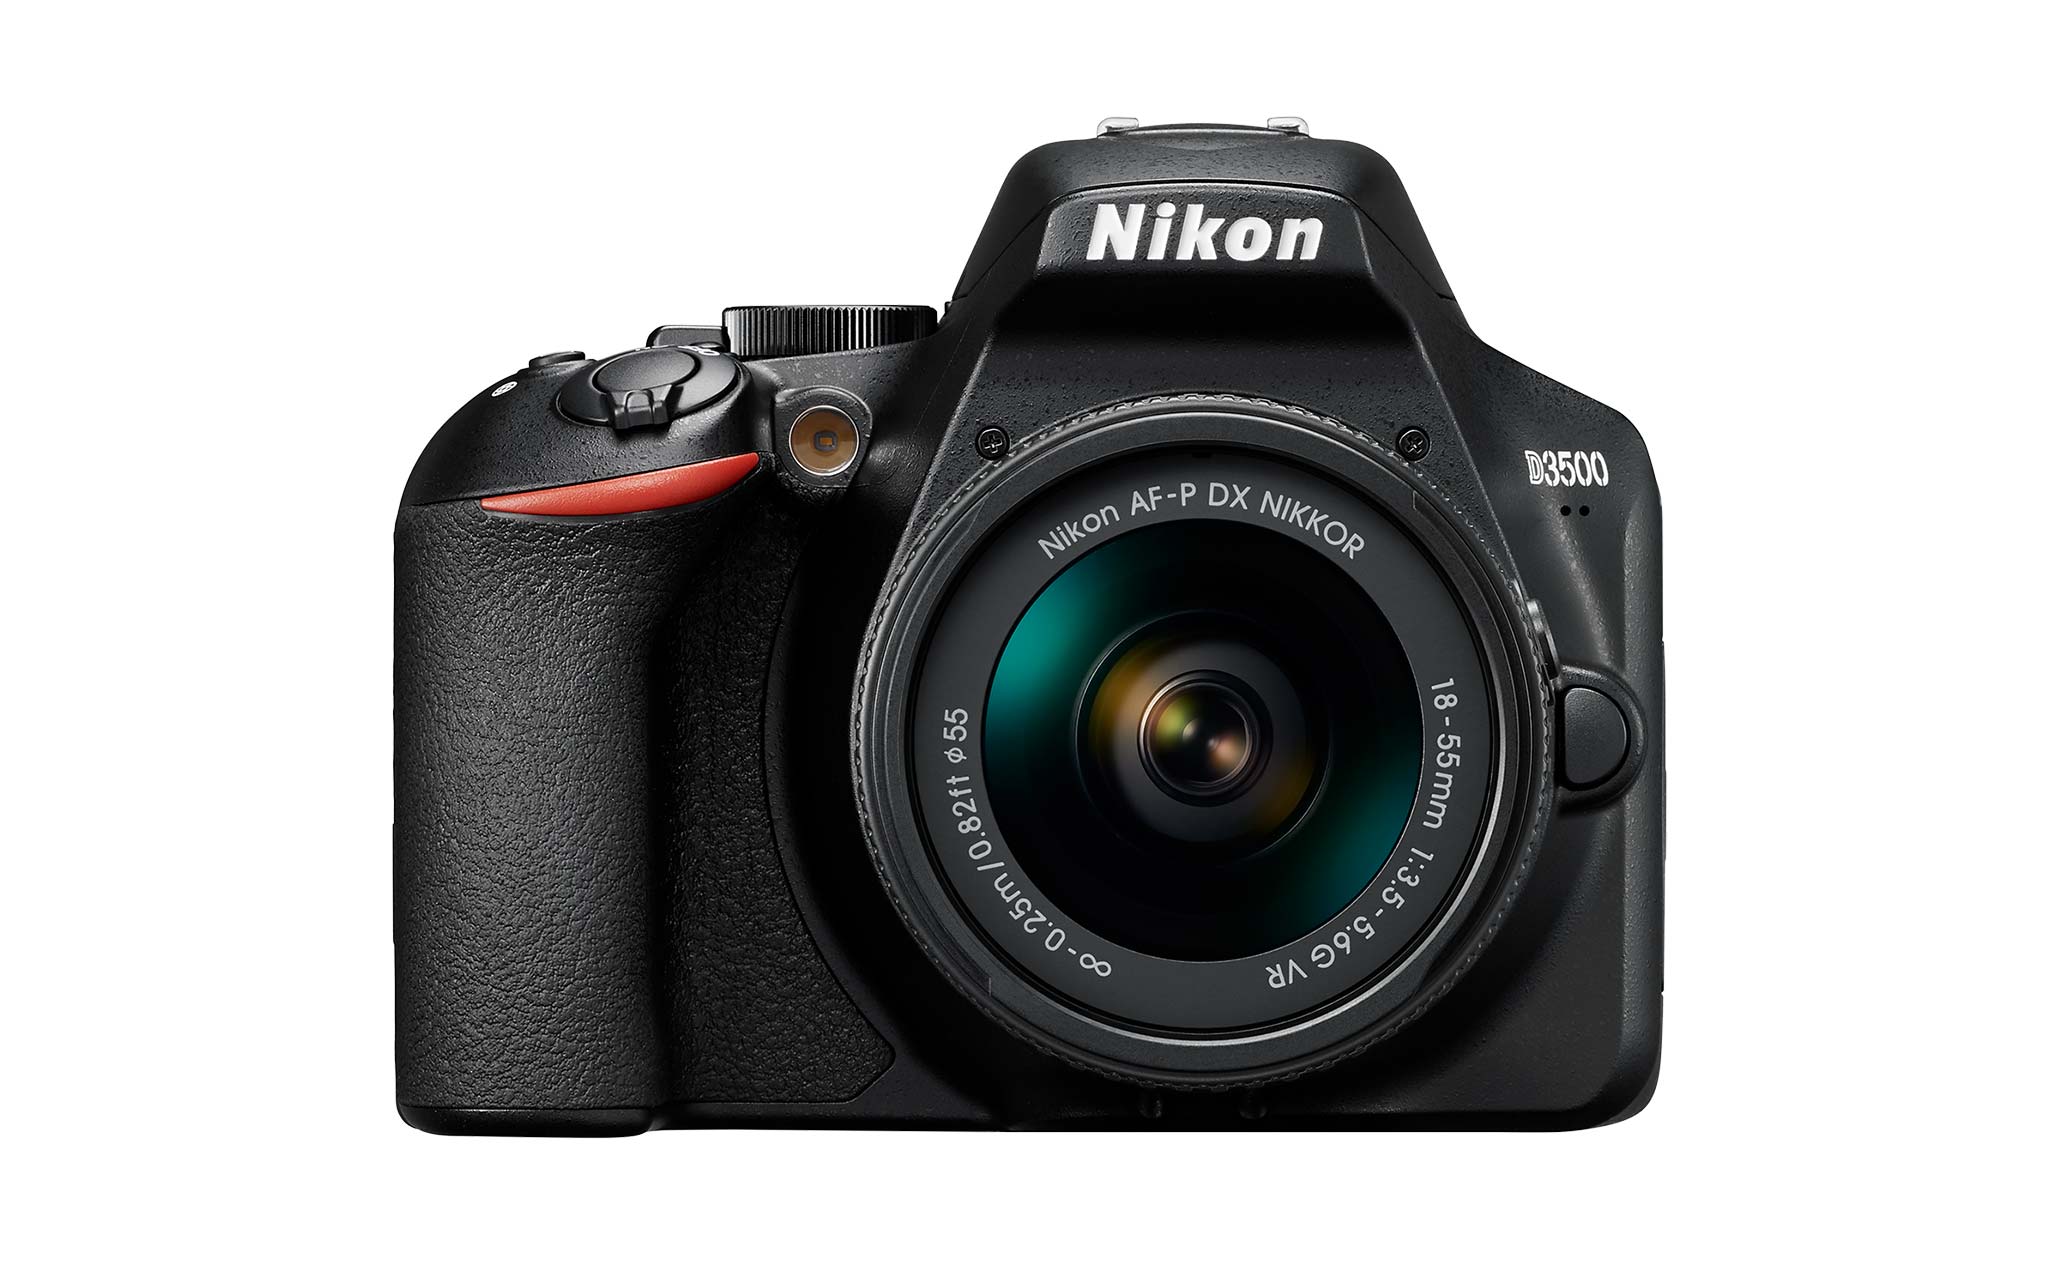
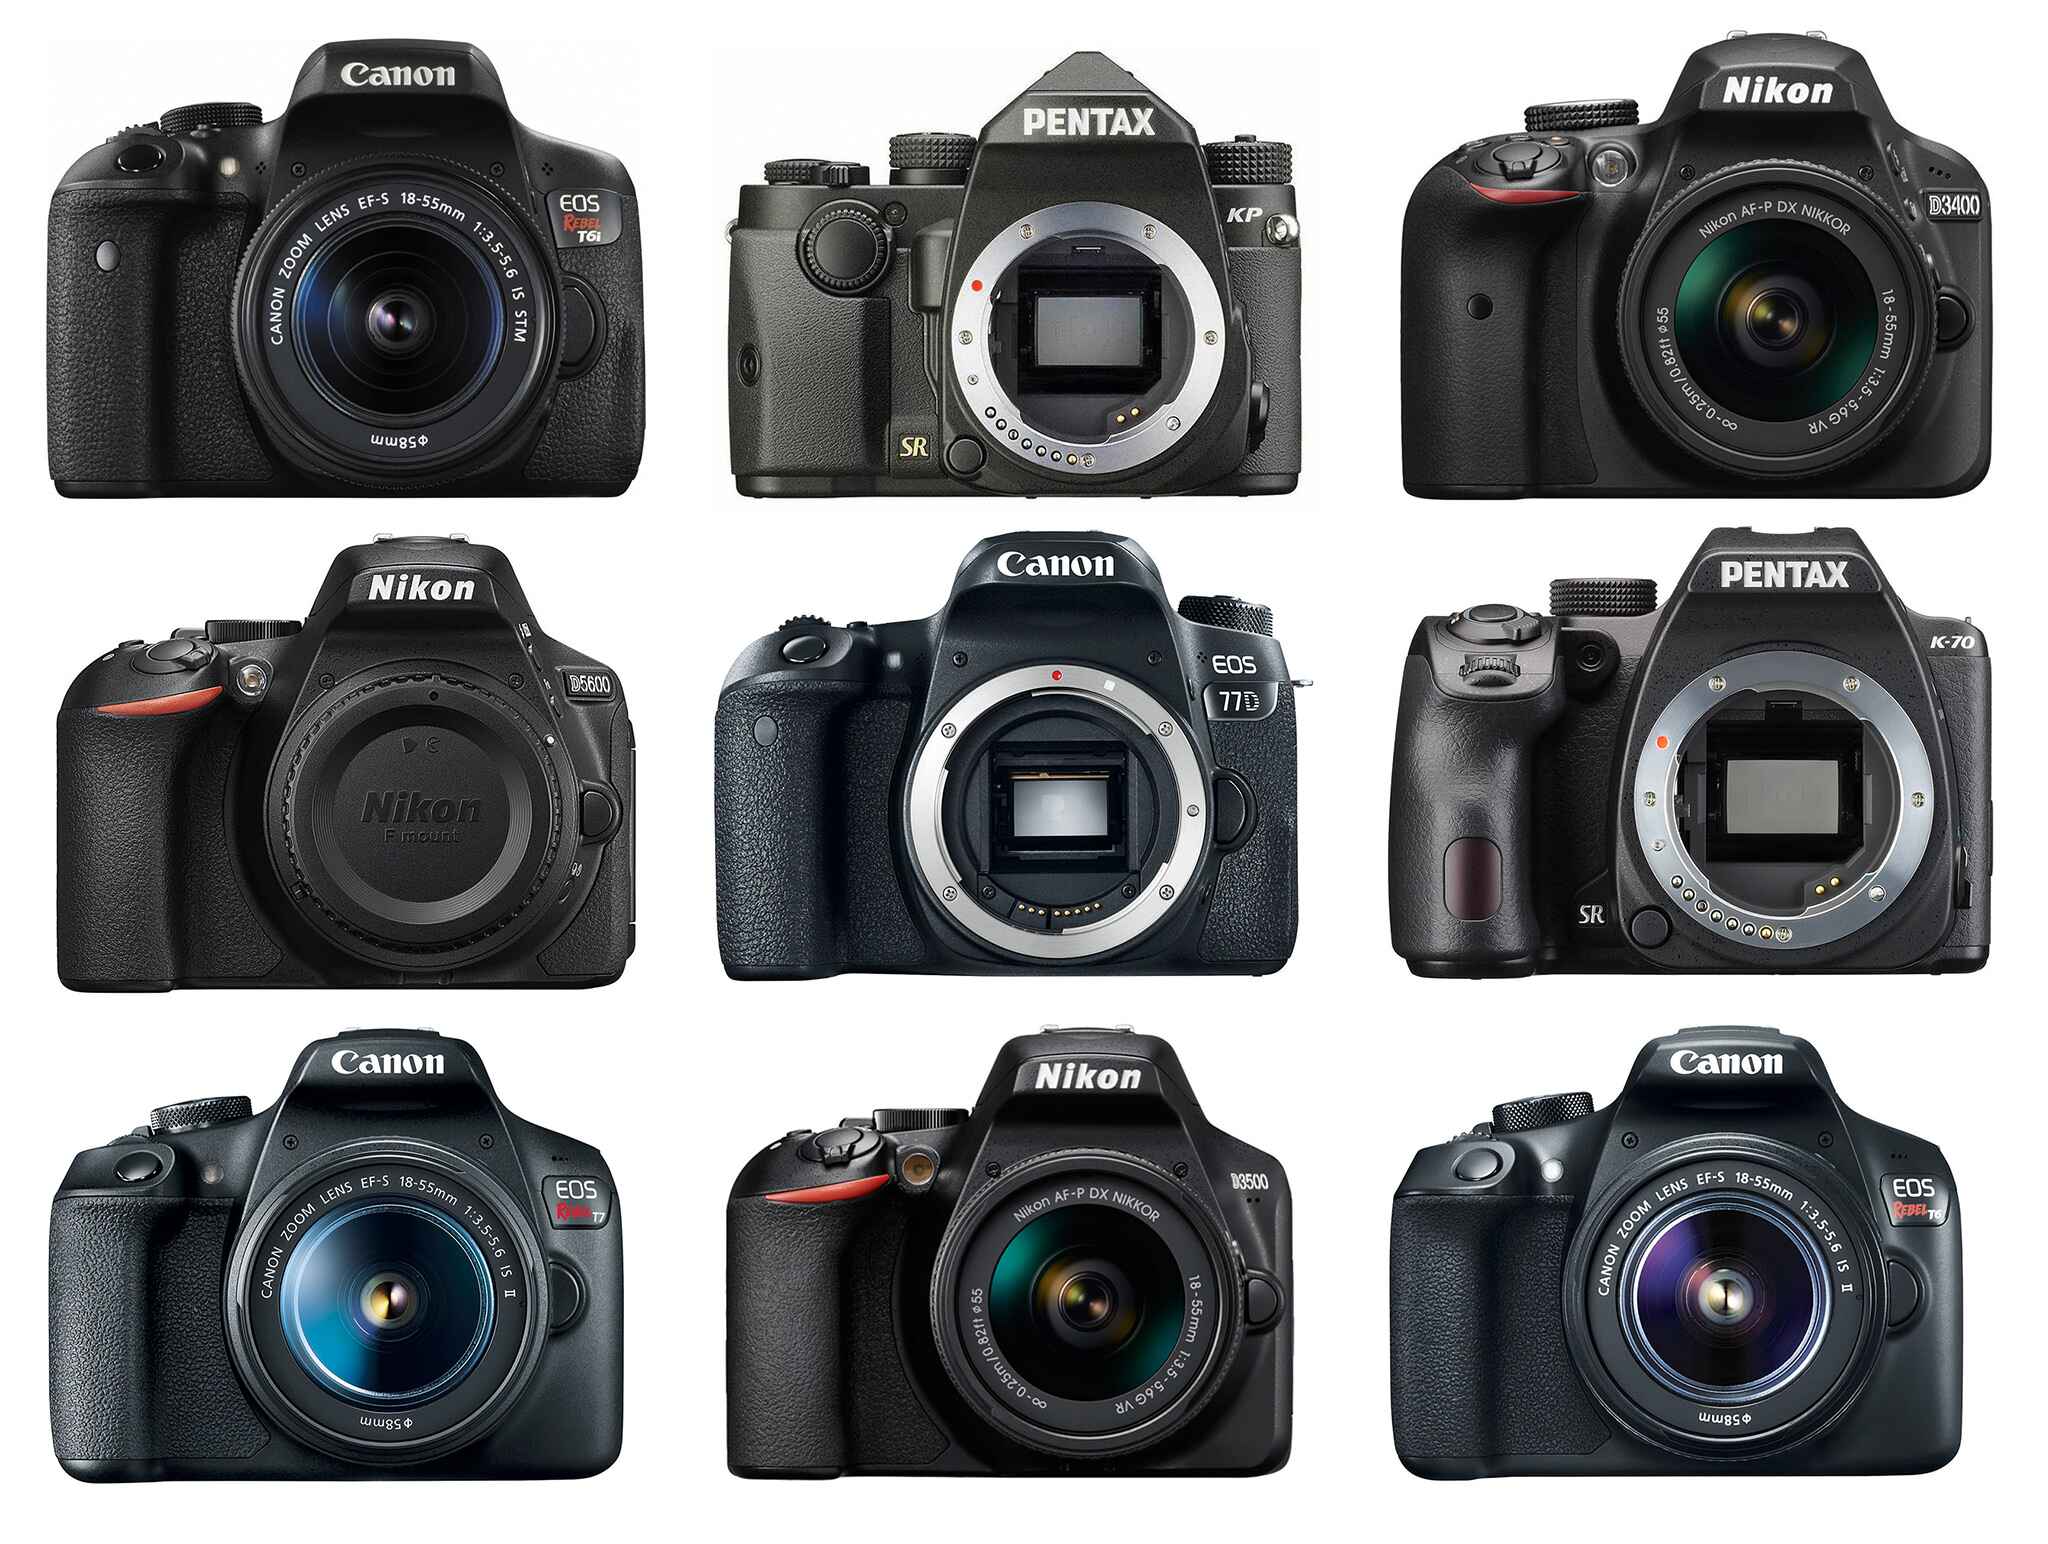
- Nikon Camera: Of course, the first thing you will need is a compatible Nikon camera. Most recent Nikon DSLRs and mirrorless cameras are supported, but it’s a good idea to check Nikon’s official website or user manual to ensure your specific model is compatible.
- USB Cable: You will need a USB cable that is compatible with your Nikon camera. This cable will be used to connect your camera to your computer.
- Computer: Make sure you have a computer with a USB port and that meets the system requirements for the Nikon Webcam Utility.
- Video Conferencing Software: You will need video conferencing software installed on your computer. Popular options include Zoom, Microsoft Teams, Skype, or Google Meet.
- Power Supply: To ensure uninterrupted usage, it is recommended to have your Nikon camera connected to a power source, either through an AC adapter or a fully charged battery.
Once you have gathered all the necessary equipment, you’re ready to dive into the process of setting up your Nikon camera as a webcam. Let’s move on to the next section where we will guide you through the installation of the Nikon Webcam Utility.
Step 1: Install Nikon Webcam Utility
The first step in utilizing your Nikon camera as a webcam is to install the Nikon Webcam Utility software. This software allows your computer to recognize your camera as a webcam device.
Follow these steps to install the Nikon Webcam Utility:
- Visit the Nikon website and navigate to the support section.
- Search for the Nikon Webcam Utility software that is compatible with your camera model.
- Download the software and run the installer on your computer.
- Follow the on-screen instructions to complete the installation process.
Once the Nikon Webcam Utility software is successfully installed, you’re ready to move on to the next step: connecting your Nikon camera to your computer.
Note: It’s important to keep the Nikon Webcam Utility software up to date by checking for any available updates on the Nikon website. Updating the software ensures optimal performance and compatibility with your camera.
Step 2: Connect Your Nikon Camera to Your Computer
Now that you have the Nikon Webcam Utility software installed on your computer, it’s time to connect your Nikon camera to your computer using a USB cable. Follow these steps:
- Turn off your Nikon camera and your computer.
- Locate the USB port on your camera. It is usually found on the side or back of the camera.
- Connect one end of the USB cable to your Nikon camera’s USB port.
- Connect the other end of the USB cable to an available USB port on your computer.
- Once the cable is securely connected, turn on your Nikon camera and then turn on your computer.
Your computer should now recognize your Nikon camera as a webcam device. If you encounter any issues, make sure that you have the latest drivers installed for your camera and try using a different USB cable or USB port on your computer. It’s also a good idea to check the camera’s settings to ensure it is set to operate as a webcam.
With your Nikon camera successfully connected to your computer, let’s move on to the next step: adjusting the camera settings.
Step 3: Adjust Camera Settings
Now that your Nikon camera is connected to your computer, it’s time to adjust the camera settings to optimize its performance as a webcam. Here are the key settings to consider:
- Mode Selection: Set your camera to either Manual mode or Aperture Priority mode for better control over exposure and depth of field.
- Focus Mode: Choose the appropriate focus mode based on your video conferencing needs. For static setups, you can use Single AF; for more dynamic scenarios, Continuous AF can help keep you in focus.
- White Balance: Adjust the white balance to ensure accurate color representation. You can set it to Auto or manually select the appropriate white balance preset based on your environment.
- Image Quality: Set the image quality to the highest possible setting to ensure clear and sharp video output.
To access these settings, refer to your Nikon camera’s user manual as they may vary depending on the camera model. Make adjustments to these settings while keeping in mind your specific video conferencing requirements and the lighting conditions in your environment.
Additionally, it is recommended to disable any camera features that may interfere with the webcam functionality, such as anti-flicker settings or power-saving modes. These settings can affect the camera’s continuous streaming capabilities.
Once you have adjusted the camera settings to your preference, you are ready to move on to the next step: selecting your Nikon camera as a webcam in your video conferencing software.
Step 4: Select Nikon Camera as Webcam in Your Video Conferencing Software
With your Nikon camera connected and its settings adjusted, it’s time to set it as your webcam within your chosen video conferencing software. The process may vary slightly depending on the software you are using, but the general steps are as follows:
- Launch your preferred video conferencing software on your computer.
- Navigate to the settings or preferences section of the software.
- Look for the “Video” or “Camera” settings.
- Within the camera settings, you should see a list of available camera options.
- Select your Nikon camera from the list as the default webcam device.
- Adjust any additional video settings like resolution or frame rate if desired.
Once you have selected your Nikon camera as the webcam, you should see the live feed from your camera appear as the video input in your video conferencing software. You can now start using your Nikon camera for your video calls, online meetings, or virtual hangouts.
If you encounter any issues during the setup process, ensure that your camera is correctly connected, the Nikon Webcam Utility is running, and you have selected the appropriate camera in the software settings. If the camera is not appearing as an option, try restarting both the camera and the video conferencing software.
It’s worth noting that some video conferencing software may have additional settings or features to enhance the video quality, such as virtual backgrounds or image adjustment options. Feel free to explore these options to further enhance your video stream.
Now that your Nikon camera is successfully set up as a webcam in your video conferencing software, you can enjoy high-quality video calls with improved clarity and detail.
Tips for Using Your Nikon Camera as a Webcam
Now that you have successfully set up your Nikon camera as a webcam, here are some tips to help you get the most out of your camera for your video conferencing needs:
- Lighting: Ensure you have adequate lighting in your setup. Good lighting can greatly enhance the image quality and make you look more professional. Use natural light or invest in some affordable LED lights to illuminate your face evenly.
- Composition: Pay attention to your camera’s composition. Position it at eye-level or slightly above for a flattering angle. Frame yourself in the center of the screen, leaving some headroom. Consider using the camera’s gridlines to align yourself perfectly.
- Background: Choose a clean and clutter-free background for a more professional appearance. Consider using virtual backgrounds if your conferencing software supports them, or use a physical backdrop for a consistent and visually appealing setup.
- Audio: While your camera may offer decent audio quality, it’s recommended to use a separate microphone, such as a USB microphone, for clearer and crisper sound. Place the microphone close to you and disable the camera’s built-in microphone to avoid audio conflict.
- Internet Connection: A stable and robust internet connection is crucial for smooth video streaming. Make sure you are connected to a reliable network or use an Ethernet connection if available. Close any unnecessary bandwidth-consuming applications to ensure optimal performance.
- Session Duration: Keep an eye on the camera’s temperature during long video calls. Continuous usage can cause the camera to heat up, which may affect its performance. If needed, give your camera short breaks to cool down.
Remember, practice makes perfect. Take some time to experiment with your camera’s settings and familiarize yourself with its features before using it for important video conferences. This will allow you to make any necessary adjustments and ensure you are comfortable with the setup.
By following these tips, you can elevate the quality of your video calls and portray a more professional image. Utilizing your Nikon camera as a webcam opens up a world of possibilities for high-quality video communication.
Conclusion
Using your Nikon camera as a webcam can significantly enhance the quality of your video conferencing experience. By following the steps outlined in this guide, you can transform your Nikon camera into a powerful tool for virtual communication.
We started by installing the Nikon Webcam Utility software, which allows your computer to recognize your camera as a webcam. Then, we discussed the process of connecting your Nikon camera to your computer using a USB cable.
Next, we explored adjusting the camera settings to optimize its performance as a webcam. By selecting the appropriate mode, focus settings, white balance, and image quality, you can ensure that your video feed looks professional and clear.
Finally, we covered the crucial step of selecting your Nikon camera as the default webcam in your video conferencing software. By following the software’s settings and choosing your Nikon camera as the video input, you enable high-quality streaming for your video calls.
To further enhance your video conferencing experience, we provided helpful tips, including lighting considerations, composition techniques, background choices, audio setup, internet connection stability, and managing session duration to prevent overheating.
Now, armed with the knowledge and steps outlined in this guide, you can confidently use your Nikon camera as a webcam and enjoy professional-grade video calls, online meetings, and virtual hangouts.
Remember to stay updated with the latest software versions and camera firmware to ensure optimal performance. Explore the possibilities offered by your Nikon camera as a webcam and make the most of its exceptional image quality and features.
With your Nikon camera as your new webcam, you’ll elevate your virtual presence and leave a lasting impression on your video conferences. So, go ahead and enjoy enhanced video quality and a more engaging video conferencing experience with your Nikon camera!