Introduction
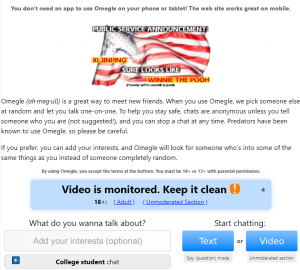
Omegle is a widely popular platform for connecting with strangers via video chatting. Whether you’re looking to make new friends or engage in intriguing conversations, Omegle provides an avenue to meet new people from all around the world. One of the key features of Omegle is the ability to utilize your webcam to chat face-to-face with strangers.
However, there may be instances where you want to change your webcam on Omegle. Perhaps your default webcam is not functioning properly, or you have multiple webcams connected to your device, and you want to switch between them. In this article, we will explore different methods to change your webcam on Omegle, enabling you to have a seamless and enjoyable video chat experience.
It’s important to note that the methods we will discuss are applicable to various devices, including desktop computers, laptops, and even mobile devices. So regardless of the device you’re using, you will be able to follow these steps and change your webcam settings on Omegle.
Before we dive into the step-by-step guide, let’s take a look at why you might want to change your webcam on Omegle.
Why would you want to change your webcam on Omegle?
There are several reasons why you might want to change your webcam on Omegle. Let’s explore some of the common scenarios:
- Technical issues with your default webcam: Your default webcam may not be functioning properly, displaying a blurry image, or experiencing connectivity problems. In such cases, changing your webcam can help you troubleshoot these issues and ensure a smooth video chat experience.
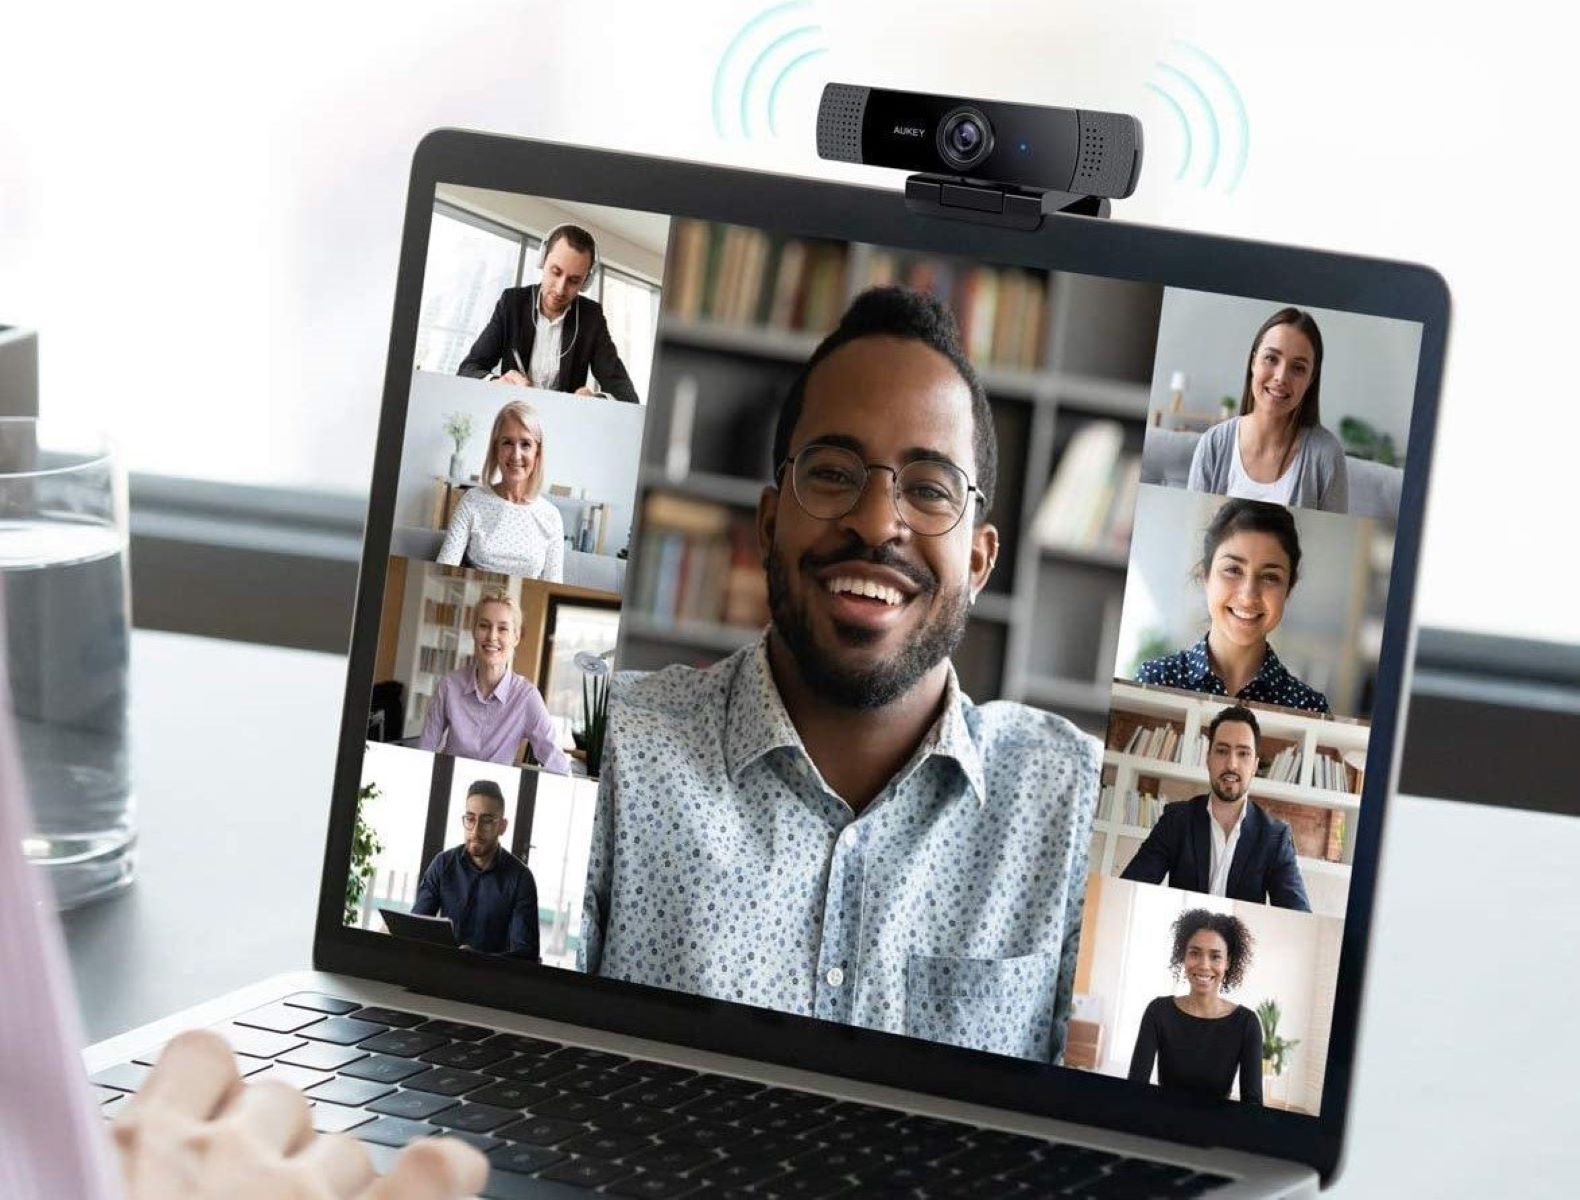
- Using a higher-quality webcam: If you have a secondary webcam or an external one that offers better video quality, you may want to switch to it while chatting on Omegle. This can enhance the visual clarity and make your conversations more enjoyable.
- Privacy concerns: Some users prefer to maintain their privacy while using Omegle. If your default webcam has a built-in microphone that captures audio, you may want to switch to a webcam without a microphone to prevent unintentional audio sharing during your chats.
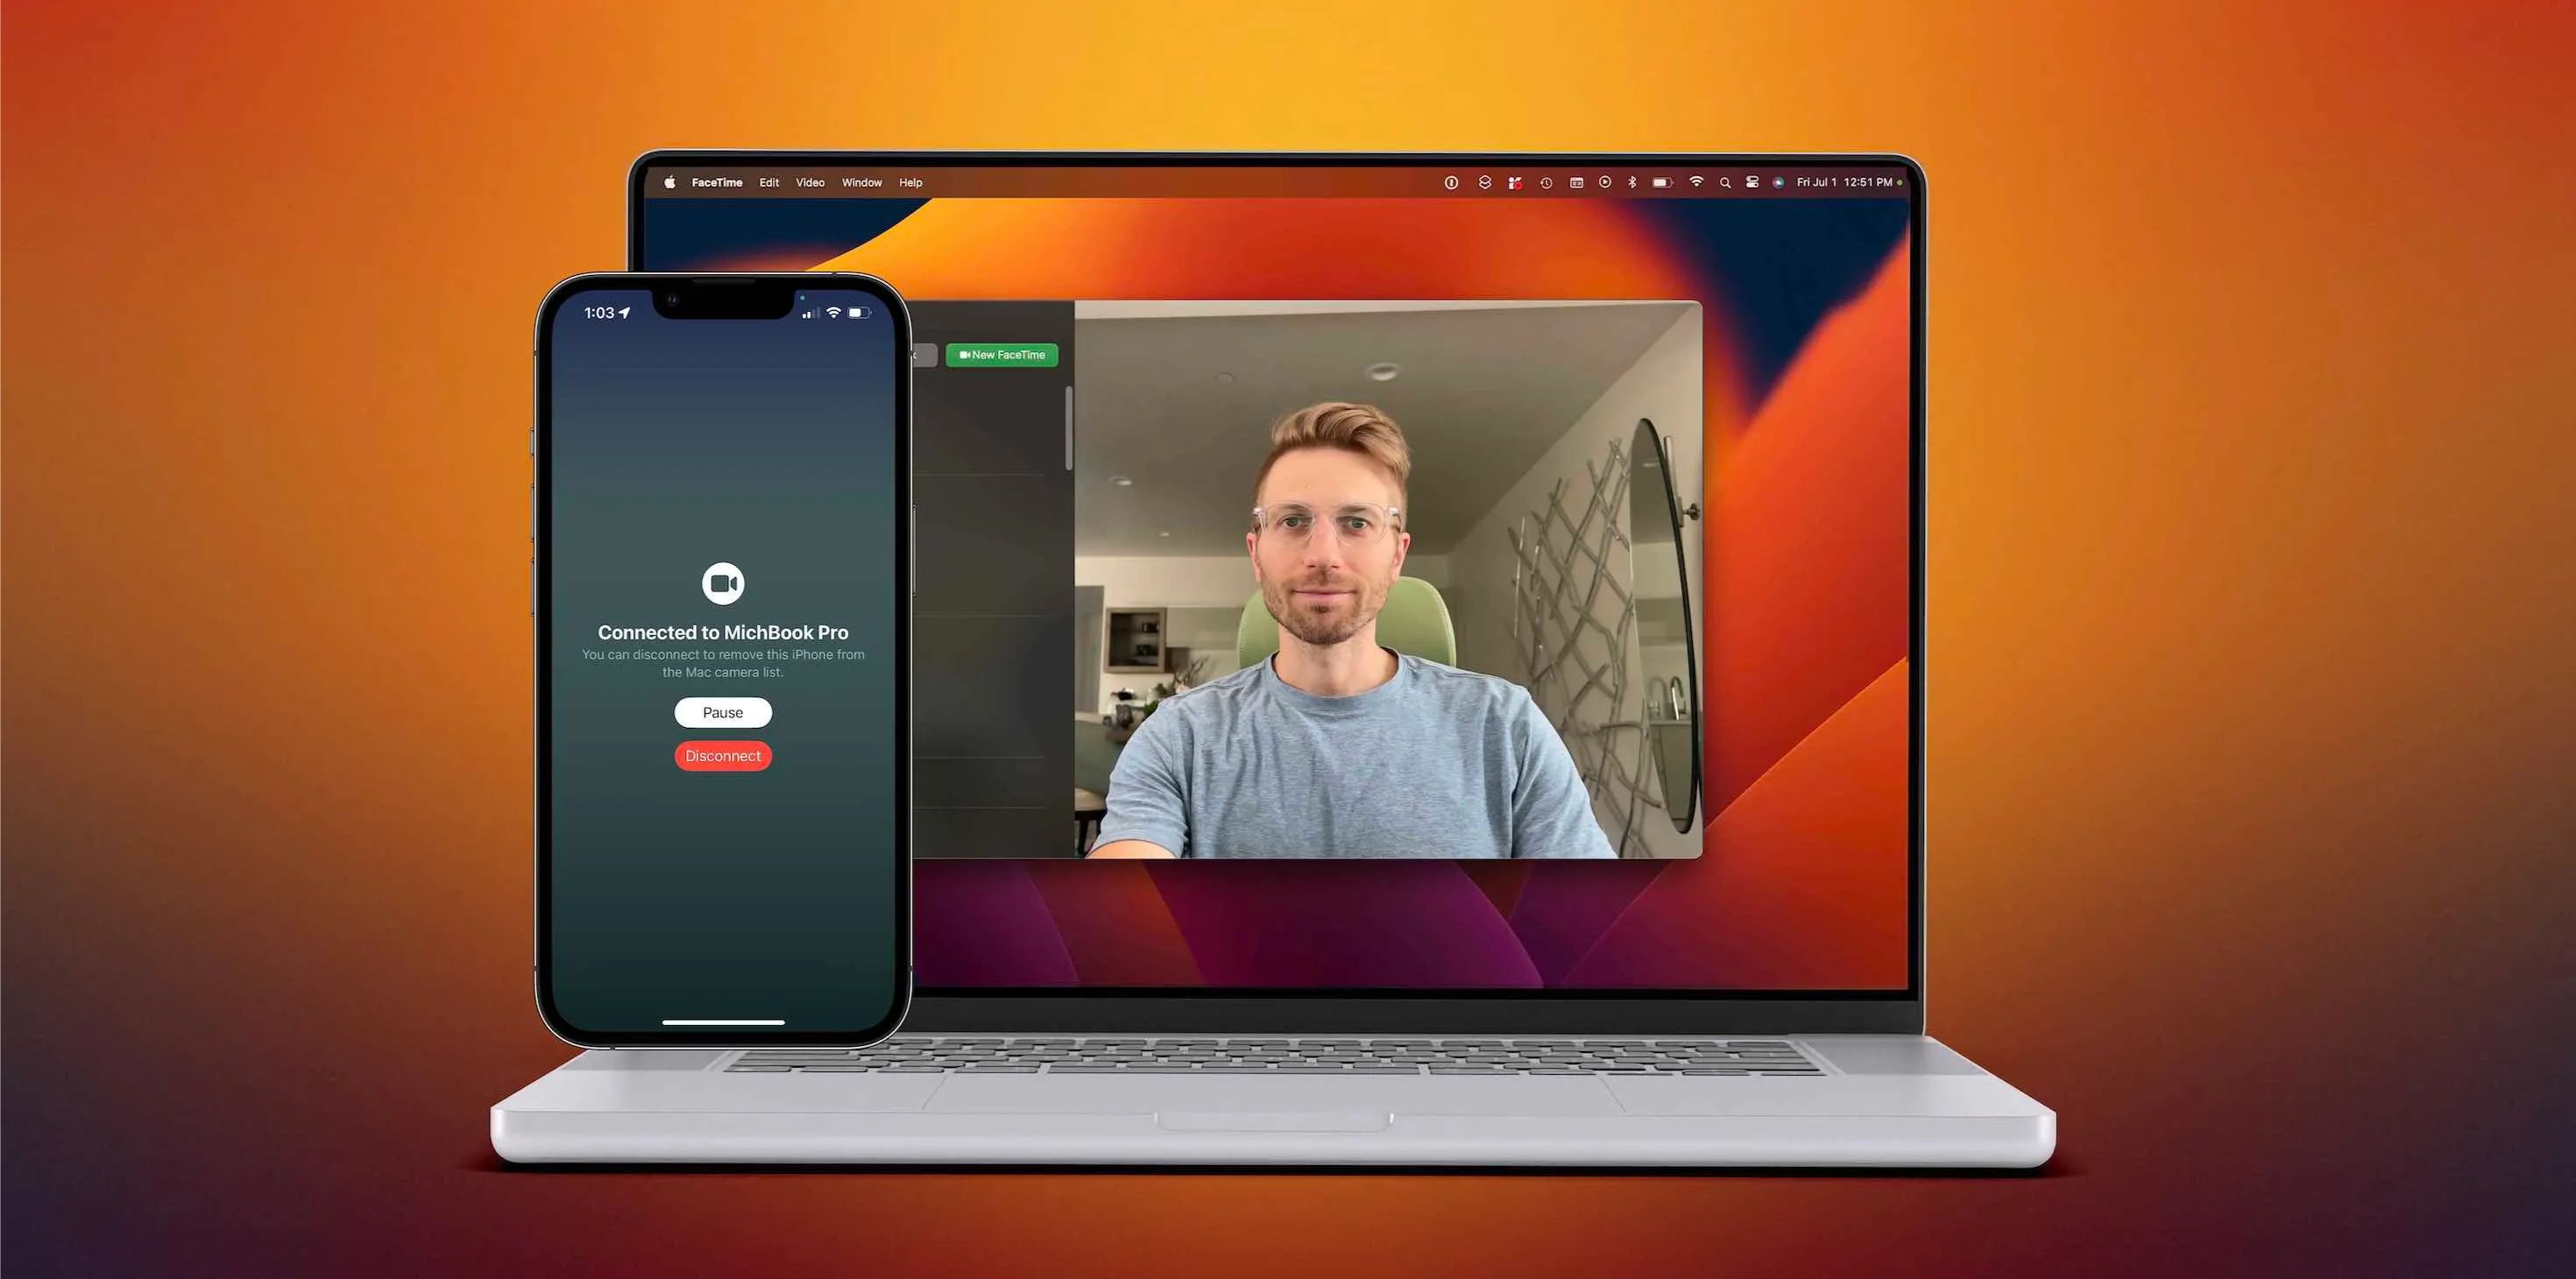
- Multi-purpose devices: Many laptops and mobile devices come with both front and rear-facing cameras. If you want to show something in your surroundings or switch to a different perspective during a conversation, changing your webcam can allow you to use the alternate camera.
- Experimenting with different effects: Changing your webcam on Omegle can also enable you to experiment with various filters, effects, or virtual backgrounds offered by certain webcam software. This can add a fun and creative element to your video chats and make them more engaging.
By having the option to change your webcam on Omegle, you have the flexibility to address technical issues, enhance video quality, protect your privacy, and explore different visual effects. This ensures that you can have a customized video chat experience that suits your preferences and requirements.
Step-by-step guide to changing your webcam on Omegle
Changing your webcam on Omegle is a simple process. Below, we have provided a step-by-step guide to help you navigate through the different methods:
- Method 1: Changing webcam settings on your device:
- Open your preferred web browser and visit the Omegle website.
- Allow Omegle to access your webcam when prompted.
- Once connected, click on the camera icon in the chat box to open the webcam settings.
- You will see a drop-down menu where you can select the preferred webcam device connected to your device.
- Select the webcam you want to use from the list.
- If you wish to test your new webcam before starting a conversation, click on the “Preview Webcam” button.
- Once you are satisfied with the settings, begin your video chat with strangers.
- Method 2: Using a virtual webcam software:
- Download and install a reliable virtual webcam software like ManyCam or WebcamMax on your device.
- Open the virtual webcam software and configure the settings according to your preferences.
- Open your web browser and go to the Omegle website.
- In the virtual webcam software, select the desired webcam device and apply any effects or filters you want to use during the video chat.
- Allow Omegle to access your webcam when prompted.
- Start a video chat on Omegle, and the virtual webcam will be activated, displaying the modified video feed from the selected webcam device.
- Method 3: Connecting an external webcam:
- Connect the external webcam to your device using the USB or relevant connectivity method.
- Ensure that the webcam is properly recognized and installed by checking the device manager or your computer’s settings.
- Open your web browser and navigate to the Omegle website.
- Grant Omegle permission to access your webcam.
- When prompted, select the external webcam as the preferred device for video chatting.
- Start your conversation, and Omegle will utilize the external webcam for the video feed.
With these step-by-step instructions, you can easily change your webcam on Omegle using different methods. Explore the options available to you and customize your video chat experience to meet your needs.
Method 1: Changing webcam settings on your device
If you want to change your webcam on Omegle, you can start by adjusting the webcam settings on your device. Here’s how you can do it:
- Open your preferred web browser and visit the Omegle website.
- When prompted, allow Omegle to access your webcam.
- Once connected, you will see a chat box. Click on the camera icon within the chat box to open the webcam settings.
- In the webcam settings, you will find a drop-down menu with a list of available webcam devices connected to your device.
- Select the webcam you want to use from the list. If you have multiple webcams connected, make sure to choose the one you prefer.
- If you want to test the selected webcam before starting a conversation, you can click on the “Preview Webcam” button to check the video feed.
- Once you are satisfied with the settings and have selected the desired webcam, you can now begin your video chat on Omegle. The platform will use the chosen webcam for the video feed.
This method allows you to change the webcam on Omegle by selecting a different webcam device from the available options on your device. It is particularly useful if you have multiple webcams connected, and you want to switch between them for different video chat sessions.
Remember to ensure that the selected webcam is properly connected and recognized by your device before attempting to change the webcam settings on Omegle. If you encounter any issues or if the desired webcam does not appear in the drop-down menu, you may need to troubleshoot the connection or check for updated drivers for your webcam.
By following these simple steps, you can easily change your webcam on Omegle and enjoy seamless video chatting with strangers from around the world.
Method 2: Using a virtual webcam software
If you want to take your webcam experience on Omegle to the next level, you can use a virtual webcam software. These software applications allow you to add various effects, filters, and even virtual backgrounds to your video feed. Here’s how you can change your webcam on Omegle using a virtual webcam software:
- Start by downloading and installing a reliable virtual webcam software such as ManyCam or WebcamMax onto your device.
- Once the software is installed, open it and configure the settings according to your preferences. You may have options to choose different effects, overlays, or customize your video stream.
- Open your web browser and navigate to the Omegle website.
- Before allowing Omegle access to your webcam, go back to the virtual webcam software and select the webcam device you want to use for the video chat. This can be your default webcam or any other webcam connected to your device.
- Apply any desired effects or filters offered by the virtual webcam software to enhance your video feed.
- Once you have made your desired adjustments, go back to Omegle and grant permission for the website to access your webcam as prompted.
- Start a video chat on Omegle, and the virtual webcam software will activate, displaying the modified video feed from the selected webcam device along with the applied effects or filters.
Using a virtual webcam software allows you to add a creative touch to your video chats on Omegle. You can choose from a variety of effects like face masks, backgrounds, and even overlays to make your conversations more engaging and entertaining.
It’s important to note that some virtual webcam software applications may require a premium subscription to unlock certain features or remove watermarks. Make sure to explore the available options and choose the software that best suits your needs.
With a virtual webcam software, you can personalize your video chat experience on Omegle and make it more fun and memorable for both you and your chat partner.
Method 3: Connecting an external webcam
If you have an external webcam that you want to use for your Omegle video chats, you can easily connect it to your device and change your webcam settings. Here’s how you can do it:
- Begin by connecting the external webcam to your device using the USB or relevant connectivity method. Ensure that the connection is secure.
- Once connected, check if the webcam is properly recognized and installed by going to the device manager or your computer’s settings.
- Open your preferred web browser and go to the Omegle website.
- When prompted, grant Omegle permission to access your webcam.
- On the Omegle website, you may see a pop-up or settings icon that allows you to choose the preferred webcam device. Click on it.
- In the options provided, select the external webcam as your preferred device for video chatting.
- You can now start your conversation on Omegle, and the platform will utilize the external webcam for the video feed.
Connecting an external webcam gives you the flexibility to use a webcam device separate from your built-in or default webcam. This can be particularly useful if you have a higher-quality external webcam or if you want to capture a different perspective during your video chats.
Ensure that the external webcam is properly plugged in and recognized by your device before attempting to change the webcam settings on Omegle. If you encounter any issues, check the connection, and make sure your device’s drivers are up to date.
By following these steps, you can easily change your webcam on Omegle and enjoy high-quality video chats with strangers using an external webcam.
Troubleshooting common issues
While changing your webcam on Omegle is usually a straightforward process, you may encounter some common issues along the way. Here are a few troubleshooting tips to help you resolve these problems:
- Webcam not recognized: If your webcam is not being recognized by Omegle or your device, try disconnecting and reconnecting the webcam. Make sure the connection is secure and consider trying a different USB port. Additionally, check if the webcam drivers are up to date.
- Low video quality: If you are experiencing low video quality during your video chats on Omegle, ensure that you have a stable internet connection. Close any bandwidth-consuming applications running in the background to optimize your video chat experience. Additionally, check if there are any settings within the webcam software that can enhance the video quality.
- No audio on video chat: If you cannot hear or the other person cannot hear you during a video chat, ensure that your microphone is enabled and functioning correctly. Check the audio settings on Omegle and make sure the correct microphone device is selected. Consider restarting your browser or device to resolve any temporary software issues.
- Webcam freezing or lagging: If your webcam feed is freezing or lagging during video chats, it could be due to slow internet connectivity or hardware limitations. Close any unnecessary applications that may be using system resources and reduce the number of active browser tabs. If the issue persists, try using a wired internet connection or upgrading your hardware if possible.
- Compatibility issues: If you are using an older webcam or operating system, you may encounter compatibility issues. Check the system requirements of Omegle and ensure that your device meets the minimum specifications. Consider updating your webcam drivers or using alternative webcam software that is compatible with your system.
If you continue to experience issues with your webcam on Omegle even after troubleshooting, it may be helpful to consult the Omegle support forum or seek assistance from technical support channels. They may be able to provide more specific guidance based on your device and software configuration.
Remember to always prioritize your privacy and stay cautious while engaging in video chats with strangers on Omegle. Make sure to use reputable webcam software and only grant necessary permissions to ensure a safe and enjoyable experience.
Conclusion
Changing your webcam on Omegle can enhance your video chat experience and provide you with more options to customize your interactions with strangers. Whether you want to troubleshoot technical issues, improve video quality, protect your privacy, or add creative effects, there are various methods you can use to change your webcam settings.
Method 1 involves changing the webcam settings on your device, allowing you to select the preferred webcam from a list of connected devices. Method 2 utilizes virtual webcam software, enabling you to add effects, filters, and virtual backgrounds to your video feed. Method 3 involves connecting an external webcam to your device, giving you the flexibility to use a separate webcam device for your Omegle video chats.
While changing your webcam on Omegle is generally a straightforward process, you may encounter common issues such as webcam recognition problems, low video quality, audio issues, freezing or lagging feeds, and compatibility concerns. By following the troubleshooting tips provided, you can resolve these issues and enjoy a seamless video chat experience.
Remember to prioritize your privacy and stay cautious while using Omegle. Only grant necessary permissions, use reputable webcam software, and ensure that your device and webcam drivers are up to date to maintain a safe and secure online environment.
Now that you have the knowledge to change your webcam on Omegle and troubleshoot common issues, you can confidently engage in video chats with strangers from around the world and make meaningful connections. Embrace the possibilities and enjoy your Omegle experience!