Introduction
With the rise of video conferencing and online streaming, having a clear and professional-looking webcam image has become more important than ever. Whether you’re attending virtual meetings, live streaming your gaming sessions, or even just catching up with friends and family, you want your webcam to make you look your best.
In this article, we will explore various tips and techniques to make your webcam look better. We’ll cover everything from improving lighting and choosing the right background, to camera placement, settings, and even utilizing filters. By implementing these strategies, you can enhance the quality and appearance of your webcam feed, ensuring that you come across as professional and engaging.
Before we dive into the details, it’s important to note that while the visual aspects are crucial, they are just one part of creating a great webcam presence. Your body language, voice, and overall presentation also play a significant role. However, for the purpose of this article, we’ll focus specifically on the visual elements.
So, whether you’re a professional who wants to impress clients in virtual meetings, a content creator looking to boost the production value of your live streams, or simply someone who wants to look their best on video calls, these tips will help you optimize your webcam setup and achieve a more polished and professional appearance.
Lighting
Proper lighting is crucial when it comes to improving the look of your webcam feed. Good lighting can help reduce shadows, enhance details, and make your appearance more vibrant and clear.
Here are some key tips to improve your webcam lighting:
- Use natural light whenever possible: Position yourself facing a window or a natural light source. Natural light provides soft and even lighting that can make you look more natural and flattering on camera.
- Avoid backlighting: Backlighting occurs when light is coming from behind you, causing your face to appear dark. To prevent this, ensure that the main light source is in front of you rather than behind you.
- Consider artificial lighting: If natural light is not sufficient or available, you can use artificial lighting options. Invest in a good quality desk lamp or ring light to provide consistent and balanced lighting. Place the light source in front of you and adjust the intensity to avoid harsh shadows and create a well-lit environment.
- Avoid harsh overhead lighting: Harsh overhead lighting can create unflattering shadows and make your face appear washed out. Opt for diffused lighting instead by using lampshades or bouncing the light off walls or ceilings.
- Adjust the color temperature: The color temperature of your lighting can greatly impact the overall appearance of your webcam feed. Experiment with different color temperatures to find the one that suits you best. Generally, warm white light tends to look more flattering and natural.
Remember, the goal is to have soft, even lighting that enhances your features without being too harsh or overpowering. Take the time to experiment with different lighting setups to find the one that works best for you and complements your personal style.
Background
While it may not be the first thing that comes to mind, the background behind you can have a significant impact on how your webcam feed looks. A cluttered or distracting background can take the focus away from you and create an unprofessional appearance. Here are some tips to consider when choosing a background for your webcam:
- Keep it simple and uncluttered: Choose a background that is clean and free from distractions. A plain wall or a well-organized workspace can work well as a backdrop.
- Consider a virtual background: Many video conferencing platforms and streaming software offer the option to use virtual backgrounds. This allows you to replace your actual background with a virtual one. Choose a background that is relevant to the context of the call or stream, and be mindful of any branding guidelines or policies if applicable.
- Avoid busy or noisy backgrounds: Steer clear of backgrounds with busy patterns, bright colors, or moving objects. These can be distracting and take the focus away from you.
- Pay attention to lighting in the background: Ensure that the lighting behind you is consistent with the lighting on your face. Uneven or harsh lighting in the background can create an unbalanced look.
- Showcase your personality or professionalism: Depending on the context of your webcam use, you can choose a background that reflects your personality or showcases your professionalism. For example, displaying books or artwork in the background can convey intellect and creativity, while a neutral solid color backdrop may be more appropriate for professional settings.
Remember, the goal is to have a background that complements your appearance and does not distract the viewer. Keep it simple, visually appealing, and relevant to the context to create a pleasant and professional viewing experience.
Camera Placement
The placement of your webcam is crucial in determining how you appear on camera. The right camera placement can help you achieve a more flattering angle, reduce distortion, and create a natural and engaging on-screen presence. Here are some tips for optimal camera placement:
- Eye-level placement: Position your webcam at eye level or slightly above. This helps to create a more natural and flattering angle for your face, and prevents the need for tilting your head up or down.
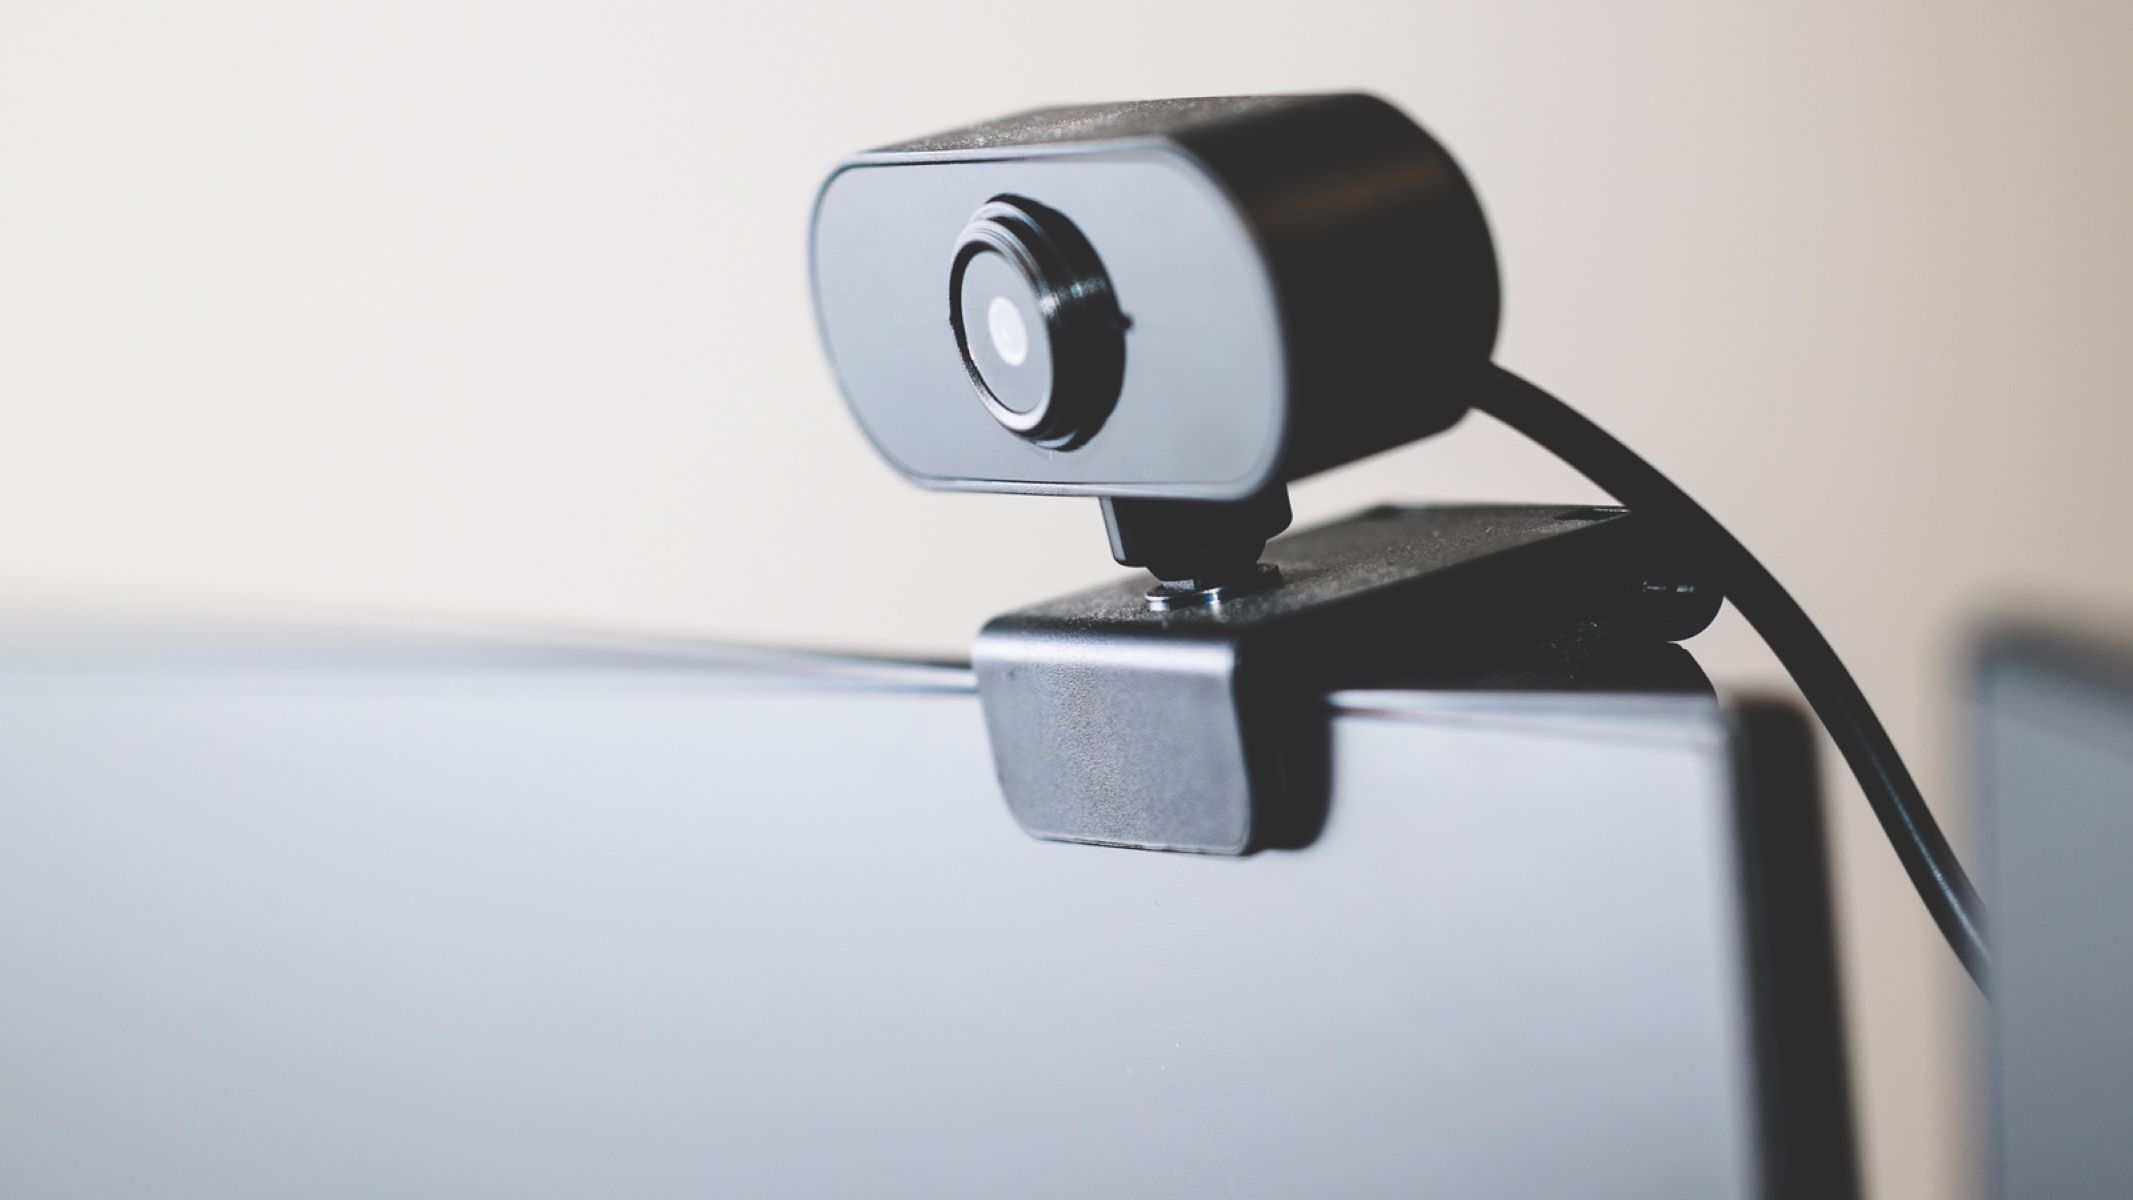
- Stable and secure: Ensure that your webcam is securely mounted or placed on a stable surface. This prevents any unnecessary movement or shaking during your video calls, providing a more professional and steady image.
- Centered frame: Position yourself in the center of the frame. This ensures that you appear well-balanced and properly framed on camera, without being too close or too far away.
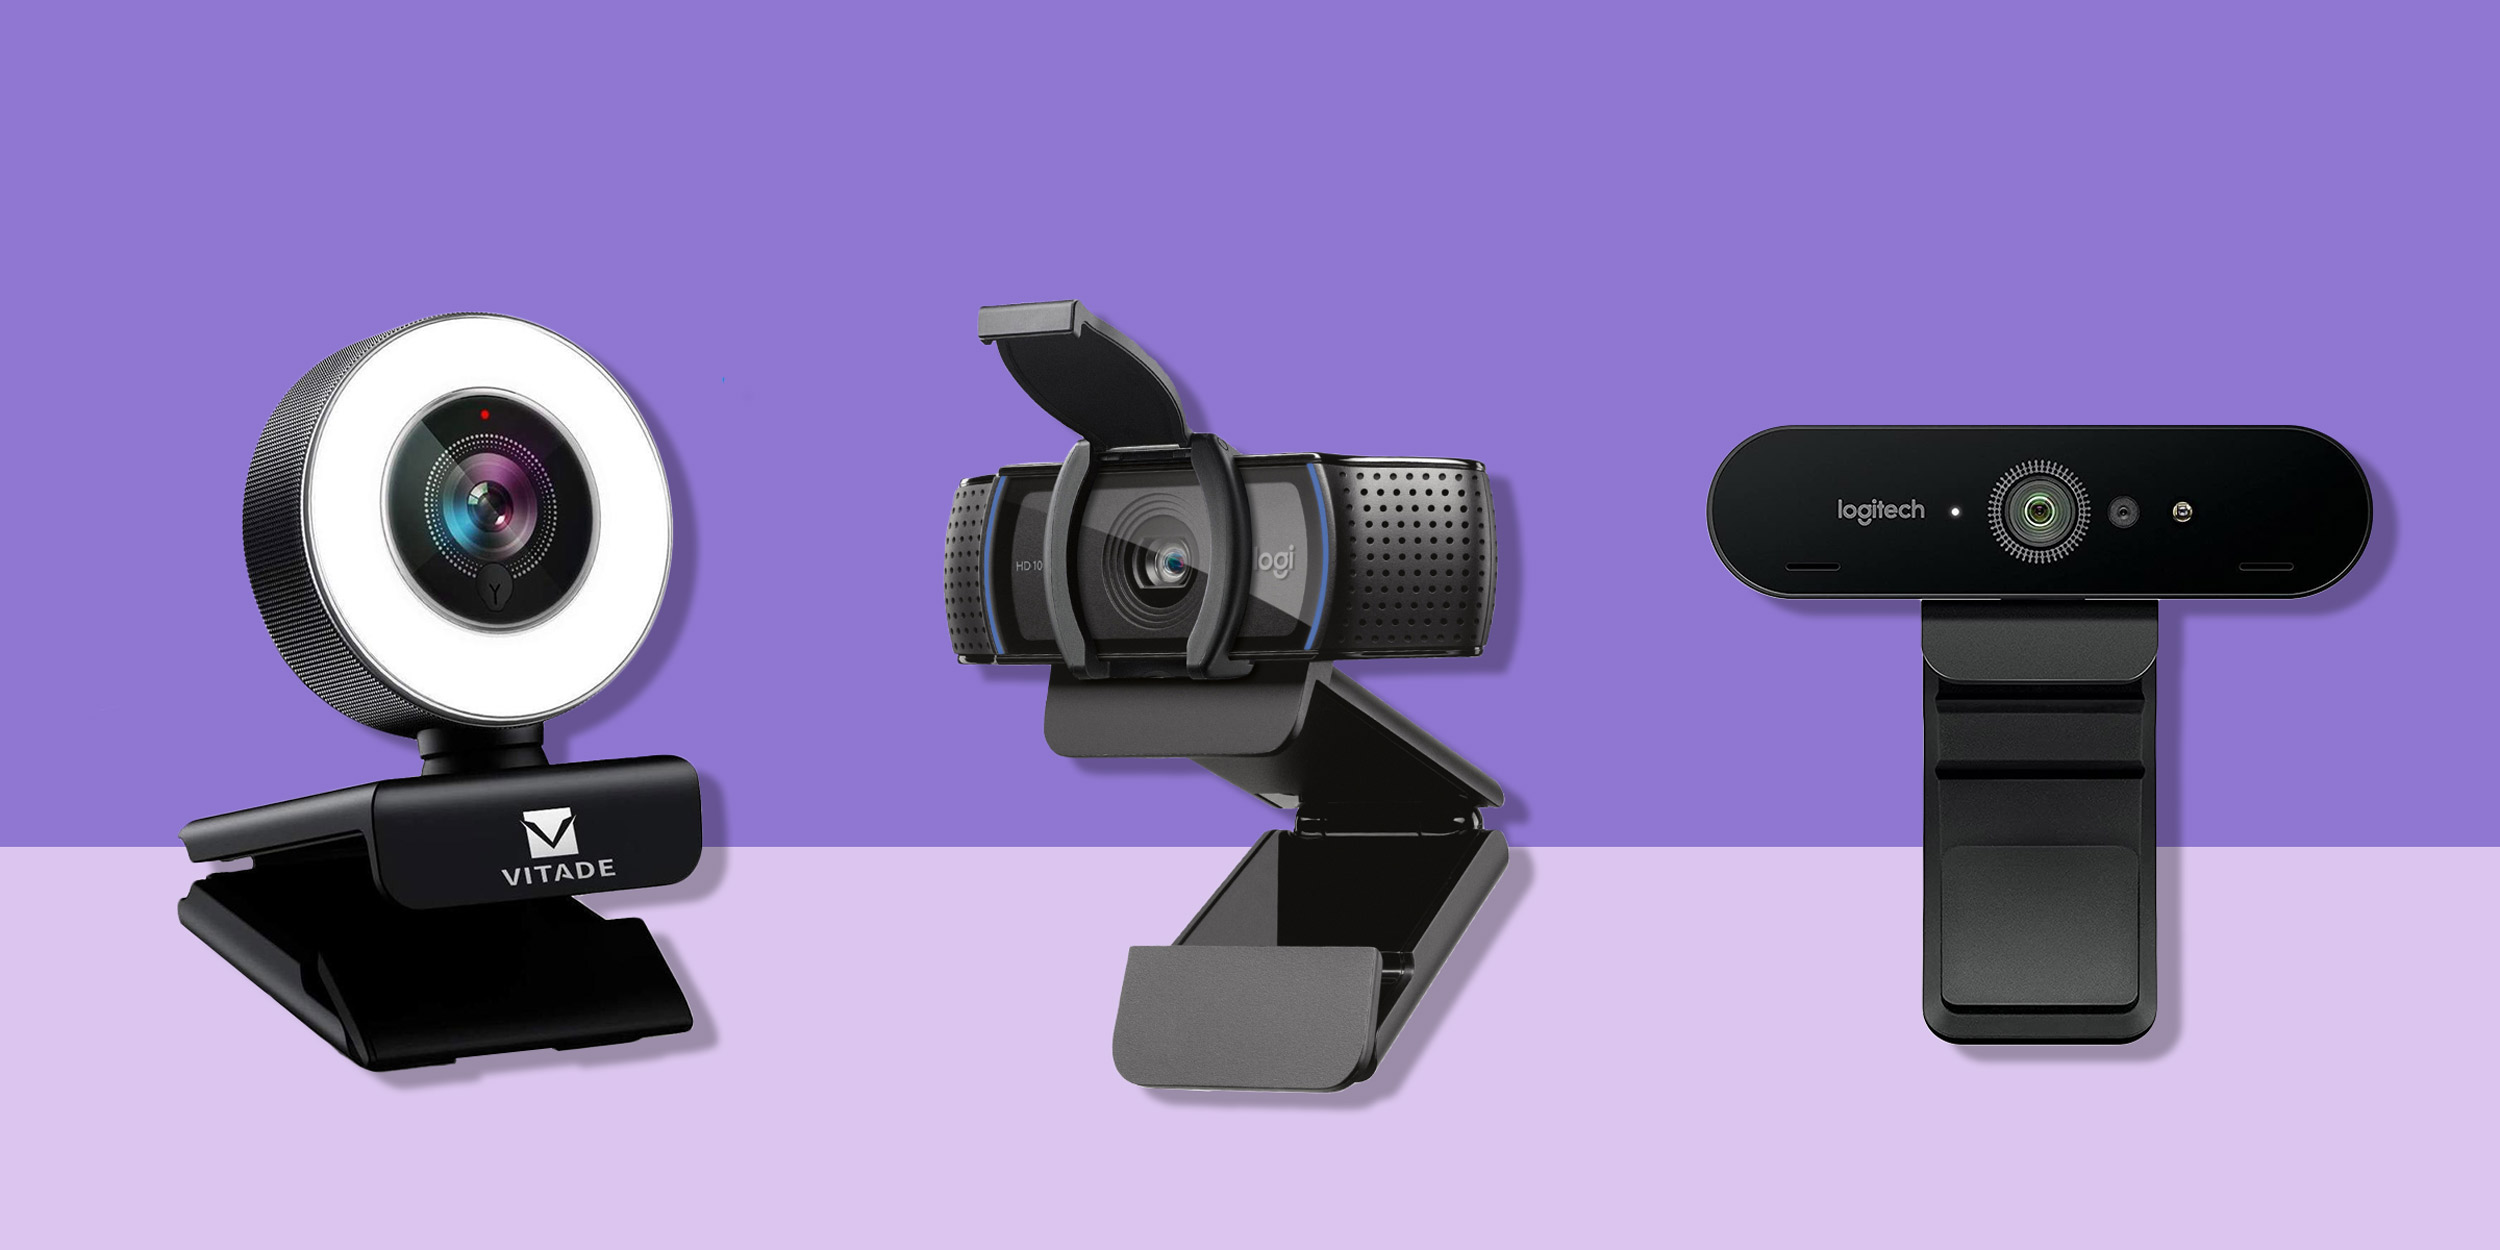
- Consider external webcam placement: Built-in webcams on laptops often have limitations in terms of angle and quality. Consider investing in an external webcam that can be mounted on a tripod or attached to a monitor for greater flexibility in camera positioning.
- Avoid extreme close-ups: While it’s important to have your face clearly visible, try to avoid extreme close-ups that can be unflattering and may not capture your entire facial expressions or body language. Find a balance between being close enough to show details, but not so close that it becomes uncomfortable for the viewer.
- Test your camera position: Before going live or joining a video call, take the time to test your camera position. Use the preview feature in your video conferencing software or an application like Skype to see how you appear on camera. Make adjustments as needed to achieve the best angle and framing.
By following these camera placement tips, you can ensure that you present yourself in the best possible way on your webcam. Remember to maintain a steady and centered frame while keeping your camera at eye level for a more engaging and professional appearance.
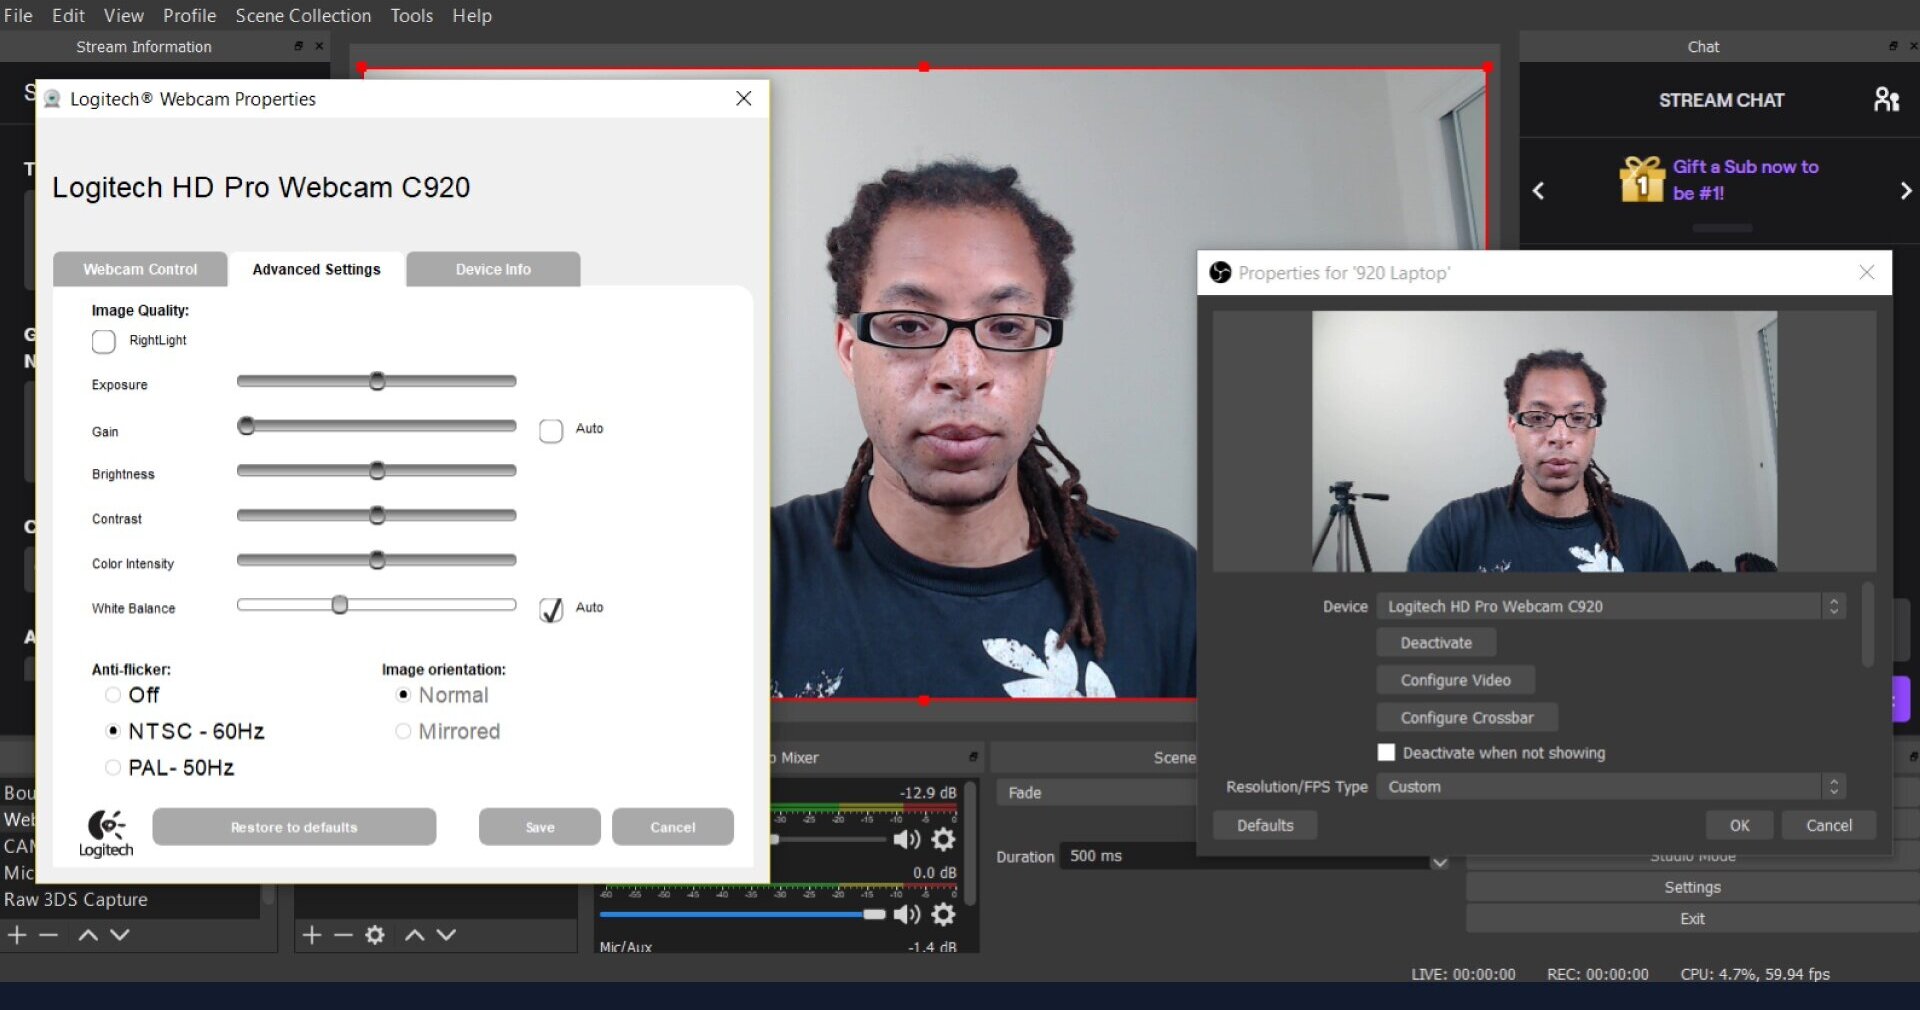
Camera Settings
Adjusting the settings of your webcam can greatly impact the quality and overall look of your video feed. By making a few tweaks to your camera settings, you can enhance the clarity, color, and exposure of your image. Here are some important camera settings to consider:
- Resolution: Make sure your webcam is set to its highest resolution. Higher resolution settings produce sharper and more detailed images, resulting in a more professional and polished appearance.
- Exposure: Adjusting the exposure settings on your webcam can help prevent overexposure (too bright) or underexposure (too dark) of your image. Most webcams have automatic exposure settings, but you can still have control over it. Experiment with the exposure settings to find the optimal level that suits your environment and lighting conditions.
- White balance: White balance ensures that the colors in your video appear accurate and natural. Most webcams have an auto white balance feature, which automatically adjusts the color temperature based on the lighting conditions. However, you can also manually adjust the white balance if necessary.
- Focus: Webcam autofocus may not always give you the desired results. Depending on your webcam, you may have the option to set the focus manually. Take the time to adjust the focus to ensure a clear and sharp image.
- Frame rate: The frame rate determines the smoothness of your video. Higher frame rates result in smoother motion, but may require more bandwidth. Experiment with different frame rates to find the optimal balance between video quality and a stable connection.
- Audio settings: While this section focuses on camera settings, it’s essential to consider audio quality as well. Make sure to check and adjust the audio settings to capture clear and balanced sound during your video calls or recordings.
Every webcam may have different settings and options available. Take some time to explore the settings menu of your specific webcam model to customize it according to your needs and the environment you’ll be using it in. By adjusting these settings, you can fine-tune your webcam feed and achieve a more professional and visually appealing appearance.
Adjusting Focus
Ensuring that your webcam is properly focused is crucial for achieving a clear and sharp image. While most webcams have auto-focus capabilities, they may not always accurately capture the desired focal point. To achieve the best focus, follow these tips:
- Check focal distance: Take note of the focal distance range of your webcam. This information can usually be found in the user manual or specifications of your webcam. Position yourself within this range to ensure optimal focus.
- Manually adjust focus: If your webcam allows for manual focus adjustment, take advantage of this feature. Use the software provided with your webcam or the settings within your video conferencing platform to fine-tune the focus. Experiment with different settings until you achieve the desired level of clarity.
- Consider lighting conditions: Lighting plays a crucial role in achieving proper focus. Make sure your face is well-lit and that there are no strong backlighting or harsh shadows. Adjusting the lighting may help the webcam autofocus to work more effectively.
- Confirm with test shots: Take several test shots or preview your webcam feed to check the focus. Look for any blurriness or lack of clarity and make adjustments accordingly.
- Keep the right distance: Maintaining an appropriate distance from the webcam can also impact focus. If you’re too close to the camera, it may struggle to focus on your face. Similarly, being too far away may result in a loss of detail. Experiment with different distances and find the sweet spot for optimal focus.
- Give yourself time to adjust: It may take some trial and error to find the best focus settings for your webcam. Be patient and give yourself time to fine-tune the focus until you achieve the desired outcome.
Remember, a well-focused webcam image can significantly enhance the overall quality of your video feed. By following these tips and taking the time to adjust the focus, you can ensure that your webcam presents a clear and sharp image, allowing others to see you in the best possible light.
Framing the Shot
The way you frame yourself on the webcam can greatly impact the overall composition and visual appeal of your video feed. Proper framing ensures that you are well-positioned within the frame and that the focus remains on you. Here are some tips for framing the shot effectively:
- Position yourself centrally: When framing the shot, make sure you are positioned in the center of the frame. This creates a balanced and visually pleasing composition, keeping you as the main focal point.
- Leave some headroom: Give yourself some space at the top of the frame to avoid cropping off the top of your head. Leaving a bit of headroom adds a professional touch to the composition.
- Consider the rule of thirds: The rule of thirds is a compositional guideline that divides the frame into a 3×3 grid. Position yourself along the horizontal and vertical lines or at their intersections to create a more visually appealing composition.
- Frame from the waist up: Unless the context requires it, framing yourself from the waist up is generally more visually appealing and professional. It allows for better focus on your face and upper body, capturing gestures and expressions more effectively.
- Pay attention to your background: Make sure your background is aligned and properly framed as well. Ensure that any objects or elements in the background are not visually distracting and that they complement your overall composition.
- Consider the aspect ratio: Depending on the platform or purpose of your webcam feed, consider the aspect ratio. Most video conferencing platforms use a standard 16:9 aspect ratio, but for other purposes such as streaming or video editing, a different aspect ratio may be preferable.
- Test different angles: Experimenting with different camera angles can add variety and interest to your video feed. Try slight changes in the camera angle or position to find the angle that flatters you the most and adds visual appeal.
Remember, framing the shot effectively is an essential aspect of creating a visually pleasing webcam feed. By positioning yourself centrally, leaving some headroom, and considering the rule of thirds, you can enhance the composition and ensure that the focus remains on you, creating a captivating and professional appearance.
Using a Webcam Filter
A webcam filter is a digital tool that can help enhance the overall appearance of your video feed by applying various effects or adjustments. These filters can provide subtle enhancements or dramatic transformations to your webcam image. Here are some ways you can utilize a webcam filter to improve your on-screen presence:
- Adjust brightness and contrast: Webcam filters often have options to tweak the brightness and contrast levels of your video feed. This can help correct any issues with lighting and make your image appear more vibrant and balanced.
- Apply color corrections: Webcam filters can also allow you to adjust the color balance, saturation, and tint of your video. This can be handy in correcting any color inconsistencies and making your image look more natural and pleasing to the eye.
- Add beauty effects: Some filters offer beauty effects like smoothing the skin, removing blemishes, or adding a slight blur to create a more polished and flawless appearance. Use these features sparingly to maintain a natural look and avoid over-processing.
- Add visual effects: Webcam filters often come with a range of fun and creative visual effects that can add a touch of personality to your video feed. From backgrounds and overlays to stickers and animations, these effects can be used to make your webcam feed more engaging and entertaining.
- Experiment with filters: Most webcam software or video conferencing platforms offer a range of filters to choose from. Take the time to experiment with different filters and find the one that suits your personal style and the mood of the video.
- Customize filters: Some webcam software allows you to create custom filters by adjusting settings like brightness, contrast, and saturation. By fine-tuning these settings according to your preference, you can create a unique and personalized filter that enhances your appearance and is tailored to your specific needs.
When using webcam filters, it’s important to remember moderation. Avoid using filters excessively or in a way that distorts your true appearance. The goal is to enhance your on-screen presence while still maintaining a natural and authentic look.
Remember that not all webcam software or video conferencing platforms have built-in filter options. If your desired platform does not provide filter features, you can explore third-party software or virtual camera apps that offer additional filter options to enhance your webcam feed.
Using a webcam filter can be a creative and fun way to improve the look of your video feed. With a few adjustments and the right filter choice, you can achieve a more visually appealing and engaging presence on camera.
Tips for Looking Your Best on Camera
In addition to the technical aspects of webcam setup, there are several tips that can help you look your best on camera. These tips focus on personal grooming, body language, and confidence. Here are some key suggestions to consider:
- Dress appropriately: Choose clothing that is suitable for the context of your video call or stream. Dressing professionally or in a manner that reflects the desired image can help boost your confidence and create a positive impression.
- Pay attention to personal grooming: Take the time to groom yourself before going on camera. Ensure that your hair is well-styled, your face is clean and moisturized, and any facial hair is trimmed neatly.
- Maintain good posture: Sit up straight and maintain good posture while on camera. Good posture not only helps you appear more confident and professional but also prevents strain on your back and neck.
- Make eye contact: Look directly into the webcam lens when speaking. This creates the illusion of eye contact and helps you connect with the audience or participants on the other end of the video call.
- Smile and show enthusiasm: A genuine smile and positive energy can make a significant difference in how you are perceived on camera. Smile often and show enthusiasm in your body language and facial expressions to engage viewers and create a more inviting presence.
- Speak clearly and confidently: Pay attention to your voice and speech when on camera. Speak clearly, enunciate your words, and modulate your voice appropriately. Practice speaking confidently to convey your message effectively.
- Minimize distractions: Remove any distracting elements from your surroundings. This includes unnecessary objects, noises, or interruptions that may divert the attention of viewers or disrupt the flow of the video call.
- Take breaks and stay hydrated: Long video sessions can be physically and mentally draining. Remember to take short breaks to stretch and rest your eyes. Stay hydrated by keeping a glass of water nearby to keep your vocal cords and energy levels in check.
- Practice before going live: If you’re new to being on camera, consider practicing beforehand. Record yourself or do a trial run to become more comfortable with the process and familiarize yourself with how you come across on camera.
- Be yourself: Lastly, remember to be authentic and true to yourself. Embrace your unique personality and let it shine through. Being genuine and natural on camera can help you connect with your audience and create a more engaging experience.
Implementing these tips can help you present yourself in the best possible way on camera. Remember that practice and self-confidence play significant roles in improving your on-screen presence. With time, you will become more comfortable and proficient in presenting yourself effectively through your webcam.
Conclusion
Optimizing your webcam setup to make yourself look better on camera is a combination of technical adjustments and personal presentation. By implementing the tips and techniques outlined in this article, you can enhance the quality and visual appeal of your webcam feed, whether for professional video conferences, live streaming, or casual video calls with friends and family.
From improving lighting and selecting a suitable background to adjusting camera placement, settings, focus, and framing, each aspect plays a vital role in creating a polished and professional appearance on camera. Additionally, utilizing webcam filters and following personal grooming and body language tips can further enhance your on-screen presence.
Remember, it may take some time and experimentation to find the perfect setup for your webcam. Don’t be afraid to try different techniques, adjust settings, and practice before going live. With patience and practice, you will find the optimal combination that showcases your best self on camera.
Lastly, always strive to be authentic and true to yourself. Presenting yourself confidently and with genuine enthusiasm builds a strong connection with your audience, regardless of the purpose of the video call or stream.
So, go ahead and implement these tips and techniques. Take the time to optimize your webcam setup, be mindful of your personal presentation, and confidently engage with others through the lens. With these strategies, you can captivate your audience, impress your clients, and maintain a professional and engaging presence on camera.