Introduction
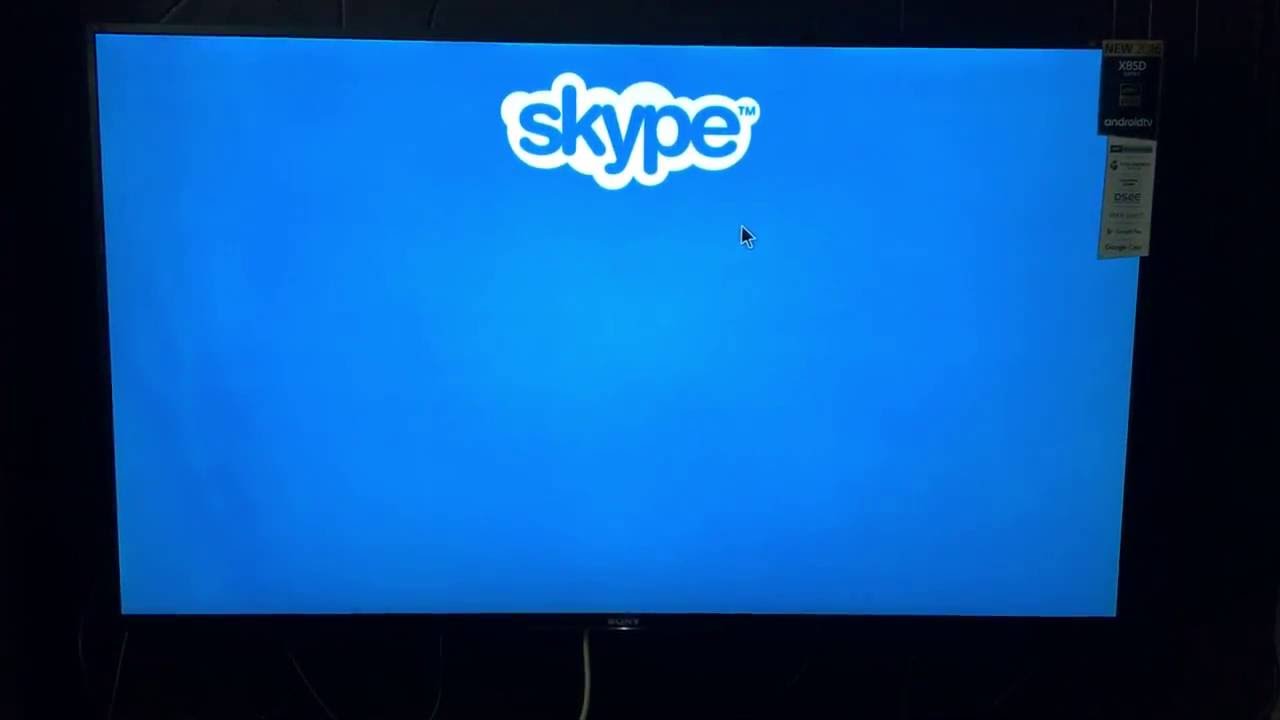
Skype has revolutionized the way we communicate with our loved ones, friends, and colleagues across the globe. With its video and audio calling features, it has become a popular choice for staying connected. But what if you want to take your Skype conversations to the big screen? Well, you’re in luck! In this article, we will guide you through the process of running Skype on your LED TV.
Connecting Skype to your LED TV can bring a new level of immersion to your video calls, allowing you to enjoy crystal-clear conversations on a large display. Whether you want to catch up with family members, hold business meetings, or simply enjoy a video chat with friends, running Skype on your TV can make the experience more enjoyable and comfortable.
While some smart TVs come with built-in Skype integration, not all models have this feature. However, don’t worry! With a few simple steps, you can still enjoy Skype on your LED TV. In this guide, we will walk you through the process of connecting your TV to your computer and setting up Skype for a seamless experience.
Before we dive into the steps, it’s important to ensure that you have the necessary requirements. Firstly, you will need an LED TV with HDMI or VGA ports. Secondly, you will need a computer with a webcam and a microphone. Lastly, make sure you have a stable internet connection to ensure smooth video and audio quality during your Skype calls.
Requirements
To run Skype on your LED TV, there are a few essential requirements that you need to fulfill. Here is a list of what you will need:
- An LED TV: Make sure you have an LED TV with HDMI or VGA ports. These ports will allow you to connect your TV to your computer, enabling the transmission of video and audio signals.
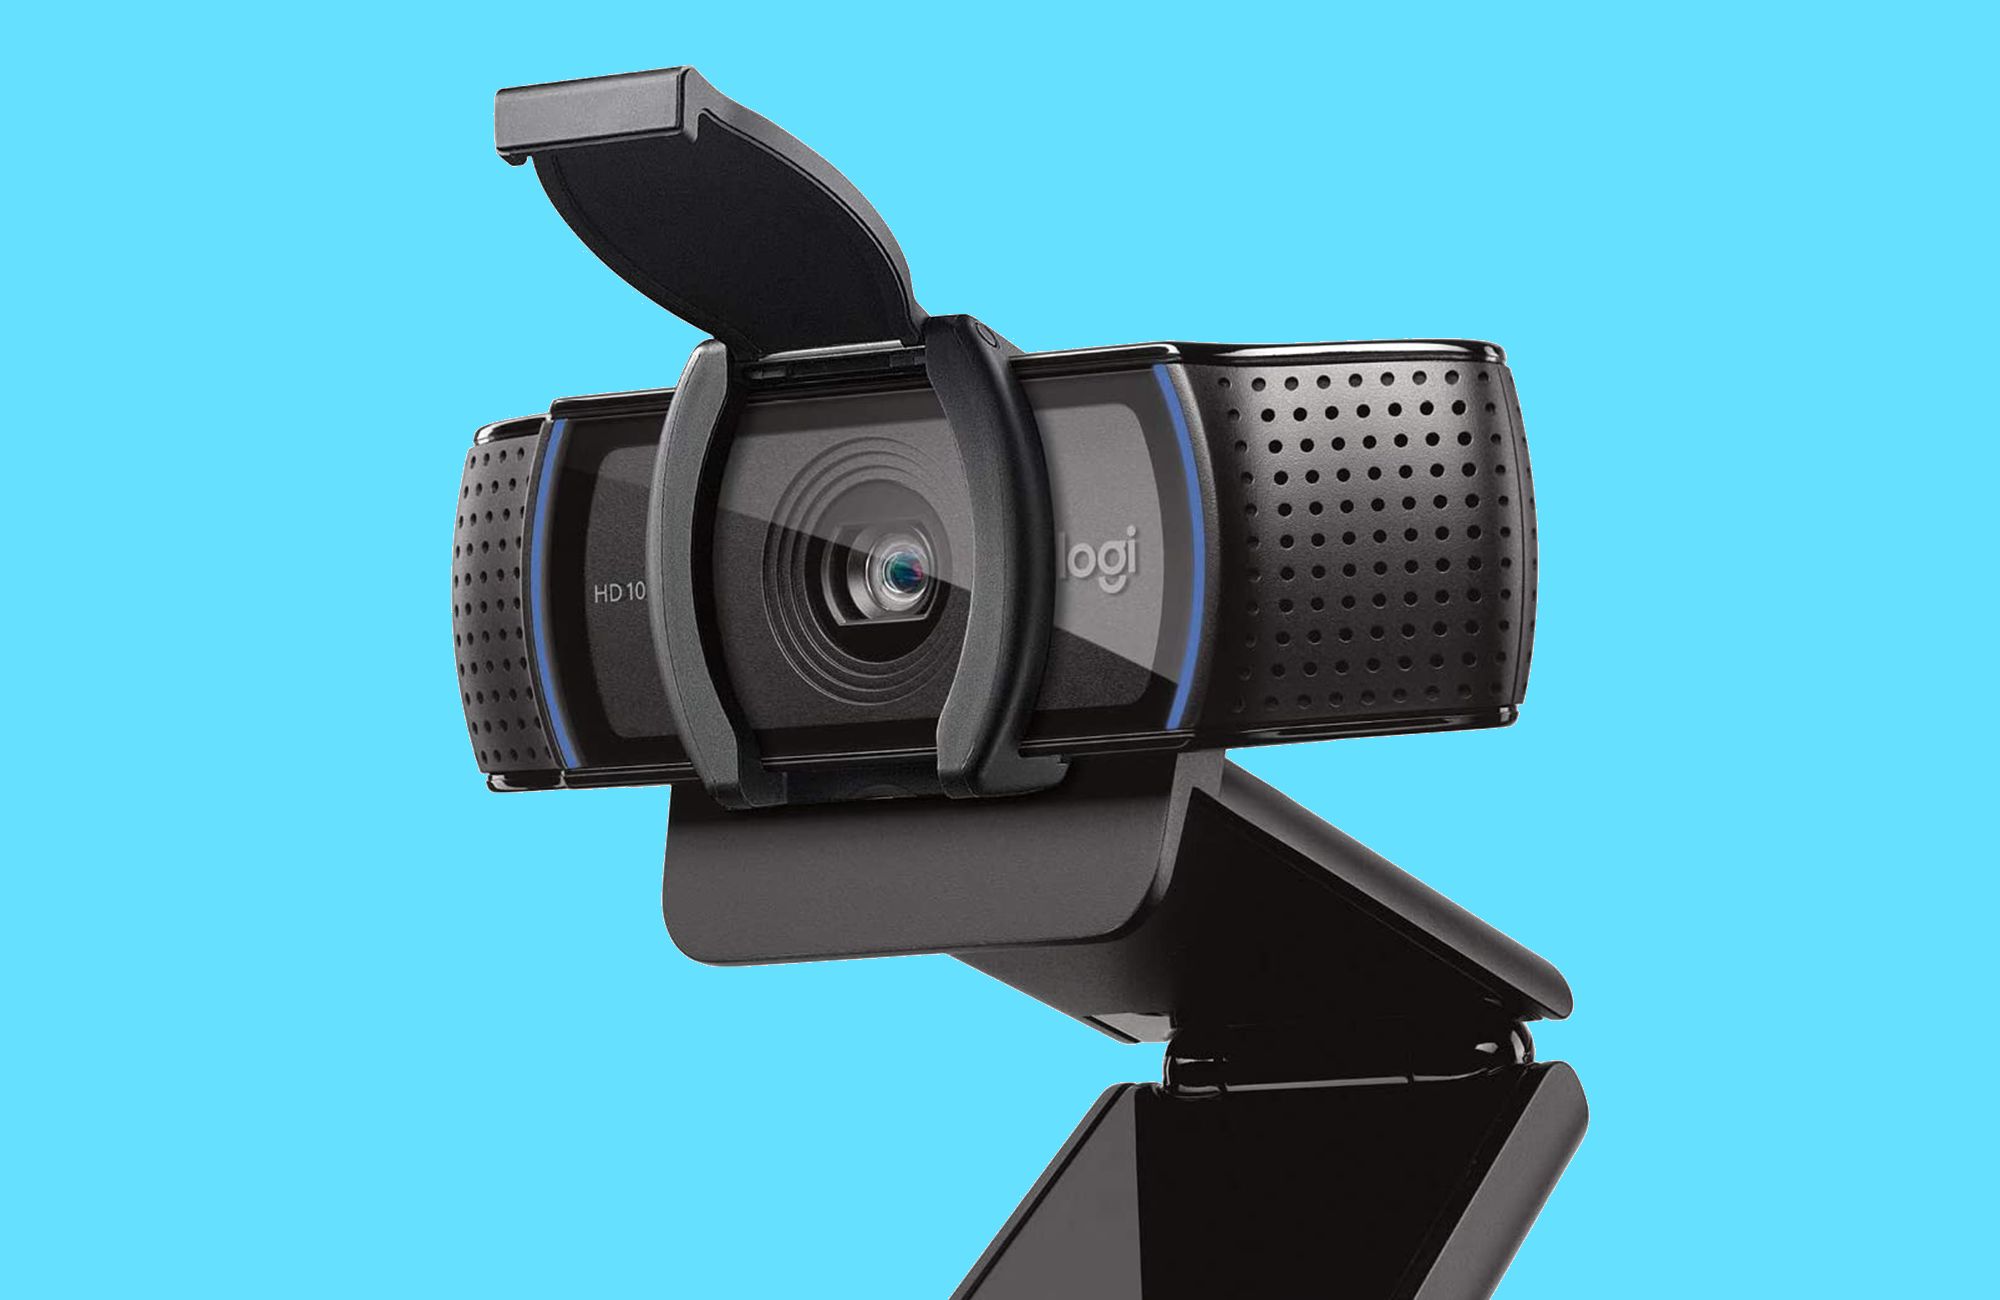
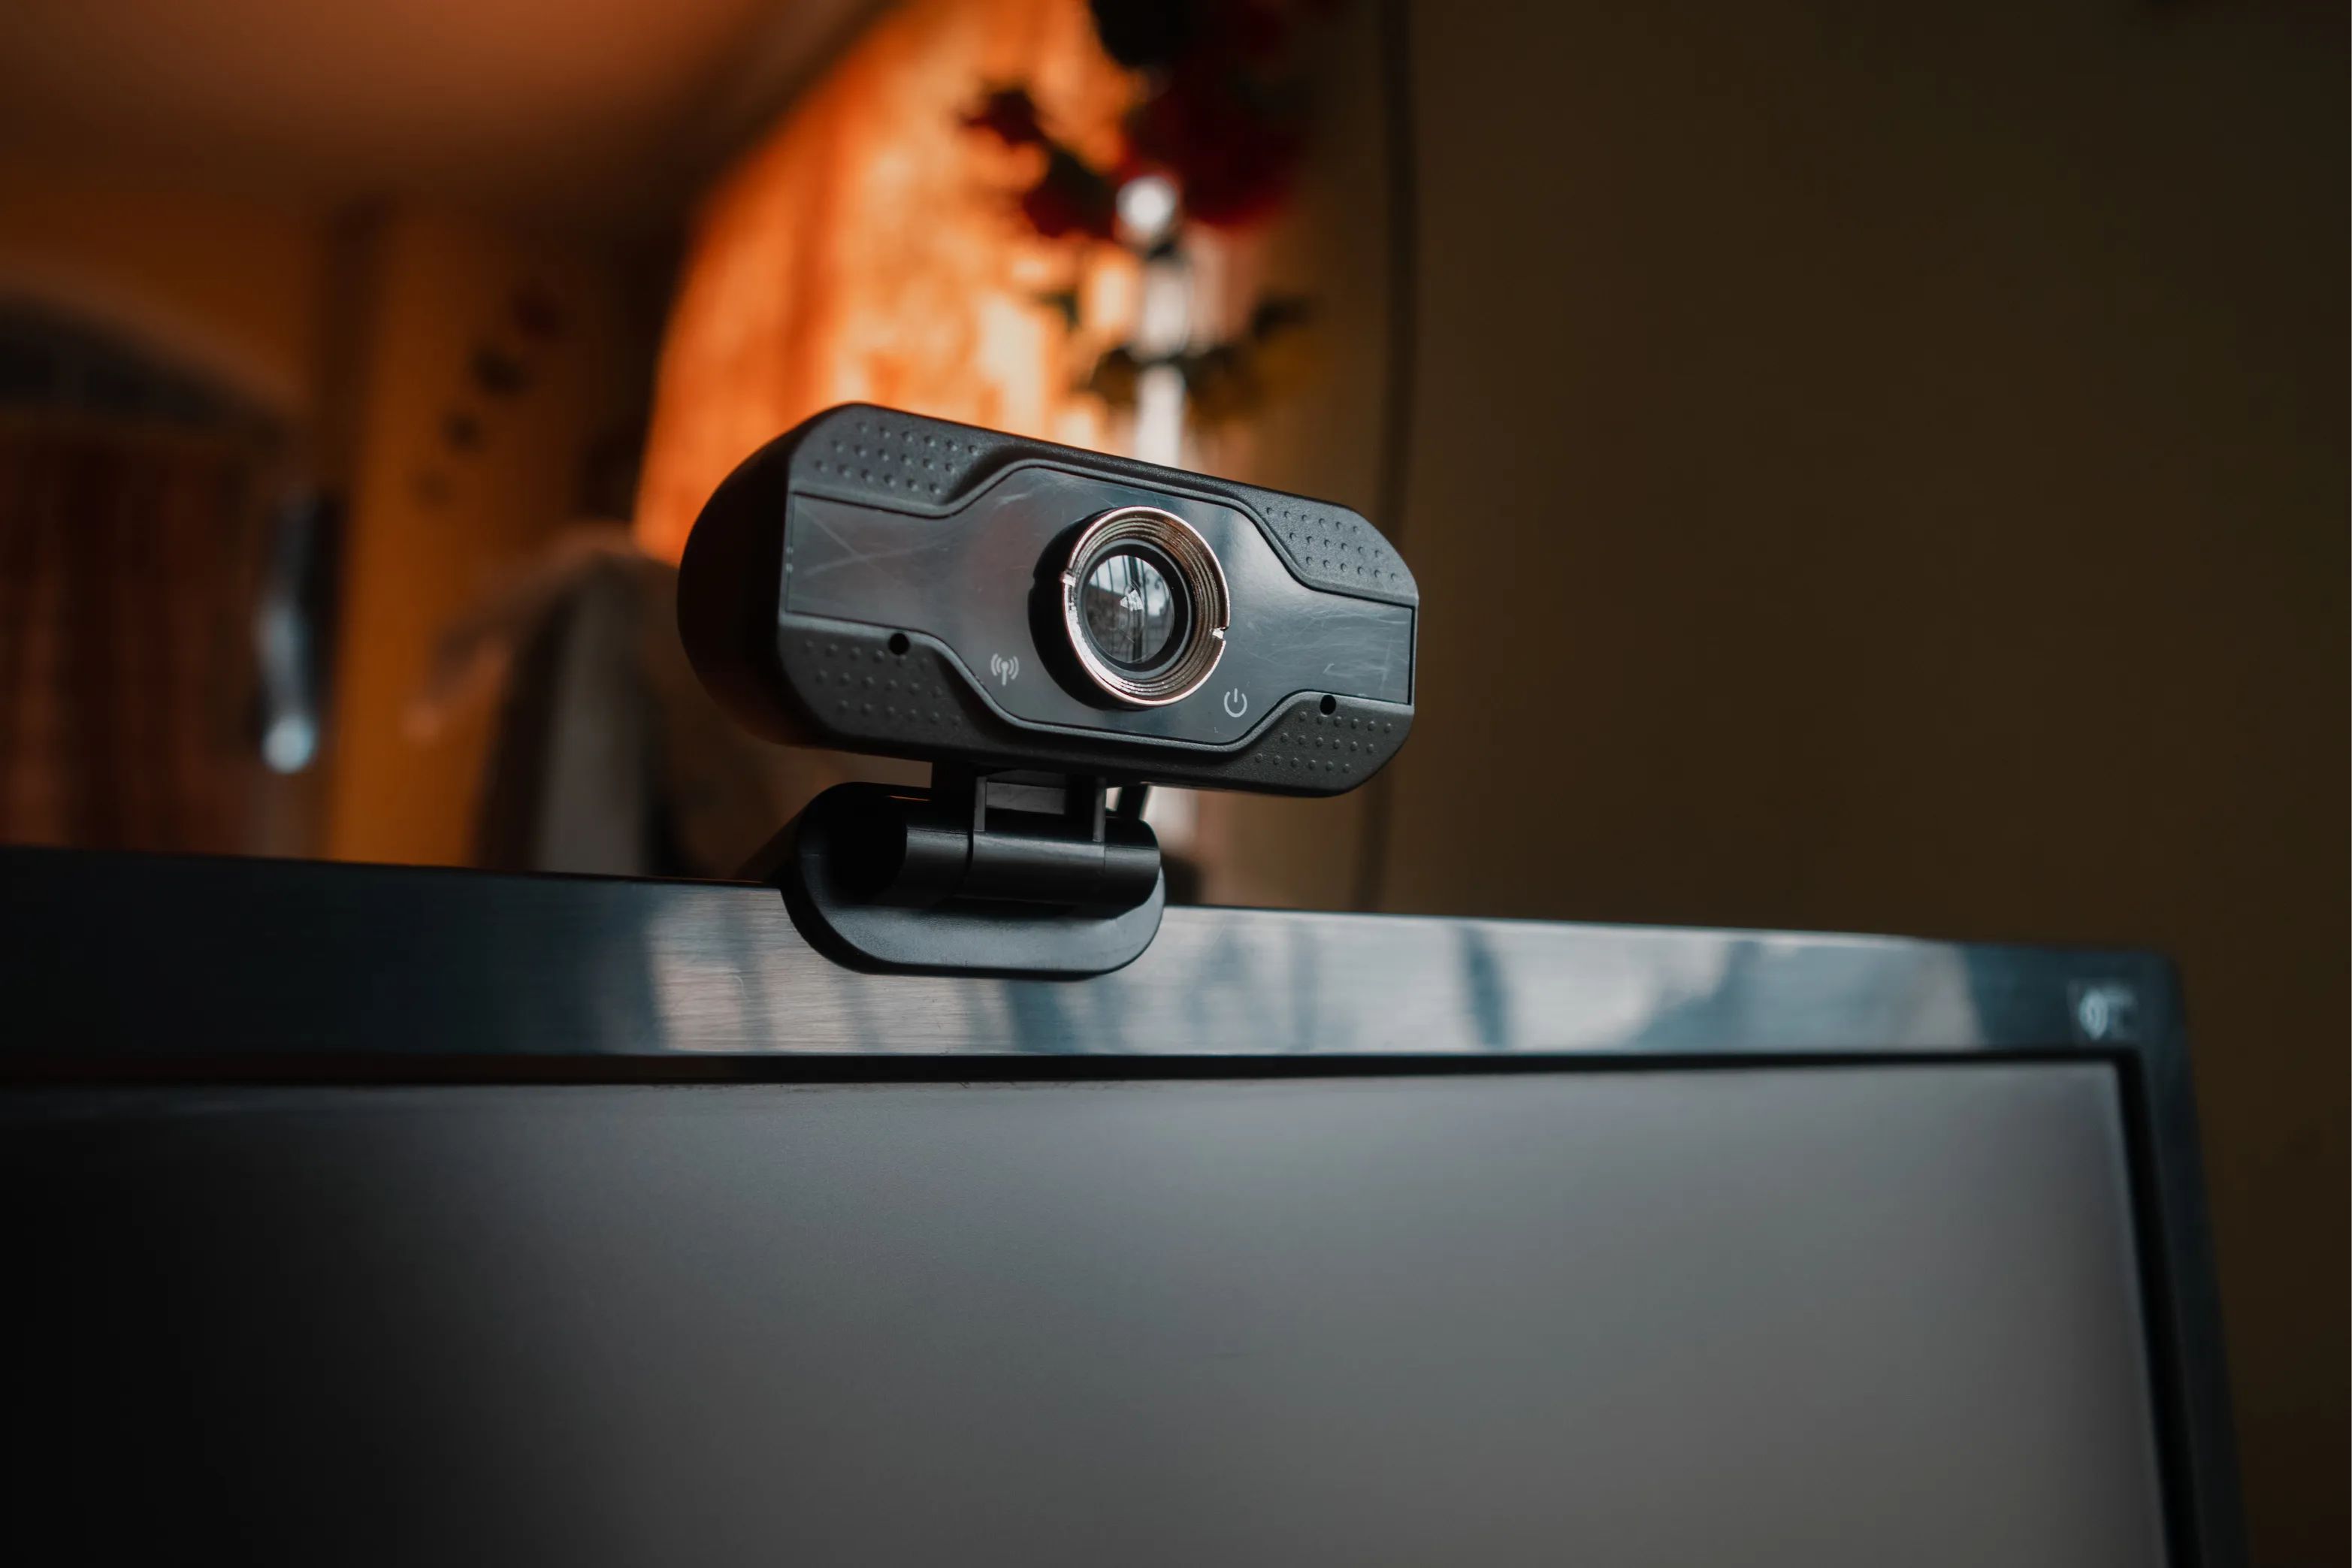
- A Computer: You will need a computer to act as the source of Skype. Ensure that your computer has a webcam and a microphone so that you can have video and audio conversations.
- An Internet Connection: A stable internet connection is essential for smooth video and audio quality during your Skype calls. Make sure you have a decent broadband connection to avoid any interruptions.
- HDMI or VGA Cable: Depending on the ports available on your LED TV and your computer, you will need either an HDMI or VGA cable to connect the two devices. Check the input ports on your TV and the output ports on your computer to determine the type of cable you need.
- Audio Output Cable: If you want to have the audio from your Skype calls played through your TV’s speakers, you will need an audio output cable. This cable will connect the audio output of your computer to the audio input on your TV.
- A Skype Account: If you don’t already have a Skype account, you will need to create one. Visit the Skype website and sign up for a new account. Remember to choose a username and password that you can easily remember.
By ensuring that you have all these requirements in place, you’ll be ready to proceed with the steps to run Skype on your LED TV. Once everything is set up, you can enjoy high-quality video calls on the big screen and have a more immersive experience with your friends, family, or colleagues.
Step 1: Connect your TV to your computer
The first step in running Skype on your LED TV is to establish a connection between your TV and your computer. Follow the steps below to connect the two devices:
- Locate the HDMI or VGA ports on your LED TV. These ports are usually located at the back of the TV.
- Take the HDMI or VGA cable and connect one end to the corresponding port on your TV.
- Next, locate the HDMI or VGA output ports on your computer. These ports are typically found on the back or side of the computer.
- Connect the other end of the HDMI or VGA cable to the output port on your computer.
- If you’re using an audio output cable, connect one end to the audio output port on your computer and the other end to the audio input port on your TV.
- Once the connections are made, power on your LED TV and your computer.
- Using your TV’s remote control, navigate to the input/source menu and select the HDMI or VGA input corresponding to the port you used for the connection.
- Your TV will now display the output from your computer, and you’re ready to proceed with setting up Skype.
It’s important to note that the steps may vary slightly depending on the make and model of your LED TV and computer. Refer to the user manuals or online documentation for specific instructions if needed.
Now that you have successfully connected your TV to your computer, you’re one step closer to running Skype on your LED TV. The next step is to download and install the Skype application on your computer.
Step 2: Download and install Skype
Once you have established the connection between your TV and your computer, the next step is to download and install Skype on your computer. Follow these steps to get Skype up and running:
- Open your preferred web browser on your computer and visit the official Skype website.
- On the Skype website, look for the “Download” button or link. Click on it to start the download process.
- Depending on your operating system, you will be directed to download the appropriate version of Skype.
- Once the download is complete, locate the downloaded file on your computer and double-click on it to begin the installation process.
- Follow the on-screen instructions provided by the Skype installer. You may be asked to agree to the terms and conditions and select the installation location.
- After completing the installation, launch the Skype application on your computer.
- If you already have a Skype account, sign in using your credentials. If you don’t have an account, click on the “Create an account” option and follow the prompts to create a new account.
- Once you have signed in or created your account, you will be ready to proceed to the next step of setting up your webcam and microphone.
Make sure to download Skype only from the official website to ensure that you are obtaining the official and secure version of the software.
With Skype successfully installed on your computer, you are now prepared to move on to the next step of setting up your webcam and microphone for optimal audio and video quality during your Skype calls.
Step 3: Create a Skype account or sign in
Once you have installed the Skype application on your computer, the next step is to create a new Skype account or sign in to your existing account. Follow these steps to create a new account or sign in:
- If you already have a Skype account, launch the Skype application on your computer.
- In the Skype login window, enter your Skype username and password. Click on the “Sign In” button to proceed.
- If you don’t have a Skype account, click on the “Create an account” or “Join Skype” option.
- You will be prompted to enter your personal information, including your full name, email address, and desired username and password.
- Follow the on-screen instructions to complete the account creation process.
- Once your account is created or you are signed in, you will have access to your Skype contacts and other features.
If you are creating a new Skype account, make sure to choose a username and password that are easy to remember. Additionally, make sure to provide a valid email address as you may need it for verification or account recovery purposes.
Signing in or creating a Skype account is a crucial step as it allows you to take advantage of all the features and functionalities that Skype offers. With your account set up, you can now proceed to the next step of setting up your webcam and microphone for optimal audio and video quality on Skype.
Step 4: Set up your webcam and microphone
Setting up your webcam and microphone properly is essential to ensure clear audio and video during your Skype calls. Follow these steps to set up your webcam and microphone:
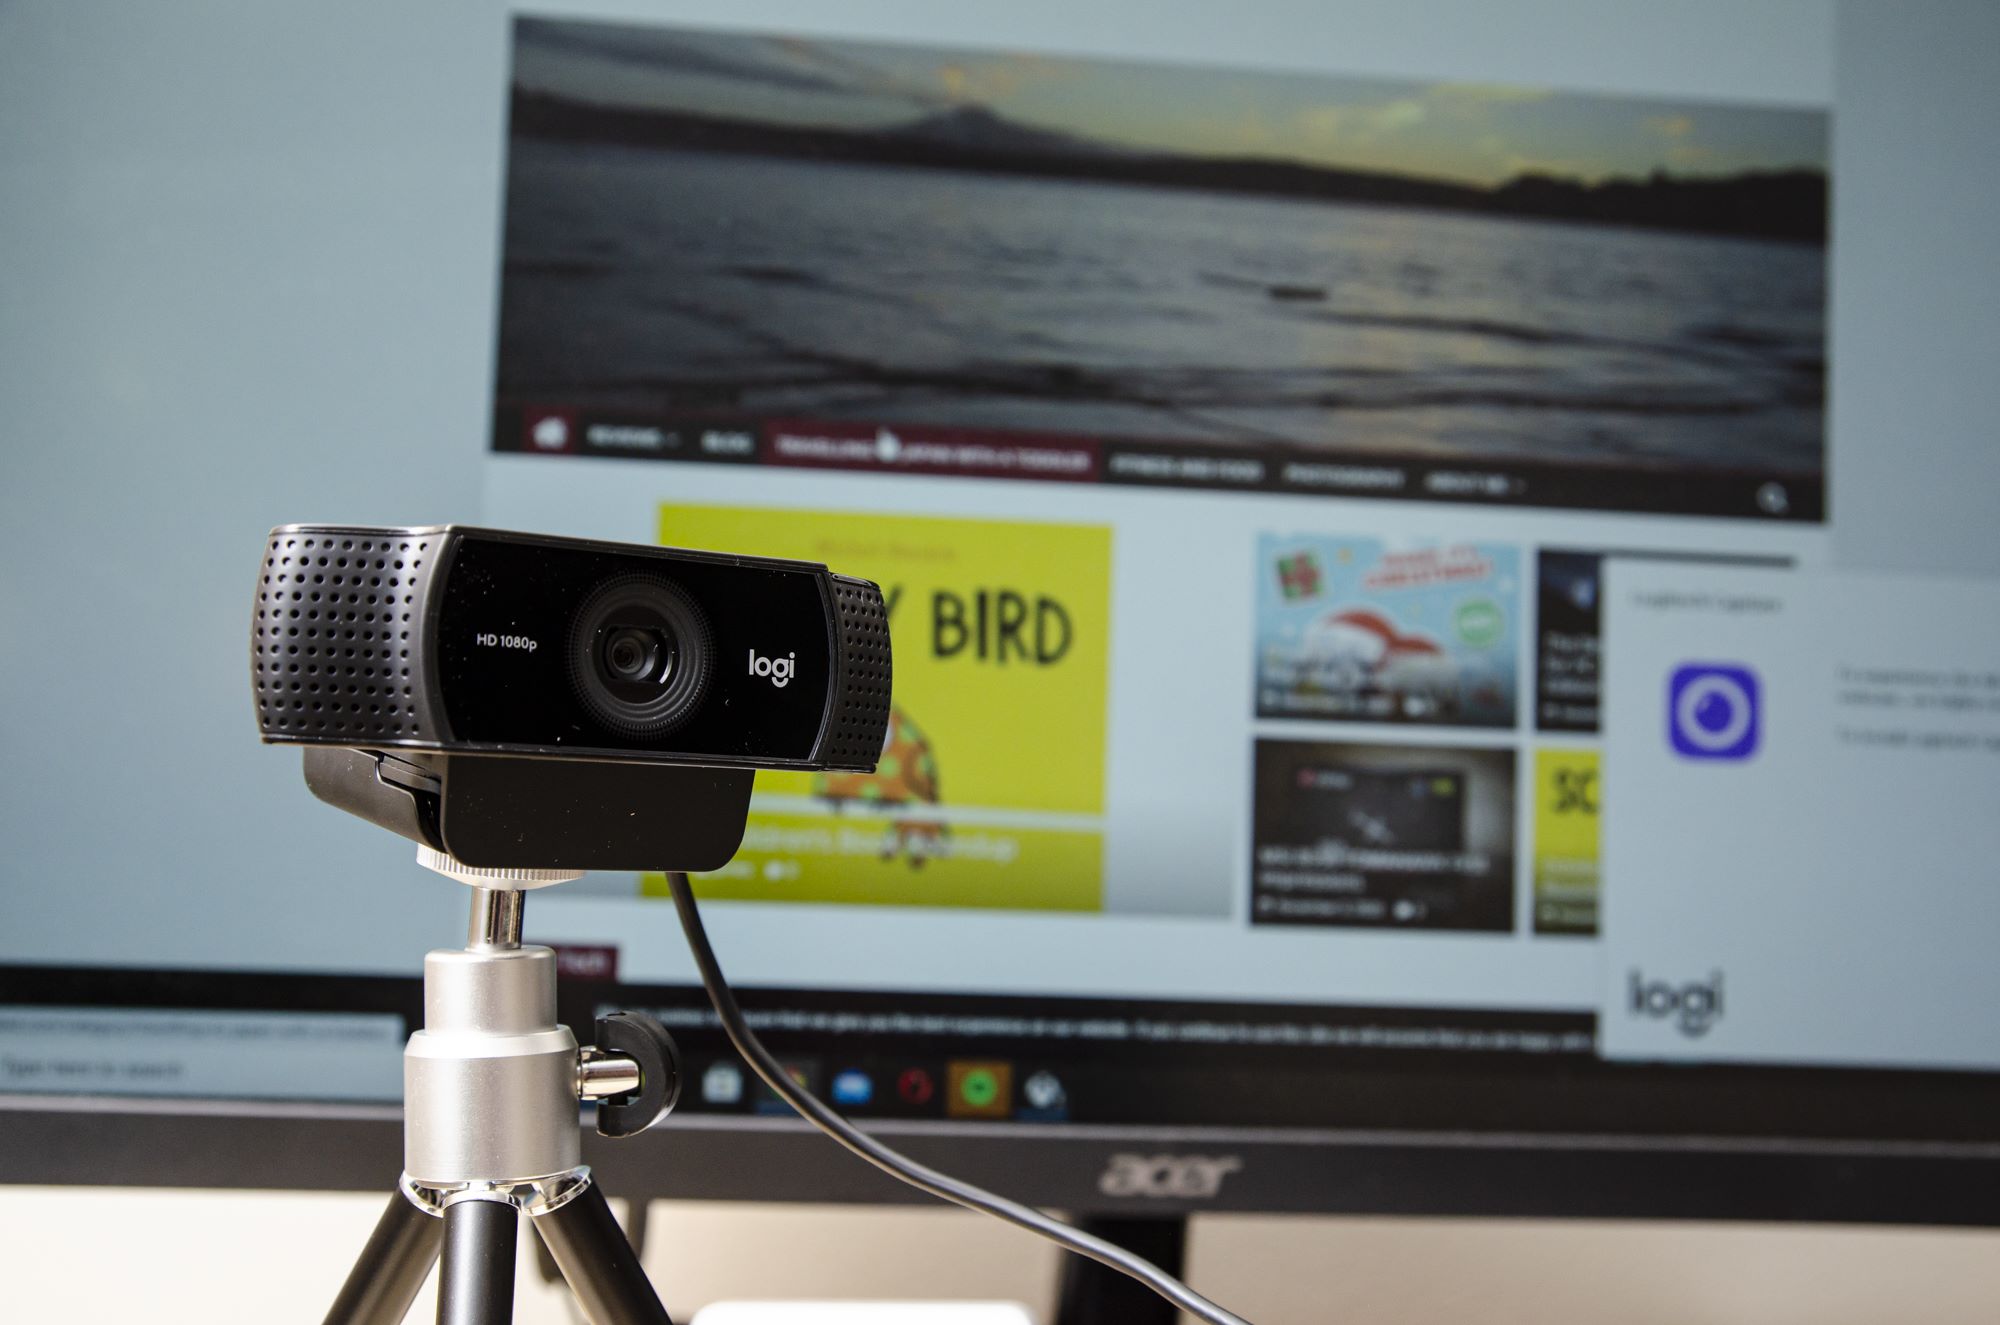
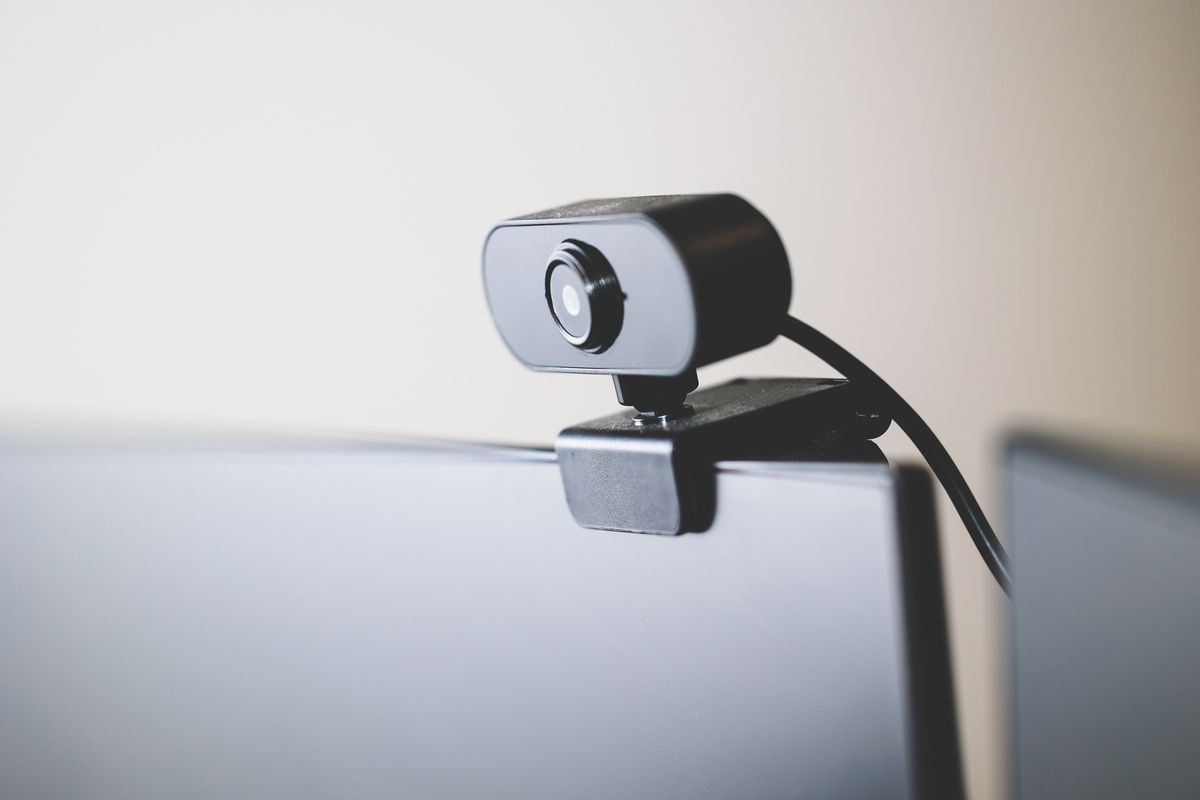
- Ensure your webcam is connected to your computer through USB or any other appropriate connection.
- If your computer has multiple webcams, select the one you want to use for Skype by going into the video settings of your operating system.
- Position your webcam so that it is aimed at you and provides a clear view. Adjust any angles or settings as required.
- Test your webcam by opening a video application on your computer. Make sure you can see a clear video feed from the webcam.
- Now, check the audio settings on your computer. Ensure that the connected microphone is set as the default recording device.
- Test your microphone by using a voice recording application or using the built-in sound recording options on your operating system.
- Make any necessary adjustments to the microphone volume or settings to ensure optimal audio quality.
- Once your webcam and microphone are set up and working correctly, you are ready to proceed to the next step of adjusting Skype settings.
Remember to consider lighting conditions when positioning your webcam. Ensure that you have proper lighting in the room to avoid a poorly lit video feed. Additionally, it’s important to check for any background noise that may affect the audio quality and make necessary adjustments accordingly.
By properly setting up your webcam and microphone, you can ensure a smooth and pleasant Skype experience with clear audio and video for your conversations. With this step completed, you can now move on to adjusting your Skype settings to personalize your Skype experience further.
Step 5: Adjust Skype settings
Once your webcam and microphone are set up, it’s time to adjust the settings within the Skype application to ensure the best experience during your video calls. Follow these steps to adjust your Skype settings:
- Launch the Skype application on your computer and sign in to your account if you haven’t already done so.
- Click on the “Settings” or “Preferences” option, typically represented by a gear icon. This will open the Skype settings menu.
- In the settings menu, you will find various options to customize your Skype experience. Explore the different tabs to find options for audio, video, notifications, and more.
- Under the “Audio & Video” settings, check that your webcam and microphone are selected as the default devices. Adjust the audio and video settings as desired, such as the volume levels and camera resolution.
- Take a moment to review the other settings as well. You can customize your notifications, privacy preferences, call settings, and more.
- If you want to personalize your Skype profile, navigate to the “Profile” tab in the settings menu. Here, you can update your profile picture, display name, and other details.
- Once you have adjusted the settings to your liking, click “Save” or “Apply” to save the changes.
It’s important to note that the settings available may vary depending on the version of Skype you are using. Explore the settings menu thoroughly to customize Skype to your preferences.
By adjusting the Skype settings, you can personalize your experience and optimize the audio and video quality to suit your needs. With this step complete, you are now ready to start using Skype on your LED TV and enjoy video calls on the big screen.
Step 6: Start using Skype on your TV
Now that you have completed all the necessary preparations and settings, it’s time to start using Skype on your LED TV. Follow these steps to begin your Skype video calls on the big screen:
- Ensure that your computer is turned on and running Skype.
- Use the remote control of your TV to navigate to the input/source menu and select the HDMI or VGA input that you connected your computer to.
- You should now see your computer’s display on your TV screen.
- Launch Skype on your computer and sign in to your account if needed.
- Select the contact you want to call from your Skype contact list or enter the Skype username or phone number of the person you wish to call.
- Click on the video call or audio call button to initiate the conversation.
- Once the call is established, you will see the video feed of the person you are calling on your TV screen. Use your computer or TV’s audio output settings to adjust the sound based on your preference.
- Enjoy the immersive experience of having Skype conversations on your LED TV!
During your video calls, you can utilize the features and functionalities of Skype, such as sharing screens, sending messages, or adding additional participants to the call. Explore the options available on the Skype interface to enhance your communication experience.
Remember to position yourself in front of the webcam so that you are clearly visible on the TV screen, and ensure that you have adequate lighting to maintain a clear video feed. By using Skype on your TV, you can have more interactive and engaging conversations with friends, family, and colleagues from the comfort of your living room.
If you encounter any issues during the process or experience audio or video quality problems, refer to the troubleshooting section or consult the Skype support resources for further assistance.
Troubleshooting common issues
While setting up and using Skype on your LED TV, you may encounter some common issues. Here are a few troubleshooting steps to help you resolve these problems:
- No signal on the TV: Check the connection between your TV and computer to ensure it is properly established. Make sure the correct input/source is selected on your TV. If using an HDMI cable, try a different cable or port if available.
- Poor video quality: Ensure that your webcam is positioned correctly and that the lighting in the room is adequate. Adjust the camera settings in Skype to enhance the video quality. Close any other applications that may be using your webcam and consuming system resources.
- Audio issues: Verify that your microphone is set as the default device in the Skype audio settings. Check your computer’s audio settings and volume levels. Ensure that your microphone is not muted and that it is placed correctly. Try using a different microphone if available.
- Connection problems: Ensure that you have a stable internet connection. If using a wireless connection, try moving closer to the router to improve the signal strength. Consider restarting your router and computer if you are experiencing frequent disconnections.
- Skype freezing or crashing: Update your Skype application to the latest version to ensure you have the most stable release. Check for any conflicting applications that may be causing compatibility issues. Restart your computer and relaunch Skype.
- Unresponsive controls: Make sure your remote control or TV’s buttons are functioning properly. Replace batteries if necessary. If using a keyboard or mouse, check the connections and ensure they are working correctly.
If these troubleshooting steps do not resolve your issues, consider accessing the Skype support website for further assistance. They may have specific guides or resources to address common problems or provide troubleshooting solutions for your specific TV model or operating system.
Remember that technology can sometimes be unpredictable, but with a little troubleshooting, you can overcome any obstacles and enjoy uninterrupted Skype conversations on your LED TV!
Conclusion
Running Skype on your LED TV can elevate your video calling experience, allowing you to enjoy conversations on a larger screen and immerse yourself in the conversation. By following the steps outlined in this guide, you can easily connect your TV to your computer, download and install Skype, set up your webcam and microphone, adjust the Skype settings, and start using Skype on your TV.
We discussed the requirements needed, such as an LED TV with HDMI or VGA ports, a computer with a webcam and microphone, and a stable internet connection. Additionally, we explored the importance of properly positioning the webcam, setting up the microphone, and adjusting the audio and video settings within the Skype application for optimal quality.
We also provided troubleshooting tips to help you overcome common issues that may arise while setting up or using Skype on your TV. By following these steps and troubleshooting suggestions, you can ensure a smooth and enjoyable Skype experience on your LED TV.
Now that you have unlocked the potential of running Skype on your LED TV, you can experience video calls in a new way. Enjoy the convenience and comfort of large-screen conversations with friends, family, and colleagues, creating memorable moments and staying connected, no matter the distance.
With Skype, your LED TV becomes more than just an entertainment device; it becomes a communication hub that brings people together visually and audibly. Embrace the possibilities, explore the features, and make the most out of Skype on your LED TV!


