Introduction
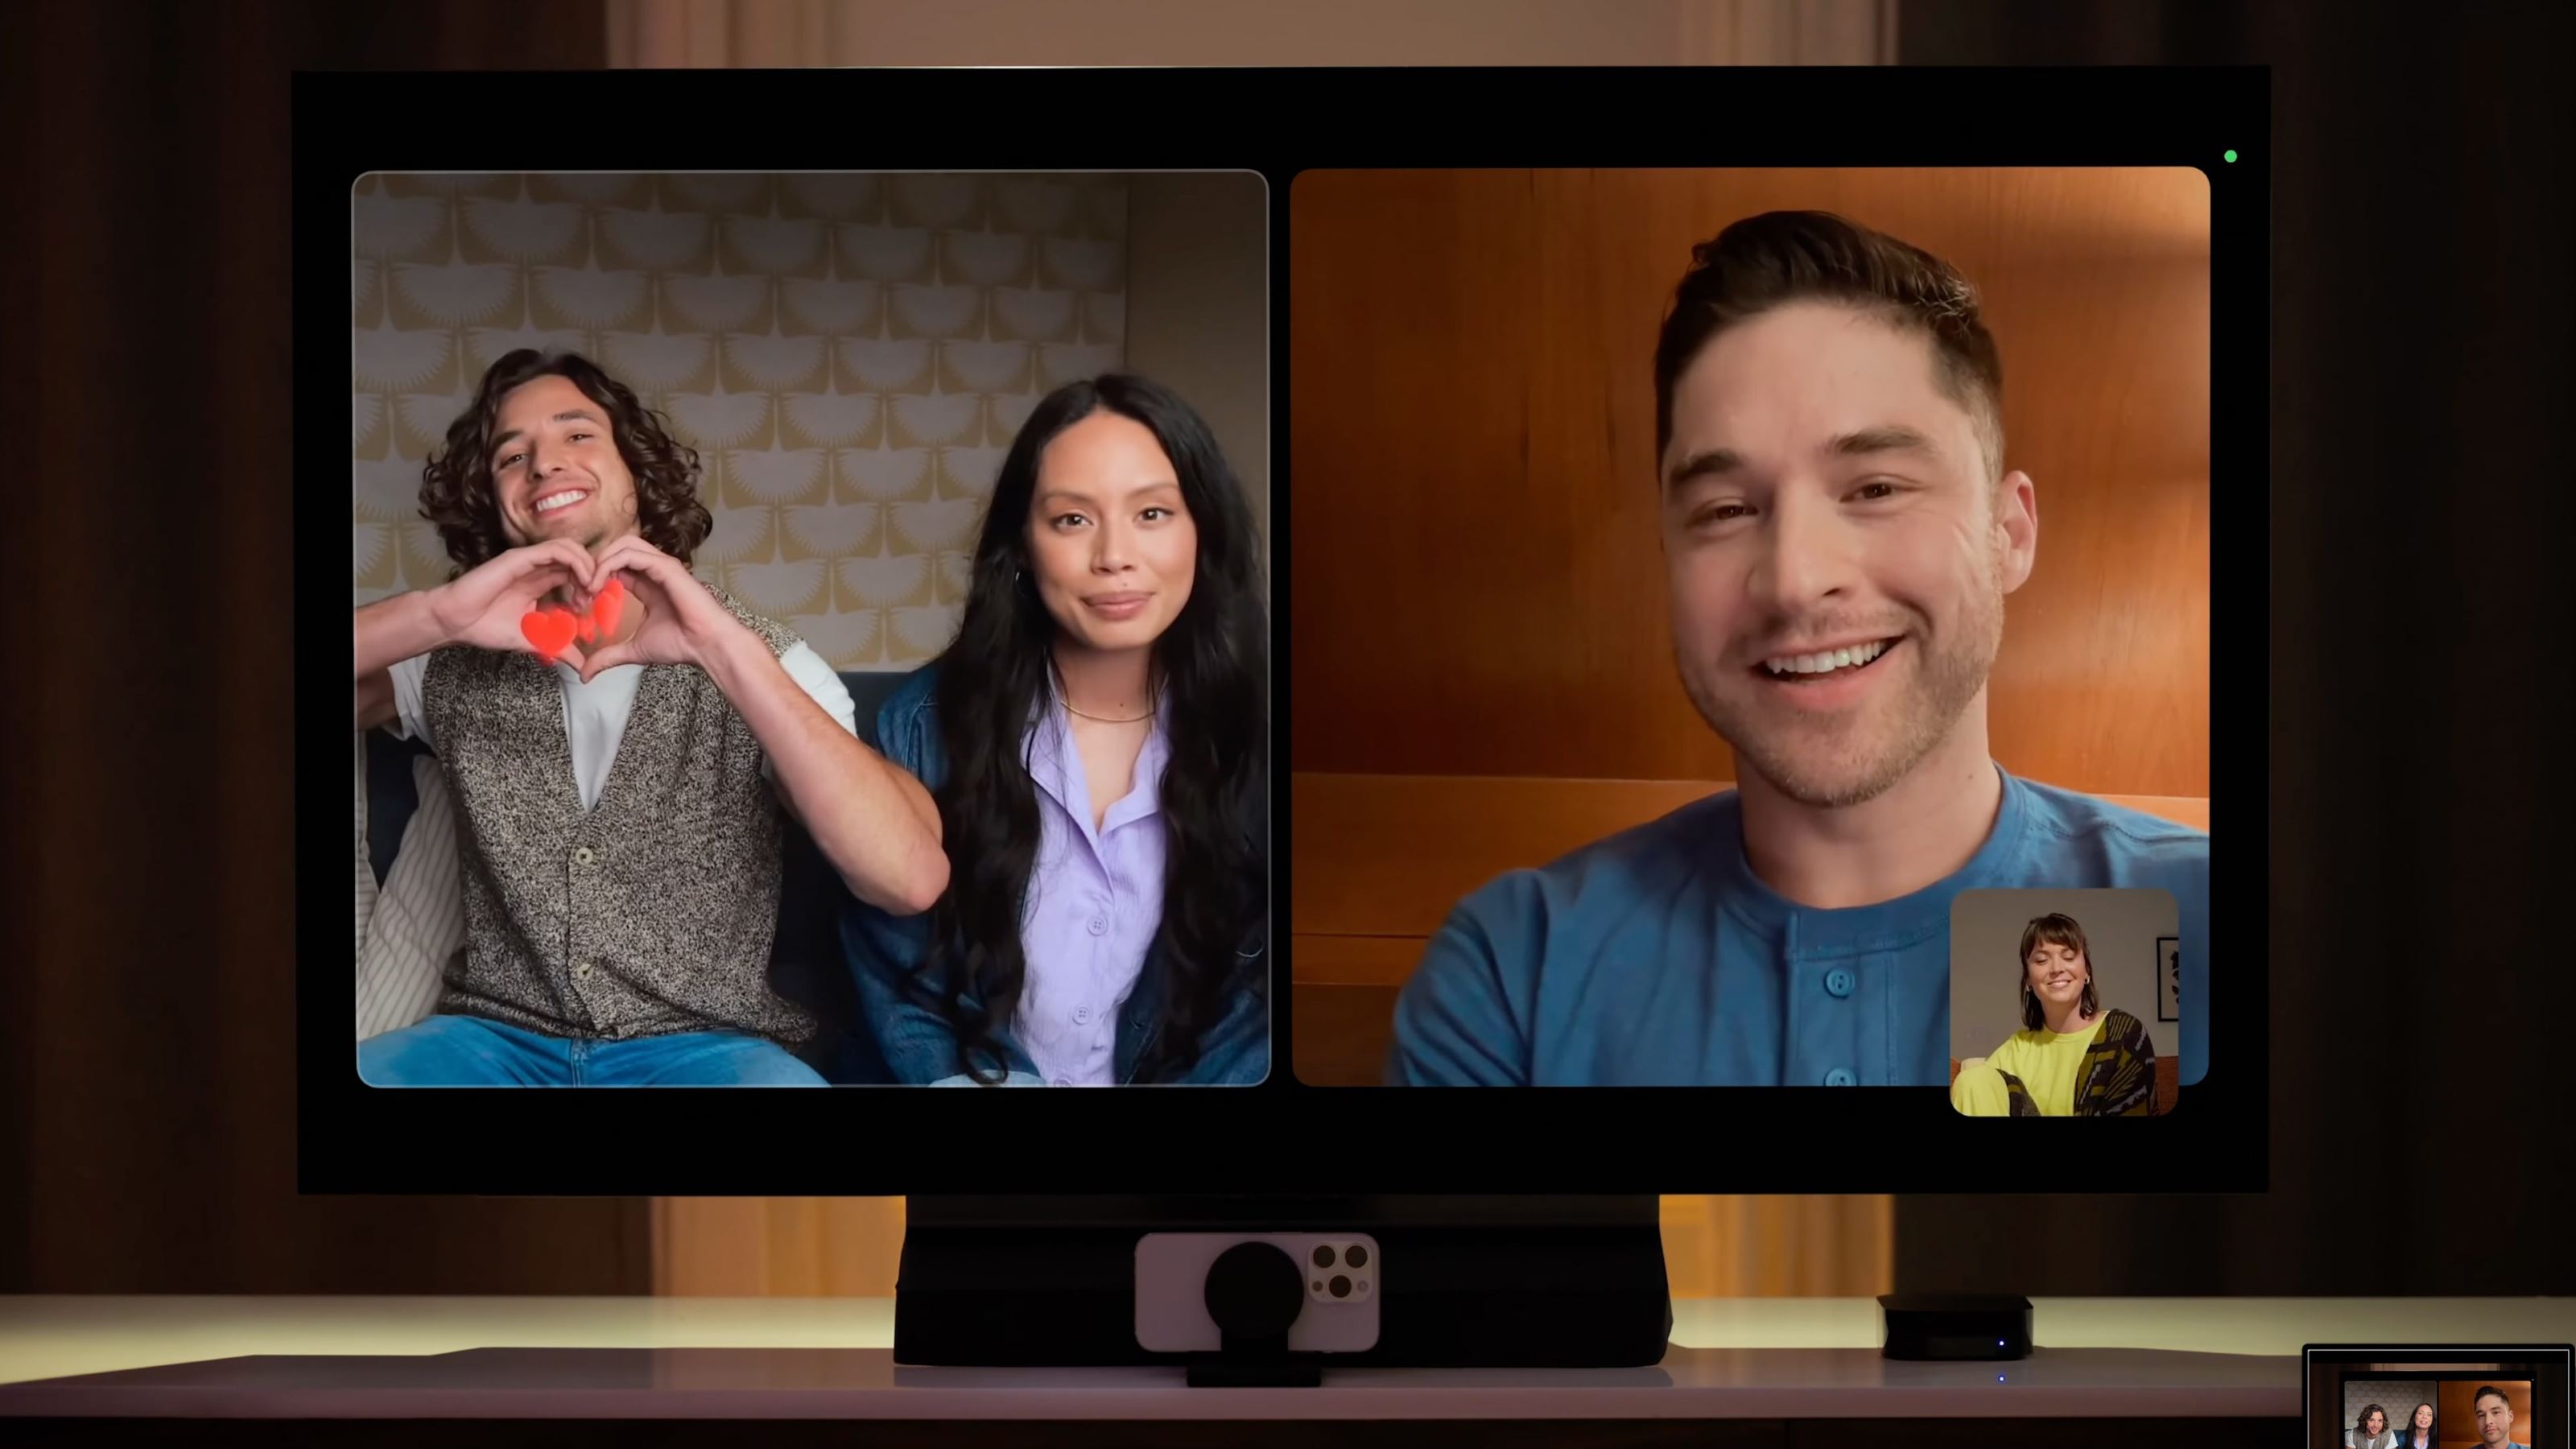
Webcams have become an essential tool in today’s digital world. They allow us to connect with friends and loved ones, attend virtual meetings, and create content for various platforms. While webcams are commonly used for video calls on computers, you may also want to connect your webcam to a TV for a larger and more immersive experience.
In this guide, we will discuss different methods of connecting a webcam to a TV and provide step-by-step instructions to assist you in the process. Whether you want to stream a live event, watch videos from your webcam, or take advantage of the TV’s larger screen for video conferencing, we’ve got you covered.
Before we delve into the various connection options, it’s important to note that not all webcams are compatible with TVs. It is essential to check the specifications of both your webcam and TV to ensure compatibility. High-definition webcams with HDMI outputs are typically the most versatile and offer the best image quality on a TV. However, if your webcam doesn’t have an HDMI output, don’t worry! There are alternative connection methods that we will explore.
Now, let’s dive into the various options available to connect your webcam to a TV seamlessly.
Types of Webcams
Before we can connect a webcam to a TV, it’s important to understand the different types of webcams available on the market. Knowing the type of webcam you have will help determine the most suitable connection method.
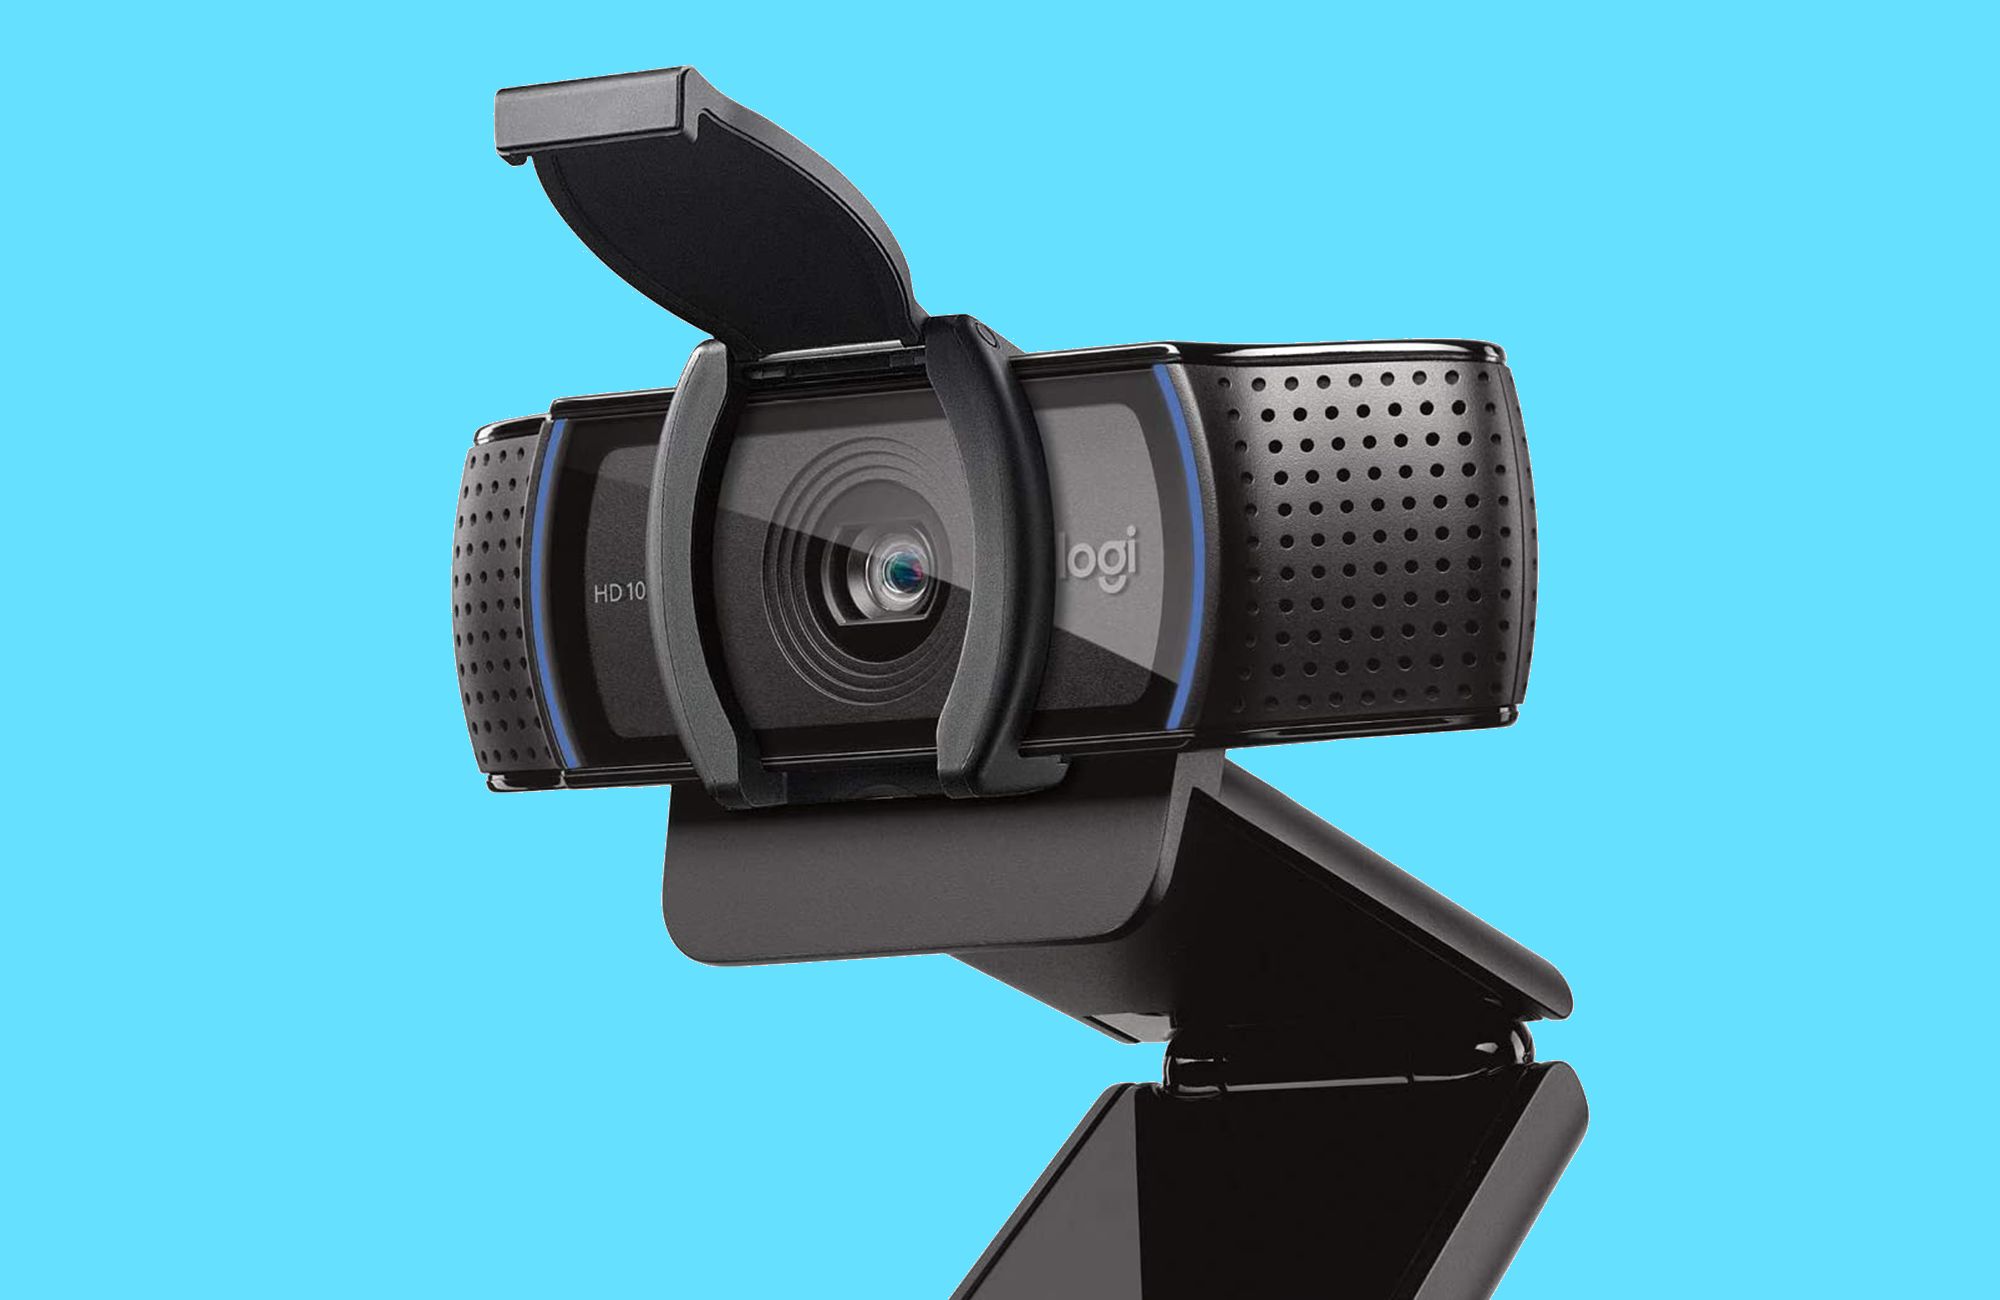
1. USB Webcams: USB webcams are the most common type available and are typically plug-and-play devices. They connect to your computer or TV via a USB port and provide video and audio capabilities. USB webcams are compatible with a wide range of devices, making them versatile and easy to use.
2. Wireless Webcams: Wireless webcams offer the convenience of being able to connect to your TV without the need for cables. These webcams use Wi-Fi or Bluetooth technology to establish a connection with your TV. They are a great option if you want to have more flexibility in camera placement or if your TV doesn’t have USB or HDMI ports.
3. Network or IP Cameras: Network or IP cameras are webcams that connect to your home network via an Ethernet cable or Wi-Fi. They can be accessed remotely using a smartphone, computer, or smart TV. While they may not provide the same level of video quality as USB webcams, they offer advanced features such as night vision and recording capabilities.
4. Built-in Webcams: Some TVs come with built-in webcams, especially smart TVs. These webcams are integrated into the TV’s design and require no additional setup. They are specifically designed for video conferencing and other TV-related functions.
It’s important to consider the capabilities and limitations of the webcam you have before proceeding with the connection process. Once you are familiar with the type of webcam you own, you can move on to selecting the appropriate connection method based on the available ports on your TV.
Connecting via HDMI
If you have a webcam with an HDMI output and your TV has an available HDMI port, this is the simplest and most straightforward way to connect your webcam to the TV. HDMI (High-Definition Multimedia Interface) provides high-quality audio and video transmission, making it ideal for viewing webcam content on a larger screen.
Here are the steps to connect your webcam to a TV via HDMI:
- Make sure your webcam and TV are powered off before starting the connection process.
- Locate the HDMI output port on your webcam. It is usually labeled “HDMI” and resembles a small rectangular shape.
- Connect one end of the HDMI cable to the HDMI output port on your webcam.
- Next, locate an available HDMI input port on your TV. Typically, TVs have multiple HDMI inputs, so choose one that is not currently in use.
- Connect the other end of the HDMI cable to the HDMI input port on your TV.
- Power on both your webcam and TV.
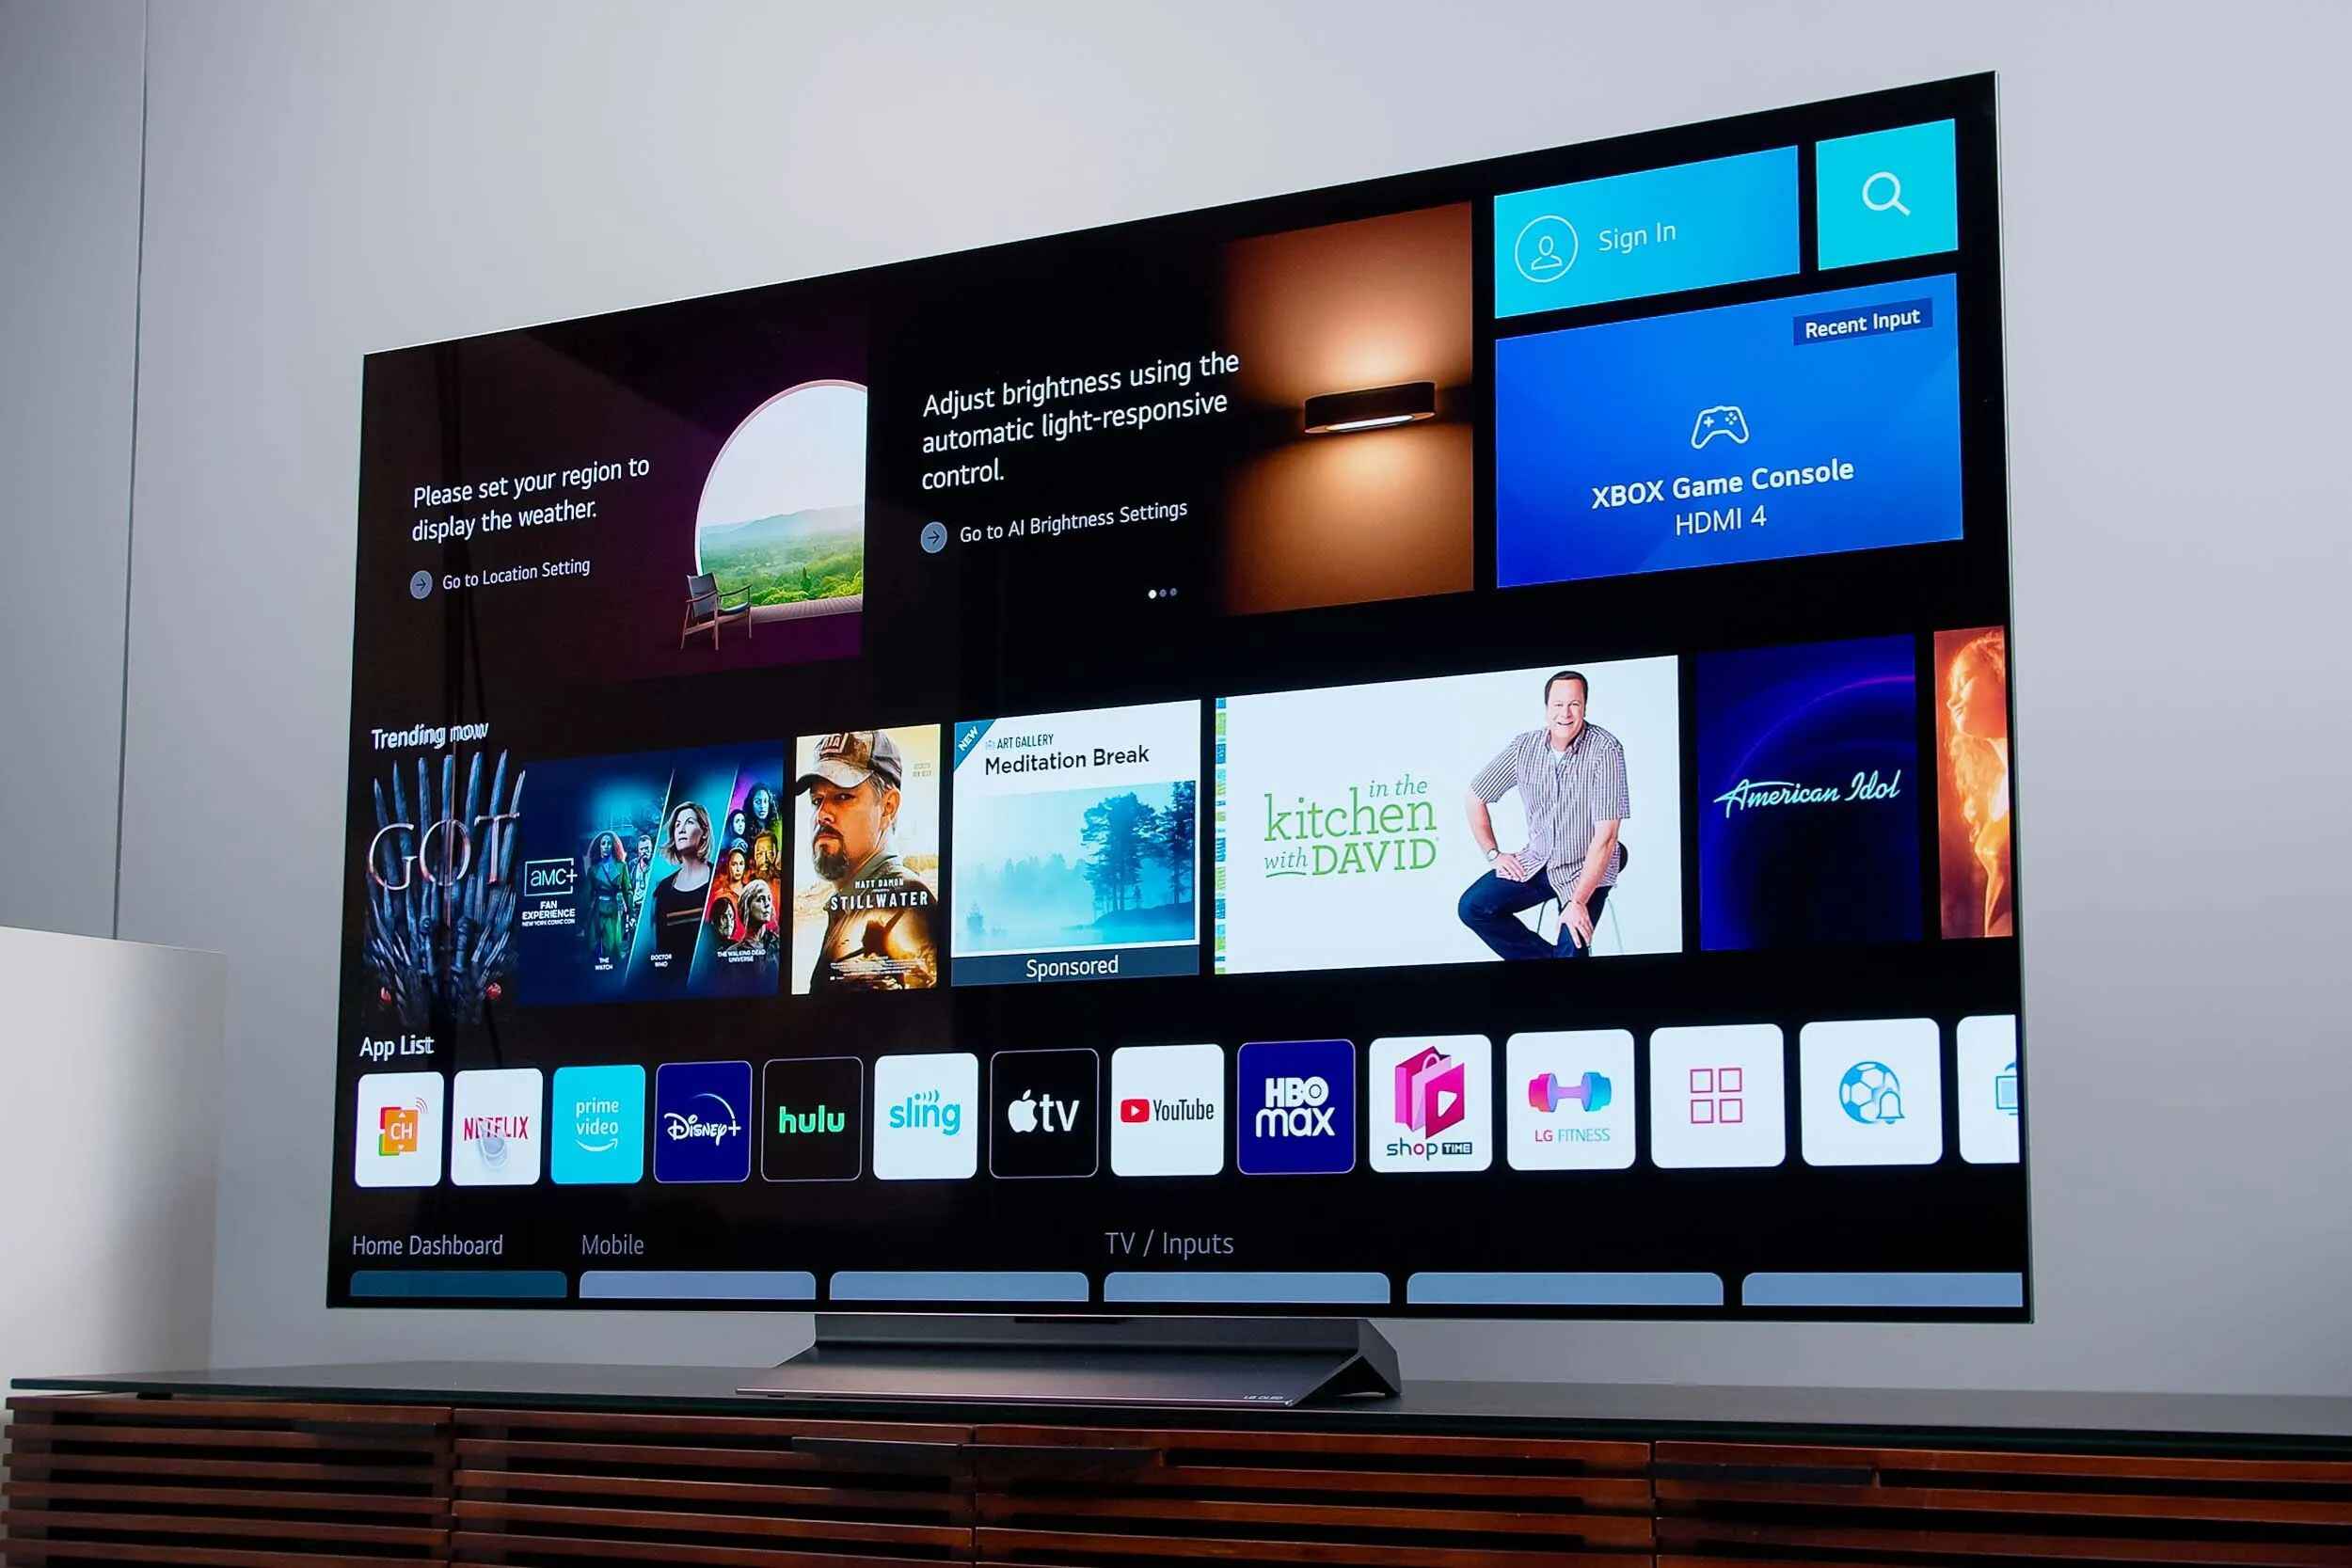
- Use your TV remote control to navigate to the appropriate HDMI input channel. This may be labeled as “HDMI 1,” “HDMI 2,” etc., depending on the TV model.
- Your webcam’s video output should now be displayed on your TV screen. Adjust any necessary settings on your webcam or TV to optimize the display quality.
It’s important to note that some webcams require an external power source or additional settings adjustment to enable the HDMI output. Refer to your webcam’s user manual for specific instructions on how to activate the HDMI output if needed.
Now you can enjoy a larger, high-quality viewing experience with your webcam content displayed on your TV via HDMI!
Connecting via USB
If your webcam has a USB output and your TV has a USB port, you can easily connect the webcam to the TV using a USB cable. This method is commonly used for streaming video calls or viewing webcam content on a larger screen.
Here are the steps to connect your webcam to a TV via USB:
- Ensure that both your webcam and TV are turned off before starting the connection process.
- Locate the USB output port on your webcam. It is usually a small rectangular port labeled “USB.”
- Take a USB cable and connect one end to the USB output port on your webcam.
- Check your TV for an available USB port. It is typically located on the side or back of the TV.
- Connect the other end of the USB cable to the USB port on your TV.
- Turn on both your webcam and TV.
- Using your TV remote, navigate to the input source settings and select the USB input option.
- Your webcam’s video output should now be displayed on your TV screen. Adjust any necessary settings on your webcam or TV for optimal display.
It’s important to note that not all TVs support the direct display of webcam video input through USB. In such cases, you may need to use intermediary devices like a media streaming box or a computer with HDMI output to connect the webcam to the TV.
If your TV does not have a USB port, you can use a USB-to-HDMI converter to connect the webcam to your TV’s HDMI input port. The converter will allow you to utilize the webcam’s USB output and convert it into an HDMI signal compatible with your TV.
By following these steps, you can easily connect your webcam to a TV using the USB connection method and enjoy an enhanced viewing experience on a larger screen!
Connecting Wirelessly
If your webcam and TV both have wireless capabilities, connecting them wirelessly can provide flexibility and convenience. This method eliminates the need for cables and allows you to stream webcam content to your TV effortlessly.
Here are the steps to connect your webcam to a TV wirelessly:
- Ensure that both your webcam and TV are turned off.
- Check if your webcam supports Wi-Fi or Bluetooth connectivity. Consult the webcam’s user manual or specifications to verify its wireless capabilities.
- Enable the wireless function on your webcam by going into the settings or network options.
- On your TV, navigate to the settings menu and enable the wireless display or screen mirroring function. This option may vary depending on the TV’s brand and model.
- Activate the pairing mode on your webcam. This typically involves pressing a specific button or accessing the pairing option in the settings menu. Refer to the webcam’s user manual for precise instructions.
- Your TV should detect the webcam as an available wireless display source. Select the webcam from the list of available devices to establish the connection.
- Once connected, your webcam’s video output will be mirrored or streamed on the TV screen wirelessly.
- Adjust any necessary settings on your webcam or TV to optimize the display quality.
It’s important to note that the wireless connection method may have limitations depending on the specific webcam and TV models. Some webcams may have restrictions on the streaming resolution or frame rate when connected wirelessly. Additionally, the distance between the webcam and TV, as well as any signal interference, can affect the quality and stability of the wireless connection.
Before attempting the wireless connection, ensure that both your webcam and TV are connected to the same Wi-Fi network or have compatible Bluetooth compatibility. This ensures a smooth and reliable wireless connection.
By following these steps, you can easily connect your webcam to a TV wirelessly and enjoy the convenience of streaming webcam content directly to your TV screen without the need for cables.
Configuring the Webcam
Once you have successfully connected your webcam to your TV using the desired method, it’s crucial to configure the webcam settings to ensure optimal performance and a satisfying viewing experience. Configuring the webcam involves adjusting various settings on the webcam itself or through the TV’s settings menu.
Here are some important configuration steps to consider:
- Resolution and Aspect Ratio: Depending on your webcam’s capabilities and the TV’s display, you may need to adjust the resolution and aspect ratio settings. Higher resolutions may provide crisper images, but it’s essential to ensure that the selected resolution is supported by both the webcam and TV.
- Frame Rate: The frame rate determines the smoothness of the video playback. Most webcams support 30 frames per second (fps), but some higher-end models may offer higher frame rates. Adjust the frame rate settings to find the balance between smooth video playback and optimal performance.
- Zoom and Focus: Many webcams allow you to adjust the zoom and focus settings to ensure a clear and sharp image. Use these features to frame the video properly and enhance the overall quality.
- White Balance and Exposure: Adjusting the white balance and exposure can help optimize the image quality depending on the lighting conditions in your environment. Play around with these settings to achieve the most accurate representation of colors and brightness.
- Microphone Settings: If your webcam has a built-in microphone, ensure that it is enabled and set to an appropriate audio level. You may need to adjust the microphone sensitivity to avoid distorted or low-quality audio.
It’s important to note that the configuration options may vary depending on your specific webcam model. Refer to the webcam’s user manual or access the settings menu on the webcam itself to explore all available configuration options.
Additionally, some TVs offer advanced picture settings that can further enhance the display quality of the webcam video. These settings may include sharpness, color saturation, and noise reduction. Experiment with these settings to find the optimal configuration for your viewing preferences.
By taking the time to configure the settings of your webcam and TV, you can ensure a visually pleasing and immersive experience when using the webcam on your TV.
Troubleshooting Tips
Connecting a webcam to a TV may sometimes come with challenges or unexpected issues. In this section, we will provide some troubleshooting tips to help you overcome common problems and ensure a successful connection and usage experience.
1. Check the connections: Ensure that all cables are securely connected to both the webcam and the TV. Loose or faulty connections can lead to video or audio issues.
2. Restart the devices: Sometimes, a simple restart can resolve connectivity issues. Turn off both the webcam and the TV, then power them back on after a few seconds.
3. Update firmware and drivers: Make sure you have the latest firmware or drivers for both your webcam and TV. Visit the manufacturer’s website to download any available updates and install them accordingly. New updates can often fix compatibility issues and improve performance.
4. Check power sources: If your webcam requires external power, ensure it is properly connected and receiving power. Also, ensure that your TV is plugged into a functioning power outlet. Power disruptions can affect the stability of the connection.
5. Switch HDMI ports: If you are using an HDMI connection and experiencing issues, try connecting the HDMI cable to different HDMI ports on your TV. Sometimes, a specific HDMI port may not be functioning as expected.
6. Adjust TV settings: Explore the TV’s video and audio settings related to input sources. Adjusting settings like picture mode, color settings, and audio output can improve the overall experience when using a webcam.
7. Check device compatibility: Verify the compatibility of your webcam and TV. Some older models may not support certain connection methods or have limitations in terms of resolution or supported formats.
8. Update TV firmware: Similar to updating webcam firmware, consider checking for any available firmware updates for your TV. These updates can address compatibility issues and enhance the TV’s functionality.
9. Reset to factory settings: If all else fails, you may need to reset your webcam or TV to their factory settings. However, be aware that this will erase any customized settings, so ensure that you have backups or a record of your preferred configurations.
If you continue to experience problems with connecting or using your webcam on the TV, it may be helpful to consult the user manuals or contact the manufacturer’s customer support for further assistance.
By following these troubleshooting tips, you can overcome common obstacles and enjoy a seamless and trouble-free experience when connecting your webcam to your TV.
Conclusion
Connecting a webcam to a TV allows you to enjoy a larger screen and immersive experience when it comes to video calls, streaming content, or using your webcam for various activities. Whether you choose to connect via HDMI, USB, or wirelessly, each method offers its own advantages and considerations.
Before attempting to connect your webcam to your TV, it’s important to ensure compatibility between the devices and understand the specific connection options available to you. Taking the time to configure the webcam settings and troubleshoot any potential issues will contribute to a seamless and optimal viewing experience.
Remember to check the type and specifications of your webcam, as well as the available ports on your TV. Take advantage of the various connection options, such as HDMI for high-quality audio and video transmission, USB for ease of use and compatibility, or wireless for flexibility and convenience.
By following the step-by-step instructions provided in this guide and considering the troubleshooting tips, you can successfully connect your webcam to your TV and elevate your webcam usage to a whole new level.
Whether you want to have virtual meetings on a larger screen, stream live events, or simply enjoy a better view of your webcam’s content, connecting your webcam to your TV opens up a world of possibilities. Embrace the enhanced viewing experience and unlock the full potential of your webcam!


