Introduction
Welcome to this guide on how to print screen with your Logitech Wireless Keyboard. The Print Screen function is a handy tool that allows you to capture screenshots of your computer screen. Whether you want to share an interesting web page, capture an error message, or save important information, knowing how to use the Print Screen function is essential.
If you own a Logitech Wireless Keyboard, you may be wondering how to activate the Print Screen feature. In this article, we will walk you through the steps to connect your Logitech Wireless Keyboard to your computer and utilize the Print Screen function. Whether you are a casual user or a professional navigating through complex tasks, this guide will help you take screenshots with ease.
By the end of this article, you will be able to capture your entire screen, specific windows, and even selected areas using your Logitech Wireless Keyboard. So, grab your keyboard and let’s get started on the exciting journey of capturing screenshots effortlessly!
Before we dive into the step-by-step instructions, make sure your Logitech Wireless Keyboard is connected to your computer. If you haven’t connected it yet, don’t worry, we have you covered. Just follow the instructions in the next section, and you’ll be ready to go with your keyboard!
Step 1: Connect the Logitech Wireless Keyboard to your computer
The first step in utilizing the Print Screen function on your Logitech Wireless Keyboard is to ensure that it is properly connected to your computer. Follow these simple steps to establish a seamless connection:
- Insert the batteries: Open the battery compartment on the back of your Logitech Wireless Keyboard and insert the required batteries. Make sure to align the polarity correctly.
- Activate pairing mode: Locate the power switch on your keyboard and turn it on. This will activate the pairing mode and allow your keyboard to connect to your computer.
- Enable Bluetooth on your computer: Go to your computer’s settings and make sure that Bluetooth is enabled. This will enable your computer to detect and connect to the Logitech Wireless Keyboard.
- Pair the keyboard: On your computer, navigate to the Bluetooth settings and search for available devices. Select the Logitech Wireless Keyboard from the list of detected devices and click on “Pair” or “Connect.”
- Follow on-screen instructions: During the pairing process, your computer may prompt you with on-screen instructions. Follow these instructions to complete the pairing successfully.
- Confirm the connection: Once the pairing process is complete, your Logitech Wireless Keyboard should be connected to your computer. You can verify the connection by typing something in a text document or opening a web browser.
Once you have successfully connected your Logitech Wireless Keyboard to your computer, you are ready to move on to the next step and explore the Print Screen function. With a seamless connection, you can effortlessly capture screenshots and enhance your productivity and communication.
Step 2: Locate the Print Screen button on the Logitech Wireless Keyboard
Before you can start using the Print Screen function on your Logitech Wireless Keyboard, you need to know where to find the Print Screen button. The location of this button may vary depending on the specific model of your keyboard, so take a moment to familiarize yourself with its placement.
Here are a few common locations where you may find the Print Screen button on your Logitech Wireless Keyboard:
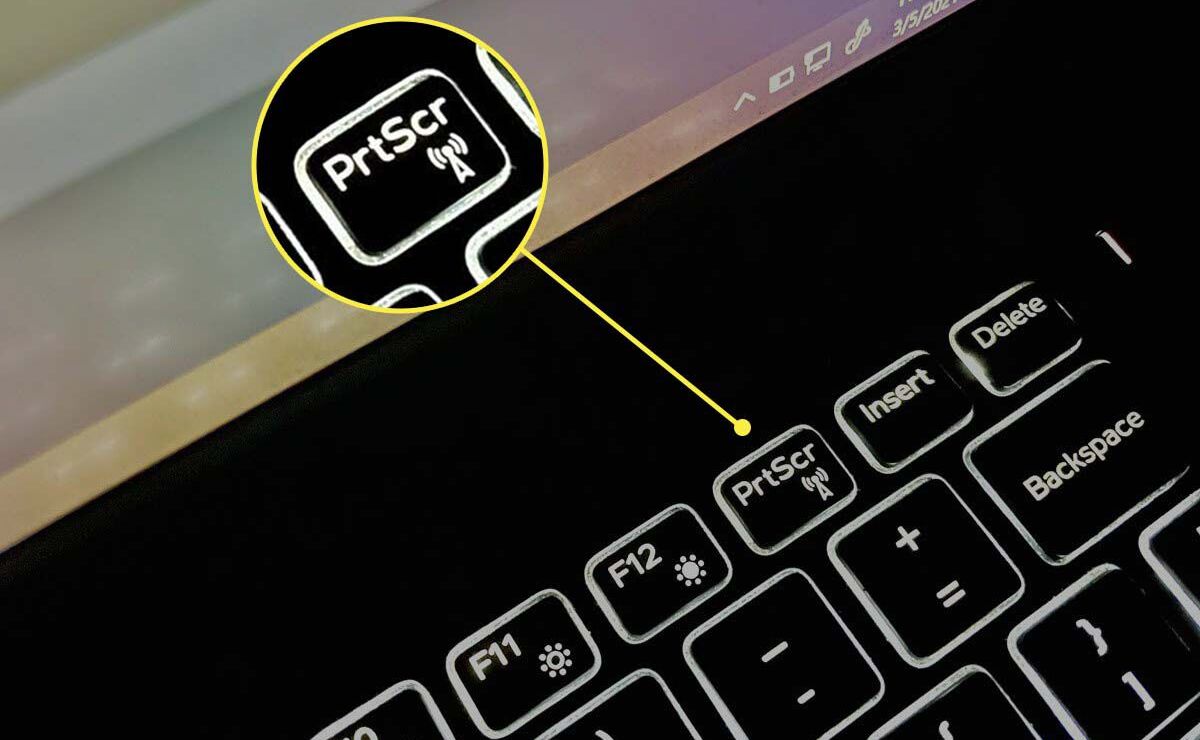
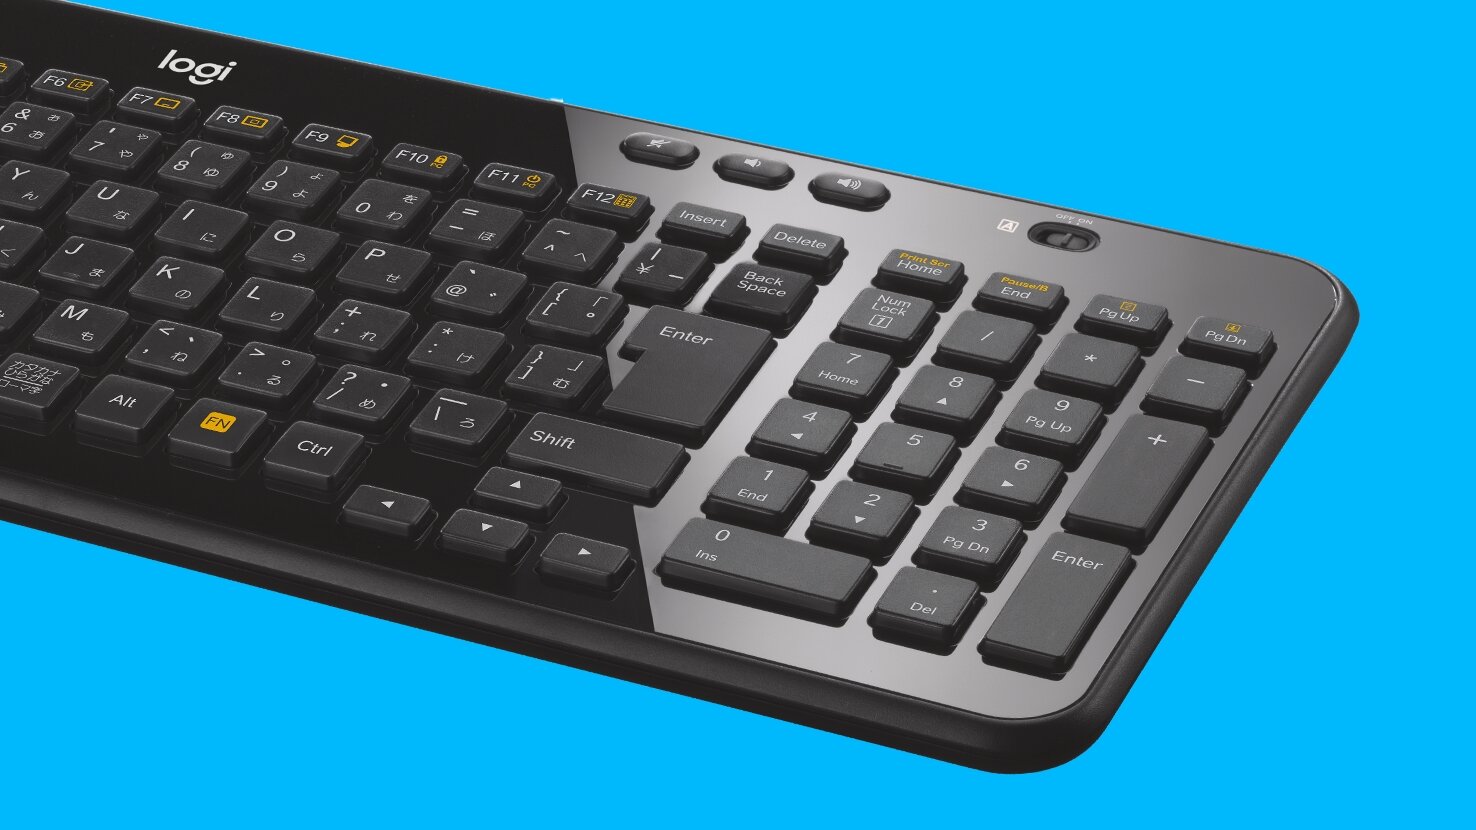
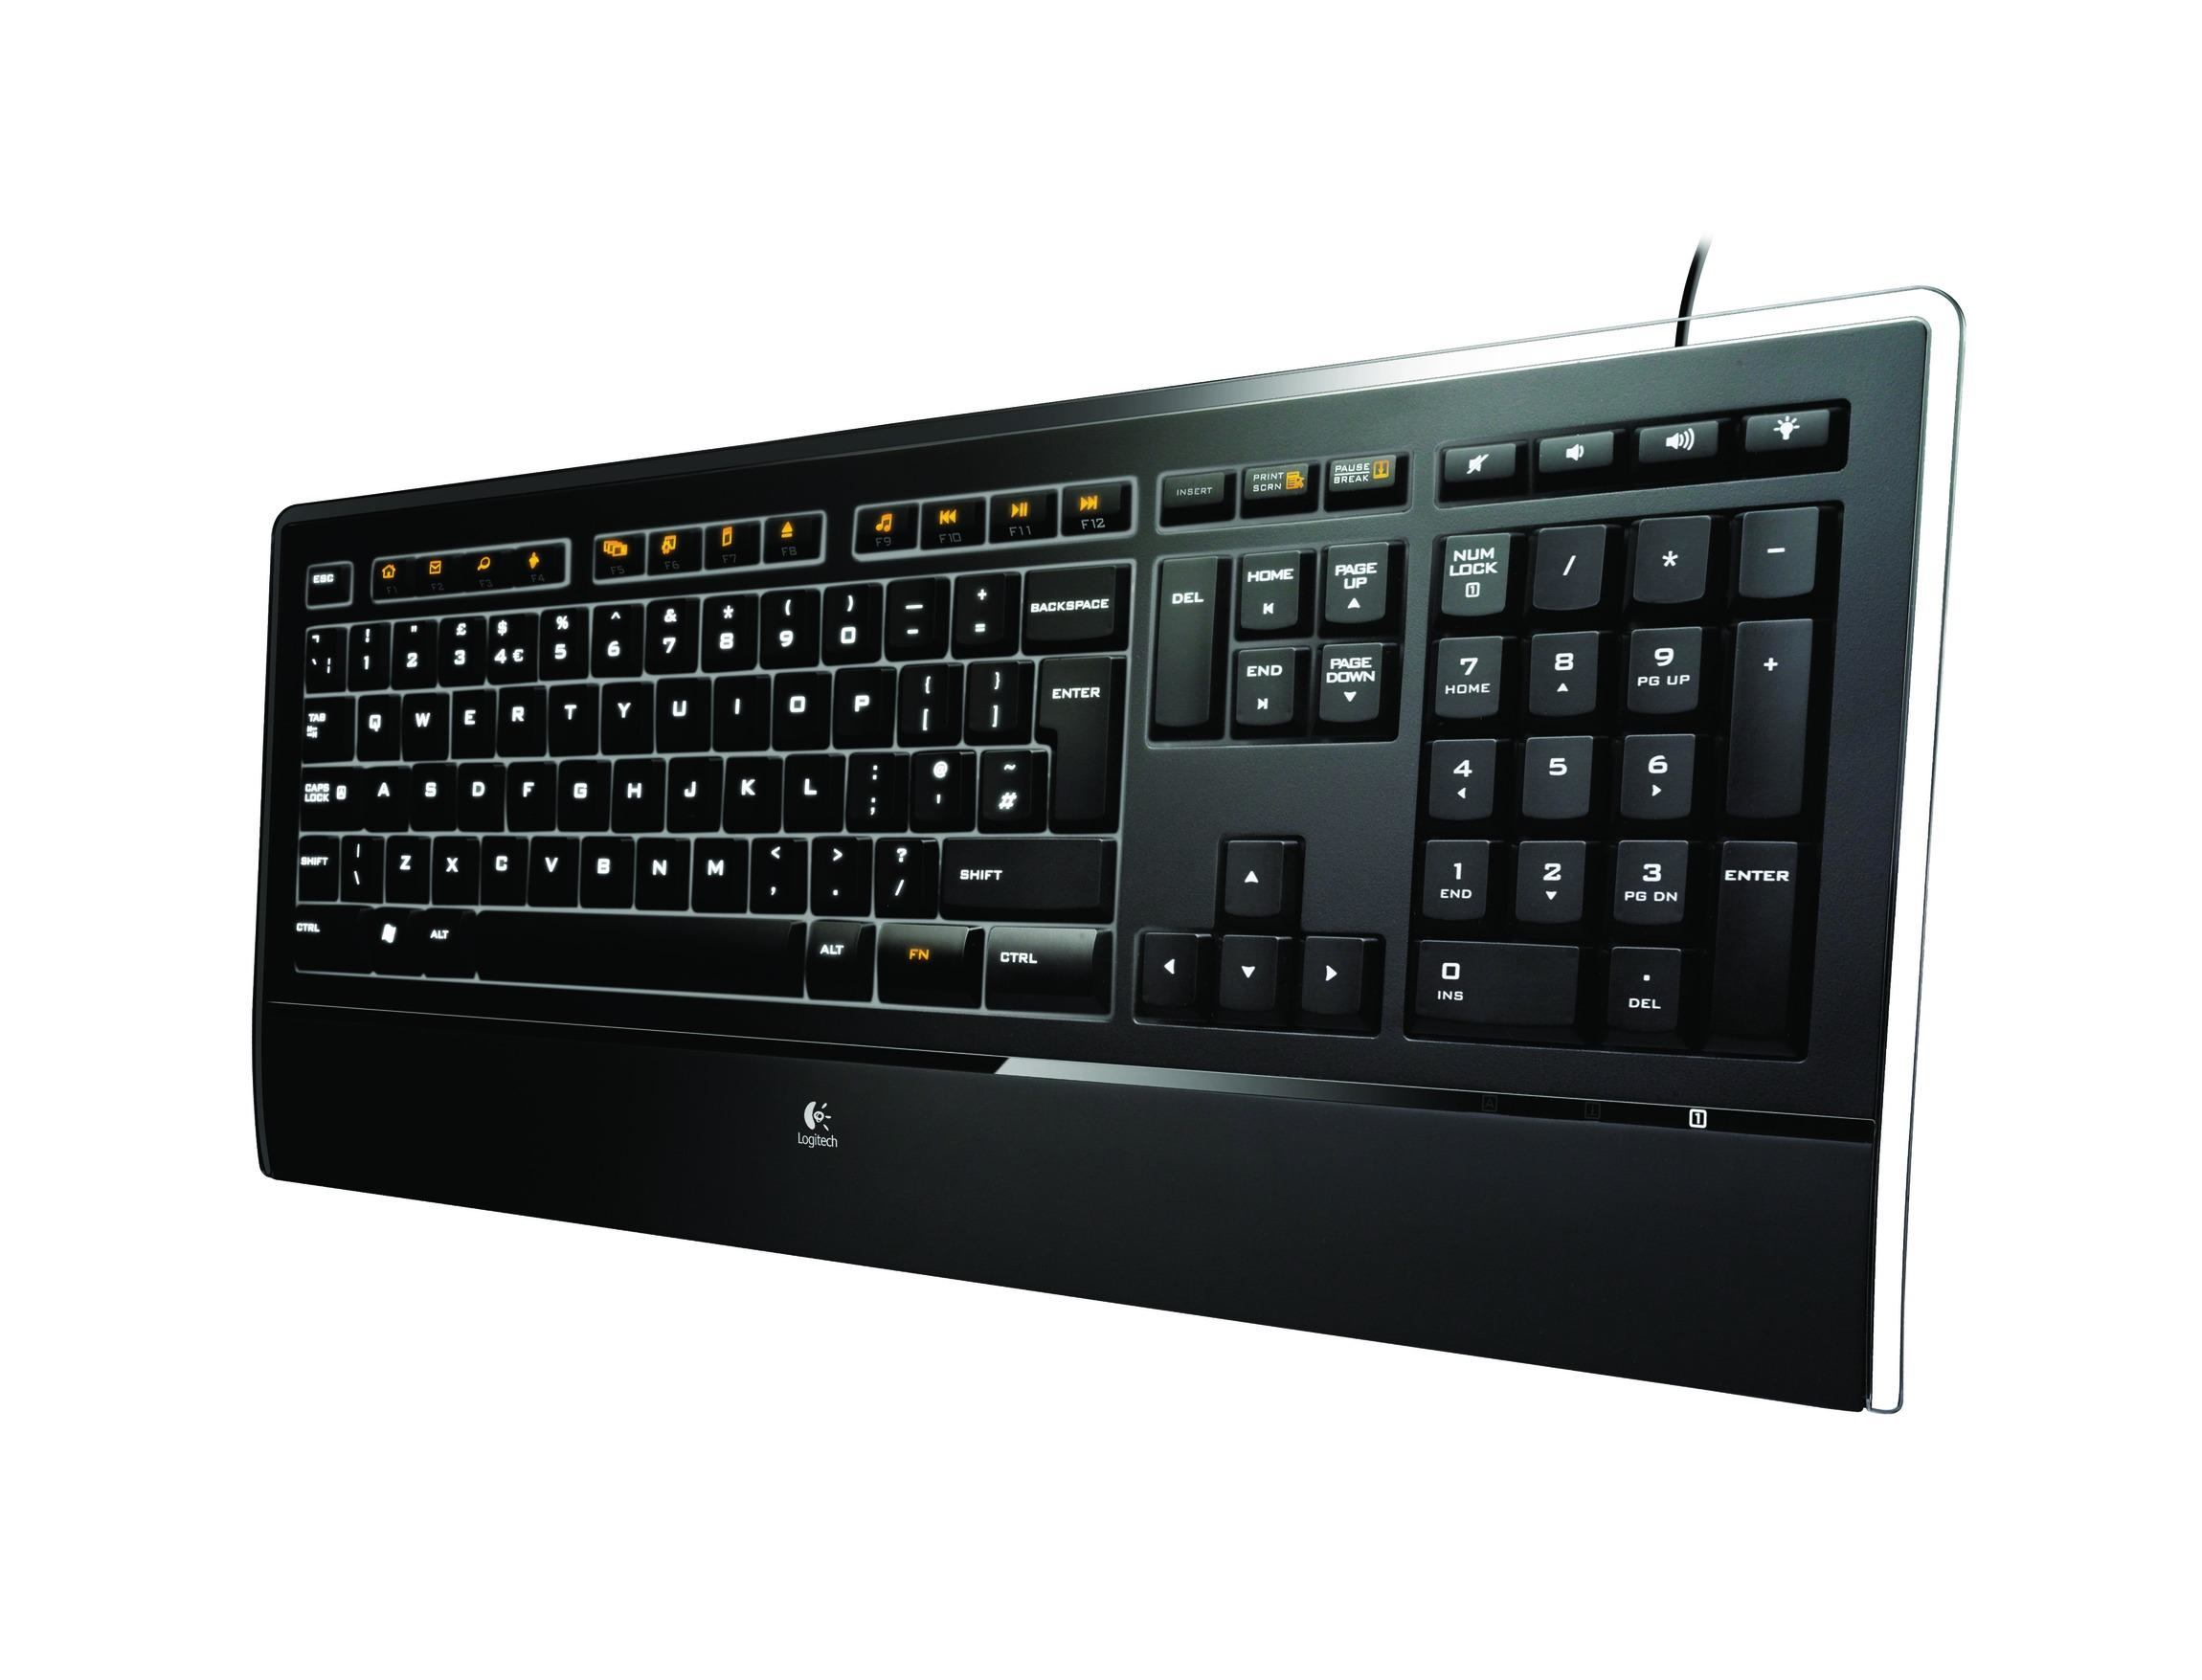
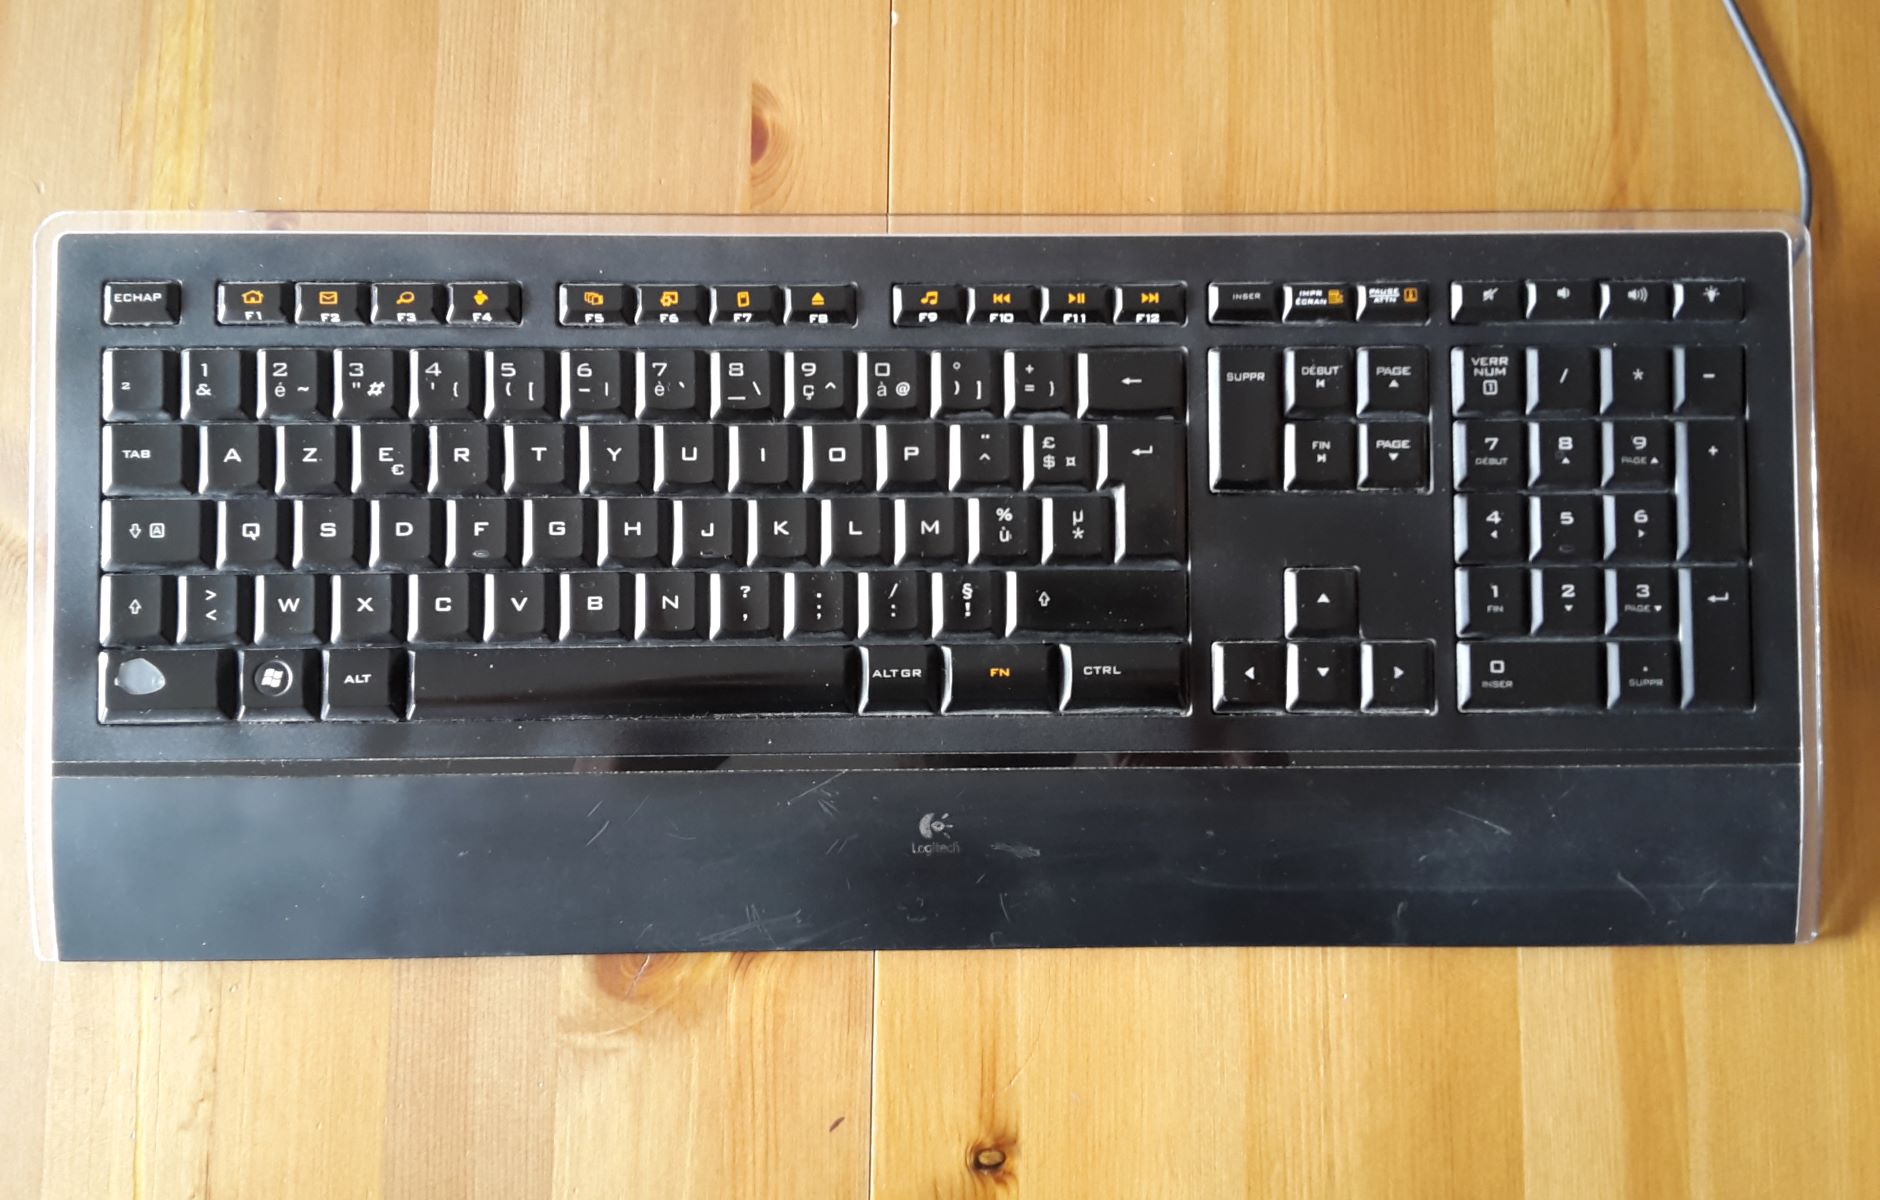
- A dedicated Print Screen key: Look for a key labeled “Print Screen” or “PrtSc” on your keyboard. It is usually located in the top row, near the function keys, or on the far-right side.
- A shared key with other functions: Some Logitech Wireless Keyboards have a single key that serves multiple functions, including the Print Screen function. This key may be labeled with an icon that resembles a camera or a rectangular screen.
- A combination of keys: In some cases, you may need to use a combination of keys to activate the Print Screen function. For example, pressing the “Fn” (Function) key along with another key, such as “P” or “F12”, may activate the Print Screen function.
If you are unsure about the location of the Print Screen button on your Logitech Wireless Keyboard, refer to the user manual or visit the Logitech website for specific instructions related to your keyboard model.
Once you have located the Print Screen button on your Logitech Wireless Keyboard, you are ready to explore the different functions it offers when capturing screenshots. Continue reading the next steps to learn more about the various ways you can utilize the Print Screen function with your Logitech Wireless Keyboard.
Step 3: Understand the different Print Screen functions
Now that you have located the Print Screen button on your Logitech Wireless Keyboard, it’s important to understand the different functions it offers when capturing screenshots. The Print Screen button provides you with several options to customize your screenshot capturing experience:
- Print Screen (PrtSc): Pressing the Print Screen button on its own captures a screenshot of the entire screen and saves it to your clipboard. You can then paste the screenshot into an image editing program or a document of your choice.
- Alt + Print Screen: Pressing the “Alt” key along with the Print Screen button captures a screenshot of the currently active window instead of the entire screen. This is useful when you only want to capture a specific window without any other distractions.
- Shift + Print Screen: By pressing the “Shift” key along with the Print Screen button, you can capture a selected area on your screen. This function allows you to draw a rectangle around the desired area to capture only that portion of the screen.
Understanding these different Print Screen functions gives you the flexibility to capture screenshots in various ways, depending on your specific needs. Whether you want to share a funny meme, document an important conversation, or showcase an error message, Logitech Wireless Keyboard’s Print Screen button has got you covered.
Now that you know the different functions available, let’s explore how to use each of them effectively in the upcoming steps. Follow along to discover how each function can enhance your screenshot capturing experience and make your tasks more efficient.
Step 4: Use the Print Screen function to capture your entire screen
One of the primary functions of the Print Screen button on your Logitech Wireless Keyboard is to capture a screenshot of your entire screen. This is useful when you want to capture everything that is currently displayed on your monitor. Follow these steps to capture your entire screen:
- Make sure the content you want to capture is visible on your screen.
- Locate the Print Screen button on your Logitech Wireless Keyboard.
- Press the Print Screen button on its own. You may hear a camera shutter sound or see a visual indication that the screenshot has been captured.
- Open an image editing program or a document where you want to paste the screenshot.
- Press “Ctrl + V” or right-click and select “Paste” to insert the screenshot. The screenshot will be pasted as an image of your entire screen.
- Save the screenshot in a desired format or further edit it as needed.
By using the Print Screen function to capture your entire screen, you can easily save or share images of anything displayed on your monitor. Whether you want to capture a captivating scene from a video, showcase a beautiful design, or document important information, this method is quick and efficient.
Now that you know how to capture your entire screen using the Print Screen function, let’s move on to the next step and explore how to capture a specific window with your Logitech Wireless Keyboard.
Step 5: Use the Print Screen function to capture a specific window
Aside from capturing the entire screen, the Print Screen function on your Logitech Wireless Keyboard also allows you to capture a specific window. This is particularly handy when you want to focus on a single application or program window without including the rest of your screen. Follow these steps to capture a specific window:
- Ensure that the window you want to capture is active and visible on your screen.
- Locate the Print Screen button on your Logitech Wireless Keyboard.
- Press and hold the “Alt” key on your keyboard.
- While holding the “Alt” key, press the Print Screen button. You should hear the camera shutter sound or see a visual indication that the screenshot has been captured.
- Open an image editing program or a document where you want to paste the screenshot.
- Press “Ctrl + V” or right-click and select “Paste” to insert the screenshot. The screenshot will be pasted as an image of the specific window you captured.
- Save the screenshot in a desired format or further edit it as needed.
By using the Print Screen function to capture a specific window, you can easily highlight and document important information within a single application or program. Whether you want to share an error message, demonstrate a feature, or showcase a specific part of a web page, this method allows you to focus on the details that matter.
Now that you’ve learned how to capture a specific window using the Print Screen function, let’s move on to the next step and explore how to capture a selected area on your screen with your Logitech Wireless Keyboard.
Step 6: Use the Print Screen function to capture a selected area
Another powerful function of the Print Screen button on your Logitech Wireless Keyboard is the ability to capture a selected area on your screen. This allows you to choose and capture a specific portion of your screen, whether it’s an image, text, or any other element that you want to highlight. Follow these steps to capture a selected area:
- Decide on the area you want to capture and ensure it is visible on your screen.
- Locate the Print Screen button on your Logitech Wireless Keyboard.
- Press and hold the “Shift” key on your keyboard.
- While holding the “Shift” key, press the Print Screen button.
- Your cursor will change into a crosshair or a “+” symbol.
- Click and drag your cursor to define the area you want to capture. You will see a highlighted boundary as you drag.
- Release the mouse button to capture the selected area. You may hear the camera shutter sound or see a visual indication that the screenshot has been captured.
- Open an image editing program or a document where you want to paste the screenshot.
- Press “Ctrl + V” or right-click and select “Paste” to insert the screenshot. The screenshot will be pasted as an image of the selected area you captured.
- Save the screenshot in a desired format or further edit it as needed.
By using the Print Screen function to capture a selected area, you have full control over what you want to capture on your screen. This method is perfect for highlighting specific information, cropping out unnecessary elements, or emphasizing a particular detail in a screenshot.
Now that you know how to capture a selected area using the Print Screen function, you have explored all the essential methods of capturing screenshots with your Logitech Wireless Keyboard. Take some time to practice and experiment with different capturing techniques to enhance your productivity and communication.
Conclusion
Congratulations! You have successfully learned how to utilize the Print Screen function on your Logitech Wireless Keyboard to capture screenshots with ease. By following the step-by-step instructions in this guide, you can now capture your entire screen, specific windows, and selected areas effortlessly.
With the ability to capture screenshots, you can now save important information, share interesting content, document errors or issues, and enhance your communication with others. Whether you are a student, professional, or casual user, knowing how to capture screenshots is a valuable skill that can improve your productivity and make your tasks more efficient.
Remember to connect your Logitech Wireless Keyboard to your computer using the provided instructions if you haven’t done so already. Familiarize yourself with the location of the Print Screen button on your keyboard, as it may vary depending on the model.
Additionally, understand the different Print Screen functions available to you – capturing the entire screen, specific windows, or selected areas. This knowledge gives you the flexibility to customize your screenshot capturing experience based on your specific needs.
Now that you are equipped with these skills, take some time to experiment and practice capturing screenshots with your Logitech Wireless Keyboard. Explore different applications, documentations, or creative projects where screenshots can be useful.
Remember, capturing screenshots is not just about taking pictures of your screen; it’s about capturing moments, information, and ideas. So, take advantage of the Print Screen function and unleash your creativity and productivity.
Enjoy capturing and sharing your screen with your Logitech Wireless Keyboard!