Introduction
Welcome to the world of the Logitech K780 keyboard! Whether you’re a professional writer, a dedicated gamer, or simply someone who spends a lot of time on their computer, having a reliable and versatile keyboard is essential. The Logitech K780 is a popular choice among users, thanks to its sleek design, comfortable typing experience, and a wide range of features.
In this article, we will focus on one specific feature of the Logitech K780 – the Print Screen button. Many users rely on the Print Screen button to capture screenshots and save them for various purposes, such as sharing information, troubleshooting issues, or capturing moments from a game or video. However, locating the Print Screen button on the Logitech K780 might not be as straightforward as on other keyboards.
Do not fret! In the following sections, we will explore the Logitech K780 keyboard in detail, understand the function keys, and unravel the mystery of finding the elusive Print Screen button. We will also discuss alternative methods for capturing screenshots if your Logitech K780 keyboard does not have a dedicated Print Screen button. So, let’s dive in and discover the secrets hidden within your Logitech K780 keyboard!
What is the Logitech K780 keyboard?
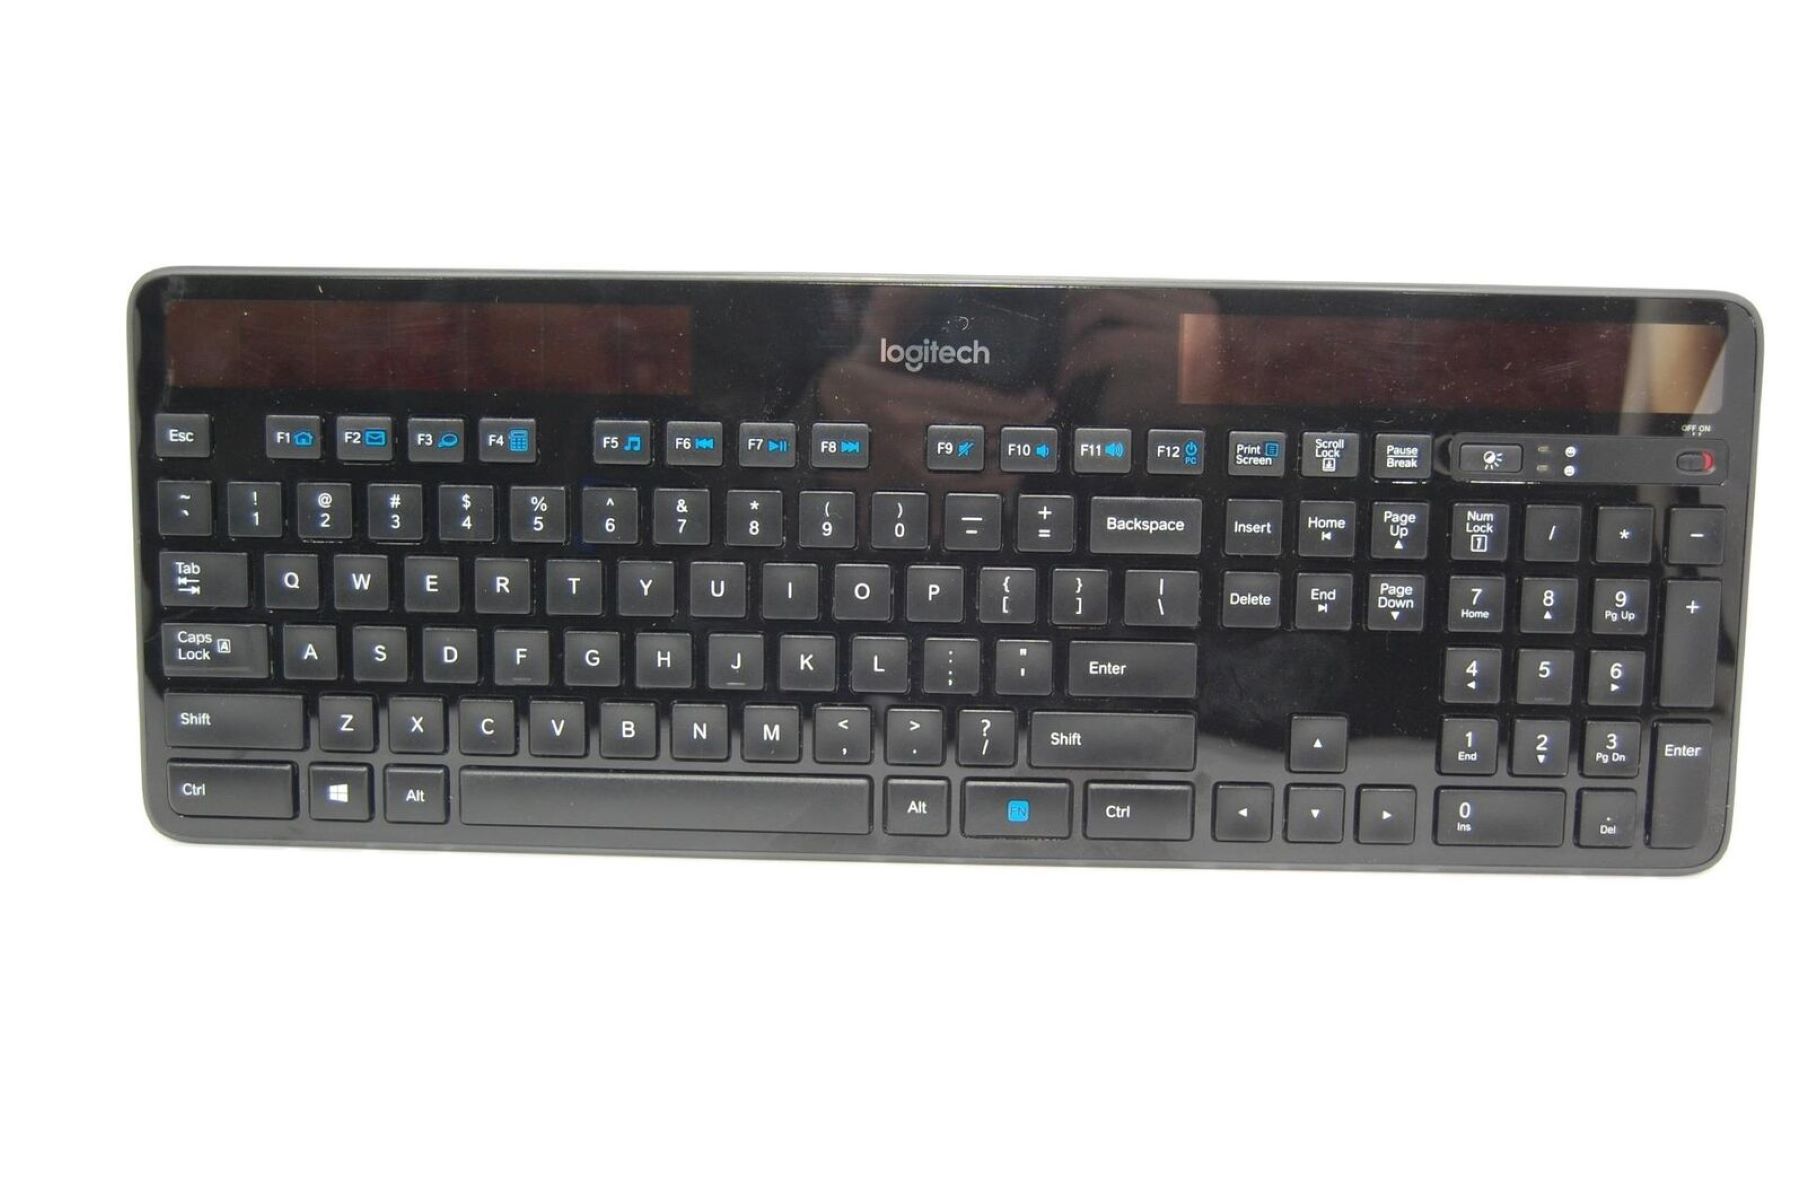
The Logitech K780 keyboard is a versatile and innovative input device designed for seamless connectivity and efficient performance. It is a wireless keyboard that can be easily connected to multiple devices simultaneously, making it perfect for individuals who work across different platforms or switch between devices frequently.
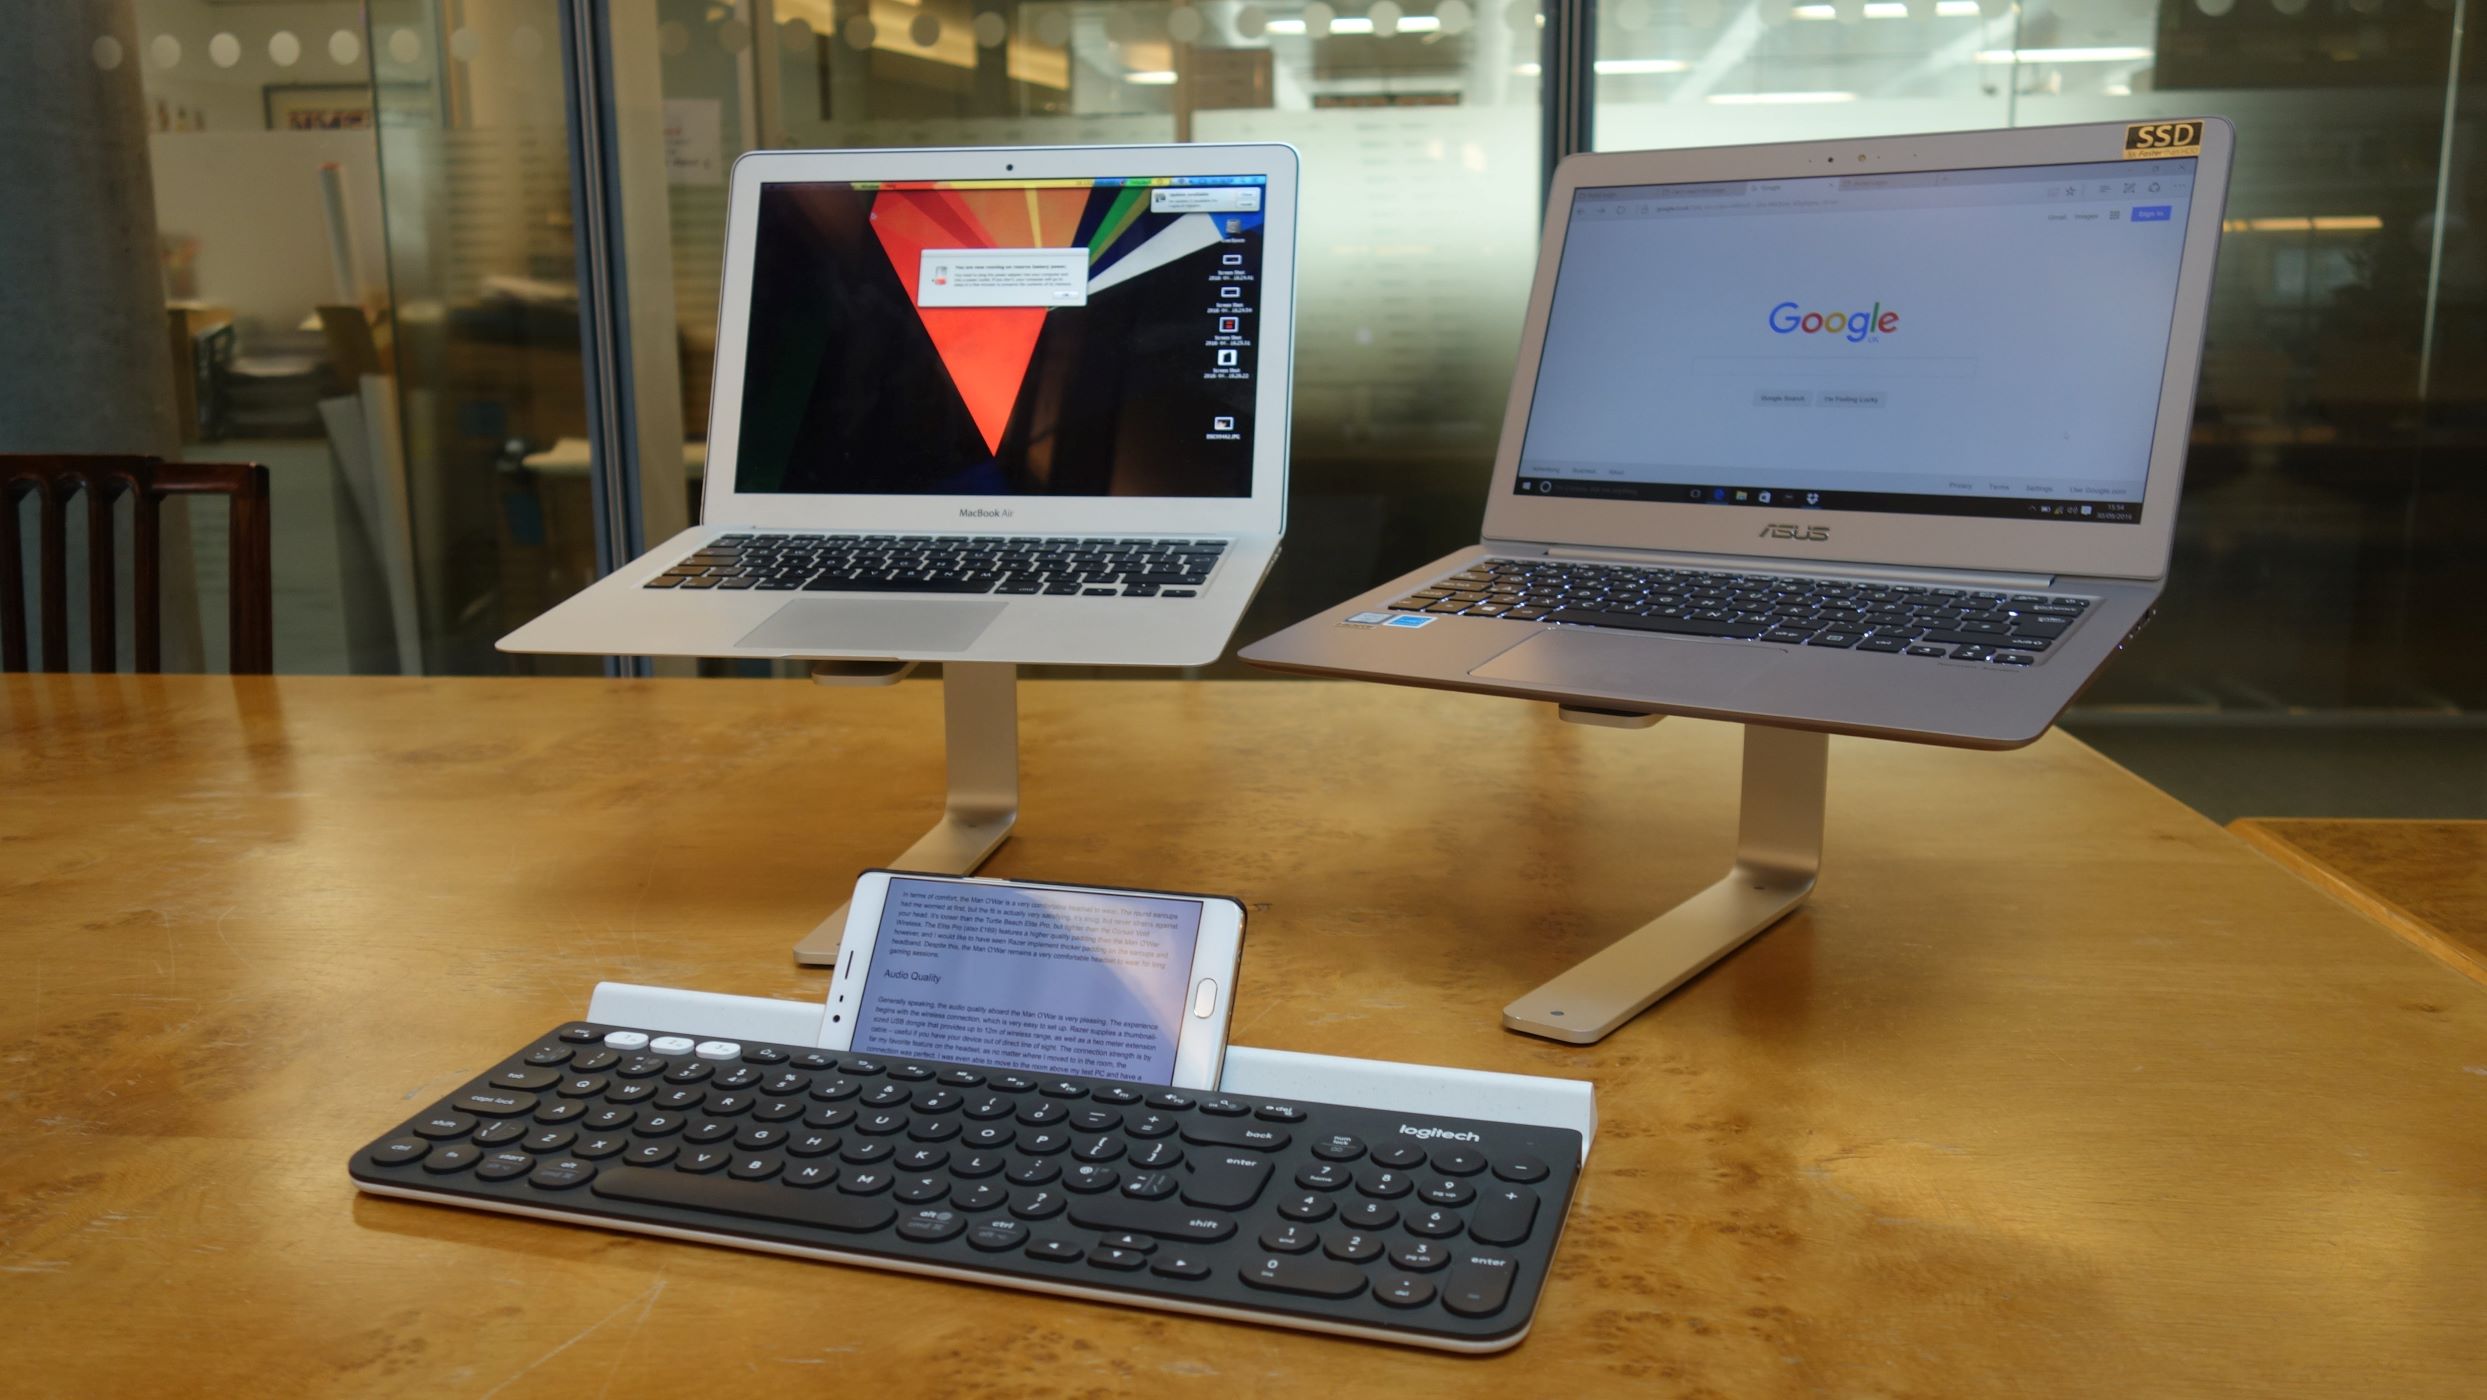
One of the standout features of the Logitech K780 keyboard is its ability to connect to up to three devices at the same time using Bluetooth or the provided USB dongle. This means you can easily switch between your computer, tablet, or smartphone with just the press of a button. This feature is especially useful for those who need to multitask or those who prefer a clutter-free workspace.
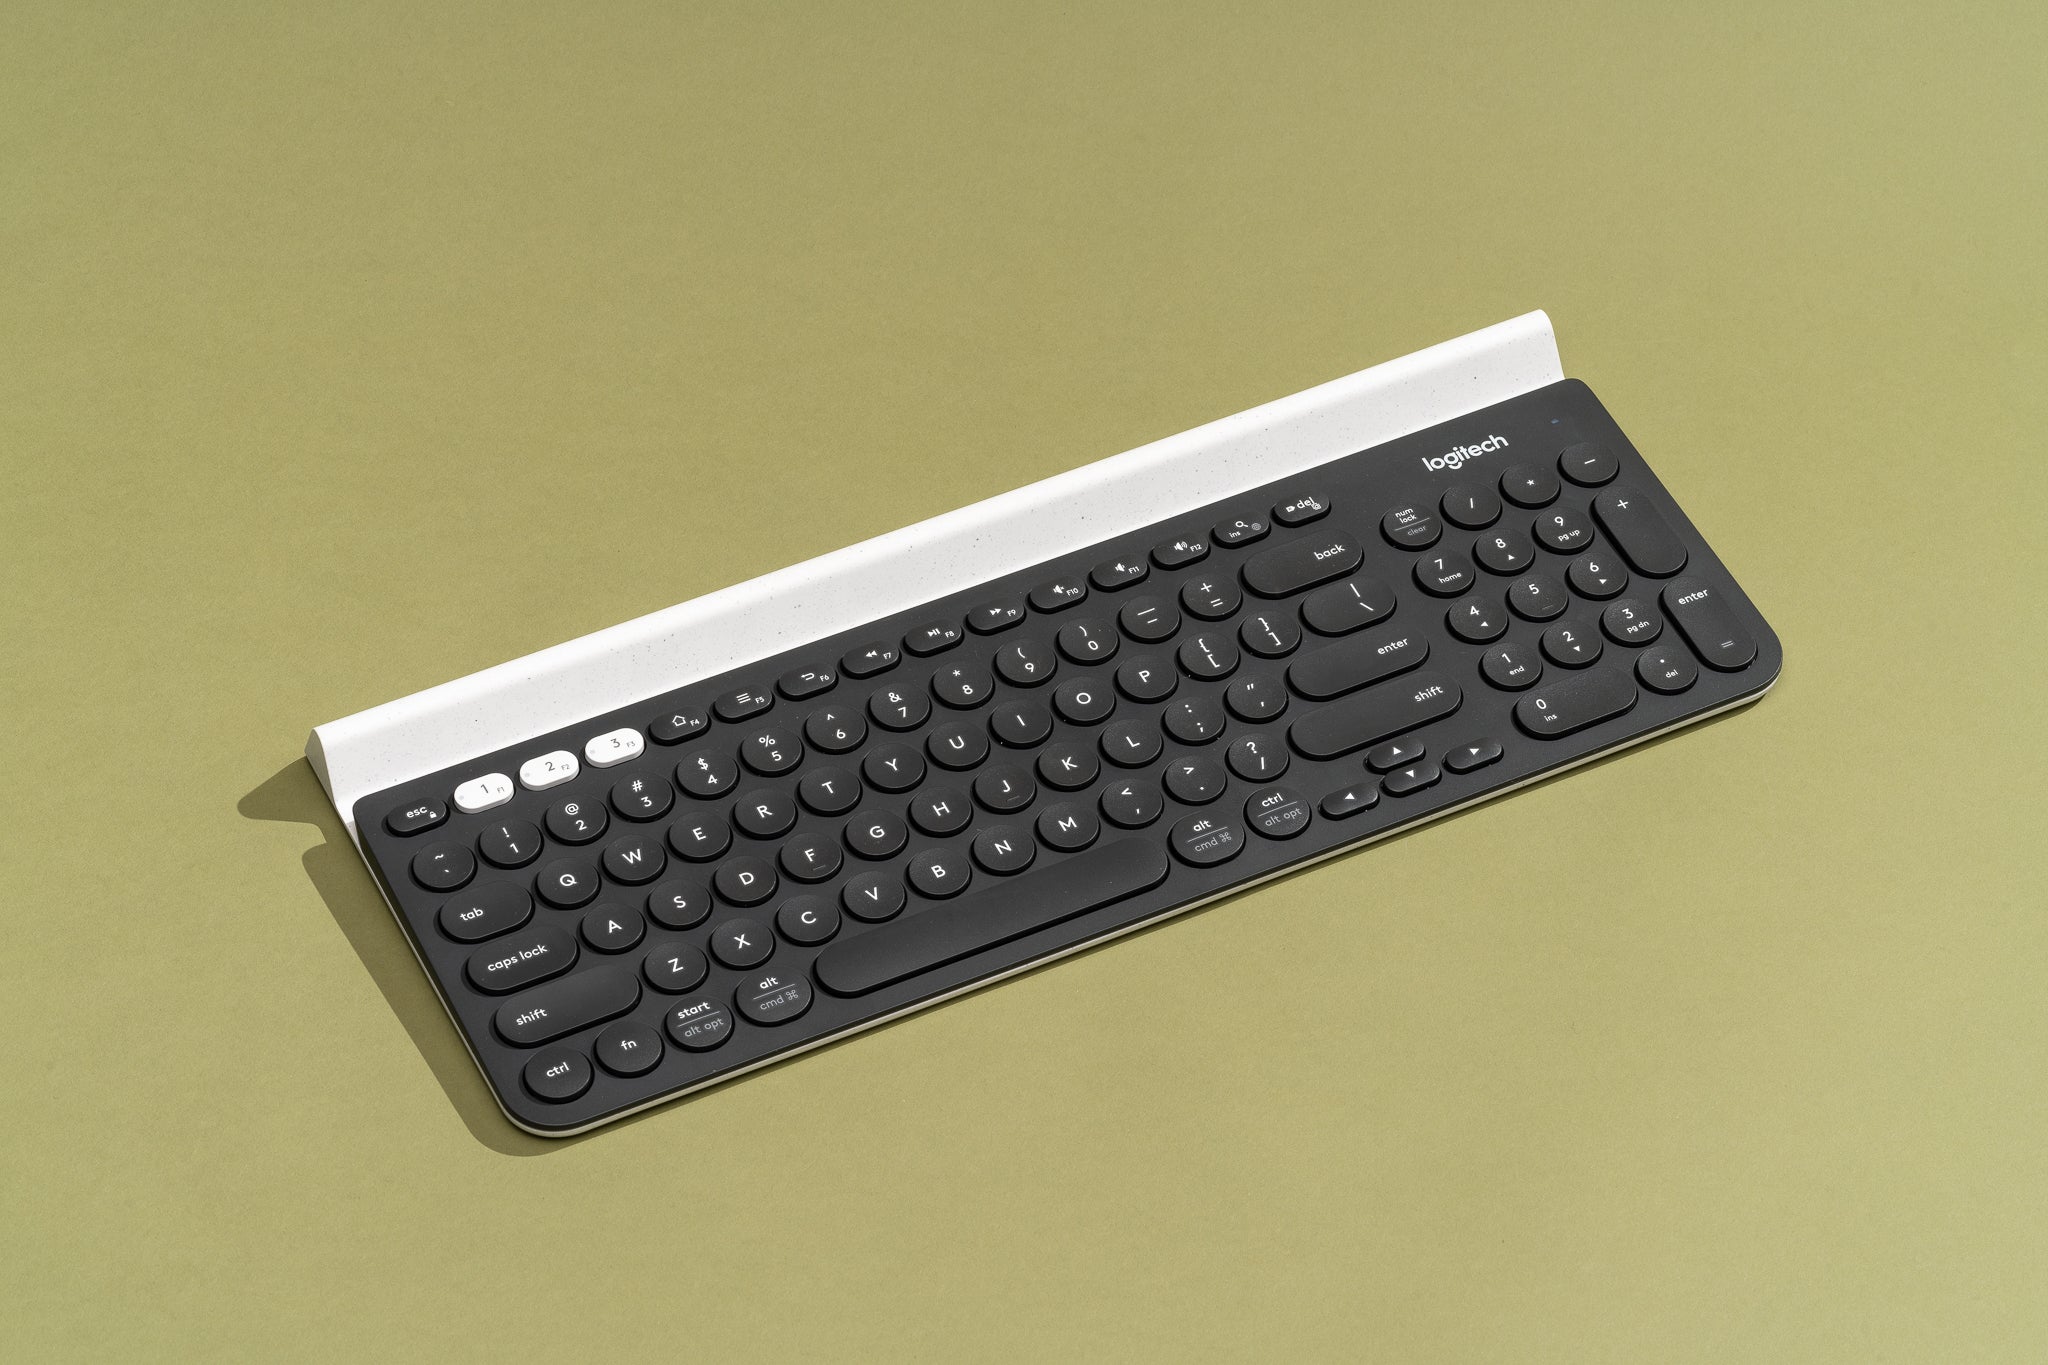
Another notable aspect of the Logitech K780 keyboard is its spacious and comfortable typing experience. The keyboard features a full-size layout with low-profile, concave keys that provide a satisfying tactile response. The keys are also well-spaced, allowing for accurate and efficient typing. Additionally, it boasts an integrated numeric keypad on the right side, enabling smooth data entry for number-intensive tasks.
One of the key advantages of the Logitech K780 keyboard is its compatibility across different operating systems. Whether you are a Windows user, a Mac enthusiast, or a devotee of the Chrome OS, this keyboard has got you covered. The Logitech K780 supports all major operating systems, ensuring a seamless experience regardless of your device preference.
Moreover, the Logitech K780 keyboard offers a range of convenient features designed to enhance productivity. It includes a set of function keys that provide quick access to various system functions, such as media playback, volume control, and screen brightness adjustment. Additionally, the K780 keyboard boasts durable construction, ensuring long-lasting performance and reliability.
In summary, the Logitech K780 keyboard is a versatile and user-friendly input device that offers seamless connectivity, comfortable typing experience, and compatibility across multiple devices and operating systems. Its features make it an excellent choice for professionals, gamers, and anyone seeking a reliable and efficient keyboard for their daily computing needs.
Understanding the function keys on the Logitech K780
The Logitech K780 keyboard is equipped with a set of function keys that provide quick access to various system functions and multimedia controls. These function keys, located at the top of the keyboard, can greatly enhance your productivity and streamline your workflow. Let’s take a closer look at some of the key function keys on the Logitech K780:
1. F1-F12 Keys: The Logitech K780 keyboard features twelve function keys (F1-F12) that offer a range of functionalities depending on the application and operating system. These keys can have different purposes, from opening specific programs or applications to adjusting screen brightness, controlling audio playback, or activating shortcuts.
2. Media Controls: The Logitech K780 keyboard provides dedicated media control keys that allow you to conveniently manage your audio playback. Located in the top row of the keyboard, these keys enable you to play, pause, skip tracks, adjust volume, and mute audio with ease. This feature is especially handy for those who frequently listen to music or watch multimedia content on their devices.
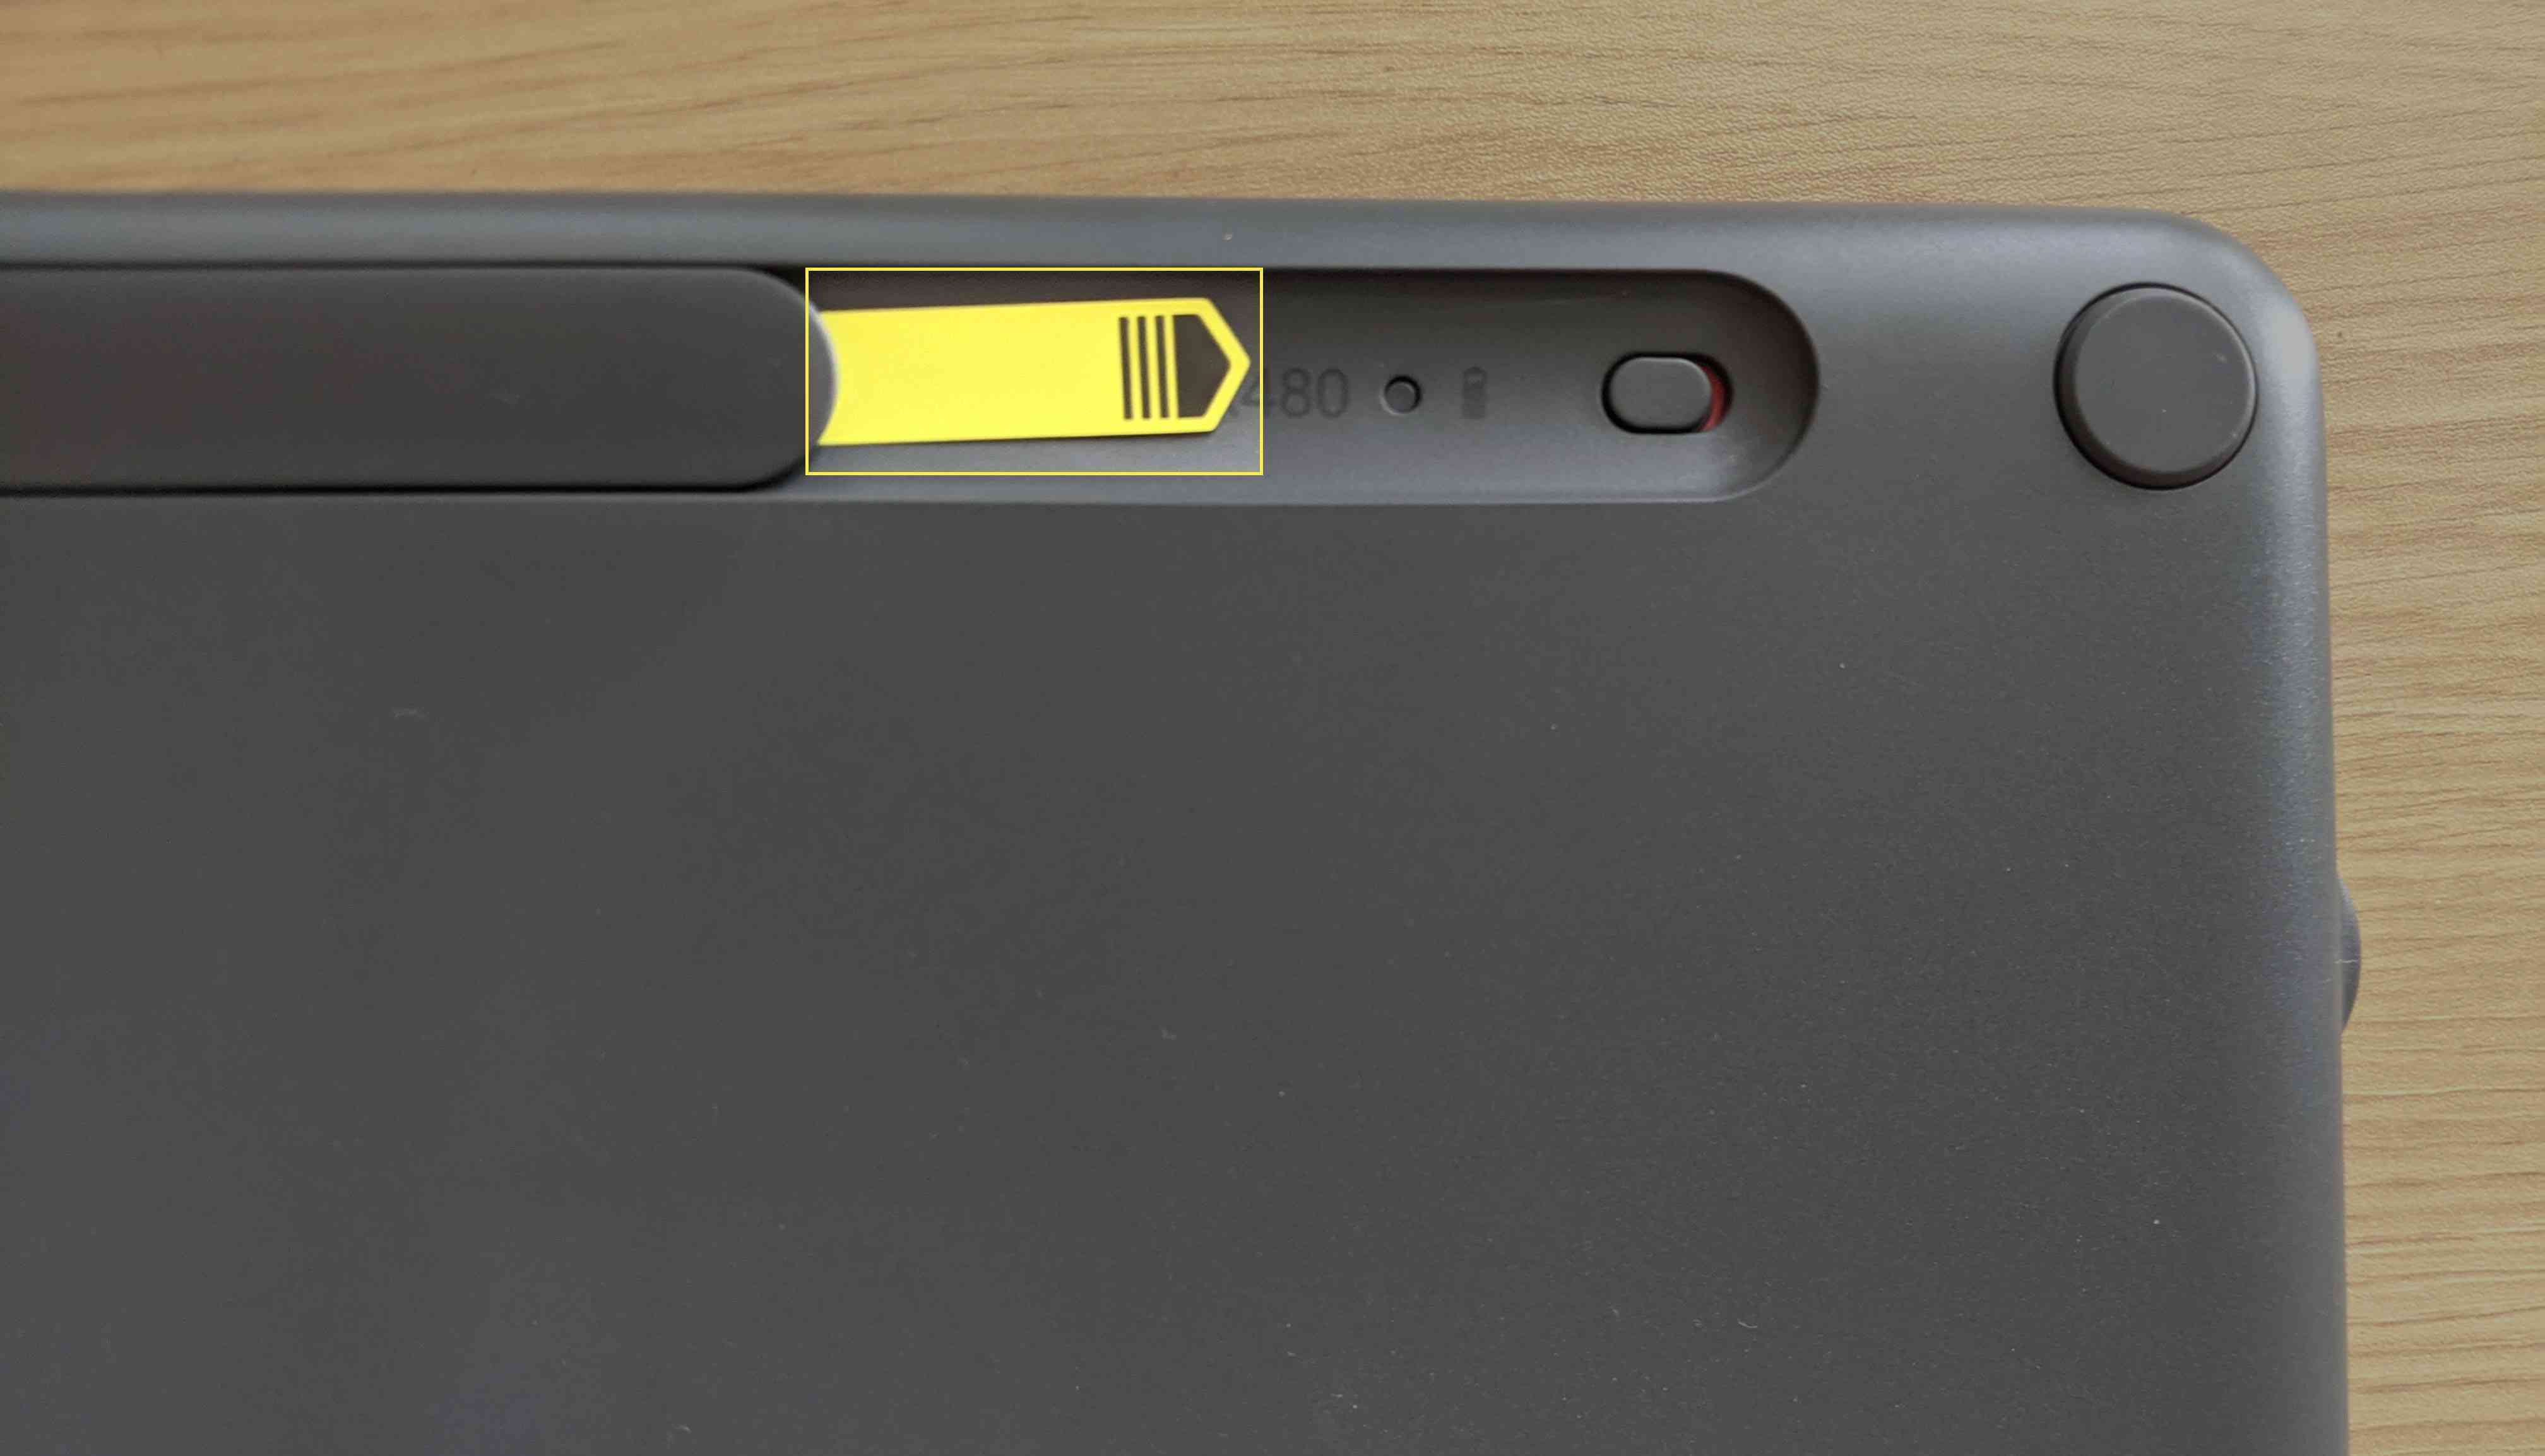
3. Device Switching: One of the standout features of the Logitech K780 is its ability to connect with multiple devices simultaneously. To facilitate smooth device switching, the keyboard includes a dedicated key that enables you to switch between connected devices effortlessly. This eliminates the need to disconnect and reconnect devices, saving you time and streamlining your workflow.
4. Shortcut Keys: The Logitech K780 also provides a set of shortcut keys that grant quick access to commonly used functions. These include shortcuts for copy, paste, undo, redo, and more. Having these shortcuts at your fingertips can significantly speed up your work and eliminate the hassle of navigating through menus or using mouse clicks.
These are just a few examples of the function keys on the Logitech K780 keyboard. Each key is designed to provide intuitive access to various features and system functions, allowing you to customize your workflow and improve your efficiency. Take some time to explore these keys and familiarize yourself with their functions to make the most out of your Logitech K780 keyboard.
Locating the Print Screen button on the Logitech K780
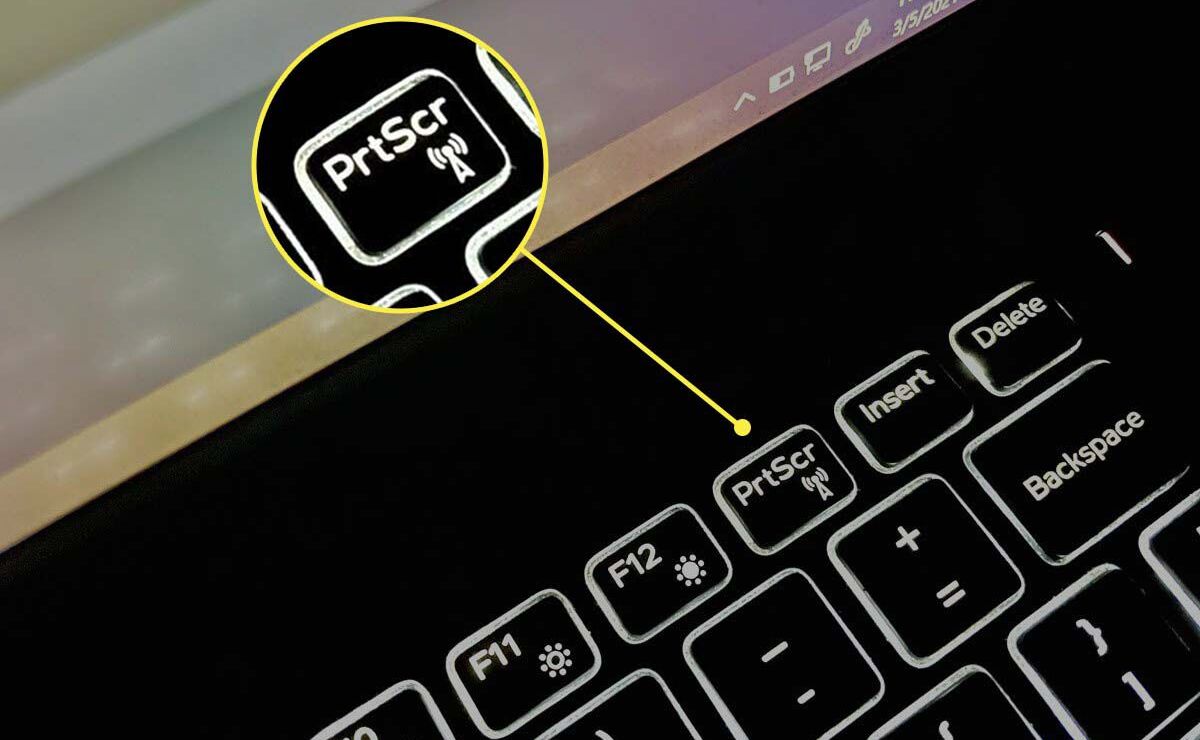
When it comes to taking screenshots on your Logitech K780 keyboard, you may find yourself searching for the Print Screen button. However, unlike traditional keyboards, the Logitech K780 does not have a dedicated Print Screen button labeled “Print Screen” or “PrtSc”. But don’t worry! The functionality of the Print Screen button is still available on the Logitech K780, albeit with a slight variation.
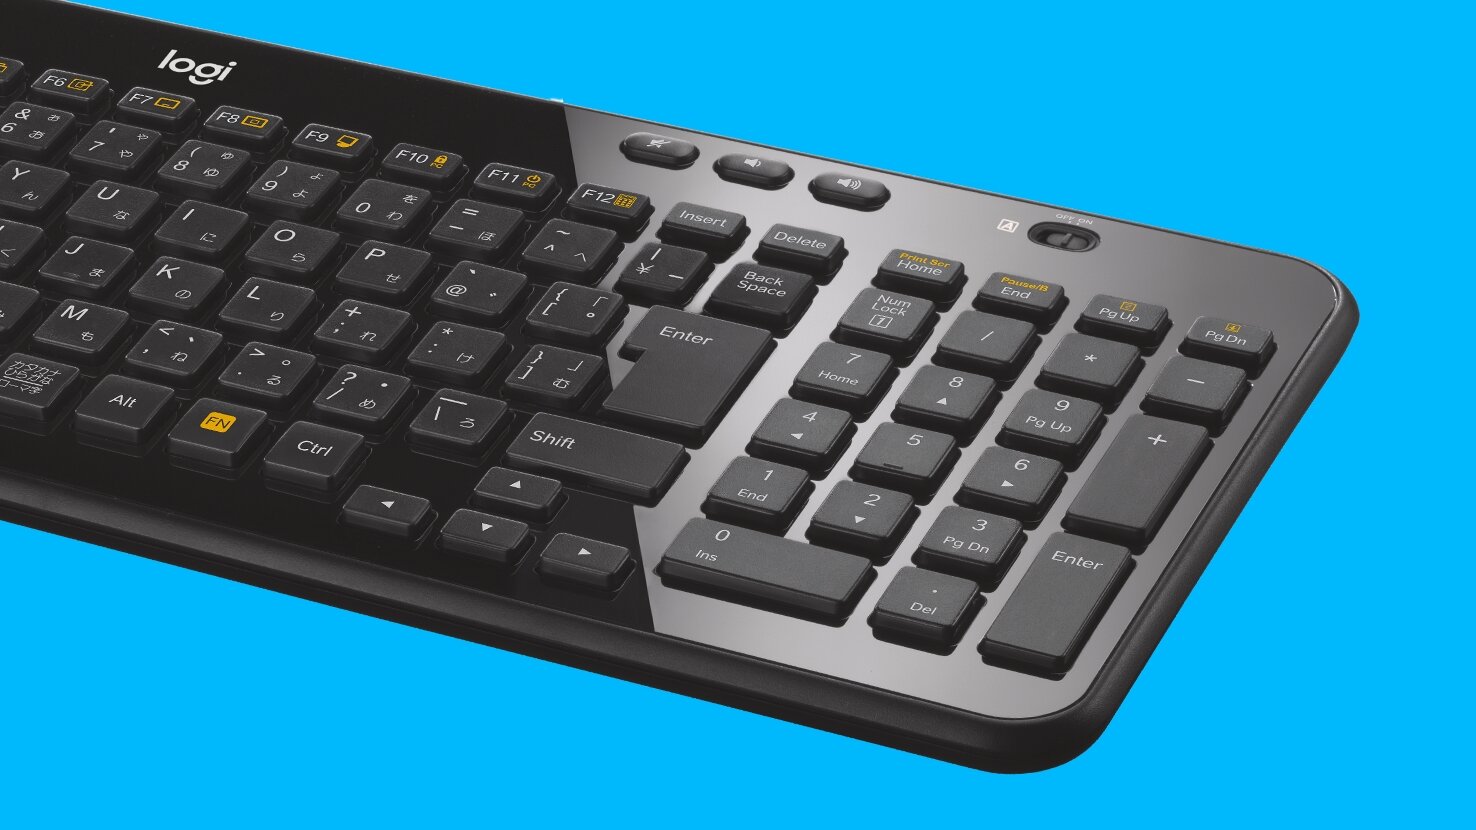
On the Logitech K780 keyboard, the Print Screen functionality is integrated into the “FN” (Function) key, which is located in the lower-left corner of the keyboard, next to the Control (Ctrl) key. To capture a screenshot, follow these steps:
- Press and hold the “FN” key.
- While holding the “FN” key, press the “Insert” key (labeled “Ins”) located in the top row of the keyboard.
By pressing the “FN + Insert” keys simultaneously, you activate the Print Screen functionality on the Logitech K780 keyboard. The screenshot will be captured and saved to your computer’s clipboard, allowing you to paste it into an image editing software or any other desired application for further editing or sharing.
It’s important to note that some Logitech K780 keyboard models may have slight variations in key labels or positions. If you are unable to locate the “Insert” key on your keyboard, look for alternative labels such as “Scr Lk” or “Sys Rq”. These keys usually have additional functions assigned to them but can still be used to capture screenshots in conjunction with the “FN” key.
Overall, while the Print Screen button may not be clearly visible on the Logitech K780 keyboard, you can easily access its functionality by using the “FN + Insert” key combination. Now you can effortlessly capture screenshots and save them for documentation, sharing, or any other purposes you may need.
Alternative methods for taking screenshots without the Print Screen button
If your Logitech K780 keyboard does not have a dedicated Print Screen button or if you prefer alternative methods for taking screenshots, there are several options available to you. Let’s explore a few of these alternative methods:
1. Snipping Tool (Windows): Windows operating systems come with a built-in screenshot tool called the Snipping Tool. You can access it by typing “Snipping Tool” in the Windows search bar. This tool allows you to capture screenshots of any size or shape on your screen, including full-screen captures, rectangular captures, or specific areas of the screen.
2. Snip & Sketch (Windows 10): For Windows 10 users, Microsoft introduced a new and improved screenshot tool called Snip & Sketch. You can access this tool by pressing the Windows key + Shift + S. It enables you to capture screenshots, annotate them, and save or share them. It also offers more flexibility and options compared to the traditional Print Screen method.
3. Grab (Mac): Mac users can utilize the Grab tool, which is a built-in screenshot utility on macOS. You can find it in the Utilities folder within the Applications folder. Grab allows you to take screenshots of the entire screen, a selected window, or a specific area. After capturing the screenshot, you can save it or copy it to the clipboard for further use.
4. Screenshot Shortcut (Chrome OS): If you are using a Chromebook or Chrome OS device, you can easily capture screenshots by pressing Ctrl + Shift + []]](https://www.google.com/url?q=http://chrome:extensions&sa=D&source=editors&ust=1663481954123000&usg=AFQjCNG4Ijocl6X6zJ561lRL1Yfebt49Fg). This combination captures the entire screen and saves the screenshot in the Downloads folder. Alternatively, pressing Ctrl + Shift + \ allows you to capture a specific area or window.
5. Third-Party Screenshot Tools: If you prefer more advanced screenshot capabilities, there are numerous third-party tools available that offer additional features and customization options. Some popular options include Greenshot, Lightshot, and Snagit. These tools often provide features like editing, annotation, and easy sharing of screenshots.
By exploring these alternative methods, you can find the one that best suits your needs and preferences. Whether you are on Windows, macOS, or Chrome OS, there are various options available to help you efficiently capture and manage screenshots without relying on the traditional Print Screen button.
Conclusion
The Logitech K780 keyboard is a versatile and reliable input device that offers seamless connectivity, comfortable typing experience, and compatibility across multiple devices and operating systems. While it may not have a dedicated Print Screen button, you can still capture screenshots using the “FN + Insert” key combination.
In this article, we explored the functionality of the Logitech K780 keyboard, understanding its function keys, and locating the Print Screen button. We also discussed alternative methods for taking screenshots without the Print Screen button, such as using built-in tools like Snipping Tool, Snip & Sketch, Grab, or the Chrome OS screenshot shortcut. Additionally, third-party screenshot tools provide advanced features and customization options for capturing and managing screenshots efficiently.
Remember to familiarize yourself with the specific key labels and positions on your Logitech K780 keyboard, as they may vary slightly depending on the model. By taking advantage of the various features and functions of the Logitech K780 keyboard, you can enhance your productivity and streamline your workflow.
Whether you are a professional, gamer, or someone who spends a significant amount of time on their computer, the Logitech K780 keyboard is an excellent choice. Its ergonomic design, wireless connectivity, and compatibility with multiple devices make it a reliable and user-friendly keyboard for all your computing needs.
So, embrace the functionality of the Logitech K780 keyboard, unleash your productivity, and capture those precious moments with ease, even without a dedicated Print Screen button!