Introduction
When it comes to capturing memorable moments, a camera is the perfect companion. Whether it’s a special event, a breathtaking landscape, or candid snapshots, a camera allows us to freeze those precious moments in time. However, if you want to share or store these photos, you’ll need to transfer them from your camera to your computer.
This article will guide you through the process of downloading pictures from your camera to your computer. Whether you’re a seasoned photographer or a beginner, this step-by-step guide will help you easily transfer your photos and ensure they are safely stored on your computer.
Before we dive into the steps, it’s important to note that the specific methods may vary depending on the type of camera and computer you have. However, the overall process remains relatively the same. Make sure to consult your camera’s manual or the manufacturer’s website for any specific instructions tailored to your device.
Now, without further ado, let’s get started with downloading pictures from your camera to your computer!
Step 1: Check the camera and computer compatibility
Before you begin downloading pictures from your camera to your computer, you’ll need to ensure that your camera and computer are compatible. Different types of cameras may require different methods of connection to your computer, so it’s important to determine the appropriate method for your specific camera model.
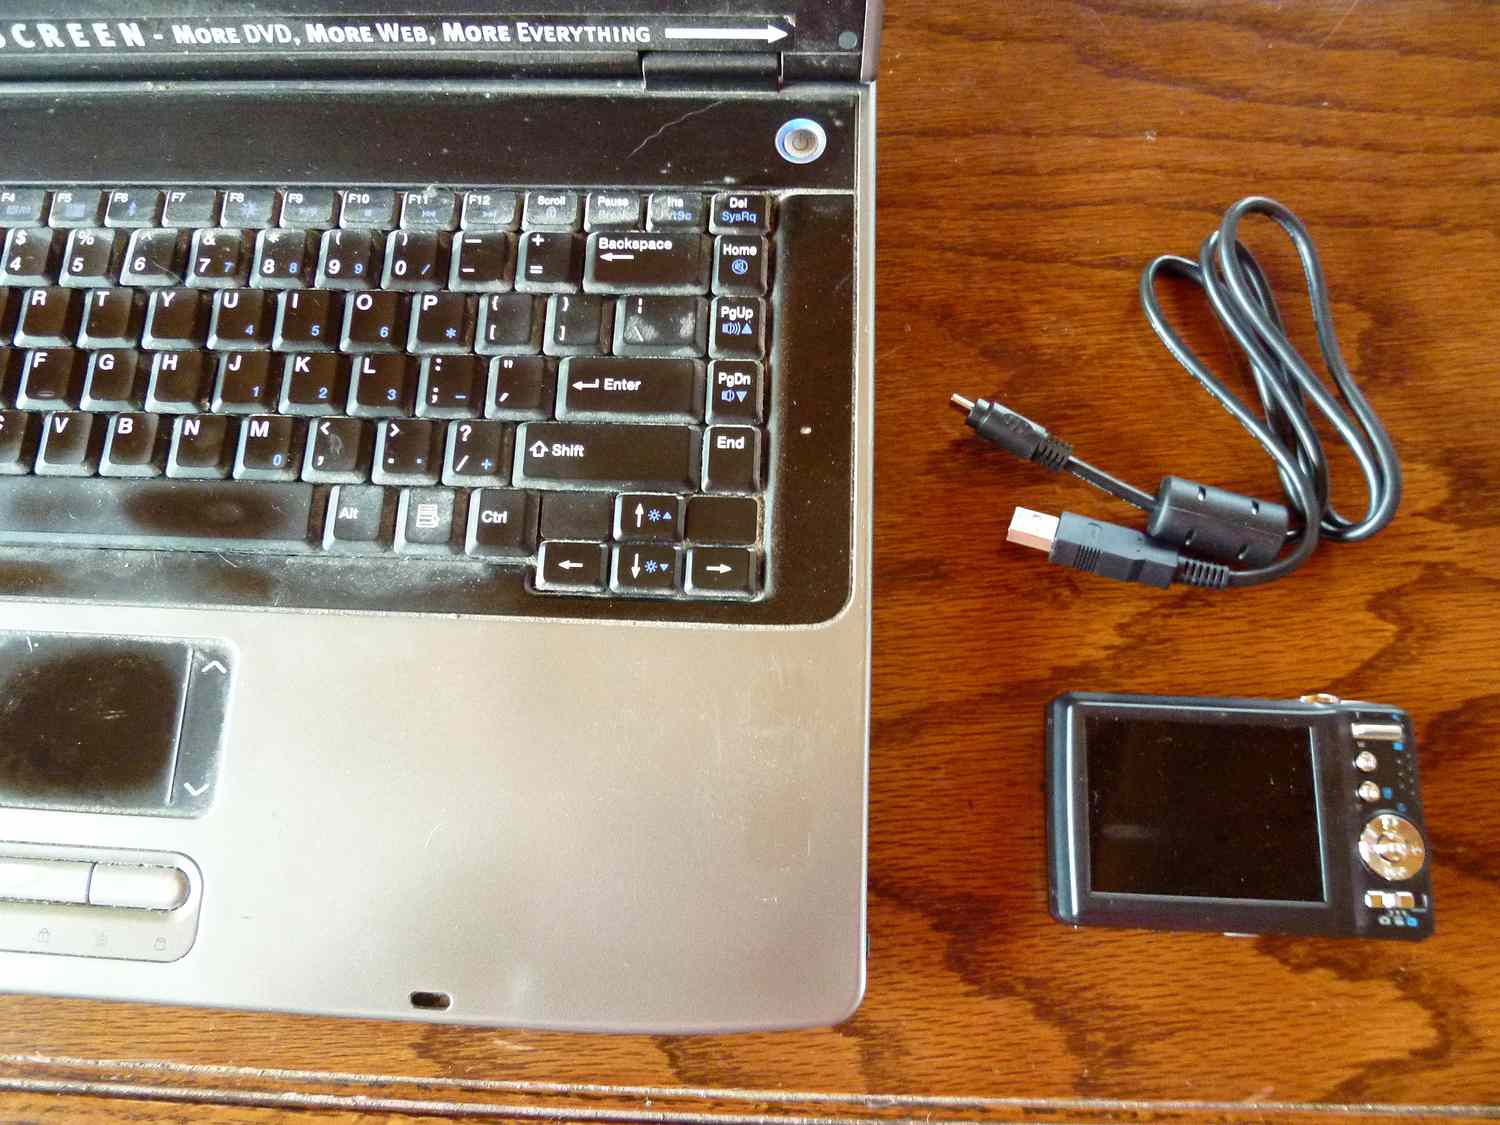
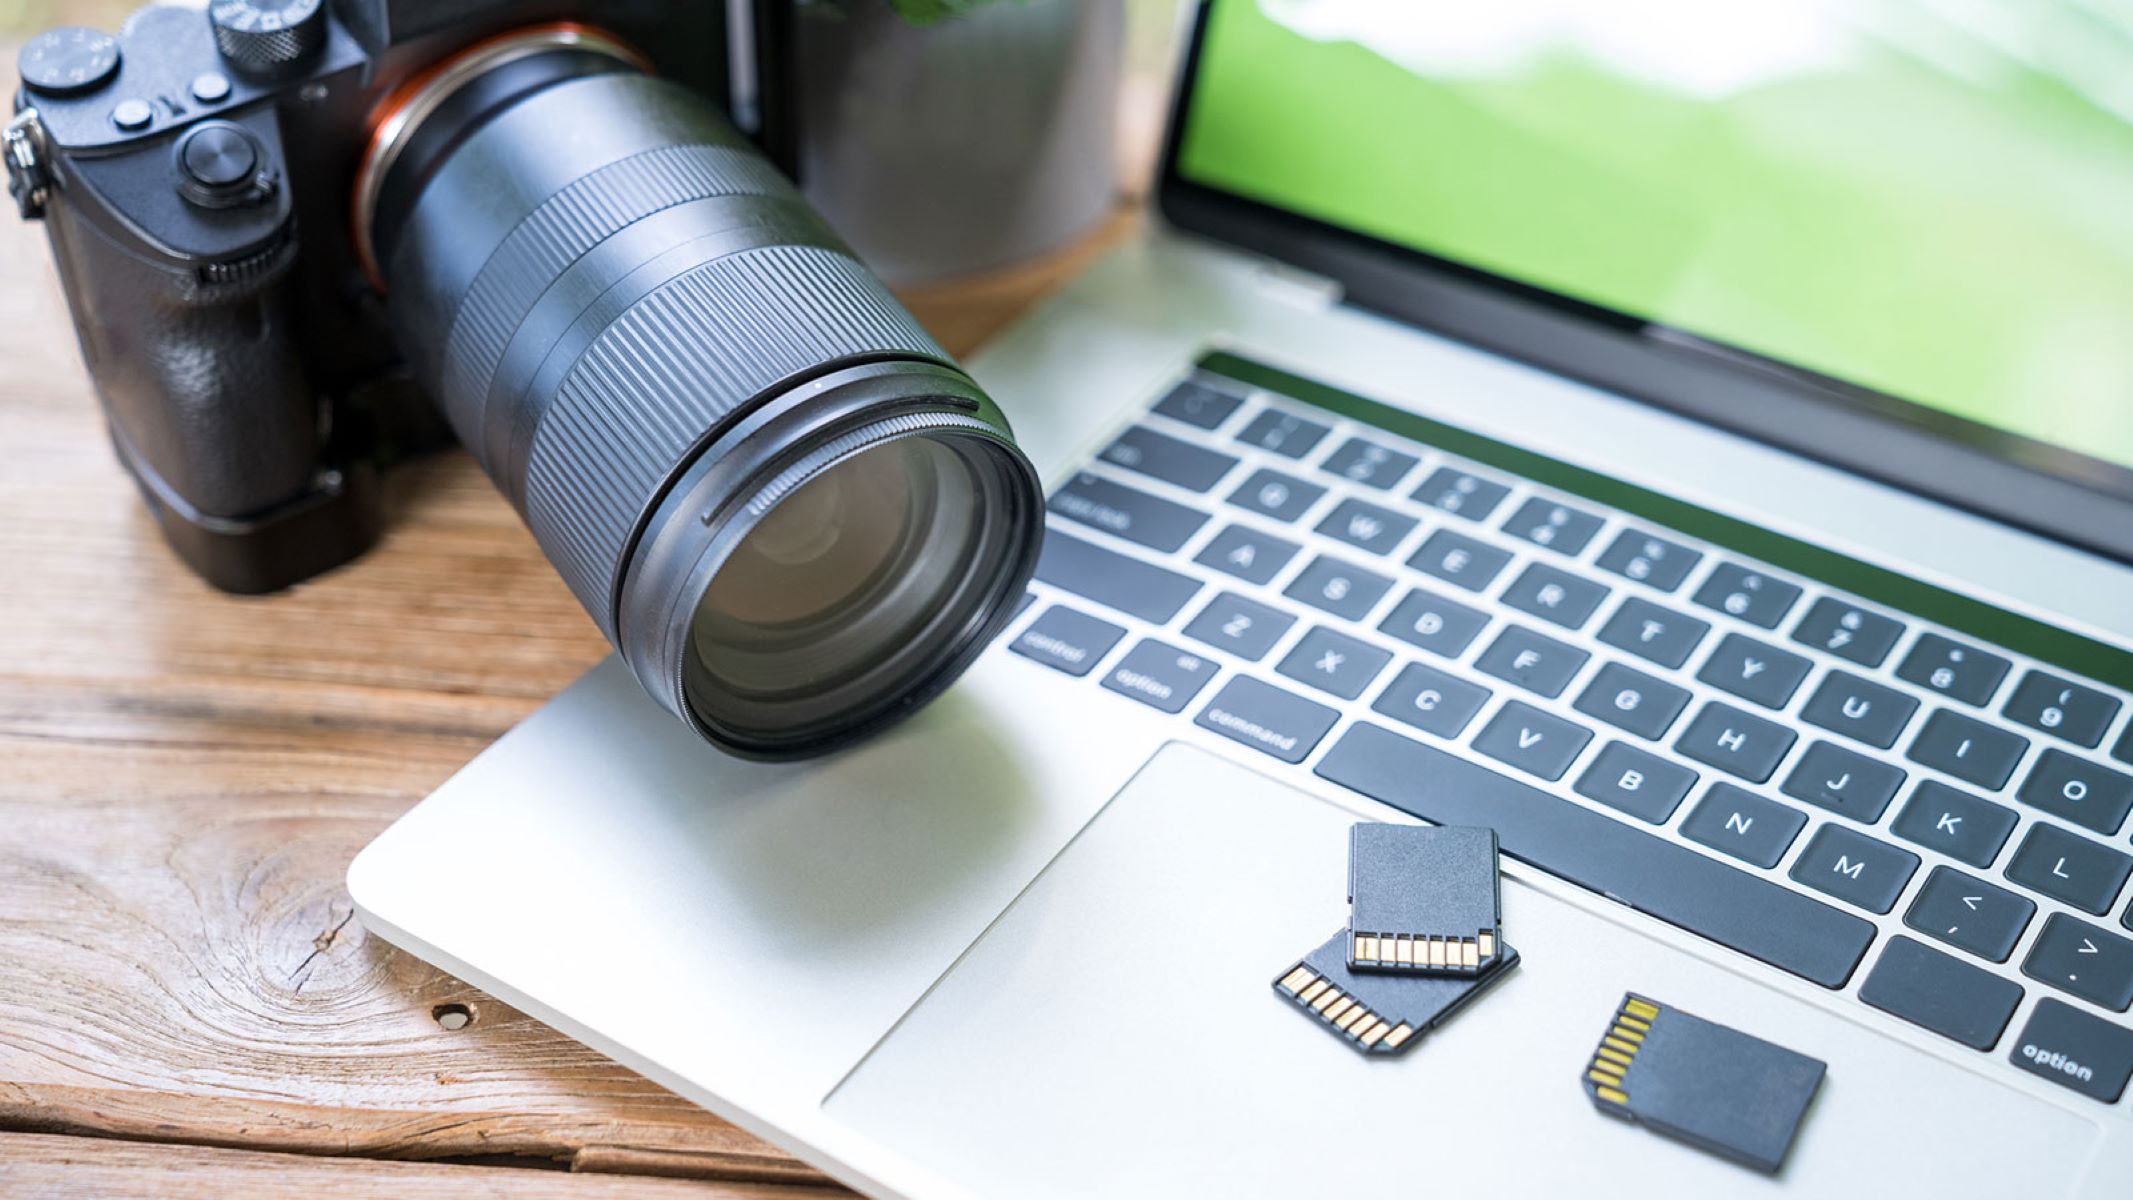
First, check the cable that came with your camera. Most cameras come with a USB cable for connecting to computers. If you don’t have the cable or it’s not compatible with your computer, you may need to purchase a compatible cable or an SD card reader.
Next, verify that your computer has the necessary ports for connecting your camera. The most common method is through a USB port, but some cameras may require an HDMI or FireWire connection. Consult your camera’s manual or the manufacturer’s website to determine the compatible ports.
Additionally, ensure that your computer’s operating system is compatible with your camera. Most modern cameras are compatible with both Windows and Mac systems, but it’s always best to double-check to avoid any potential compatibility issues.
Another crucial factor to consider is the need for any specific software. Some cameras require you to install the manufacturer’s software on your computer before you can download the pictures. This software may include drivers or photo management applications. Check your camera’s manual or the manufacturer’s website for any required software.
By ensuring the compatibility of your camera and computer, you’ll have a smooth and hassle-free downloading experience. Once you’ve confirmed compatibility, you can proceed to the next step of the process.
Step 2: Install the necessary software
Once you’ve verified the compatibility of your camera and computer, the next step is to install any necessary software required for downloading pictures. This software will ensure a seamless connection between your camera and computer, making it easier to transfer and manage your photos.
The specific software you need will depend on your camera brand and model. Most camera manufacturers provide their own software that is specifically designed to work with their cameras. This software often includes drivers, photo editing tools, and organizational features.
To install the software, start by locating the installation CD that came with your camera. Insert it into your computer’s CD/DVD drive and follow the on-screen instructions to install the software. If your camera didn’t come with an installation CD or if you no longer have it, you can often find the necessary software on the manufacturer’s website. Simply visit their support or downloads page and search for your camera model.
If you prefer not to use the manufacturer’s software, there are alternative software options available. These include popular photo management programs like Adobe Lightroom, Apple Photos, or Google Photos. These programs provide advanced features for organizing, editing, and sharing your photos.
Before proceeding to the next step, make sure the software is successfully installed and updated to the latest version. This will ensure optimal performance and compatibility with your camera.
Now that you have the necessary software installed, you’re ready to connect your camera to your computer and start transferring your photos. Let’s move on to the next step of the process.
Step 3: Connect the camera to the computer
With the necessary software installed, it’s time to connect your camera to your computer. This step establishes a direct connection between the two devices, allowing you to transfer your photos effortlessly.
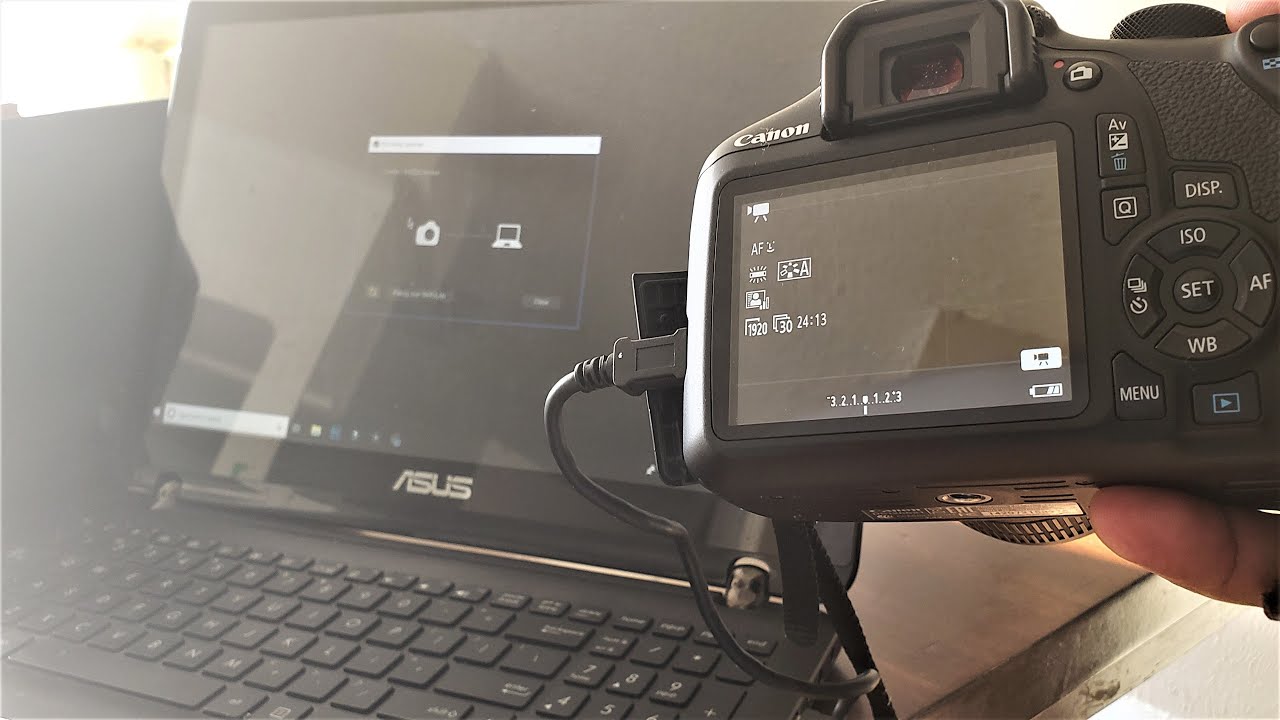
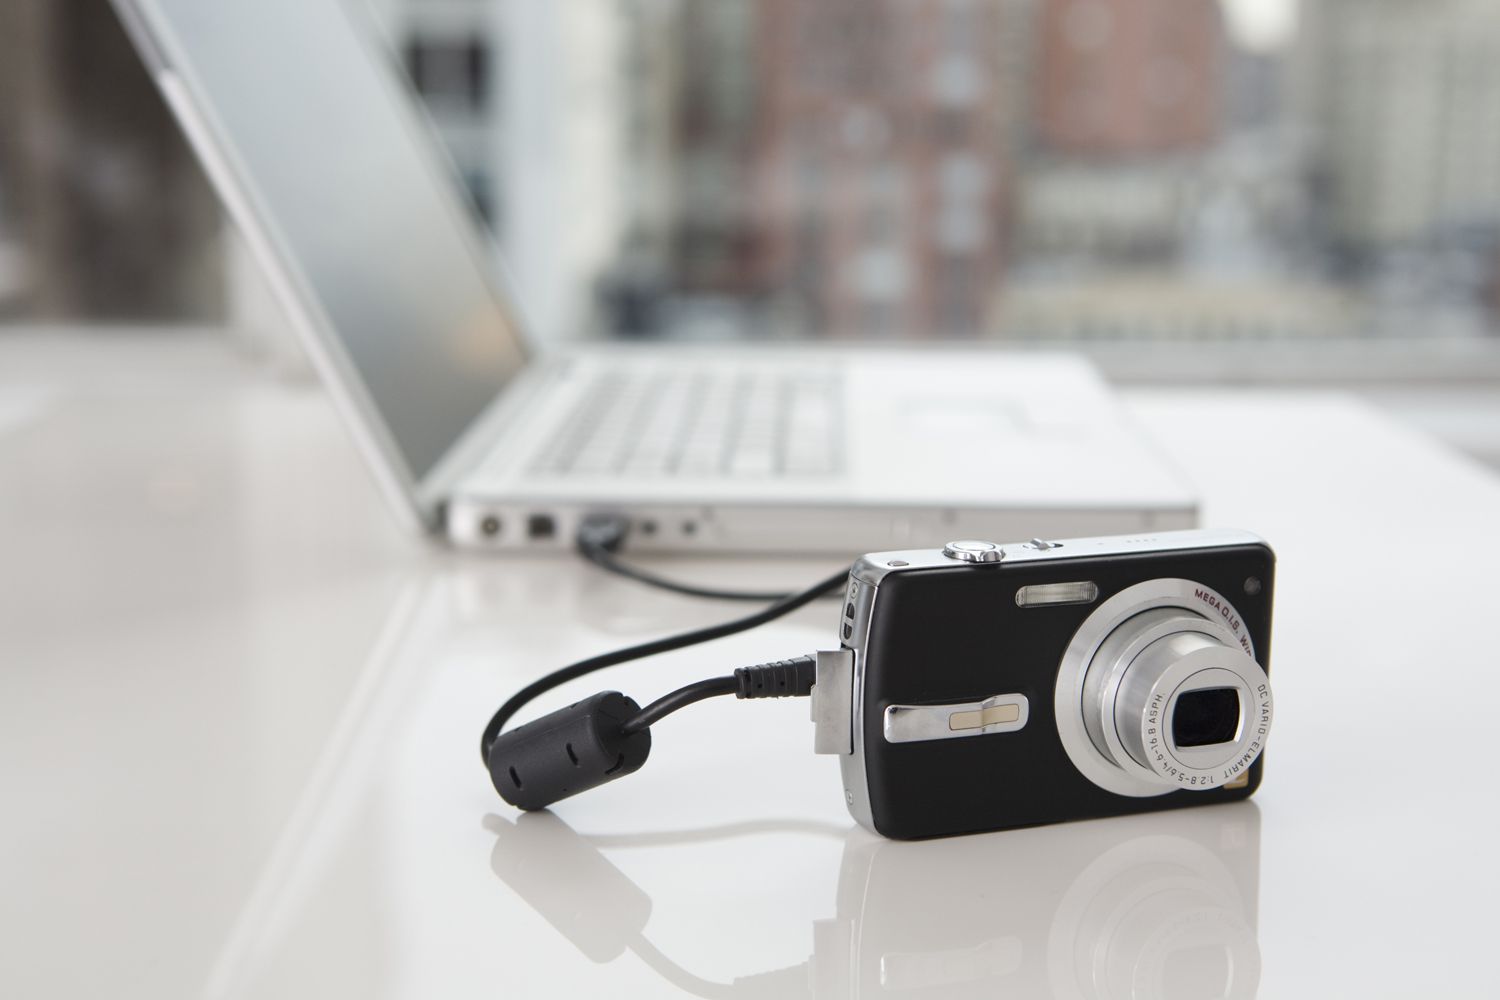
Start by locating the cable that came with your camera. Most cameras use a USB cable for connection. Connect one end of the cable to the appropriate port on your camera. It’s usually labeled as “USB” or has a distinct symbol that represents USB.
Next, connect the other end of the cable to a USB port on your computer. Depending on the computer and camera models, you may have multiple USB ports to choose from. Select a free USB port, preferably a high-speed USB 3.0 port for faster data transfer.
Once connected, power on your camera. Some cameras automatically detect the connection and switch to USB mode, while others may require you to manually select the USB mode from the camera’s settings menu.
At this point, your computer should recognize the camera and display a notification or prompt confirming the connection. If the notification doesn’t appear, open the file explorer or finder on your computer and check if your camera is listed as a connected device.
If you’re using a memory card reader instead of a cable, insert the memory card into the appropriate slot on the reader and connect the reader to a USB port on your computer. The process for transferring the photos will remain the same.
Now that your camera is successfully connected to your computer, it’s time to proceed to the next step and transfer the photos to your computer. Keep reading to learn how.
Step 4: Transfer the photos to the computer
Now that your camera is connected to your computer, it’s time to transfer the photos from your camera to your computer. The exact process may vary slightly depending on your camera model and the software you’re using, but the following steps provide a general guideline for transferring photos.
Start by opening the software that you installed in Step 2. Most camera software will automatically detect the connected camera and prompt you to import or transfer the photos. Follow the on-screen instructions to initiate the transfer process. If your software doesn’t automatically detect the camera, look for an import or transfer option within the program.
Alternatively, you can open the file explorer or finder on your computer and navigate to the connected camera. It should appear as a removable storage device or a folder. Double-click on it to access the contents of your camera.
Within the camera’s folder, locate the folder or files that contain your photos. You may find multiple folders, each representing a different time or event. Open the folder(s) and select the photos you want to transfer.
You can either drag and drop the selected photos from the camera folder to a specific folder on your computer or use the copy and paste function. Choose a destination folder on your computer to store the transferred photos.
Depending on the number and size of the photos, the transfer process may take some time. It’s essential to have patience and avoid disconnecting the camera or interrupting the transfer process until it’s complete. Monitor the progress to ensure all photos are successfully transferred.
Once the transfer is finished, you can disconnect the camera from your computer by safely ejecting it. On Windows, right-click on the camera or removable storage icon in the file explorer and select the “Eject” or “Safely remove hardware” option. On Mac, you can drag the camera icon to the trash bin or use the eject button located next to the camera’s name in the finder sidebar.
With the photos successfully transferred to your computer, you can now view, edit, and organize them as desired. Congratulations! You’ve successfully completed the process of transferring photos from your camera to your computer.
Step 5: Safely eject the camera from the computer
After transferring the photos to your computer, it’s important to safely eject your camera from the computer to avoid any potential data loss or damage. Safely ejecting the camera ensures that all files are closed properly and that the connection between the camera and computer is safely disconnected.
To safely eject your camera:
- On a Windows computer, locate the “Safely Remove Hardware” icon in the system tray, typically found in the bottom right corner of the screen. Click on the icon and select your connected camera or the removable storage device associated with it. Wait until you receive a notification confirming that it is safe to remove the device.
- On a Mac computer, locate the connected camera icon on the desktop or in the finder sidebar. Click on the eject button located next to the camera’s name. Alternatively, you can simply drag the camera’s icon to the trash bin to eject it.
Once you have safely ejected the camera from your computer, it is safe to disconnect the USB cable or remove the memory card if you were using a memory card reader.
Remember, improperly disconnecting the camera while files are being transferred or accessed can lead to data corruption or loss. Taking the extra step to safely eject the camera ensures that your photos and camera remain in good condition.
Now that you have safely disconnected your camera from your computer, you can store it in a safe place or continue using it for more photography adventures.
Congratulations! You have successfully completed the process of downloading pictures from your camera to your computer. Your photos are now safely stored on your computer, ready for you to view, edit, and share as desired. Enjoy your photography journey!
Conclusion
Transferring pictures from your camera to your computer is a simple yet crucial task for photographers of all levels. By following the steps outlined in this guide, you can ensure a smooth and efficient process while preserving your precious memories.
First, it’s important to check the compatibility between your camera and computer, ensuring you have the necessary cables and ports. Installing the required software specific to your camera model is crucial for establishing a seamless connection and accessing advanced features.
Once connected, you can easily transfer your photos by either using the manufacturer’s software or navigating through your computer’s file explorer or finder. Taking care to safely eject your camera from the computer is essential to prevent any data loss or damage.
By successfully completing these steps, you can now enjoy the convenience of having your photos stored and organized on your computer. From here, you can edit pictures, create backups, and share your favorite moments with others.
Remember, every camera manufacturer and model may have slight variations in the process, so referring to the camera’s manual and manufacturer’s website is always advisable for specific instructions.
Now that you’re equipped with the knowledge to safely and efficiently download pictures from your camera to your computer, you can explore your creativity and capture more amazing moments to cherish and share for years to come. Happy photographing!