Introduction
Welcome to this guide on how to download pictures from your Droid smartphone to your PC! If you’re someone who loves capturing memorable moments on your Droid’s camera, you may want to transfer those precious pictures to your computer for safekeeping or sharing with others. This article will walk you through the step-by-step process of connecting your Droid device to your PC and transferring the photos without any hassle.
With the advancements in technology, it has become easier than ever to connect and transfer files between devices. Whether you’re using a Windows PC or a Mac, the steps outlined here will help you navigate the process effortlessly. So, let’s get started!
Before we dive into the technical aspects, it’s essential to ensure that you have the necessary tools for the job. Firstly, you’ll need a compatible USB cable to establish a connection between your Droid and PC. Secondly, make sure your Droid is unlocked and ready to transfer files. Lastly, ensure that you have enough storage space on your PC to accommodate the photos you’ll be transferring.
Transferring pictures from your Droid to your PC not only provides a backup solution but also allows you to edit and organize your photos on a larger screen. Whether you’re an amateur photographer or simply capturing life’s moments, having your pictures readily accessible on your PC can contribute to a more seamless digital experience.
Now that we’ve covered the importance of transferring pictures and the prerequisites, let’s dive into the step-by-step process of downloading your Droid pictures to your PC. By the end of this guide, you’ll be able to confidently transfer your photos, ensuring they’re safely stored and ready to be enjoyed or shared as you please.
Step 1: Connect your Droid to your PC
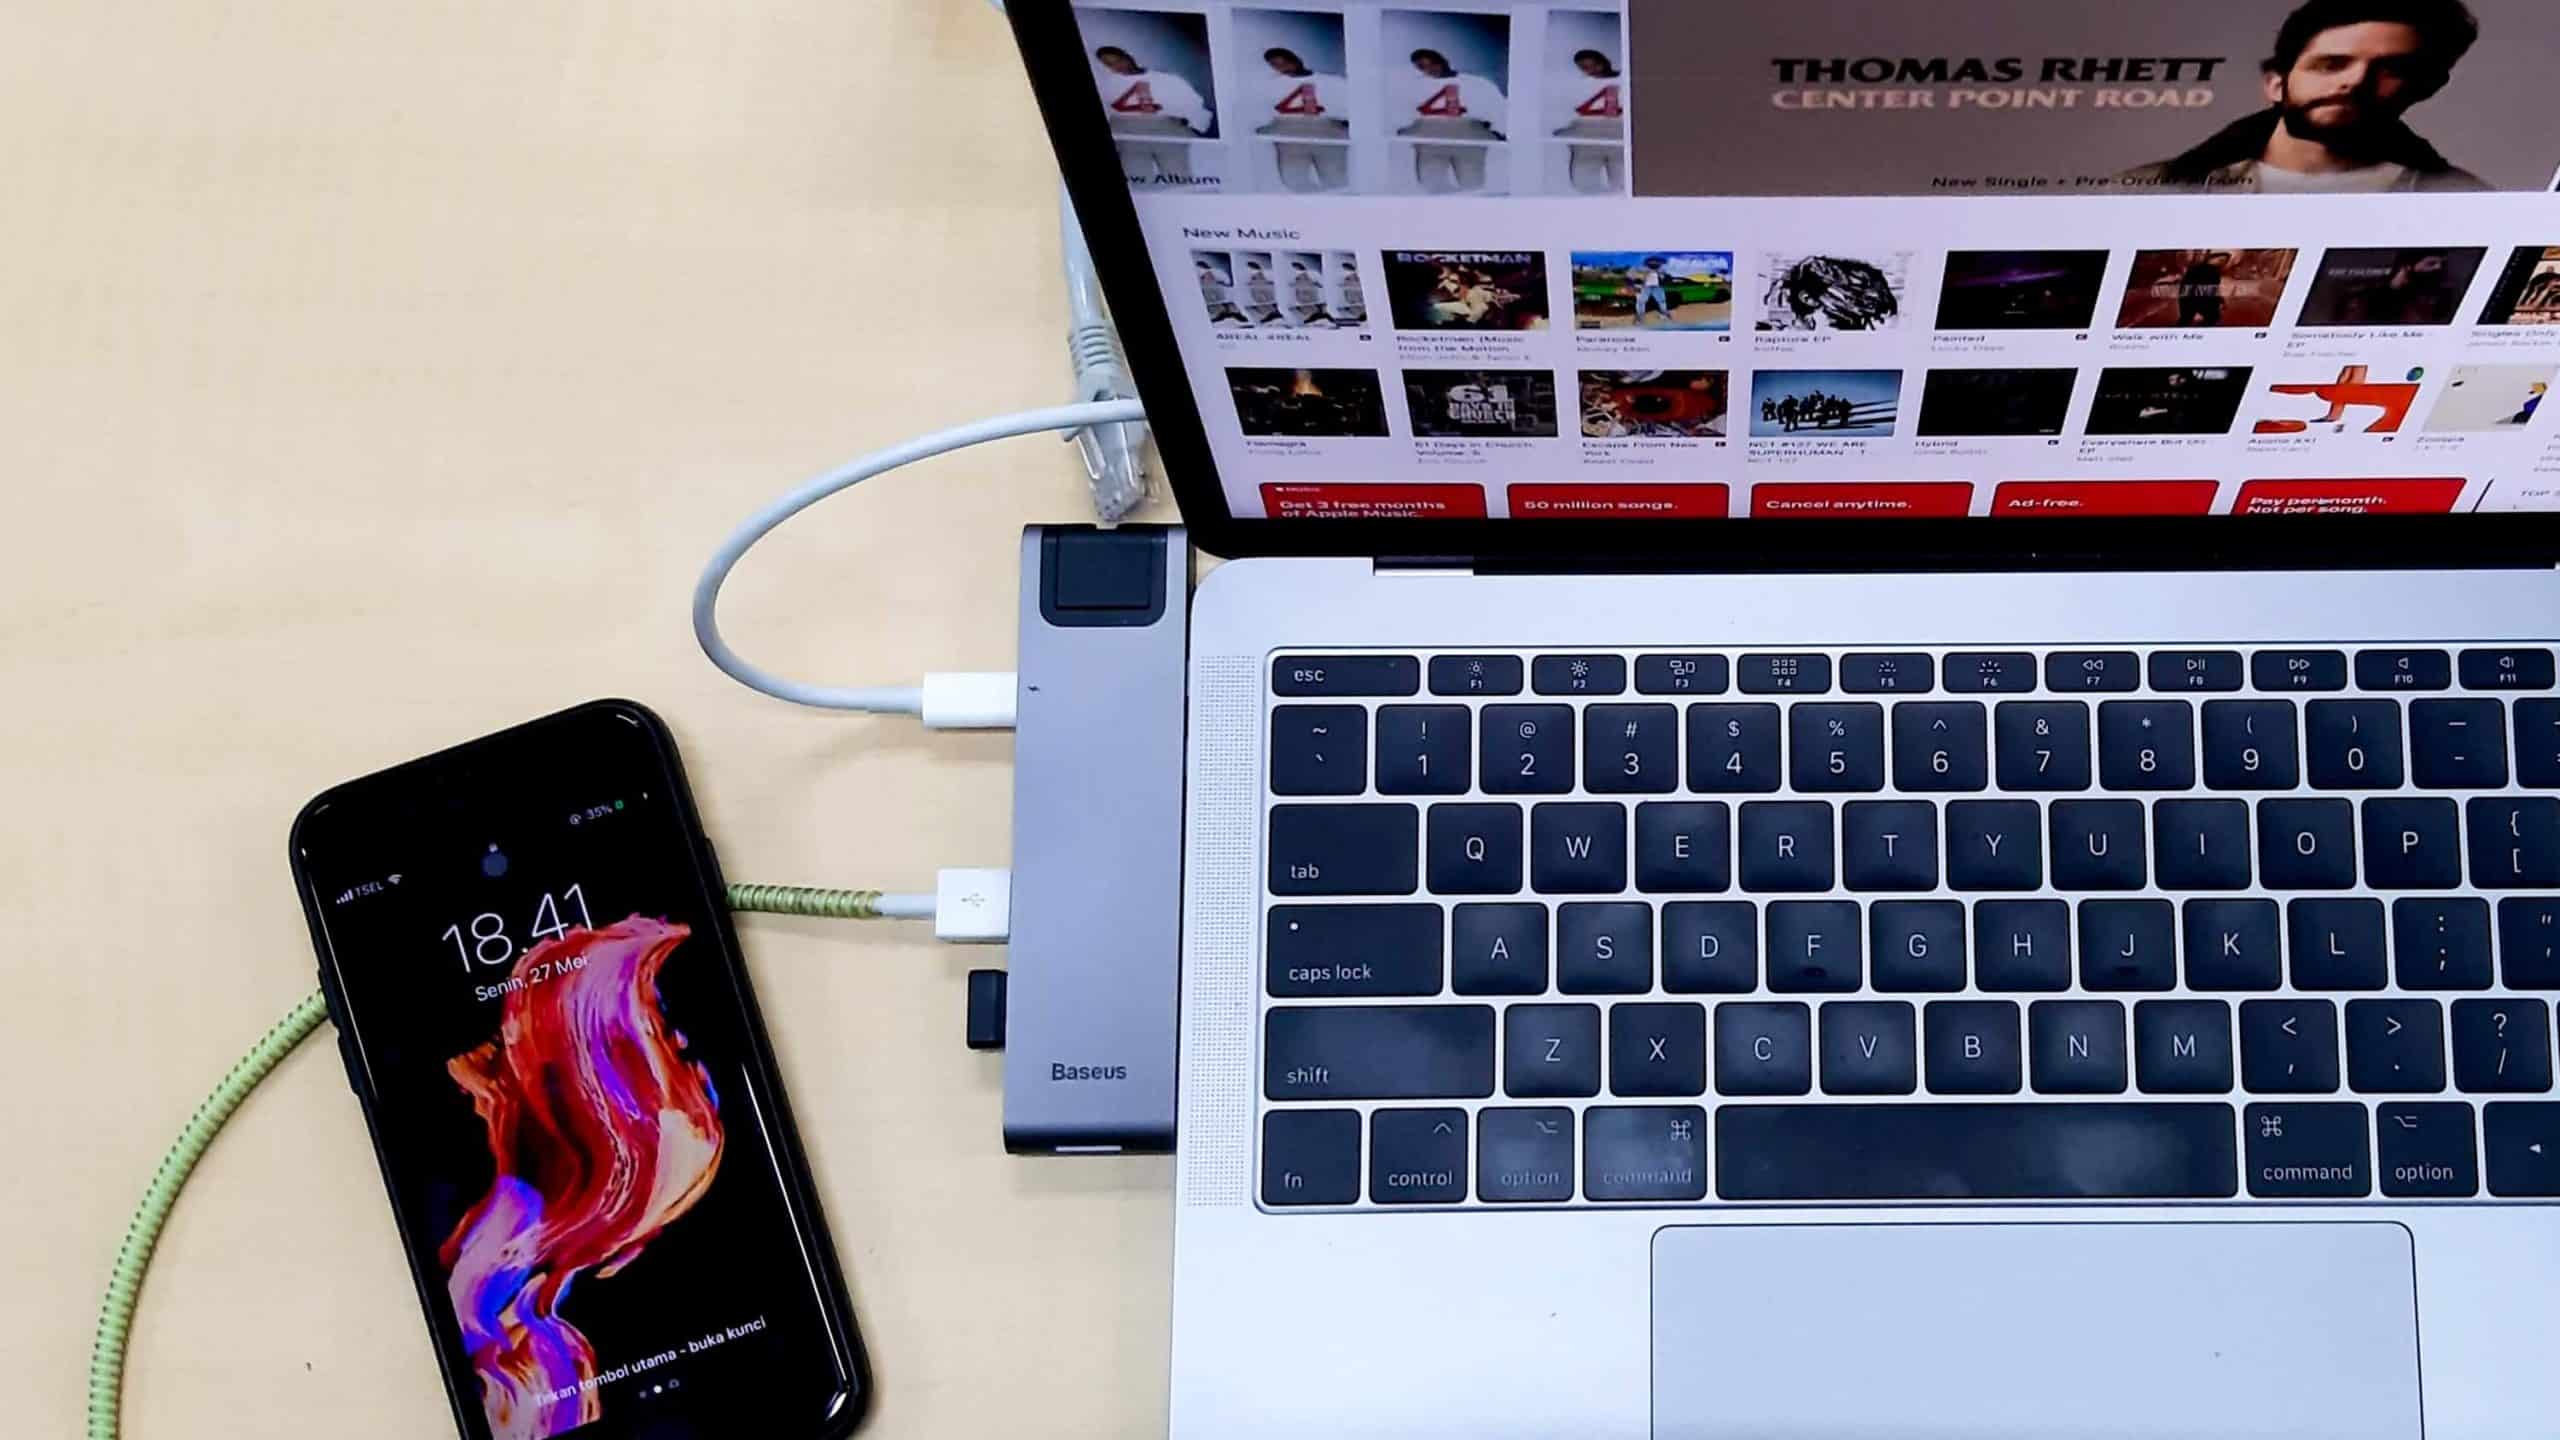
The first step in transferring pictures from your Droid to your PC is to establish a physical connection between the two devices. To do this, you’ll need a USB cable that is compatible with your Droid device. Most Android smartphones use a standard micro USB or USB-C cable for charging and data transfer.
Begin by locating the USB port on your Droid device. This is usually found at the bottom or on the side of the smartphone. Plug one end of the USB cable into the USB port on your Droid, and the other end into an available USB port on your PC.
Once the cable is connected, your Droid should indicate that it is charging or connected to a USB device. You may also see a notification on your Droid’s screen asking you to select the type of USB connection you want to use. For transferring pictures, you’ll want to choose the “File Transfer” or “Transfer files” option.
It’s important to note that some Droid devices may require additional steps to enable file transfer mode. If you don’t see the USB connection notification, you may need to go to your Droid’s settings and search for the “USB” or “Connections” option. From there, you can enable file transfer or media device mode.
Once you’ve connected your Droid to your PC and enabled file transfer mode, you’re ready to move on to the next step.
Step 2: Enable File Transfer mode
After connecting your Droid to your PC, the next step is to enable the File Transfer mode on your device. This mode allows your PC to recognize your Droid as an external storage device, enabling you to access and transfer files, including your pictures.
To enable File Transfer mode, begin by unlocking your Droid device if it is locked. Once unlocked, you may receive a notification on your Droid’s screen asking you to choose the type of USB connection. Look for the option that says “File Transfer,” “Transfer files,” or “MTP (Media Transfer Protocol).” Tap on this option to enable File Transfer mode.
If you don’t see the USB connection notification, you can manually enable File Transfer mode by going to the Settings menu on your Droid. Look for the “USB” or “Connections” option and tap on it to access the USB settings. From there, you should see a toggle or checkbox for enabling file transfer or media device mode. Check or toggle this option to enable File Transfer mode.
Once File Transfer mode is enabled, your PC will recognize your Droid as a removable storage device, similar to a USB thumb drive or external hard drive. This will allow you to navigate through the files and folders on your Droid, including the folder where your pictures are stored.
Enabling File Transfer mode is a crucial step in the process as it establishes the necessary connection between your Droid and your PC. It’s important to ensure that the mode is enabled before proceeding to transfer your pictures.
With File Transfer mode successfully enabled, you’re now ready to move on to the next step of the process.
Step 3: Open the File Explorer on your PC
With your Droid connected to your PC and File Transfer mode enabled, it’s time to open the File Explorer on your PC. The File Explorer is a built-in application that allows you to navigate through the files and folders on your computer.
To open the File Explorer, you can use various methods depending on your operating system:
- On Windows: One way to open the File Explorer is by clicking on the folder icon located in the taskbar at the bottom of your screen. Alternatively, you can press the “Windows key + E” on your keyboard.
- On macOS: The File Explorer equivalent on macOS is called Finder. You can open Finder by clicking on the smiley face icon located in your dock or by pressing “Command + Space” to open Spotlight Search and typing “Finder”.
Once the File Explorer (or Finder) is open, you will see a sidebar or navigation pane on the left-hand side of the window. This sidebar contains various shortcuts to commonly accessed locations on your computer, such as Documents, Pictures, and Downloads.
Now, look for your Droid device listed in the sidebar or under “This PC” (Windows) or “Devices” (macOS). It may be listed with the device name or as a removable storage device. Click on it to open the contents of your Droid.
If you don’t see your Droid listed immediately, don’t worry. Sometimes, it may take a few moments for the File Explorer to detect and display the connected device.
Once you’ve successfully opened your Droid in the File Explorer, you’re ready to proceed to the next step and locate the folder where your pictures are stored.
Step 4: Locate your Droid device
Now that you’ve opened the File Explorer on your PC and accessed your Droid, it’s time to locate the folder where your pictures are stored. This folder is typically labeled “DCIM” (Digital Camera Images) and is the default location for storing photos and videos on most Android devices.
When you open your Droid in the File Explorer, you will see a list of folders and files representing the various directories and files on your device. Look for the folder named “DCIM” and click on it to open it.
Inside the “DCIM” folder, you may find subfolders with different names, such as “Camera” or “Screenshots.” These are the folders where your pictures are organized, based on how they were captured or saved on your Droid.
Click on the appropriate subfolder to view the pictures stored within. You may see thumbnail previews of your photos, making it easier to identify and select the pictures you want to transfer.
If you have a larger collection of pictures and need to locate a specific photo, you can use the search bar in the File Explorer to search for filenames, keywords, or dates associated with the picture you’re looking for. This can help you quickly narrow down your selection and find the specific picture you want to transfer.
Once you have located the folder containing the pictures you want to download, you’re ready to proceed to the next step and initiate the transfer to your PC.
Step 5: Access the DCIM folder
After locating your Droid device in the File Explorer and navigating to the root directory, it’s time to access the DCIM (Digital Camera Images) folder. This is where your pictures are typically stored on your Droid device.
Within the File Explorer window, you will see a list of folders and files that represent the contents of your Droid. Look for the folder labeled “DCIM” and click on it to open it.
Once you open the DCIM folder, you may find additional subfolders, such as “Camera,” “Screenshots,” or other folders created by specific camera apps on your Droid. These subfolders are organized based on the source or application used to capture or save the images.
To access the specific folder containing your pictures, click on the appropriate subfolder within the DCIM directory. For example, if your pictures were captured using the Droid’s built-in camera app, you will likely find them in the “Camera” folder.
Inside the subfolder, you will see your pictures displayed as thumbnail previews. This allows you to easily identify and select the images you wish to transfer to your PC.
If you want to access pictures from multiple subfolders within the DCIM folder, you can repeat the process of clicking on each subfolder to view its contents. This allows you to have a comprehensive view of all the pictures stored in various folders within the DCIM directory.
By accessing the DCIM folder and its subfolders, you have gained access to the primary location where your Droid stores its pictures. Now that you have located the specific folder(s) containing your desired images, you are ready to proceed to the next step and select the pictures for transfer.
Step 6: Select and copy the pictures
With the DCIM folder and its subfolders accessible in the File Explorer, it’s time to select and copy the pictures you want to transfer from your Droid to your PC. This step allows you to choose the specific images you wish to transfer, giving you control over the content that will be copied.
To select a single picture, simply click on it once. You will see a highlighting effect or a checkmark indicating that the picture has been selected. If you want to select multiple pictures, hold down the “Ctrl” key on your keyboard while clicking on each picture you want to include in the selection.
If you want to select all the pictures within a folder, you can use the “Ctrl + A” keyboard shortcut to select everything at once. This is useful when you have a large number of pictures to transfer and don’t want to manually select each one individually.
Once you have made your selection, it’s time to copy the pictures. Right-click on any of the selected pictures and choose the “Copy” option from the context menu. Alternatively, you can use the “Ctrl + C” keyboard shortcut to copy the selected pictures.
After copying the pictures, decide where you want to paste them on your PC. You can navigate to a specific folder in the File Explorer, such as “Pictures,” “Documents,” or any other desired location, and right-click within that folder. Select the “Paste” option from the context menu, or use the “Ctrl + V” keyboard shortcut to paste the pictures.
The copying process may take a few seconds or minutes, depending on the number and size of the selected pictures. You will see a progress indicator or a copying animation in the File Explorer while the transfer is in progress.
Once the copying is complete, you will find the pasted pictures in the designated location on your PC. Congratulations, you have successfully selected and copied the pictures from your Droid to your PC!
Step 7: Paste the pictures into your desired location on the PC
After selecting and copying the pictures from your Droid device, the next step is to paste them into your desired location on your PC. This step allows you to choose where you want to store the transferred pictures, whether it’s in a specific folder, a designated photo library, or any other desired location.
First, decide on the destination folder on your PC where you want to store the pictures. This could be your “Pictures” folder, a specific project folder, or any other location that suits your organizational preferences. Navigate to this location using the File Explorer.
Once you are within the desired destination folder, right-click on an empty space in the folder and select the “Paste” option from the context menu. Alternatively, you can use the “Ctrl + V” keyboard shortcut to paste the pictures.
When you initiate the paste operation, the selected pictures will be transferred from your clipboard and copied into the destination folder on your PC. The File Explorer will display a progress indicator or animation to indicate the status of the copying process.
Depending on the number and size of the pictures being transferred, the process may take a few moments or longer. It’s important to allow the copying process to complete before navigating away from the folder or disconnecting your Droid device.
Once the copying is complete, you will find the transferred pictures within the designated location on your PC. You can access and view your newly transferred pictures in the destination folder using the File Explorer or any other image viewing software.
It’s worth mentioning that when you paste the pictures onto your PC, the original files on your Droid device are not deleted or modified. The pictures are simply duplicated and transferred to your PC, ensuring that your precious memories remain safe and accessible on multiple devices.
By successfully pasting the pictures into your desired location on your PC, you have completed the process of transferring your Droid pictures from your device to your computer. Now, you can enjoy organizing, editing, or sharing your photos on a larger screen.
Step 8: Safely disconnect your Droid from the PC
Once you have successfully transferred the pictures from your Droid to your PC, it’s important to safely disconnect your Droid device from the computer to avoid any potential data loss or corruption.
To safely disconnect your Droid from the PC, follow these steps:
- Ensure that all file transfer operations are complete and that no files are being copied or transferred at the moment.
- Close any open windows or applications on your PC that are accessing or using files on your Droid device.
- On your Droid, navigate to the system tray or notification panel where you initially enabled the File Transfer mode.
- Once there, locate the USB connection notification and tap on it to open the options menu.
- From the options menu, select the option to safely disconnect or eject your Droid device.
- You may receive a confirmation or notification that it is safe to disconnect your Droid device from the PC. If so, proceed to the next step.
- On your PC, return to the File Explorer window where your Droid device is listed.
- Right-click on your Droid device and select the “Eject” or “Safely Remove” option from the context menu.
- You may see a notification or indication that it is safe to remove the device. If so, you can physically disconnect the USB cable from your Droid and your PC.
By following these steps to safely disconnect your Droid from the PC, you can ensure that all data transfers are complete and that your files remain intact and uncorrupted. This helps maintain the integrity of the files on your Droid device and prevents potential issues that may arise from improper disconnecting of devices.
Remember, it’s always recommended to follow these steps whenever you connect and disconnect your Droid device from your PC, to ensure the smooth and secure transfer of data.
Conclusion
Transferring pictures from your Droid smartphone to your PC is a simple and convenient way to backup, organize, and enhance your photo collection. With the step-by-step guide provided in this article, you can confidently connect your Droid to your PC, enable File Transfer mode, access the DCIM folder, select and copy the desired pictures, paste them into your desired location on your PC, and safely disconnect your Droid device.
By following these steps, you can ensure that your precious memories captured on your Droid are securely transferred to your PC for safekeeping, sharing, or further photo editing. Having your pictures stored on your PC also allows for easy access and management on a larger screen.
Remember to use a compatible USB cable to connect your Droid and enable File Transfer mode. Open the File Explorer on your PC to navigate through the files and locate the DCIM folder where your pictures are stored. Select and copy the desired pictures, and paste them into your desired location on your PC.
It’s crucial to safely disconnect your Droid from the PC once the transfer is complete to avoid any potential data loss or corruption. Follow the steps outlined in this guide to safely disconnect your Droid device from your PC.
By following these steps and practicing safe data transfer practices, you can enjoy a seamless process of downloading pictures from your Droid to your PC. Whether you’re archiving your photo collection, creating a digital photo album, or simply freeing up storage space on your Droid, transferring your pictures to your PC is a valuable skill to have.
Now, armed with this knowledge, you can confidently transfer your Droid pictures to your PC and enjoy your photo collection in a whole new way.