Introduction
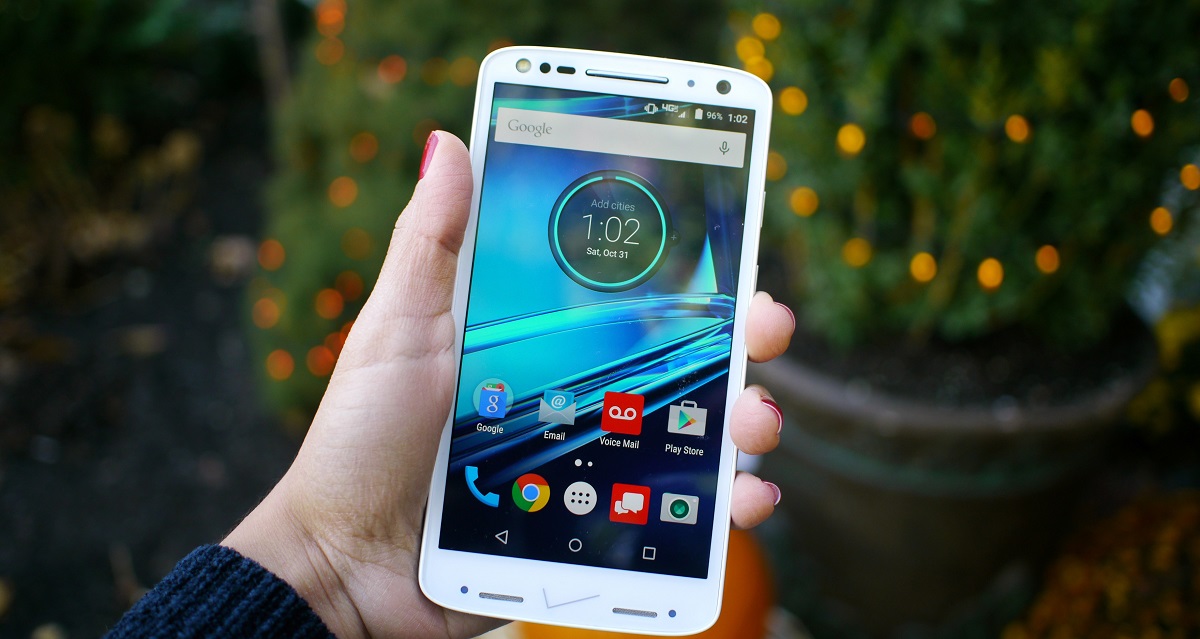
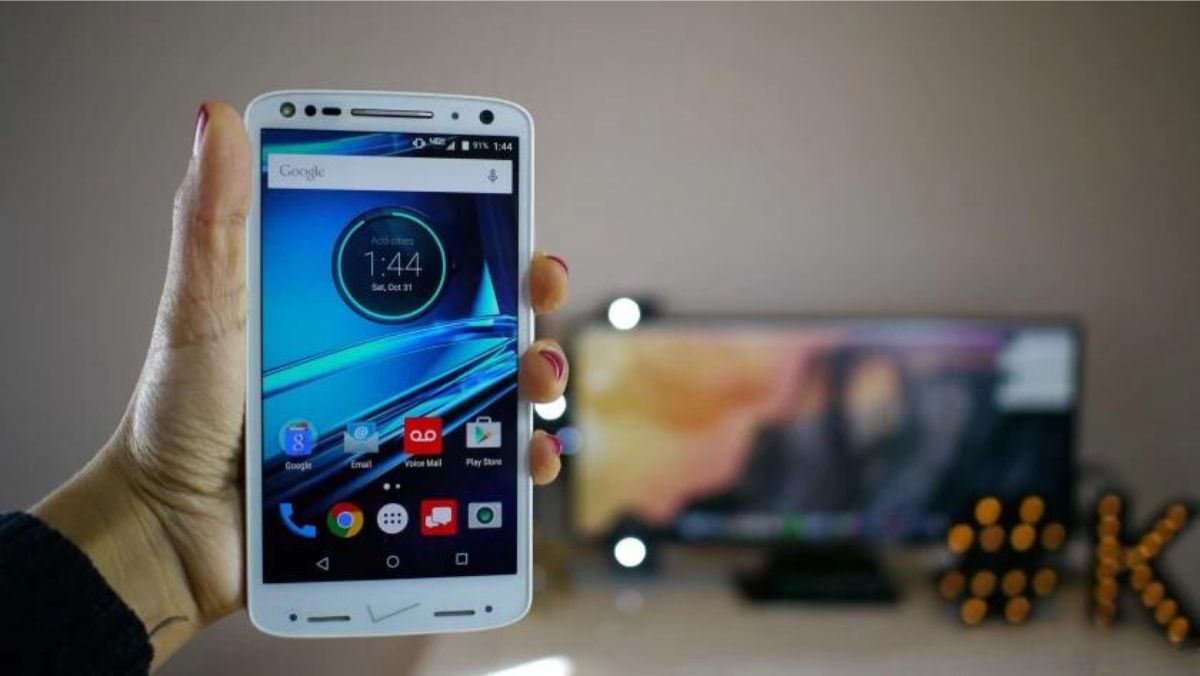
Welcome to the era of digital photography, where capturing precious moments has become easier than ever. If you are a proud owner of the Droid Turbo 2 smartphone and want to transfer your pictures to your computer, you have come to the right place. In this article, we will guide you through the process of downloading pictures from your Droid Turbo 2 to your computer with ease.
Having your pictures saved on your computer not only ensures you have a backup of your precious memories, but it also allows you to edit, organize, and share them conveniently. Whether you want to transfer your vacation photos for editing, backup important work-related images, or simply free up storage space on your smartphone, we will cover different methods to download pictures from your Droid Turbo 2 to your computer.
From using a USB cable connection to utilizing popular apps like Google Photos and Motorola File Transfer, we have got you covered. So, without further ado, let’s dive into the various methods and find out which one suits you best.
USB Connection
One of the simplest and most straightforward methods to transfer pictures from your Droid Turbo 2 to your computer is by using a USB connection. This method allows you to establish a direct connection between your smartphone and computer, enabling easy file transfer.
To get started, you will need a USB cable that is compatible with your Droid Turbo 2. Most Android smartphones use a USB Type-C or micro-USB cable, so make sure you have the right one on hand.
Here’s how you can transfer pictures using a USB cable:
- Connect one end of the USB cable to your Droid Turbo 2 and the other end to an available USB port on your computer.
- On your Droid Turbo 2, swipe down from the top of the screen to open the notification panel and tap on the “USB” or “Charging this device via USB” notification.
- Select the “Transfer files” or “File transfer” option to enable file transfer mode on your Droid Turbo 2.
- On your computer, open the file explorer or Finder window to access your device. Your Droid Turbo 2 should appear as a connected device.
- Double-click on your device to access its internal storage or SD card (if applicable), and navigate to the “Pictures” or “DCIM” folder where your photos are stored.
- Select the pictures you want to transfer to your computer, right-click, and choose the “Copy” or “Cut” option.
- Navigate to the desired location on your computer where you want to save the transferred pictures, right-click, and choose the “Paste” option to complete the transfer.
Depending on the number and size of the pictures, the transfer process may take a few seconds to several minutes. Once the transfer is complete, you can safely disconnect your Droid Turbo 2 from your computer.
Using a USB connection provides a reliable and direct method of transferring pictures, making it a popular choice among users. However, if you prefer a wireless and automatic approach, there are other methods available that we will explore in the following sections.
Transferring Pictures Using USB Cable
Transferring pictures from your Droid Turbo 2 to your computer using a USB cable is a convenient method that allows for a direct and secure transfer of files. By following a few simple steps, you can quickly and easily move your precious photos from your smartphone to your computer.
Here’s how you can transfer pictures using a USB cable:
- Start by connecting one end of the USB cable to your Droid Turbo 2 and the other end to an available USB port on your computer.
- On your Droid Turbo 2, swipe down from the top of the screen to access the notification panel. Tap on the “USB” or “Charging this device via USB” notification.
- Select the “Transfer files” or “File transfer” option to enable file transfer mode on your Droid Turbo 2.
- On your computer, open Windows Explorer (Windows) or Finder (Mac) and locate your connected device, which should appear as a removable storage device.
- Double-click on your device to access its internal storage or SD card (if applicable).
- Navigate to the “Pictures” or “DCIM” folder, where your photos are typically stored.
- Select the pictures you want to transfer by either clicking and dragging the files or using the Ctrl (Command on Mac) key to select multiple files.
- Once you have selected the pictures, right-click and choose the “Copy” option.
- Find the desired location on your computer where you want to save the transferred pictures, right-click, and select the “Paste” option.
Depending on the size and number of pictures, the transfer process may take a few moments to complete. It’s important to note that during the transfer, it is recommended to keep both your Droid Turbo 2 and computer connected to ensure a successful transfer.
Once the transfer is complete, you can safely disconnect your Droid Turbo 2 from your computer, and the transferred pictures will be available in the selected location on your computer.
Using a USB cable to transfer pictures provides a reliable and direct method for transferring your photos. However, if you prefer a wireless and more automated approach, there are alternative methods available that we will explore in the following sections.
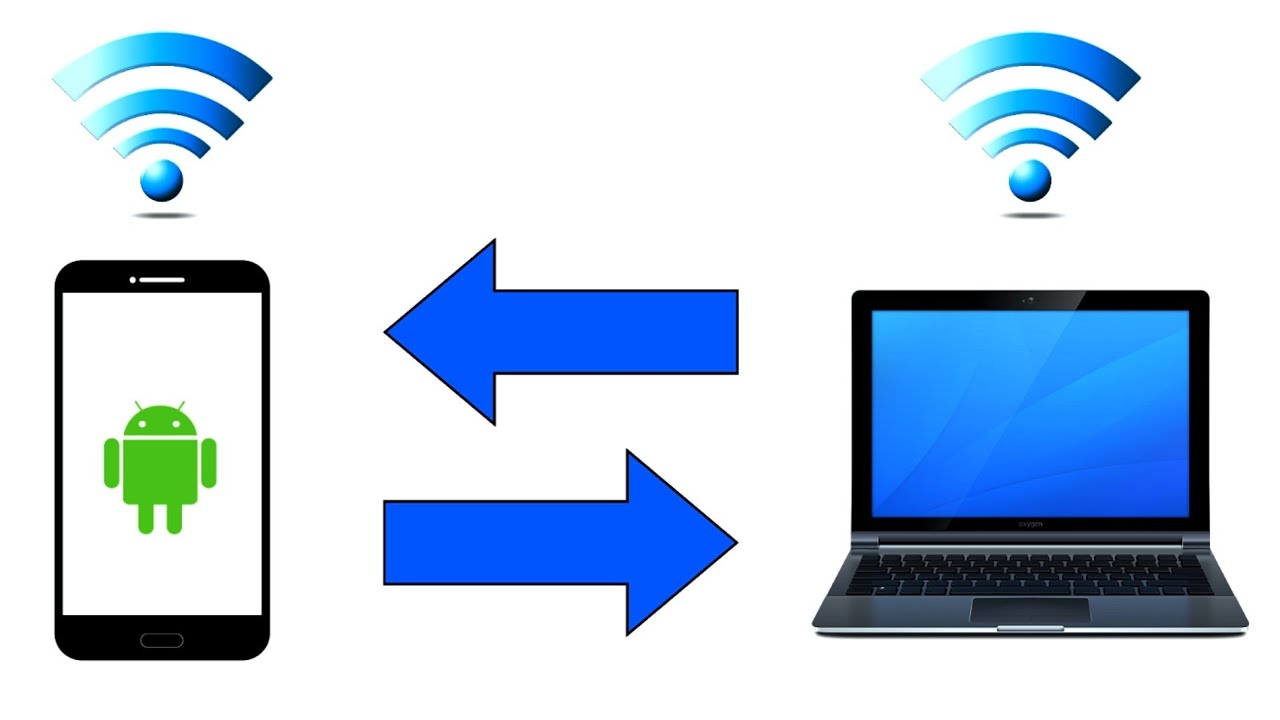
Transferring Pictures Using Google Photos
If you are looking for a wireless and seamless way to transfer pictures from your Droid Turbo 2 to your computer, Google Photos is an excellent option. Google Photos is a free cloud-based service that allows you to store, organize, and share your photos across multiple devices.
Here’s how you can transfer pictures using Google Photos:
- Start by downloading and installing the Google Photos app from the Google Play Store on your Droid Turbo 2.
- Once installed, open the Google Photos app and sign in with your Google account.
- On your Droid Turbo 2, open the app and go to the “Settings” menu by tapping on the three horizontal lines in the top-left corner.
- Select “Backup & sync” and ensure that the sync option is enabled. This will automatically back up your photos to your Google Photos account.
- Make sure you are connected to a Wi-Fi network, as large photo libraries may consume a significant amount of mobile data.
- Wait for the initial backup to complete. Depending on the number of photos and your internet connection, this process may take some time.
- Once your photos are backed up, open a web browser on your computer and visit the Google Photos website (https://photos.google.com).
- Sign in with the same Google account you used on your Droid Turbo 2.
- Navigate to the “Photos” section on the website, where you will find all your photos organized by date.
- From the “Photos” section, you can select the pictures you want to download. To select multiple photos, hold down the Shift or Ctrl key (Command on Mac) while clicking on the images.
- Once you have selected the pictures, click on the three vertical dots in the top-right corner and choose the “Download” option.
- Select the destination folder on your computer where you want to save the downloaded pictures, and click “OK” to initiate the download.
The selected pictures will be downloaded from your Google Photos account to your computer, preserving their original quality and metadata.
Google Photos offers a convenient way to access and download your photos from anywhere with an internet connection. It also provides the added benefit of backing up your pictures automatically, ensuring you never lose your precious memories.
Transferring Pictures Using Motorola File Transfer
If you are using a Motorola device, including the Droid Turbo 2, you can take advantage of the Motorola File Transfer tool to transfer pictures to your computer. This free software allows you to easily manage and transfer files between your Motorola device and your computer.
Here’s how you can transfer pictures using Motorola File Transfer:
- Start by accessing the official Motorola website (https://www.motorola.com) on your computer.
- Search for the “Motorola File Transfer” software and download it onto your computer.
- Once the download is complete, open the installation file and follow the on-screen instructions to install the software.
- Connect your Droid Turbo 2 to your computer using a USB cable. Ensure that USB debugging is enabled on your device. You can enable this option by going to Settings > Developer options > USB debugging.
- Launch the Motorola File Transfer software on your computer.
- The software should automatically detect your connected Droid Turbo 2. If not, click on the “Refresh” or “Scan” button to search for available devices.
- Once your device is detected, click on it to access the files on your Droid Turbo 2.
- Navigate to the “Pictures” or “DCIM” folder to locate your photos.
- Select the pictures you want to transfer to your computer by clicking on them. To select multiple pictures, hold down the Shift or Ctrl key (Command on Mac) while clicking.
- Click on the “Transfer” or “Copy” button located within the Motorola File Transfer software.
- Choose the destination folder on your computer where you want to save the transferred pictures.
- Click “OK” or “Start” to initiate the transfer process.
Depending on the size and number of pictures, the transfer process may take a few minutes to complete. Once finished, the selected pictures will be transferred from your Droid Turbo 2 to your computer, allowing you to access, edit, and organize them as needed.
The Motorola File Transfer software provides a user-friendly interface and makes it easy to manage your files between your Motorola device and computer. It is a reliable option to transfer pictures without the need for complex setup or additional third-party software.
Troubleshooting Tips
While transferring pictures from your Droid Turbo 2 to your computer is generally a straightforward process, you may encounter some common issues. Here are a few troubleshooting tips to help you overcome any obstacles:
- Ensure USB Cable and Ports are Working: Check that your USB cable is in good condition and securely connected to both your Droid Turbo 2 and the computer. Additionally, try using a different USB cable or port to eliminate any potential connection issues.
- Enable USB Debugging: If you are having trouble establishing a connection between your Droid Turbo 2 and computer, make sure USB debugging is enabled on your device. This option can be found in the Developer options in your device’s Settings menu.
- Restart Devices: Occasionally, a simple restart can resolve any temporary software or connection glitches. Reboot both your Droid Turbo 2 and your computer, then attempt the transfer again.
- Disable USB Selective Suspend: On Windows computers, USB selective suspend may cause issues with the connection. To disable this feature, go to Power Options in your computer’s Control Panel and adjust the USB selective suspend settings.
- Update Device Drivers: Make sure you have the latest device drivers installed on your computer. Outdated drivers can sometimes prevent proper communication between your Droid Turbo 2 and computer.
- Free Up Phone Storage: If you are experiencing issues during the transfer process, check the available storage space on your Droid Turbo 2. If the device is running low on storage, consider deleting unnecessary files or apps to free up space.
- Try Different File Transfer Tools: If one method or software is not working, consider trying alternative file transfer tools or methods. Google Drive, Dropbox, or other cloud storage services can be used to transfer pictures wirelessly.
- Update Operating Systems and Apps: Ensure that both your Droid Turbo 2’s operating system and the computer’s operating system are up to date. Similarly, keep any relevant apps, such as Google Photos or Motorola File Transfer, updated to ensure compatibility.
If you have tried these troubleshooting tips and are still experiencing difficulties, it may be helpful to consult the support documentation provided by your device manufacturer or contact their customer support for further assistance.
By following these troubleshooting tips, you can overcome common issues and ensure a smooth transfer of your pictures from your Droid Turbo 2 to your computer.
Conclusion
Transferring pictures from your Droid Turbo 2 to your computer is a simple and essential task in today’s digital world. Whether you prefer a direct USB connection, the convenience of Google Photos, or the Motorola File Transfer tool, there are various methods available to suit your needs.
Using a USB cable provides a reliable and straightforward way to transfer pictures, allowing you to quickly and securely move your photos from your Droid Turbo 2 to your computer. If you prefer a wireless approach, Google Photos offers a seamless way to access and download your photos from any device with an internet connection.
The Motorola File Transfer tool is another useful option, allowing you to manage and transfer files between your Motorola device and your computer in a user-friendly manner.
Remember to troubleshoot any issues that may arise during the transfer process. By following the troubleshooting tips mentioned in this article, you can overcome common obstacles and ensure a smooth transfer of your pictures.
Whether you want to create backups, edit your photos, or simply free up storage space on your Droid Turbo 2, transferring pictures to your computer is an important task. With the methods and tips outlined in this article, you can easily and efficiently transfer your precious memories from your Droid Turbo 2 to your computer.
So, go ahead and begin downloading your pictures from your Droid Turbo 2 to your computer today. Preserve and enjoy your memories with the convenience and flexibility that these transfer methods offer.