Introduction
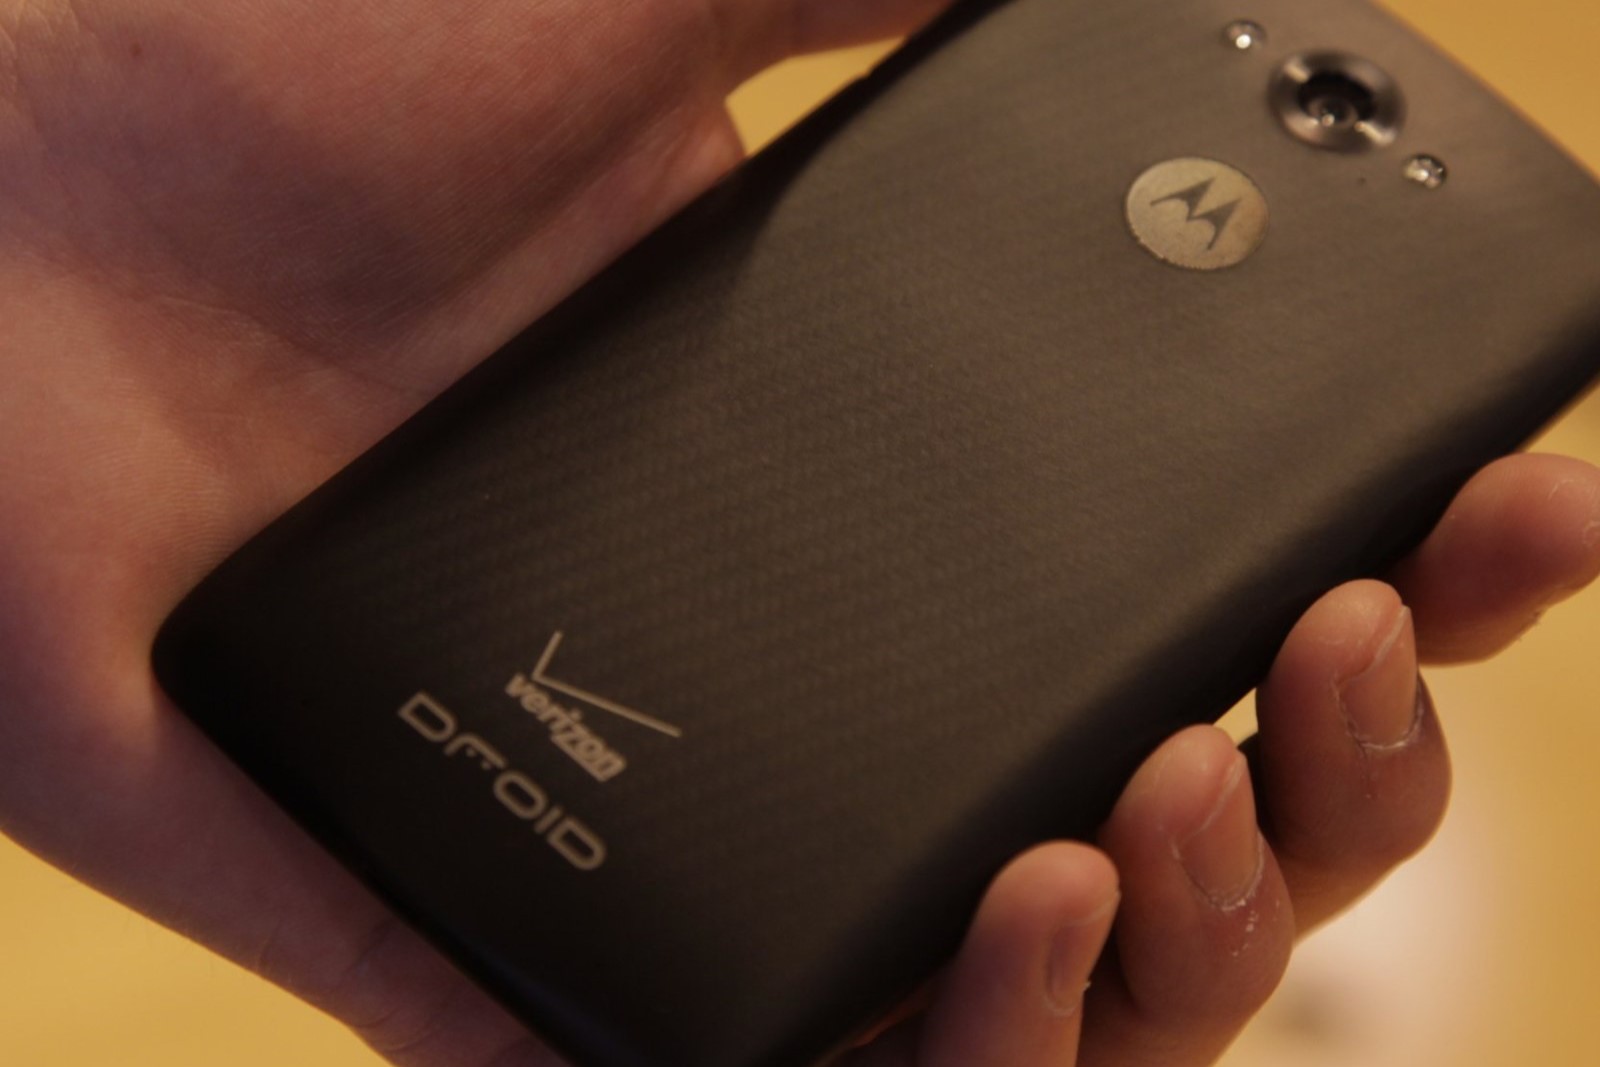
Inserting a SIM card into your Droid Turbo 2 is a fundamental step in setting up your device for seamless communication and connectivity. The SIM card, short for Subscriber Identity Module, is a small, portable memory chip that stores crucial information, including your phone number, contacts, and text messages. By inserting the SIM card into your Droid Turbo 2, you enable it to connect to your mobile network, granting you access to calls, text messages, and mobile data.
In this comprehensive guide, we will walk you through the step-by-step process of inserting a SIM card into your Droid Turbo 2. Whether you're setting up a new device or replacing an existing SIM card, this guide will provide you with the essential knowledge to complete the task effortlessly. With the detailed instructions and visual aids, you'll gain the confidence to handle this process with ease, ensuring that your Droid Turbo 2 is fully equipped to keep you connected.
Now, let's embark on this journey to seamlessly integrate your SIM card with your Droid Turbo 2. Follow each step diligently, and soon you'll be ready to power on your device and experience the full spectrum of its capabilities. Let's dive in and get started with the first step: locating the SIM card tray.
Step 1: Locate the SIM card tray
The first step in inserting a SIM card into your Droid Turbo 2 is to locate the SIM card tray. The SIM card tray is a small compartment designed to hold the SIM card securely within the device. To begin this process, you will need to identify the location of the SIM card tray on your Droid Turbo 2.
-
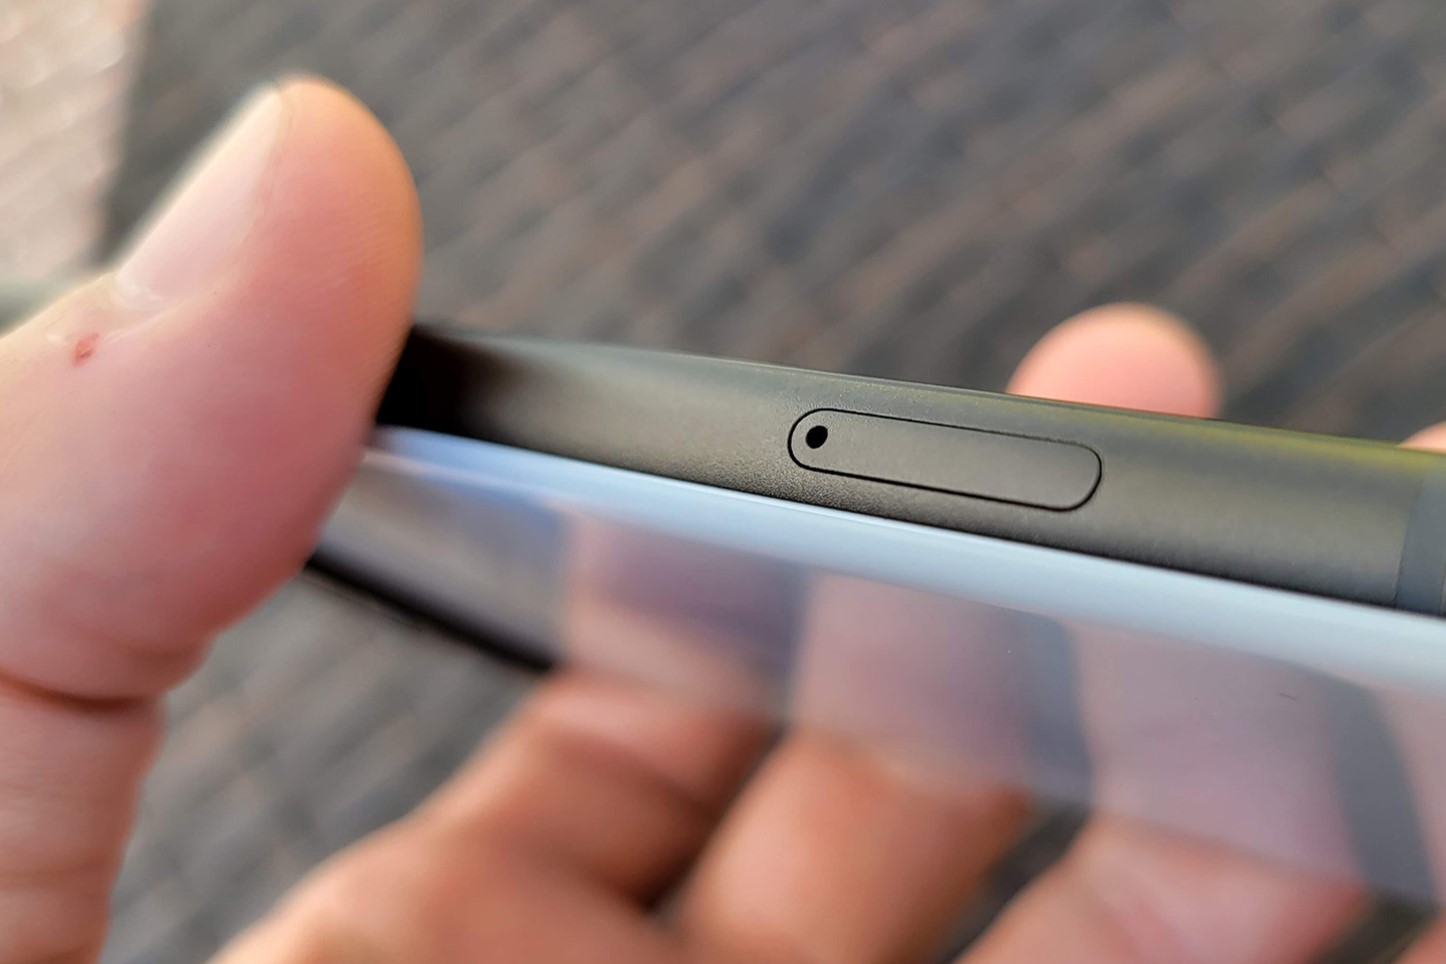
Identifying the SIM Card Tray Slot: The SIM card tray slot is typically located on the side of the Droid Turbo 2. It is important to handle the device carefully and identify the slot without applying excessive force. The slot is often accompanied by a small pinhole, which is used to eject the tray.
-
Examining the Device's Exterior: Take a close look at the exterior of your Droid Turbo 2, paying particular attention to the sides of the device. The SIM card tray slot is commonly positioned on the upper or lower edge of the device, depending on the specific model.
-
Referring to the Device Manual: If you encounter difficulty locating the SIM card tray, referring to the device manual can provide valuable insights. The manual typically includes detailed illustrations and descriptions of the device's components, including the SIM card tray and its precise location.
-
Utilizing Visual Cues: Some Droid Turbo 2 models feature visual cues to indicate the location of the SIM card tray. These cues may include small icons or markings adjacent to the tray slot, facilitating easy identification for users.
By successfully identifying the SIM card tray on your Droid Turbo 2, you have completed the first crucial step in the process of inserting a SIM card. This accomplishment sets the stage for the subsequent steps, where you will proceed to eject the SIM card tray and insert the SIM card securely. With the SIM card tray located, you are now ready to progress to the next step and continue the seamless integration of your SIM card with your Droid Turbo 2.
Step 2: Eject the SIM card tray
Ejecting the SIM card tray is a pivotal step in the process of inserting a SIM card into your Droid Turbo 2. This step requires precision and a gentle touch to ensure that the SIM card tray is safely removed without causing any damage to the device. Let's delve into the detailed process of ejecting the SIM card tray from your Droid Turbo 2:
-
Power Off the Device: Before attempting to eject the SIM card tray, it is essential to power off your Droid Turbo 2. This precautionary measure ensures that the device is in a stable state and minimizes the risk of any potential disruption during the tray ejection process.
-
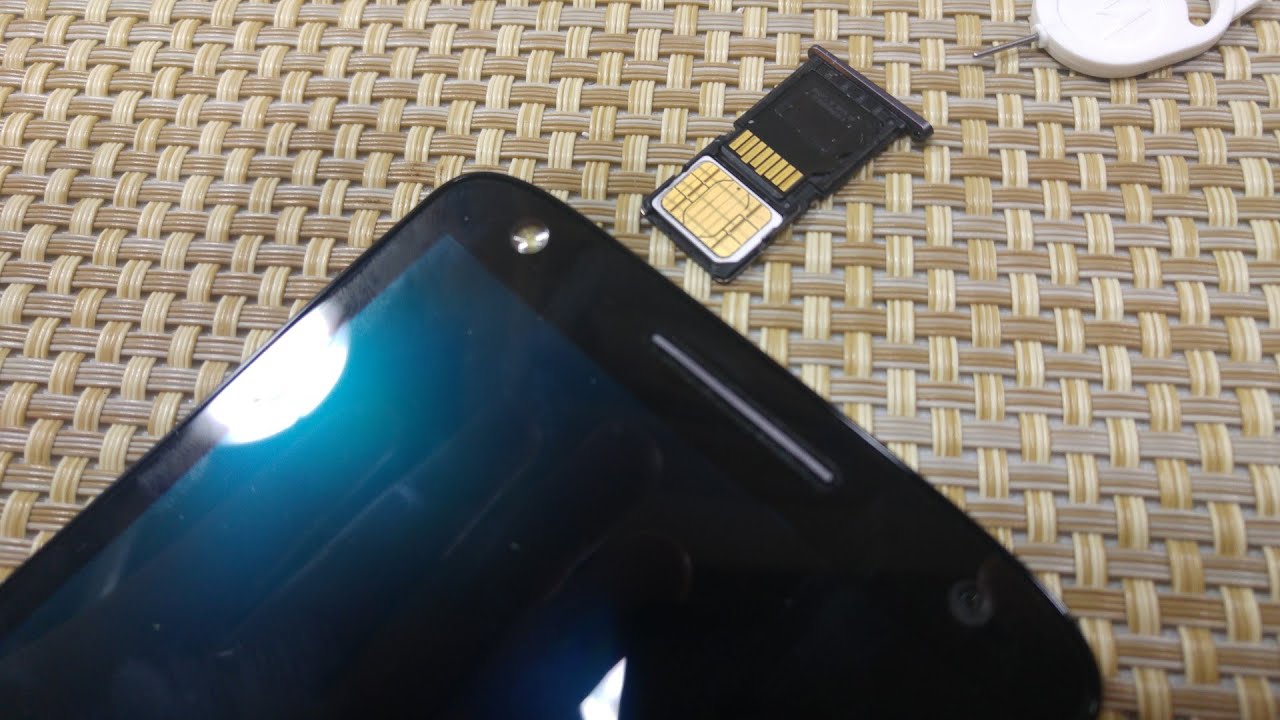
Locate the SIM Card Tray Slot: As you identified in the previous step, the SIM card tray slot is typically located on the side of the Droid Turbo 2. Once you have identified the slot, take note of the small pinhole adjacent to the tray. This pinhole is designed to accommodate the SIM card tray ejection tool.
-
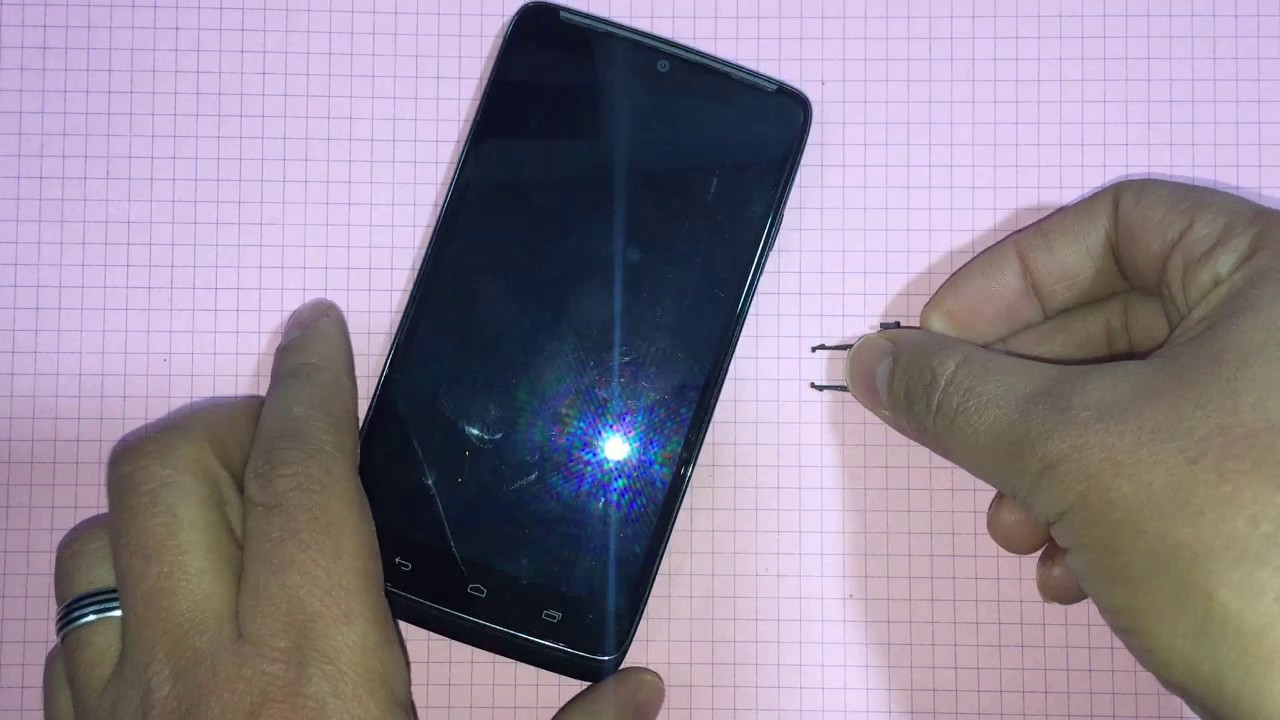
Retrieve the SIM Card Tray Ejection Tool: The Droid Turbo 2 is typically accompanied by a SIM card tray ejection tool, often a small, pointed instrument designed specifically for this purpose. If the ejection tool is not readily available, a paperclip can be used as an alternative, ensuring that it is straightened to facilitate smooth insertion into the pinhole.
-
Insert the Ejection Tool: Gently insert the SIM card tray ejection tool or the straightened paperclip into the pinhole adjacent to the SIM card tray slot. Apply light pressure to ensure that the tool is inserted securely into the pinhole.
-
Apply Even Pressure: Once the ejection tool is inserted, apply even pressure to initiate the ejection mechanism. You will feel a slight resistance as the SIM card tray is disengaged from its locked position within the device.
-
Carefully Remove the SIM Card Tray: With the ejection mechanism activated, carefully pull the SIM card tray out of the device using the ejection tool. Exercise caution to prevent any abrupt or forceful movements that may cause damage to the tray or the device.
By meticulously following these steps, you have successfully ejected the SIM card tray from your Droid Turbo 2, paving the way for the next phase of the process: inserting the SIM card. The careful execution of this step ensures that the SIM card tray is removed smoothly and safely, setting the stage for the seamless integration of your SIM card with the device. With the tray now ejected, you are ready to proceed to the subsequent step and continue the journey of preparing your Droid Turbo 2 for optimal functionality.
Step 3: Insert the SIM card
With the SIM card tray successfully ejected from your Droid Turbo 2, the next pivotal step is to insert the SIM card into the designated slot within the tray. This process requires precision and care to ensure that the SIM card is inserted correctly, allowing for seamless connectivity and functionality. Let's delve into the detailed process of inserting the SIM card into your Droid Turbo 2:
-
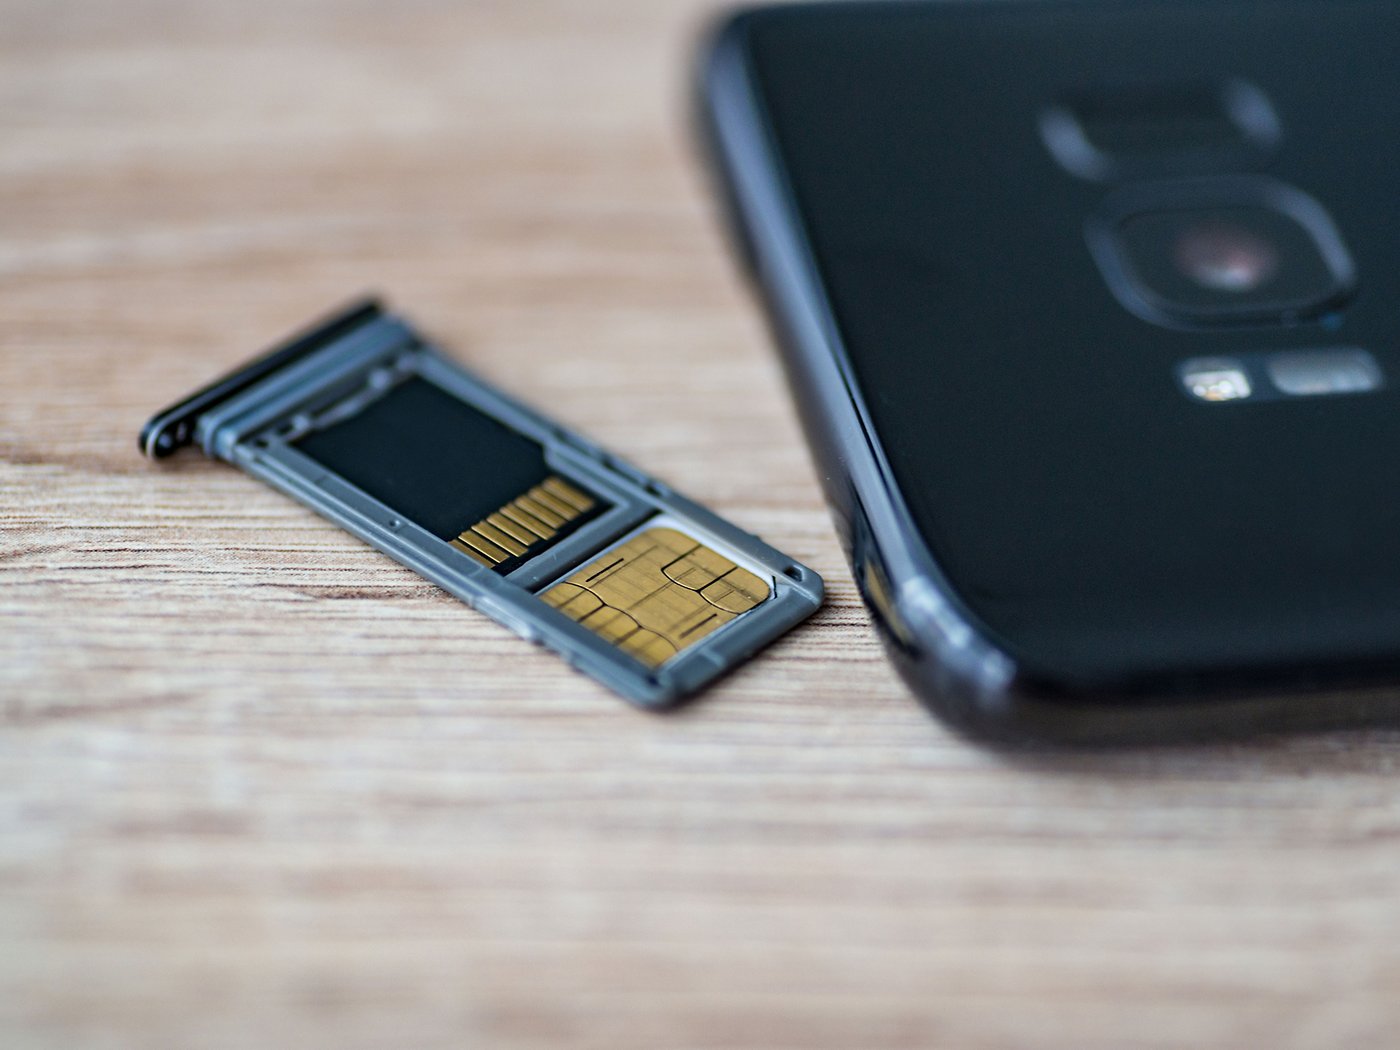
Inspect the SIM Card: Before proceeding with the insertion, take a moment to inspect the SIM card. Ensure that it is free from any visible damage and is oriented correctly for insertion. Most SIM cards have a notched corner that aligns with the corresponding notch in the SIM card tray, facilitating the correct positioning.
-
Align the SIM Card: Position the SIM card carefully, aligning it with the designated area within the SIM card tray. The notched corner of the SIM card should align with the notch in the tray, ensuring that the card is oriented in the correct position for insertion.
-
Gently Place the SIM Card: With the SIM card aligned, gently place it into the designated area within the SIM card tray. Apply light pressure to ensure that the card sits securely within the tray, ready for insertion back into the device.
-
Double-Check Alignment: Before reinserting the SIM card tray into your Droid Turbo 2, double-check the alignment of the SIM card within the tray. Ensuring that the card is positioned correctly at this stage will prevent any potential issues upon reinsertion.
-
Prepare for Reinsertion: With the SIM card securely placed in the tray, prepare to reinsert the tray into your Droid Turbo 2. Take a moment to ensure that the tray is free from any obstructions or debris that may hinder its smooth insertion.
By meticulously following these steps, you have successfully inserted the SIM card into the designated slot within the SIM card tray. This precise and careful execution ensures that your Droid Turbo 2 is fully equipped with the essential component for mobile connectivity. With the SIM card securely in place, you are now ready to proceed to the subsequent step and continue the journey of preparing your Droid Turbo 2 for optimal functionality.
Step 4: Reinsert the SIM card tray
After successfully inserting the SIM card into the designated slot within the SIM card tray, the next crucial step is to reinsert the tray back into your Droid Turbo 2. This step requires precision and gentle handling to ensure that the SIM card tray is securely placed within the device, setting the stage for seamless connectivity and functionality. Let's delve into the detailed process of reinserting the SIM card tray into your Droid Turbo 2:
-
Inspect the Tray: Before reinsertion, take a moment to inspect the SIM card tray. Ensure that it is free from any debris or obstructions that may hinder its smooth insertion. Additionally, check that the SIM card is securely positioned within the tray, aligning with the designated area.
-
Align the Tray: Position the SIM card tray carefully, aligning it with the corresponding slot on the side of your Droid Turbo 2. The tray should fit snugly into the slot, with the SIM card positioned correctly for seamless integration with the device.
-
Gently Insert the Tray: With the tray aligned, gently insert it back into the designated slot on the side of your Droid Turbo 2. Apply even pressure to ensure that the tray slides smoothly into place, securing the SIM card within the device.
-
Verify Secure Placement: Once the tray is reinserted, verify that it sits securely within the device. Gently press on the tray to ensure that it is flush with the device's exterior, indicating that it is properly positioned for optimal functionality.
-
Power On the Device: With the SIM card tray securely reinserted, power on your Droid Turbo 2. Allow the device to initialize and establish connectivity with the inserted SIM card, enabling you to access calls, text messages, and mobile data seamlessly.
By meticulously following these steps, you have successfully reinserted the SIM card tray back into your Droid Turbo 2, ensuring that the SIM card is securely integrated with the device. This careful execution sets the stage for seamless connectivity and functionality, allowing you to harness the full capabilities of your Droid Turbo 2. With the tray securely in place, you have completed the essential process of integrating your SIM card with your device, empowering you to stay connected and engaged with ease.
Step 5: Power on the Droid Turbo 2
Powering on the Droid Turbo 2 is the final step in the process of integrating your SIM card with the device, marking the culmination of the setup process. This pivotal step initiates the device's initialization and establishes connectivity with the inserted SIM card, enabling you to access essential communication features and mobile data seamlessly. Let's delve into the detailed process of powering on the Droid Turbo 2 and preparing it for optimal functionality:
-
Press and Hold the Power Button: Located on the side or top of the Droid Turbo 2, the power button is a critical component for initiating the device's startup process. To power on the device, press and hold the power button for a few seconds until the screen displays signs of activation. As the device powers on, you will observe the manufacturer's logo and the initial boot-up sequence.
-
Initial Setup Screens: Upon powering on the Droid Turbo 2, you will be guided through the initial setup screens, where you can configure essential settings, including language preferences, Wi-Fi connectivity, and account sign-in. Follow the on-screen prompts to customize the device according to your preferences, ensuring a personalized and tailored user experience.
-
SIM Card Initialization: As the device completes its startup sequence, it will initialize the inserted SIM card, establishing a secure connection with your mobile network. This process enables you to make and receive calls, send text messages, and access mobile data, leveraging the capabilities facilitated by the integrated SIM card.
-
Network Connectivity: Once the Droid Turbo 2 is powered on and the SIM card is initialized, the device will establish network connectivity, enabling you to access voice and data services seamlessly. Depending on your network coverage and signal strength, the device will display the network status, indicating the availability of mobile services.
-
Accessing Essential Features: With the Droid Turbo 2 powered on and the SIM card integrated, you gain access to a myriad of essential features, including calling, messaging, internet browsing, and app functionality. The seamless integration of the SIM card with the device empowers you to harness the full spectrum of its capabilities, ensuring that you stay connected and engaged with ease.
By meticulously following these steps, you have successfully powered on your Droid Turbo 2, finalizing the process of integrating your SIM card with the device. This careful execution sets the stage for a seamless and personalized user experience, enabling you to leverage the full functionality of your Droid Turbo 2 and stay connected with confidence. As the device powers on, you are now ready to explore its features and embark on a journey of seamless communication and connectivity.
Conclusion
Congratulations! By diligently following the comprehensive guide on inserting a SIM card into your Droid Turbo 2, you have successfully completed the essential setup process, empowering your device to seamlessly connect with your mobile network and enabling you to stay connected with ease. The meticulous execution of each step, from locating the SIM card tray to powering on the device, has equipped you with the knowledge and confidence to handle this fundamental task effortlessly.
As you reflect on the journey of integrating your SIM card with your Droid Turbo 2, it's essential to recognize the significance of this process. The SIM card serves as the gateway to your mobile network, storing crucial information and facilitating seamless communication and connectivity. By following the detailed instructions and exercising care and precision, you have ensured that your device is fully equipped to leverage the capabilities enabled by the integrated SIM card.
With the SIM card securely in place within your Droid Turbo 2, you are now poised to explore the myriad features and functionalities offered by the device. From making and receiving calls to sending text messages and accessing mobile data, your Droid Turbo 2 is now primed to support your communication needs with reliability and efficiency.
Furthermore, the successful integration of your SIM card with your device sets the stage for a personalized and tailored user experience. As you navigate the initial setup screens and customize essential settings, you have the opportunity to configure the device according to your preferences, ensuring that it aligns with your unique communication and connectivity requirements.
As you power on your Droid Turbo 2 and witness the seamless initialization of the SIM card, take a moment to appreciate the seamless connectivity and functionality that await you. The device is now ready to serve as your reliable companion, keeping you connected and engaged with the world around you.
In conclusion, the process of inserting a SIM card into your Droid Turbo 2 is not merely a technical setup task; it is a pivotal step that empowers you to harness the full spectrum of your device's capabilities. By completing this process with diligence and care, you have unlocked the potential for seamless communication and connectivity, ensuring that your Droid Turbo 2 stands ready to support your mobile lifestyle with unwavering reliability.