Introduction
The Droid Maxx is a powerful and versatile mobile device that offers a wide range of features and capabilities. Whether you're a seasoned user or a newcomer to the world of smartphones, understanding the process of locating and managing the SIM card on your Droid Maxx is essential. The SIM card, short for Subscriber Identity Module, is a small but crucial component that enables your device to connect to a mobile network, make calls, send messages, and access mobile data.
In this comprehensive guide, we will walk you through the step-by-step process of locating and managing the SIM card on your Droid Maxx. By following these instructions, you will gain a clear understanding of how to access and handle the SIM card, empowering you to troubleshoot connectivity issues, upgrade to a new SIM card, or switch between different mobile carriers with ease.
Understanding the physical location of the SIM card slot and the proper method for inserting or replacing the SIM card will enable you to maintain seamless communication and data connectivity on your Droid Maxx. Whether you are preparing for an international trip, upgrading your mobile plan, or troubleshooting network issues, having a solid grasp of the SIM card management process is invaluable.
Now, let's embark on this informative journey to demystify the process of locating and managing the SIM card on your Droid Maxx. By the end of this guide, you will feel confident and empowered to handle your device's SIM card with ease and precision. Let's dive into the step-by-step instructions and unlock the full potential of your Droid Maxx!
Step 1: Turn Off the Phone
Before embarking on the process of managing the SIM card on your Droid Maxx, it is essential to ensure that the device is powered off. This initial step is crucial for the safety of the device and the successful management of the SIM card.
Turning off the phone allows you to work on the SIM card slot without the risk of causing any damage to the device or interrupting its normal operation. By powering down the Droid Maxx, you create a safe environment to access the SIM card tray and handle the SIM card with care and precision.
To turn off your Droid Maxx, simply press and hold the power button located on the side or top of the device. A prompt will appear on the screen, asking if you want to power off the device. Confirm the action by tapping the "Power Off" option on the screen. Alternatively, you can press and hold the power button until the device powers down completely.
Once the device is powered off, you can proceed with confidence to the next steps in the process of managing the SIM card on your Droid Maxx. This simple yet crucial step sets the stage for a smooth and successful SIM card management experience, ensuring that you can access the SIM card tray and perform the necessary actions without any interference from the device's operating system.
By following this initial step and ensuring that the Droid Maxx is powered off, you demonstrate a proactive approach to handling the device and its components responsibly. This foundational step lays the groundwork for a seamless SIM card management process, allowing you to proceed with the subsequent steps with confidence and peace of mind.
Now that the Droid Maxx is powered off, we are ready to move on to the next step in the process of locating and managing the SIM card on your device. Let's continue our journey toward gaining a comprehensive understanding of the SIM card management process for the Droid Maxx.
Step 2: Locate the SIM Card Tray
Upon ensuring that your Droid Maxx is powered off, the next step is to locate the SIM card tray. The SIM card tray houses the SIM card and is designed to securely hold the card in place within the device. Properly identifying the location of the SIM card tray is essential for accessing and managing the SIM card effectively.
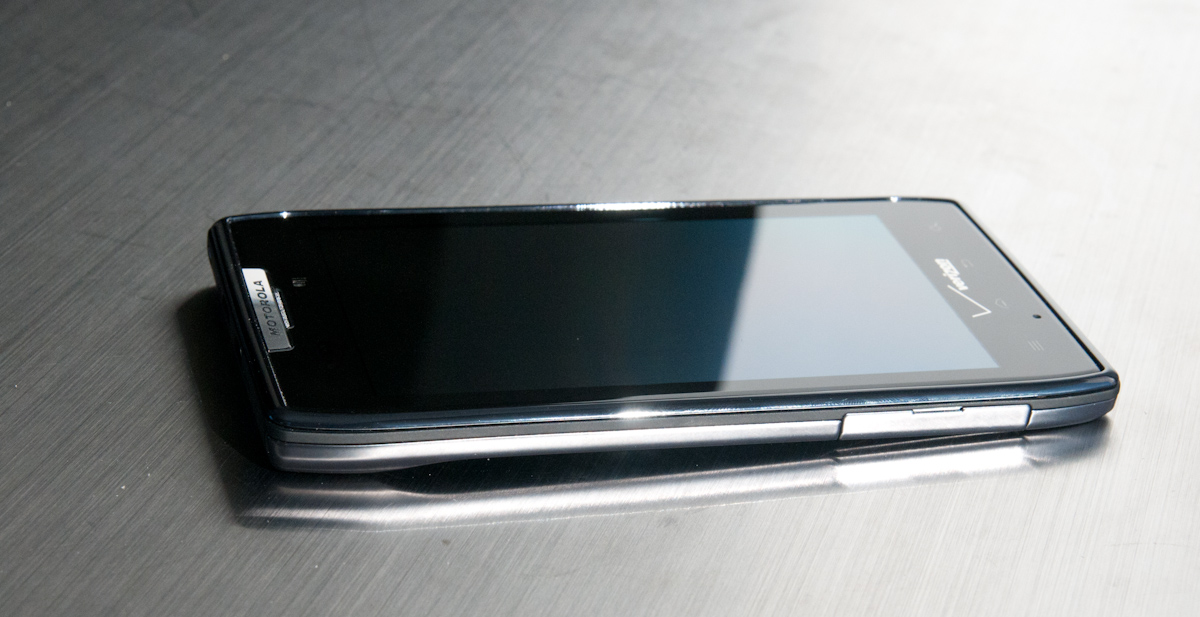
The SIM card tray on the Droid Maxx is typically located on the side of the device. To locate the SIM card tray, you can visually inspect the sides of the device for a small, discreet slot with a pinhole. This slot is designed to accommodate the SIM card tray and the SIM eject tool, which is used to access the tray and manage the SIM card.
In most cases, the SIM card slot is positioned alongside the volume buttons or on the opposite side of the power button. The location may vary slightly depending on the specific model of the Droid Maxx, but it is commonly situated on one of the device's lateral edges.
Once you have identified the SIM card tray slot, take a moment to familiarize yourself with its precise location and orientation. This visual inspection will provide you with a clear understanding of where the SIM card tray is situated and how to approach it when proceeding with the SIM card management process.
By successfully locating the SIM card tray on your Droid Maxx, you have taken a crucial step toward accessing and managing the SIM card with confidence and precision. This foundational knowledge sets the stage for the subsequent steps in the SIM card management process, enabling you to proceed seamlessly as you continue to gain a comprehensive understanding of handling the SIM card on your Droid Maxx.
With the SIM card tray now identified, you are well-prepared to move forward with the next steps in the process of managing the SIM card on your Droid Maxx. Let's continue our journey toward mastering the SIM card management process and unlocking the full potential of your device's connectivity and communication capabilities.
Step 3: Insert the SIM Eject Tool
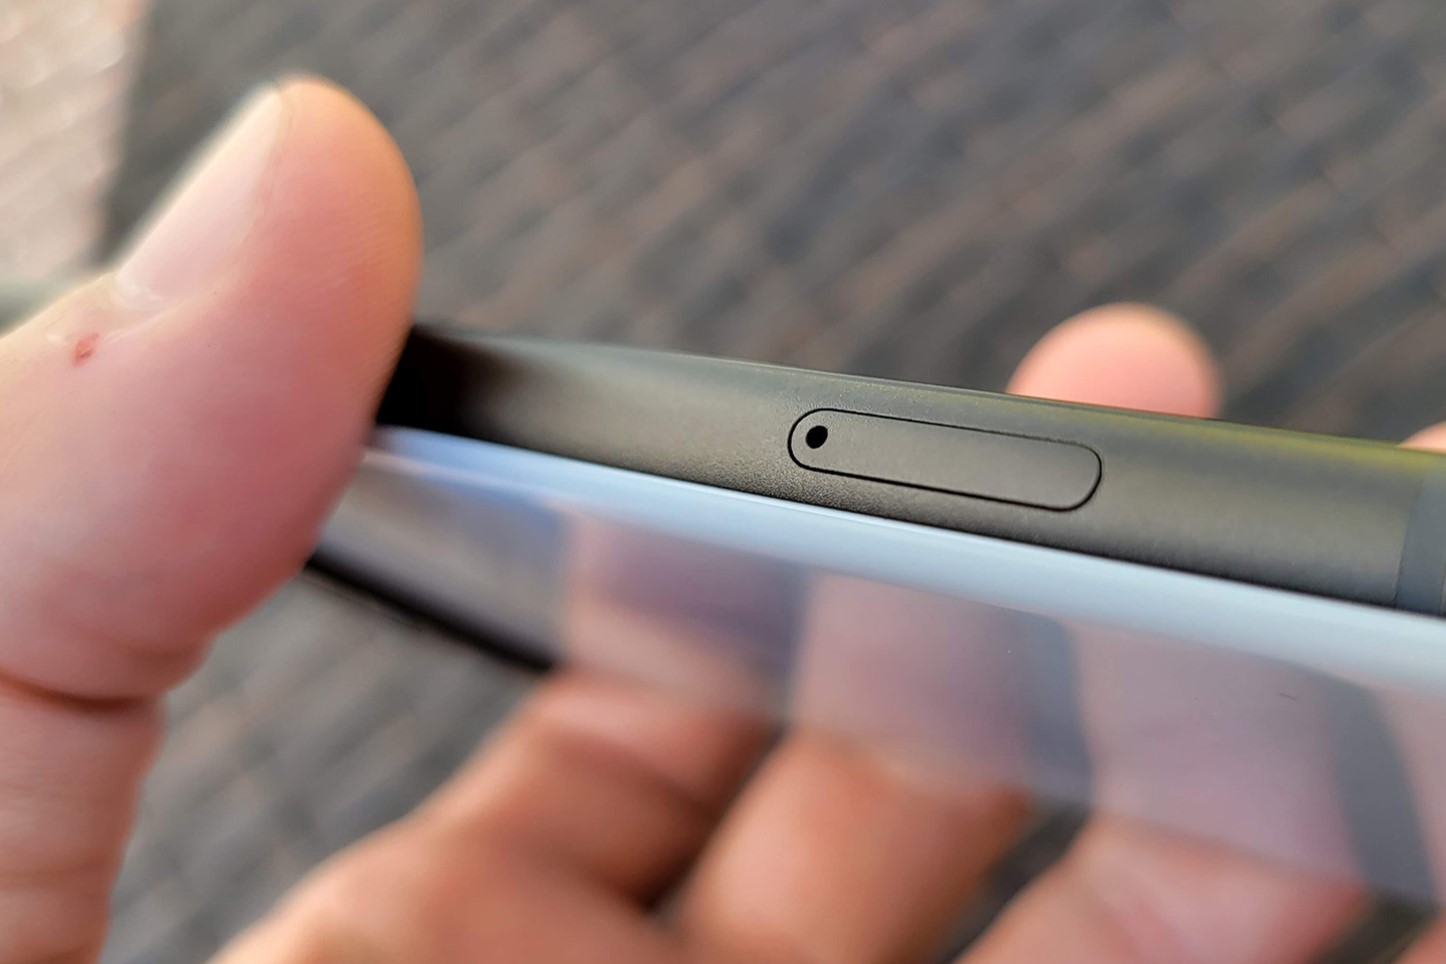
After locating the SIM card tray on your Droid Maxx, the next crucial step is to insert the SIM eject tool into the designated pinhole next to the SIM card tray. The SIM eject tool, a small and slender instrument provided with your device or obtainable from authorized retailers, is specifically designed to facilitate the safe and effortless removal of the SIM card tray.
To begin this process, take hold of the SIM eject tool and position its pointed end into the pinhole adjacent to the SIM card tray. Apply gentle pressure while maintaining a steady hand, ensuring that the tool is inserted straight into the pinhole. The precise positioning of the SIM eject tool is essential to engage the internal mechanism that releases the SIM card tray from its secured position within the Droid Maxx.
As you insert the SIM eject tool into the pinhole, you may feel a slight resistance before the tool's tip engages with the internal mechanism. This resistance is normal and indicates that the tool is properly positioned to initiate the release of the SIM card tray. It is important to exercise caution and avoid applying excessive force during this step to prevent any damage to the pinhole or the internal components of the device.
Once the SIM eject tool is inserted correctly, you will experience a subtle but distinct sensation as the internal mechanism responds to the tool's positioning. This response is a clear indication that the SIM card tray is being released from its locked position within the Droid Maxx. With the SIM eject tool effectively engaged, you are now prepared to proceed to the subsequent step of removing the SIM card tray from the device.
By successfully inserting the SIM eject tool into the pinhole next to the SIM card tray, you have taken a critical step toward accessing and managing the SIM card on your Droid Maxx. This meticulous process sets the stage for the safe and precise removal of the SIM card tray, allowing you to handle the SIM card with care and confidence as you progress through the comprehensive SIM card management process for your device.
With the SIM eject tool securely in place, you are now poised to advance to the next step in the process of managing the SIM card on your Droid Maxx. Let's continue our journey toward mastering the intricacies of SIM card management and harnessing the full potential of your device's connectivity and communication capabilities.
Step 4: Remove the SIM Card Tray
With the SIM eject tool securely inserted into the pinhole next to the SIM card tray, you are now ready to proceed with the careful removal of the tray from your Droid Maxx. Gently exerting pressure on the SIM eject tool, you will feel a subtle but discernible resistance as the internal mechanism responds to the tool's positioning. This resistance indicates that the SIM card tray is being disengaged from its locked position within the device.
Maintaining a steady hand and exercising patience, continue to apply gentle pressure on the SIM eject tool, gradually coaxing the SIM card tray out of the Droid Maxx. As the tray begins to slide out, handle it with care to prevent any damage to the tray or the SIM card housed within it. The smooth and deliberate extraction of the tray ensures the safe removal of the SIM card without any risk of bending or misaligning the delicate components.
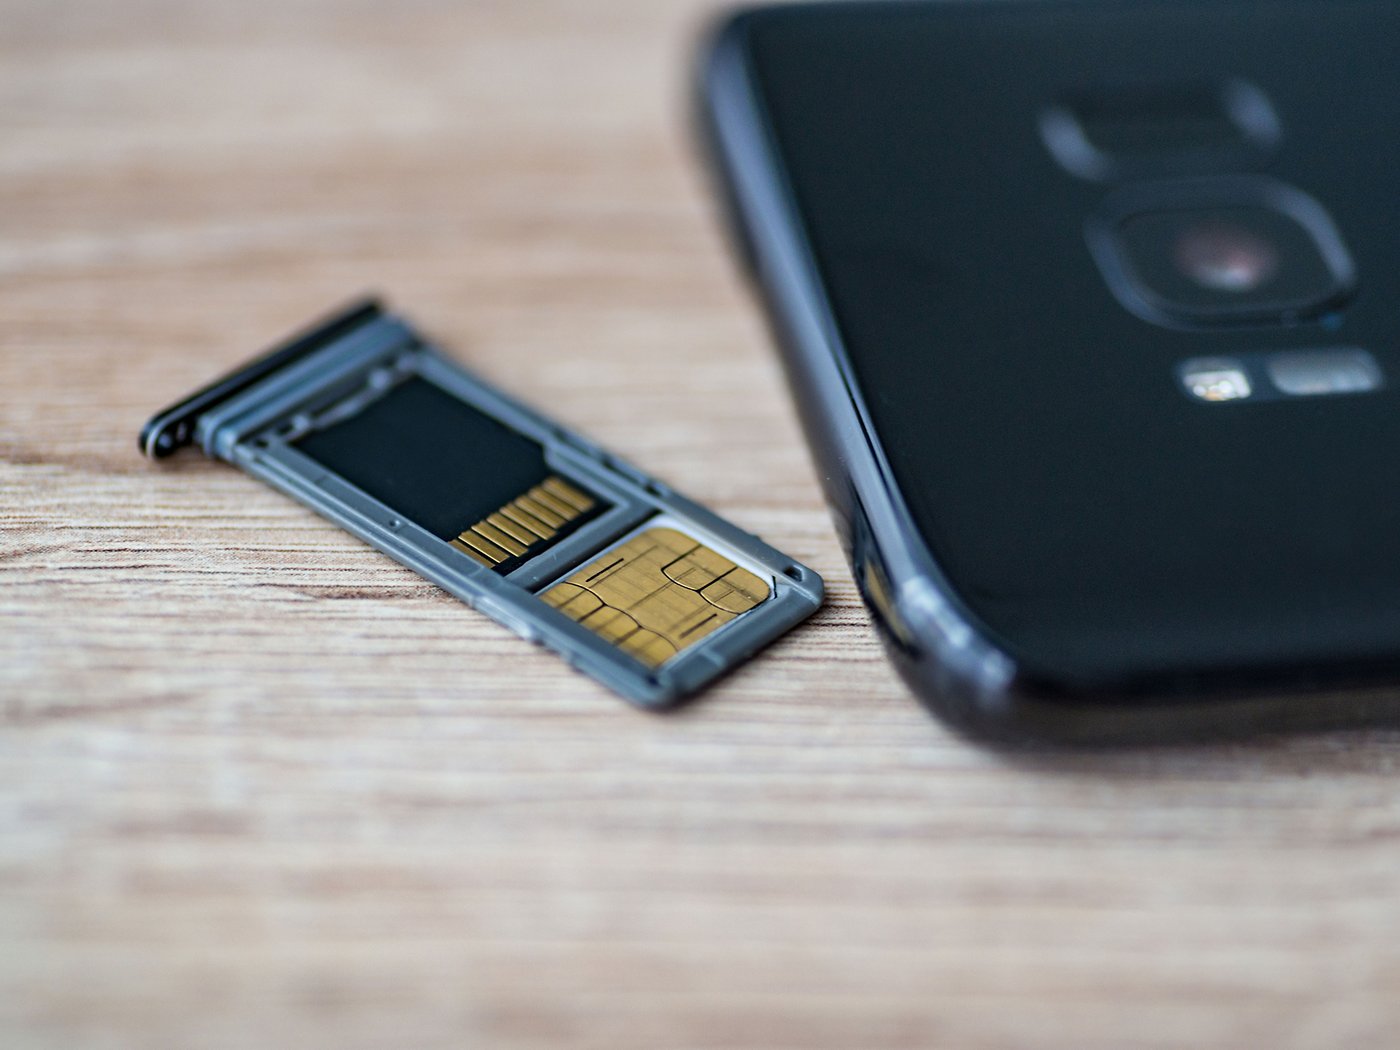
As the SIM card tray is fully extracted from the device, take a moment to inspect the tray and the SIM card it contains. Carefully observe the orientation of the SIM card within the tray, noting the position of the gold contacts and the cut corner, which align with corresponding features within the SIM card slot. This visual inspection ensures that you can confidently proceed with the next steps in the SIM card management process, maintaining precision and attention to detail throughout the entire procedure.
Once the SIM card tray is removed and the SIM card is accessible, you have successfully completed a critical phase of the SIM card management process for your Droid Maxx. This meticulous approach guarantees the safe and efficient handling of the SIM card, setting the stage for the subsequent steps in the process of inserting or replacing the SIM card with confidence and precision.
With the SIM card tray now removed and the SIM card within your grasp, you are well-prepared to advance to the next steps in the comprehensive process of managing the SIM card on your Droid Maxx. Let's continue our journey toward mastering the intricacies of SIM card management and unlocking the full potential of your device's connectivity and communication capabilities.
Step 5: Insert or Replace the SIM Card
With the SIM card tray in hand and the SIM card accessible, you are now poised to proceed with the pivotal step of inserting or replacing the SIM card in your Droid Maxx. Whether you are installing a new SIM card or reinserting the existing one, this step is essential for ensuring seamless connectivity and communication capabilities on your device.
To insert or replace the SIM card, carefully position the SIM card within the designated area on the SIM card tray. Take note of the orientation of the SIM card, aligning the gold contacts and the cut corner with the corresponding features within the tray. This precise alignment ensures that the SIM card fits snugly and securely within the tray, establishing a reliable connection with the device's internal components.
As you gently place the SIM card into the tray, exercise caution to avoid any bending or damage to the delicate components. Ensure that the SIM card is seated flush and level within the tray, with no protruding edges or misalignment. This meticulous approach guarantees the secure installation of the SIM card, laying the foundation for uninterrupted network connectivity and mobile functionality on your Droid Maxx.
If you are replacing an existing SIM card with a new one, carefully remove the old SIM card from the tray and replace it with the new card following the same precise alignment and installation process. This seamless transition from the old to the new SIM card ensures a smooth and efficient upgrade, allowing you to benefit from enhanced network features and services.
Once the SIM card is securely installed within the tray, gently slide the tray back into the SIM card slot on your Droid Maxx. Ensure that the tray fits snugly and smoothly into the slot, maintaining a seamless connection with the device's internal components. Exercise care and precision to prevent any jostling or misalignment during this process, guaranteeing the secure positioning of the SIM card tray within the device.
With the SIM card securely installed and the tray properly reinserted, you have successfully completed the critical step of inserting or replacing the SIM card on your Droid Maxx. This meticulous approach ensures the seamless integration of the SIM card with the device, empowering you to enjoy uninterrupted communication and connectivity on your Droid Maxx.
By mastering the process of inserting or replacing the SIM card, you have gained a comprehensive understanding of managing the SIM card on your Droid Maxx. This foundational knowledge equips you with the confidence and precision to handle the SIM card with ease, ensuring optimal network performance and mobile functionality on your device.
As you proceed to the next steps in the SIM card management process, you can leverage this newfound expertise to troubleshoot connectivity issues, upgrade to a new SIM card, or seamlessly transition between different mobile carriers. The successful insertion or replacement of the SIM card marks a pivotal milestone in your journey toward mastering the intricacies of SIM card management on your Droid Maxx, unlocking the full potential of your device's connectivity and communication capabilities.
Step 6: Reinsert the SIM Card Tray
After securely installing or replacing the SIM card within the tray and smoothly sliding the tray back into the SIM card slot on your Droid Maxx, the next crucial step is to ensure that the tray is properly reinserted into the device. This step is essential for guaranteeing the seamless integration of the SIM card with the Droid Maxx, maintaining a reliable connection with the device's internal components and enabling uninterrupted network connectivity and mobile functionality.
As you guide the SIM card tray back into the designated slot on the device, exercise care and precision to ensure a smooth and secure fit. Gently slide the tray into the slot, taking note of any resistance or misalignment. By maintaining a steady hand and a meticulous approach, you can guarantee that the tray fits snugly and seamlessly into the device, establishing a solid connection with the internal SIM card slot.
Once the SIM card tray is fully reinserted into the Droid Maxx, take a moment to verify that it is positioned correctly and securely within the device. Ensure that the tray sits flush and level, with no protruding edges or misalignment. This visual inspection confirms that the tray is properly seated within the device, setting the stage for reliable network connectivity and mobile communication capabilities.
By successfully reinserting the SIM card tray into your Droid Maxx, you have completed a critical phase of the SIM card management process. This meticulous approach ensures the seamless integration of the SIM card with the device, empowering you to enjoy uninterrupted communication and connectivity. With the tray securely in place, you can proceed with confidence, knowing that the SIM card is optimally positioned within the device, ready to facilitate seamless network access and mobile functionality.
As you advance to the subsequent steps in the SIM card management process, the successful reinsertion of the SIM card tray marks a pivotal milestone in your journey toward mastering the intricacies of SIM card management on your Droid Maxx. This foundational knowledge equips you with the confidence and precision to handle the SIM card with ease, ensuring optimal network performance and mobile functionality on your device.
Step 7: Turn On the Phone
With the SIM card securely installed and the SIM card tray properly reinserted into your Droid Maxx, the final step in the process of managing the SIM card is to power on the device. This pivotal action initiates the device's boot-up sequence, enabling the Droid Maxx to recognize and establish connectivity with the newly installed or replaced SIM card.
To turn on your Droid Maxx, press and hold the power button located on the side or top of the device. As the device powers up, you will observe the familiar startup screen and the device's operating system coming to life. The Droid Maxx will undergo its boot-up process, initializing the SIM card and establishing a secure connection with the mobile network.
As the device completes its startup sequence, you may notice the signal bars or network indicator appearing on the screen, signifying that the Droid Maxx has successfully recognized the SIM card and established connectivity with the mobile network. This visual confirmation assures you that the SIM card is functioning seamlessly within the device, ready to facilitate calls, messages, and mobile data usage.
Upon powering on the device, take a moment to verify that the Droid Maxx displays the correct date, time, and network signal strength. This quick inspection ensures that the device has successfully recognized and synchronized with the mobile network, confirming the proper operation of the newly installed or replaced SIM card.
With the Droid Maxx powered on and the SIM card fully integrated into the device, you have successfully completed the comprehensive process of managing the SIM card on your device. This meticulous approach guarantees the seamless integration of the SIM card, empowering you to enjoy uninterrupted communication and connectivity on your Droid Maxx.
As the device boots up and establishes connectivity with the mobile network, you can proceed with confidence, knowing that the SIM card is optimally recognized and operational within the Droid Maxx. This final step marks the culmination of your journey toward mastering the intricacies of SIM card management, unlocking the full potential of your device's connectivity and communication capabilities.
By following these step-by-step instructions and gaining a comprehensive understanding of managing the SIM card on your Droid Maxx, you have acquired the confidence and precision to handle the SIM card with ease, ensuring optimal network performance and mobile functionality on your device.
Conclusion
In conclusion, mastering the process of locating and managing the SIM card on your Droid Maxx is a valuable skill that empowers you to maintain seamless communication and data connectivity. By following the comprehensive step-by-step guide outlined in this article, you have gained a clear understanding of how to access and handle the SIM card with confidence and precision.
From the initial step of powering off the device to the meticulous insertion or replacement of the SIM card and the final boot-up sequence, each phase of the SIM card management process plays a crucial role in ensuring the seamless integration and optimal performance of the SIM card within the Droid Maxx.
By familiarizing yourself with the physical location of the SIM card tray, mastering the use of the SIM eject tool, and carefully handling the SIM card, you have demonstrated a proactive approach to managing the essential components of your device. This foundational knowledge empowers you to troubleshoot connectivity issues, upgrade to a new SIM card, or seamlessly transition between different mobile carriers with ease.
As you power on the device and observe the successful recognition and synchronization of the SIM card with the mobile network, you can take pride in your newfound expertise in SIM card management. This accomplishment marks a pivotal milestone in your journey toward harnessing the full potential of your Droid Maxx's connectivity and communication capabilities.
With the skills and confidence gained from this guide, you are well-equipped to navigate the intricacies of managing the SIM card on your Droid Maxx, ensuring that you can enjoy uninterrupted network connectivity, make calls, send messages, and access mobile data with ease.
As you continue to explore the capabilities of your Droid Maxx, remember that the knowledge and proficiency you have acquired in managing the SIM card serve as a valuable asset in maintaining the optimal performance of your device. Whether you are embarking on international travel, seeking to upgrade your mobile plan, or troubleshooting network issues, the expertise gained from this guide will serve you well in navigating the dynamic landscape of mobile connectivity.
In mastering the process of managing the SIM card on your Droid Maxx, you have unlocked the full potential of your device's communication and connectivity capabilities. Embrace this newfound expertise and approach future SIM card management tasks with confidence, knowing that you possess the skills and precision to handle the essential components of your device with ease and proficiency.