Introduction
Inserting a SIM card into your Droid Maxx is a fundamental step in setting up your device for mobile connectivity. Whether you're activating a new phone or switching carriers, understanding how to properly insert a SIM card is crucial. This guide will walk you through the step-by-step process, ensuring that you can seamlessly integrate your SIM card with your Droid Maxx.
A SIM (Subscriber Identity Module) card serves as the key to unlocking your smartphone's potential for cellular communication. It contains essential information, including your phone number, carrier details, and security credentials, enabling your device to connect to the mobile network. Without a properly inserted SIM card, your Droid Maxx would be unable to make calls, send texts, or access mobile data.
By following this guide, you'll gain the knowledge and confidence to handle the SIM card installation process with ease. Whether you're a tech-savvy enthusiast or a newcomer to the world of smartphones, this step-by-step tutorial will empower you to successfully set up your Droid Maxx for seamless connectivity.
Understanding the significance of the SIM card and how it integrates with your Droid Maxx is the first step toward unlocking the full potential of your device. Let's delve into the process of inserting a SIM card into your Droid Maxx, ensuring that you can enjoy the benefits of mobile connectivity with confidence and ease.
Step 1: Locate the SIM Card Slot
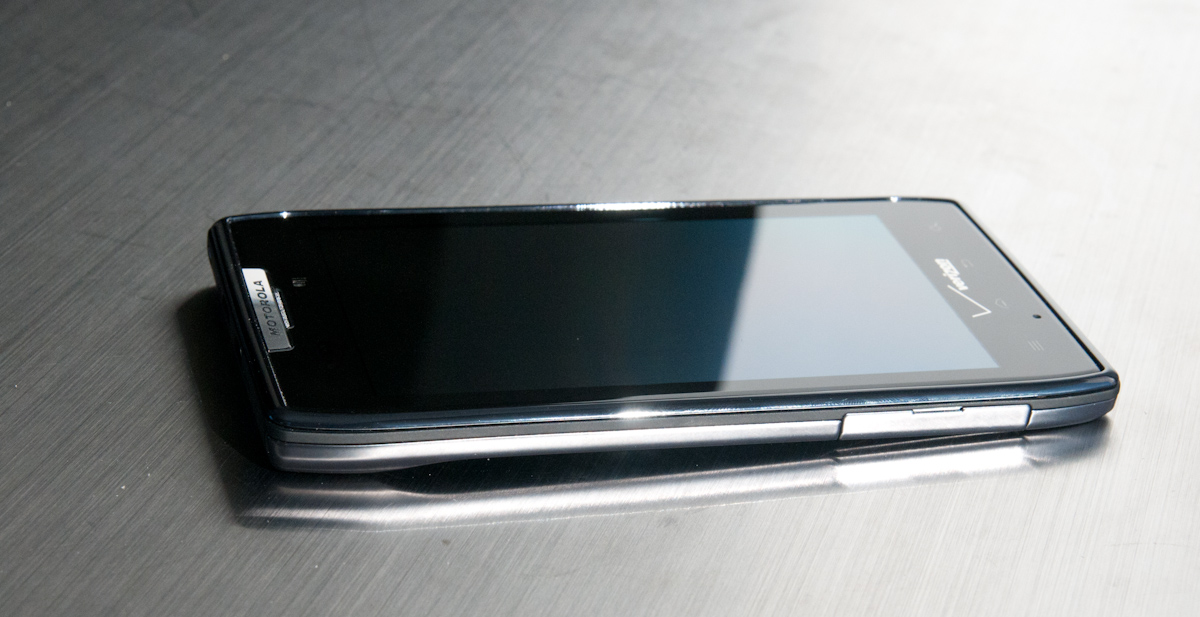
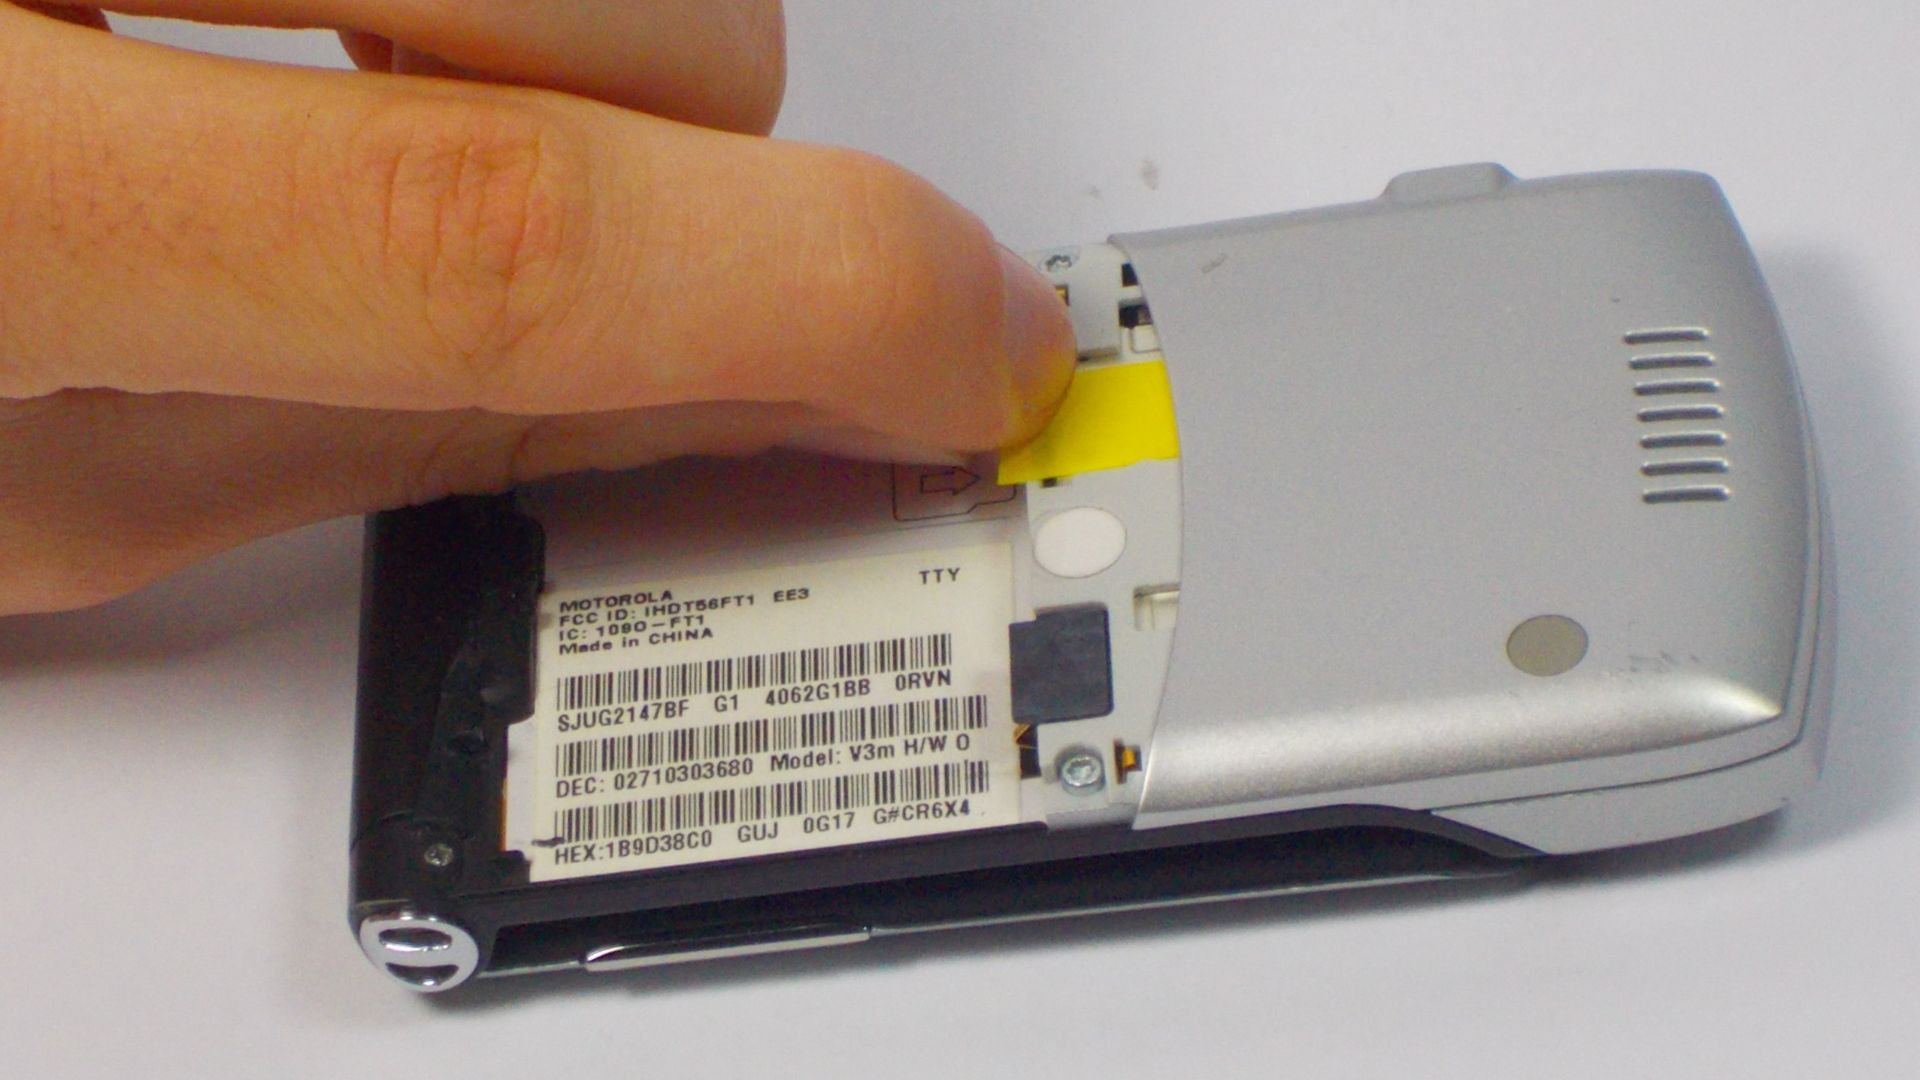
Before diving into the process of inserting a SIM card into your Droid Maxx, the initial step is to locate the SIM card slot on the device. The SIM card slot is typically situated on the side of the phone, and its precise location may vary based on the specific model of the Droid Maxx.
To locate the SIM card slot, begin by holding your Droid Maxx in a comfortable position, ensuring that the screen is facing you. Next, carefully examine the sides of the device, looking for a small, discreet opening. This opening is where the SIM card slot is housed, and it may be accompanied by a tiny pinhole or a small tray that can be ejected.
On the Droid Maxx, the SIM card slot is often positioned on the upper edge or the lower edge of the device, adjacent to the volume buttons or the power button. By inspecting the edges of your Droid Maxx, you'll be able to identify the location of the SIM card slot and proceed with the subsequent steps of the installation process.
It's important to handle your Droid Maxx with care during this step, ensuring that you maintain a gentle grip and avoid exerting excessive pressure on the device. By taking a moment to familiarize yourself with the physical layout of your Droid Maxx, you'll be well-equipped to pinpoint the SIM card slot and proceed with confidence to the next stage of the SIM card installation process.
Locating the SIM card slot is the foundational step in preparing your Droid Maxx for SIM card insertion. By identifying the precise location of the SIM card slot, you'll be ready to progress to the subsequent steps, ultimately achieving seamless integration of your SIM card with your Droid Maxx.
Step 2: Eject the SIM Card Tray
Once you've located the SIM card slot on your Droid Maxx, the next crucial step is to eject the SIM card tray. The SIM card tray is a small, slender component that securely holds the SIM card and facilitates its insertion into the device. Ejecting the SIM card tray grants you access to the slot where the SIM card will be placed, enabling a seamless transition to the subsequent phase of the installation process.
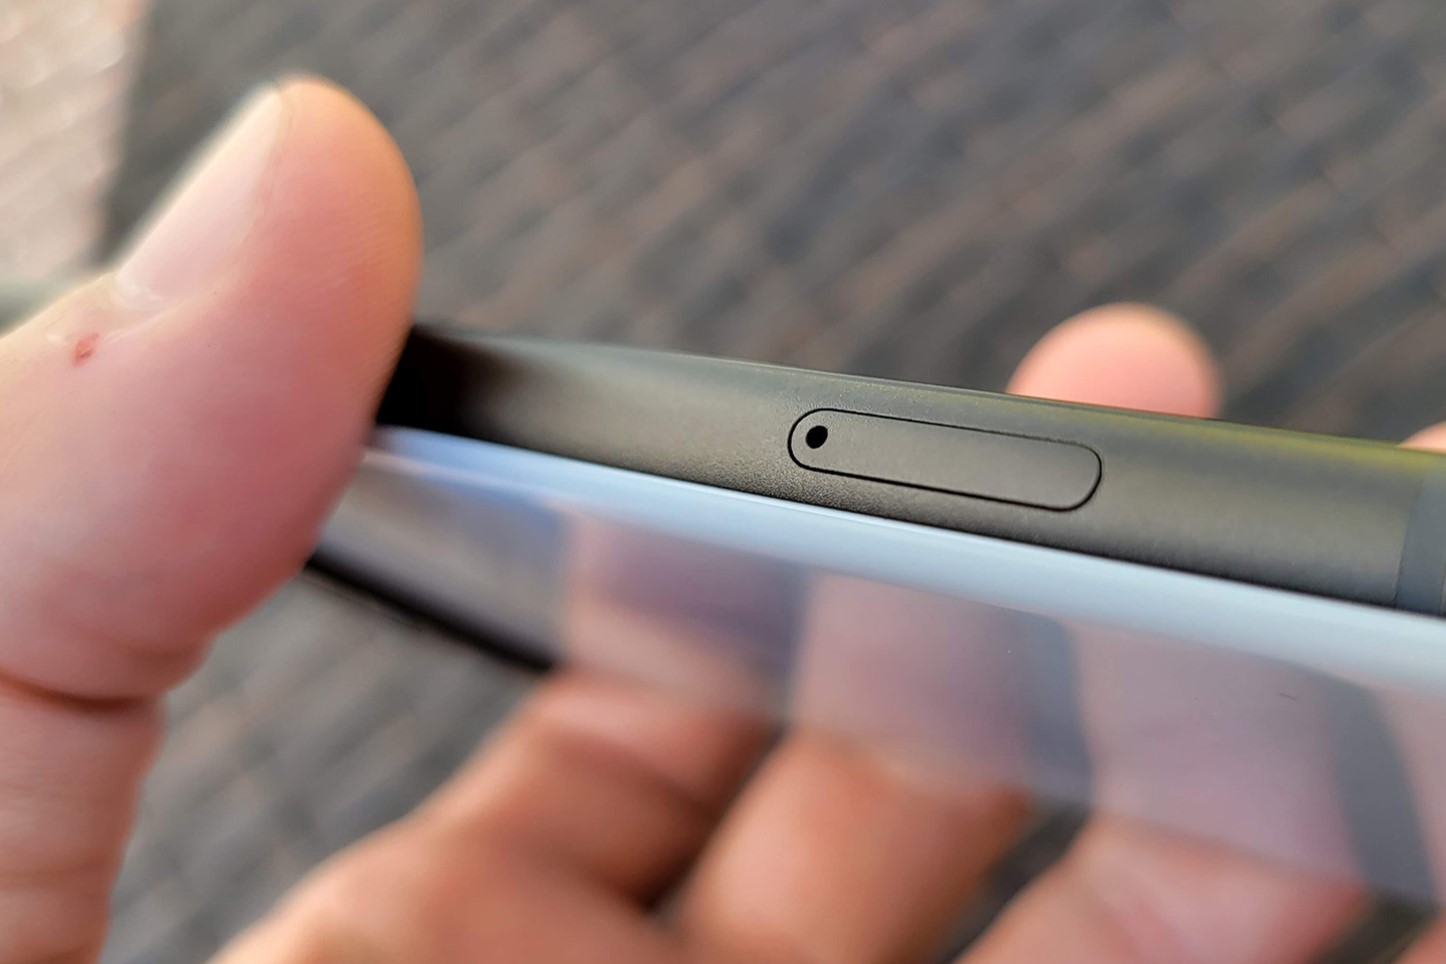
To eject the SIM card tray, you'll need to utilize the SIM eject tool provided with your Droid Maxx or a suitable alternative, such as a paperclip. This tool is designed to fit into the tiny pinhole or slot adjacent to the SIM card slot, allowing you to release the SIM card tray from its position within the device.
Begin by inserting the SIM eject tool into the designated pinhole or slot with gentle pressure. As you apply slight force, you'll feel a subtle resistance, indicating that the tool has engaged with the mechanism responsible for securing the SIM card tray. With a steady and controlled motion, continue to exert pressure on the tool, prompting the SIM card tray to gradually emerge from the device.
As the SIM card tray emerges, carefully grasp it with your fingertips, ensuring that you handle it with precision and delicacy. Gently pull the SIM card tray out of the device, taking care to avoid abrupt movements that could potentially damage the tray or the SIM card housed within it.
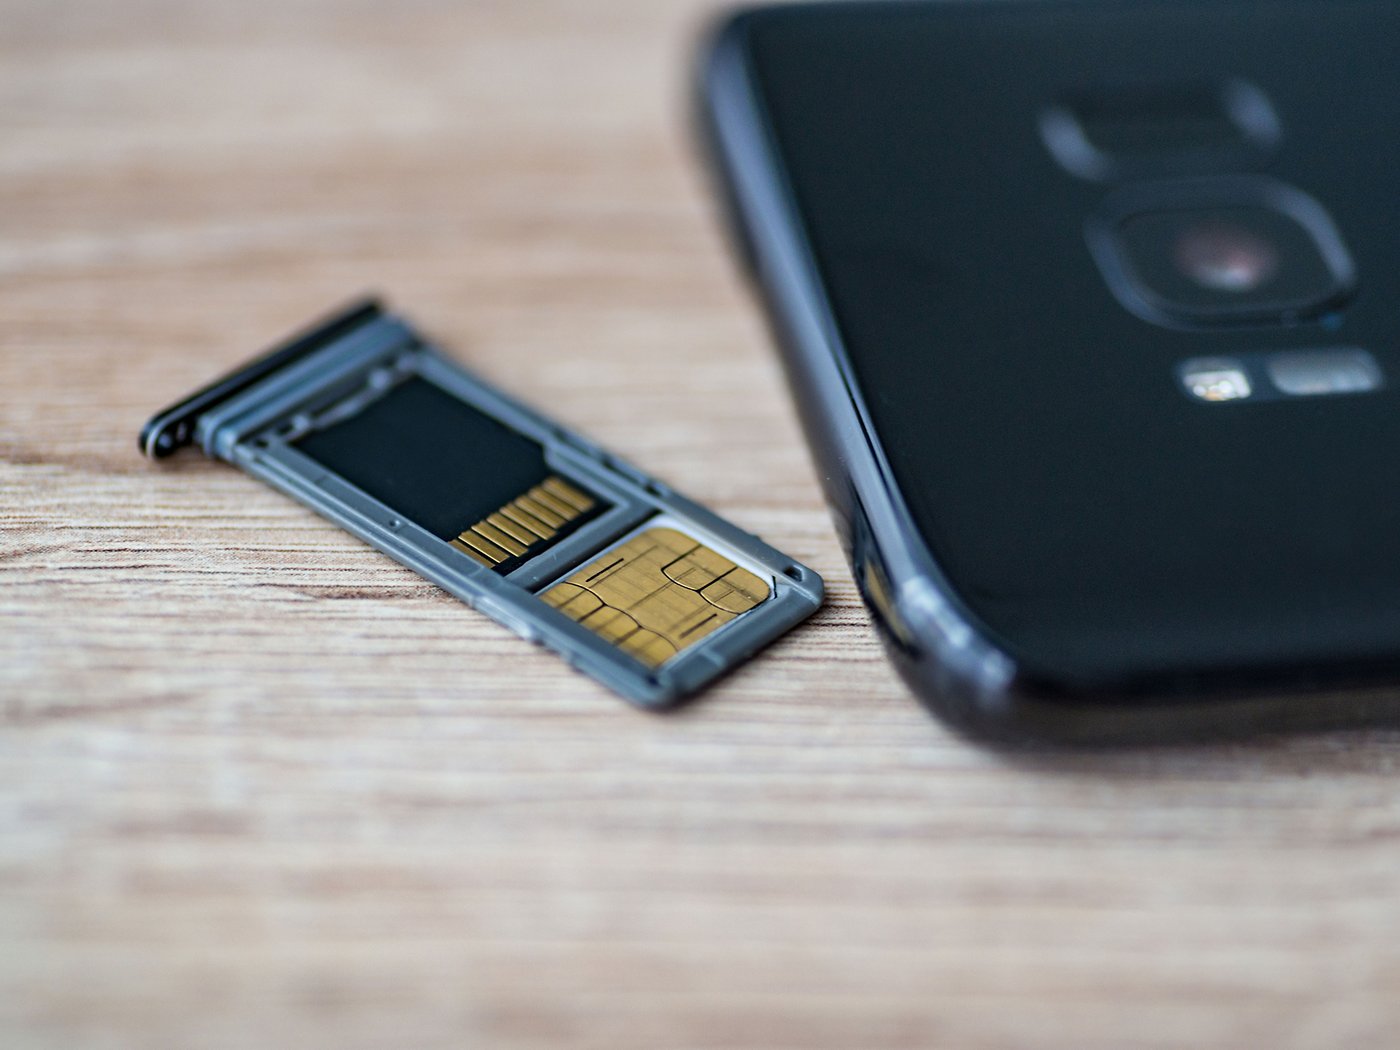
Upon successfully ejecting the SIM card tray, take a moment to inspect the tray and familiarize yourself with its design. Note the orientation of the SIM card holder within the tray, as this will be instrumental in ensuring the correct positioning of the SIM card during the subsequent step of the installation process.
Ejecting the SIM card tray is a pivotal stage in the process of inserting a SIM card into your Droid Maxx. By executing this step with attentiveness and precision, you will effectively prepare the device for the seamless insertion of the SIM card, setting the stage for the next phase of the installation process.
Step 3: Insert the SIM Card
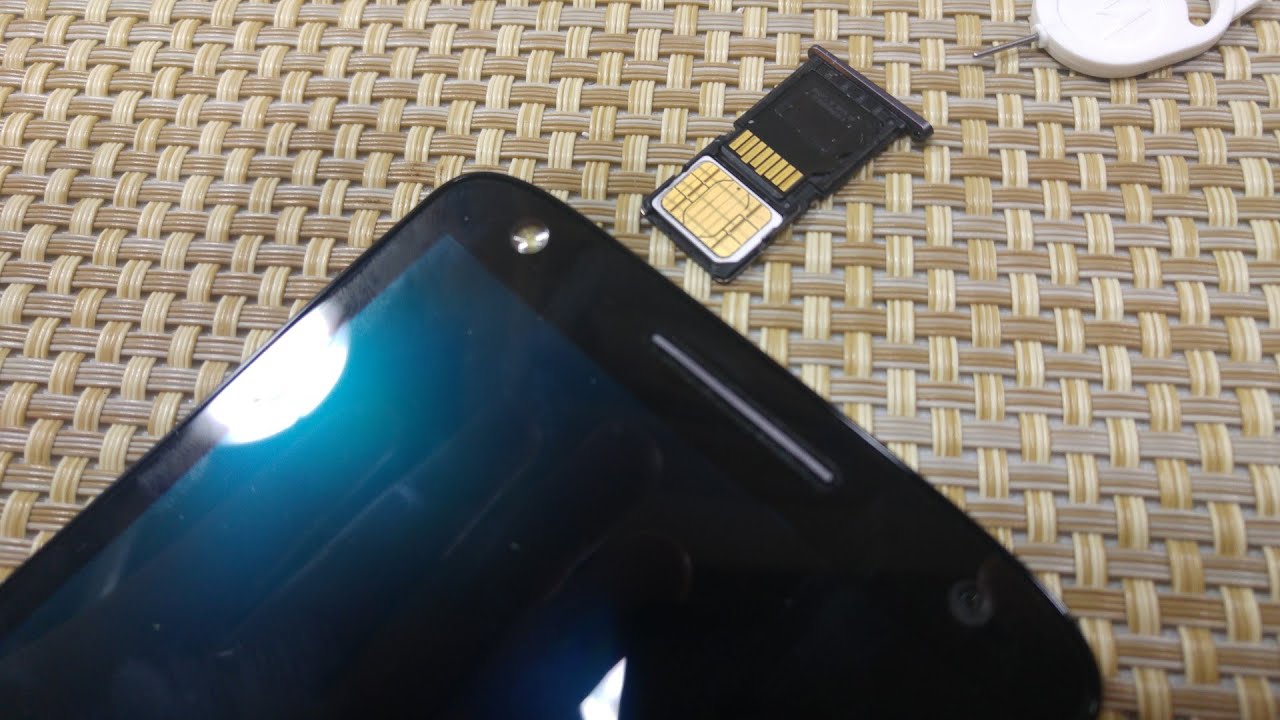
With the SIM card tray successfully ejected from your Droid Maxx, the next critical step is to insert the SIM card into the designated slot within the tray. The SIM card, a small, rectangular chip with metallic contacts, is the key component that enables your device to connect to the cellular network and access mobile services. Properly inserting the SIM card ensures seamless integration with your Droid Maxx, allowing you to harness the full capabilities of your smartphone.
Begin by carefully examining the SIM card and identifying the orientation of the metallic contacts. On the SIM card tray that you've removed from your Droid Maxx, you'll notice a corresponding outline that aligns with the dimensions of the SIM card. This outline serves as a guide for positioning the SIM card within the tray, ensuring that it is inserted in the correct orientation.
Holding the SIM card between your fingertips, align the metallic contacts on the card with the corresponding pattern within the SIM card tray. Take note of any notches or indentations on the SIM card, as these features are designed to facilitate the precise placement of the card within the tray.
With precision and care, gently place the SIM card onto the designated area within the SIM card tray, ensuring that it fits snugly and aligns with the outlined pattern. Avoid applying excessive force during this process, as the SIM card should seamlessly settle into position within the tray.
Once the SIM card is delicately positioned within the tray, take a moment to verify that it is securely seated and aligned according to the designated orientation. This step is crucial in ensuring that the SIM card makes proper contact with the internal components of your Droid Maxx, enabling seamless communication with the mobile network.
With the SIM card successfully inserted into the tray, the next stage involves carefully reinserting the tray into your Droid Maxx, securing the SIM card within the device. This pivotal step will pave the way for the final phase of the installation process, ultimately empowering your Droid Maxx to establish a robust connection with the mobile network.
Inserting the SIM card into your Droid Maxx marks a significant milestone in the setup process, bringing you closer to unlocking the full potential of your device for seamless mobile connectivity and communication.
Step 4: Reinsert the SIM Card Tray
After successfully inserting the SIM card into the designated slot within the SIM card tray, the next crucial step is to delicately reinsert the tray back into your Droid Maxx. This pivotal process ensures that the SIM card becomes securely integrated within the device, setting the stage for seamless connectivity and communication.
Begin by carefully aligning the SIM card tray with the corresponding slot on your Droid Maxx. Take note of the orientation of the tray, ensuring that it aligns with the designated slot in a precise manner. It's essential to approach this step with attentiveness, as the proper alignment of the tray is instrumental in facilitating the seamless reintegration of the SIM card with your device.
With gentle and controlled movements, delicately slide the SIM card tray back into the designated slot on your Droid Maxx. Exercise caution to avoid applying excessive force, allowing the tray to smoothly settle into its original position within the device. As you guide the tray into place, you'll notice a subtle click or resistance, indicating that it is securely seated within the slot.
Once the SIM card tray is reinserted into your Droid Maxx, take a moment to ensure that it is seamlessly integrated and aligned with the surrounding components of the device. This step is pivotal in guaranteeing that the SIM card makes proper contact with the internal connectors, enabling your Droid Maxx to establish a robust connection with the mobile network.
After successfully reinserting the SIM card tray, take a moment to verify that it is securely seated within the device. Gently run your fingertips along the edges of the tray, ensuring that it is flush with the surface of your Droid Maxx. This meticulous inspection serves as a final confirmation that the SIM card tray is securely integrated, paving the way for the ultimate phase of the installation process.
By delicately reinserting the SIM card tray into your Droid Maxx, you have taken a significant stride toward ensuring the seamless integration of the SIM card with your device. This pivotal step sets the stage for harnessing the full capabilities of your Droid Maxx for mobile connectivity, empowering you to stay connected and engaged with confidence and ease.
Step 5: Power On the Droid Maxx
With the SIM card securely inserted and the tray seamlessly repositioned within your Droid Maxx, the final step in the SIM card installation process involves powering on the device. This pivotal action initiates the boot-up sequence, enabling your Droid Maxx to recognize and integrate the SIM card, ultimately establishing a robust connection with the mobile network.
To power on your Droid Maxx, begin by locating the power button, typically situated on the side or the top edge of the device. With a steady press of the power button, you'll initiate the boot-up process, prompting the device to activate its internal components and commence the initialization sequence.
As your Droid Maxx powers on, you'll observe the screen illuminating with the manufacturer's logo, followed by the familiar interface that signifies the device's readiness for operation. During the initial boot-up phase, the device will perform internal checks and configurations, recognizing the presence of the newly inserted SIM card and establishing the necessary connections with the mobile network.
Upon completing the boot-up process, your Droid Maxx will indicate its readiness for use, displaying the network signal strength and other pertinent indicators that affirm the successful integration of the SIM card. You may also observe a notification confirming the activation of the SIM card and the associated mobile services, signifying that your Droid Maxx is now fully equipped for seamless communication and connectivity.
By powering on your Droid Maxx after inserting the SIM card, you are not only initializing the device for operation but also ensuring that the SIM card becomes fully integrated with the device's internal systems. This critical step paves the way for leveraging the full potential of your Droid Maxx, enabling you to make calls, send texts, and access mobile data with confidence and ease.
As your Droid Maxx completes the boot-up process and establishes a robust connection with the mobile network, you are poised to experience the seamless functionality and connectivity that the device has to offer. With the SIM card seamlessly integrated and the device powered on, you are now ready to embark on your journey with your Droid Maxx, leveraging its capabilities to stay connected and engaged in the digital realm.
Conclusion
Congratulations! You have successfully completed the process of inserting a SIM card into your Droid Maxx, paving the way for seamless mobile connectivity and communication. By following the step-by-step guide outlined in this tutorial, you have gained the knowledge and confidence to handle the SIM card installation process with precision and ease.
The significance of the SIM card in enabling your Droid Maxx to connect to the mobile network cannot be overstated. The successful insertion of the SIM card ensures that your device is fully equipped to make calls, send texts, and access mobile data, empowering you to stay connected and engaged in today's digital landscape.
As you reflect on the journey of inserting the SIM card into your Droid Maxx, it's essential to recognize the pivotal role of each step in the installation process. From locating the SIM card slot to delicately reinserting the SIM card tray, every action was instrumental in ensuring the seamless integration of the SIM card with your device.
With the SIM card securely in place, your Droid Maxx is now primed to harness its full potential for mobile connectivity. As you power on the device and witness the seamless recognition of the SIM card, you are embarking on a journey of connectivity and communication, empowered by the capabilities of your Droid Maxx.
The successful completion of the SIM card insertion process signifies a pivotal milestone in your device setup, ensuring that you are fully equipped to stay connected and engaged in today's dynamic digital ecosystem. Whether you're making calls, sending texts, or accessing mobile data, your Droid Maxx is now poised to deliver a seamless and robust mobile experience.
As you navigate the digital realm with your Droid Maxx, the successful insertion of the SIM card serves as a testament to your ability to handle essential device setup procedures with confidence and precision. This accomplishment underscores your readiness to embrace the full potential of your Droid Maxx, leveraging its capabilities to stay connected and engaged in today's interconnected world.
In conclusion, the successful insertion of the SIM card into your Droid Maxx signifies not only a technical achievement but also a gateway to seamless connectivity and communication. With the SIM card seamlessly integrated, your Droid Maxx stands ready to empower you in staying connected and engaged, ensuring that you can make the most of your mobile experience with confidence and ease.