Introduction
Welcome to this step-by-step guide on how to download and install fonts to Google Slides. Fonts play a crucial role in creating visually appealing presentations, as they can enhance the overall design and effectively convey your message. While Google Slides offers a wide range of default fonts, sometimes you may want to use a specific font that is not included in the default selection.
This guide will walk you through the process of finding, downloading, and uploading fonts to Google Slides, allowing you to add that extra touch of uniqueness and creativity to your presentations.
Custom fonts can effectively reflect your brand identity, amplify your message, and engage your audience. Whether you want to use a handwritten font, a stylish serif, or a funky display font, the possibilities are endless once you know how to import fonts into Google Slides.
So let’s dive in and discover how you can easily download and apply fonts to your Google Slides presentations. By the end of this guide, you will have the knowledge and skills to elevate your presentations to the next level.
Step 1: Finding and Selecting a Font
The first step in downloading fonts for Google Slides is finding the desired font that aligns with your presentation’s theme and message. There are numerous websites available that offer a vast collection of free and premium fonts. Here’s how you can find and select the font that suits your needs:
- Browse Font Libraries: Start by exploring popular font libraries like Google Fonts, Font Squirrel, DaFont, or Adobe Fonts. These libraries provide a wide range of font styles and categories, making it easier for you to find the perfect font for your presentation.
- Search by Category: If you have a specific style or category in mind, make use of the search filters provided by these font libraries. You can search for handwriting fonts, serif fonts, sans-serif fonts, display fonts, or any other style that complements your presentation’s tone and purpose.
- Preview and Evaluate: Once you come across a font that catches your eye, take the time to preview it. Most font libraries allow you to enter custom text to see how the font looks in various sizes and styles. Evaluate the legibility, readability, and overall aesthetic appeal of the font before making your final decision.
- Consider License Restrictions: While many fonts are available for free, some fonts may require a license for commercial use. Make sure to check the licensing terms and restrictions associated with the font you want to download, especially if you plan to use it for business or client presentations.
Remember, the font you choose should align with your presentation’s tone, enhance the overall visual appeal, and make your content more engaging. Take your time to find the font that best represents your brand or message, and that resonates with your target audience.
Step 2: Downloading the Font
Once you have selected the perfect font for your Google Slides presentation, it’s time to download the font files to your computer. Here’s how you can proceed with the font download:
- Locate the Download Button: On the font library website, locate the download button or link associated with the font you have chosen. Some font libraries provide a direct download option, while others may redirect you to the font’s page on the designer’s website.
- Choose the Correct File Format: Fonts are typically available in various file formats, such as .ttf (TrueType Font) or .otf (OpenType Font). Ensure that you download the appropriate file format compatible with Google Slides and your operating system.
- Click the Download Button: Click on the download button and wait for the font file to be downloaded to your computer. The download time may vary depending on the font’s file size and your internet connection speed.
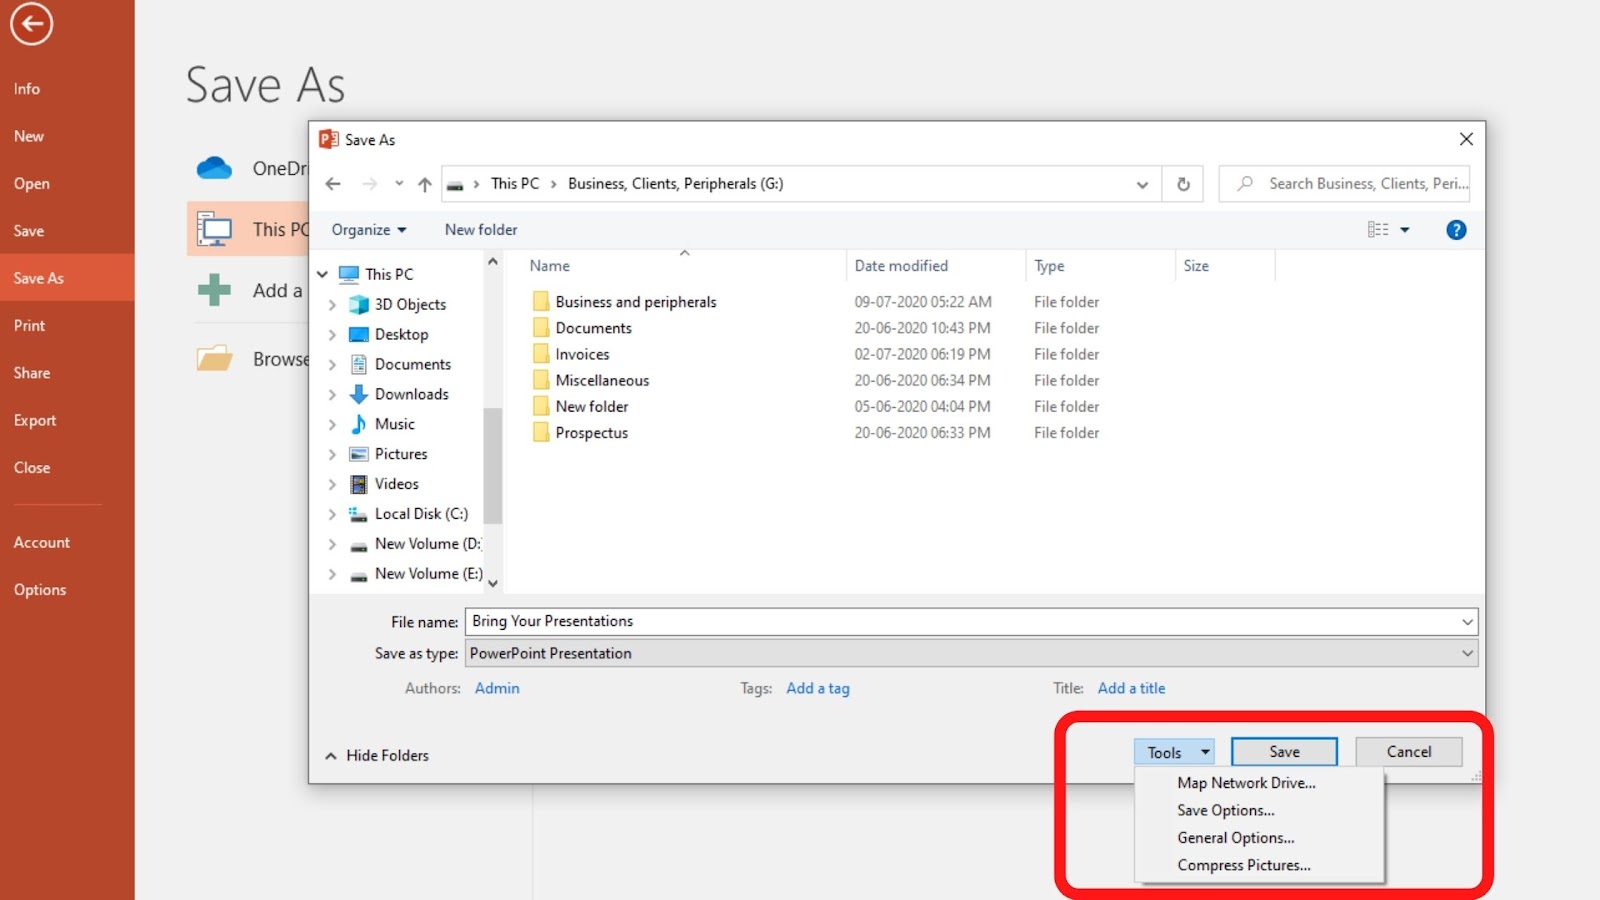
- Save the Font File: Once the font file is downloaded, choose a suitable location on your computer to save it. It’s recommended to create a dedicated folder where you can keep all your downloaded fonts for easy access in the future.
Downloading fonts from reputable sources ensures that you have the original files without any issues or viruses. It’s always a good practice to acquire fonts from well-known font libraries or directly from the font designer’s website, as they provide reliable and quality font files.
Now that you have successfully downloaded the font, it’s time to proceed to the next step and learn how to upload the font to Google Slides.
Step 3: Uploading the Font to Google Slides
With the font file downloaded to your computer, you are now ready to upload it to Google Slides. Here’s a step-by-step guide to help you upload the font:
- Open Google Slides: Go to the Google Slides website and log in to your Google account. Create a new presentation or open an existing one where you want to apply the downloaded font.
- Access the Slide Options: In Google Slides, click on the “Slide” menu at the top of the page and select “Change theme” from the dropdown menu.
- Open the Theme Options: In the theme panel, click on the “Customize” option at the bottom-right corner to open the theme options sidebar.
- Access Font Options: Within the theme options sidebar, click on the “Text” tab. This will open the font customization options.
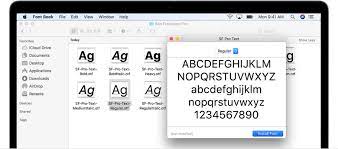
- Upload the Font File: To upload the font file, click on the “Upload” button within the font options. Navigate to the location where you saved the downloaded font file on your computer, select the file, and click “Open” to start the upload process.
- Wait for the Upload: Google Slides will upload and process the font file. This may take a few moments depending on the file size. Once the upload is complete, you will see a preview of the font in the font list.
By uploading the font to Google Slides, it becomes available for use within your presentation. This ensures that all text elements in your slides will be displayed using the specific font you have chosen, even if the font is not available by default in Google Slides.
Great! You have successfully uploaded the font to Google Slides. Now, let’s move on to the final step and apply the downloaded font to your slides to make them visually stunning and unique.
Step 4: Applying the Downloaded Font to Your Slides
Now that you have uploaded the font to Google Slides, it’s time to apply it to your slides and give them a personalized touch. Here’s how you can apply the downloaded font to your Google Slides presentation:
- Select the Text: Choose the text element on your slide that you want to customize with the downloaded font. It could be a heading, a subheading, or any other text box.
- Access the Font Options: With the text element selected, click on the “Font” dropdown menu in the toolbar at the top of Google Slides. Scroll down to find the uploaded font and click on it to apply it to the selected text.
- Preview and Adjust: Take a moment to review how the selected text looks with the new font. You can adjust the font size, color, and other formatting options to fine-tune the appearance as per your requirements.
- Apply the Font Consistently: To maintain visual consistency throughout your presentation, apply the downloaded font to all the relevant text elements across your slides. This helps in creating a cohesive and professional-looking presentation.
- Experiment with Different Styles: If the downloaded font comes with multiple variations, such as bold, italic, or different weights, don’t hesitate to explore these options to add further emphasis and visual appeal to your content.
By applying the downloaded font to your slides, you can truly personalize your presentation and create a cohesive visual identity. Remember to use the font judiciously and ensure it enhances the overall readability and aesthetics of your content.
Well done! You have successfully applied the downloaded font to your Google Slides presentation. Your slides now have a unique touch, making them visually appealing and memorable.
Conclusion
Congratulations! You have now learned how to download and install fonts to Google Slides, allowing you to enhance the visual appeal and uniqueness of your presentations. By following the steps outlined in this guide, you can unleash your creativity and make your slides stand out.
Font selection plays a crucial role in creating engaging and impactful presentations. With the ability to upload custom fonts to Google Slides, you have the freedom to choose from a wide range of font styles and categories that align with your brand, message, or presentation theme.
Remember to explore various font libraries, search for specific styles, evaluate the fonts, and consider any licensing restrictions before downloading. Once you have the perfect font, you can easily upload it to Google Slides and apply it to your slides to make them more visually appealing and professional.
Custom fonts provide you with an opportunity to add a personal touch to your presentations, capture your audience’s attention, and effectively communicate your message. However, it’s important to ensure that the fonts you choose are legible and complement your content, maintaining readability throughout your presentation.
Now that you have mastered the process of downloading and applying fonts, go ahead and unleash your creativity in your next Google Slides presentation. Elevate your design, leave a lasting impression, and engage your audience with the power of custom fonts.
So, why wait? Start exploring fonts, experiment with different styles, and take your presentations to new heights with the power of typography.