Introduction
When it comes to personalizing your Chromebook, one effective way to enhance its appearance is by adding new fonts. The default fonts on Chromebook may be functional, but sometimes you want to go beyond the basics and express your individuality. Downloading and installing new fonts on your Chromebook allows you to unleash your creativity and make your documents, presentations, and websites truly stand out.
While the process of downloading fonts on a Chromebook may seem daunting, it is actually quite simple. In this article, we will guide you through the steps to effectively download and install fonts on your Chromebook. Whether you are a designer, content creator, or just someone who wants to spice up their device, this guide will help you find and apply the perfect fonts for your needs.
By downloading fonts on your Chromebook, you can enhance your work, making it not only visually appealing but also unique. Whether you’re a student working on a school project, a professional preparing a report, or a blogger creating content, having access to a wide variety of fonts can make a significant difference in the overall look and feel of your work.
In the following sections, we will walk you through the step-by-step process of downloading fonts on your Chromebook. From accessing the Google Play Store to installing font apps and customizing font settings, we will cover everything you need to know to make the most of your font customization experience.
Step 1: Open the Google Play Store
The first step to downloading fonts on your Chromebook is to open the Google Play Store. The Play Store is your gateway to a vast collection of apps, including font apps that will allow you to expand your font library.
To access the Google Play Store, follow these simple steps:
- Click on the Launcher icon located in the bottom left corner of your screen. It resembles a circle with a white dot in the center.
- Type “Play Store” in the search bar at the bottom of the Launcher. As you type, the Play Store app should appear in the search results.
- Click on the Play Store app to open it.
Alternatively, you can also find the Play Store app in your app drawer. Simply click on the circle with six dots located in the bottom left corner of your screen and look for the Play Store icon.
Once you have successfully opened the Google Play Store, you are ready to move on to the next step in the font downloading process. The Play Store provides a wide range of font apps that you can explore to find the perfect fonts for your Chromebook.
Note: Not all Chromebooks support the Google Play Store out of the box. If you don’t see the Play Store app, you may need to update your Chromebook’s operating system or check if it is compatible with the Play Store. You can visit Google’s support website for more information on how to enable the Play Store on your specific Chromebook model.
Step 2: Search for a Font App
Now that you have successfully opened the Google Play Store on your Chromebook, it’s time to search for a font app. Font apps are specifically designed to provide a wide range of fonts that you can easily download and install on your device.
Here’s how you can search for a font app:
- In the Google Play Store, you will find a search bar at the top of the screen. Click on it to activate the search function.
- Type “font app” or “fonts” in the search bar and hit enter or click on the search icon.
- The Google Play Store will now display a list of font apps available for download. Browse through the search results to find an app that suits your preferences.
- You can also use specific keywords if you have a particular font style in mind, such as “script fonts,” “handwriting fonts,” or “display fonts.” This will help narrow down the search results and make it easier to find the desired font app.
Take your time to explore the font apps and read their descriptions, user reviews, and ratings. This will give you an idea of the app’s features, functionality, and overall user experience. You can also view screenshots of the app to get a visual representation of the available fonts.
Once you have found a font app that captures your interest, you are ready to move on to the next step and install it on your Chromebook.
Note: There are several font apps available in the market, both free and paid. Consider your budget and requirements before making a decision. It is also recommended to choose apps with a good rating and positive reviews to ensure a smooth and reliable font downloading experience.
Step 3: Install the Font App
Once you have found a font app that you would like to use on your Chromebook, the next step is to install it. Installing the font app will give you access to a wide variety of fonts that you can download and apply to your documents, presentations, and other creative projects.
Follow these simple steps to install the font app on your Chromebook:
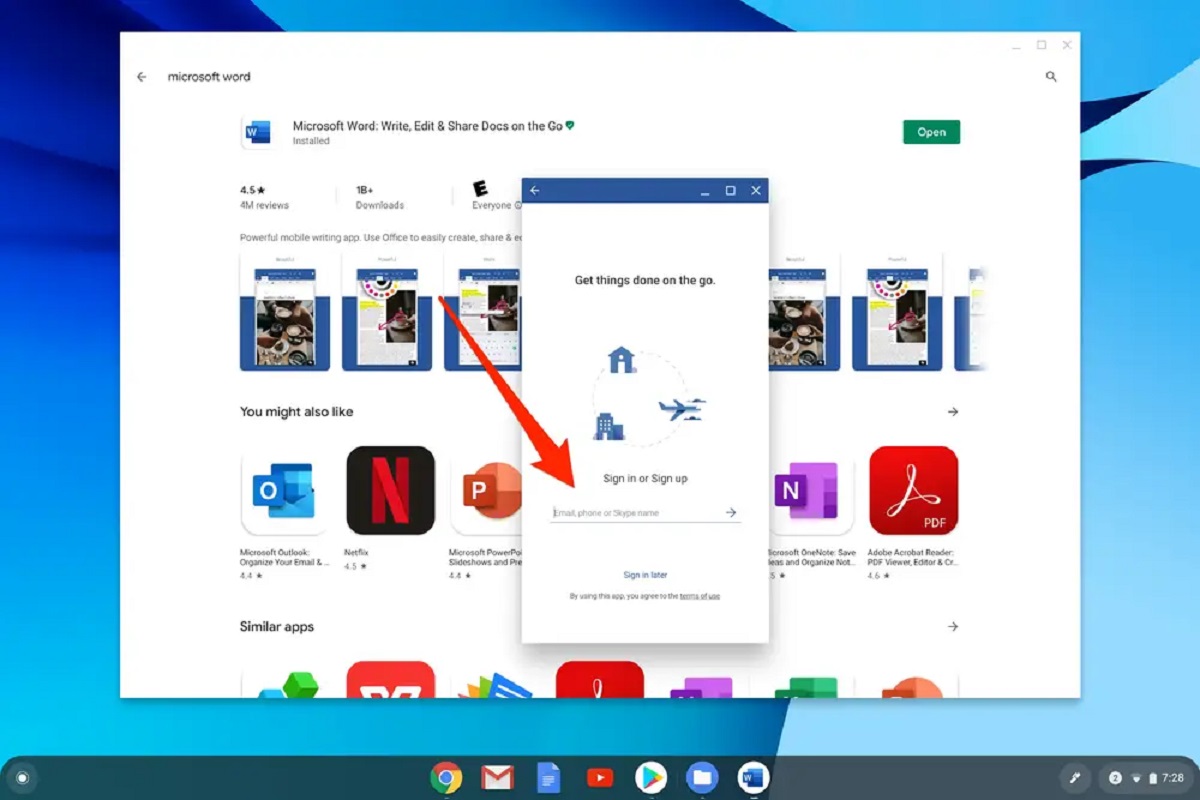
- Click on the font app that you have selected from the search results. This will take you to the app’s page on the Google Play Store.
- On the app’s page, you will find an “Install” button. Click on it to start the installation process.
- The Google Play Store will download and install the font app on your Chromebook. The installation progress will be displayed on the screen.
- Once the installation is complete, you will see an “Open” button. Click on it to launch the font app.
After launching the font app, you may need to go through a brief setup process, such as granting necessary permissions or signing in with your Google account. Follow the on-screen instructions to complete the setup and get ready to explore the font app’s features.
It’s important to note that some font apps may require additional permissions to function properly, such as access to your files or the ability to modify system settings. Make sure to review and understand the permissions requested by the font app before granting them.
With the font app installed on your Chromebook, you are now ready to dive into the world of fonts and discover a whole new range of creative possibilities.
Step 4: Access the Font App
Now that you have successfully installed the font app on your Chromebook, it’s time to access the app and begin exploring the wide range of fonts it offers. By accessing the font app, you can browse through different font styles, preview them, and choose the ones that best suit your needs.
Here’s how you can access the font app on your Chromebook:
- Click on the Launcher icon located in the bottom left corner of your screen. It resembles a circle with a white dot in the center.
- In the Launcher menu, you will find a list of all your installed apps. Look for the icon of the font app you have installed and click on it to open the app.
- Alternatively, you can also access the font app through the app drawer. Click on the circle with six dots located in the bottom left corner of your screen, and look for the font app icon. Click on it to launch the app.
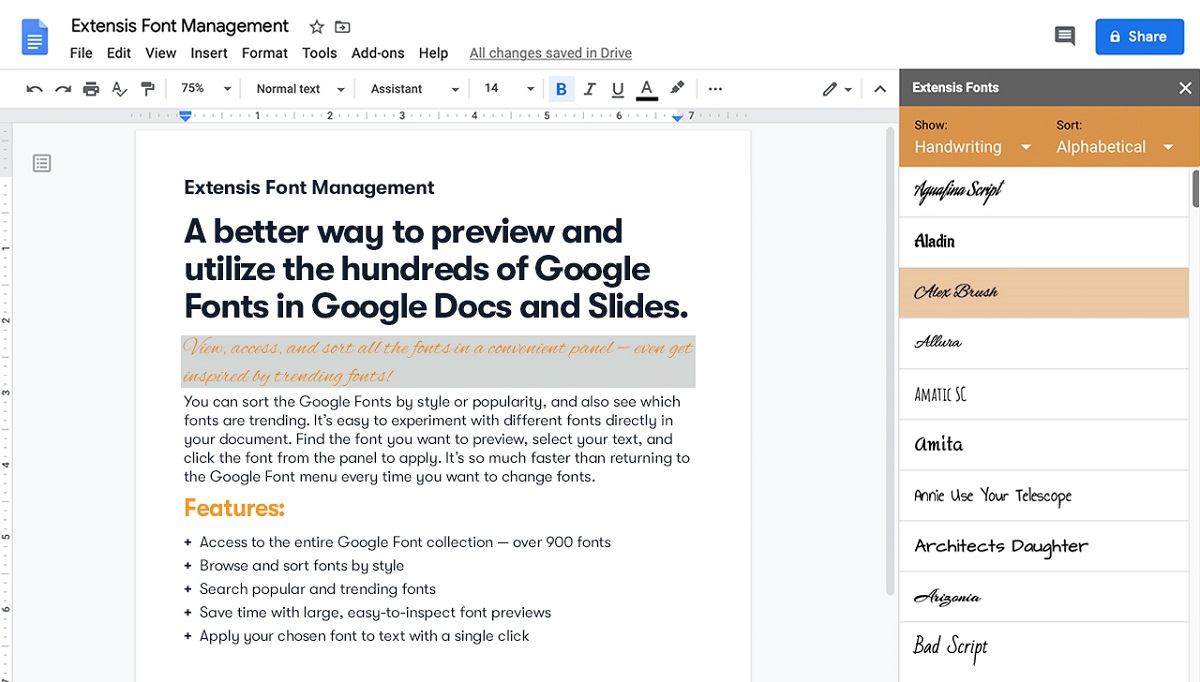
Once you have opened the font app, you will be greeted with a user-friendly interface that allows you to browse and search for fonts. Depending on the app, you may have different options to filter fonts by style, popularity, or other criteria.
Take your time to explore the different features and options available in the font app. You can browse through categories, view font previews, and even customize the text to see how it looks with different fonts.
Some font apps also offer additional features, such as the ability to create and customize your own font collections or download additional font packs. Experiment with these features to make the most of your font app and find the perfect fonts for your projects.
With the font app accessed and ready to use, you can now move on to the next step and start downloading the fonts that catch your eye.
Step 5: Browse and Download Fonts
Now that you have accessed the font app on your Chromebook, you can start exploring the vast range of fonts it has to offer. Browsing and downloading fonts from the font app is an exciting step that allows you to find the perfect typography to enhance your creative projects.
Here’s how you can browse and download fonts from the font app:
- Within the font app, you will typically find different categories or sections that organize the fonts. You can browse through these categories to discover fonts that align with your preferences.
- Click on a specific font to access its details page. Here, you will find more information about the font, such as its name, style, and a preview of the font displayed with sample text.
- If you like the font and want to use it, look for a download button or an option to install the font. Click on it to initiate the font download process.
- The font app will then download and install the font on your Chromebook. The time it takes will depend on the size of the font and your internet connection speed, so be patient during the download process.
- Once the font is downloaded and installed, it will be available for you to use in various applications on your Chromebook, such as word processors, presentation tools, and graphic design software.
While browsing and downloading fonts, feel free to experiment with different styles and categories. Many font apps offer a wide range of choices, including script fonts, serif fonts, sans-serif fonts, decorative fonts, and more. You can mix and match different fonts to create visually appealing designs or stick with a specific font style for consistency.
As you browse through the fonts, keep in mind the intended purpose and audience of your project. Consider the readability and legibility of the fonts, especially when it comes to longer blocks of text. It’s important to strike a balance between aesthetic appeal and practicality in order to ensure effective communication through your chosen font.
With fonts downloaded and installed on your Chromebook, you are now equipped with a diverse collection of typography to enhance your creative projects.
Step 6: Apply the Downloaded Fonts
After successfully downloading and installing fonts on your Chromebook, it’s time to apply them to your documents, presentations, or any other creative projects that you’re working on. By applying the downloaded fonts, you can give your work a unique and personal touch while adding visual interest.
Here’s how you can apply the downloaded fonts:
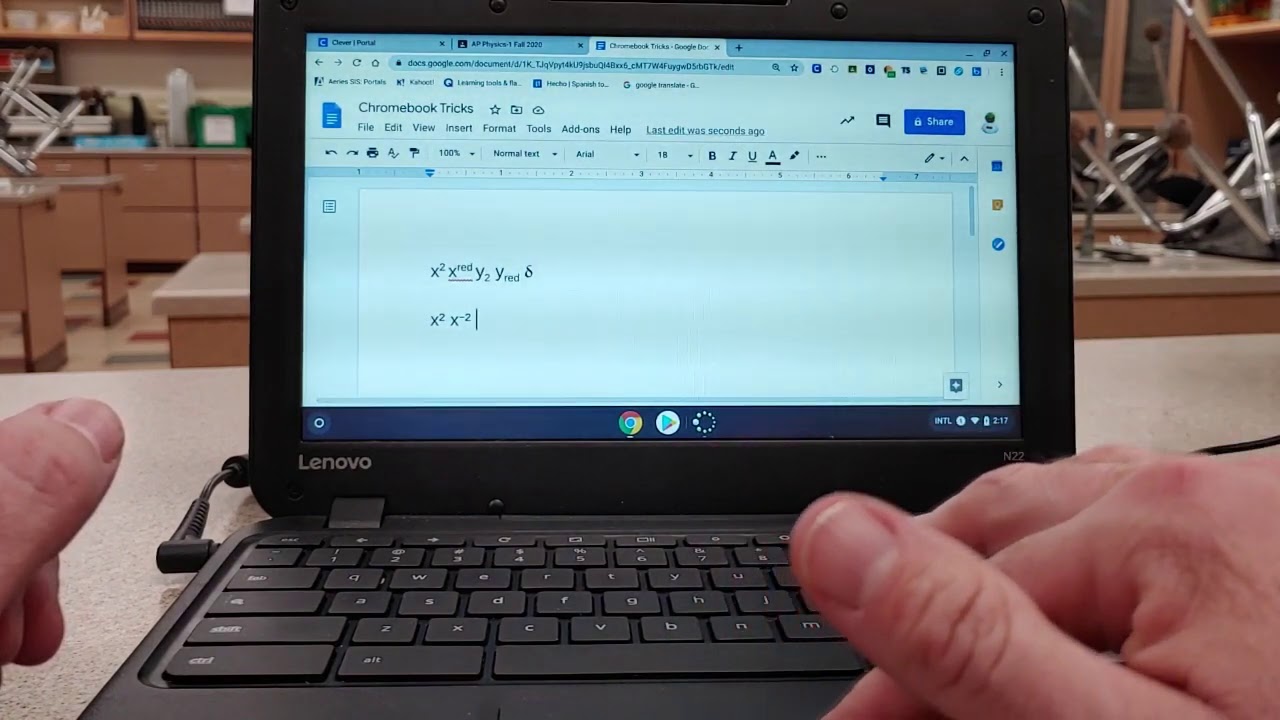
- Open the application where you want to use the downloaded fonts, such as a word processor or presentation software.
- Select the text that you want to modify with a different font. This can be a single word, a sentence, a paragraph, or even the entire document.
- Look for the font selection tool within the application. It is usually located in the toolbar or the formatting menu.
- Click on the font selection tool to open the font menu.
- In the font menu, you will find a list of all the fonts installed on your Chromebook, including the ones you downloaded from the font app.
- Browse through the list and select the downloaded font that you want to apply to the selected text.
- Once you have selected the font, the application will automatically update the text with the new font.
Take a moment to preview the text with the applied font and make any necessary adjustments. You may want to experiment with different font sizes, styles (bold, italic, underline), or other formatting options to create the desired effect.
Remember that different fonts have different characters, spacing, and overall visual impact. It’s important to consider readability and legibility when applying fonts, especially for larger bodies of text. Test the readability of the font by reviewing your document or project from a viewer’s perspective to ensure it is easy to read and understand.
By applying the downloaded fonts, you can customize your documents and projects to reflect your personal style or align with your branding. This adds an extra layer of creativity and professionalism to your work.
As you explore the downloaded fonts and apply them to your projects, feel free to experiment and mix different font combinations to create visually appealing designs. Remember to stay consistent with your font choices within a project to maintain coherence and visual harmony.
With the downloaded fonts applied, you can now showcase your creativity and make your work truly distinctive on your Chromebook.
Step 7: Customize Font Settings
Now that you have applied the downloaded fonts to your documents or projects on your Chromebook, you may want to further customize the font settings to achieve the desired look and feel. Customizing font settings allows you to fine-tune the appearance, spacing, and other attributes of the text to enhance readability and visual appeal.
Here’s how you can customize font settings on your Chromebook:
- Open the application where you have applied the downloaded fonts, such as a word processor or presentation software.
- Select the text that you want to customize.
- Locate the font formatting options in the application’s toolbar or formatting menu.
- Depending on the application, you may find options to adjust the font size, line spacing, letter spacing, and font color.
- Experiment with different settings to find the optimal combination that best suits your design or readability preferences.
- Consider adjusting the line spacing (leading) to improve readability, especially for longer blocks of text.
- If the application supports it, you may be able to adjust additional advanced settings such as font weight, skew, or special effects.
By customizing font settings, you can tailor the appearance of the downloaded fonts to match your specific requirements. Whether you want to make the text more prominent, elegant, or understated, exploring and adjusting these settings will help you achieve the desired visual impact.
Additionally, keep in mind that different applications may offer different font customization options. Make sure to explore the specific options available within the application you are working on to make the most of the font customization features.
Remember to maintain consistency in your font settings throughout your documents or projects to ensure a cohesive and professional look. Consistency in font sizes, styles, and spacing will help create a visually pleasing and cohesive design.
With the font settings customized to your liking, you have complete control over the overall aesthetic and visual presentation of your text on your Chromebook.
Conclusion
Customizing and downloading fonts on your Chromebook is a fantastic way to personalize your device and enhance your creative projects. By following the steps outlined in this guide, you can easily access the Google Play Store, search for font apps, install them, and explore a vast collection of fonts.
Once you have installed a font app, you can browse through different font styles, download your desired fonts, and apply them to your documents, presentations, or other creative projects. The ability to customize font settings further allows you to fine-tune the appearance of the text, ensuring optimal readability and visual appeal.
Remember to consider the purpose and audience of your projects when selecting and applying fonts. Balance creativity with practicality to deliver the desired impact without compromising the text’s legibility. Additionally, maintain consistency in your font choices and settings to create a cohesive and professional look across your work.
As you explore font options and experiment with different styles, remember that fonts play a crucial role in visually communicating your message. Choose fonts that align with the tone and purpose of your projects, making sure they enhance the overall aesthetic and make a positive impression on your audience.
Whether you are a student, professional, or creative individual, the ability to download and customize fonts on your Chromebook adds a layer of personalization and professionalism to your work. So go ahead, unleash your creativity, and make your documents stand out with unique and captivating fonts.