Introduction
Are you a Chromebook user looking to edit your videos? You’ve come to the right place! While Chromebooks are known for their simplicity and ease of use, video editing may seem like a daunting task on these devices. Fortunately, there are several video editing apps available that are compatible with Chromebooks, allowing you to unleash your creativity and produce professional-looking videos.
Video editing on a Chromebook offers convenience and flexibility, as you can work on your projects anytime, anywhere, without the need for expensive software or powerful hardware. Whether you’re a beginner or an experienced video editor, this guide will walk you through the steps to edit videos on your Chromebook.
Before we dive into the process, let’s take a quick look at the system requirements. To edit videos on your Chromebook, you’ll need a stable internet connection and a Chromebook that meets the minimum specifications. Most modern Chromebooks should be able to handle basic video editing tasks, but if you plan to work with high-resolution videos or perform advanced editing techniques, a more powerful Chromebook with a faster processor and more RAM is recommended.
Now that we have covered the prerequisites, let’s get started with the step-by-step guide on how to edit videos on a Chromebook. By the end of this article, you’ll be able to add transitions, apply effects, add text and titles, edit audio, and export your edited videos with confidence.
System Requirements
Before you begin editing videos on your Chromebook, it’s important to ensure that your device meets the minimum system requirements. While Chromebooks are generally lightweight and efficient, video editing can be resource-intensive, especially if you plan to work with high-resolution videos or use advanced editing tools.
Here are the key system requirements to consider:
- Processor: A faster processor will result in smoother video editing performance. Look for a Chromebook with an Intel Core i5 or higher processor for optimal results.
- RAM: Random Access Memory (RAM) is crucial for multitasking and handling large video files. Aim for at least 8GB of RAM, although 16GB is recommended for more demanding editing tasks.
- Storage: Video files can take up a significant amount of storage space. Make sure your Chromebook has enough internal storage or consider using an external hard drive or cloud storage to store your video files.
- Screen Size and Resolution: A larger screen size and higher resolution will provide a better editing experience. Look for a Chromebook with at least a 13-inch display and a Full HD (1920×1080) resolution.
- Graphics: Integrated graphics are usually sufficient for basic video editing. However, if you plan to work with complex visual effects or 3D animation, consider a Chromebook with a dedicated graphics processor.
- Internet Connection: While video editing can be done offline, a stable internet connection is required for downloading video editing apps, accessing online resources, and uploading your finished videos.
Remember to check the specifications of your specific Chromebook model to ensure that it meets the recommended requirements for video editing. If your Chromebook falls short in any of these areas, you may still be able to edit videos, but you may experience slower performance or limitations in terms of the editing capabilities.
Now that you have verified that your Chromebook meets the necessary system requirements, it’s time to proceed to the next step: choosing a video editing app for your Chromebook.
Step 1: Choose a Video Editing App
When it comes to editing videos on your Chromebook, there are several video editing apps available in the Chrome Web Store. Each app has its own unique features, interface, and editing capabilities, so it’s essential to choose one that meets your specific needs and preferences.
Here are some popular video editing apps for Chromebooks:
- WeVideo: WeVideo is a versatile cloud-based video editing app that offers a range of features suitable for both beginners and professionals. With its intuitive interface and powerful editing tools, you can trim, merge, add effects, and export videos in various formats.
- KineMaster: KineMaster is a feature-packed video editing app that offers a wide array of editing options for Chromebook users. It supports multiple layers, transitions, audio editing, and even allows for chroma keying (green screen effects).
- PowerDirector: PowerDirector is a robust video editor with a simple and user-friendly interface. It provides advanced editing features like color grading, keyframe animation, and audio editing, making it a great choice for users who want more control over their video projects.
- Clipchamp: Clipchamp is a browser-based video editor that offers a range of basic editing tools, including trimming, cropping, and adding text and audio to your videos. It also provides templates and stock media to enhance your video editing process.
Take your time to explore and compare the features of these apps to determine which one aligns with your editing requirements and budget. Consider factors such as user interface, available editing tools, export options, and compatibility with different video formats.
Once you have chosen a video editing app, you’re ready to move on to the next step: installing the app on your Chromebook. In the following section, we will guide you through the installation process, so you can start editing your videos seamlessly.
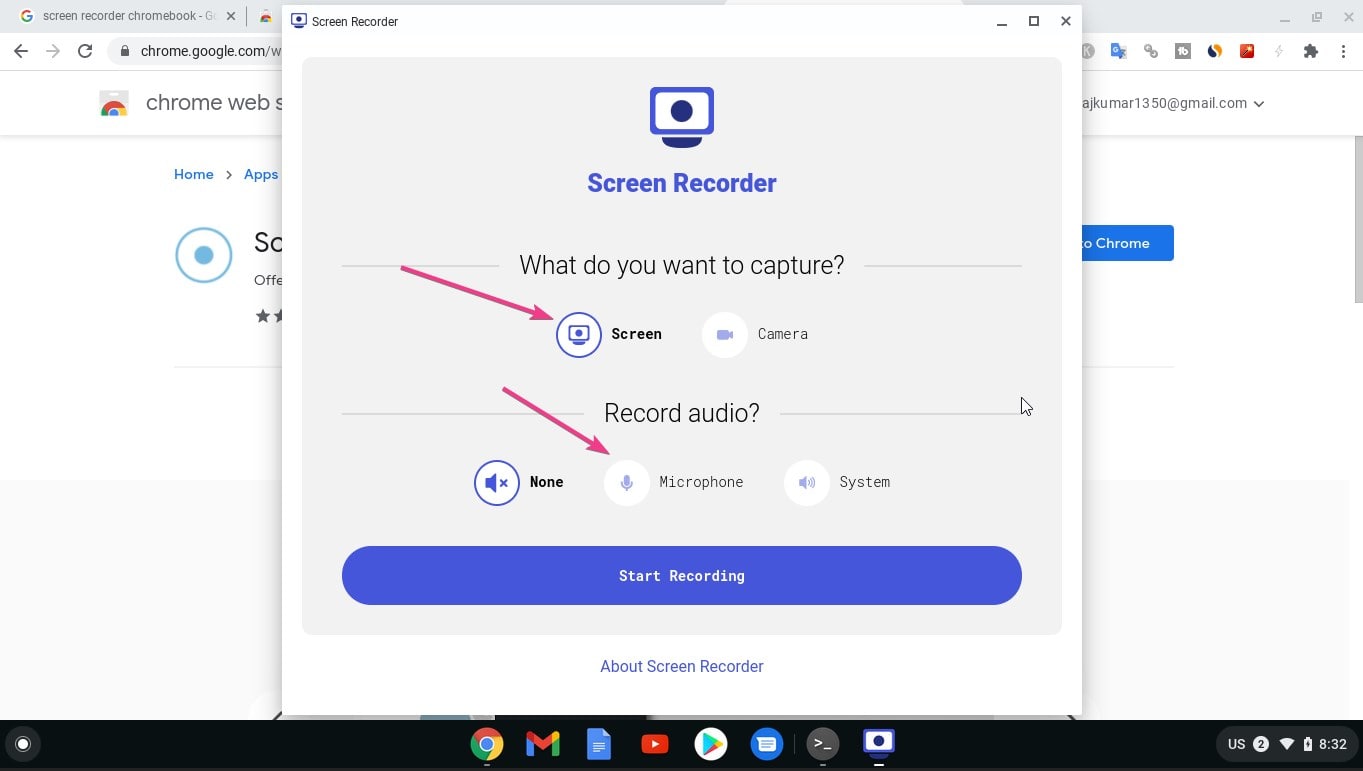
Step 2: Install the App
Now that you have chosen a video editing app for your Chromebook, it’s time to install it from the Chrome Web Store. Installing an app on a Chromebook is a straightforward process, and you’ll be editing videos in no time.
Follow these steps to install the video editing app:
- Open the Chrome Web Store by clicking on the “Apps” button located on your Chromebook’s shelf (the taskbar at the bottom of the screen).
- In the Chrome Web Store, use the search bar at the top to search for the name of the video editing app you have chosen.
- Once you have located the app, click on it to access the app’s page.
- On the app’s page, click on the “Add to Chrome” button to start the installation process.
- A confirmation dialog box will appear. Click on “Add app” to confirm the installation.
- The app will now be installed on your Chromebook, and you’ll find its icon in the app launcher or shelf.
After installing the app, click on its icon to launch it and start the video editing process. Depending on the app you have chosen, you may be prompted to sign in with your account or create a new one.
It’s worth noting that most video editing apps offer a basic version for free, with the option to upgrade to a premium or subscription-based version for access to additional features and resources. Evaluate your editing needs and budget to determine if you want to unlock the full capabilities of the app.
With the video editing app installed, you’re now ready to import your videos and begin the editing process. In the next section, we will guide you through the steps of importing videos into the editing app on your Chromebook.
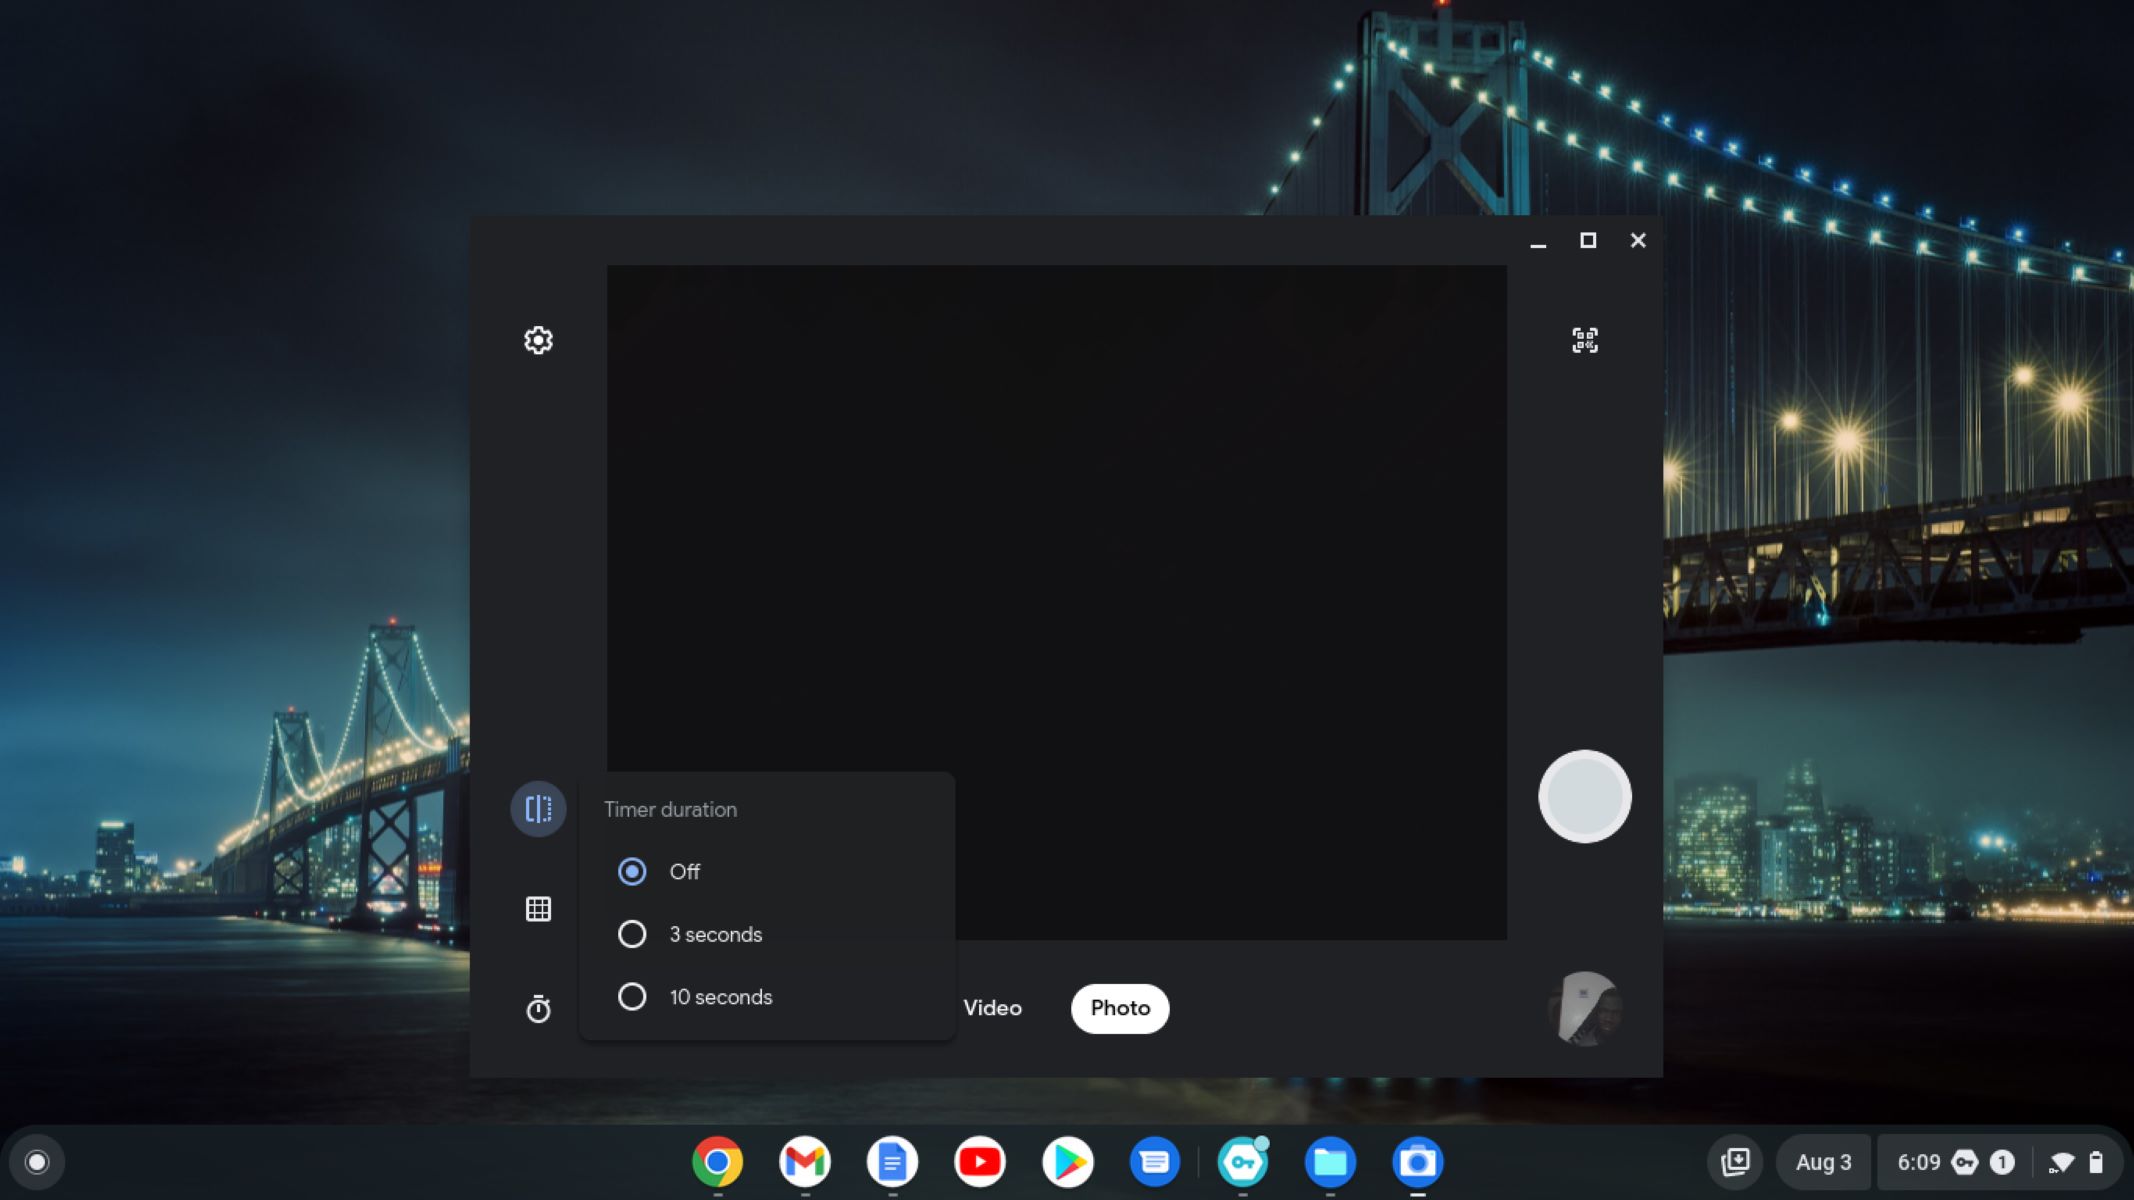
Step 3: Import Videos
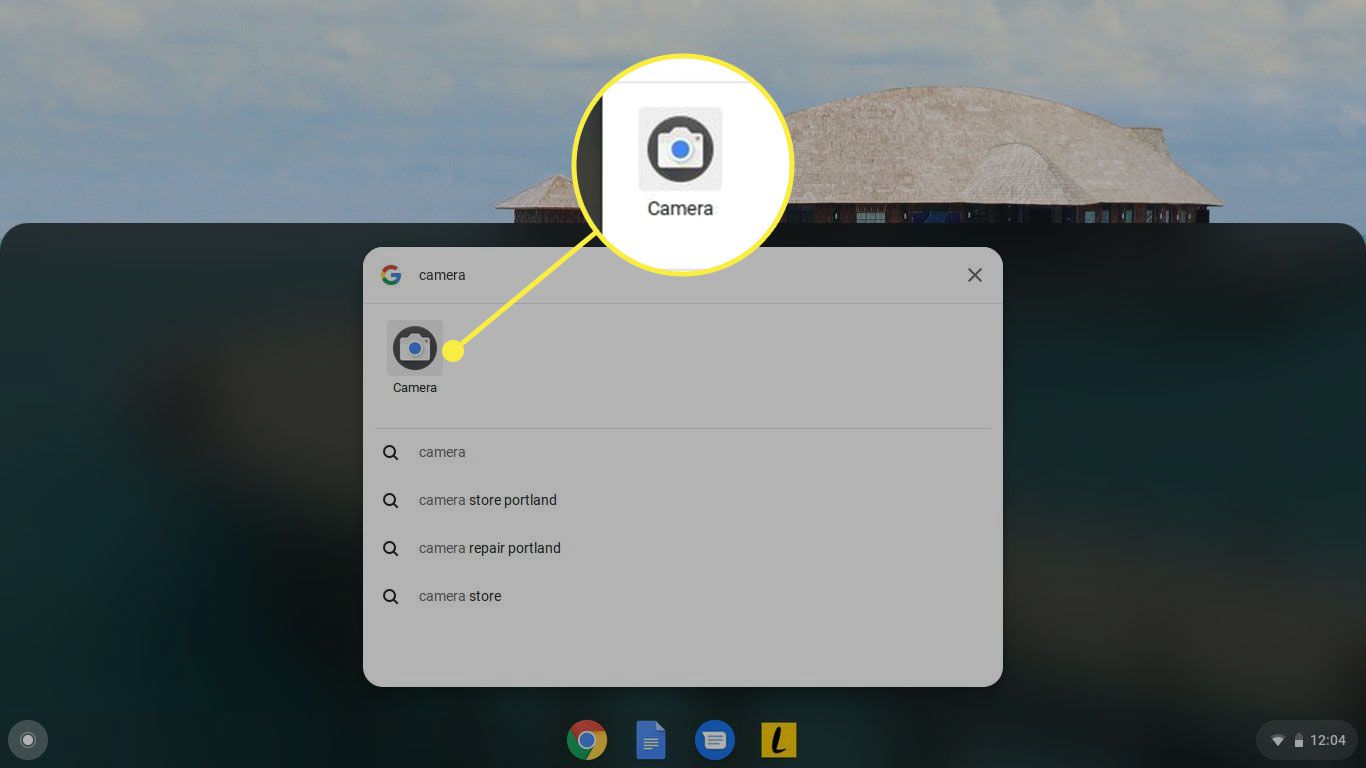
After installing the video editing app on your Chromebook, the next step is to import the videos that you want to edit. Whether you have recorded videos on your Chromebook’s built-in camera, transferred them from your smartphone, or downloaded them from the internet, most video editing apps offer a simple and intuitive way to import your video files.
Here’s how to import videos into the video editing app:
- Launch the video editing app from your Chromebook’s app launcher or shelf.
- Once the app is open, look for an “Import” or “Add Media” button. Click on it to open the file browser.
- In the file browser, navigate to the location where your video files are stored. This can be in your Downloads folder, the external storage device you connected, or any other folder on your Chromebook.
- Select the video files you want to import. You can select multiple files by holding down the Ctrl or Shift key while clicking on the files.
- Click on the “Open” button or any similar button to initiate the import process.
- The app will now proceed to import the selected videos into your project. The time it takes to import will depend on the size and number of video files.
Once the videos are imported, you’ll usually see a thumbnail or a preview of each video in the editing app’s media library. From here, you can easily drag and drop the video files onto the timeline to start editing.
It’s important to note that some video editing apps also offer the option to import media directly from your Google Drive or other cloud storage services. This can be useful if you have your videos stored in the cloud and want to avoid the hassle of manually transferring them to your Chromebook.
With your videos successfully imported into the video editing app, you’re now ready to unleash your creativity and start working on enhancing your videos. In the following steps, we’ll cover the essential editing tools and techniques to help you bring your vision to life.
Step 4: Basic Editing Tools
Now that you have imported your videos into the video editing app on your Chromebook, it’s time to familiarize yourself with the basic editing tools. These tools allow you to trim, split, and rearrange video clips, ensuring that your final edited video flows smoothly and tells your story effectively.
Here are some common basic editing tools you’ll find in most video editing apps:
- Trimming: Trimming allows you to remove unwanted sections from your video clips. To trim a clip, select it on the timeline, and look for the trim tool or a similar option. Drag the edges of the clip to adjust the start and end points, and preview the changes before applying them.
- Splitting: Splitting a video clip allows you to divide it into multiple segments. This is useful when you want to remove a specific portion or rearrange the order of clips. Select the clip, locate the split tool, and click on the desired split point. You can then move or delete the split segments as needed.
- Reordering Clips: To change the sequence of your video clips, click and drag them on the timeline. This allows you to rearrange the order in which they appear in your final edited video. Experiment with different arrangements to find the most engaging storytelling flow.
- Adding Transitions: Transitions are visual effects that smooth out the cut between two video clips. Common transition effects include fades, dissolves, wipes, and slides. Look for the transitions library in your editing app, select the desired transition, and apply it between two clips on the timeline.
- Adjusting Speed: Video editing apps often provide options to change the speed of your video clips. You can slow down or speed up certain sections to create dramatic or comedic effects. Look for the speed adjustment tool and experiment with different settings to achieve the desired impact.
- Applying Filters: Filters or effects can enhance the look and mood of your video. Most editing apps offer a range of preset filters, such as sepia, black and white, or vintage. Apply a filter to a selected clip and adjust its intensity if desired.
Remember to preview your edits as you make them to ensure they align with your creative vision. Making use of these basic editing tools gives you the foundation to craft your videos and bring your ideas to life.
In the next step, we’ll explore how you can add transitions, effects, text, and titles to further enhance your edited videos. These elements can add polish, professionalism, and visual interest to your final product.
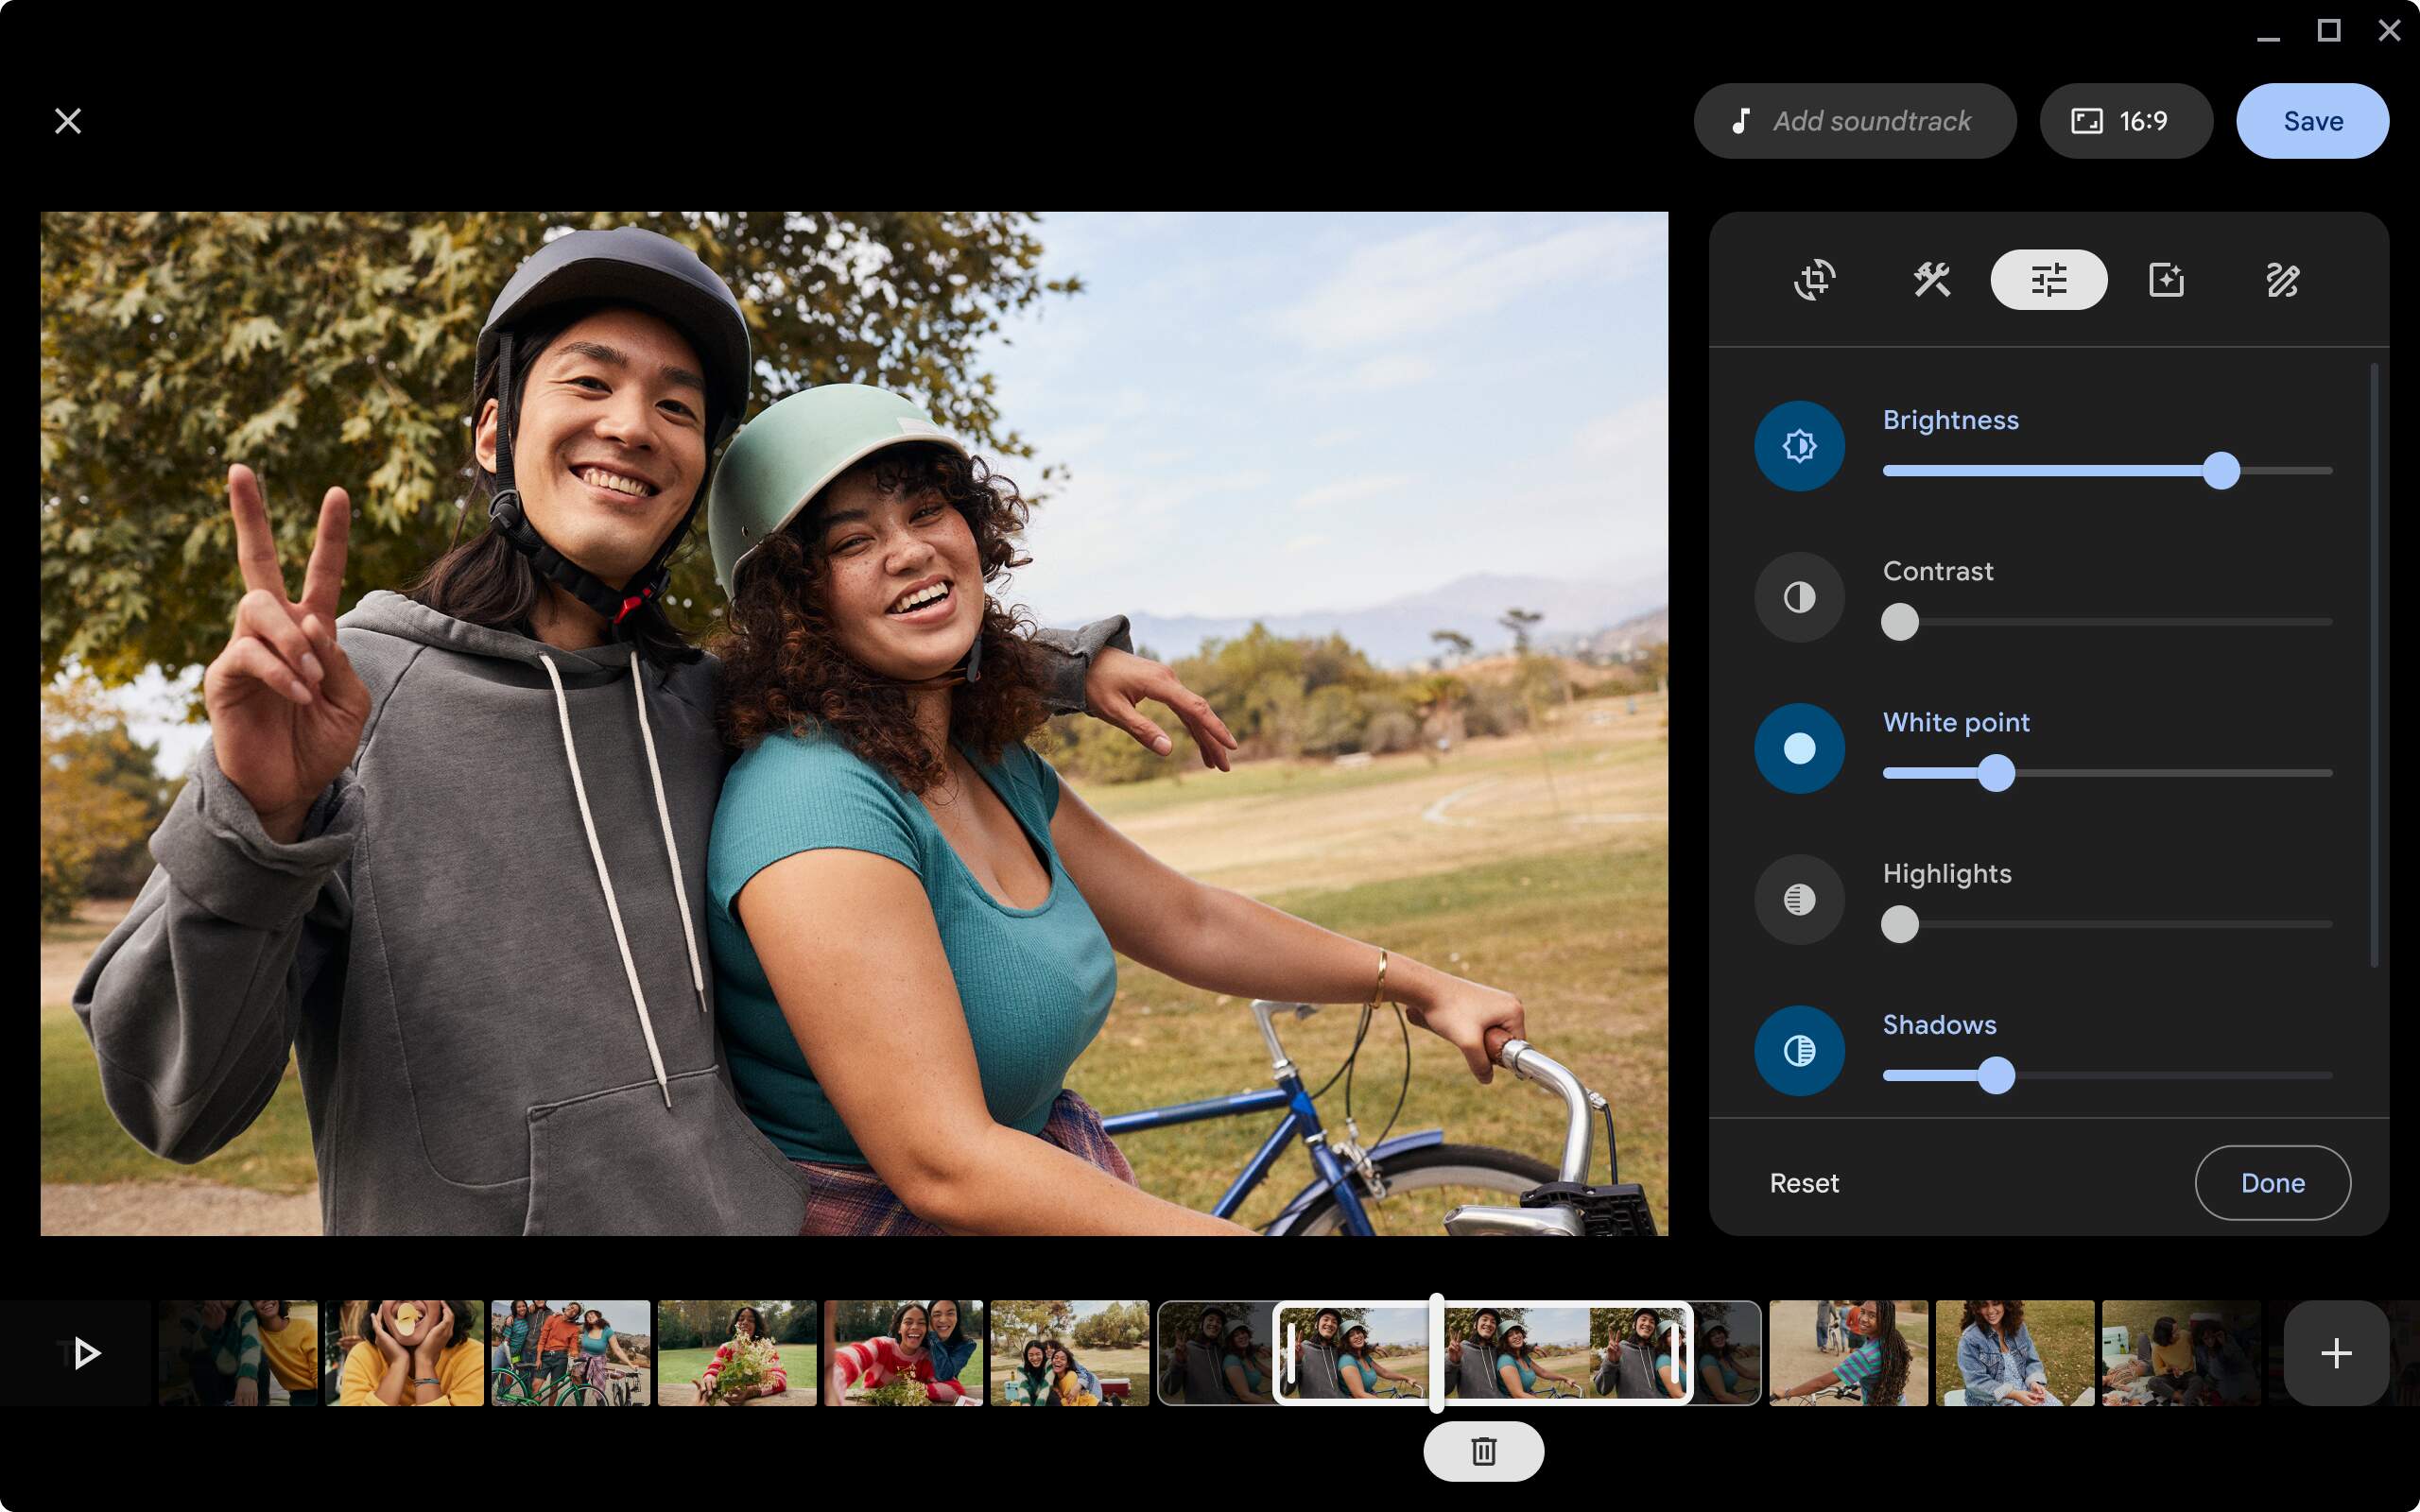
Step 5: Adding Transitions and Effects
Adding transitions and effects to your videos can significantly enhance the visual appeal and storytelling of your edits. Transitions help to smoothly transition between clips, while effects allow you to add creative touches and style to specific scenes or moments.
Here’s how to add transitions and effects in most video editing apps:
- Transitions: Locate the transitions library or menu in your editing app. Browse through the available options and select the transition that best suits your video. Click and drag the selected transition to the desired location between two clips on the timeline. Adjust the duration of the transition if needed.
- Effects: Look for the effects library or menu in your editing app. Here, you’ll find a variety of visual effects to choose from, such as color adjustments, blurs, overlays, and more. Select the effect you want to apply and drag it onto the clip or section of the timeline where you want the effect to take place. Adjust the effect settings to fine-tune the desired look.
When adding transitions and effects, it’s important to exercise restraint and use them judiciously. Overusing or misusing transitions and effects can distract from the essence of your video and make it appear amateurish. Choose transitions and effects that are appropriate for the mood and tone you want to convey, and let them serve the storytelling purpose effectively.
Experimenting with different transitions and effects can be an exciting part of the editing process. Don’t be afraid to try various options and combinations to find the ones that best enhance your video’s overall aesthetic and convey your intended message.
In the next step, we’ll look at how you can add text and titles to your edited videos. This allows you to provide context, highlight key points, or add captions to your visual content.
Step 6: Adding Text and Titles
Adding text and titles to your videos is a powerful way to provide context, convey information, and enhance the overall storytelling. Whether you want to add subtitles, captions, or dynamic titles, most video editing apps offer easy-to-use tools for incorporating text into your edits.
Here’s how to add text and titles in most video editing apps:
- Text Overlays: Look for the text or titles menu in your editing app. Choose the desired style and format for your text overlay. Then, click and drag the text element onto the timeline at the point where you want the text to appear in your video. Enter the text you want to display and adjust the font, size, color, and position to suit your preferences.
- Subtitles or Captions: If you need to add subtitles or captions to your video, consider using the built-in captioning tools of your editing app. These tools generally allow you to import subtitle files (such as .srt) or manually input the text and set the timing for each subtitle. Ensure that the text is legible and timed appropriately with the corresponding audio or dialogue.
When adding text and titles, keep in mind the readability and visual coherence of the overall video. Choose a font and color scheme that complements the style and theme of your video. If you’re adding text over moving or busy scenes, consider using a background or text shadow to improve readability.
Text and titles can be used creatively to engage viewers, provide important information, or highlight specific elements within your video. Experiment with different text layouts, animations, and effects to find the ones that enhance your video and align with your creative vision.
In the next step, we’ll explore how to edit and enhance the audio in your videos. Sound and music play a crucial role in setting the mood and enhancing the viewer’s experience.
Step 7: Audio Editing
Editing the audio of your videos is an essential step in creating a captivating and immersive experience for your viewers. By adjusting the volume levels, removing background noise, and adding music or sound effects, you can greatly enhance the overall quality and impact of your edited videos.
Here’s how to edit the audio in most video editing apps:
- Volume Adjustment: Most video editing apps provide controls to adjust the volume levels of your video clips or audio tracks. Locate the volume or audio settings for each clip and use the sliders to increase or decrease the volume as needed. This is particularly useful for ensuring that dialogue or narration is clear and audible.
- Background Noise Removal: If your video has unwanted background noise, such as wind or background chatter, you can use the audio editing tools in your app to reduce or eliminate it. Look for noise reduction or audio cleanup features and apply them to the affected clips. Adjust the settings to achieve a balance between removing noise and preserving the clarity of the desired audio.
- Adding Music: To add music to your video, you can import audio files into your editing app and place them on a separate audio track. Ensure that the music complements the mood and tone of your video. Adjust the volume of the music track to strike the right balance between the background music and any spoken audio or other sound effects.
- Sound Effects: Sound effects can enhance specific moments or actions in your video. Look for a library of sound effects within your editing app or import your own. Place the sound effects on the appropriate sections of the timeline to sync them with the visual elements or actions they accompany.
Remember to preview your edits and listen carefully to the audio changes you make. Pay attention to the overall audio balance and ensure that all audio elements work together harmoniously.
By carefully editing the audio in your videos, you can create a more immersive and engaging experience for your viewers. Good audio quality can make a significant difference in how your videos are perceived and enjoyed.
In the final step, we’ll cover how to export and save your edited video so that it can be shared with others or uploaded to various platforms.
Step 8: Exporting Your Edited Video
After putting in the time and effort to edit your video on your Chromebook, it’s time to share your creation with the world. In this final step, we’ll guide you through the process of exporting and saving your edited video so that it can be easily shared or uploaded to various platforms.
Here’s how to export your edited video in most video editing apps:
- Locate the export or save option in your editing app. This is usually found in the File or Export menu.
- Select the desired video format or preset for your exported video. Common options include MP4, MOV, or AVI. If your editing app provides export settings, you can adjust the resolution, bitrate, and other parameters based on your needs and the intended use of the video.
- Choose the destination folder where you want to save the exported video. Make sure you have enough storage space available.
- Specify the filename for your video and click on the export or save button to begin the exporting process.
- Depending on the length and complexity of your video, the export process may take some time. Once the process is complete, you’ll have a finalized, ready-to-share version of your edited video.
Before sharing or uploading your video, it’s a good practice to watch it in its entirety to ensure that everything looks and sounds as intended. Pay attention to any potential issues, such as audio/video synchronization problems, visual glitches, or quality artifacts.
Now that your edited video is exported and saved, you can share it with others by uploading it to social media platforms, video sharing websites, or sending it directly to friends and family. Consider the platform and audience you’re targeting, as different platforms may have specific video format or size requirements.
Congratulations! You have successfully edited and exported your video on your Chromebook. Enjoy sharing your masterpiece and continue honing your video editing skills!
Conclusion
Editing videos on a Chromebook may have seemed daunting at first, but by following the steps outlined in this guide, you are now equipped with the knowledge and tools to edit your videos with ease. The Chromebook’s simplicity and efficiency, combined with the availability of various video editing apps in the Chrome Web Store, make it a viable option for both beginners and experienced editors.
Throughout this guide, we discussed the necessary system requirements and how to choose a suitable video editing app for your Chromebook. We also covered the steps to install the app, import videos, and use basic editing tools to trim, split, and reorder clips. Furthermore, we explored adding transitions, effects, text, and titles to enhance the visual appeal and storytelling of your videos. We learned about audio editing techniques such as adjusting volume levels, removing background noise, and adding music or sound effects. Finally, we discussed the process of exporting your edited video and preparing it for sharing or uploading.
Now that you have mastered the art of video editing on your Chromebook, remember to keep practicing and exploring new techniques. Get creative, experiment with different editing styles, and continue to refine your skills. With each video project, you will gain confidence and produce more professional and compelling content.
So go ahead, let your creativity flow, and make the most out of your Chromebook’s video editing capabilities. Whether you’re editing videos for personal enjoyment or for professional purposes, the possibilities are endless. Now, it’s time to turn your ideas into reality and create videos that leave a lasting impression.