Introduction
Chromebooks have become increasingly popular due to their ease of use, affordability, and seamless integration with Google services. While they are primarily designed for web browsing and productivity tasks, many Chromebooks also come equipped with built-in cameras that allow users to capture photos and videos. If you’re new to the world of Chromebooks, you may be wondering how to take a picture on your device.
In this guide, we will walk you through the step-by-step process of taking a picture on a Chromebook. Whether you’re looking to capture a memorable moment, document an important event, or simply experiment with photography, the camera feature on your Chromebook can come in handy. Let’s dive in and get started!
Before we begin, it’s important to note that the steps outlined in this guide may vary slightly depending on the model and version of your Chromebook. However, the general process remains largely the same across devices.
Now, without further ado, let’s explore how to use the camera on your Chromebook to capture stunning images!
Step 1: Open the Camera App
The first step in taking a picture on a Chromebook is to open the Camera app. To do this, you can follow the simple steps outlined below:
- Locate the Launcher icon on your Chromebook. It is usually located in the bottom-left corner of the screen and looks like a circle with a dot inside.
- Click on the Launcher icon to open the App Drawer, which displays all your installed apps.
- Scroll through the list of apps until you find the “Camera” app. It is represented by a small camera icon.
- Click on the “Camera” app to launch it. This will open the Camera interface on your Chromebook screen, ready for you to start capturing photos.
Alternatively, you can also access the Camera app by using the search function on your Chromebook. Simply click on the magnifying glass icon located in the bottom-left corner of the screen, type “Camera” in the search box, and select the Camera app from the search results.
Once you have successfully opened the Camera app, you will be greeted with a live view of what your Chromebook’s camera is capturing. This will serve as your viewfinder, allowing you to frame your shot and make any necessary adjustments before capturing the image.
Now that you have successfully opened the Camera app on your Chromebook, let’s move on to the next step: adjusting the camera settings.
Step 2: Adjust Camera Settings
Before capturing your picture, it is essential to adjust the camera settings on your Chromebook to ensure the best possible image quality. Here’s how you can do it:
- Within the Camera app, you will find various icons and options located around the screen. Look for the settings icon, typically represented by a gear or three-dot symbol, and click on it. This will open the Camera settings menu.
- In the settings menu, you will have access to a range of options to tweak your camera settings. Common settings often include resolution, aspect ratio, exposure, flash, and timer settings.
- To adjust a particular setting, simply click on the corresponding option and make the desired changes. For example, if you want to change the resolution, select the resolution setting and choose your preferred resolution from the available options.
- Experiment with different settings until you find the configuration that suits your needs. Keep in mind that the optimal settings may vary depending on the lighting conditions, subject, and personal preference.
- Once you have customized your camera settings, close the settings menu to return to the Camera interface.
By adjusting the camera settings on your Chromebook, you can enhance the overall quality and look of your photos. Take some time to explore and experiment with the settings to find the perfect combination for your photography needs.
With the camera settings adjusted, you’re now ready to capture your desired photo. In the next step, we will guide you through the process of capturing the image using your Chromebook’s camera.
Step 3: Capture the Image
Once you have adjusted the camera settings to your liking, it’s time to capture the image using your Chromebook’s camera. Follow these simple steps:
- Position your Chromebook’s camera towards the subject you want to capture. Use the live view on the screen to frame your shot and ensure that everything is in the desired composition.
- If your Chromebook has a physical shutter button, press it to take the photo. The shutter button is usually located on the side or top of the Chromebook. If your device doesn’t have a physical button, you can also click on the virtual shutter button within the Camera app interface.
- When you click the shutter button, you will hear a shutter sound and see a visual indicator such as a flashing light or a brief animation on the screen. This indicates that the photo has been successfully captured.
It’s important to remain still while capturing the image to avoid blurriness. If your Chromebook has image stabilization features, it will help compensate for minor camera movements.
If you’re not satisfied with the first image you took, don’t worry! You can repeat this step as many times as needed to capture the perfect shot.
Now that you have successfully taken a photo using your Chromebook’s camera, it’s time to move on to the next step: reviewing and editing the photo. We will explore this in detail in the upcoming section.
Step 4: Review and Edit the Photo
After capturing the image on your Chromebook, it’s important to review and edit the photo to ensure it meets your expectations. Here’s how you can review and make basic edits to your photo:
- Within the Camera app, you will typically see a thumbnail or preview of the photo you just captured. Click on it to enter the photo review mode.
- In the photo review mode, you can closely examine the image to check for any issues such as blurriness, exposure, or composition. Use the zoom function, if available, to get a closer look at specific details.
- If you’re satisfied with the photo as is, you can proceed to save and share it. However, if you would like to make some basic edits, look for the editing tools provided within the Camera app.
- The available editing tools may vary depending on the version of your Chromebook and the camera app you’re using. Common editing options include cropping, rotating, applying filters, adjusting brightness, contrast, and saturation.
- To make an edit, select the appropriate editing tool and make the necessary changes. Experiment with different adjustments to achieve the desired look for your photo.
- Once you’re done editing, review the photo again to ensure you’re happy with the changes you’ve made.
It’s important to note that the editing capabilities within the Camera app may be limited compared to dedicated photo editing software. If you require more advanced edits, you can transfer the photo to your Chromebook’s photo editing app or use web-based editing tools available through the Chrome browser.
With the photo reviewed and edited to your liking, it’s time to move on to the final step: saving and sharing the photo. Let’s explore this in detail in the next section.
Step 5: Save and Share the Photo
Now that you have captured and edited your photo on your Chromebook, it’s time to save and share it with others. Follow these steps to save and share your photo:
- In the Camera app, locate the save or download icon. It is usually represented by an arrow pointing downwards or a floppy disk icon.
- Click on the save or download icon to save the photo to your Chromebook’s storage. Choose a folder or directory where you want to store the photo.
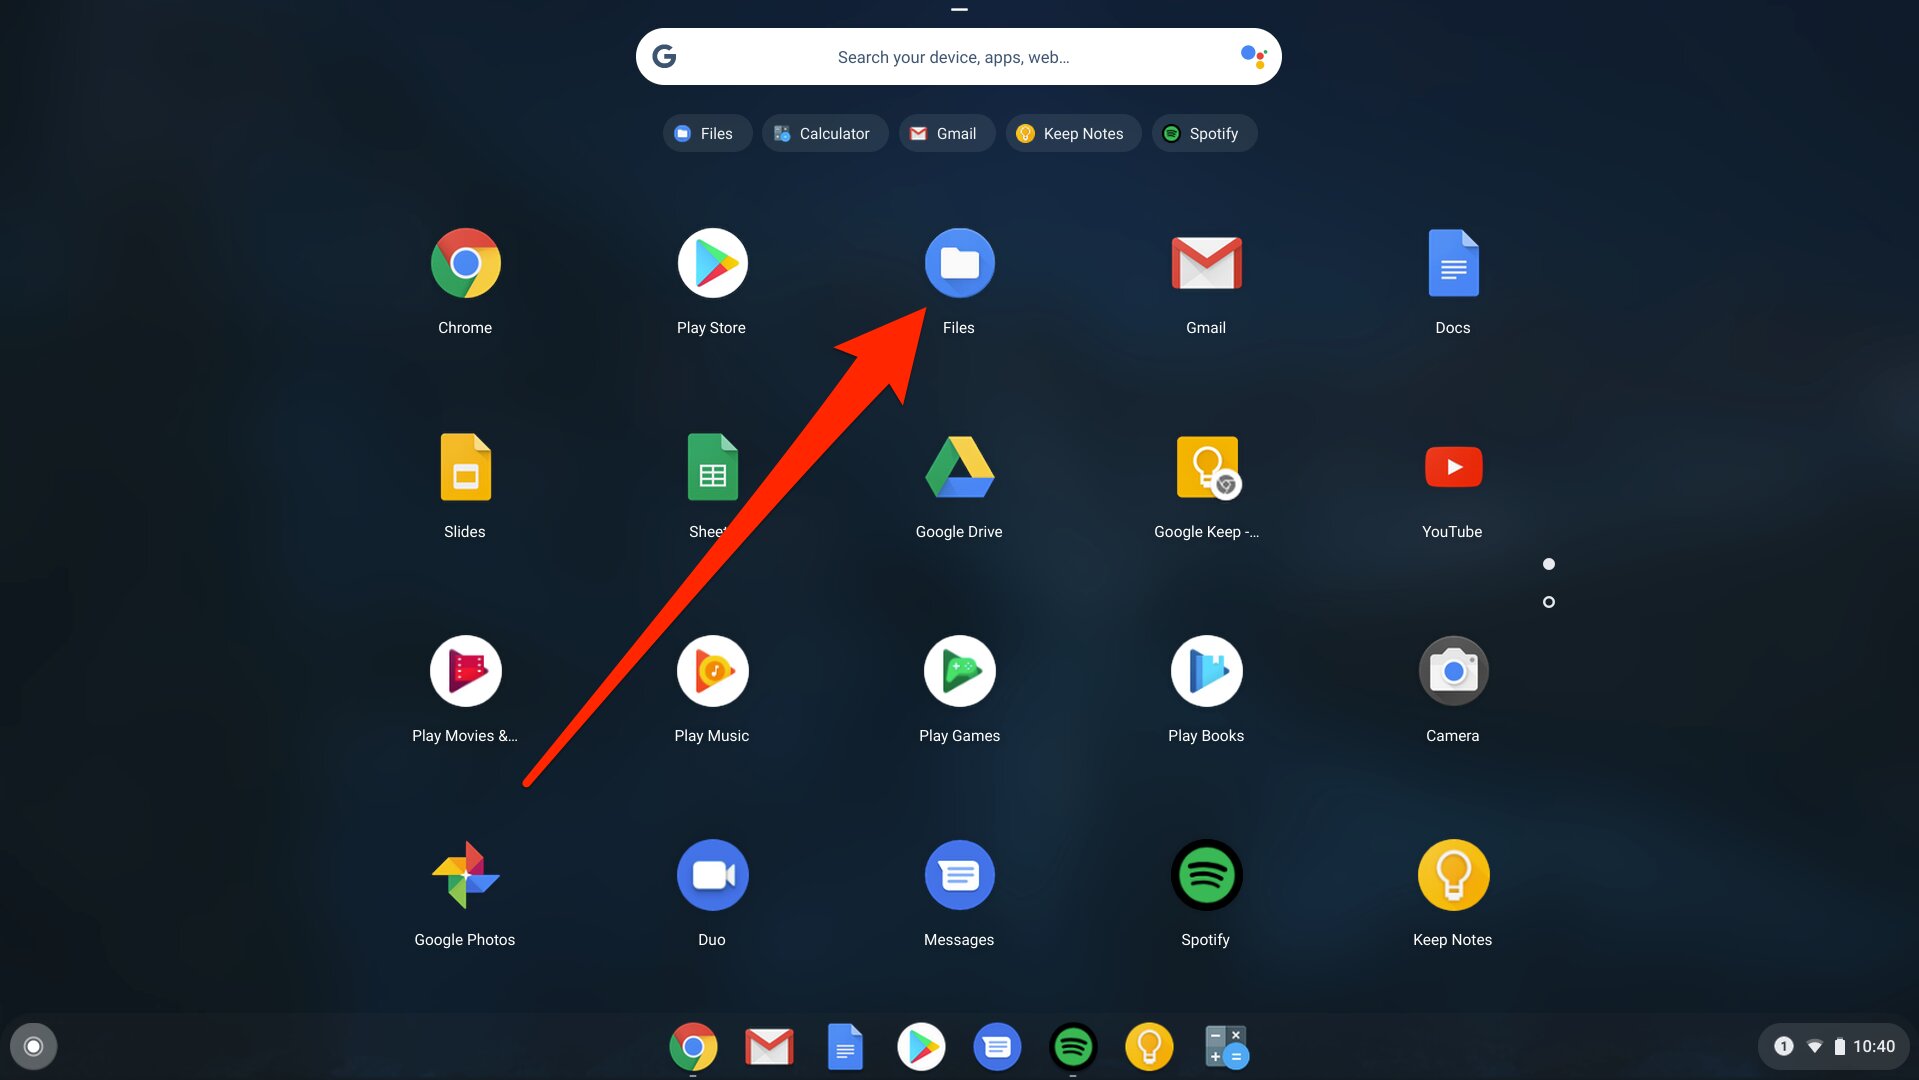
- Once the photo is saved, you can access it through the Files app on your Chromebook. Open the Files app, navigate to the folder where you saved the photo, and locate the file.
- To share the photo, there are several options available. You can attach it to an email, upload it to a cloud storage service, or share it directly through social media platforms such as Facebook or Instagram.
- If you choose to share the photo via email, create a new email and attach the photo file from the saved location on your Chromebook.
- When sharing through cloud storage, select the photo file and choose the option to upload it to your desired cloud storage service. Once uploaded, you can generate a shareable link or invite others to access the photo.
- For social media sharing, open the respective platform’s app or website, create a new post or message, and attach the photo file. Follow the platform’s instructions to complete the sharing process.
- Remember to respect the privacy of others and obtain their consent before sharing any photos that include them.
By following these steps, you can easily save and share your photos captured on your Chromebook’s camera. Whether it’s sharing special moments with loved ones or showcasing your photography skills, sharing photos is a great way to connect and communicate with others.
With that, you have successfully learned how to take a picture on your Chromebook, adjust camera settings, capture the image, review and edit the photo, and save and share it. Now you can confidently delve into the world of photography using your Chromebook. Happy snapping!
Conclusion
Congratulations! You have now learned how to take a picture on your Chromebook using the built-in camera app. We started by opening the camera app and then adjusting the camera settings to ensure the best possible image quality. Next, we walked through the process of capturing the image and reviewed how to make basic edits within the camera app. Finally, we explored how to save and share the photo with others.
The camera feature on a Chromebook offers a convenient way to document important moments, express your creativity, and capture stunning images. Whether you’re a photography enthusiast or simply looking to snap some memories on the go, your Chromebook’s camera can come in handy.
Remember to experiment with different angles, lighting conditions, and compositions to unleash your inner photographer. Don’t be afraid to get creative and explore the various editing tools and features available within the camera app. And when you’re ready, don’t forget to save and share your photos with family, friends, and on your favorite social media platforms.
Now that you have mastered the art of taking pictures on your Chromebook, you can confidently document and share the world around you. Embrace your inner shutterbug and capture those special moments with ease and style.