Introduction
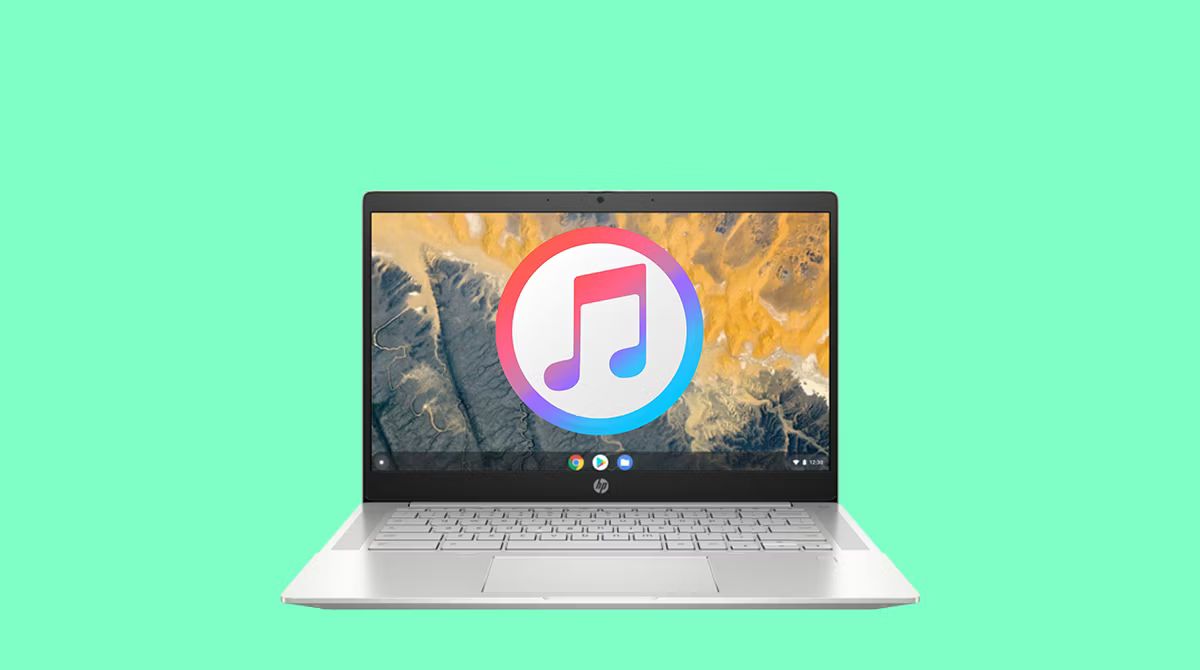
Welcome to the world of Chromebooks, where simplicity and efficiency meet. Chromebooks are known for their lightweight design and seamless integration with Google’s suite of applications. While Chrome OS offers a wide range of web-based alternatives to popular software, there may be times when you need to access a Windows-only application, like iTunes.
iTunes is a versatile media player and library management software developed by Apple. It allows you to organize and listen to your music, watch movies and TV shows, and even synchronize your Apple devices. While iTunes is primarily designed for Mac and Windows systems, with a few tricks, you can download and use iTunes on your Chromebook.
In this guide, we will walk you through the steps to download iTunes on your Chromebook. Although it may not be a straightforward process, with a bit of technical know-how, you can enjoy the benefits of iTunes on your Chromebook.
Please note that the method we will be using involves enabling Developer Mode on your Chromebook and utilizing a program called Wine to run the iTunes installation file. As with any modification or installation, exercise caution and back up any important data before proceeding.
Step 1: Enable Developer Mode on Your Chromebook
Before we can proceed with downloading and installing iTunes on your Chromebook, we need to enable Developer Mode. Enabling Developer Mode will grant you administrative access and allow you to install and run software that is not officially supported by Chrome OS.
Please note that enabling Developer Mode will erase all data on your Chromebook, so make sure to back up any important files before proceeding. Here are the steps to enable Developer Mode:
- Turn off your Chromebook by clicking on the time in the bottom-right corner of the screen and selecting “Power off”.
- Once your Chromebook is turned off, press and hold the Esc key and the Refresh key simultaneously.
- While holding these keys, press the Power button to turn on your Chromebook.
- A screen with a warning message will appear. Press Ctrl + D to proceed.
- On the next screen, press Enter to enable Developer Mode.
- Your Chromebook will now reboot and enter Developer Mode. This process may take a few minutes.
Once your Chromebook has successfully entered Developer Mode, you will see a new screen with a warning message each time you start your device. You can bypass this screen by pressing Ctrl + D every time you start your Chromebook.
Congratulations! You have successfully enabled Developer Mode on your Chromebook. Now we can proceed to the next step, which involves installing Wine, a compatibility layer that allows us to run Windows applications on Chrome OS.
Step 2: Install Wine
Now that you have enabled Developer Mode on your Chromebook, it’s time to install Wine. Wine is an open-source compatibility layer that allows you to run Windows applications on Linux-based systems, including Chrome OS.
Here are the steps to install Wine on your Chromebook:
- Open the Chrome browser on your Chromebook.
- Visit the official Wine website at www.winehq.org.
- Navigate to the Downloads section and select the option for Chrome OS.
- Click on the download link to start the download process.
- Once the download is complete, click on the downloaded file to install Wine. You may need to grant permissions to install applications from unknown sources.
- Follow the on-screen instructions to complete the installation process.
After the installation is complete, Wine will be available on your Chromebook, allowing you to run Windows applications within the environment. Keep in mind that while Wine is compatible with many Windows applications, not all software may work perfectly. It’s always a good idea to check the Wine AppDB to see if the specific application you want to run is supported.
Now that we have Wine installed, we can move on to the next step: downloading the iTunes installation file.
Step 3: Download iTunes Installation File
With Wine installed on your Chromebook, it’s time to download the iTunes installation file. The installation file is necessary to set up iTunes on your Chromebook using Wine.
Here are the steps to download the iTunes installation file:
- Open the Chrome browser on your Chromebook.
- Visit the official Apple website at www.apple.com/itunes.
- Navigate to the Downloads section or search for the iTunes download page.
- Click on the download button to initiate the download process.
- Choose the appropriate operating system as “Windows” when prompted.
- The iTunes installation file will now start downloading to the default download location on your Chromebook.
Once the download is complete, you will have the iTunes installation file ready for the next step. Now, let’s move on to running the iTunes installer with Wine.
Step 4: Run iTunes Installer with Wine
Now that you have the iTunes installation file downloaded on your Chromebook, it’s time to run the installer using Wine. This step will allow you to install iTunes on your Chromebook.
Here’s how to run the iTunes installer with Wine:
- Locate the downloaded iTunes installation file on your Chromebook. It is usually saved in the “Downloads” folder by default.
- Right-click on the iTunes installation file and select “Open With Wine”.
- Wine will launch and begin running the iTunes installer.
- Follow the on-screen instructions to proceed with the installation. Accept the terms and conditions and choose the desired installation options.
- Allow Wine to complete the installation process.
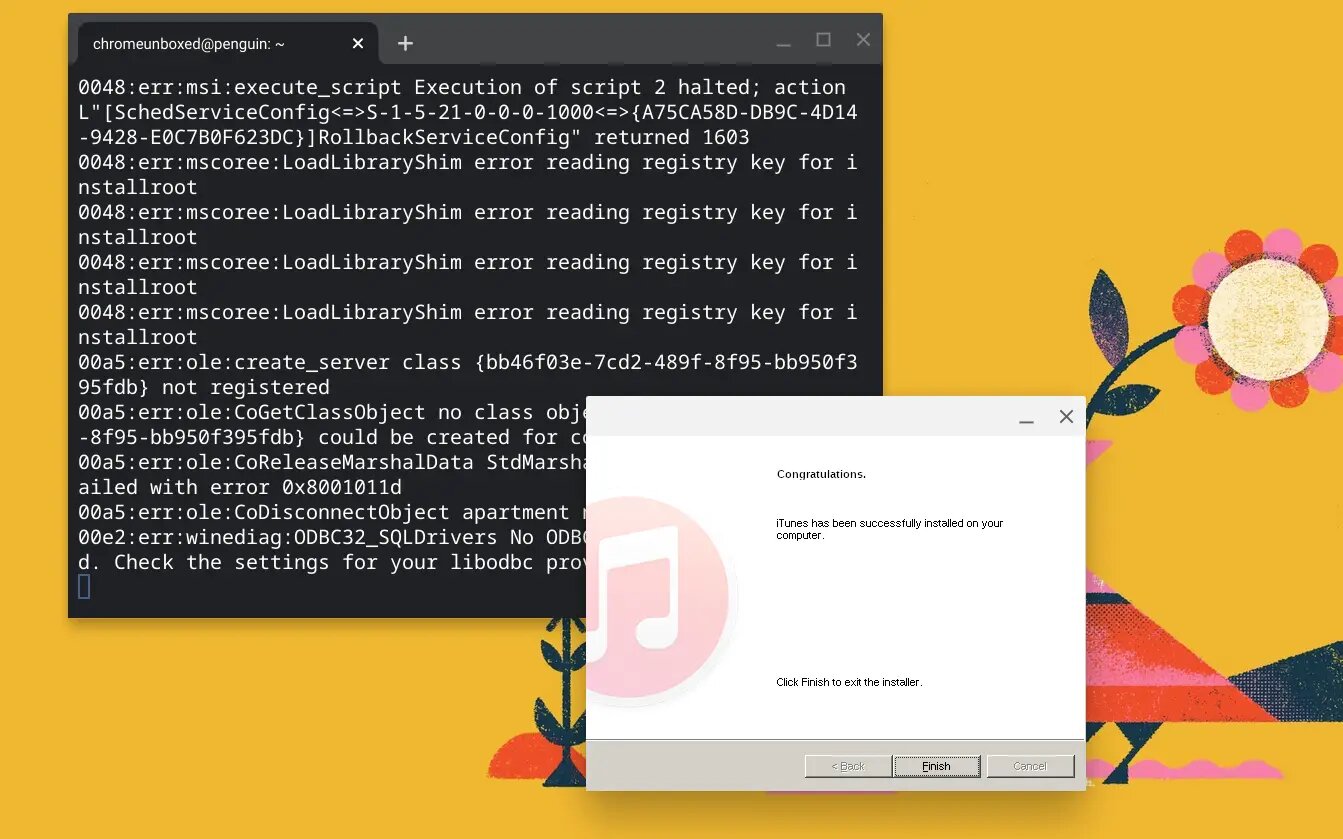
Once the installation is complete, you will have successfully installed iTunes on your Chromebook using Wine. However, there are a few additional steps to configure Wine properly and ensure that iTunes runs smoothly on your Chromebook. We will cover these steps in the next section.
Step 5: Configure Wine Settings
After successfully installing iTunes on your Chromebook using Wine, it’s important to configure Wine settings to ensure optimal performance and compatibility. This step will help you make necessary adjustments to Wine to improve your iTunes experience.
Here are the steps to configure Wine settings:
- Open Wine by clicking on the Wine icon in the app launcher or by searching for “Wine” in the search bar.
- In the Wine configuration window, navigate to the “Applications” tab.
- Click on the “Add Application” button to add iTunes to the list of applications.
- Locate the iTunes executable file. It can usually be found in the Wine installation folder, in a subfolder named “Program Files”.
- Select the iTunes executable file and click on the “Open” button.
- In the Wine configuration window, select the newly added iTunes application and click on the “Configure” button.
- Adjust the settings according to your preferences and needs. You can modify settings such as screen resolution, audio configuration, and Windows version compatibility. It’s advisable to keep experimenting with different settings until you find the optimal configuration for your Chromebook.
- Click on the “OK” button to save the changes.
By properly configuring Wine settings, you can enhance the compatibility and performance of iTunes on your Chromebook. However, keep in mind that some features may not work flawlessly due to the limitations of running Windows applications on Chrome OS. Now, let’s move on to the final step: accessing iTunes on your Chromebook.
Step 6: Access iTunes on Chromebook
Now that you have installed iTunes and configured Wine settings on your Chromebook, it’s time to access iTunes and start enjoying your favorite music, movies, and more.
Here are the steps to access iTunes on your Chromebook:
- Open the Wine application on your Chromebook.
- In the Wine configuration window, select the iTunes application from the list of installed applications.
- Click on the “Run” button to launch iTunes.
- Wait for iTunes to load. It may take a bit longer than usual, as it’s running through Wine.
- Once iTunes is open, you can start exploring the various features, including browsing your music library, purchasing and downloading songs, and managing your Apple devices.
It’s important to note that since this is a workaround to run iTunes on a Chromebook, there may be occasional compatibility issues or limitations in functionality. Keep in mind that software updates or changes to Wine or Chrome OS can potentially affect the performance of iTunes.
Enjoy using iTunes on your Chromebook and make the most out of the vast collection of music and entertainment available through the platform.
Conclusion
Congratulations! You have successfully downloaded and installed iTunes on your Chromebook. By following the steps outlined in this guide, you have unlocked the ability to enjoy all the features and benefits of iTunes, including managing your music library, watching movies and TV shows, and syncing your Apple devices.
While the process of installing iTunes on a Chromebook requires enabling Developer Mode, installing Wine, and configuring the settings, it opens up a world of possibilities for Chromebook users. However, it’s important to keep in mind that running Windows applications on Chrome OS through Wine may result in occasional compatibility issues or limitations in functionality.
Now that you have iTunes up and running on your Chromebook, you can fully immerse yourself in the vast collection of songs, movies, and entertainment available through the platform. Stay up to date with the latest releases, create playlists, and organize your music library with ease. And don’t forget to explore the various features that iTunes has to offer.
Remember to regularly check for software updates for both Wine and Chrome OS to ensure the smooth and optimal performance of iTunes on your Chromebook. Additionally, be sure to keep an eye out for any future developments or improvements in the compatibility of Windows applications on Chrome OS.
Thank you for following this guide and embracing the possibilities of running iTunes on your Chromebook. Enjoy your enhanced music and entertainment experience!