Introduction
Welcome to our step-by-step guide on how to change your password on a Chromebook. Whether you’ve forgotten your password or simply want to update it for security reasons, this tutorial will walk you through the process.
Your Chromebook password is a crucial element in keeping your personal information secure. By periodically changing your password, you can prevent unauthorized access and maintain the privacy of your data. Fortunately, Chrome OS provides a straightforward method to modify your password, ensuring a seamless and secure user experience.
In this guide, we will demonstrate how to change your password on a Chromebook. We’ll cover all the necessary steps, from accessing the settings menu to confirming the new password. No matter your level of technical expertise, you’ll be able to confidently navigate through the process.
Before we delve into the steps, it’s important to note that changing your password will affect your Chromebook login as well as your Google account. This means that after altering your password, you’ll need to use the new credentials to access both your Chromebook and services like Gmail, Google Drive, and the Chrome web browser. Now, let’s dive in and learn how to change your password on a Chromebook.
Selecting the User Account
The first step in changing your password on a Chromebook is to select the user account for which you want to modify the password. If there are multiple users on the device, each user can have their own unique password.
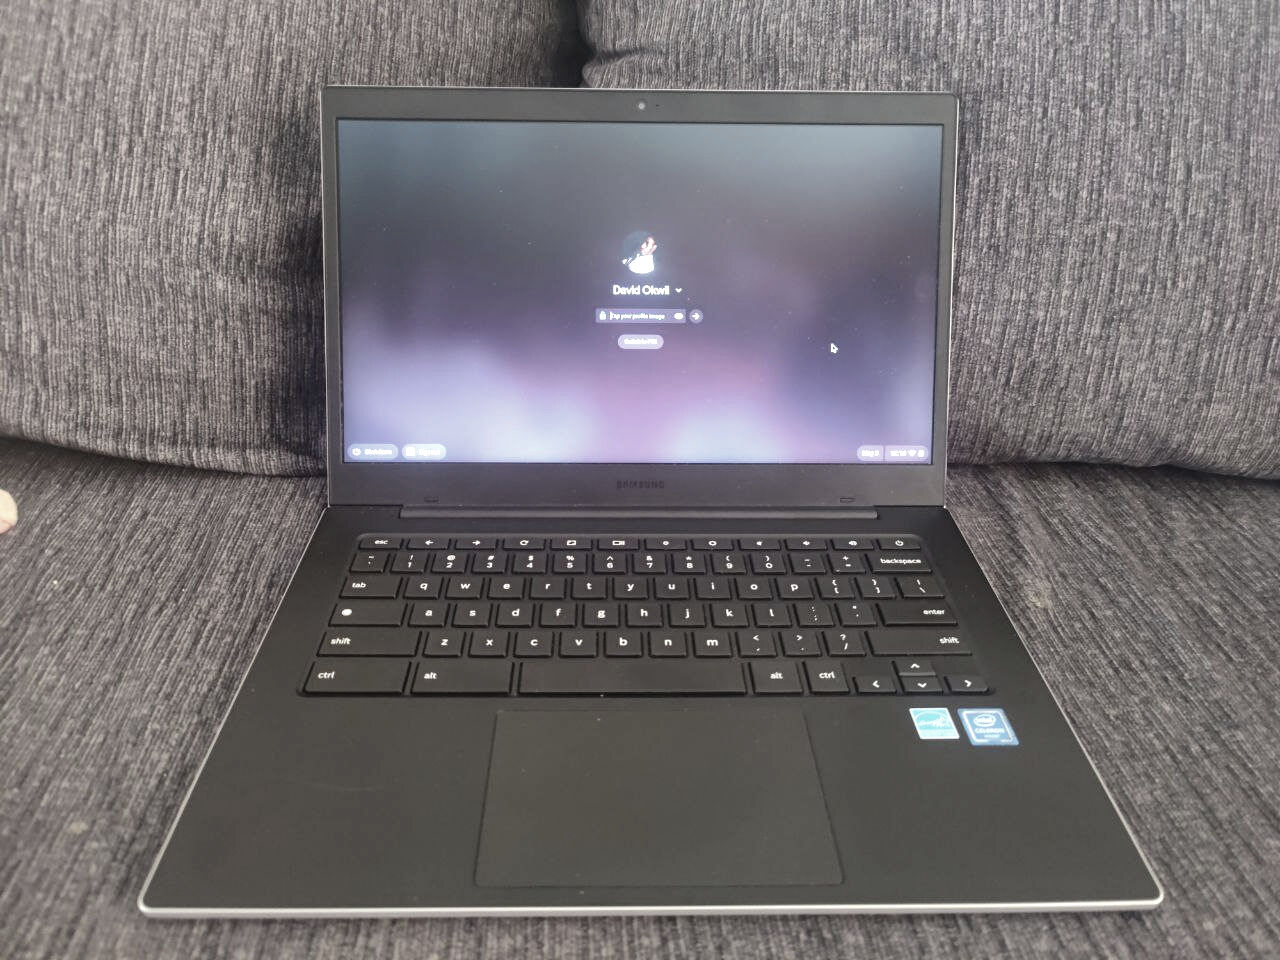
To begin, locate the account picture or initials in the bottom-right corner of the login screen. Click on the picture or initials to display a dropdown menu of available user accounts.
From the dropdown menu, select the user account for which you want to change the password. This will ensure that the password modification applies only to the selected account and does not affect other users on the Chromebook.
If you are already logged in to the Chromebook and want to change your own password, you can skip the login step and directly access the settings menu.
By selecting the specific user account, you can focus on changing the password for that account without affecting any other users on the Chromebook. This level of customization allows each user to maintain their own unique account password for enhanced privacy and security.
Accessing the Chrome OS Settings
Once you have selected the user account for which you want to change the password, the next step is to access the Chrome OS settings. These settings allow you to modify various aspects of your Chromebook, including your password.
To access the Chrome OS settings, click on the account picture or initials in the bottom-right corner of the screen. This will open a small menu with a few options. From this menu, click on the gear icon labeled “Settings.” This will take you to the main settings page.
Alternatively, you can also access the settings by clicking on the system tray located in the bottom-right corner of the screen, next to the account picture or initials. In the system tray, click on the gear icon labeled “Settings” to open the settings page.
Once you’ve clicked on “Settings,” a new tab will open in the Chrome browser, displaying the Chrome OS settings. This tab contains various sections and categories, each focused on a specific aspect of the Chromebook’s functionality.
Now that you have accessed the Chrome OS settings, you are ready to navigate to the specific section where you can change your password. In the upcoming sections, we will guide you through the necessary steps to modify your password and ensure the security of your Chromebook.
Navigating to the “People” Section
Once you have accessed the Chrome OS settings, the next step is to navigate to the “People” section. This is where you can manage the user accounts and make changes to your password.
In the left sidebar of the settings page, you will find a list of categories. Scroll through the list until you locate the “People” section. Click on the “People” option to expand the section and reveal several subcategories.
The “People” section is where you can manage and customize the user accounts on your Chromebook. It allows you to add new users, manage existing accounts, and change various user-related settings. This includes the ability to modify your password.
By clicking on the “People” section, you will have access to a range of options and settings related to user accounts. This is where you can perform tasks such as changing passwords, adding additional users, and customizing account preferences.
Now that you’ve successfully navigated to the “People” section, you are one step closer to changing your password. In the next section, we will guide you through the process of selecting the specific user account for which you want to modify the password.
Clicking on “Manage Other People”
After navigating to the “People” section in the Chrome OS settings, the next step is to click on the “Manage Other People” option. This will allow you to access a list of user accounts and make changes to their respective settings, including the password.
Within the “People” section, locate the “Manage Other People” option and click on it. This action will open a new window or tab, depending on your Chromebook’s settings, containing a list of all the user accounts registered on the device.
The “Manage Other People” feature gives you control over the user accounts on your Chromebook. Whether you want to update passwords, remove users, or adjust settings for specific accounts, this section provides the necessary tools.
By clicking on “Manage Other People,” you are taken to a dedicated page where you can manage and administer all the user accounts on your Chromebook. This centralized location makes it convenient to make changes to passwords and other account settings with ease.
Now that you have successfully clicked on “Manage Other People” and accessed the user management page, you are ready to proceed with selecting the specific user account for which you want to change the password. In the next section, we will guide you through the necessary steps.
Selecting the User with the Password to Change
Once you have accessed the “Manage Other People” page, the next step is to select the user account for which you want to change the password. This will ensure that the password modification applies to the correct account.
On the “Manage Other People” page, you will see a list of user accounts registered on your Chromebook. Each account will be displayed with its associated profile picture or initials and the account name. Scroll through the list and locate the user account for which you want to modify the password.
To select the user account, simply click on it once. This action highlights the account, indicating that it has been chosen for further action. By selecting the correct user account, you will ensure that the password change affects only that specific account, without impacting any other users on the Chromebook.
If you are changing the password for your own account, simply select your username from the list. However, if you are changing the password for another user’s account, be sure to select their username from the list.
By selecting the appropriate user account, you are one step closer to modifying the password. In the next section, we will guide you through the process of clicking on “Edit,” which will allow you to change the password for the selected account.
Clicking on “Edit”
After selecting the user account for which you want to change the password, the next step is to click on the “Edit” option. This will allow you to modify the password and update the account settings accordingly.
On the “Manage Other People” page, locate the user account that you have selected. Next to the account name, you will find an “Edit” button or link. Click on this button or link to proceed with changing the password for the selected user.
By clicking on “Edit,” you will be directed to a new page or form where you can make changes to the account settings. This includes the option to modify the existing password and set a new one.
It’s important to note that clicking on “Edit” provides access to a range of account settings, not just the password. While changing the password is the focus of this tutorial, you can also make additional changes to the user’s account, such as updating the profile picture or adjusting privacy settings.
Now that you have successfully clicked on “Edit,” you are ready to proceed with entering the current password and setting a new password for the selected user account. In the following sections, we will guide you through these steps in detail.
Entering the Current Password
Upon clicking on the “Edit” button, you will be directed to a page where you can modify the account settings, including the password. The first step in changing the password is entering the current password associated with the user account.
On the password change page, locate the section that prompts you to enter the current password. This serves as a security measure to ensure that only authorized individuals can make changes to the account settings.
Type in the current password for the selected user account in the designated input field. Take care to enter the password accurately, paying attention to case sensitivity and any special characters.
If you are unsure of the current password, refer to any password management tools or records you may have or consider resetting the password if necessary.
Entering the correct current password is vital to proceed with changing the password successfully. This verification step helps maintain the security and integrity of the user account.
Once you have entered the current password, double-check for any errors before proceeding to the next step. Accuracy in inputting the password ensures a smooth transition to setting the new password for the user account.
In the upcoming section, we will guide you on entering the new password for the selected user account.
Entering the New Password
After successfully entering the current password for the selected user account, the next step in changing your password on a Chromebook is to enter the new password. This is where you can set a fresh password to enhance the security of the account.
On the password change page, locate the section that prompts you to enter the new password. This section will typically include guidelines for creating a strong and secure password.
When entering the new password, keep the following tips in mind:
- Choose a password that is unique and not easily guessable.
- Include a mix of uppercase and lowercase letters, numbers, and special characters.
- Avoid using personal information or common phrases as your password.
- Make the password at least eight characters long.
- Consider using password management tools to generate and securely store strong passwords.
Type in the new password for the selected user account in the designated input field. As you enter the password, take note of the strength indicator that may be provided to help you gauge the complexity and effectiveness of your chosen password.
Take extra care to accurately input the new password, ensuring that there are no typos or mistakes. Any errors in the password entry may lead to difficulty in accessing the account or potential security risks.
By entering a strong and secure password, you are taking an important step to safeguarding your user account and personal information.
In the next section, we will walk you through the process of confirming the new password for the selected user account.
Confirming the New Password
After entering the new password for the selected user account, the next step in changing your password on a Chromebook is to confirm the new password. This confirmation ensures that the password has been correctly entered and eliminates any possibility of an input error.
On the password change page, locate the section that prompts you to confirm the new password. This section will typically provide an input field where you can re-enter the new password.
Type in the new password once again in the designated input field for confirmation. Pay close attention to match the exact characters and sequence as the initial entry.
By confirming the new password, you are providing an extra layer of security and accuracy in the password change process. This verification step helps prevent any potential mistakes or discrepancies in the newly set password.
Double-check for any discrepancies or typographical errors between the initial entry and the confirmation entry of the new password. Consistency between the two is crucial to ensure a successful password change and smooth logins to the user account moving forward.
Once you have confirmed the new password, review the password strength indicator, if available, to ensure that the chosen password meets the recommended criteria for a strong and secure password.
In the upcoming section, we will guide you on saving the changes and finalizing the password modification for the selected user account.
Saving the Changes
After successfully entering and confirming the new password for the selected user account, the final step in changing your password on a Chromebook is to save the changes. This step ensures that the modified password is officially applied and updated in the system.
On the password change page, locate the option to save or apply the changes. This can be in the form of a “Save” button, “Apply Changes” button, or a similar prompt.
Click on the designated button or select the option to save the changes. This action will initiate the process of updating and implementing the new password for the selected user account.
Once the changes have been saved, a confirmation message may appear to inform you that the password modification was successful. This message may also provide additional instructions or reminders regarding the newly changed password.
At this stage, you have successfully changed the password for the selected user account. The new password will now be required to log in to the Chromebook and access any associated services or applications linked to that user account.
It is highly recommended to remember and securely store the new password in a safe place. Additionally, consider enabling two-factor authentication or using a password manager to further enhance the security of your user account.
Congratulations! You have now completed the process of changing your password on a Chromebook. You can confidently log in to your user account, knowing that your new password offers enhanced security and protection.
Conclusion
Changing your password on a Chromebook is a simple yet essential task to maintain the security and privacy of your user account. By following the step-by-step process outlined in this guide, you can confidently update your password and enhance your online safety.
We began by selecting the user account for which we wanted to change the password. This ensured that the password modification only applied to the intended account, without affecting other users on the Chromebook.
Next, we accessed the Chrome OS settings and navigated to the “People” section, where we could manage user accounts. Clicking on “Manage Other People” provided us with the ability to make changes to account settings, including the password.
We then selected the user account for which we wanted to change the password and clicked on “Edit” to proceed. Entering the current password verified our identity, while entering the new password enhanced security and met the recommended criteria for a strong password.
After confirming the new password, we saved the changes to finalize the password modification. This ensured that the updated password was officially applied and ready to use for logging in to the user account.
It is important to note that regularly changing your password and using strong, unique passwords across all your accounts can significantly enhance your cybersecurity posture. Consider implementing additional security measures, such as two-factor authentication, to further safeguard your user account.
By following these steps, you can effectively change your password on a Chromebook and protect your personal information from unauthorized access.
Now that you have successfully changed your password, enjoy a more secure and worry-free computing experience on your Chromebook!