Introduction
Welcome to this guide on how to unlock a Chromebook. Chromebooks are known for their simplicity and security, but sometimes you may find yourself locked out of your device. Whether you’ve forgotten your lock screen PIN or password, or you’re experiencing an issue with unlocking your Chromebook, this article will walk you through the necessary steps to regain access to your device.
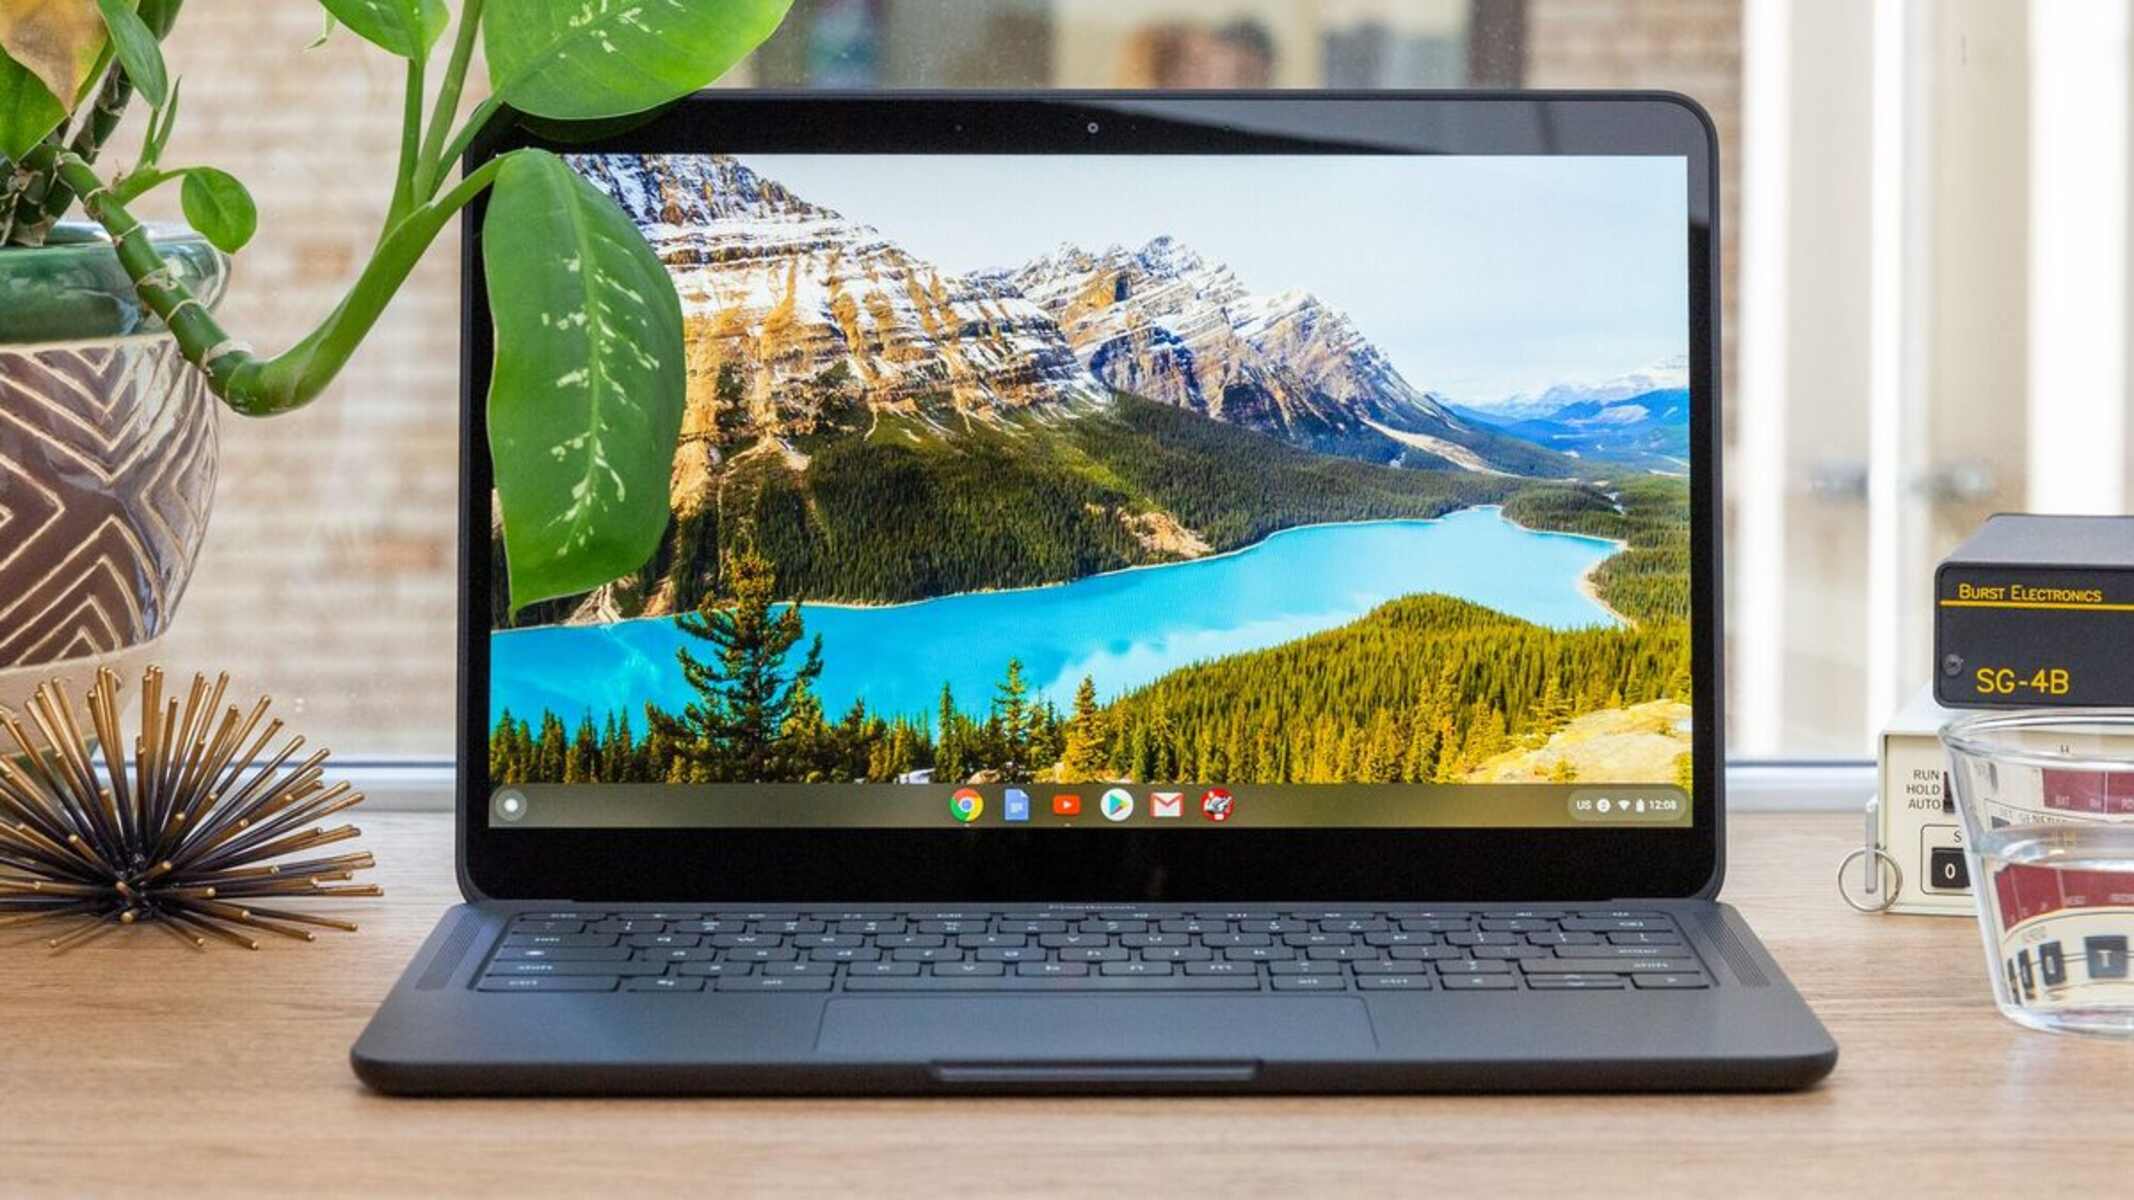
A Chromebook is a laptop or tablet that runs on Google’s Chrome OS operating system. It is designed to be easy to use and mainly relies on web applications and cloud-based services. One of the key security features of a Chromebook is its built-in lock screen protection, which helps to keep your personal information safe and secure.
Unlocking a Chromebook may seem like a daunting task, especially if you’re not familiar with the device’s specific settings. However, the process is relatively simple and straightforward. In the following sections, we will outline the step-by-step instructions to help you unlock your Chromebook and get back to using it in no time.
Whether you’re a Chromebook user who has recently encountered a lock screen issue or someone who wants to be prepared in case this situation arises, this guide is here to assist you. So, without further ado, let’s get started with the first step: powering on your Chromebook.
Step 1: Power on the Chromebook
The first step in unlocking your Chromebook is to power it on. To do this, locate the power button on your device. On most Chromebooks, the power button is located either on the top row of the keyboard or on the side of the device. Press and hold the power button until the screen lights up and the Chromebook turns on.
Once the Chromebook is powered on, you will be greeted with the Chrome OS login screen. This is where you will need to enter your Google account details to proceed with unlocking the device. If you don’t have a Google account yet, you can create one by clicking on the “Create account” option on the login screen.
It’s important to note that you will need to have a stable internet connection to sign in to your Google account and unlock the Chromebook. If you’re unable to connect to the internet at this stage, you may need to troubleshoot your network connection before proceeding.
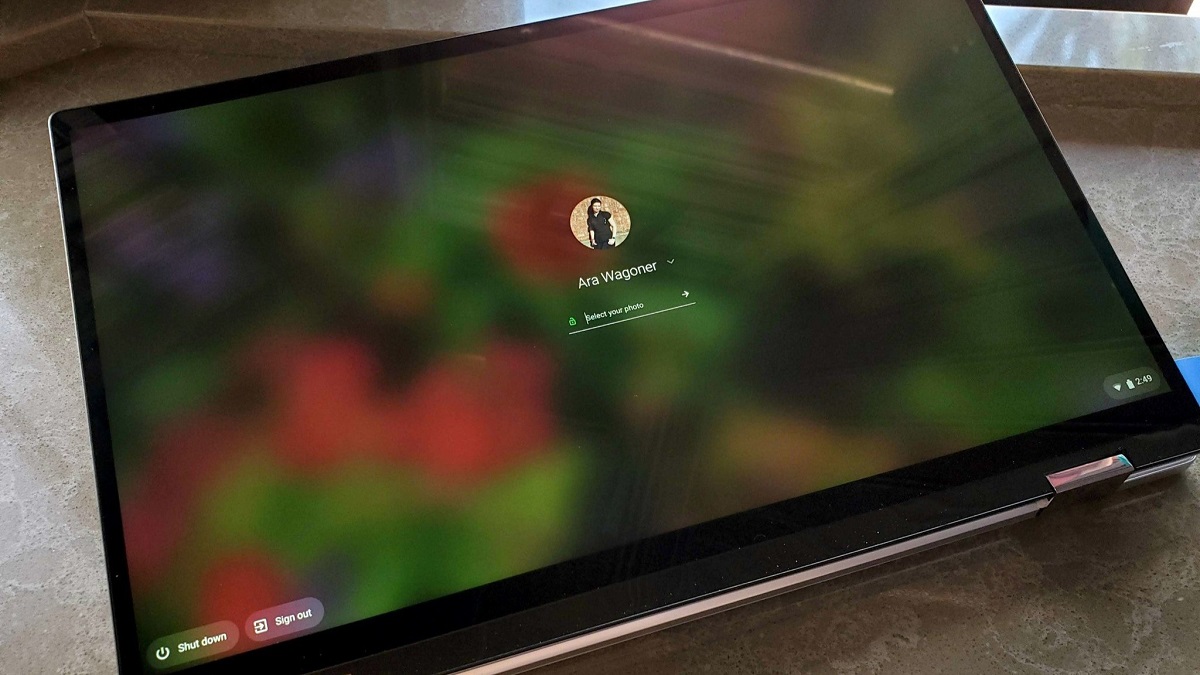
If you’ve already set up your Chromebook with a lock screen PIN or password, you will see the lock screen prompt after signing in with your Google account. In the next step, we will guide you through setting up a lock screen PIN or password if you haven’t done so already.
Step 2: Enter your Google account details
After powering on your Chromebook, you will need to enter your Google account details to proceed with unlocking the device. Your Google account is the key to accessing your Chromebook and all its features, as it contains your personal settings, files, and apps.
To enter your Google account details, simply click on the designated field on the login screen and type in your email address or phone number associated with your Google account. If you have multiple Google accounts, make sure to select the correct one from the drop-down menu.
Once you’ve entered your email address or phone number, click on the “Next” button or press the “Enter” key on the keyboard. You will then be prompted to enter your account password. Type in your password carefully, ensuring that caps lock or num lock keys are off, to avoid any login errors.
If you’re certain that you’ve entered the correct email address or phone number and password, but you’re still unable to sign in, there could be a few potential issues. Firstly, double-check your internet connection to ensure it is stable and working. You can try connecting to a different network or restarting your modem/router to resolve any connectivity issues. Additionally, make sure that you don’t have any browser extensions or plugins that could be interfering with the login process.
If you’re still unable to sign in with your Google account details, you may need to reset your password. On the login screen, click on the “Forgot password?” link, and follow the prompts to reset your password. You may be required to verify your identity through your recovery email or phone number associated with your Google account.
Once you’ve successfully entered your Google account details and signed in, you’re almost there! In the next step, we will guide you through setting up a lock screen PIN or password to secure your Chromebook.
Step 3: Set up a lock screen PIN or password
Setting up a lock screen PIN or password adds an extra layer of security to your Chromebook. It ensures that only authorized users can access your device and protects your personal information from unauthorized access.
To set up a lock screen PIN or password, follow these steps:
- Once you’ve signed in to your Google account, click on the time and date section in the bottom right corner of the screen. This will open the system tray.
- Click on the gear icon to open the Settings menu.
- In the Settings menu, scroll down and click on “Personalization.”
- Under the “Lock screen” section, click on “Screen lock.”
- Choose either “PIN” or “Password” as your preferred lock screen option.
- If you choose a PIN, enter a sequence of numbers that you will easily remember. Make sure to avoid predictable combinations like “1234” or repetitive numbers like “1111.”
- If you choose a password, create a strong and unique password that includes a combination of uppercase and lowercase letters, numbers, and symbols.
- Confirm your PIN or password by entering it again in the designated field.
- Click on “Lock” or “Done” to save your lock screen PIN or password settings.
Once you’ve set up a lock screen PIN or password, your Chromebook will require you to enter it to unlock the device every time you start it or wake it from sleep mode. This adds an extra level of security and ensures that even if someone gains physical access to your Chromebook, they won’t be able to use it without the PIN or password.
Remember to choose a lock screen PIN or password that you can easily remember but is not easily guessable. Avoid sharing your lock screen information with others and regularly update your PIN or password to maintain optimal security for your Chromebook.
In the next step, we will guide you through unlocking your Chromebook using the lock screen PIN or password that you have just set up.
Step 4: Unlock the Chromebook using the lock screen PIN or password
Now that you have set up a lock screen PIN or password on your Chromebook, it’s time to learn how to unlock it using this security feature. Here are the steps to unlock your Chromebook:
- Start by waking up your Chromebook if it is in sleep mode. You can do this by pressing any key on the keyboard or by tapping the touchpad.
- You will be presented with the lock screen, displaying a prompt to enter your lock screen PIN or password.
- Using the keyboard or touchpad, enter the lock screen PIN or password that you set up in the previous step.
- Double-check your entry to ensure that you have input the correct lock screen PIN or password. The characters you type will be masked on the screen for privacy.
- Once you have entered the correct lock screen PIN or password, press the Enter or Return key on the keyboard.
If you have entered the correct lock screen PIN or password, your Chromebook will unlock, and you will be taken to the desktop or last open application. You can now freely use your Chromebook and access your files, apps, and settings.
However, if you enter an incorrect lock screen PIN or password, you will be shown an error message. In this case, double-check your entry for any mistakes and try again. If you are still unable to unlock your Chromebook, you may need to reset your lock screen PIN or password. We will discuss troubleshooting options in the next step.
It’s important to note that the lock screen PIN or password is separate from your Google account password. So even if you change your Google account password, the lock screen PIN or password will remain the same.
Now that you have successfully unlocked your Chromebook using the lock screen PIN or password, you can enjoy using your device without any restrictions. In the next step, we will provide you with troubleshooting tips in case you encounter any issues while trying to unlock your Chromebook.
Step 5: Troubleshooting tips for unlocking a Chromebook
While unlocking a Chromebook is usually a smooth process, there may be instances where you encounter difficulties or issues. If you’re having trouble unlocking your Chromebook, try the following troubleshooting tips:
- Double-check your internet connection: Ensure that you have a stable internet connection before attempting to unlock your Chromebook. If your device is not connected to the internet, it may prevent you from signing in with your Google account and accessing your Chromebook.
- Restart your Chromebook: Sometimes, a simple restart can resolve temporary glitches or issues. Press and hold the power button until your Chromebook shuts down. Wait a few seconds, then press the power button again to turn it back on.
- Reset your lock screen PIN or password: If you have forgotten your lock screen PIN or password, you can reset it. On the lock screen, click on the “Forgot PIN” or “Forgot password” link. Follow the prompts to verify your identity and create a new PIN or password.
- Check for keyboard issues: If you’re unable to enter your lock screen PIN or password using the keyboard, make sure there are no physical obstructions or debris blocking the keys. You can also try connecting an external keyboard to see if that resolves the issue.
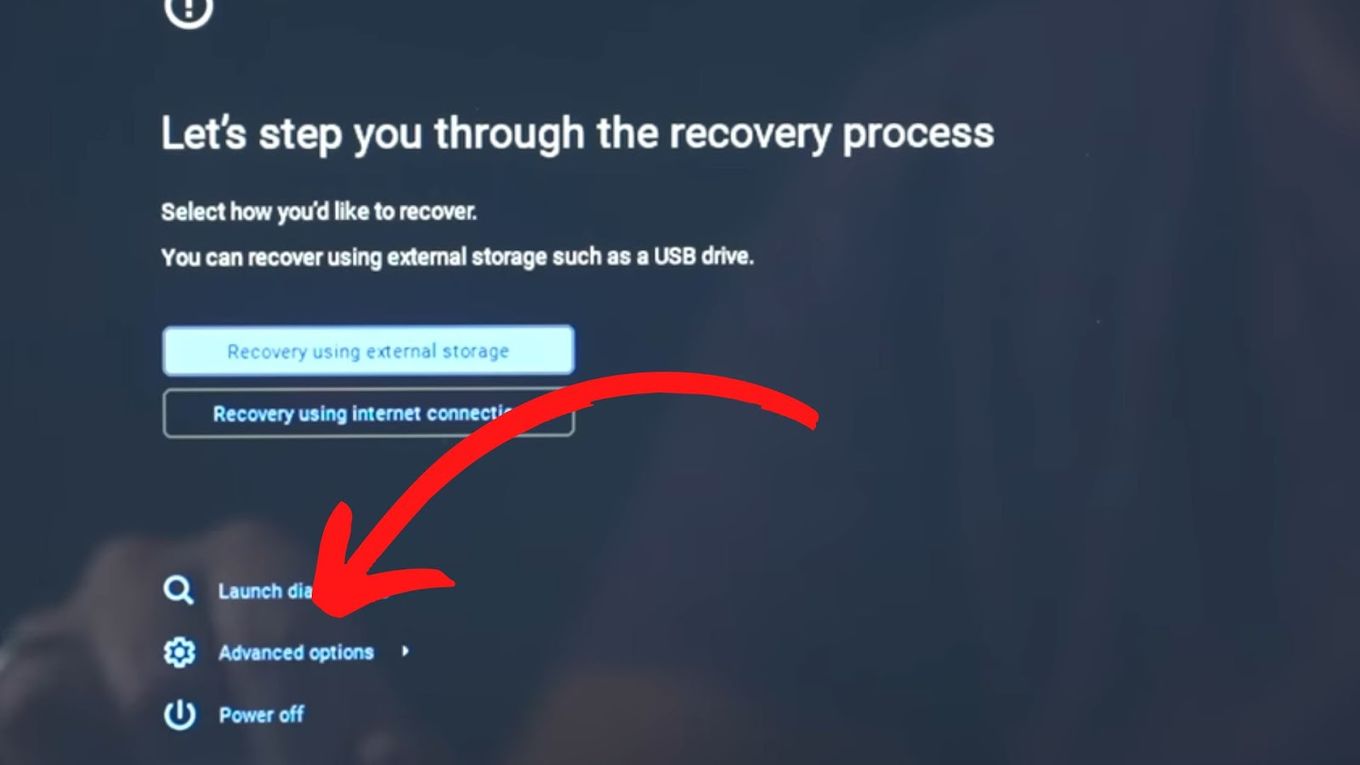
- Reset your Chromebook: If all else fails, you can perform a powerwash, which will reset your Chromebook to its factory settings. Keep in mind that this will erase all local data and settings on your device, so make sure to back up any important files before proceeding. To perform a powerwash, go to the Settings menu, click on “Advanced” and select “Powerwash.”
- Contact Chromebook support: If you’ve tried all the troubleshooting steps and are still unable to unlock your Chromebook, it may be time to seek assistance from Chromebook support. You can visit the official Chromebook support website for further guidance or contact their customer support team directly.
By following these troubleshooting tips, you should be able to overcome any obstacles and successfully unlock your Chromebook. However, it’s always recommended to regularly update your device’s software and keep your Google account information secure to ensure a smooth and hassle-free user experience.
Now that you’re equipped with troubleshooting knowledge, you can tackle any unlocking challenges that may arise with your Chromebook. Remember to remain patient and persistent, and don’t hesitate to seek professional help if needed.
Conclusion
Congratulations! You have successfully learned how to unlock a Chromebook. By following the step-by-step instructions provided in this guide, you can regain access to your device and continue using it without any restrictions.
We covered the essential steps of powering on your Chromebook, entering your Google account details, setting up a lock screen PIN or password, and unlocking your Chromebook using the lock screen security feature. Additionally, we provided troubleshooting tips to help you overcome any challenges you may encounter during the unlocking process.
Remember, a lock screen PIN or password adds an extra layer of security to your Chromebook, so it’s important to choose a strong and unique code and keep it confidential. Regularly updating your device’s software and practicing good password hygiene will help ensure the safety of your personal information and protect against potential security threats.
If you ever find yourself locked out of your Chromebook, don’t panic. Take a deep breath, follow the steps in this guide, and try the troubleshooting tips provided. If all else fails, reach out to Chromebook support for further assistance.
Now that you’re armed with the knowledge and skills to unlock your Chromebook, you can feel confident in navigating any lock screen issues that may arise. Enjoy the seamless and secure experience of using your Chromebook to its fullest potential!