Introduction
Chromebooks are becoming increasingly popular as lightweight, portable laptops that offer a seamless browsing experience. These devices excel in web-based activities and productivity tasks. However, if you’re looking to expand the capabilities of your Chromebook and install Android applications (APKs), you’ll need to follow a few simple steps.
Installing APKs on your Chromebook can be a game-changer, allowing you to access a wide range of Android apps directly on your device. Whether you want to enjoy your favorite mobile games, use productivity apps, or explore various entertainment options, installing APKs opens up a whole new world of possibilities on your Chromebook.
In this guide, we’ll walk you through the step-by-step process of installing APKs on your Chromebook. By following these instructions, you’ll be able to unlock the full potential of your device and enjoy the versatility of Android applications.
Before we dive into the installation process, it’s important to note that not all Chromebooks support running Android apps. Make sure your Chromebook is capable of running Android applications before proceeding with the installation. You can check the compatibility of your device by visiting Google’s official support page.
Now, without further ado, let’s get started with enabling Developer Mode on your Chromebook, the first step to install APKs and unleash the power of Android apps on your device.
Step 1: Enable Developer Mode
Before you can install APKs on your Chromebook, you need to enable Developer Mode. Enabling this mode will allow you to access system files and make modifications that are necessary for installing Android applications.
It’s important to note that enabling Developer Mode will remove all local data from your Chromebook. Therefore, it’s crucial to back up any important files and documents before proceeding with this step. Once you’re ready, follow the steps below to enable Developer Mode:
- Press and hold the Esc key, the Refresh key (the key with an icon that looks like a twisted arrow), and the Power button simultaneously. This will initiate the recovery mode.
- In the recovery mode screen, press Ctrl + D on your keyboard to enable Developer Mode.
- A warning screen will appear, informing you that enabling Developer Mode will erase all local data. Read the information carefully, and if you’re ready to proceed, press the Enter key.
- Your Chromebook will now reboot and enter Developer Mode. This process may take a few minutes.
- Once the Chromebook restarts, you’ll see a screen with a red exclamation mark and a message stating that Developer Mode is enabled. This indicates that you’re now ready to install APKs on your Chromebook.
Enabling Developer Mode on your Chromebook is a crucial step as it gives you the necessary permissions to install Android applications. With Developer Mode enabled, you can now proceed to the next step, which involves installing Linux (Beta) on your Chromebook. This will open the door to running Android apps on your device.
Step 2: Install Linux (Beta) on your Chromebook
In order to install Android apps on your Chromebook, you need to have Linux (Beta) installed. Linux (Beta) provides a secure environment to run Android applications on your device. Here’s how you can install Linux (Beta) on your Chromebook:
- Open the Settings menu on your Chromebook. You can access it by clicking on the system tray in the bottom-right corner and then clicking on the gear icon.
- In the Settings menu, click on “Linux (Beta)” in the left sidebar. If you don’t see this option, it means that Linux (Beta) is not available for your Chromebook model.
- Click on the “Turn on” button to enable Linux (Beta) on your Chromebook.
- Next, you’ll need to set up a Linux container. Click on the “Install” button to initiate the installation process. This may take a few minutes to complete.
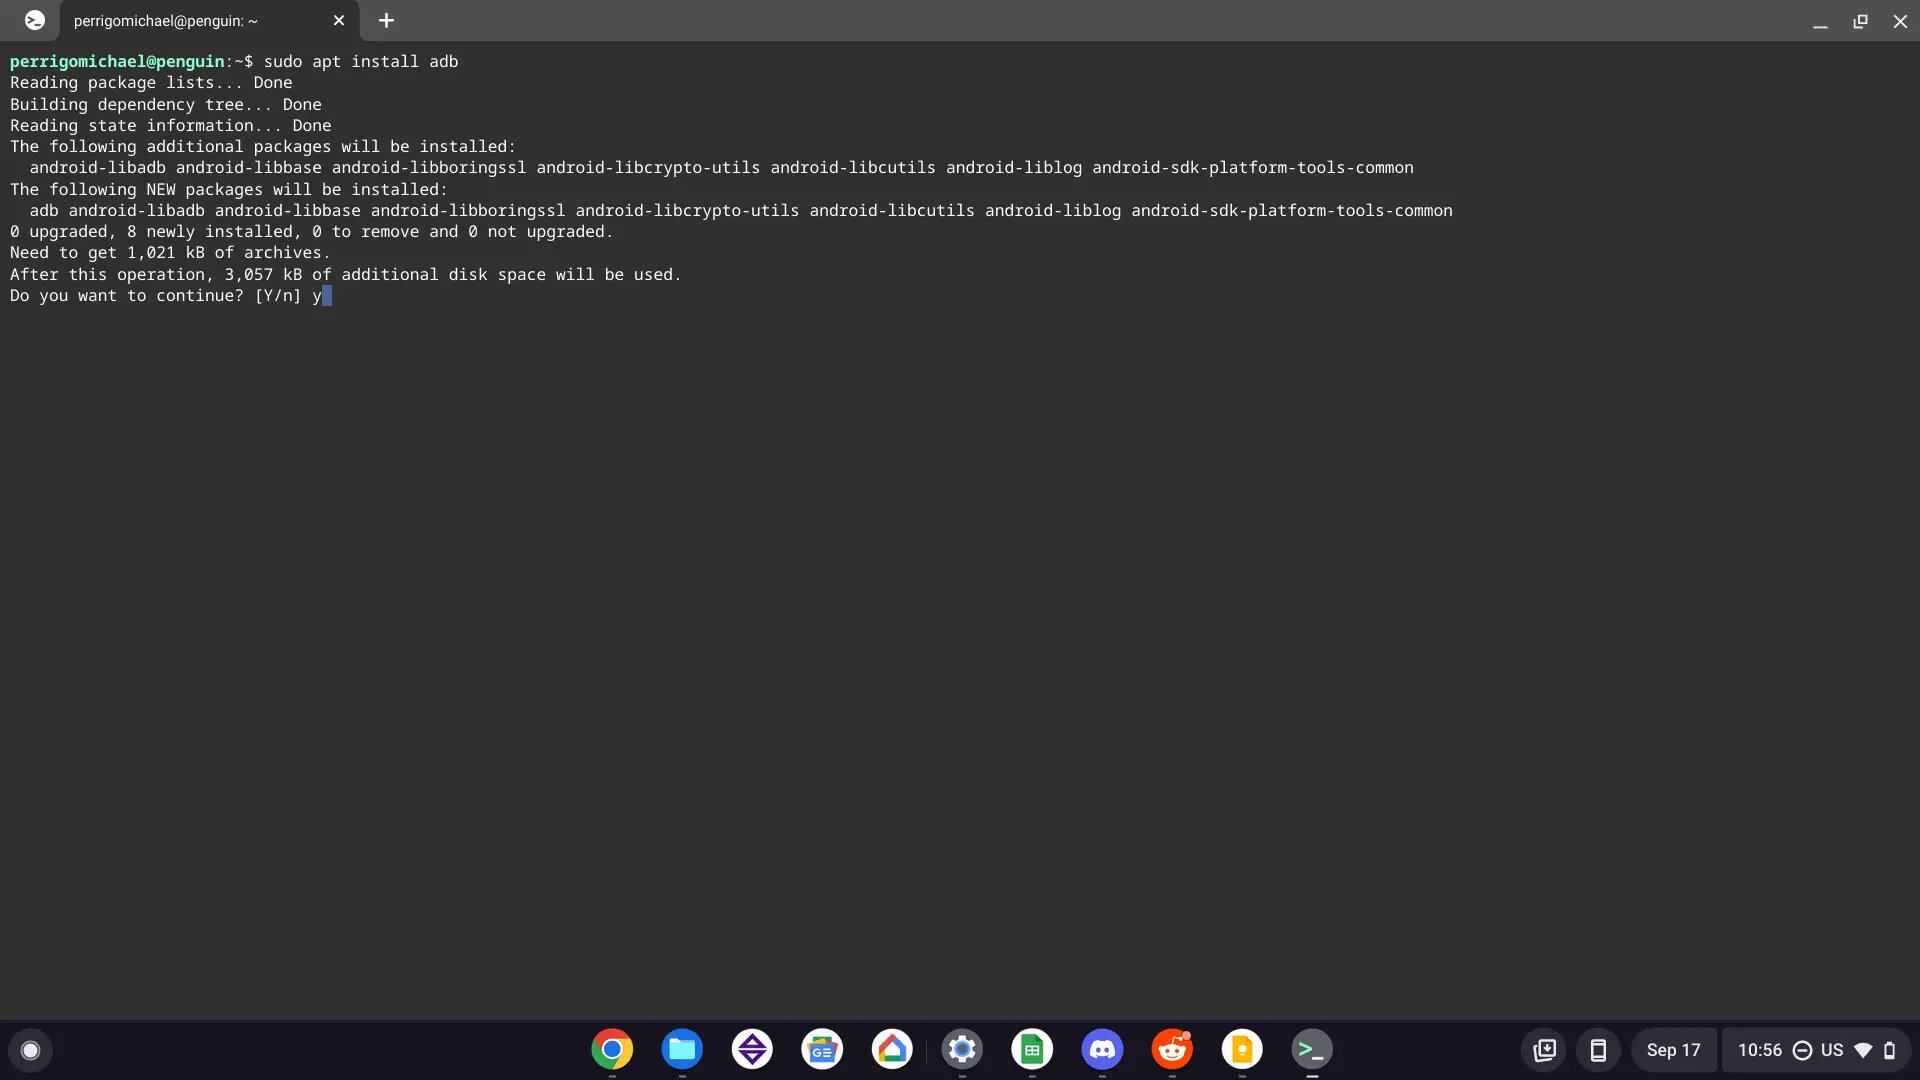
- Once the installation is complete, click on the “Terminal” app in your app launcher or search for “Terminal” in the search bar.
- In the Terminal window, type the command
sudo apt updateand press Enter. This will update the Linux system on your Chromebook. - After the update is complete, you can now proceed to install the necessary packages for running Android apps. Type the command
sudo apt install -y adb chromeos-apkand press Enter. - Wait for the installation process to finish. This will install the Android Debug Bridge (ADB) and the Chrome OS APK tools, which are essential for installing APK files on your Chromebook.
Once you’ve completed these steps, you have successfully installed Linux (Beta) on your Chromebook, and you’re ready to move on to the next step of installing the Google Play Store.
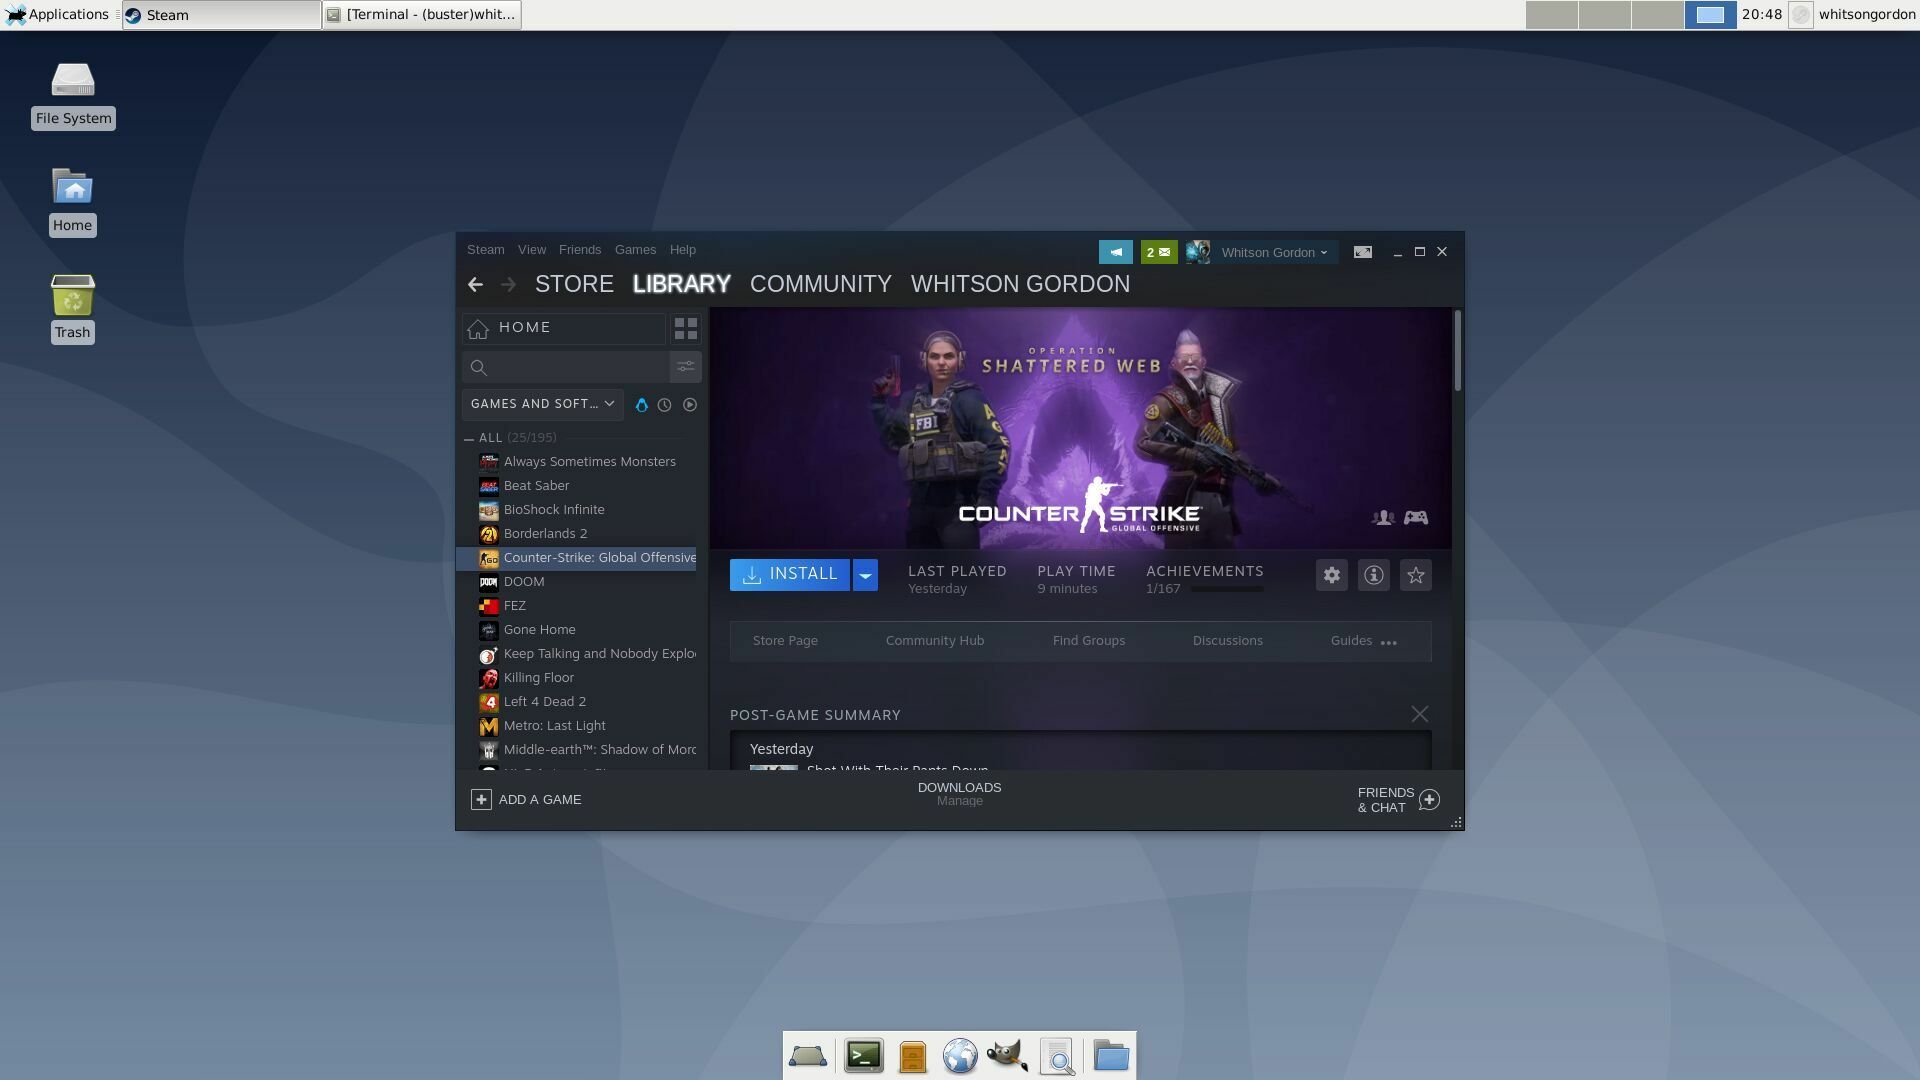
Step 3: Install Google Play Store on Chromebook
In order to download and install Android apps (APKs) on your Chromebook, you’ll need to have the Google Play Store installed. Follow these steps to get started:
- Open the Settings menu on your Chromebook by clicking on the system tray in the bottom-right corner and then clicking on the gear icon.
- In the Settings menu, click on “Apps” in the left sidebar.
- Under the “Google Play Store” section, toggle the switch to the “On” position. This will enable the Google Play Store on your Chromebook.
- A prompt will appear asking you to agree to the Terms of Service. Click on the “Accept” button to proceed.
- After accepting the Terms of Service, the Google Play Store app will be installed on your Chromebook.
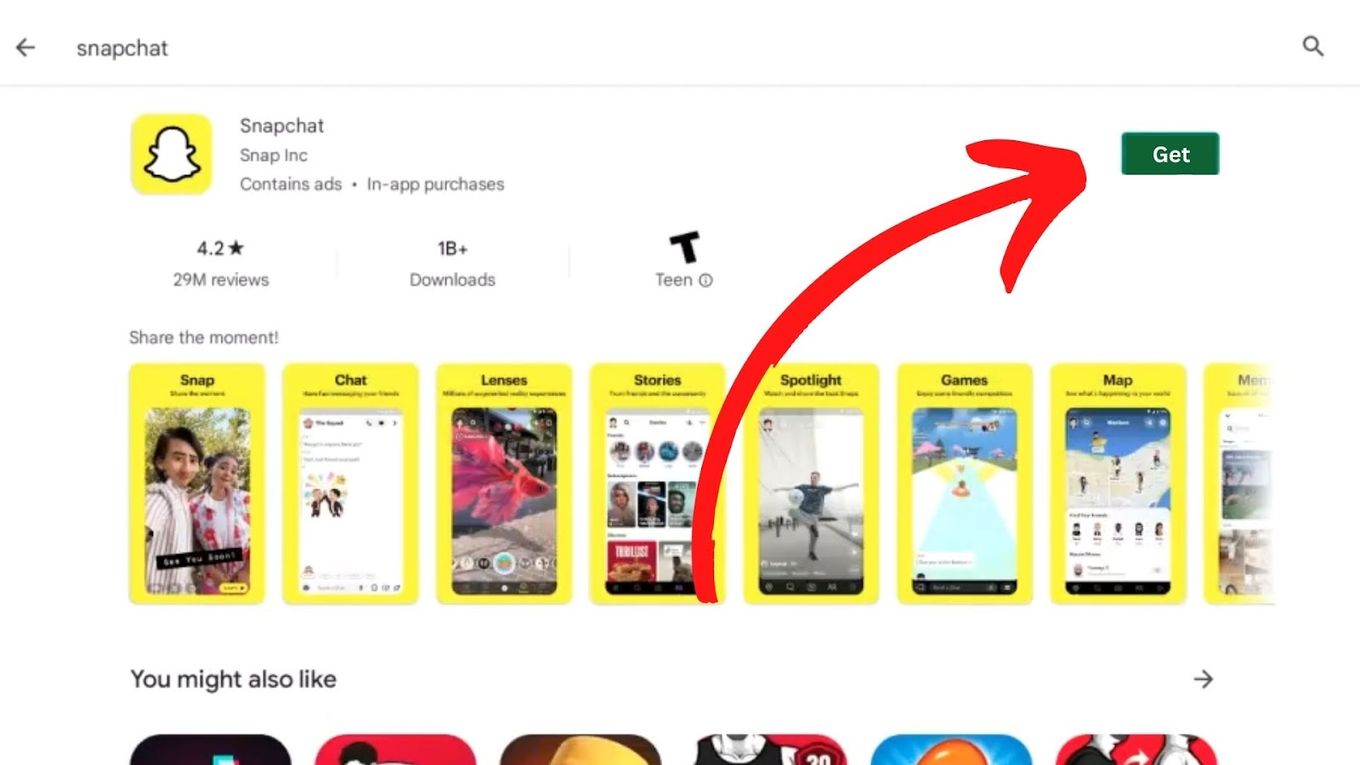
- Click on the launcher icon in the bottom-left corner of your screen, then click on the “Play Store” icon. This will open the Google Play Store.
- Sign in to your Google account or create a new one if you don’t have an account already.
- Once you’re signed in, you can browse and search for Android apps just like you would on an Android device.
- When you find an app you want to install, click on the app’s icon, then click on the “Install” button.
- The app will now be downloaded and installed on your Chromebook, and you can access it from the app launcher.
With the Google Play Store now installed on your Chromebook, you have access to a vast library of Android apps. You’re one step closer to installing APKs and enjoying Android apps on your device. Let’s move on to the next step and learn how to download and install an APK file.
Step 4: Download and Install an APK file
Now that you have the Google Play Store installed on your Chromebook, you can easily download and install Android apps (APKs) from the store. However, there may be instances where you want to install an app that is not available on the Play Store or you prefer to install an APK from an external source. Here’s how you can download and install an APK file on your Chromebook:
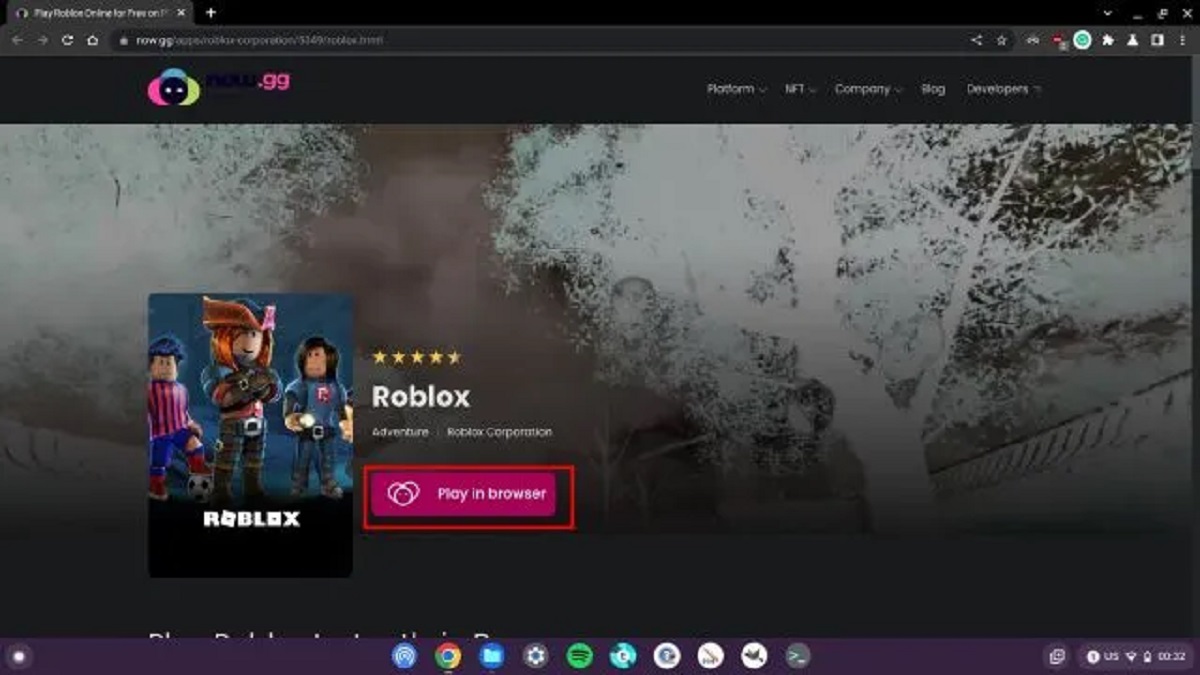
- Visit a reliable website that offers APK files for download. Make sure to choose a reputable source to avoid any security risks.
- Search for the app you want to install and download its APK file to your Chromebook. Save the APK file in a location where you can easily access it.
- Open the Files app on your Chromebook by clicking on the launcher icon and then clicking on the “Files” app.
- Navigate to the location where you saved the APK file. Once you find it, double-click on the APK file.
- A prompt will appear asking if you want to install the app. Click on the “Install” button to proceed with the installation.
- The APK file will be installed, and once the installation is complete, you’ll be able to access the app from the app launcher.
It’s important to note that installing APK files from external sources can pose security risks. Make sure to only download APK files from trusted sources and exercise caution when installing apps outside of the Google Play Store.
With the ability to download and install APK files, you have even more options to explore and customize your Chromebook with a wide range of Android apps. Now, let’s move on to the final step and learn how to launch Android apps on your Chromebook.
Step 5: Launch the Android App on your Chromebook
After successfully installing Android apps (APKs) on your Chromebook, it’s time to launch and enjoy them. Here’s how you can easily launch Android apps on your Chromebook:
- Locate the app icon in your app launcher. Depending on the number of apps you have installed, you may need to scroll through the list or use the search bar to find the app.
- Once you find the app, simply click on its icon to launch it.
- The app will open and run on your Chromebook, providing you with the full Android experience.
- You can use the app just like you would on an Android device, taking advantage of its features and functionalities.
- To switch between different Android apps, you can simply click on their respective icons in the app launcher.
It’s important to note that not all Android apps may be fully optimized for Chromebooks. Some apps may have limited functionality or display differently on the larger screen. However, many popular apps are designed to work seamlessly across both Android devices and Chromebooks.
With the ability to launch Android apps on your Chromebook, you now have a wide variety of tools, games, and entertainment options at your fingertips. Take full advantage of the integration between Android and Chrome OS to enhance your productivity and enjoy a broader array of entertainment.
Now that you’ve completed all the steps of installing APKs on your Chromebook, you’re ready to explore the vast world of Android apps directly on your device. Whether you’re using your Chromebook for work, education, or entertainment, the addition of Android apps can greatly enhance your overall experience.
Conclusion
Installing Android apps (APKs) on your Chromebook can unlock a whole new level of functionality and versatility for your device. By following the steps outlined in this guide, you can easily enable Developer Mode, install Linux (Beta), set up the Google Play Store, download and install APK files, and launch Android apps on your Chromebook.
With the Google Play Store and APK installation capability, you have access to a vast library of Android apps that can enhance your productivity, provide entertainment, and offer new ways to customize your Chromebook experience.
However, it’s important to exercise caution when installing APK files from external sources and ensure that you only download from reputable websites to avoid any potential security risks.
Remember, not all Chromebooks support running Android apps, so be sure to check the compatibility of your device before attempting to install APKs.
Whether you want to play your favorite games, use productivity apps, or explore new entertainment options, installing APKs on your Chromebook allows you to customize and personalize your device according to your needs and preferences.
So, go ahead and start exploring the world of Android apps on your Chromebook. Unleash the full potential of your device and enjoy a seamless integration between Chrome OS and Android, making your Chromebook even more powerful and versatile.