Introduction
Are you the proud new owner of a Chromebook? Whether you’ve recently purchased a brand-new device or received a hand-me-down, changing the owner on your Chromebook is a simple process that allows you to personalize the device and make it your own. By following a few easy steps, you can seamlessly transition from the previous owner’s account to yours, ensuring that all settings, preferences, and data are tailored to your needs.
Changing the owner on a Chromebook involves signing out of the current owner’s account, performing a powerwash to erase all data, and then setting up the device with your own account. It’s important to note that this process will remove all existing files, apps, and settings from the Chromebook, so make sure to back up any essential data before proceeding.
In this guide, we will walk you through each step of the process to change the owner on your Chromebook. From preparing the device for the transition to customizing settings and transferring files, you’ll learn everything you need to know to make the Chromebook truly yours. So, let’s get started on this exciting journey of personalization and customization!
Step 1: Prepare the Chromebook
Before you start changing the owner on your Chromebook, it’s important to ensure that the device is ready for the transition. Here are a few steps to prepare the Chromebook:
- Backup your important files: Before performing any actions that may erase data, it’s crucial to back up any important files or documents you have on the device. You can save them to an external storage device, such as a USB drive, or upload them to cloud storage services like Google Drive.
- Disconnect any external devices: If your Chromebook is connected to any external devices, such as a printer or a mouse, make sure to disconnect them before proceeding. This will ensure a smooth transition and prevent any potential complications.
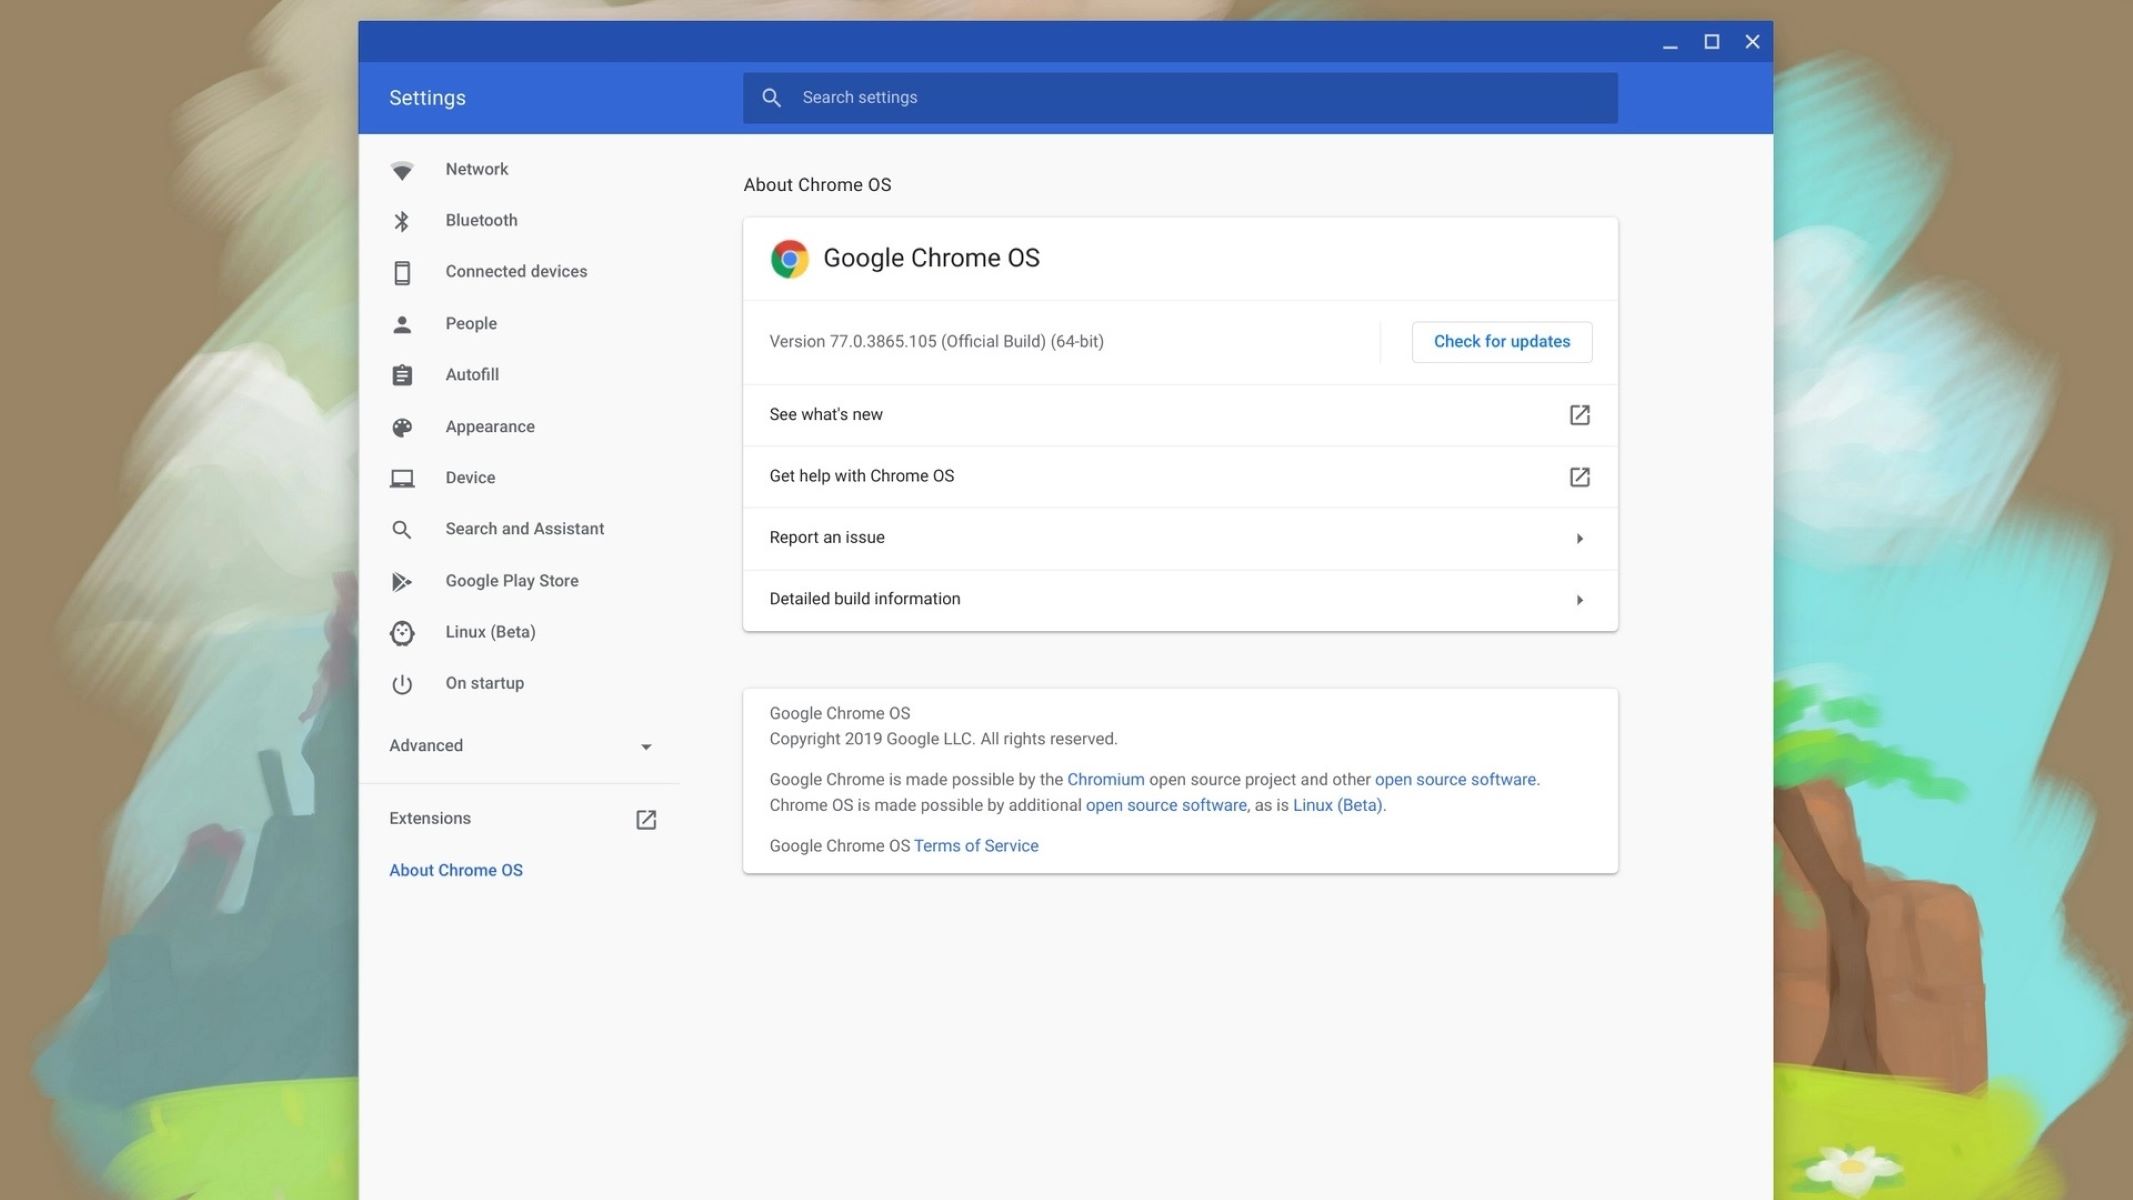
- Check for system updates: It’s always a good idea to check for any available system updates before making any changes. To do this, click on the clock in the bottom-right corner of the screen, select the Settings gear icon, and navigate to the “About Chrome OS” section. Here, you can check for and install any pending updates.
- Secure your wireless network: If you haven’t already done so, make sure that your wireless network is secured with a strong password. This will help protect your Chromebook and ensure that only authorized users can connect to it.
By following these preparation steps, you’ll ensure a smooth transition while changing the owner on your Chromebook and minimize the risk of losing any important data. Once you’ve completed these preparations, you’re ready to proceed to the next step: signing out of the current owner’s account.
Step 2: Sign out of the current owner’s account
To change the owner on your Chromebook, you’ll first need to sign out of the current owner’s account. Here’s how you can do it:
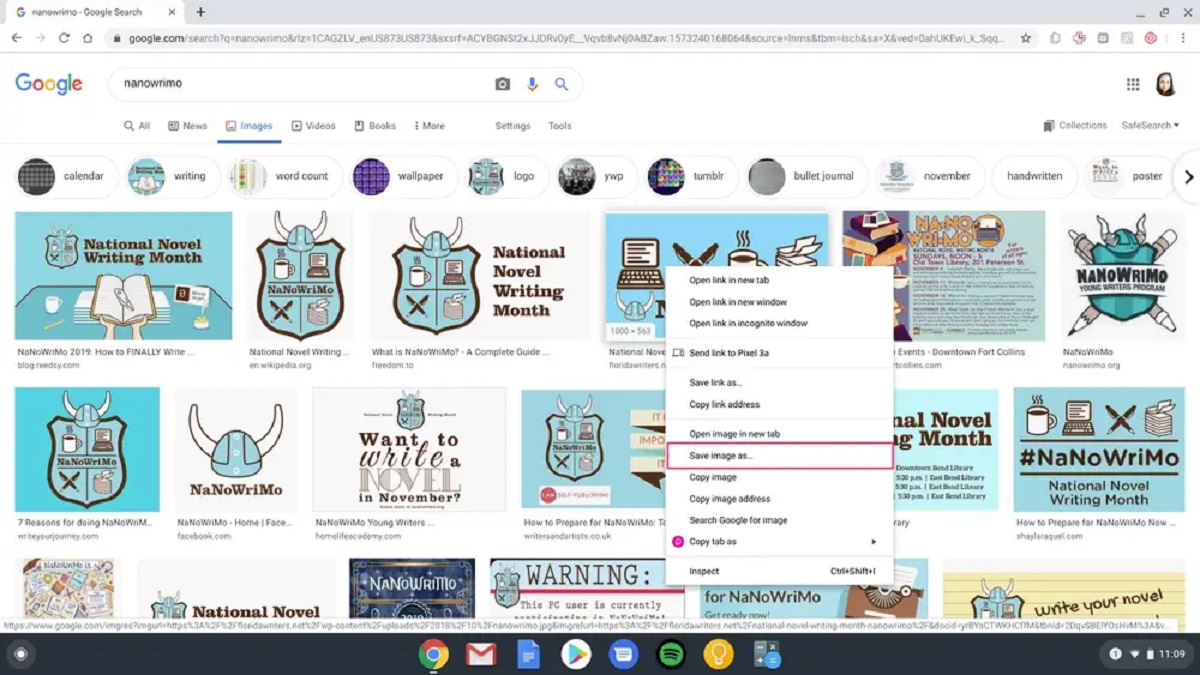
- Open the Chrome browser: Click on the Chrome icon located on the bottom-left corner of the screen to open the Chrome browser.
- Click on the profile picture: In the top-right corner of the Chrome browser window, you will see the profile picture of the current owner. Click on it to open the account menu.
- Select “Sign out”: From the account menu, click on the “Sign out” option. This will sign out of the current owner’s account and return you to the sign-in screen.
- Confirm sign out: A confirmation pop-up will appear asking if you want to sign out. Click on the “Sign out” button to proceed.
- Return to the sign-in screen: After signing out, you will be taken back to the sign-in screen. Here, you can either sign in with another account or continue with the next steps to set up the Chromebook with a new owner’s account.
It’s important to note that signing out of the current owner’s account will remove all associated data, including bookmarks, browsing history, and installed apps/extensions. The Chromebook will now be ready for the next step: performing a powerwash to erase all data and settings. Make sure you have backed up any important data before proceeding.
Step 3: Powerwash the Chromebook
To ensure a clean slate and remove all data and settings from the Chromebook, you’ll need to perform a powerwash. Here’s how you can do it:
- Sign in to the Chromebook: If you haven’t already done so, sign in to the Chromebook with your Google account. This will be the account that will become the new owner of the device.
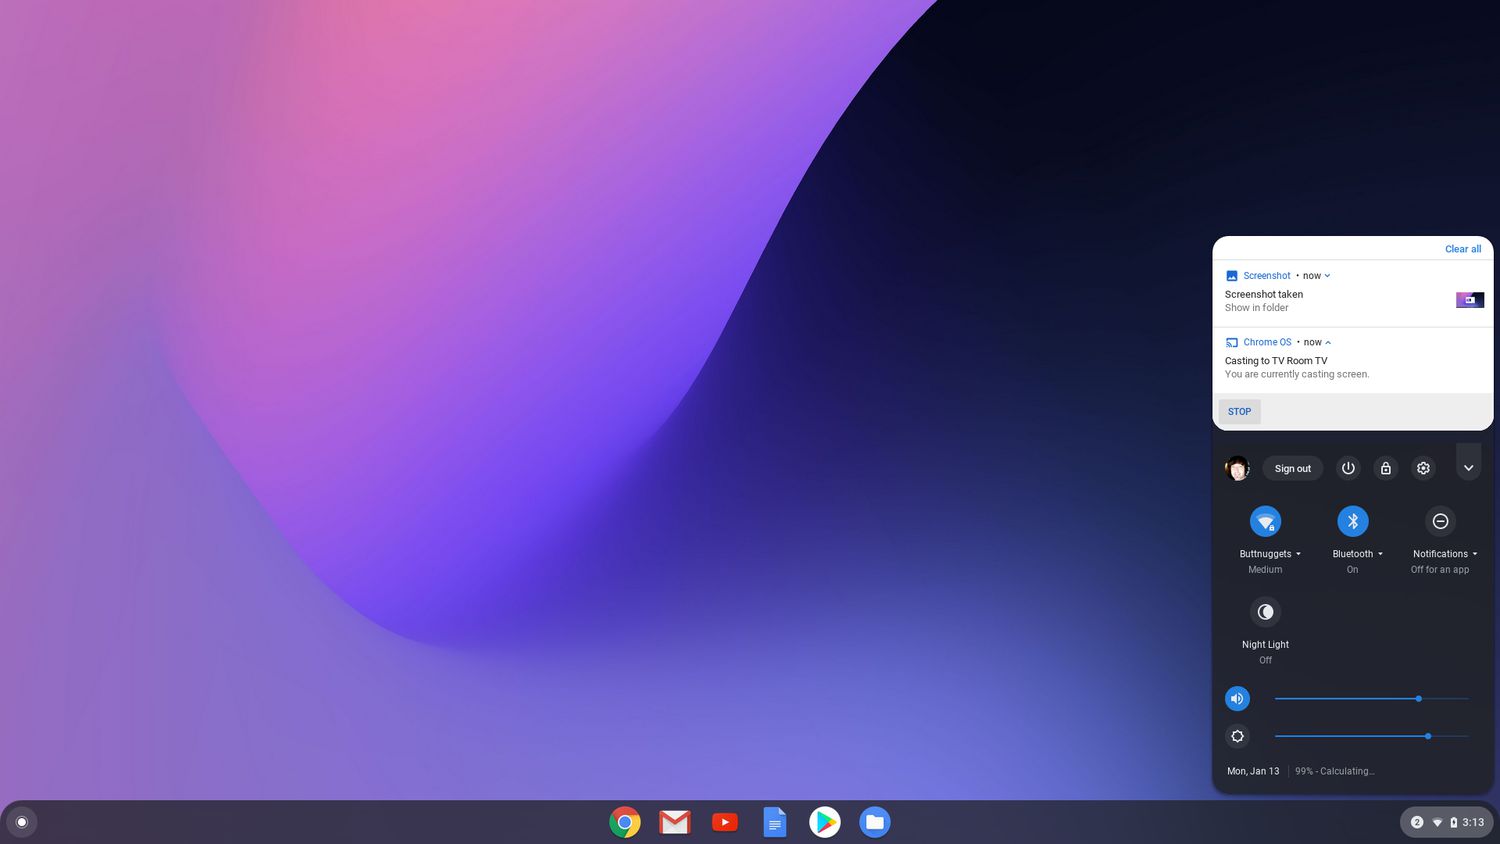
- Access the settings menu: Click on the clock in the bottom-right corner of the screen to open the system tray. From there, click on the Settings gear icon to access the settings menu.
- Scroll to the bottom: In the settings menu, scroll all the way down to the bottom and click on the “Advanced” option to expand the additional settings.
- Find the “Powerwash” section: In the “Advanced” settings, you will find the “Powerwash” section. Click on the “Powerwash” button to start the process.
- Confirm powerwash: A pop-up window will appear, warning you that a powerwash will erase all data on the Chromebook. Read the information carefully and, if you’re sure you want to proceed, click on the “Powerwash” button to confirm.
- Wait for the powerwash to complete: The Chromebook will now restart and begin the powerwash process. This may take a few minutes. Once the powerwash is complete, the Chromebook will restart again and take you to the initial setup screen.
Performing a powerwash will remove all data, settings, and accounts from the Chromebook, effectively returning it to its factory default state. This ensures that your new owner’s account will be the only account on the device. After the powerwash is complete, you can proceed to the next step: setting up the Chromebook with the new owner’s account.
Step 4: Set up the Chromebook with the new owner’s account
After performing a powerwash and erasing all data from the Chromebook, you can now set it up with your own Google account as the new owner. Here’s how:
- Choose your language: On the initial setup screen, select your preferred language from the available options.
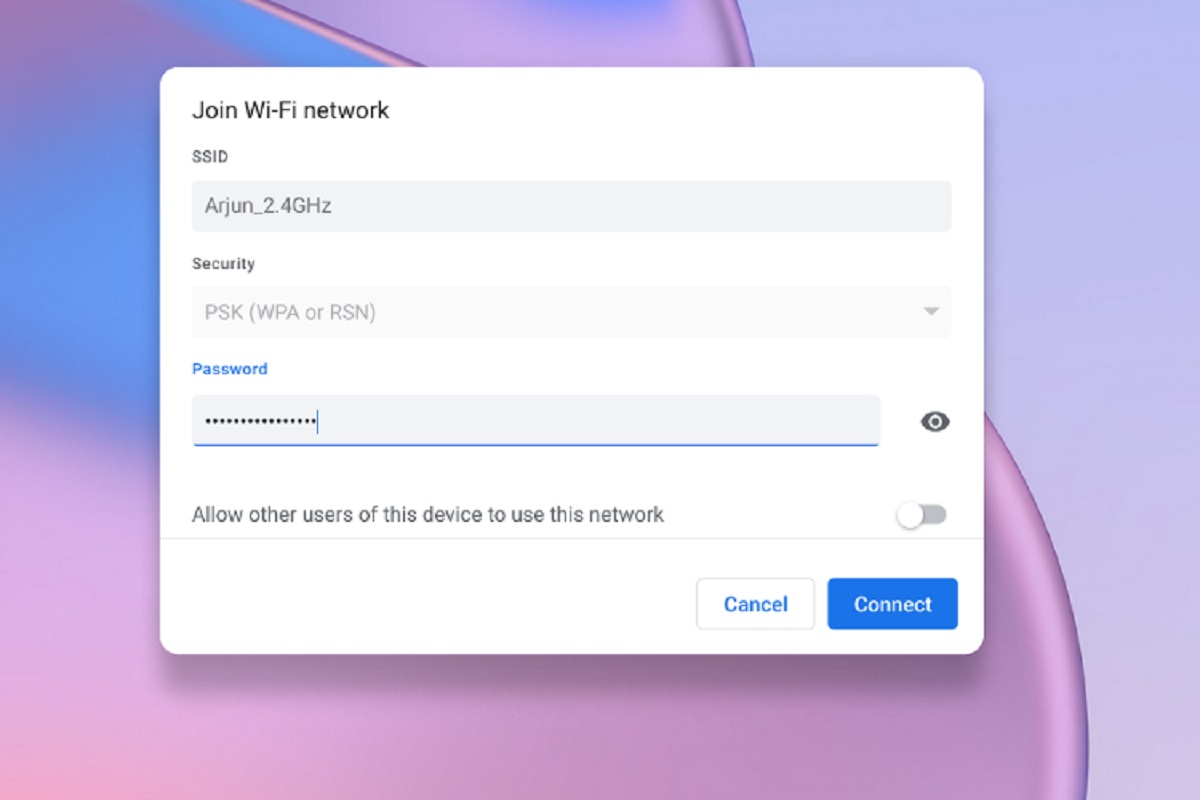
- Connect to a Wi-Fi network: Click on the Wi-Fi icon in the bottom-right corner and select your Wi-Fi network from the list. Enter the password if required to establish a connection.
- Sign in with your Google account: On the “Let’s connect you to the internet” screen, click on the “Add account” option. Enter your Google account credentials, including your email address and password. Click on the “Next” button.
- Agree to the terms of service: Read and review the terms of service and privacy policy. If you agree to them, click on the “Accept” button.
- Set up additional features: On the next screen, you can choose to enable or disable various Chrome OS features such as synchronization of apps and settings, location services, and more. Customize these settings based on your preferences.
- Complete the setup: Once you’ve configured the additional features, click on the “Accept and continue” button to complete the setup process.
By setting up the Chromebook with your Google account, you’ll become the new owner of the device. This will allow you to access your personalized settings, apps, and extensions on the Chromebook. You can now proceed to the next step to customize the settings and preferences according to your liking.
Step 5: Customize settings and preferences
Now that you have set up the Chromebook with your Google account, it’s time to customize the settings and preferences to make the device truly yours. Here are some key settings you can customize:
- Appearance: To personalize the look of your Chromebook, you can choose a wallpaper, adjust the display brightness, and configure other appearance settings. Right-click on the desktop, select “Set Wallpaper,” and choose an image or a solid color as your background.
- Privacy and security: Review and adjust the privacy and security settings on your Chromebook. This includes managing website permissions, adjusting cookie settings, enabling or disabling location services, and configuring the Chrome OS security features like automatic updates and secure browsing.
- Google Play Store: If your Chromebook supports it, you can enable the Google Play Store to access a wide range of Android apps. Go to Settings, scroll down to “Google Play Store,” and follow the prompts to enable and set up the Play Store on your device.
- Keyboard and touchpad: Customize the keyboard and touchpad settings to suit your preferences. You can adjust the keyboard layout, key repeat rate, and sensitivity of the touchpad. Go to Settings, click on “Keyboard” or “Touchpad” to access these settings.
- Accessibility: If you have specific accessibility needs, you can configure accessibility settings on your Chromebook. This includes options for magnification, screen reader, high contrast, and more. Go to Settings, click on “Accessibility” to explore the available options.
- Sync settings: If you use multiple Chrome devices, you can synchronize your settings, bookmarks, and extensions across all devices. Go to Settings, click on your Google account, and enable synchronization to ensure a consistent experience across devices.
By customizing these settings and preferences, you can tailor the Chromebook to your liking and make it more comfortable and enjoyable to use. Take some time to explore the various options and make the necessary adjustments based on your preferences and needs.
Step 6: Install necessary apps and extensions
Once you have customized the settings and preferences on your Chromebook, it’s time to install the necessary apps and extensions that will enhance your productivity and meet your specific needs. Here’s how you can do it:
- Visit the Chrome Web Store: Open the Chrome browser and go to the Chrome Web Store by clicking on the Apps shortcut on the bookmark bar or typing “chrome://apps” in the address bar.
- Explore the available apps and extensions: Browse through the Chrome Web Store to discover a wide range of apps and extensions. You can search for specific apps or browse through different categories to find what you need.
- Install apps and extensions: Once you find an app or extension you want to install, click on it to view more details. If it meets your requirements, click on the “Add to Chrome” or “Install” button to install it on your Chromebook.
- Manage your apps and extensions: After installation, you can find your installed apps and extensions in the App Launcher, which can be accessed by clicking on the circular icon in the bottom-left corner of the screen. From there, you can organize, pin, or remove apps and extensions as needed.
- Synchronize apps and extensions: If you have enabled synchronization in the previous step, your installed apps and extensions will be synchronized across your Chrome devices, making it convenient to access them from anywhere.
Take your time to explore the Chrome Web Store and find the apps and extensions that will help you work more efficiently, stay organized, and add functionality to your Chromebook. Whether you need productivity tools, communication apps, or entertainment options, there’s a wide selection to choose from in the Chrome Web Store.
Installing the necessary apps and extensions will make your Chromebook more customized and tailored to your specific requirements, allowing you to make the most out of your device.
Step 7: Transfer files and data to the new owner’s account
Now that your Chromebook is set up with the new owner’s account, it’s time to transfer files and data from the previous owner’s account to your account. Here are a few methods you can use to accomplish this:
- Google Drive: If the previous owner has stored files and documents on Google Drive, you can easily access them by signing in to your Google account and navigating to Google Drive. From there, you can download the files you need or use the transfer ownership feature to transfer the ownership of the files to your account.
- External storage: If the previous owner has stored files locally on the Chromebook, you can use external storage devices such as USB drives or external hard drives to transfer the files. Connect the external storage device to the Chromebook, copy the files from the previous owner’s account, and paste them into your account’s storage.
- Cloud storage services: If the previous owner has used cloud storage services other than Google Drive, such as Dropbox or OneDrive, you can download the files from their account and upload them to your own account or sync them directly to your Chromebook.
- File transfer tools: There are also third-party file transfer tools available that can help you transfer files and data from one account to another. These tools may require the cooperation and authorization of both the previous owner and the new owner to complete the transfer process.
- Email or file sharing: If the files are not too large, you can ask the previous owner to email them to you or use file-sharing services such as Google Drive, Dropbox, or WeTransfer to share the files with you directly.
Choose the method that is most convenient and suitable for your situation to transfer files and data from the previous owner’s account to your own account. Once the transfer is complete, you can organize the files and data according to your preference and start using them seamlessly on your Chromebook.
Step 8: Remove any unwanted accounts or profiles
After successfully changing the owner on your Chromebook and transferring files and data, it’s important to remove any unwanted accounts or profiles that are no longer needed. This step ensures that the Chromebook remains tidy and free from unnecessary clutter. Here’s how you can remove unwanted accounts or profiles:
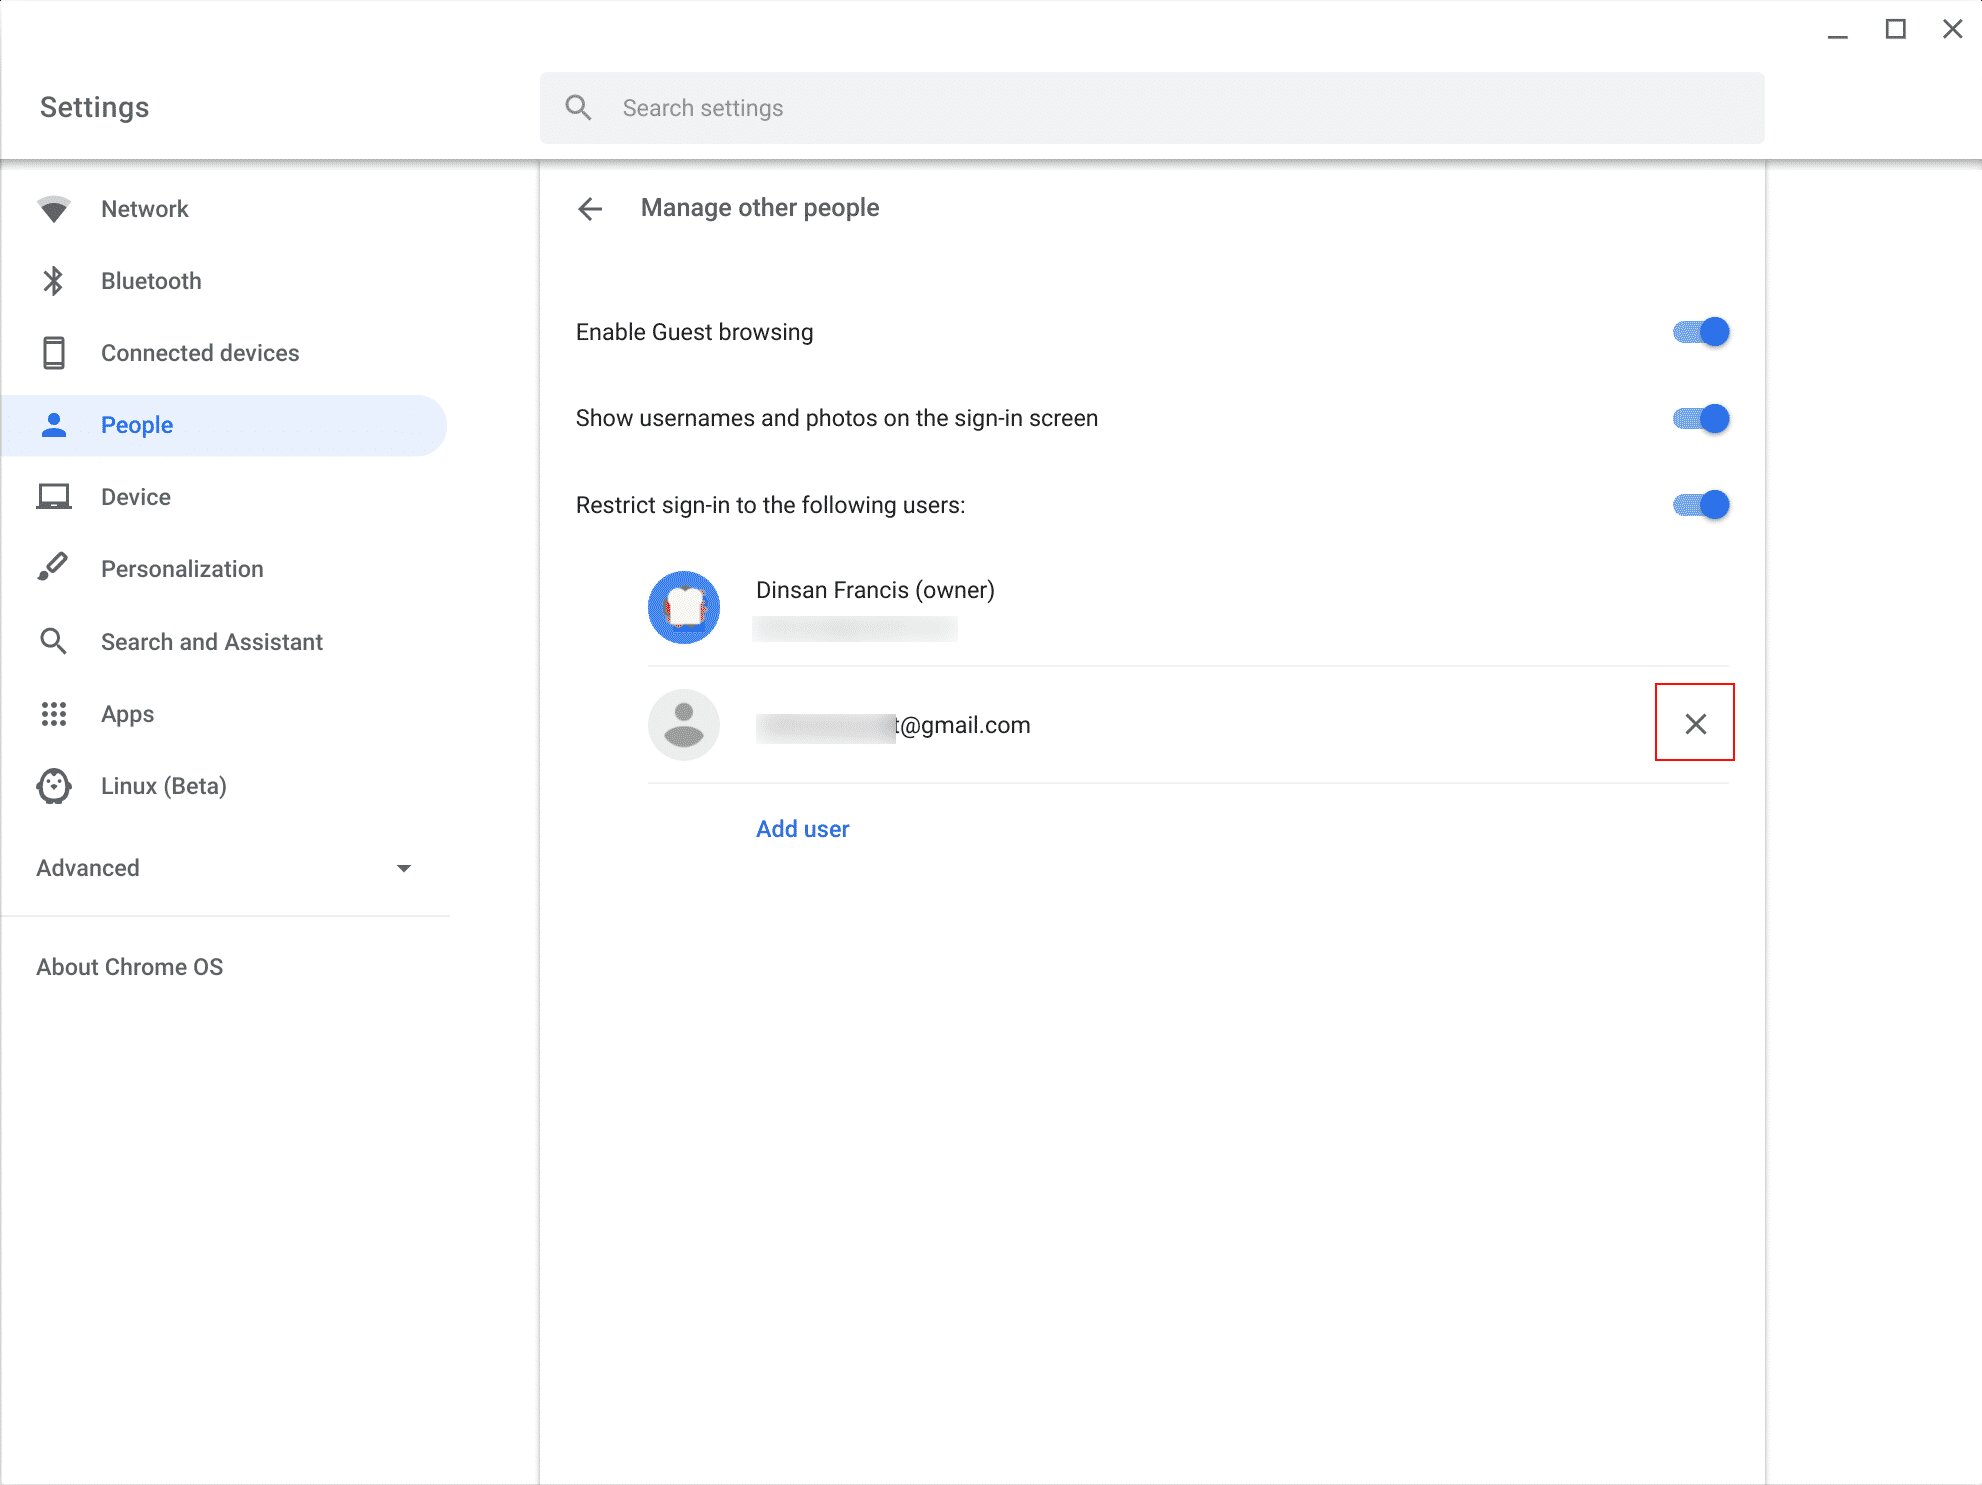
- Open the settings: Click on the clock in the bottom-right corner to open the system tray. From there, click on the Settings gear icon to access the settings menu.
- Manage accounts: In the settings menu, scroll down and click on “People” or “Accounts.” Here, you will see a list of all the accounts or profiles that are currently added to the Chromebook.
- Select the account or profile: Choose the account or profile you want to remove by clicking on it.
- Remove the account or profile: After selecting the unwanted account or profile, click on the “Remove” or “Delete” button. You may be prompted to confirm the removal.
- Repeat the process: If there are multiple unwanted accounts or profiles, repeat steps 3 and 4 for each one until you have removed all the accounts or profiles you no longer need.
Removing unwanted accounts or profiles from your Chromebook helps declutter the system and ensures that only the necessary accounts or profiles remain. This step also improves the overall security and privacy of your device by minimizing the potential for unauthorized access.
It’s important to note that removing an account or profile from your Chromebook only removes it from the device; it does not delete the account or profile itself. If you want to permanently delete an account or profile, you’ll need to do so through the associated Google or Chrome account settings.
By completing this final step, you’ve successfully changed the owner on your Chromebook, customized the settings and preferences, transferred files and data, and removed any unwanted accounts or profiles. Your Chromebook is now fully personalized and ready for you to enjoy and make the most out of its capabilities!
Conclusion
Congratulations! You have successfully changed the owner on your Chromebook and customized it to fit your needs. The process of changing the owner involved signing out of the previous owner’s account, performing a powerwash to erase all data, and setting up the Chromebook with your own account. From there, you personalized the settings, installed necessary apps and extensions, transferred files and data, and removed any unwanted accounts or profiles.
By taking these steps, your Chromebook is now uniquely yours, customized to your preferences and ready to support you in your day-to-day tasks. The ability to change the owner on a Chromebook allows for a seamless transition and ensures that the device is tailored to your specific needs and preferences.
Remember to keep your Chromebook updated with the latest system updates and security patches to ensure optimal performance and protect your device from threats. Take advantage of the wide range of apps and extensions available in the Chrome Web Store to enhance your productivity, communication, and entertainment on your Chromebook.
Lastly, enjoy your Chromebook and make the most out of its versatile features and capabilities. Whether you’re using it for work, school, or leisure, your personalized Chromebook will support you in achieving your goals and staying connected.
Thank you for following this guide on how to change the owner on a Chromebook. Here’s to many productive and enjoyable experiences with your newly personalized device!