Introduction
Welcome to our guide on how to install Minecraft on your Chromebook! Minecraft is a popular sandbox game that allows players to create and explore virtual worlds. While Minecraft is readily available on most gaming platforms, getting it to run on a Chromebook requires a few extra steps. But don’t worry, we’ve got you covered!
Chromebooks are known for their lightweight and efficient design, which makes them suitable for browsing the web and performing productivity tasks. However, running resource-intensive applications like Minecraft is not supported natively on Chrome OS. To overcome this limitation, we’ll walk you through the process of enabling developer mode, installing Linux (Beta), and configuring Minecraft to run smoothly on your Chromebook.
By following this step-by-step guide, you’ll be able to unleash your creativity and embark on exciting adventures in the vast Minecraft world right from your Chromebook. So, let’s dive in!
Please note that the process described here may vary depending on the model of your Chromebook and the version of Chrome OS you’re using. Make sure to back up your important files before proceeding, as enabling developer mode and installing Linux (Beta) may reset your device to its factory settings.
Now, let’s get your Chromebook ready for Minecraft and embark on this thrilling journey of virtual exploration and creation!
Preparing Your Chromebook
Before we start the installation process, there are a few preliminary steps we need to take to ensure that your Chromebook is ready to run Minecraft. Follow these instructions to prepare your Chromebook:
- Check for System Requirements: Ensure that your Chromebook meets the minimum system requirements to run Minecraft. It’s essential to have a Chromebook with at least 4GB of RAM and an Intel or AMD processor. Minecraft may not perform optimally on devices with lower specifications.
- Update Chrome OS: Make sure that your Chromebook is running the latest version of Chrome OS. To check for updates, click on the clock in the bottom-right corner, select the gear icon to access Settings, and click on “About Chrome OS.” If an update is available, follow the prompts to install it. Keeping your Chromebook up to date will ensure compatibility and security.
- Backup Your Data: It’s always a good idea to back up your important files before making any system changes. This step will prevent any potential data loss during the installation process. You can back up your files to an external storage device, cloud storage, or Google Drive.
- Charge Your Chromebook: Ensure that your Chromebook is fully charged or connected to a power source. The installation process may take some time, and it’s crucial to have sufficient battery power to avoid any interruptions.
Once you’ve completed these initial steps, your Chromebook will be prepared and ready for the next stage: enabling developer mode and installing Linux (Beta). These steps will unlock the full potential of your Chromebook and enable you to install and play Minecraft effortlessly.
Enabling Developer Mode
To install Minecraft on your Chromebook, you’ll first need to enable developer mode. Enabling developer mode allows you to make system modifications and install applications outside the Chrome Web Store. However, please note that this process will wipe your Chromebook’s data, so it’s crucial to back up your files beforehand.
Here’s how to enable developer mode on your Chromebook:
- Enter Recovery Mode: Press and hold the Esc, Refresh, and Power buttons simultaneously. This will restart your Chromebook and take you to the recovery mode screen.
- Enable Developer Mode: On the recovery mode screen, press Ctrl+D to enable developer mode. You’ll see a warning message informing you that enabling developer mode will erase all local data. Press Enter to proceed with this step.
- Confirm Developer Mode: Your Chromebook will now reboot and show a screen with a yellow exclamation mark. Press Ctrl+D again to confirm that you want to enable developer mode. Your Chromebook will go through the process of enabling developer mode, which may take a few minutes.
- Finalize Developer Mode: After the process is complete, your Chromebook will reboot again and show the initial setup screen. Follow the on-screen instructions to set up your Chromebook with a Google account, just like you did when you first got it.
Congratulations! You have successfully enabled developer mode on your Chromebook. In the next section, we’ll guide you through the process of installing Linux (Beta), which is necessary to run Minecraft. Make sure to follow the instructions carefully to ensure a smooth installation process.
Installing Linux (Beta)
In order to run Minecraft on your Chromebook, you’ll need to install Linux (Beta) as a separate operating system. Linux (Beta) provides a robust and compatible environment for running various applications, including Minecraft.
Follow these steps to install Linux (Beta) on your Chromebook:
- Open Settings: Click on the clock in the bottom-right corner of your Chromebook screen. Then, click on the gear icon to access the Settings menu.
- Select “Linux (Beta) Settings”: In the Settings menu, scroll down and click on “Linux (Beta)” in the left sidebar. Then, click on the “Turn On” button to enable Linux (Beta) on your Chromebook.
- Set Up Linux: A dialog box will appear, prompting you to set up Linux (Beta). Click on the “Next” button to proceed.
- Choose Username and Password: Enter a username and password for your Linux (Beta) installation. Make sure to choose a strong password to enhance the security of your system. After entering the required information, click on the “Install” button.
- Wait for the Installation: The Linux (Beta) installation process may take a few minutes. You’ll see a progress bar indicating the installation status. Once the installation completes, click on the “Close” button.
- Launch Linux Terminal: To access Linux (Beta), open the app drawer on your Chromebook and click on the “Terminal” app. This will open a Linux terminal window where you can execute commands and install applications.
Great job! You have successfully installed Linux (Beta) on your Chromebook. In the next section, we’ll guide you through the process of configuring Minecraft to run smoothly on your device. Stay with us as we dive into the world of customization and optimization!
Configuring Minecraft
Before diving into the installation of Minecraft, it’s important to configure certain settings to ensure optimal performance on your Chromebook. These configurations will help Minecraft run smoothly and provide you with the best gaming experience possible.
Follow these steps to configure Minecraft on your Chromebook:
- Create a Minecraft Directory: Open the Linux terminal on your Chromebook and navigate to your home directory by typing
cd ~/. Create a new directory for Minecraft by executing the commandmkdir minecraft. - Allocate More RAM: By default, Minecraft runs with limited RAM allocation, which can lead to performance issues. To allocate more RAM, open the Linux terminal and type
cd ~/minecraftto navigate to the Minecraft directory. Then, execute the commandnano .minecraft/options.txtto open the options file. Look for the line that starts with-Xmxand change the value after it to the desired amount of RAM (e.g.,-Xmx2Gfor 2GB of RAM). Press Ctrl+X to save the changes. - Install Java Runtime Environment (JRE): Minecraft requires Java to run. Install JRE in Linux by entering the command
sudo apt-get install default-jrein the Linux terminal. Follow the prompts to complete the installation. - Update Graphics Drivers (optional): Updating your graphics drivers can improve Minecraft performance. Open the Linux terminal and execute the command
sudo apt-get update && sudo apt-get upgradeto update all installed packages, including graphics drivers.
By following these configuration steps, you have optimized your Chromebook for Minecraft. These settings will help ensure that Minecraft runs smoothly and provides an immersive gaming experience. Now, let’s move on to the exciting part—downloading and installing Minecraft!
Downloading and Installing Minecraft
Now that your Chromebook is ready and configured, it’s time to download and install Minecraft. We’ll walk you through the steps to get Minecraft up and running on your Chromebook:
- Download Minecraft: Open a web browser on your Chromebook and go to the official Minecraft website. Click on the “Get Minecraft” button or navigate to the Downloads page. Make sure to select the appropriate version of Minecraft for Linux.
- Save the Installer: The Minecraft installer file will be downloaded in the .deb format. Save the file in a location that you can easily access.
- Open Linux Terminal: Launch the Linux terminal on your Chromebook and navigate to the directory where you saved the Minecraft installer file by using the
cdcommand. - Install Minecraft: In the terminal, enter the command
sudo dpkg -i minecraft-installer.deb, replacing “minecraft-installer.deb” with the actual filename of the Minecraft installer. Follow the prompts to complete the installation process. - Launch Minecraft: Once the installation is complete, you can launch Minecraft from the app drawer on your Chromebook. If prompted, choose the appropriate version of Minecraft and log in using your Minecraft account credentials.
That’s it! You have successfully downloaded and installed Minecraft on your Chromebook. Get ready to embark on epic adventures, build magnificent structures, and explore the limitless possibilities of the Minecraft world.
Keep in mind that Minecraft updates are released frequently. To ensure you have the latest version, follow the prompts to update Minecraft whenever it prompts you to do so.
Now that Minecraft is installed, you can enjoy the game and let your creativity run wild on your Chromebook. Happy Minecrafting!
Launching Minecraft
With Minecraft successfully installed on your Chromebook, it’s time to launch the game and begin your virtual adventures. Follow these simple steps to launch Minecraft:
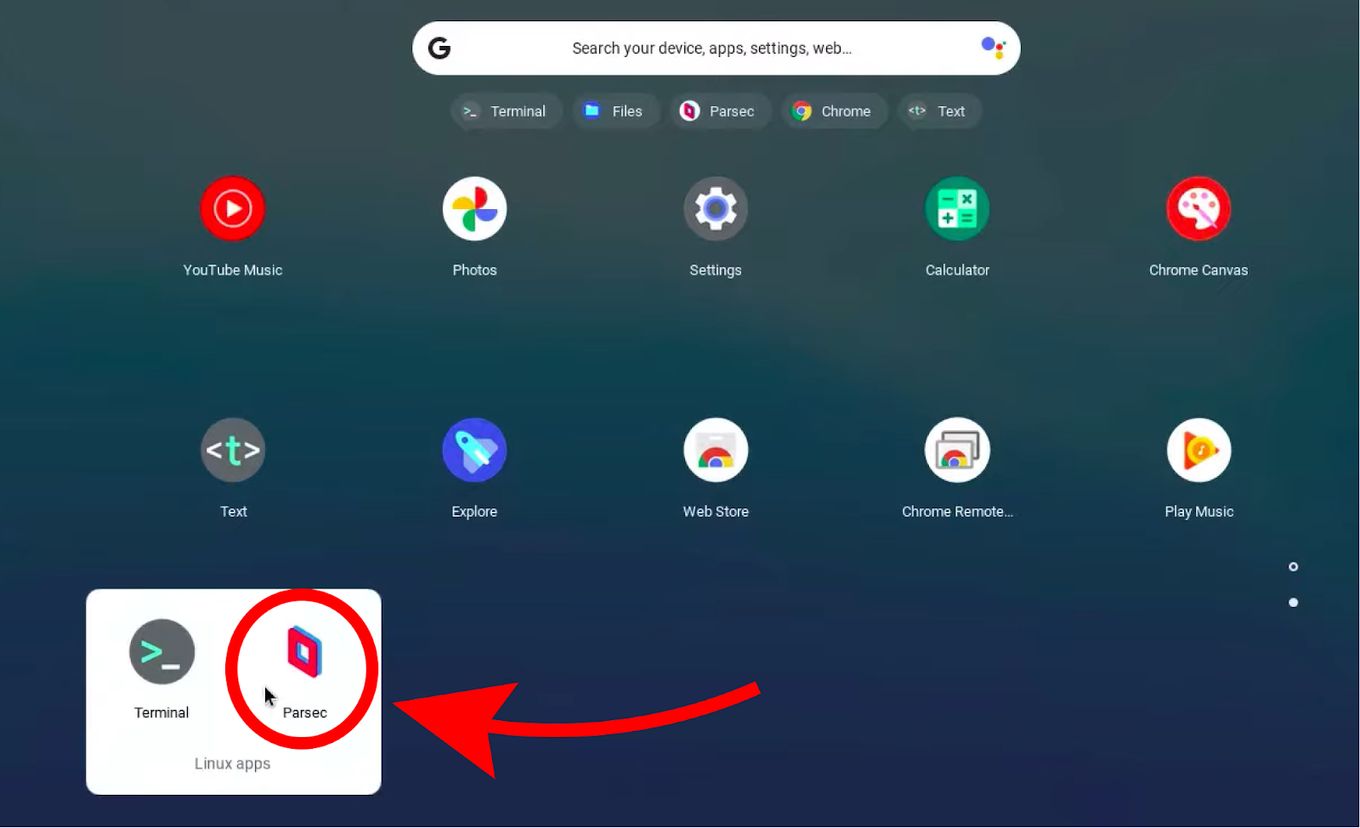
- Open the App Drawer: On your Chromebook, click on the launcher button located in the bottom-left corner of the screen. This will open the app drawer, where all your installed applications are listed.
- Find Minecraft: Scroll through the app drawer to locate the Minecraft icon. It is usually represented by the famous Minecraft logo—an image of a blocky, pixelated landscape with trees and mountains. Click on the Minecraft icon to launch the game.
- Choose Minecraft Version (if prompted): If you have multiple versions of Minecraft installed, you may be prompted to choose the version you want to launch. Select the desired version from the list and click “Play” to continue.
- Log in to Your Minecraft Account: Once Minecraft launches, you’ll be prompted to log in with your Minecraft account credentials. Enter your email or username and password, then click “Log In” to proceed.
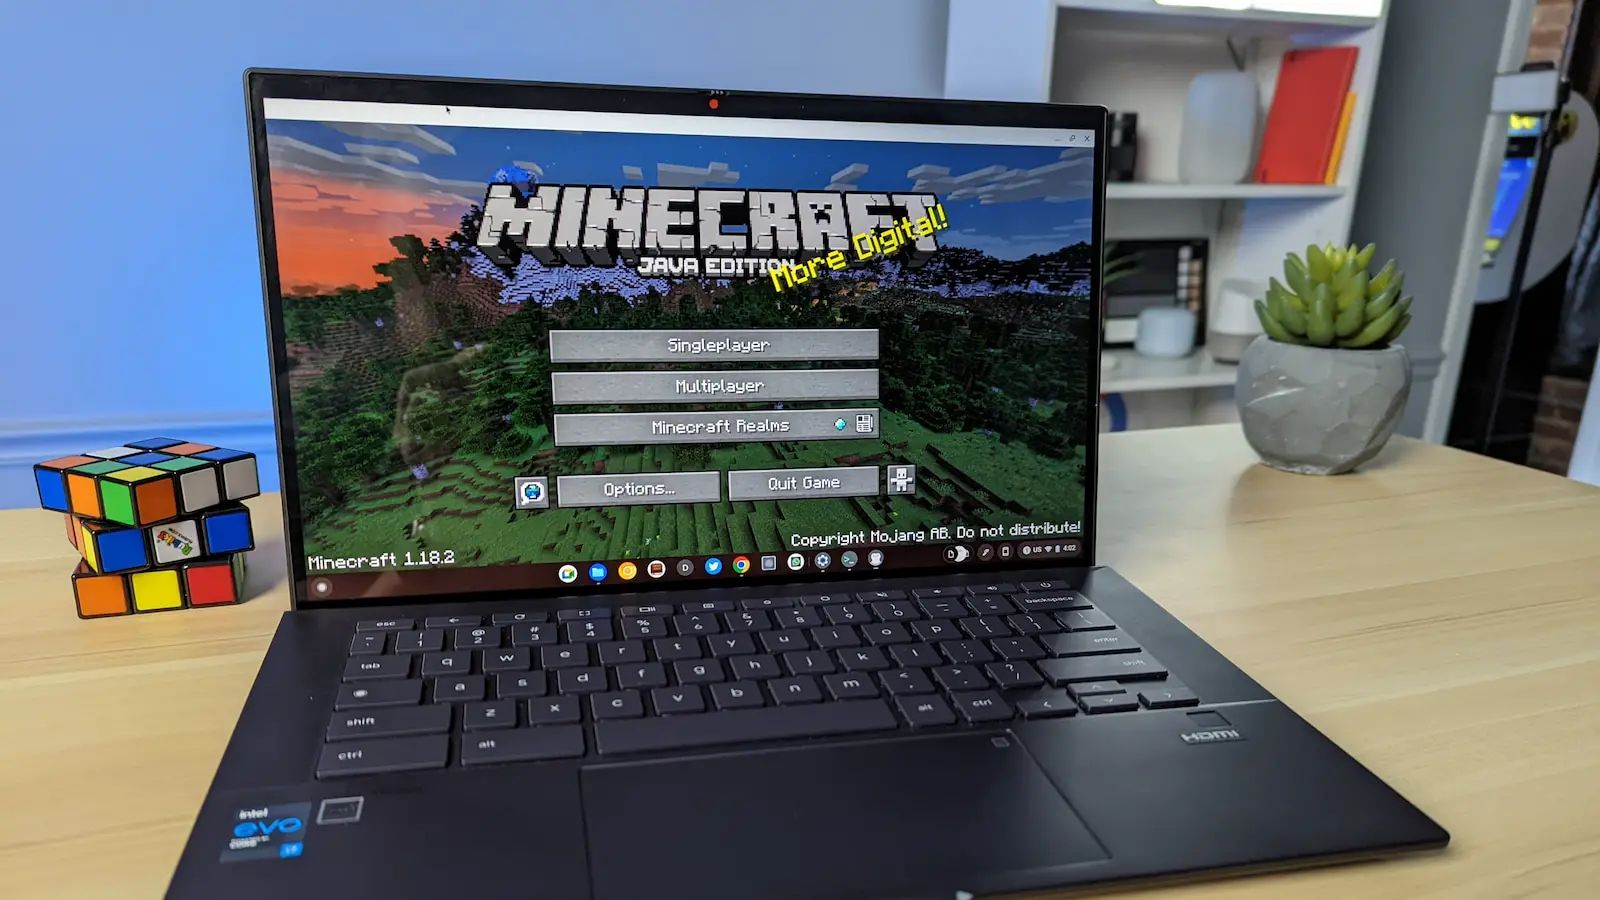
- Start Playing Minecraft: After logging in, you will be taken to the Minecraft main menu. From here, you can select Singleplayer or Multiplayer and start your Minecraft adventure. Enjoy exploring incredible worlds, building, mining, and interacting with other players in this immersive and creative sandbox game.
Now that you’ve launched Minecraft, the possibilities are endless. Get ready to craft, mine, and create in a world of your own or join others in their realms. Let your creativity flow and embark on a journey that’s limited only by your imagination.
Remember to save your progress regularly and have fun exploring the vast wonders of Minecraft on your Chromebook!
Conclusion
Congratulations on successfully installing Minecraft on your Chromebook! By following the steps outlined in this guide, you have transformed your Chromebook into a gaming powerhouse capable of running the popular sandbox game.
We began by preparing your Chromebook, ensuring that it met the system requirements and was up to date. Then, we enabled developer mode, allowing for system modifications and the installation of Linux (Beta). After configuring Minecraft and allocating sufficient RAM, we proceeded to download and install Minecraft on your Chromebook, followed by launching the game and embarking on exciting virtual adventures.
With Minecraft at your fingertips, you can unleash your creativity, explore vast landscapes, and build incredible structures. Whether you prefer playing solo or joining multiplayer realms, Minecraft offers endless possibilities for fun and imaginative gameplay.
Keep in mind that Minecraft updates regularly, so be sure to check for updates and install them to enjoy the latest features and bug fixes. Additionally, consider joining the vibrant Minecraft community to connect with other players, discover new creations, and draw inspiration for your own projects.
Now that you have Minecraft up and running on your Chromebook, it’s time to dive into the countless hours of joy and creativity that this game has to offer. So grab your pickaxe, gather your resources, and embark on an epic journey in the virtual world of Minecraft!