Introduction
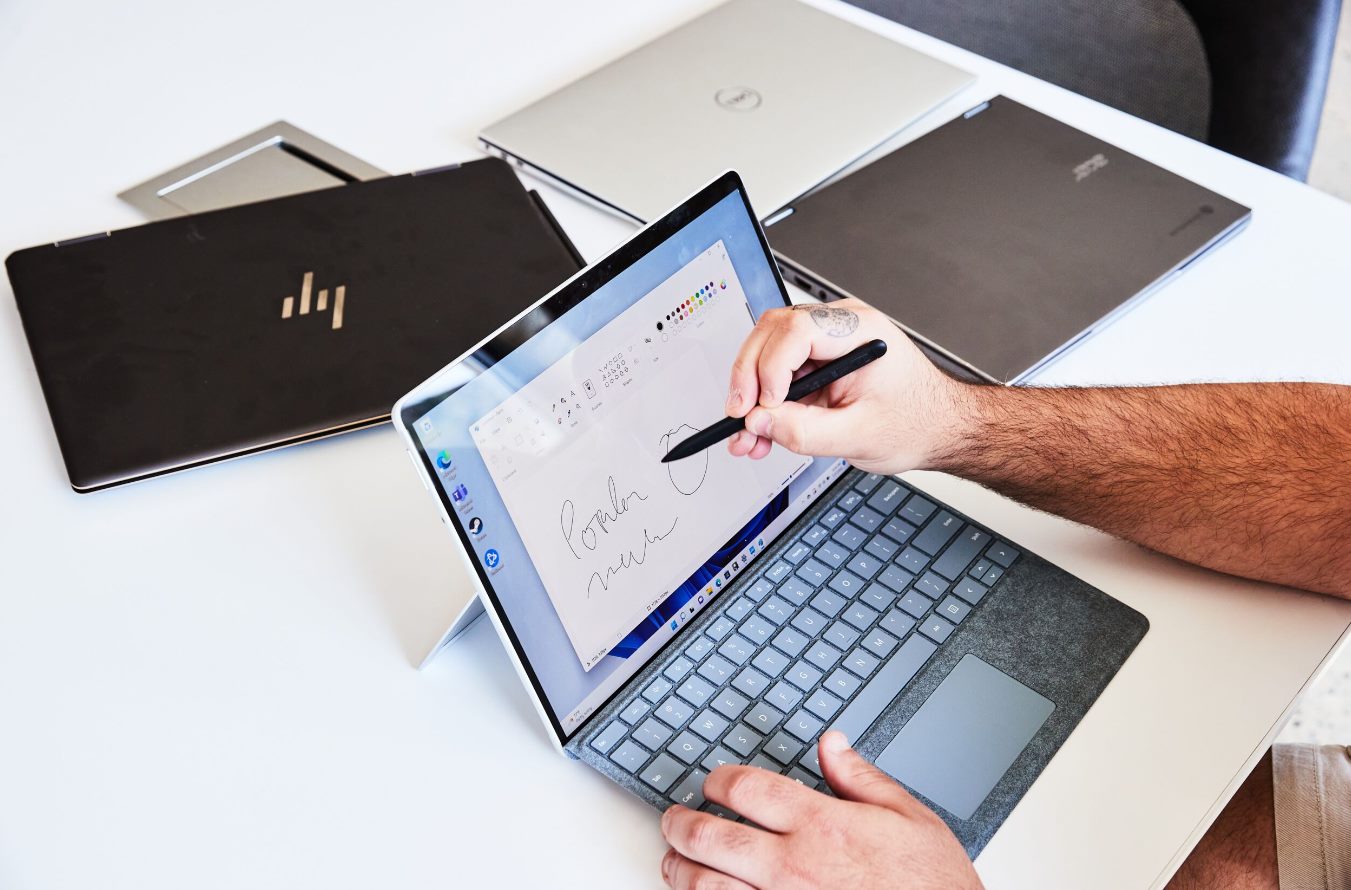
A touchscreen has become a standard feature in many devices, providing a convenient and intuitive way to interact with technology. For Chromebook users, having a touchscreen can greatly enhance productivity and make tasks more enjoyable. Whether you’re using your Chromebook for work, school, or entertainment, knowing how to effectively utilize the touchscreen capability will undoubtedly leave a positive impact on your overall experience.
In this article, we will explore how you can make your Chromebook touchscreen-ready. We’ll guide you through the process of selecting the right Chromebook model, checking for touchscreen capability, enabling the touchscreen functionality in Chrome OS, fine-tuning touchscreen settings, and using touchscreen gestures and shortcuts. Additionally, we’ll address common troubleshooting issues you may encounter along the way.
By the end of this article, you’ll have the knowledge and confidence to make the most out of your Chromebook’s touchscreen functionality. So, let’s dive in and unlock the full potential of your device!
Choosing the Right Chromebook Model
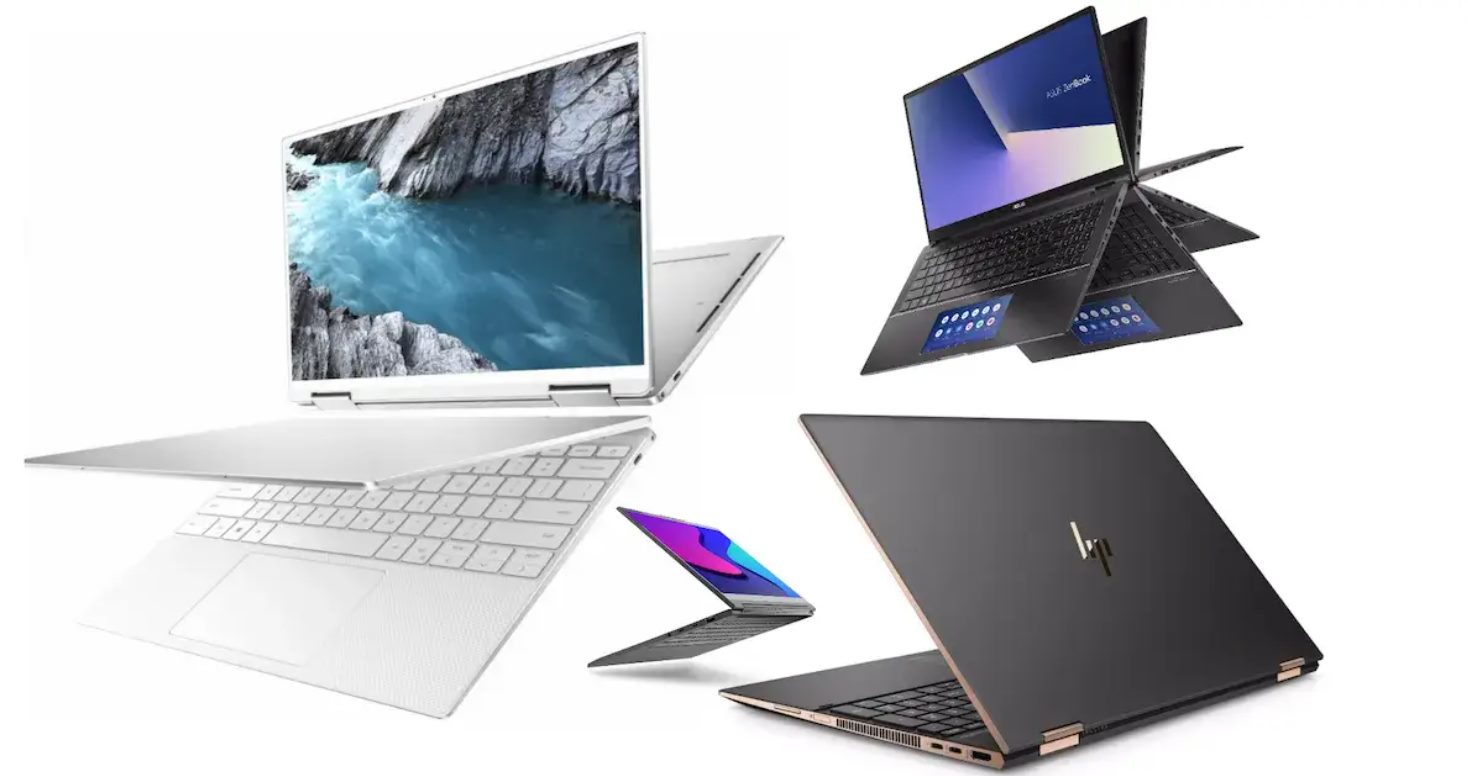
When it comes to selecting a Chromebook with touchscreen capability, there are a few factors to consider. With a wide range of models available, you’ll want to ensure that your chosen device meets your specific needs and preferences.
First and foremost, determine the size of the screen that would best suit your requirements. Chromebooks come in various sizes, ranging from compact 11-inch models to larger 15-inch options. Consider how you plan to use the touchscreen feature and whether a smaller or larger screen would be more comfortable for your intended tasks.
Next, assess the processing power and performance of the Chromebook. If you’ll be using resource-intensive applications or multitasking frequently, opt for a model with a higher-end processor and ample RAM to ensure smooth performance.
Consider the storage capacity of the Chromebook, as some models offer a limited amount of onboard storage while others provide expandable storage options, such as an SD card slot or USB ports. Assess your storage needs and choose accordingly.
Additionally, pay attention to the build quality and design of the Chromebook. Look for a model that not only offers a touchscreen but is also lightweight and portable, making it easy to carry around for work or travel.
Lastly, consider your budget. Chromebooks are known for their affordability, but touchscreen models tend to be slightly more expensive. Determine the maximum budget you’re comfortable with and look for a model that offers the best value for your investment.
By carefully considering these factors, you can narrow down your options and choose a Chromebook model that provides the perfect balance of touchscreen functionality, performance, and features that align with your needs and preferences.
Checking for Touchscreen Capability
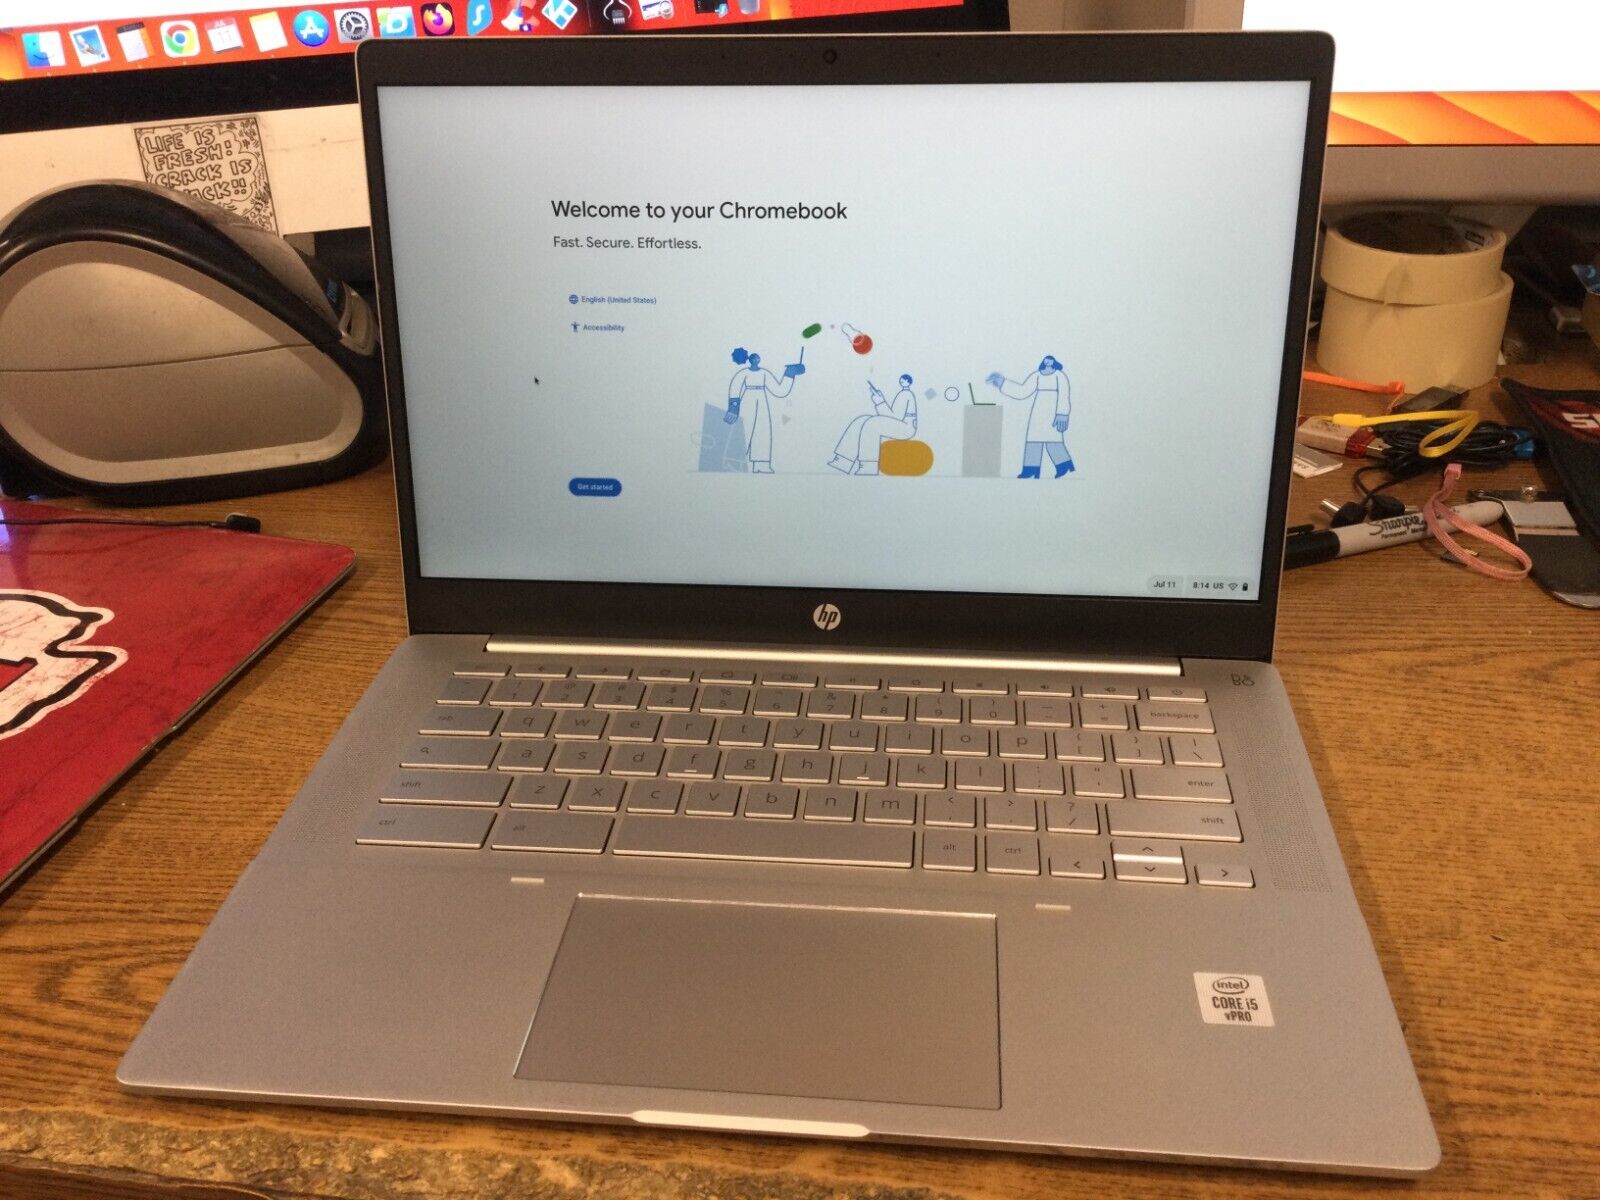
Before diving into enabling the touchscreen on your Chromebook, it’s crucial to ensure that your specific model actually has a touchscreen feature. Luckily, determining touchscreen capability is a straightforward process.
To check if your Chromebook has a touchscreen, start by accessing the settings menu. Click on the clock in the bottom-right corner of the screen, then select the gear icon to open up the settings panel.
In the settings menu, scroll down and click on the “Device” option. Depending on the version of Chrome OS you are using, you may find the “Device” section under “Advanced” or “Advanced settings.
Once you’re in the “Device” section, look for the “Touchpad and touchscreen” option. If your Chromebook has a touchscreen, you should see a toggle switch to enable or disable it. If you don’t see this option, it means that your specific model does not have a touchscreen feature.
If you have confirmed that your Chromebook supports a touchscreen feature, you’re ready to move on to the next step and enable it in Chrome OS. However, if you find that your device doesn’t have touchscreen capability, you may want to explore alternative options like using an external touchscreen device or considering an upgrade to a touchscreen-enabled Chromebook.
Checking for touchscreen capability is an essential first step to ensure that you can take full advantage of the touchscreen functionality on your Chromebook. Once you’ve confirmed its presence, it’s time to proceed with enabling the touchscreen in Chrome OS.
Enabling Touchscreen Functionality in Chrome OS
Now that you’ve confirmed that your Chromebook has a touchscreen capability, it’s time to enable it in Chrome OS. By default, the touchscreen may be disabled, so follow these simple steps to enable it and start enjoying the full touchscreen experience.
First, click on the clock in the bottom-right corner of the screen to open the system tray. From the system tray, click on the gear icon to open the settings panel.
In the settings panel, scroll down and click on the “Device” option. Within the “Device” section, you will find the “Touchpad and touchscreen” option.
Click on the “Touchpad and touchscreen” option, and you will see various settings related to touch input. Look for the toggle switch next to “Enable touch input” and turn it on.
Once you’ve enabled touch input, you can further customize the touchscreen settings to your liking. For example, you can adjust the speed and sensitivity of the touch input, enable tap dragging, or enable the virtual keyboard to automatically appear when you tap on a text field.
Don’t forget to click on the “Apply” or “Save” button to save your changes.
With touch input enabled, you can now start utilizing your Chromebook’s touchscreen functionality. Whether it’s tapping, swiping, or pinching, you’ll find that navigating through web pages, applications, and documents becomes more intuitive and efficient.
Enabling touchscreen functionality in Chrome OS is a straightforward process that allows you to unlock the full potential of your Chromebook. Now that you’re all set, let’s explore how you can fine-tune the touchscreen settings to enhance your user experience even further.
Fine-tuning Touchscreen Settings
Once you have enabled the touchscreen functionality on your Chromebook, you may want to fine-tune the settings to customize your touchscreen experience. Chrome OS offers several options that allow you to adjust various aspects of the touchscreen to your liking.
To access the touchscreen settings, click on the clock in the bottom-right corner of the screen and select the gear icon to open the settings panel. Scroll down and click on the “Device” option, then navigate to the “Touchpad and touchscreen” section.
Within the “Touchpad and touchscreen” settings, you will find options that allow you to adjust the speed and sensitivity of touch input. You can increase or decrease the speed of pointer movement on the touchscreen, as well as adjust the touchpad acceleration if you’re using a Chromebook with both touch and touchpad functionality.
Additionally, you can enable or disable tap dragging, which allows you to tap and hold an item on the screen to drag it. This can be useful for tasks like rearranging icons on the desktop or moving files within a folder.
If you prefer using an on-screen keyboard for text input, you can enable the virtual keyboard option. This will automatically display the keyboard whenever you tap on a text field, making it easier to type without the need for an external physical keyboard.
Chrome OS also offers a variety of touchscreen gestures and shortcuts that can improve your productivity. For example, you can swipe up with three fingers to view all open windows or swipe left or right with four fingers to switch between open tabs in your web browser.
Experiment with these settings and gestures to find what works best for you. Everyone has different preferences when it comes to touch input, so feel free to adjust these settings until you’re satisfied with your touchscreen experience.
By fine-tuning the touchscreen settings, you can maximize your productivity and comfort while using your Chromebook. Now that you’re familiar with the settings, let’s explore some useful touchscreen gestures and shortcuts that can further enhance your user experience.
Using Touchscreen Gestures and Shortcuts
With the touchscreen functionality enabled and the settings fine-tuned to your liking, you’re ready to take full advantage of the various gestures and shortcuts available on your Chromebook. These make navigation and multitasking even more efficient and intuitive.
Here are some commonly used touchscreen gestures and shortcuts:
- Swipe: Use your finger to swipe left or right on the touchscreen to navigate between different pages, whether it’s a web page, a document, or an application.
- Pinch-to-Zoom: Place two fingers on the screen and bring them closer together to zoom out, or spread them apart to zoom in. This gesture is especially useful when viewing images, websites, or documents.
- Three-Finger Swipe Up: Swipe up with three fingers to bring up the overview mode, which displays all open windows and allows you to switch between them quickly and easily.
- Four-Finger Swipe Left/Right: Move four fingers left or right to switch between open tabs in your web browser. This gesture is perfect for multitasking and quickly accessing different websites or web applications.
- Two-Finger Scroll: Place two fingers on the screen and move them up or down to scroll through web pages, documents, and other content that exceeds the visible screen area.
- Tap and Hold: Tap and hold your finger on the touchscreen to activate contextual menus or to perform actions like moving icons on the desktop or selecting multiple items in a list.
These gestures and shortcuts can significantly enhance your productivity and streamline your workflow on your Chromebook. Practice using them regularly, and before you know it, they will become second nature.
Keep in mind that the availability and functionality of gestures may vary based on your specific Chromebook model and the version of Chrome OS you’re using. Therefore, it’s always a good idea to explore the user manual or online resources specific to your device for a complete list of supported gestures and shortcuts.
Now that you’re familiar with using touchscreen gestures and shortcuts, let’s address some common touchscreen issues you may encounter and how to troubleshoot them.
Troubleshooting Touchscreen Issues
While touchscreen technology is generally smooth and reliable, you may occasionally encounter some issues with your Chromebook’s touchscreen functionality. Luckily, most issues can be resolved with a few simple troubleshooting steps.
Here are some common touchscreen issues and their potential solutions:
- Touchscreen Not Responding: If your touchscreen is unresponsive, try restarting your Chromebook. This can refresh the system and resolve minor software glitches that may be causing the issue.
- Inaccurate Touch Input: If you notice that the touchscreen accuracy is off, calibrate the display. Go to the settings panel, click on “Device,” then “Touchpad and touchscreen.” Look for the “Calibrate” or “Touchscreen Calibration” option and follow the on-screen instructions.
- Intermittent Touchscreen Response: If your touchscreen response seems sporadic or delayed, make sure your Chromebook’s screen is clean. Dirt, debris, or smudges can disrupt touch input. Use a soft, lint-free cloth to gently clean the screen.
- External Screen Interference: If you’re using an external display or monitor with your Chromebook, make sure it’s not interfering with the touchscreen functionality. Try disconnecting the external display temporarily to see if the touchscreen works properly without it.
- Software Updates: Keeping your Chromebook’s operating system up to date is important for optimal performance. Check for any available updates by going to the settings panel and clicking on “About Chrome OS.” If updates are available, install them and restart your device.
- Factory Reset: If none of the above solutions work, you may consider performing a factory reset on your Chromebook. Remember to back up your important files and data before proceeding, as a factory reset will erase all stored information on your device.
If you continue to experience touchscreen issues even after troubleshooting, it’s advisable to contact the Chromebook manufacturer’s support or consult their online resources for further assistance. They can provide specific guidance based on your model and offer additional troubleshooting steps or warranty options.
Remember, staying patient and following the troubleshooting steps systematically can help resolve most touchscreen issues on your Chromebook. Now that you’re equipped with troubleshooting knowledge, let’s wrap up this guide to making your Chromebook touchscreen-ready!
Conclusion
Congratulations! You’ve now learned how to make the most out of your Chromebook’s touchscreen functionality. By choosing the right Chromebook model, checking for touchscreen capability, enabling touch input, fine-tuning the settings, and using gestures and shortcuts, you can enhance your productivity and enjoy a more intuitive user experience.
Remember, when selecting a Chromebook, consider factors like screen size, performance, storage capacity, and budget to find the model that best suits your needs. Once you’ve confirmed touchscreen capability, enable it through the settings panel and explore the various customization options offered by Chrome OS.
Don’t forget to practice using touchscreen gestures and shortcuts to navigate through your Chromebook effortlessly. With a little practice, swiping, pinching, and tapping will become second nature, making your tasks more efficient and enjoyable.
In the event that you encounter any touchscreen issues, follow the troubleshooting steps outlined in this guide. From restarting your device to performing a factory reset, these solutions will help resolve common problems and ensure that your touchscreen remains responsive and accurate.
Now that you’re equipped with the knowledge and skills to make the most of your Chromebook’s touchscreen, it’s time to put them into action. Embrace the fluidity and interactivity that touch input offers, and enjoy a seamless and immersive computing experience with your Chromebook!