Introduction
Welcome to this guide on how to download Minecraft on a Chromebook. Minecraft, developed by Mojang Studios, is a popular sandbox game that allows players to build and explore virtual worlds. While Chromebooks are known for their simplicity and security, they initially posed a challenge when it came to running certain applications, including Minecraft. However, with the introduction of Linux (Beta) on Chromebooks, users can now enjoy playing Minecraft on their devices.
This guide will walk you through the steps necessary to download and install Minecraft on a Chromebook. We will cover two versions of Minecraft – the Java Edition and the Bedrock Edition. The Java Edition is the classic version of the game, while the Bedrock Edition offers cross-platform play with other devices, such as Xbox and Windows 10. Regardless of the version you choose, this guide will ensure you have the necessary tools and settings to embark on your Minecraft adventure.
Before proceeding, it’s important to note that not all Chromebooks support Linux (Beta) or have the required specifications to run Minecraft smoothly. Ensure that your Chromebook meets the system requirements, which we will cover in the next section. Additionally, it’s always a good idea to back up any important files before making any system changes.
So, if you’re ready to dive into the world of Minecraft on your Chromebook, let’s get started by checking the system requirements for running the game.
Section 1: System Requirements
Before you can download and play Minecraft on your Chromebook, it’s crucial to ensure that your device meets the necessary system requirements. While Chromebooks are known for their lightweight and efficient design, Minecraft does have specific hardware and software requirements to run smoothly.
Firstly, your Chromebook needs to support Linux (Beta). Not all Chromebooks have this capability, so it’s essential to check if your device is compatible. To enable Linux (Beta), go to your Chromebook’s settings and look for the “Linux (Beta)” section. Enable the feature and follow the prompts to set it up.
Next, check if your Chromebook has enough storage space to accommodate Minecraft. The game requires a certain amount of disk space for installation and for saving game files. It’s recommended to have at least 4GB of free space available.
Furthermore, your Chromebook should have a sufficient amount of RAM (Random Access Memory) to handle Minecraft. While the minimum requirement for Minecraft is 2GB of RAM, it’s recommended to have at least 4GB to ensure smooth performance.
Another factor to consider is the processor of your Chromebook. Minecraft is a resource-intensive game, so having a more powerful processor will result in a better gaming experience. A dual-core processor, such as an Intel Celeron or Core i3, is usually sufficient for running Minecraft smoothly.
Lastly, check if your Chromebook has a compatible graphics card. Minecraft requires a GPU (Graphics Processing Unit) with support for OpenGL 2.1 or higher. Most Chromebooks come with integrated graphics, which should be adequate for running the game.
It’s important to note that while Minecraft can run on most Chromebooks, lower-end models or those with limited specifications may experience performance issues or lag. If your Chromebook meets the minimum requirements but still struggles to run Minecraft, consider closing other applications or reducing the game’s graphics settings.
Now that you have checked the system requirements for Minecraft on your Chromebook, let’s move on to enabling Linux (Beta) on your device in the next section.
Section 2: Enabling Linux (Beta) on Chromebook
In order to download and install Minecraft on your Chromebook, you’ll need to enable the Linux (Beta) feature. This feature allows you to run Linux applications on your Chromebook, including Minecraft.
Enabling Linux (Beta) on your Chromebook is a straightforward process. Here’s a step-by-step guide to help you:
- Open the settings menu on your Chromebook by clicking on the clock in the bottom-right corner of the screen and then selecting the gear icon.
- Scroll down the settings menu and click on “Advanced” to expand the advanced settings options.
- Under the “Linux (Beta)” section, click on the “Turn on” button to enable Linux on your Chromebook.
- Follow the on-screen prompts to set up your Linux environment. You will be asked to create a username and password for your Linux account.
- Once Linux (Beta) is enabled, you will notice a new app called “Terminal” in your app launcher. This is where you’ll execute commands to install Minecraft.
With Linux (Beta) now enabled on your Chromebook, you can proceed to the next section for instructions on installing Minecraft.
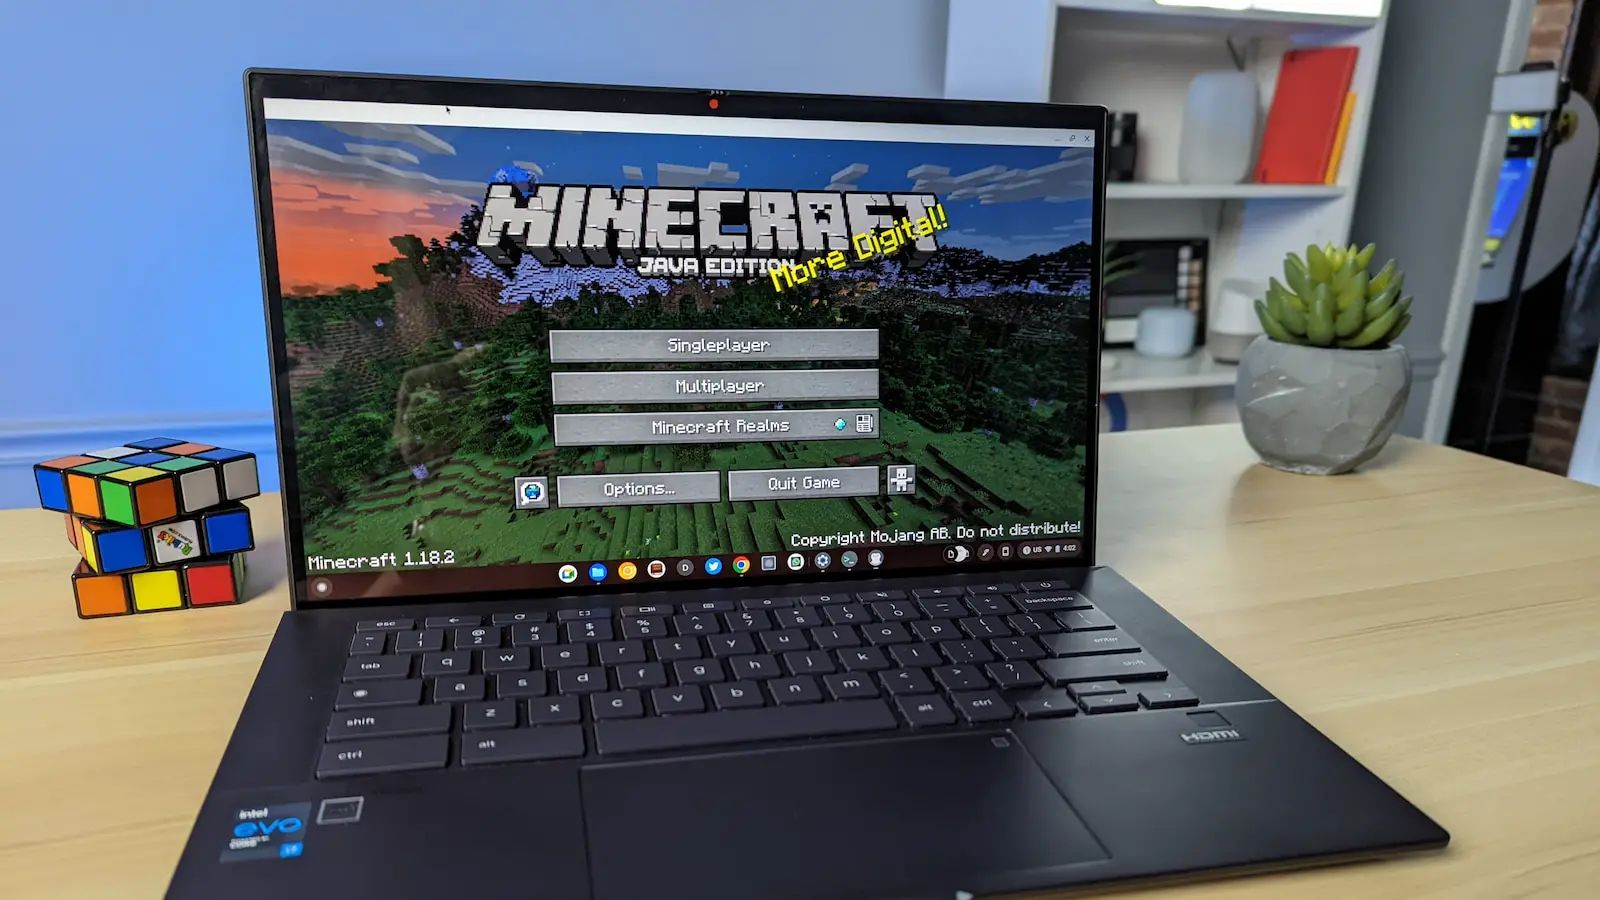
Section 3: Installing Minecraft Java Edition on Chromebook
If you prefer to play Minecraft on your Chromebook using the Java Edition, there are a few additional steps you need to follow compared to the Bedrock Edition.
Here is a step-by-step guide to help you install Minecraft Java Edition on your Chromebook:
- Open the Terminal app on your Chromebook by clicking on the app launcher and searching for “Terminal”.
- In the Terminal, enter the following command:
sudo apt update. Press Enter and enter your Linux account password when prompted. - Next, enter the command:
sudo apt install default-jre. This will install the Java Runtime Environment (JRE) required for Minecraft Java Edition to run on your Chromebook. - After the installation is complete, download the official Minecraft launcher from the official Minecraft website.
- Once downloaded, navigate to the location of the downloaded Minecraft launcher file using the File Manager app on your Chromebook.
- Right-click on the Minecraft launcher file and select “Open with” and then choose “Open with Linux (Beta)”.
- Follow the on-screen instructions to complete the installation of Minecraft Java Edition.
Once the installation is finished, you can launch Minecraft Java Edition from the app launcher on your Chromebook. Log in with your Minecraft account or create a new one to start playing the game.
It’s important to note that Minecraft Java Edition may not run as smoothly on Chromebooks due to hardware limitations, and you may experience performance issues on lower-end models. Adjusting the game’s graphics settings or closing other applications can help improve performance.
Now that you’ve installed Minecraft Java Edition on your Chromebook, it’s time to move on to the next section for instructions on installing Minecraft Bedrock Edition.
Section 4: Installing Minecraft Bedrock Edition on Chromebook
If you prefer to play the Bedrock Edition of Minecraft on your Chromebook, you can do so by following these steps. The Bedrock Edition allows for cross-platform play with other devices such as Xbox and Windows 10.
Here’s a step-by-step guide to help you install Minecraft Bedrock Edition on your Chromebook:
- Open the Chrome web browser on your Chromebook and visit the Google Play Store.
- Search for “Minecraft” in the search bar of the Play Store.
- Click on the “Install” button next to the Minecraft app to begin the installation.
- Once the installation is complete, launch the Minecraft app from the app launcher on your Chromebook.
- If you already have a Minecraft account, click on “Sign In” and enter your credentials to access your account. If you don’t have an account, click on “Sign Up” to create a new one.
- Once signed in, you can start playing Minecraft Bedrock Edition on your Chromebook.
It’s worth noting that Minecraft Bedrock Edition runs smoothly on most Chromebooks, even on lower-end models, thanks to its optimized performance. However, performance may vary depending on the specifications of your Chromebook.
With Minecraft Bedrock Edition successfully installed on your Chromebook, you can now enjoy playing the game and exploring endless worlds with friends and family across different platforms.
In the next section, we will provide some troubleshooting tips and solutions for common issues you may encounter while playing Minecraft on your Chromebook.
Section 5: Troubleshooting common issues
While Minecraft on Chromebook usually runs smoothly, you may encounter some common issues. Here are a few troubleshooting tips and solutions to help you resolve them:
1. Performance issues: If you experience lag or performance issues while playing Minecraft, try closing other applications or reducing the game’s graphics settings. This can free up system resources and improve performance.
2. Crashing or freezing: If Minecraft crashes or freezes frequently, make sure that you have the latest updates installed. Updating your Chromebook’s software and ensuring that you are running the latest version of Minecraft can resolve many stability issues.
3. Sound problems: If you encounter sound-related issues, such as no sound or distorted audio, check your Chromebook’s sound settings. Ensure that the volume is not muted and that the audio output is correctly configured.
4. Authentication errors: If you receive authentication errors while trying to log in or play Minecraft, check your internet connection and ensure that you have a stable network connection. You may also need to verify your Minecraft account credentials or try logging in again.
5. Missing features: If you notice that certain features or functionalities are missing in the Minecraft version you installed, ensure that you have installed the correct version for your Chromebook. Minecraft Java Edition and Bedrock Edition have different features and gameplay mechanics.
6. Disk space issues: If you encounter issues related to low disk space, delete unnecessary files or free up storage on your Chromebook. Consider transferring files to external storage devices or using cloud storage services to create more space for Minecraft and other applications.
If you continue to experience issues despite following the troubleshooting tips mentioned above, it may be helpful to seek assistance from Minecraft support forums or the official Minecraft website for further guidance.
With these troubleshooting tips in mind, you should be able to address common issues and enjoy a smoother Minecraft experience on your Chromebook.
Now that we’ve covered troubleshooting common issues, let’s conclude this guide and summarize the key points.
Conclusion
Congratulations! You have successfully learned how to download and install Minecraft on your Chromebook. Whether you chose the Java Edition or the Bedrock Edition, you can now dive into the enchanting world of Minecraft and embark on exciting adventures.
In this guide, we covered the system requirements for running Minecraft on your Chromebook, the steps to enable Linux (Beta) on your device, and the installation processes for both Minecraft Java Edition and Bedrock Edition.
Remember to ensure that your Chromebook meets the necessary system requirements, enable Linux (Beta) if required, and download the appropriate version of Minecraft for your desired gameplay experience.
If you encounter any issues, we also provided troubleshooting tips to help resolve common problems such as performance issues, crashing, authentication errors, and more.
Now that you have Minecraft installed on your Chromebook, it’s time to unleash your creativity, build amazing structures, and explore the vast worlds of Minecraft. Join friends and family for multiplayer adventures, or embark on solo quests – the choice is yours!
We hope this guide has been helpful in getting Minecraft up and running on your Chromebook. Enjoy your gaming experience and immerse yourself in the endless possibilities that Minecraft has to offer.
Happy mining, crafting, and exploring!