Introduction
Welcome to our guide on how to connect an Xbox controller to a Chromebook! Gaming on a Chromebook has become increasingly popular, and having the ability to use an Xbox controller can greatly enhance your gaming experience. Whether you’re playing favorite games like Fortnite, Minecraft, or even just navigating through apps, connecting an Xbox controller to your Chromebook can provide better control and precision.
Chromebooks are known for their simplicity and ease of use, and connecting an Xbox controller is no exception. With a few simple steps, you’ll be up and running in no time. In this guide, we will walk you through two methods to connect your Xbox controller to your Chromebook: using a USB cable and connecting via Bluetooth. Additionally, we will provide troubleshooting tips to help you overcome any potential issues you may encounter along the way.
Please note that not all Chromebooks support the use of Xbox controllers, so it’s important to check if your specific model is compatible before proceeding. While most newer Chromebooks do support Xbox controllers, older models may not have this feature. To determine compatibility, check the manufacturer’s website or consult the Chromebook’s user manual.
In the following sections, we will outline both methods to connect your Xbox controller and ensure a seamless gaming experience on your Chromebook. So, let’s dive in and get your Xbox controller connected!
Prerequisites
Before we begin, there are a few things you’ll need in order to connect your Xbox controller to your Chromebook:
- An Xbox controller: Whether you have an Xbox One controller, Xbox Series X/S controller, or an older Xbox 360 controller, make sure you have one available. It’s important to note that third-party controllers may not be compatible.
- A USB cable: If you’re planning to use the USB connection method, you’ll need a USB cable with a compatible connector for your Xbox controller.
- A Chromebook with USB ports: Most Chromebooks come with USB Type-A or USB Type-C ports. Ensure that your Chromebook has at least one of these ports available for the USB connection method.
- A Bluetooth-enabled Chromebook: If you prefer to connect your Xbox controller via Bluetooth, make sure your Chromebook has built-in Bluetooth functionality.
- Fully charged Xbox controller: To avoid any interruptions during the setup process, it’s best to have your Xbox controller fully charged or with fresh batteries.
- Latest Chrome OS updates: It’s always a good idea to have the latest updates installed on your Chromebook. This ensures that you have the most up-to-date features and bug fixes that may enhance the compatibility with external devices like Xbox controllers.
Once you have gathered these prerequisites, you’re ready to proceed with connecting your Xbox controller to your Chromebook. Let’s explore the two methods in the following sections.
Method 1: Using USB Cable
The first method to connect your Xbox controller to your Chromebook involves using a USB cable. This method is straightforward and requires a wired connection between the controller and the Chromebook.
Follow these steps to connect your Xbox controller to your Chromebook using a USB cable:
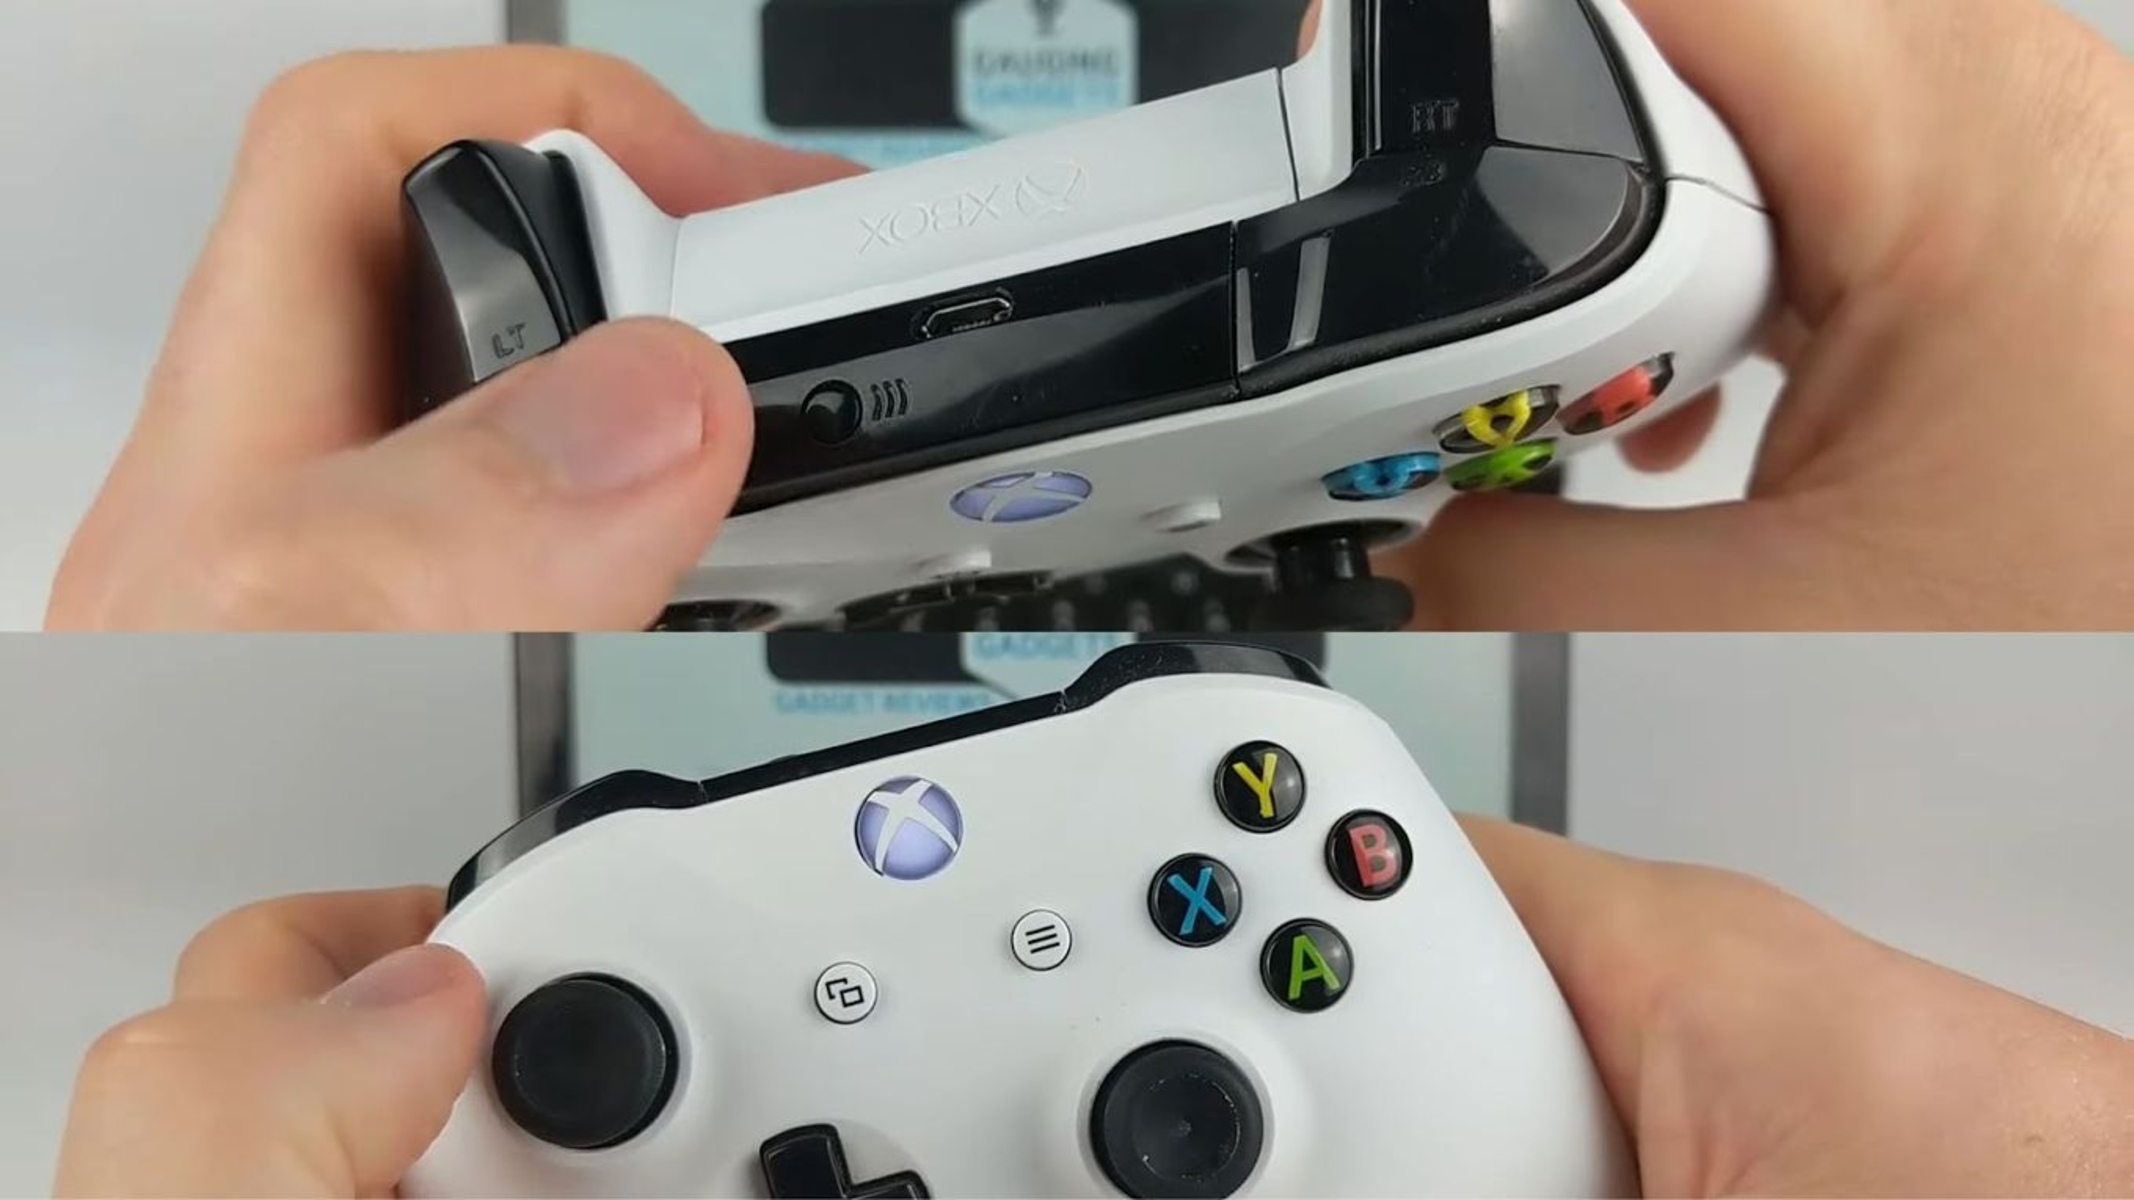
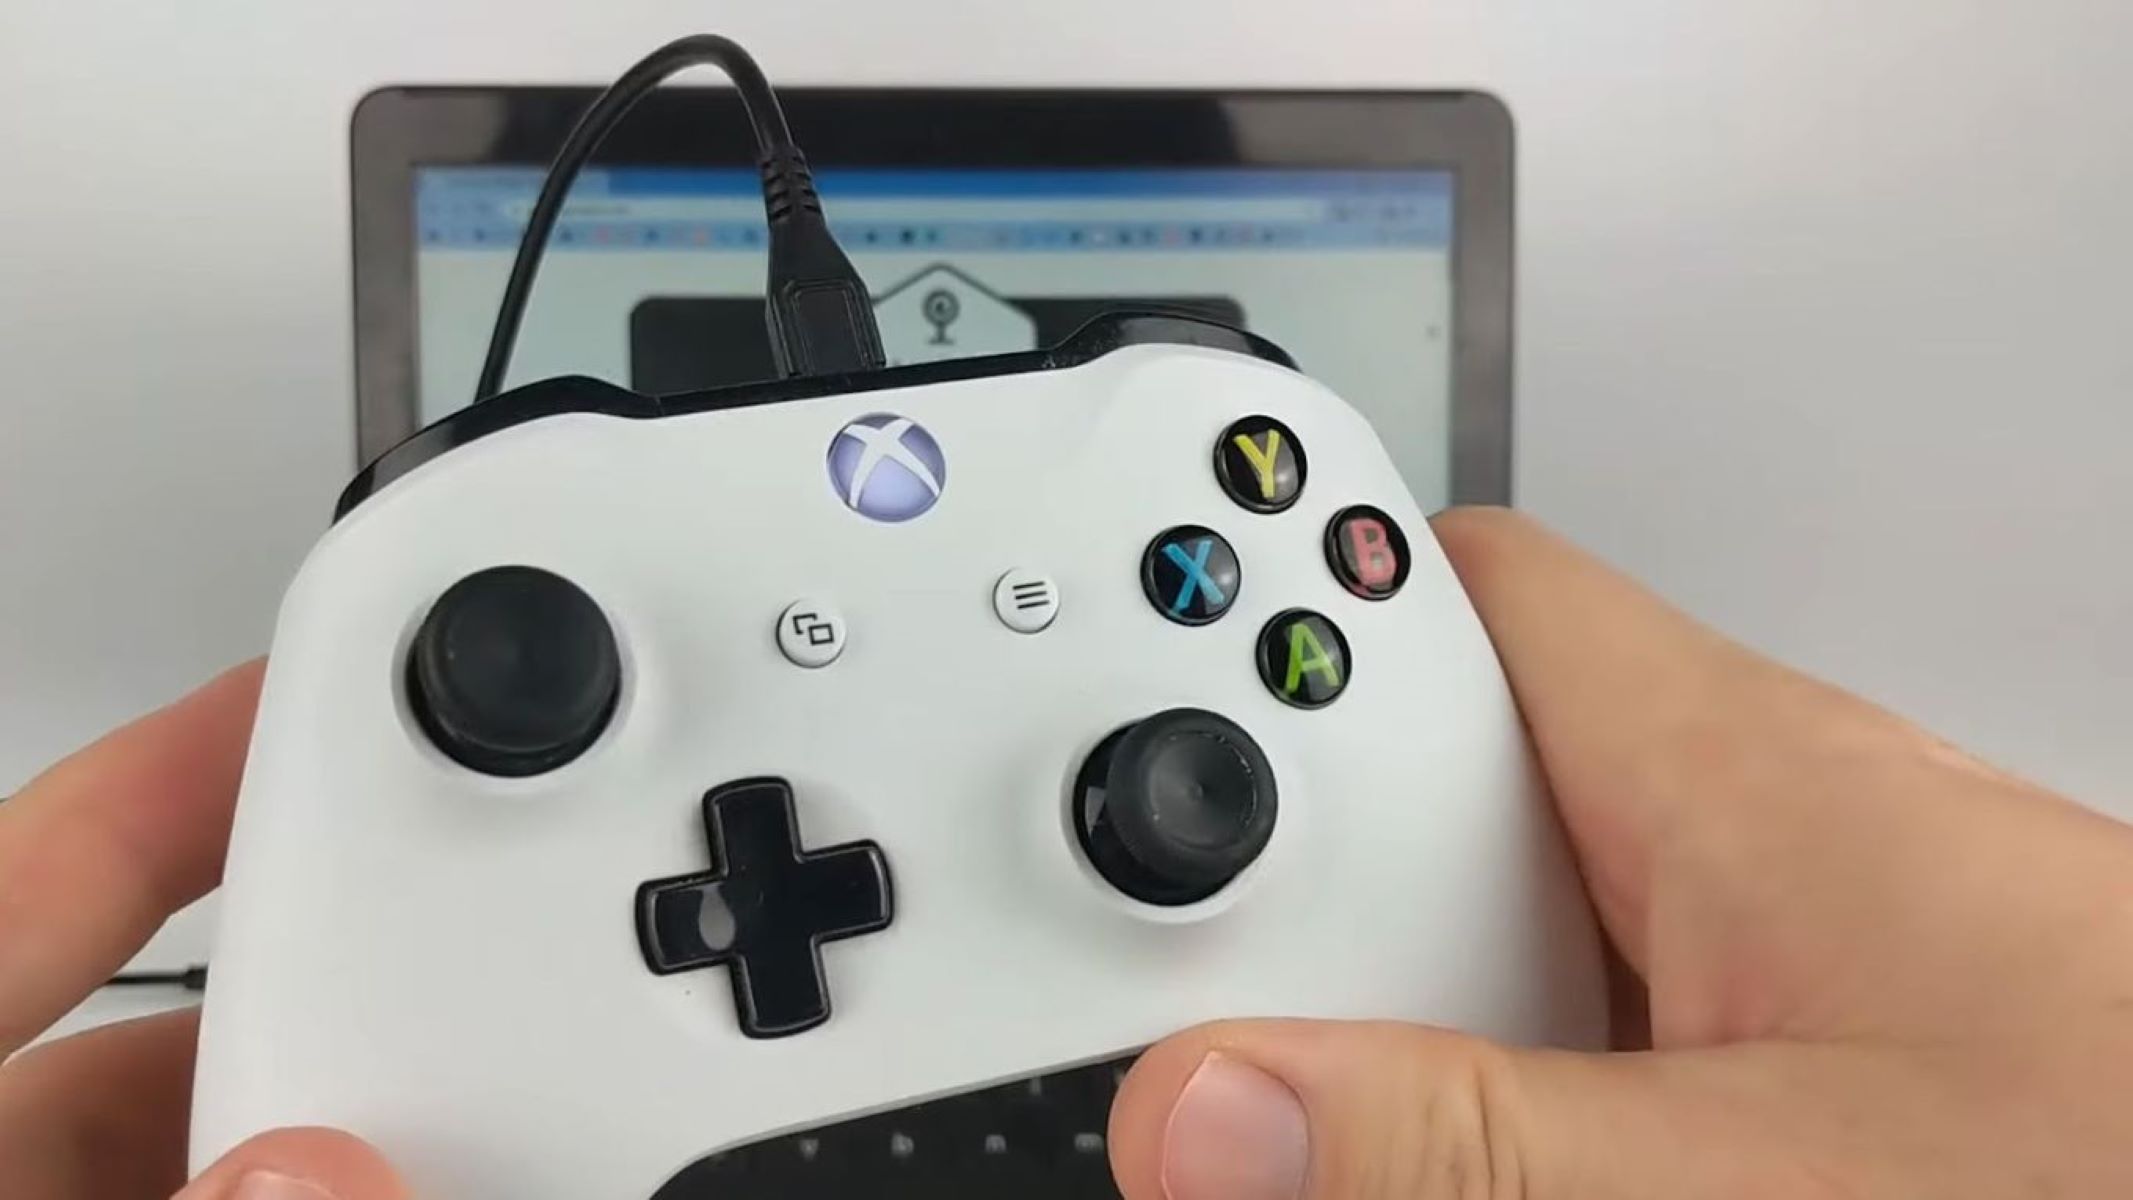
- Start by turning on your Xbox controller. You can do this by pressing and holding the Xbox button located at the center of the controller.
- Connect one end of the USB cable to your Xbox controller. The USB port is usually located at the top of the controller.
- Next, connect the other end of the USB cable to an available USB port on your Chromebook. Make sure to use a compatible USB port, either USB Type-A or USB Type-C.
- Your Chromebook will recognize the Xbox controller and automatically configure it for use. You may see a notification indicating that a new input device has been connected.
- Once the connection is established, you can start using your Xbox controller to navigate and control games, apps, and other functions on your Chromebook.
That’s it! You’ve successfully connected your Xbox controller to your Chromebook using a USB cable. Enjoy the improved gaming experience and precise control offered by the Xbox controller.
If you encounter any issues during the setup process or your Xbox controller is not recognized, don’t worry. We will address common troubleshooting tips in the next section to help you resolve any connectivity problems you may face.
Method 2: Connecting via Bluetooth
If you prefer a wireless connection, you can connect your Xbox controller to your Chromebook via Bluetooth. This method allows for greater flexibility and eliminates the need for a physical cable.
Follow these steps to connect your Xbox controller to your Chromebook via Bluetooth:
- Start by turning on your Xbox controller. Press and hold the Xbox button located at the center of the controller to power it on.
- On your Chromebook, click on the Time in the bottom-right corner of the screen. Then, click on the gear icon to open the Settings menu.
- In the Settings menu, select “Bluetooth” from the left-hand side panel.
- Make sure the Bluetooth toggle switch at the top of the screen is turned on.
- On your Xbox controller, press and hold the small connect button located near the USB port. The Xbox button will begin to flash, indicating that the controller is in pairing mode.
- Back on your Chromebook, under the “Available devices” section, you should see your Xbox controller listed. Click on it to initiate the pairing process.
- Wait for a moment while your Chromebook establishes a connection with the Xbox controller. Once the pairing is successful, you will see a notification confirming the connection.
That’s it! You have successfully connected your Xbox controller to your Chromebook via Bluetooth. You can now enjoy a wireless gaming experience with the freedom to move around without being tethered to your Chromebook.
If you encounter any difficulties during the pairing process or your Xbox controller is not detected by the Chromebook, don’t worry. In the next section, we will cover some common troubleshooting tips to help you resolve any connectivity issues.
Troubleshooting
Although connecting an Xbox controller to a Chromebook is typically a straightforward process, you may encounter some issues or challenges along the way. Here are some common troubleshooting tips to help you troubleshoot and resolve any connectivity problems:
- Ensure that your Xbox controller is fully charged or has fresh batteries. Low battery levels can cause connectivity issues.
- Check if your Chromebook is compatible with Xbox controllers. Some older models may not support this feature.
- Make sure your Chromebook’s operating system is up to date. Install any available updates to ensure optimal compatibility with external devices.
- For the USB connection method, try using a different USB cable or USB port on your Chromebook. Faulty cables or ports can sometimes cause connectivity problems.
- If you’re connecting via Bluetooth, ensure that Bluetooth is enabled on your Chromebook and that your Xbox controller is in pairing mode.
- Restart both your Chromebook and Xbox controller and attempt the connection process again.
- Try connecting your Xbox controller to a different Chromebook or device to identify if the issue is specific to your Chromebook.
- If all else fails, consider contacting the Chromebook manufacturer’s support or Xbox support for further assistance.
By following these troubleshooting tips, you should be able to resolve common connectivity issues and successfully connect your Xbox controller to your Chromebook. Remember, patience and persistence are key when troubleshooting technical issues.
Now that you have learned both methods to connect an Xbox controller to your Chromebook and have some troubleshooting strategies, you should be able to enjoy gaming with enhanced control and precision. Have fun exploring your favorite games and apps on your Chromebook with your Xbox controller!
Conclusion
Congratulations! You have successfully learned how to connect your Xbox controller to your Chromebook, whether it’s through a USB cable or via Bluetooth. With this newfound knowledge, you can enhance your gaming experience on your Chromebook by taking advantage of the precise controls and familiar feel of an Xbox controller.
Remember to check the compatibility of your Chromebook model with Xbox controllers before attempting to connect. Not all Chromebooks support this feature, especially older models. Refer to the manufacturer’s website or user manual for more information.
By following the step-by-step instructions provided in this guide, you can easily connect your Xbox controller to your Chromebook and start enjoying your favorite games, navigating through apps, and improving your overall productivity. Whether you prefer the convenience of a wired connection or the freedom of gaming wirelessly, both methods provide a seamless integration between the Xbox controller and your Chromebook.
If you encounter any issues during the setup process, refer to the troubleshooting section for common solutions. Remember to check for updates on your Chromebook’s operating system and ensure your Xbox controller is fully charged or has fresh batteries to avoid connectivity problems.
We hope this guide has been helpful in enabling you to connect your Xbox controller to your Chromebook. Now, it’s time to dive into the world of gaming and experience a whole new level of control and enjoyment. Happy gaming!