Introduction
Connecting your Xbox to a Chromebook can open up a whole new world of gaming possibilities. While Chromebooks may not be traditionally known for their gaming capabilities, with the right setup, you can enjoy playing your favorite Xbox games on a larger screen.
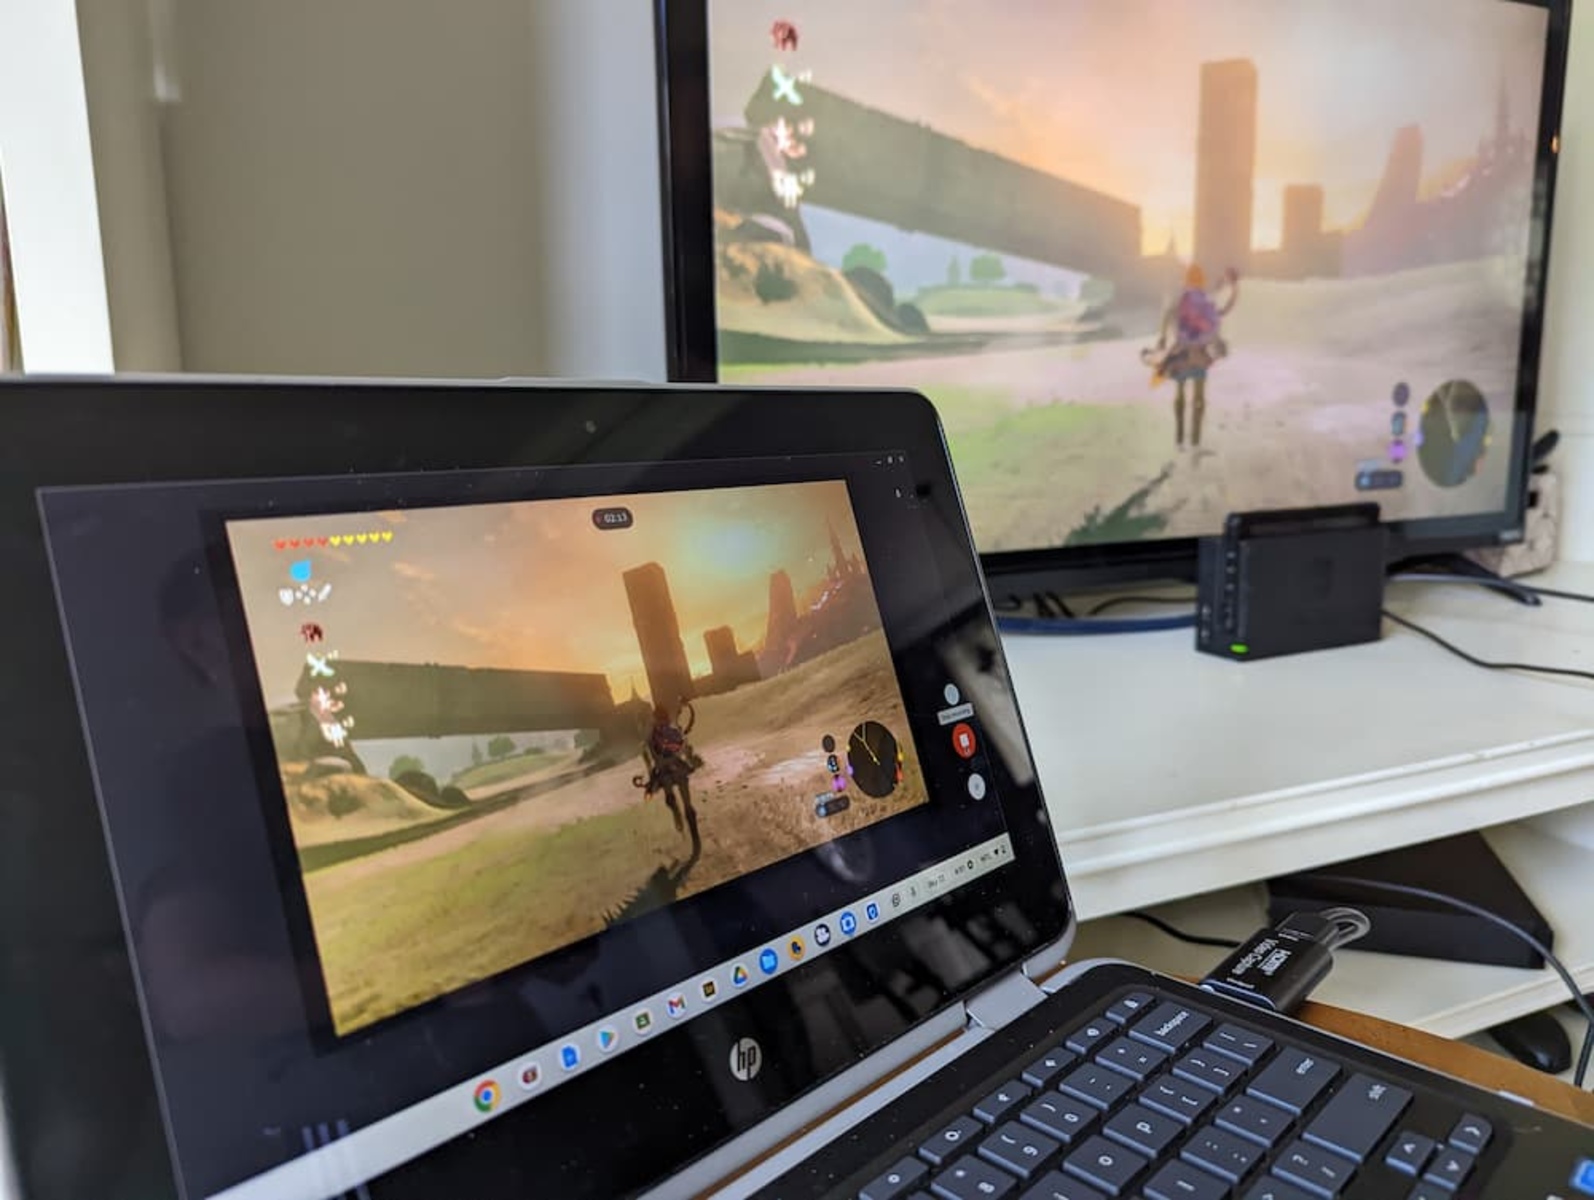
Whether you want to enjoy the immersive experience of gaming on a bigger display or simply need a backup screen for when your TV is occupied, connecting your Xbox to a Chromebook with an HDMI connection is a simple and straightforward process.
In this guide, we will walk you through the step-by-step process of connecting your Xbox to a Chromebook using an HDMI cable. You will need an HDMI adapter, an HDMI cable, and a Chromebook with a compatible HDMI port to complete the connection.
Please note that not all Chromebook models have HDMI ports, so it is essential to check the compatibility of your specific Chromebook model before attempting to connect.
Now, let’s dive into the details of how you can connect your Xbox to your Chromebook and enhance your gaming experience.
Requirements
Before we begin, let’s ensure that you have everything you need to successfully connect your Xbox to your Chromebook. Here are the requirements:
- A Chromebook with an HDMI port: Not all Chromebooks have an HDMI port. Make sure that your Chromebook has an HDMI port that supports video output.
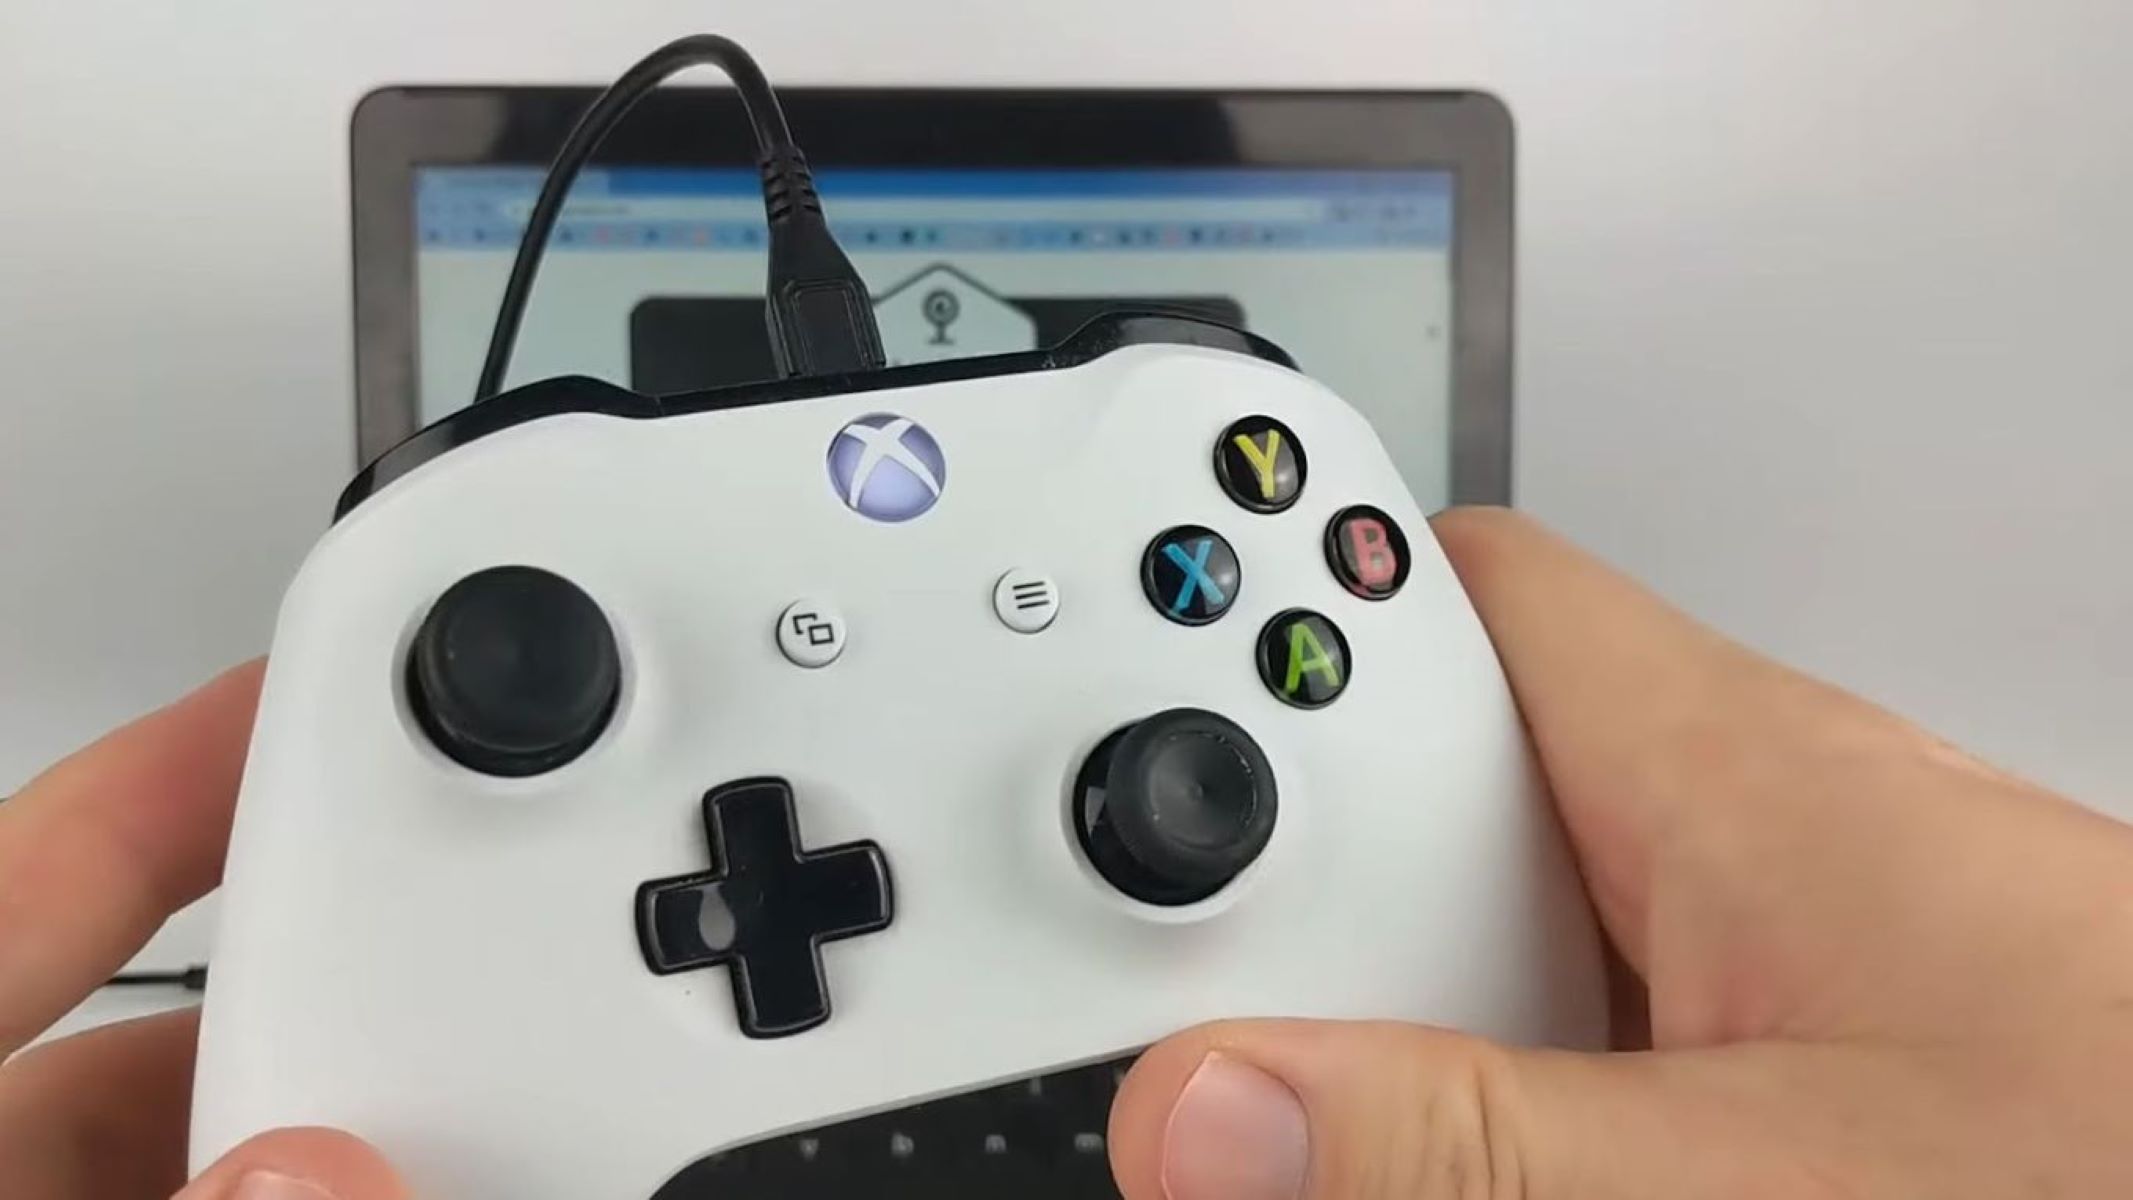
- An Xbox console: This can be an Xbox One, Xbox One S, Xbox One X, or an Xbox Series X/S.
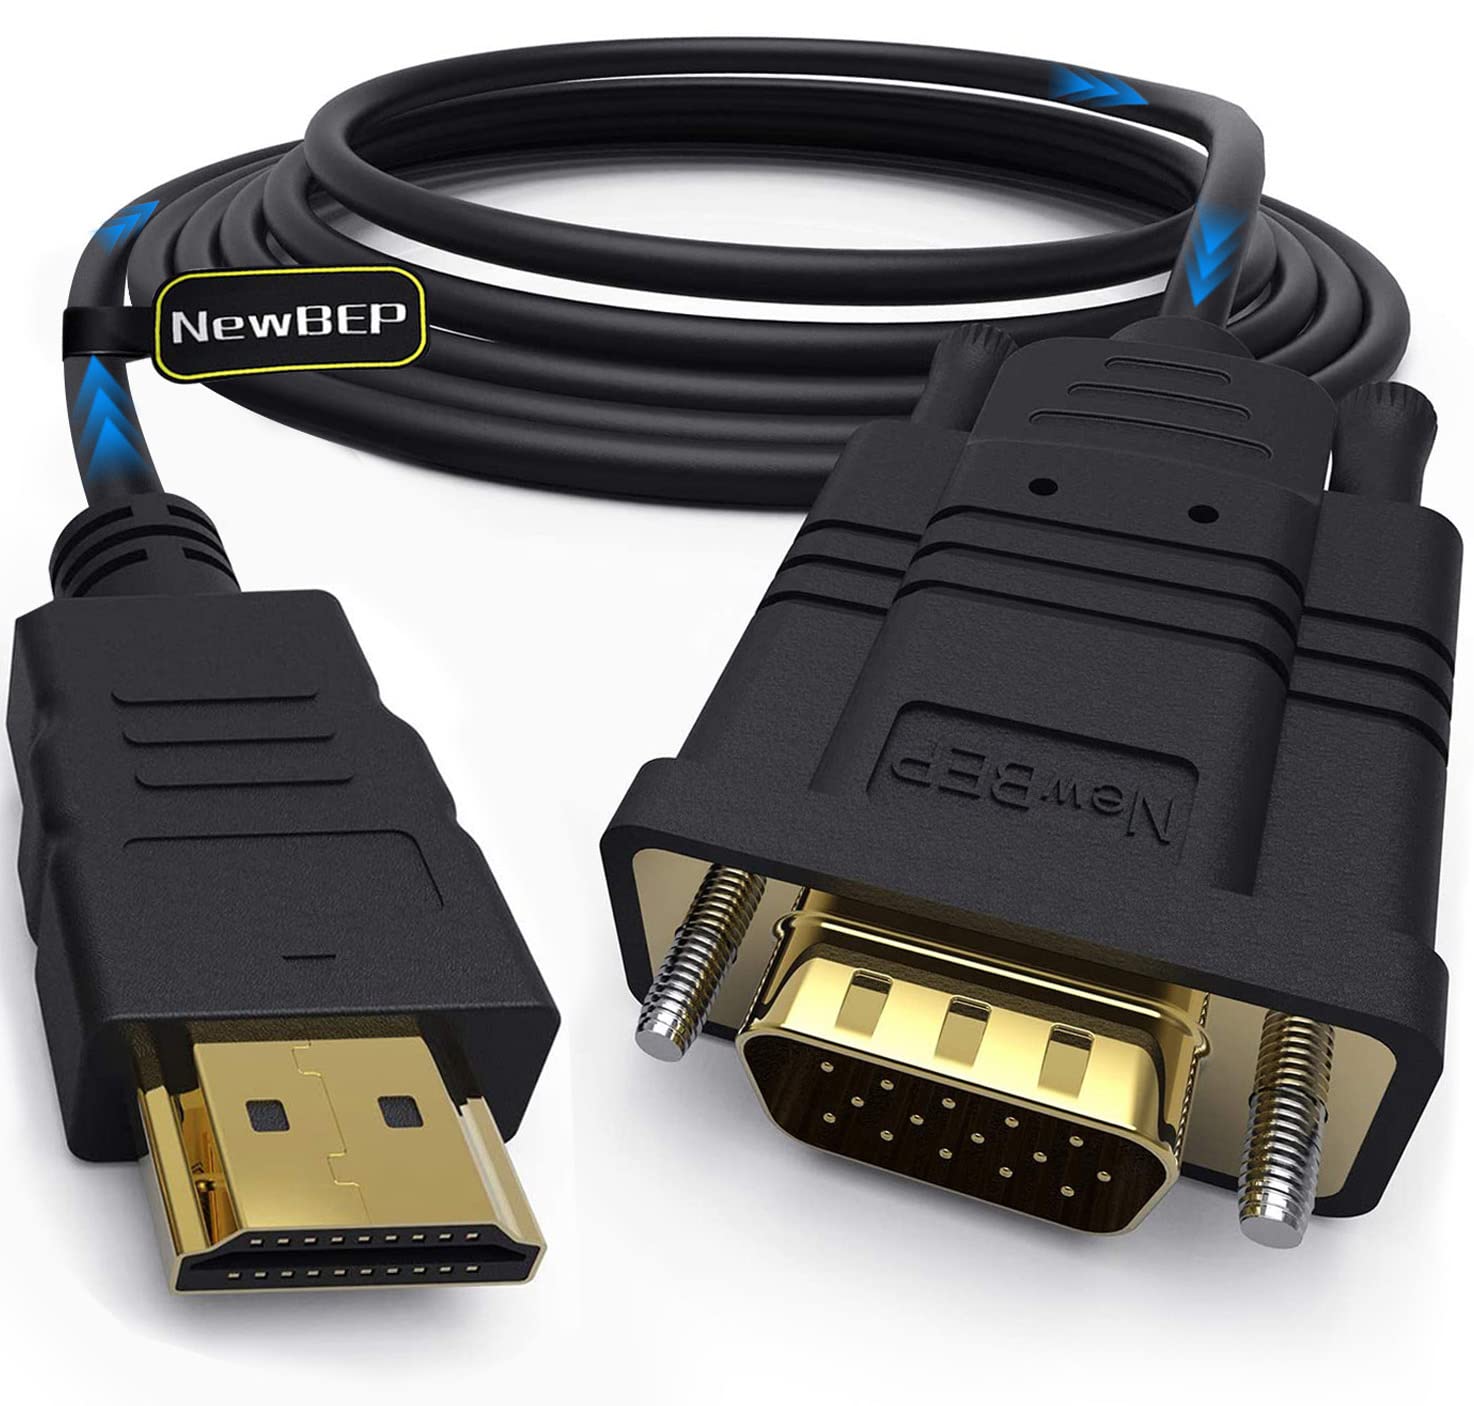
- An HDMI cable: You will need an HDMI cable to connect your Chromebook to your Xbox. Ensure that the cable is in good condition and capable of transmitting audio and video signals.
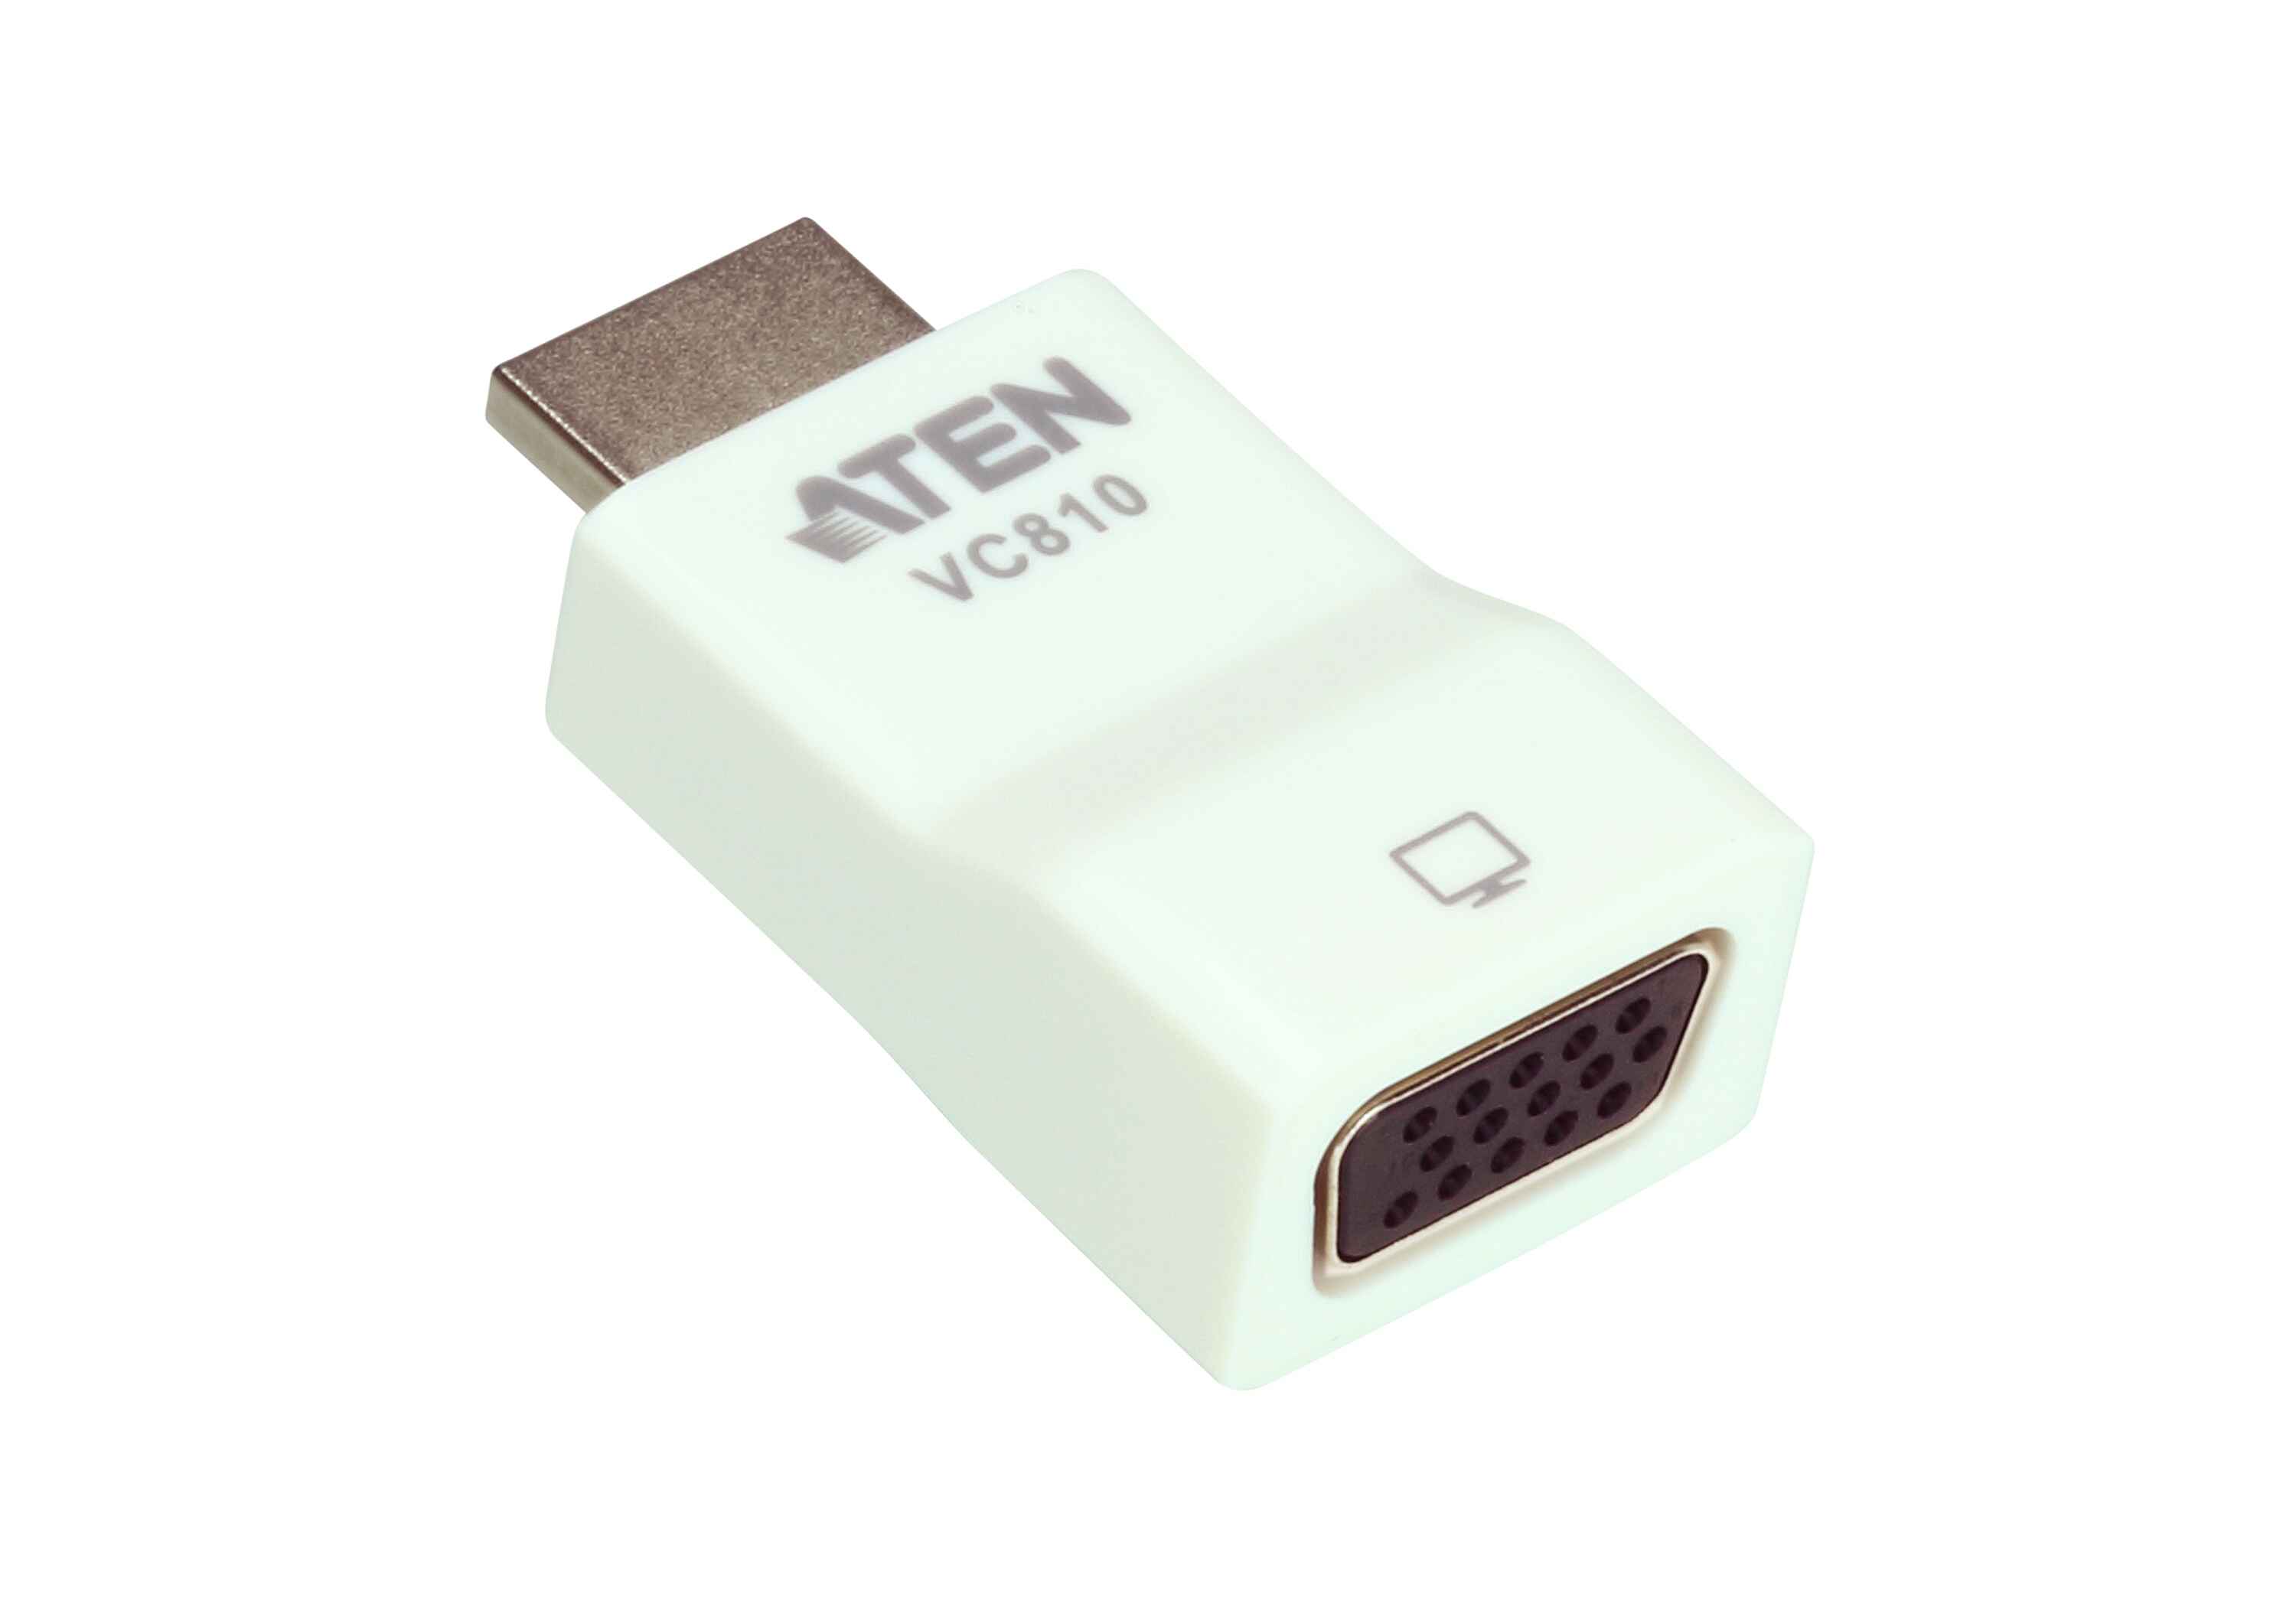
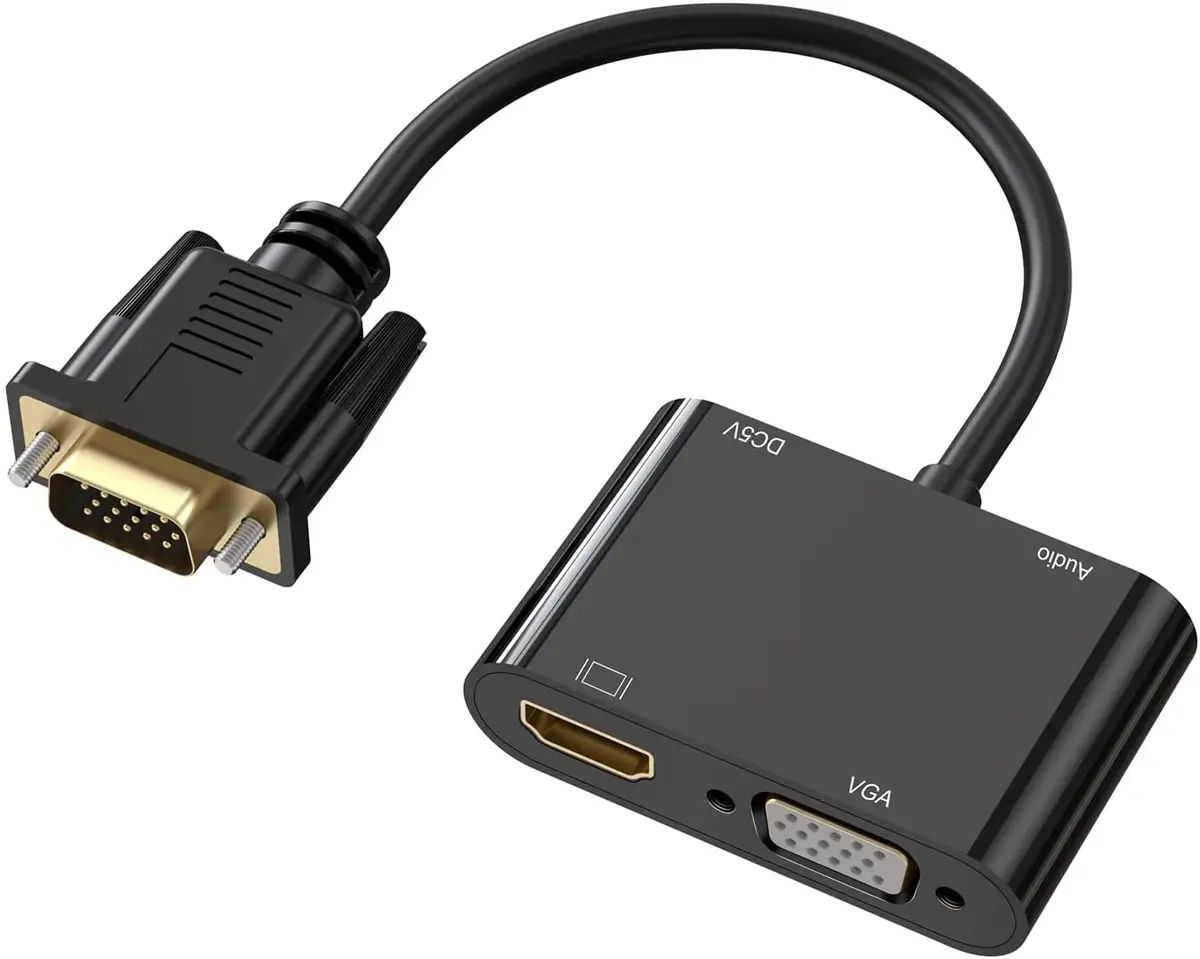
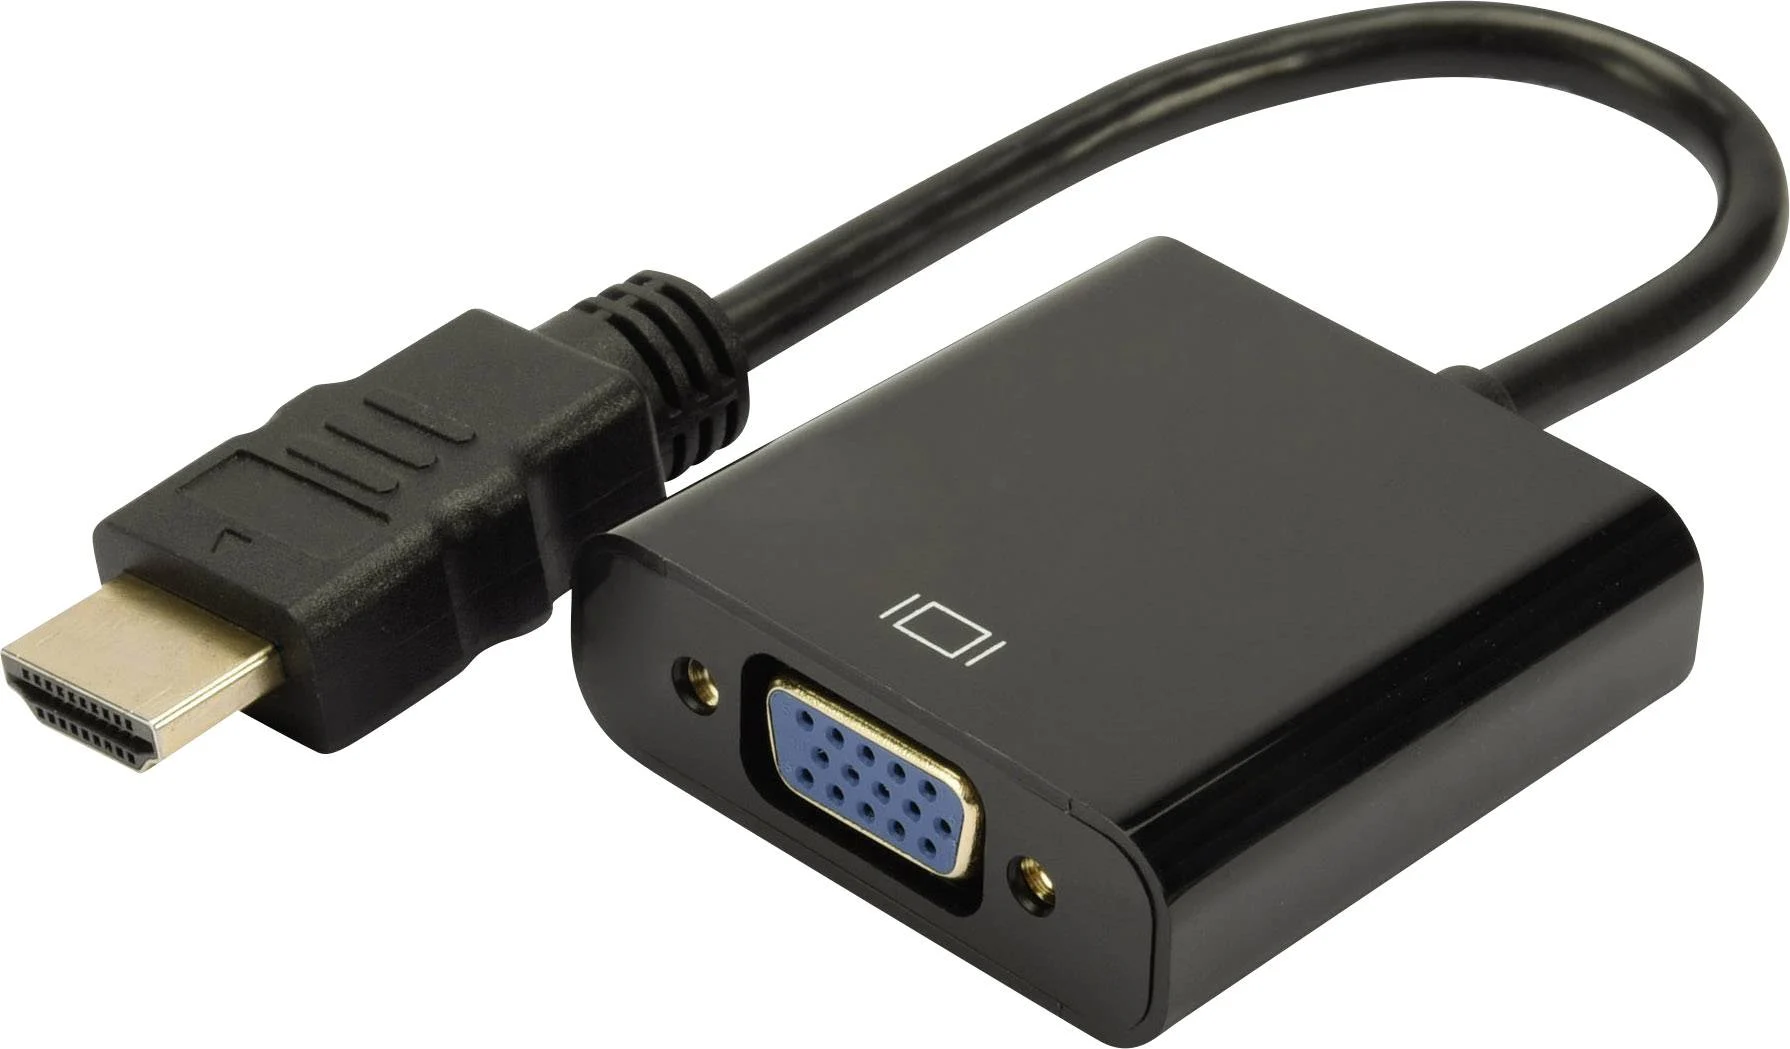
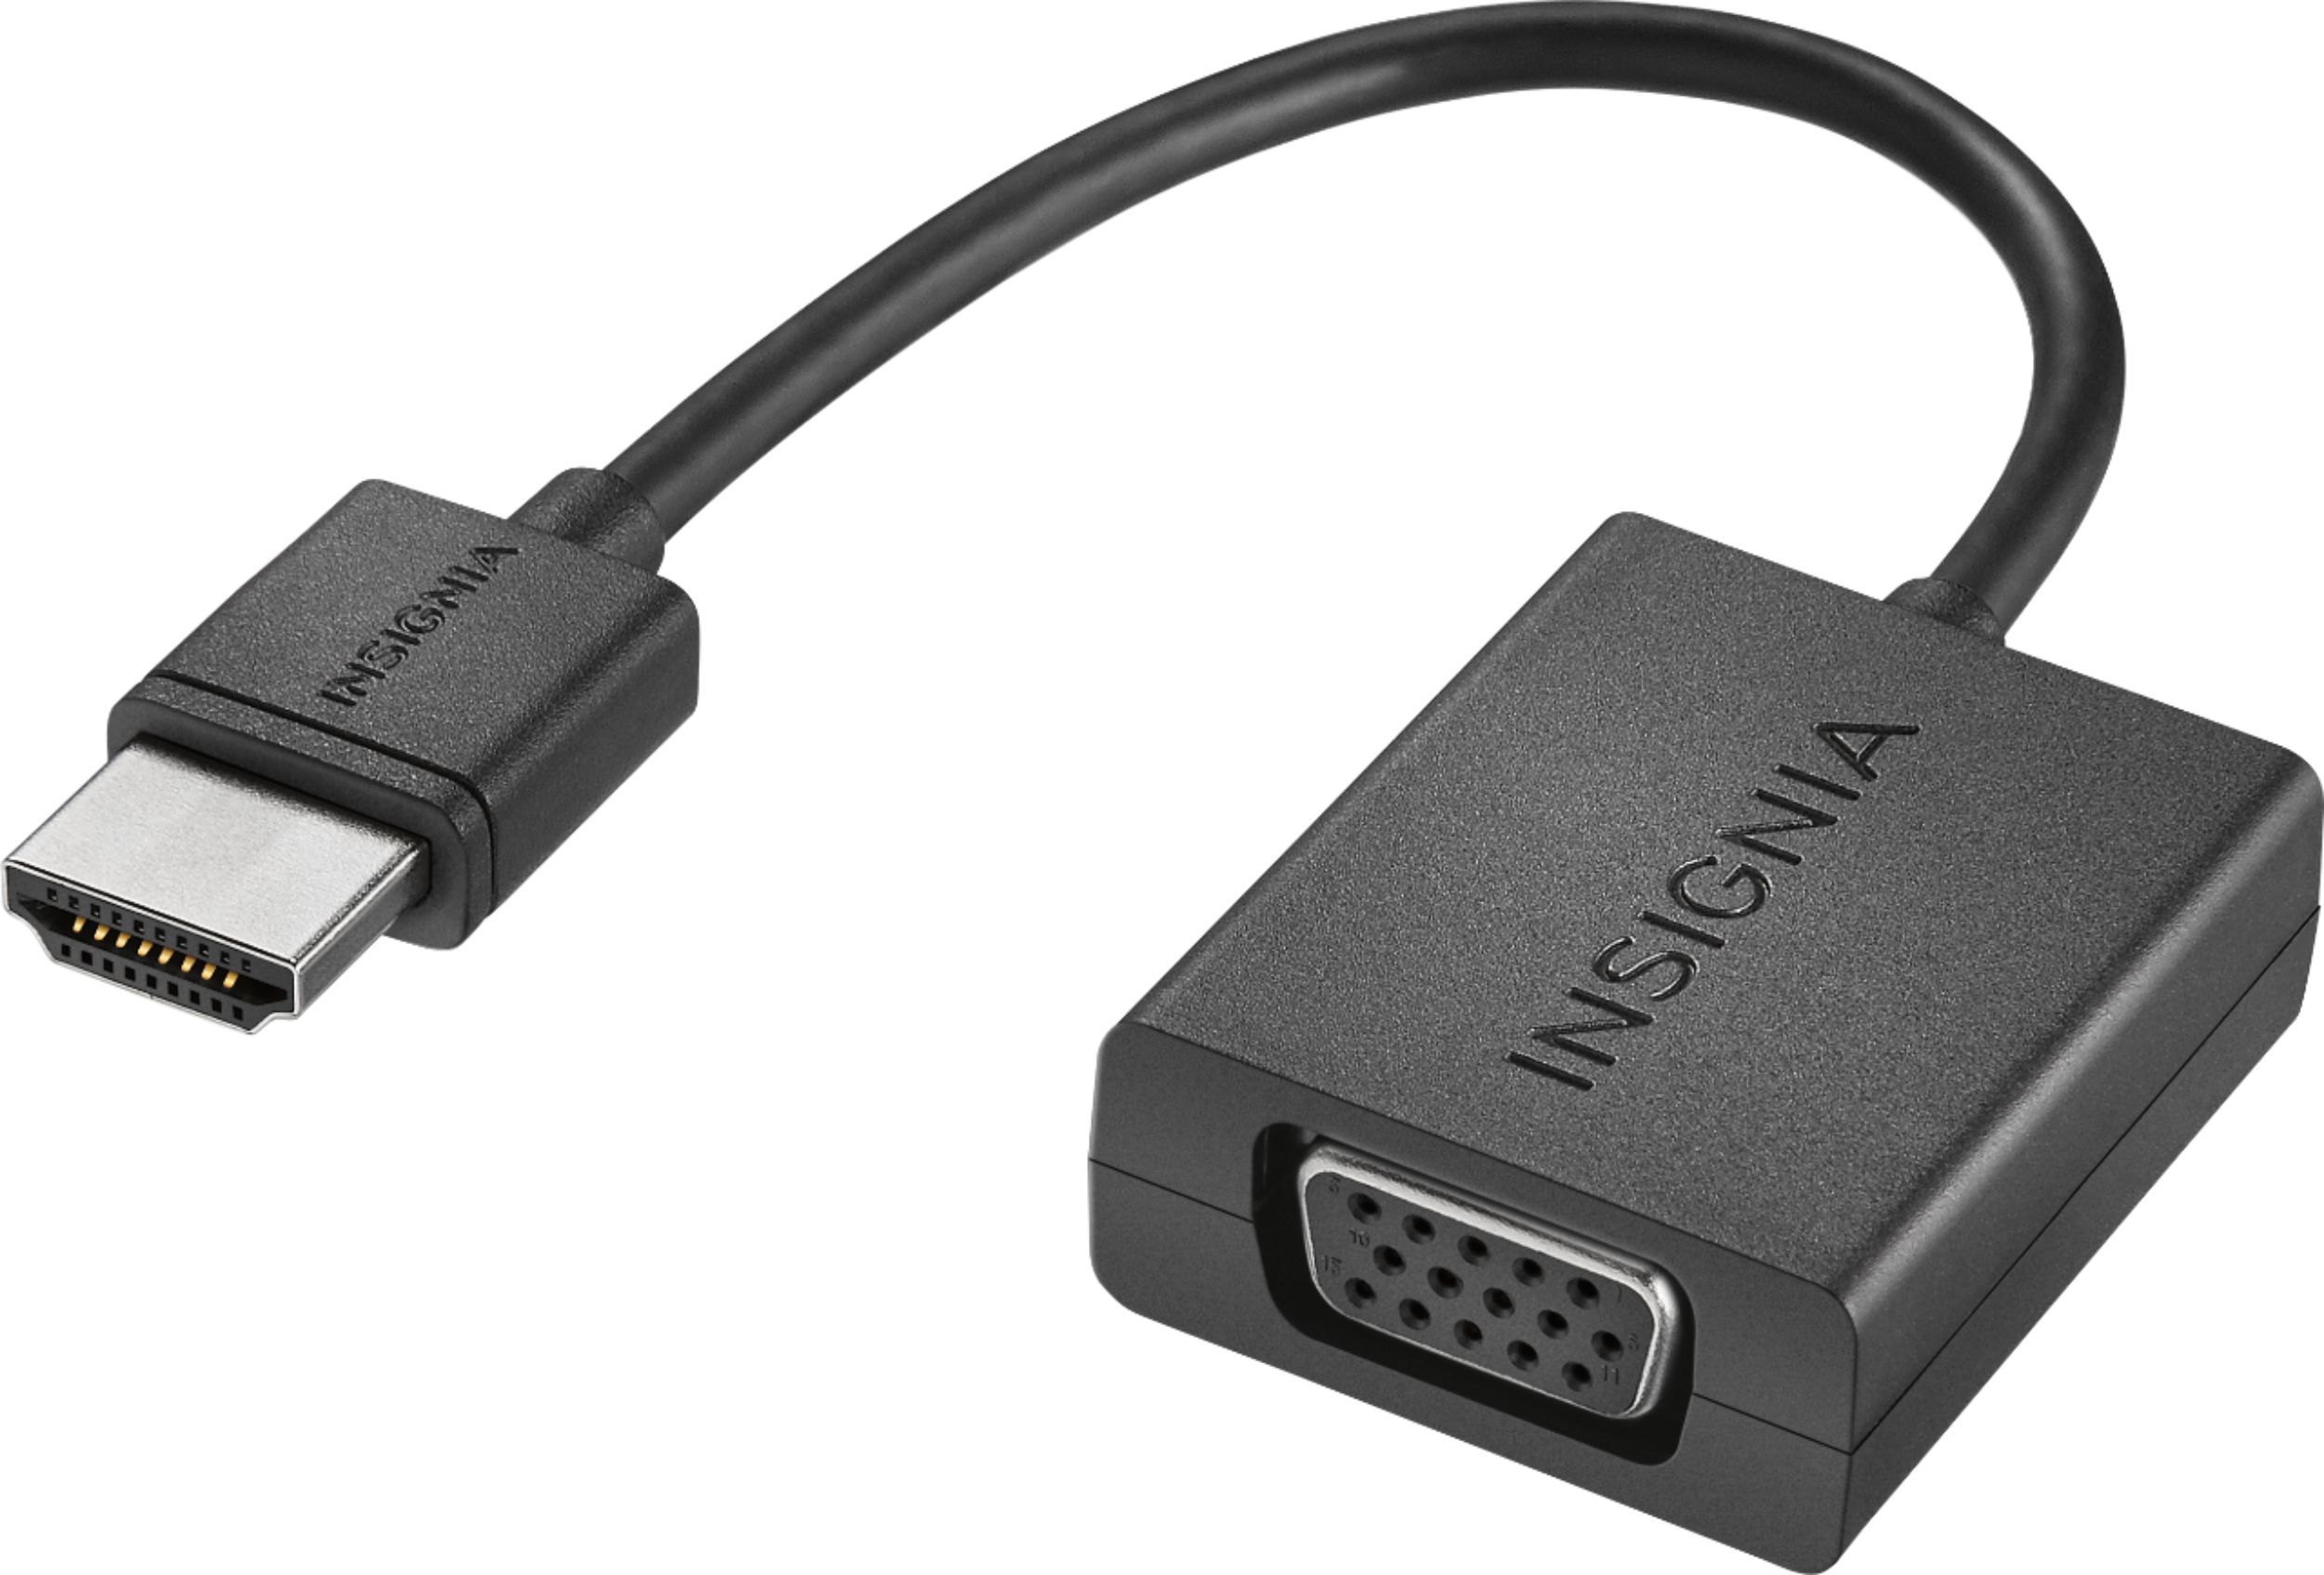
- An HDMI adapter: Since Chromebooks typically have micro HDMI or USB-C ports, you will need an HDMI adapter to connect the HDMI cable to your Chromebook. The type of adapter you need will depend on the specific Chromebook model you have.
- An HDMI-compatible display: You will need a secondary display device, such as a monitor or a TV, with an available HDMI input to connect your Xbox.
It is important to have all these requirements ready before proceeding with the connection process.
Once you have gathered all the necessary equipment, you are ready to move on to the next step: connecting the HDMI adapter to your Chromebook.
Step 1: Check Compatibility
Before diving into the connection process, it’s crucial to ensure that your Chromebook is compatible with connecting an Xbox through an HDMI connection. Not all Chromebook models have an HDMI port or support video output.
To check the compatibility of your Chromebook:
- Look for an HDMI port: Locate the ports on your Chromebook and see if there is an HDMI port available. It is usually marked with the “HDMI” label. If you find one, it means your Chromebook has the necessary hardware for connecting an external display.
- Check the specifications: If you are unsure about the presence of an HDMI port, you can refer to the specifications of your Chromebook. Check the manufacturer’s website or user manual for detailed information on the available ports and their capabilities.
- Verify video output support: Some Chromebook models may have an HDMI port but lack support for video output. In this case, you won’t be able to use the HDMI connection to display content on an external screen. Double-check the specifications or consult the manufacturer’s documentation to confirm the video output capabilities.
If your Chromebook meets the compatibility requirements, you can proceed to the next step of acquiring the necessary equipment, such as the HDMI adapter and cable. However, if your Chromebook doesn’t have the required hardware, you may need to explore alternative methods for connecting your Xbox console.
Once you have determined that your Chromebook is compatible with an HDMI connection, you’re ready to move on to the next steps of the process, which involve obtaining an HDMI adapter and connecting it to your Chromebook.
Step 2: Get an HDMI Adapter
Since Chromebooks typically have micro HDMI or USB-C ports, you will need an HDMI adapter to connect your Chromebook to an HDMI cable. The type of adapter you require will depend on the specific Chromebook model you have.
Here’s how you can get the appropriate HDMI adapter:
- Identify the port: Determine the type of port available on your Chromebook. It could be either a micro HDMI port or a USB-C port.
- Research your Chromebook model: Look up your Chromebook model and find out which type of HDMI adapter is compatible with it. This information can usually be found on the manufacturer’s website or in the user manual.
- Purchase the adapter: Once you have identified the required HDMI adapter, you can purchase it from various online or local retailers. Make sure to choose a reputable seller and check customer reviews to ensure the quality of the adapter.
When purchasing the HDMI adapter, consider factors such as build quality, compatibility, and any additional features it may offer, such as audio passthrough or multiple HDMI ports.
Once you have obtained the HDMI adapter, it’s time to move on to the next step: connecting the adapter to your Chromebook.
Step 3: Connect the HDMI Adapter to the Chromebook
Now that you have the HDMI adapter required for your specific Chromebook model, it’s time to connect it to your Chromebook. Follow these steps:
- Turn off your Chromebook: To ensure a safe and secure connection, it is recommended to turn off your Chromebook before proceeding with the connection process.
- Locate the HDMI port: Identify the HDMI port on your Chromebook. Depending on your Chromebook model, it will either be a micro HDMI port or a USB-C port labeled with an HDMI icon.
- Insert the HDMI adapter: Take the HDMI adapter and align it with the Chromebook’s HDMI port. Gently insert the HDMI adapter into the port until it’s fully connected. Make sure you don’t force it or insert it at an angle, as this could damage the port or the adapter.
- Ensure a secure connection: Once the HDMI adapter is connected, give it a slight tug to ensure it is securely attached to your Chromebook.
With the HDMI adapter securely connected to your Chromebook, you are now ready to move on to the next step: connecting the HDMI cable to the adapter.
Step 4: Connect the HDMI Cable
With the HDMI adapter successfully connected to your Chromebook, the next step is to connect the HDMI cable to the adapter. Follow these steps:
- Turn off your Xbox: Before connecting any cables, ensure that your Xbox console is turned off to prevent any potential damage to your devices.
- Locate the HDMI port on the adapter: Find the HDMI port on the HDMI adapter that is connected to your Chromebook.
- Connect one end of the HDMI cable: Take one end of the HDMI cable and firmly insert it into the HDMI port on the adapter. Make sure it is inserted all the way in and securely connected.
- Locate the HDMI port on your Xbox: Find the HDMI port on your Xbox console. It is usually located at the back or side of the console. It will be labeled with the word “HDMI” or a similar logo.
- Connect the other end of the HDMI cable: Take the remaining end of the HDMI cable and insert it into the HDMI port on your Xbox console. Ensure that it is inserted fully and securely.
Once you have connected the HDMI cable to both the HDMI adapter and your Xbox console, you are now ready to proceed with configuring the display settings on your Chromebook.
Step 5: Connect the HDMI Cable to the Xbox
Now that you have connected one end of the HDMI cable to the HDMI adapter on your Chromebook, it’s time to connect the other end of the cable to your Xbox console. Follow these steps:
- Make sure your Xbox is turned off: Before connecting the HDMI cable, ensure that your Xbox console is turned off to avoid any potential issues.
- Locate the HDMI port on your Xbox: Look for the HDMI port on your Xbox console. It is usually found at the back or side of the console and is labeled with the word “HDMI” or a similar logo.
- Connect the HDMI cable: With the HDMI port on your Xbox console identified, take the end of the HDMI cable that is not connected to the Chromebook and firmly insert it into the HDMI port on your Xbox console. Ensure that the connection is secure.
Once the HDMI cable is securely connected to both the Chromebook and the Xbox console, you are ready to move on to the next step: configuring the display settings on your Chromebook.
Step 6: Configure the Display Settings on the Chromebook
After connecting the HDMI cable to both your Chromebook and Xbox console, it’s time to configure the display settings on the Chromebook to ensure that the content is properly mirrored or extended to the external display. Follow these steps:
- Turn on your Chromebook: Power on your Chromebook and wait for it to boot up.
- Open the Settings menu: Click on the Start button and navigate to the Settings icon (usually represented by a gear or wrench symbol).
- Select Display settings: In the Settings menu, look for the Display settings option and click on it to access the display settings.
- Choose the appropriate display mode: In the display settings, locate the option that allows you to choose the display mode. Depending on your Chromebook model, you may have options like “Mirror display” or “Extend display”. Select the appropriate mode based on your preference.
- Adjust resolution and other settings (optional): If needed, you can also adjust the screen resolution and other display settings to optimize the visual output. Explore the additional display settings to customize the viewing experience according to your preferences.
- Save the settings: Once you have configured the display settings to your liking, click on the Save or Apply button to save the changes.
By configuring the display settings on your Chromebook, you are ensuring that the content from your Xbox console will be properly displayed on the external monitor or TV. Now, it’s time to move on to the next step: configuring the display settings on your Xbox console.
Step 7: Configure the Xbox Display Settings
After setting up the display settings on your Chromebook, it’s important to configure the display settings on your Xbox console to ensure the best visual experience. Follow these steps:
- Turn on your Xbox console: Power on your Xbox console and wait for it to start up.
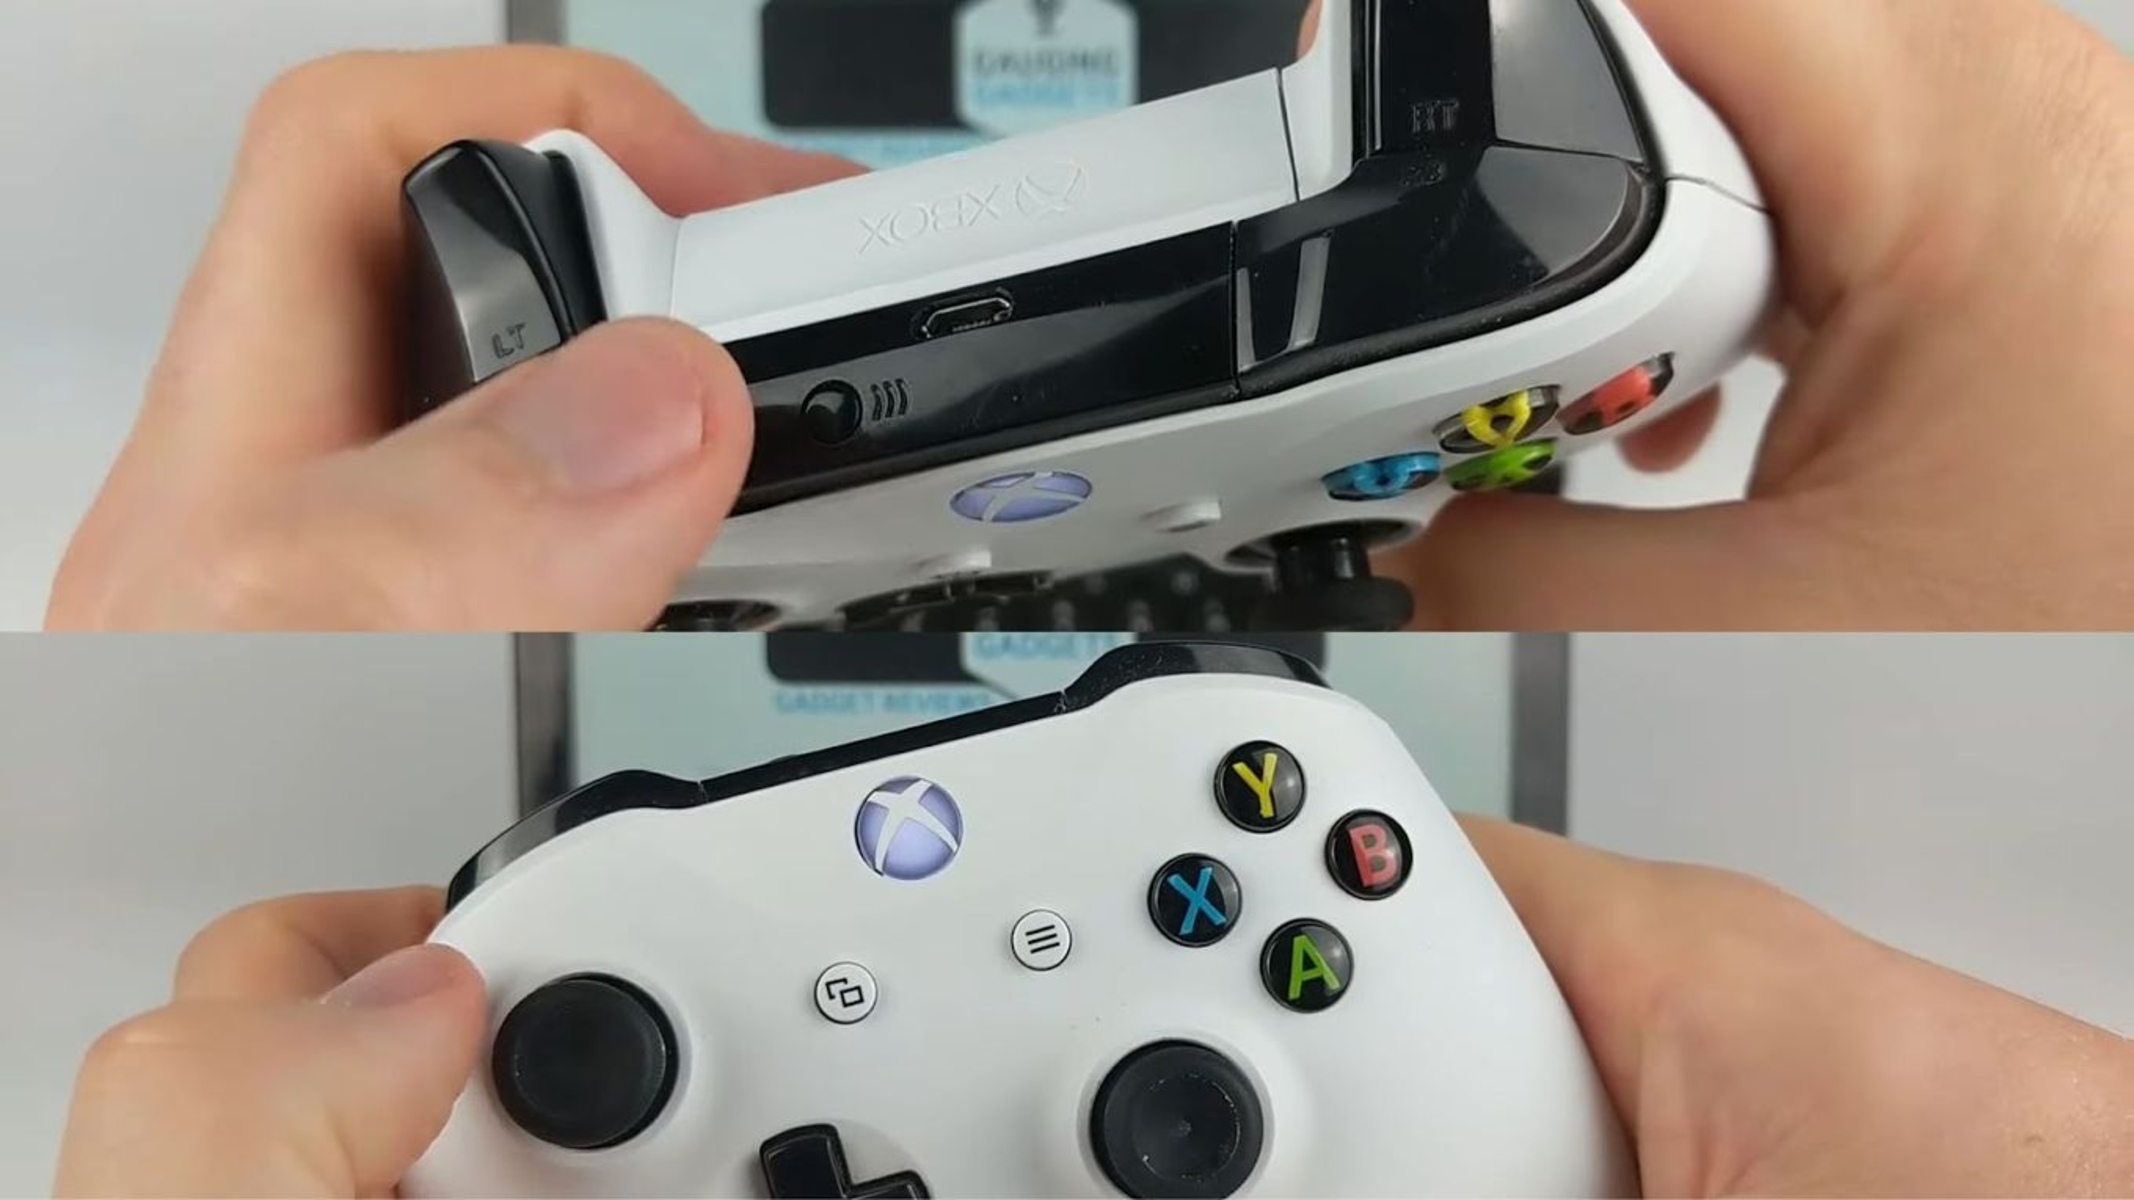
- Navigate to the Settings menu: Using your Xbox controller, press the Xbox button to open the Xbox guide. Scroll to the right and select the “Settings” cog icon.
- Select the Display & sound option: In the Settings menu, choose “Display & sound” to access the display settings for your Xbox console.
- Choose the appropriate resolution: In the Display & sound settings, select the “Video output” option. Choose the desired resolution that matches the capabilities of your external monitor or TV. It’s recommended to select the highest resolution supported by your display for the best visual quality.
- Adjust other display settings (optional): Depending on your preferences and the capabilities of your display, you can explore other display options available in the settings menu. This includes options like color depth, refresh rate, and HDR settings. Adjust these settings according to your preferences and the capabilities of your display.
- Save the settings: Once you have configured the display settings to your satisfaction, save the changes by selecting the “Apply” or “Save” button.
By configuring the display settings on your Xbox console, you are ensuring that the content is optimized for your external display, providing you with the best gaming experience possible. Now, you’re all set to enjoy your Xbox games on the larger screen of your Chromebook!
Troubleshooting
While connecting your Xbox to your Chromebook using an HDMI connection is typically a straightforward process, you may encounter some common issues. Here are a few troubleshooting tips to help resolve them:
- Check the connections: Ensure that all HDMI connections are securely inserted into their respective ports. Sometimes a loose connection can cause display issues.
- Restart your devices: Try restarting both your Chromebook and Xbox console. This can help to reset any temporary glitches or conflicts that may be causing the issue.
- Verify the compatibility: Double-check the compatibility of your Chromebook and Xbox console. Make sure they both support HDMI connectivity and have the necessary ports.
- Update software and drivers: Ensure that your Chromebook has the latest Chrome OS updates installed, and your Xbox console has the latest system software updates. Outdated software can sometimes cause compatibility issues.
- Try a different HDMI cable or adapter: If you are experiencing display issues, it’s possible that the HDMI cable or adapter is faulty. Try using a different HDMI cable or adapter to see if the problem persists.
- Check the display settings: Verify that the display settings on both your Chromebook and Xbox console are correctly configured. Ensure the resolution, aspect ratio, and other settings match the capabilities of your display device.
- Test with a different display device: If the issues persist, try connecting your Xbox console to a different external display, such as a TV or monitor, to see if the problem lies with the Chromebook or the display device.
- Consult manufacturer support: If all else fails, contact the support team of your Chromebook or Xbox console manufacturer for further assistance. They will be able to provide specific troubleshooting steps or offer additional guidance to resolve the issue.
Remember, troubleshooting steps may vary depending on your specific Chromebook model and Xbox console. Refer to the manufacturer’s documentation or support resources for detailed troubleshooting steps specific to your devices.
By following these troubleshooting tips, you should be able to resolve most common issues that may arise during the process of connecting your Xbox to your Chromebook via HDMI.
Conclusion
Connecting your Xbox to a Chromebook with an HDMI cable opens up new possibilities for gaming on a larger screen. While the process may seem daunting at first, with the right equipment and proper steps, it can be easily achieved.
In this guide, we provided a step-by-step walkthrough on how to connect your Xbox to your Chromebook using an HDMI connection. We emphasized the importance of checking the compatibility of your Chromebook, acquiring the necessary HDMI adapter, and ensuring secure connections for both the HDMI cable and adapter.
We also discussed the significance of configuring the display settings on both the Chromebook and Xbox console to ensure an optimal gaming experience. Troubleshooting tips were provided to address potential issues that may arise during the connection process.
Remember to follow the recommended steps, consult the user manuals or manufacturer’s support if needed, and double-check the compatibility and proper functioning of your devices.
By successfully connecting your Xbox to your Chromebook, you can enjoy a more immersive gaming experience and take advantage of the larger screen for your gaming sessions. Whether you want to enjoy gaming on a big display or need a backup screen, this connection method offers convenience and versatility.
Now that you have the knowledge and guide to connect your Xbox to your Chromebook, grab your HDMI cable and start enjoying your favorite games on a bigger screen!