Introduction
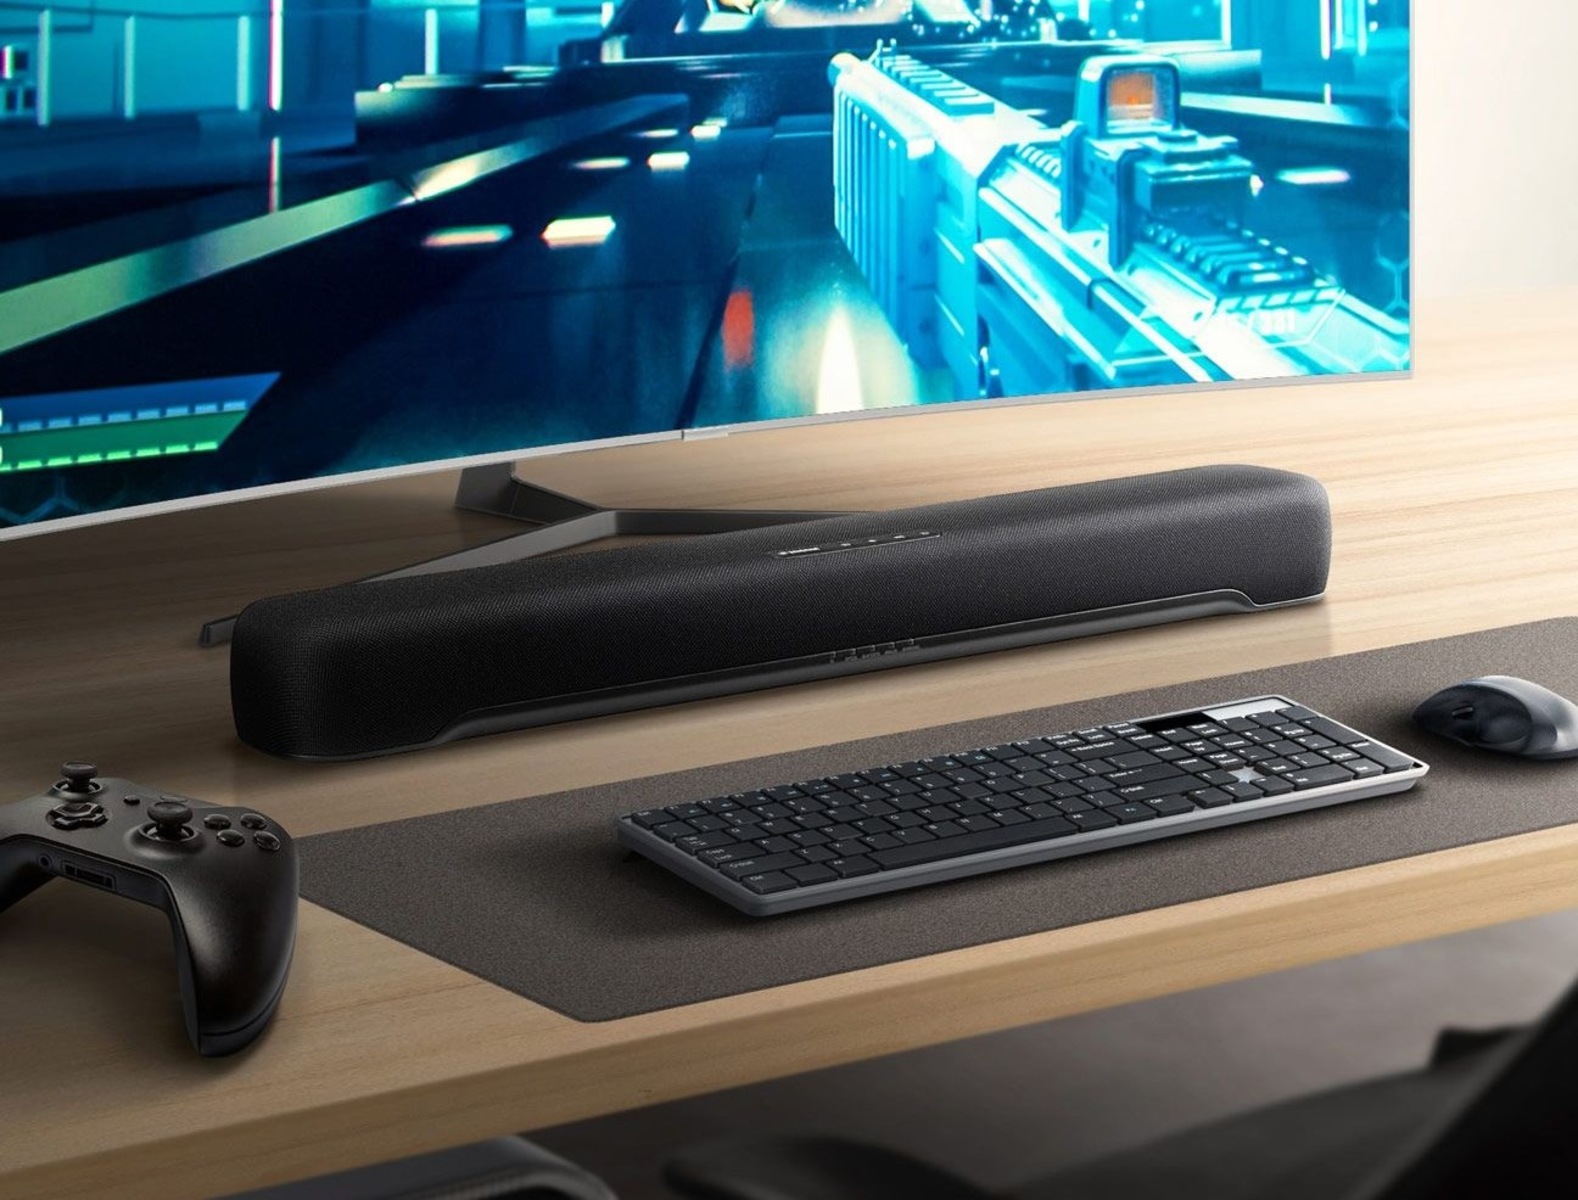
Connecting a soundbar to your PC can greatly enhance your audio experience while enjoying movies, music, or gaming. The soundbar provides immersive sound quality that your PC’s built-in speakers may not be able to deliver. However, you might be wondering how to connect your soundbar to your PC using an HDMI cable.
In this article, we will guide you through the step-by-step process of connecting a soundbar to your PC with an HDMI cable. By following these instructions, you can easily enjoy high-quality audio output and take your entertainment to the next level.
Before we dive into the steps, it is important to note that not all soundbars and PCs are equipped with HDMI ports. Therefore, in the following sections, we will explain how to check the available ports on your soundbar and PC, and what to do if HDMI ports are not available.
So, let’s get started and learn how to connect your soundbar to your PC with an HDMI cable. Whether you’re a movie enthusiast, a music lover, or a serious gamer, this guide will help you get the most out of your audio experience.
Step 1: Check the available ports on your soundbar and PC
Before you begin connecting your soundbar to your PC, the first step is to check the available ports on both your soundbar and PC. This will help you determine the type of connection you can make and ensure compatibility.
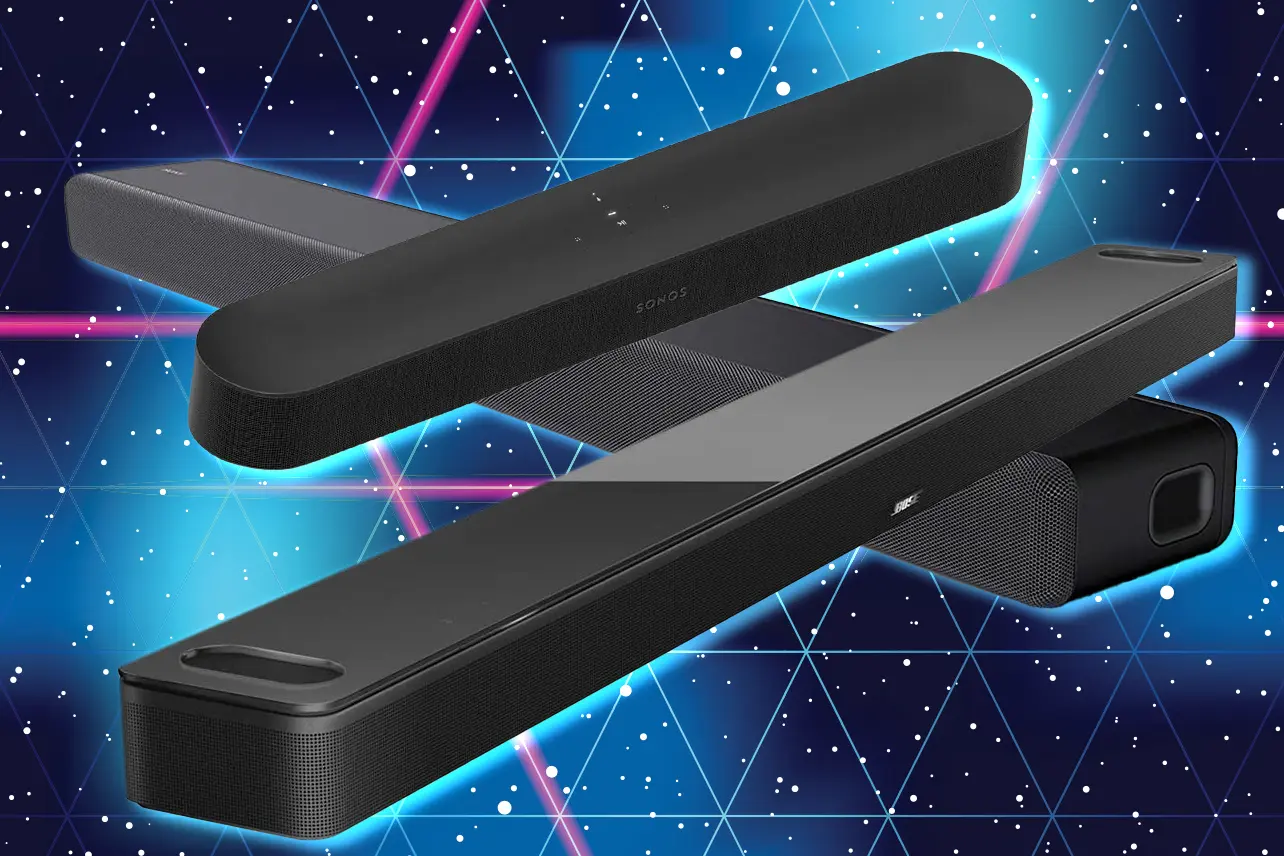
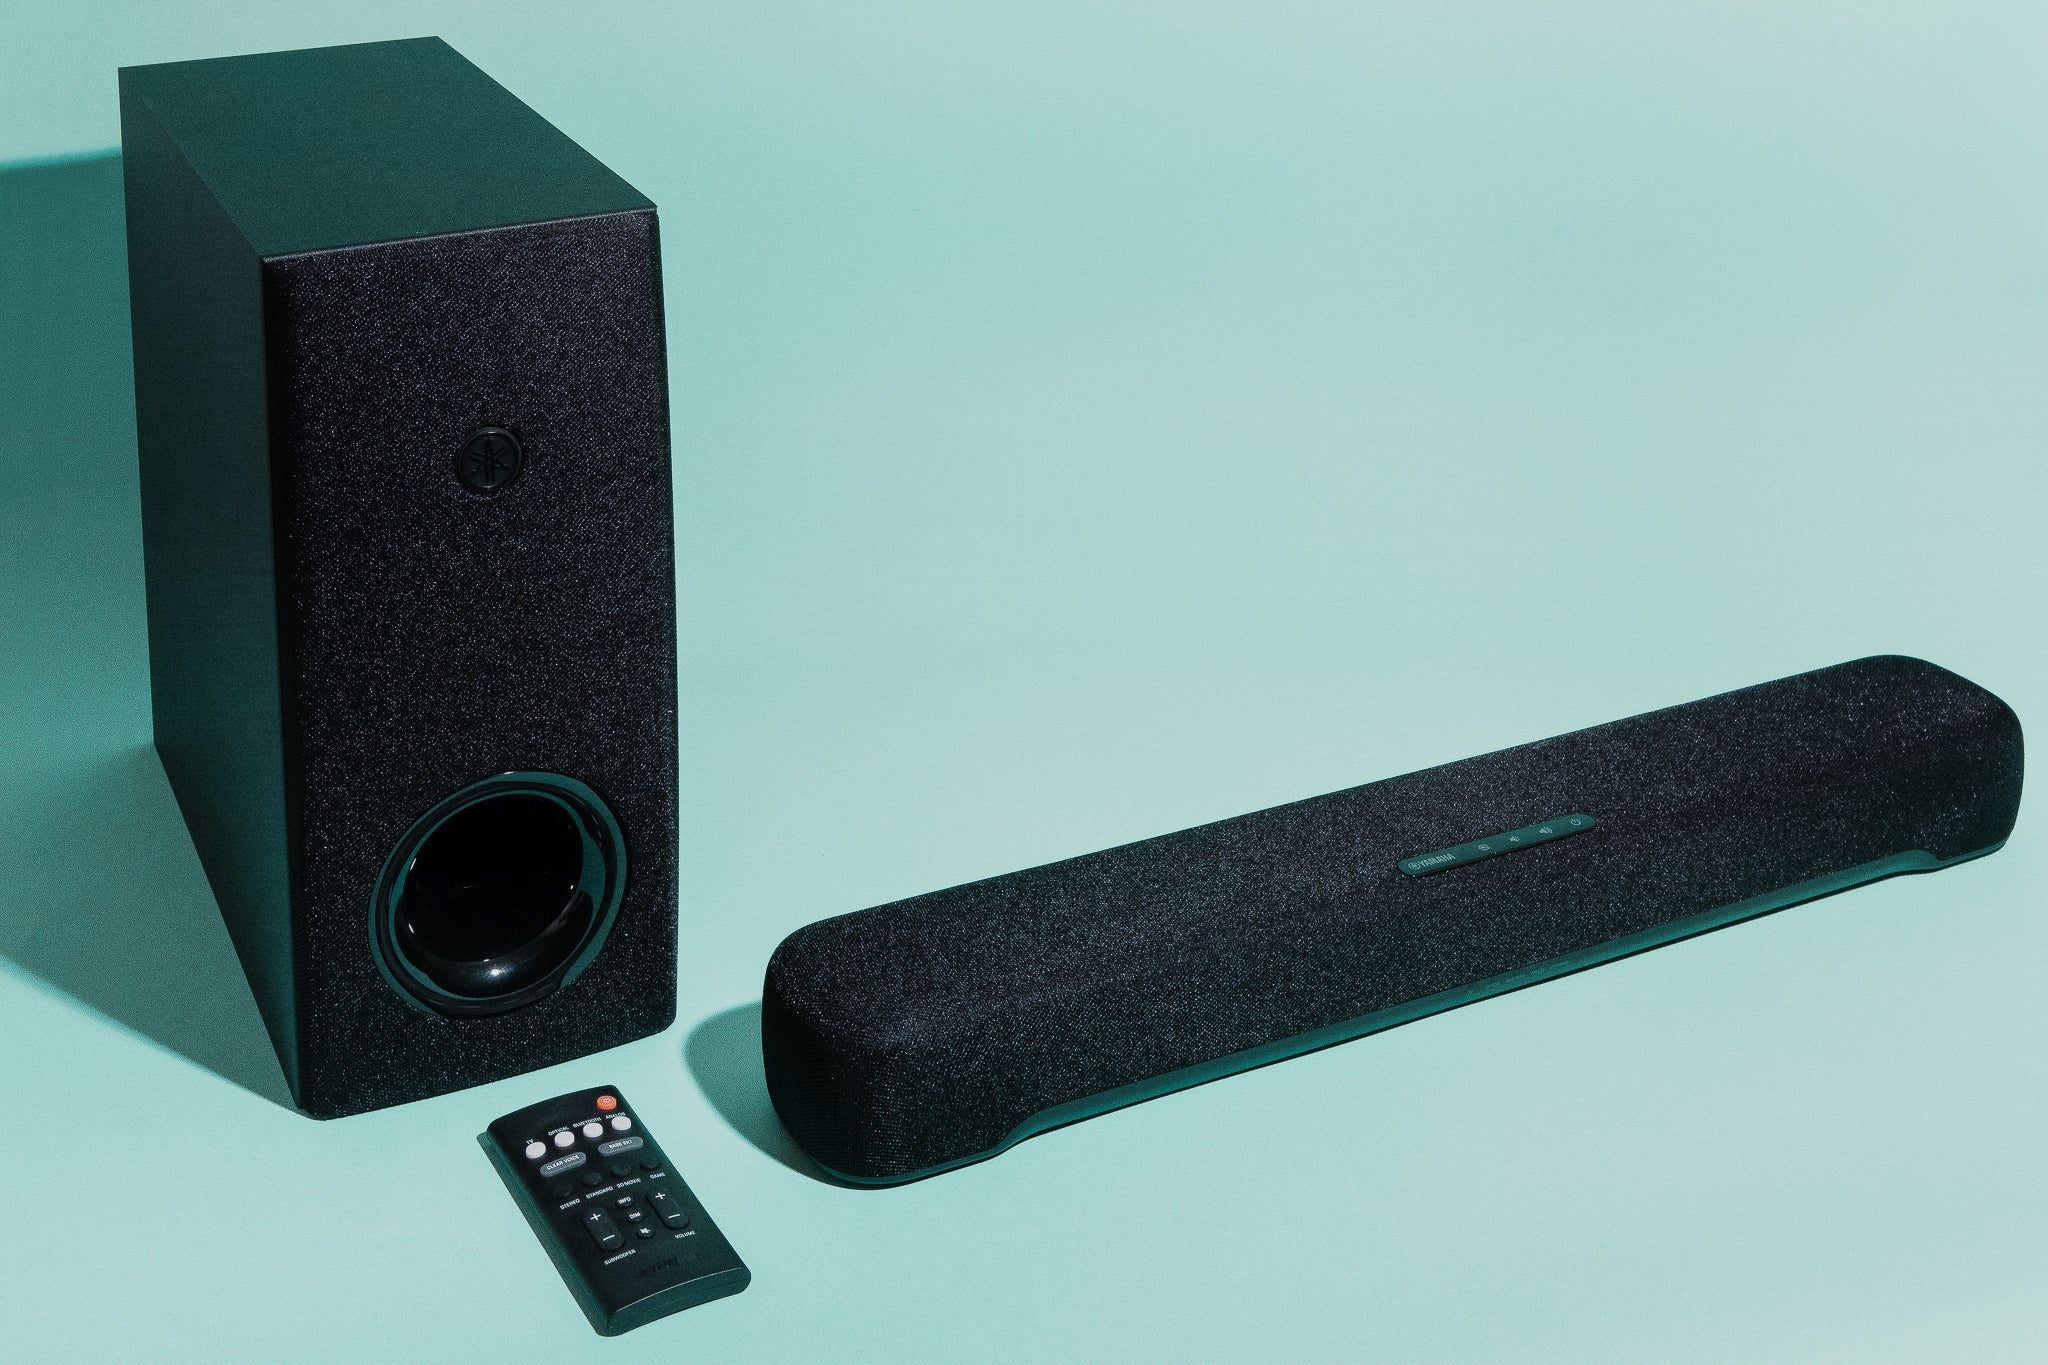
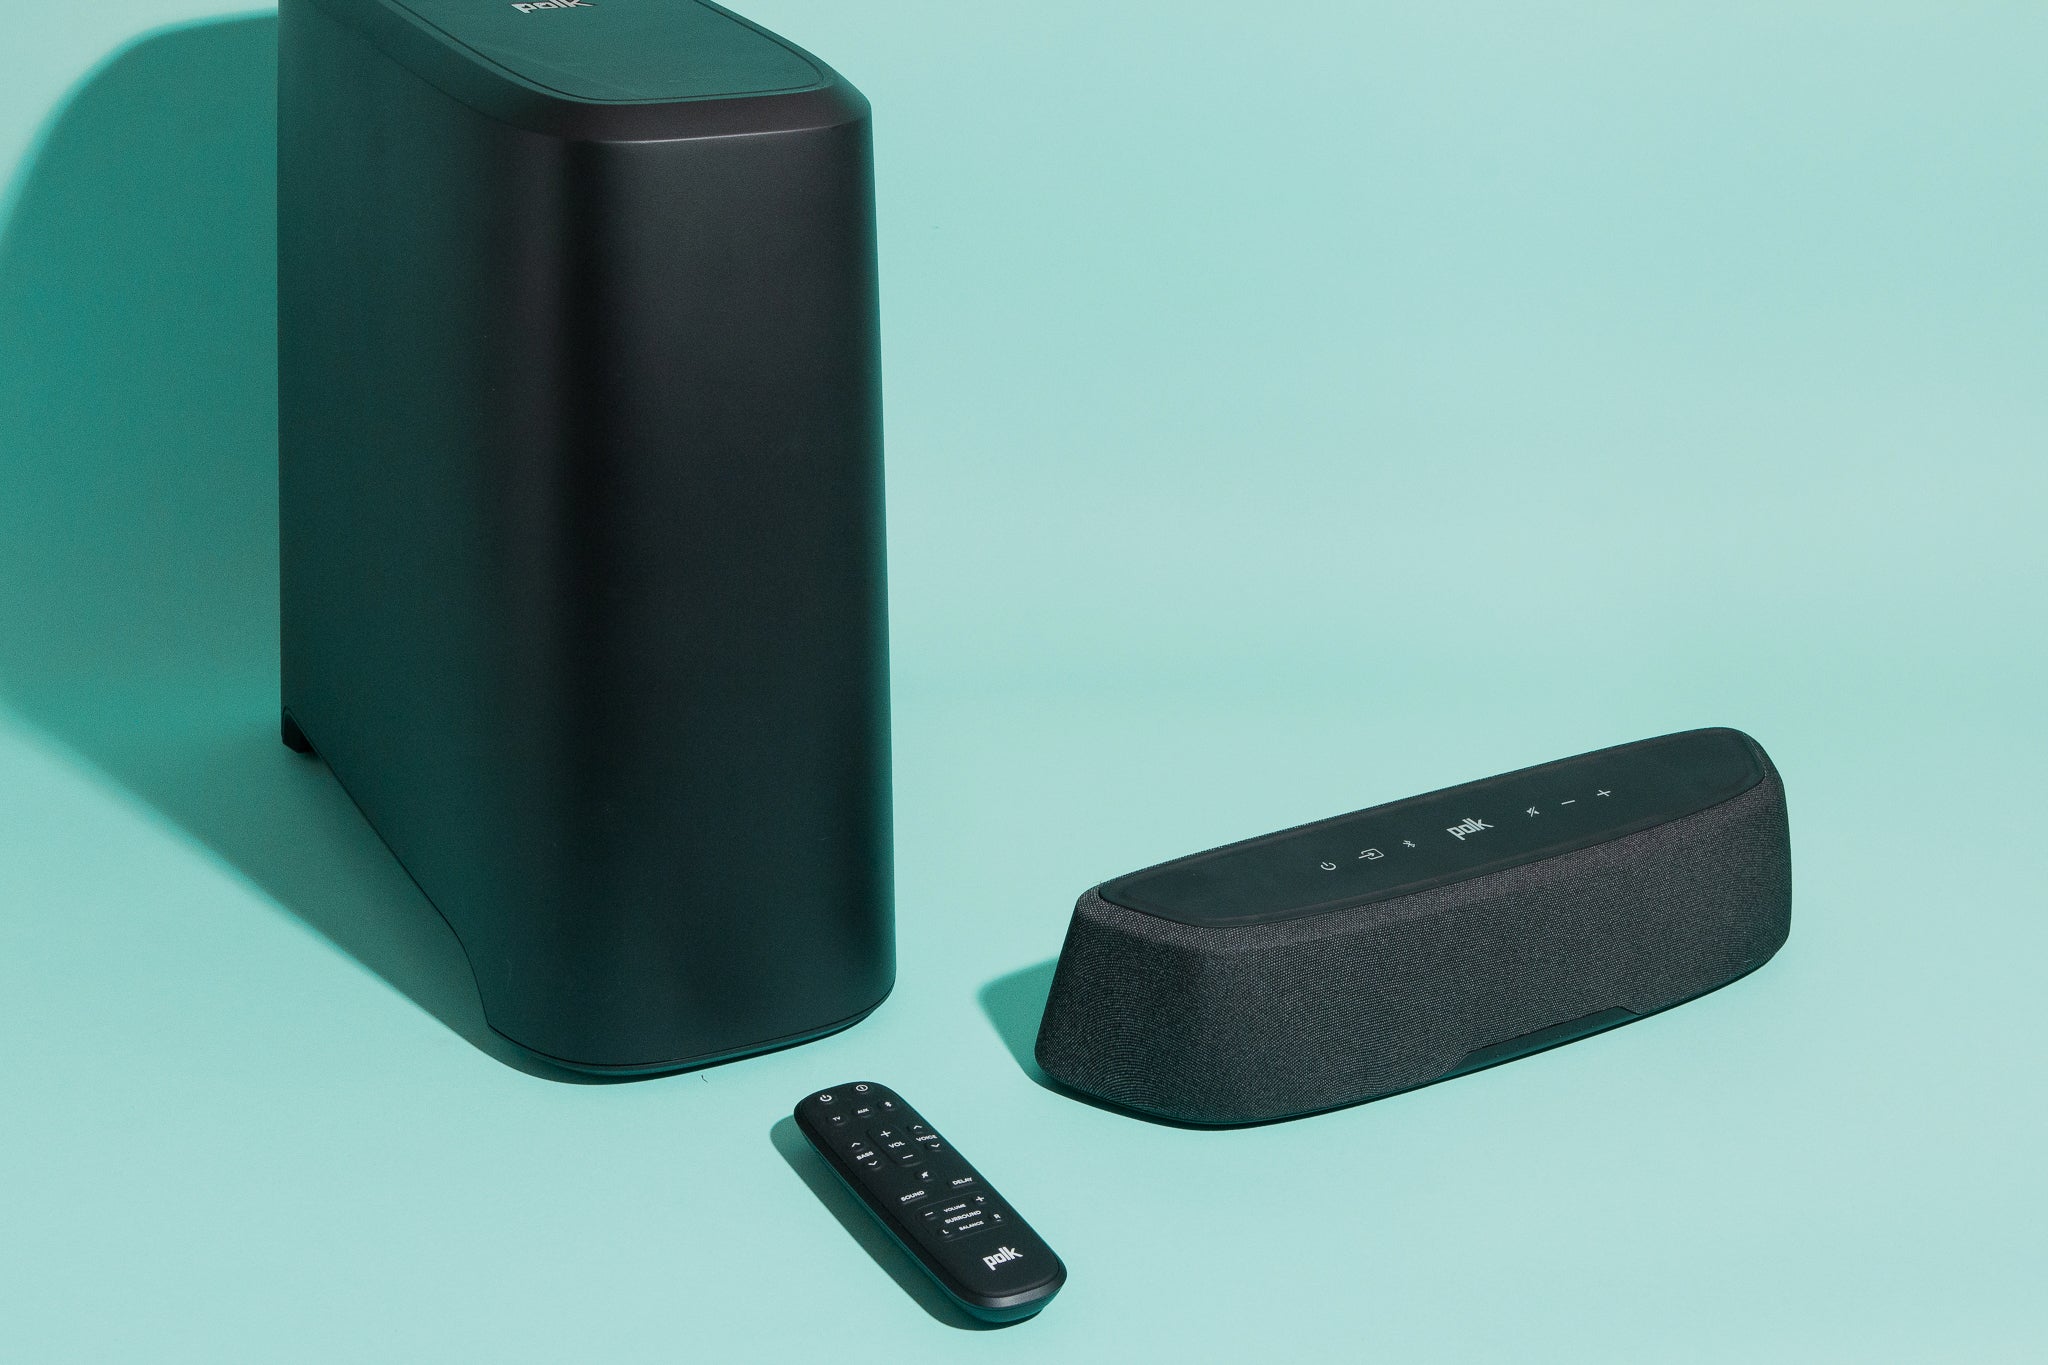
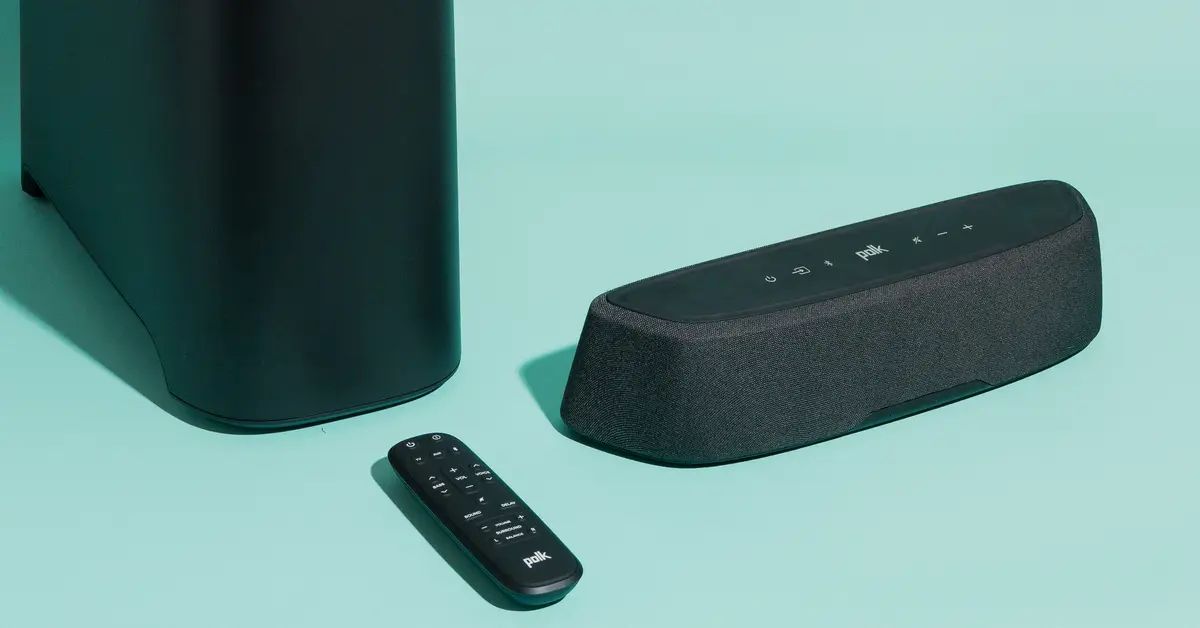
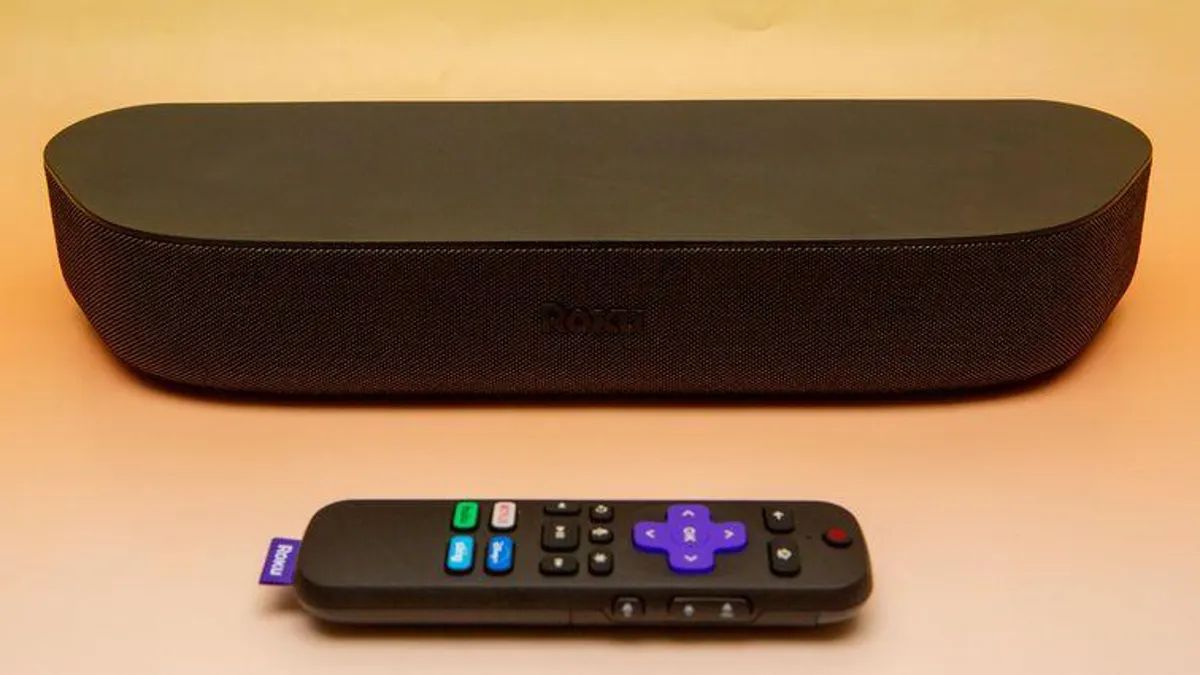
Soundbars typically come with various input and output ports, including HDMI, optical, and auxiliary ports. Check the back or side panel of your soundbar to locate these ports. In the case of HDMI, the port might be labeled as “HDMI IN” or something similar.
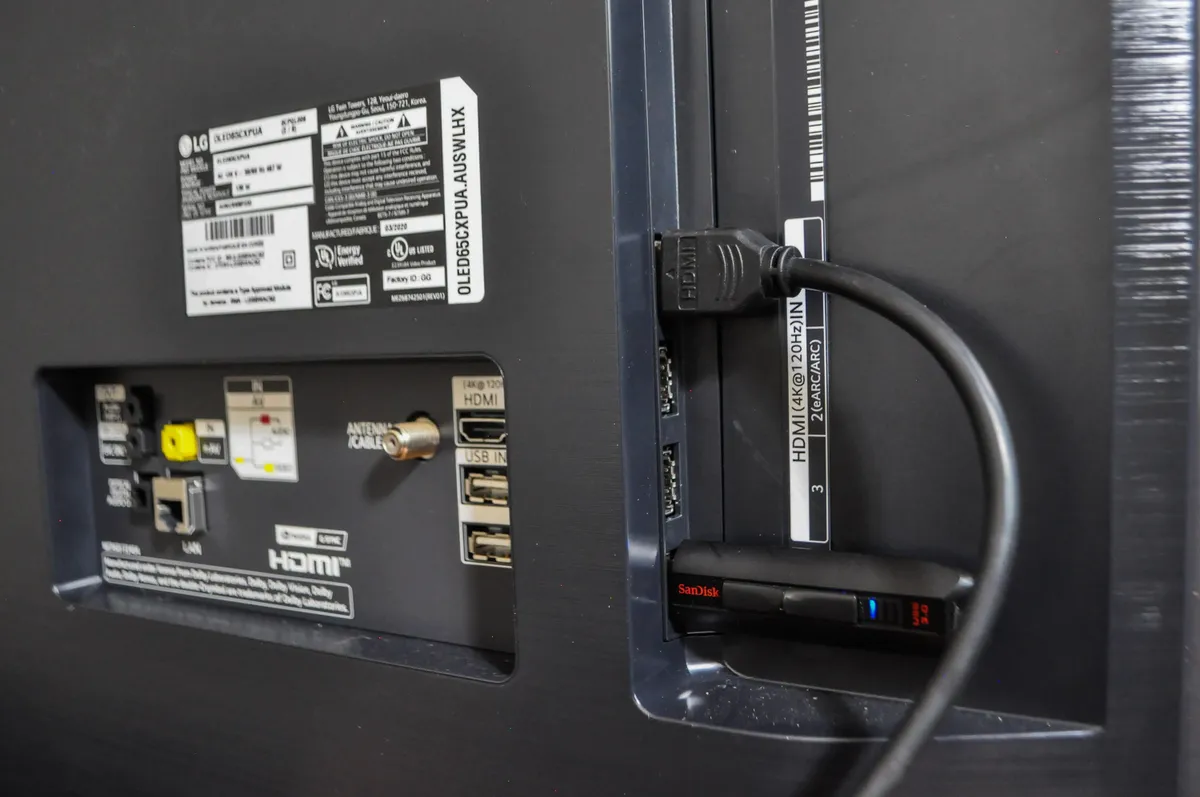
Similarly, examine your PC to identify the available ports. Most modern PCs are equipped with HDMI ports, but it’s important to double-check. The HDMI port on your PC is usually located on the back of the tower or on the side of a laptop. It is labeled with the “HDMI” logo.
If both your soundbar and PC have HDMI ports, you’re in luck! HDMI provides high-quality audio and video transmission in a single cable, simplifying the setup process. However, if your soundbar or PC does not have an HDMI port, don’t worry. We will cover alternative connection options later in this article.
It’s worth noting that some soundbars and PCs may have multiple HDMI ports. In this case, choose an HDMI port on your soundbar that is not already in use. Similarly, select an HDMI input port on your PC that is not occupied by any other device. This will ensure a direct connection and prevent any audio or video interference.
Once you have identified the available ports on your soundbar and PC, you’re ready to move on to the next step. Don’t worry if HDMI ports are not available – we will guide you through alternative methods in the upcoming sections.
Step 2: Purchase an HDMI cable if necessary
If your soundbar or PC does not come with an HDMI cable included, you will need to purchase one before proceeding with the connection. An HDMI cable is essential for transmitting both audio and video signals between your soundbar and PC.
When purchasing an HDMI cable, there are a few factors to consider. First, make sure to choose a cable with the appropriate length for your setup. Measure the distance between your soundbar and PC to determine the ideal length. It’s always better to choose a slightly longer cable to allow for flexibility in positioning.
Next, consider the HDMI version. HDMI cables have evolved over the years, with each version offering improved features and capabilities. The latest HDMI version is HDMI 2.1, which supports higher resolutions, faster refresh rates, and additional audio features. However, for most average users, HDMI 2.0 cables would suffice. Ensure that the HDMI cable you purchase is compatible with the HDMI version supported by your soundbar and PC.
Additionally, look for HDMI cables that are labeled as “High-Speed” or “Premium High-Speed.” These cables are designed to handle higher bandwidths and provide better signal quality, resulting in optimal audio and video transmission. While there may be cheaper HDMI cables available, investing in a quality cable can greatly enhance your audio experience and prevent any signal degradation.
Once you have purchased the HDMI cable, you’re ready to move on to the next step of connecting your soundbar to your PC. Ensure that the cable is in good condition and free from any kinks or damages. A high-quality HDMI cable will ensure a reliable and consistent connection between your soundbar and PC, resulting in an immersive audio experience.
Step 3: Connect one end of the HDMI cable to the HDMI OUT port on the soundbar
Now that you have your HDMI cable ready, it’s time to connect one end of the cable to the HDMI OUT port on your soundbar. The HDMI OUT port is typically located on the back or side panel of the soundbar and is labeled as “HDMI OUT” or “TV ARC.”
Ensure that your soundbar is powered off before making any connections. Once the soundbar is powered off, locate the HDMI OUT port and gently insert one end of the HDMI cable into it. Make sure it is securely connected to avoid any loose connections or interruptions in the audio transmission.
It’s important to note that some soundbars may have multiple HDMI ports, labeled as HDMI1, HDMI2, etc. In this case, make sure to connect the HDMI cable to the designated HDMI OUT port. The HDMI OUT port is specifically intended for connecting the soundbar to external devices like your PC or TV.
Once the HDMI cable is connected to the HDMI OUT port, you have completed the first half of the connection process. The HDMI cable serves as the link between your soundbar and your PC, allowing for the transfer of audio signals.
In the next step, we will guide you on how to connect the other end of the HDMI cable to the HDMI IN port on your PC. This will establish a direct connection between the soundbar and the PC, enabling you to fully enjoy the enhanced audio experience provided by the soundbar while using your PC.
Step 4: Connect the other end of the HDMI cable to the HDMI IN port on your PC
With one end of the HDMI cable securely connected to the HDMI OUT port on your soundbar, it’s time to connect the other end of the cable to the HDMI IN port on your PC. The HDMI IN port on your PC is typically located on the back of the tower or on the side of a laptop and is labeled with the “HDMI” logo.
Make sure your PC is turned off or in standby mode before making any connections. Locate the HDMI IN port on your PC and gently insert the other end of the HDMI cable into it. Ensure that the connection is snug and secure.
If your PC has multiple HDMI ports, choose the one labeled as HDMI IN or HDMI 1 for the soundbar connection. Avoid using HDMI ports labeled as HDMI OUT, as these are typically used for connecting your PC to external displays such as monitors or TVs.
Once the HDMI cable is connected to both the soundbar and the PC, power on your PC and turn on your soundbar. The devices should automatically recognize the connection, and you should start hearing audio through your soundbar. If not, you may need to adjust some settings on your PC, which we will cover in the next steps.
It’s worth mentioning that some PCs may require additional configuration to enable audio output through the HDMI connection. Check your PC’s user manual or manufacturer’s website for specific instructions on setting the HDMI audio as the default playback device.
Congratulations! You have successfully connected your soundbar to your PC using an HDMI cable. The HDMI connection ensures high-quality audio transmission, allowing you to enjoy immersive sound while watching movies, listening to music, or playing games on your PC.
In the next step, we will guide you on setting the soundbar as the default playback device on your PC. This will ensure that all audio output from your PC is directed to the soundbar, providing you with the best audio experience.
Step 5: Set the soundbar as the default playback device on your PC
After connecting your soundbar to your PC using an HDMI cable, you need to set the soundbar as the default playback device to ensure that audio is directed to it. By default, your PC may be set to use its internal speakers or another audio output device. Follow these steps to set the soundbar as the default playback device on your PC.
- Right-click on the volume icon in the Windows taskbar and select “Sounds” from the context menu. This will open the Sound settings window.
- In the Sound window, navigate to the “Playback” tab. Here, you will see a list of all the audio output devices connected to your PC.
- Find your soundbar in the list. It might be listed as the soundbar’s brand name or as “HDMI” with the soundbar’s name in the description.
- Select the soundbar from the list, and then click on the “Set Default” button located at the bottom of the window.
By setting the soundbar as the default playback device, your PC will automatically route all audio output through the soundbar whenever it is connected. This ensures that you can enjoy the enhanced audio experience provided by the soundbar while using your PC.
It’s important to note that some soundbars come with their own remote control or dedicated app. These additional tools may provide further options for adjusting sound settings, such as equalizer settings, sound modes, and more. Refer to the user manual or documentation specific to your soundbar for more information on utilizing these features.
Now that you have set the soundbar as the default playback device on your PC, you are ready to optimize the audio settings to ensure optimal sound output. In the next step, we will guide you on adjusting the sound settings on your PC for the best audio experience with your soundbar.
Step 6: Adjust the sound settings on your PC for optimal sound output
Now that your soundbar is set as the default playback device, it’s essential to adjust the sound settings on your PC to optimize the sound output. These settings will allow you to fine-tune the audio and tailor it to your specific preferences. Follow these steps to adjust the sound settings on your PC.
- Right-click on the volume icon in the Windows taskbar and select “Sounds” from the context menu. This will open the Sound settings window.
- In the Sound window, select the soundbar from the list of playback devices, if it isn’t already selected as the default device.
- Click on the “Properties” button located at the bottom-right corner of the window.
- In the soundbar’s Properties window, navigate to the “Enhancements” tab. Here, you will find a variety of audio enhancement options that can enhance your sound experience.
- Depending on your soundbar and personal preferences, you can enable or disable enhancements such as Bass Boost, Virtual Surround, Loudness Equalization, and more. Experiment with these settings and adjust them according to your liking.
- Once you have made the desired adjustments, click on the “OK” button to save the changes.
By tweaking the sound settings on your PC, you can enhance the audio experience and adapt it to suit your preferences. Play around with the different options and find the settings that provide the best sound output with your soundbar.
Additionally, some soundbars come with their own remote control or app that allows you to customize the sound settings directly on the soundbar. These settings may include equalizer controls, sound presets, or other advanced audio features. Refer to the user manual or documentation specific to your soundbar for more information on utilizing these settings.
Now that you have adjusted the sound settings on your PC, you are all set to enjoy optimal sound output through your soundbar while using your PC. In the next step, we will guide you on testing the soundbar connection and ensuring everything is working as expected.
Step 7: Test the soundbar connection and enjoy your audio playback
Now that you have successfully connected your soundbar to your PC and adjusted the sound settings, it’s time to test the connection and start enjoying your audio playback. Follow these steps to ensure that everything is working properly:
- Play any audio or video file on your PC that has sound.
- Ensure that the volume on your PC and the soundbar is turned up to an appropriate level.
- Listen for the sound coming from the soundbar. If you don’t hear any sound, check the connections and ensure that the soundbar is powered on.
- If the sound is audible through the soundbar, test the audio by playing different types of content, such as music, movies, or games. This will allow you to experience the full range of the soundbar’s capabilities.
- During playback, you can adjust the volume using the volume controls on your PC or the soundbar itself. Fine-tune the volume to your desired level.
If you encounter any issues with the sound output, double-check the connections and ensure that the soundbar is selected as the default playback device on your PC. You can also refer to the user manual or troubleshooting guide for your soundbar for further assistance.
Congratulations! You have successfully connected your soundbar to your PC and optimized the sound settings. Now, you can enjoy enhanced audio playback for movies, music, gaming, and more, providing you with a more immersive and engaging experience.
Remember to regularly check for software updates for both your soundbar and PC, as these updates may improve performance, add new features, or resolve any potential issues. By staying up-to-date, you can ensure that your soundbar and PC continue to work seamlessly together.
Thank you for following this step-by-step guide. We hope it has been helpful in connecting your soundbar to your PC and enhancing your audio experience. Sit back, relax, and enjoy the superior sound quality that your soundbar brings to your PC entertainment.